

Tessa’s Recipe Rundown
Taste: Just enough chocolate flavor to enjoy, but not so much that you can only take a couple bites.
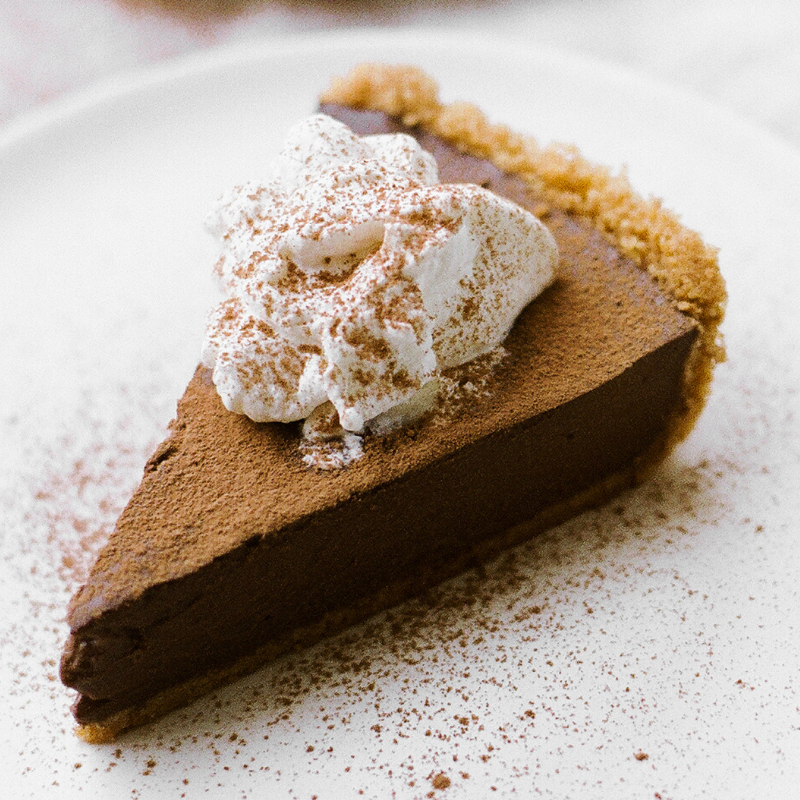
Texture: The crust is buttery and crunchy, while the filling is creamy, thick, and firm enough to hold its shape. I just love the contrast between the two!
Ease: Easy enough; the pudding just needs 10 minutes of babysitting on the stovetop. The hardest part is waiting for the pie to chill and set before you can cut yourself a slice.
Pros: One of my favorite recipes.
Cons: None!!
Would I make this again? I’ve made this countless times!
This post may contain affiliate links. Read our disclosure policy.
This Chocolate Pudding Pie is truly one of my all-time favorite desserts.
I first tried this pie when I was about 10 years old, when a family member made a version for Thanksgiving.
Ever since then, it’s been something I crave again and again.
This was actually one of the first dessert recipes I ever published here on Handle the Heat, way back in June of 2009!
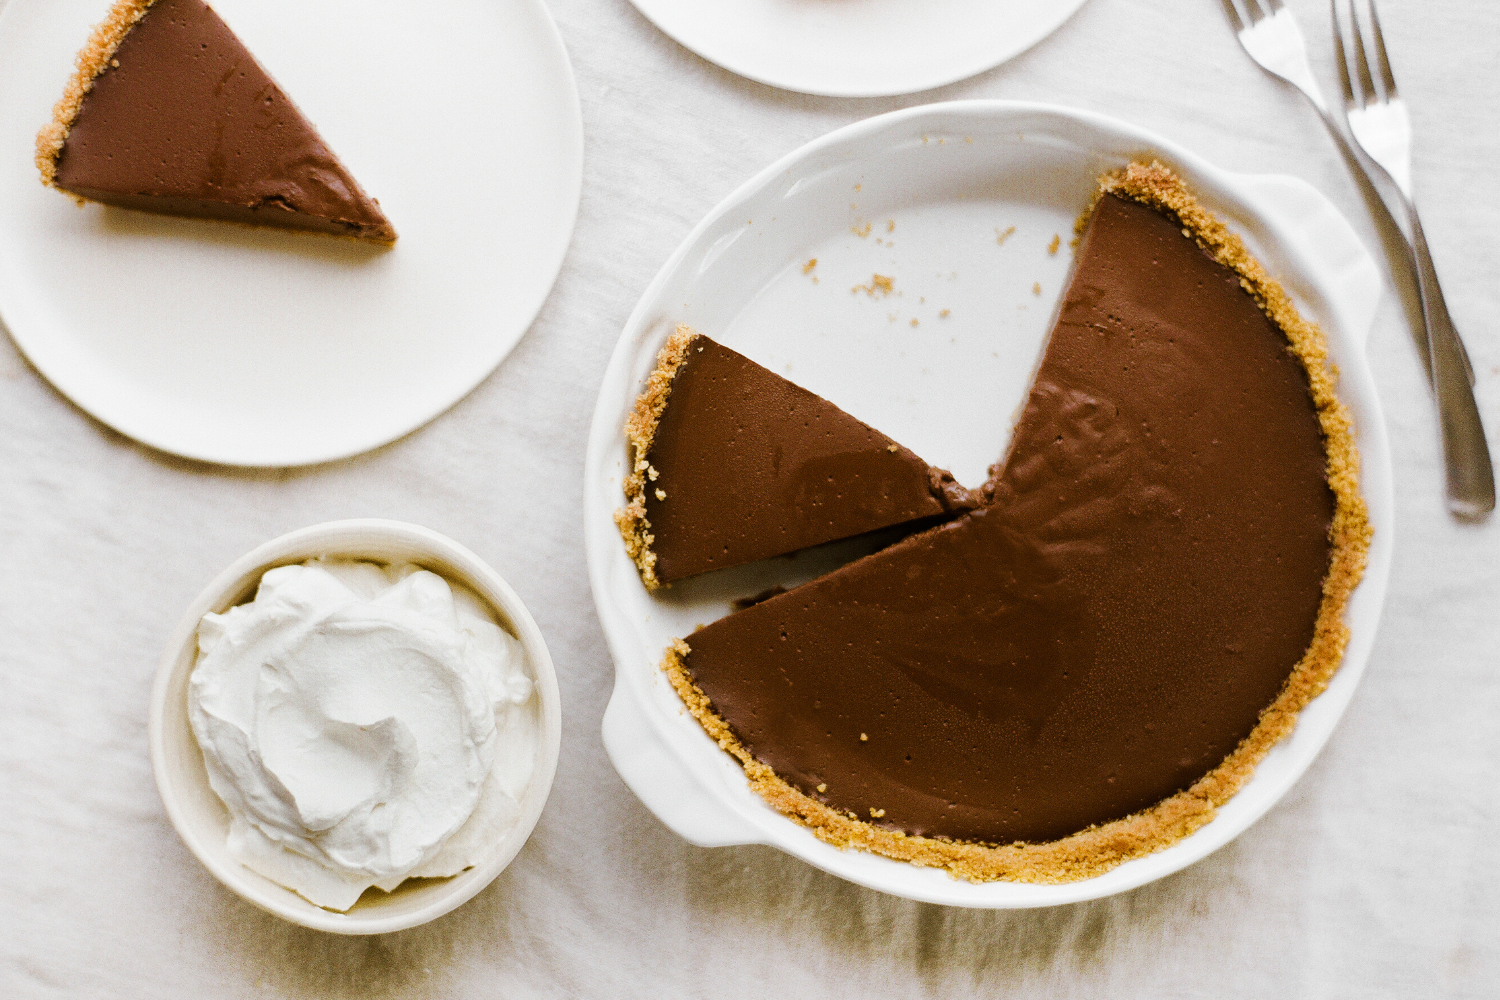
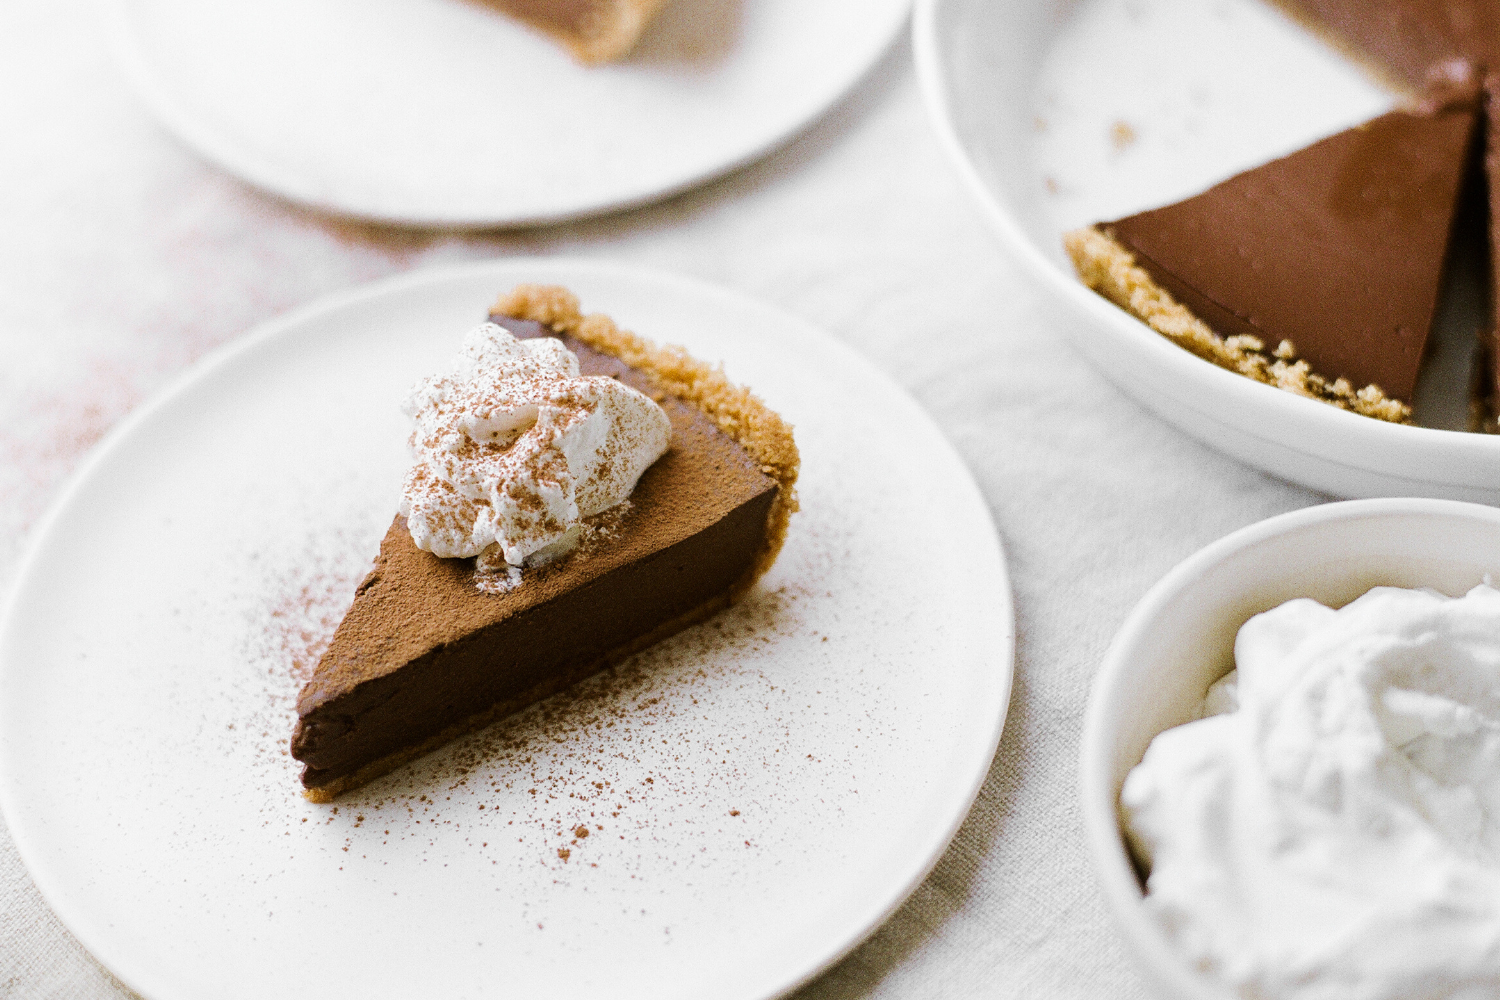
The slightly crunchy, buttery graham cracker crust is so delicious with the rich, creamy pudding filling. Add homemade whipped cream or even vanilla ice cream for the perfect dessert.
This pie is the perfect Thanksgiving dessert, but it’s also so crowd-pleasing that it’s perfect after any meal.
Whether you grew up enjoying Chocolate Pudding Pie or not, I hope you’ll give this delicious pie recipe a try, and create fun new memories in doing so.

How to Make Chocolate Pudding Pie
How to Serve Chocolate Pudding Pie
I have included my recipe and instructions for making homemade whipped cream, which is the perfect topping for this pie, in my opinion! Feel free to instead serve with vanilla ice cream, caramel sauce, homemade chocolate sauce, or whatever else your heart desires.
Can I Make This Pie Dairy-Free?
Yes! I have successfully made this Chocolate Pudding Pie recipe dairy-free by substituting the butter with coconut oil, and replacing the cow’s milk with almond milk. The non-dairy version definitely wasn’t as rich and only lasted 1 day before it started weeping, but it was still delish!
Do I Have to Use Graham Crackers? Pudding Pie Recipe CRUST Variations
I love this pie with a graham cracker crust, but feel free to change it up and use:
- Chocolate Teddy Grahams or chocolate graham crackers (follow the crust ingredients & instructions in this recipe)
- Oreo crust (follow the crust ingredients & instructions in this recipe)
- Biscoff cookies (follow the crust ingredients & instructions in this recipe)
- Or use a single batch of my Best Ever Pie Crust
How Long Does Chocolate Pudding Pie Last?
Without whipped cream, this pie will keep for 2 days. Avoid adding the whipped cream until shortly before serving, for best results.
How to Store Pudding Pie?
Once cooled and set, store the Chocolate Pudding Pie covered in the fridge for up to two days. We have not tried freezing this pie, but let us know if you give that a try!
More Pie Recipes You’ll Love
- Chocolate Peanut Butter Pudding Pie
- French Silk Pie
- Peanut Butter Pie
- Easy Pumpkin Pie
- Brown Butter Maple Pecan Pie

Double Chocolate Pudding Pie
Ingredients
For the crust:
- 9 (142 grams) full size graham crackers
- 1/4 teaspoon fine salt
- 5 tablespoons (71 grams) unsalted butter, melted
For the filling:
- 1 tablespoon (1 envelope) unflavored gelatin
- 1/3 cup boiling water
- 2/3 cup (133 grams) sugar
- 1/3 cup (28 grams) unsweetened cocoa powder
- 1/4 cup (35 grams) cornstarch
- 1/8 teaspoon salt
- 3 cups milk (whole milk or 2% work best)
- 4 ounces (113 grams) bittersweet chocolate, chopped
- 2 teaspoons vanilla extract
For the whipped cream:
- 1 cup chilled heavy cream
- 1 tablespoon powdered sugar
- Cocoa powder or chocolate shavings, for garnish
Instructions
- Preheat the oven to 350°F. Spray a 9-inch pie plate with cooking spray.
Make the crust:
- In the bowl of a food processor, pulse the crackers and salt until finely ground. Pour in the butter and pulse until evenly moistened. Press the crumb mixture into bottom of pie plate and about 1-inch up the sides. Bake for 10 minutes, then set aside to cool.
Make the filling:
- In the meantime, make the pudding. Put the gelatin in a small bowl, add the boiling water and stir until dissolved. Set aside.
- In a medium saucepan, mix the 2/3 cup of sugar, cocoa, cornstarch and salt. Gradually add half of the milk, whisking until smooth. Whisk in the rest of the milk. Turn the heat on to medium and cook, whisking constantly, until the mixture thickens and comes to a boil, about 10 minutes.
- Remove from the heat. Add the chocolate and stir until melted. Stir in the vanilla and reserved gelatin. Pour the mixture into the pie crust and place in the refrigerator to set, at least 4 hours.
Make the whipped cream:
- Beat the cream and sugar in a medium deep bowl until soft peaks form. Spread over pie or pipe on using a piping bag fitted with a star tip. Garnish with cocoa or chocolate shavings.
- The pie can be covered and stored in the fridge for up to 2 days.
Recipe Notes
Photos by Constance Higley.


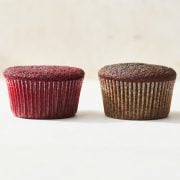


If anyone else started this recipe thinking they had chocolate and then discovered they only have Butterscotch chips, I’m here to tell you it makes a great substitute. I’ll have to try again with chocolate, but this pie set up perfectly and has great texture.
Hello , I love all your recipes , I did a year ago your initial Chocolate pudding pie and I can not find it right now , did you change the recipe ? The new one has a graham cracker crust that the previous one didn’t . Is it available somewhere ?
Thank you
Hi Carolina! This recipe has not changed, we just updated a little of the info in the post. Perhaps you used this French Silk Pie recipe or this Chocolate Peanut Butter Caramel Mousse Pie recipe in the past? Alternatively, feel free to use this recipe and check out the pink tip box, above the recipe, where Tessa talks about some graham cracker crust alternatives. Happy baking 🙂
Hi chef,
I want to follow this recipe to make vanilla pudding pie so I want to omit the cocoa and dark chocolate but do I need to use white chocolate instead of the dark chocolate? I mean to harden the pudding a little bit or should I totally skip the chocolate