


Tessa’s Recipe Rundown
Taste: I never knew waffles could have so much rich chocolate flavor!! Incredible.
Texture: Rich and fudgy while somehow still light and delicate. That plus the luscious ice cream and ultra thick homemade chocolate sauce is OUT OF BOUNDS as Guy Fieri would say.
Ease: Super duper easy, especially if you make the chocolate sauce ahead of time (or just use store-bought but I definitely think you should make the homemade version it’s outstanding).
Appearance: The most glorious, decadent waffles I’ve ever made.
Pros: Quick, easy, delectable.
Cons: So indulgent. This might be a recipe best suited for actual dessert instead of breakfast, or maybe a very special occasion breakfast.
Would I make this again? Oh yeah. These didn’t last long at all, I can’t wait to find an occasion to whip up another batch!
This post may contain affiliate links. Read our disclosure policy.
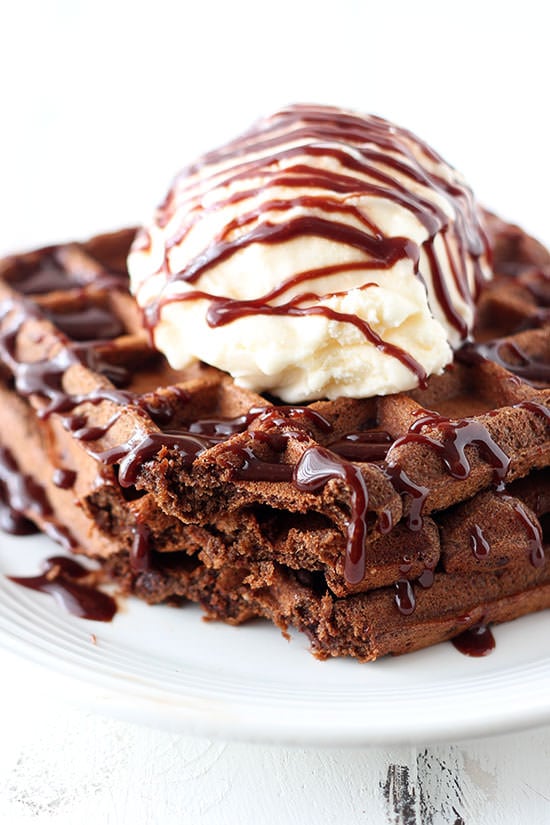
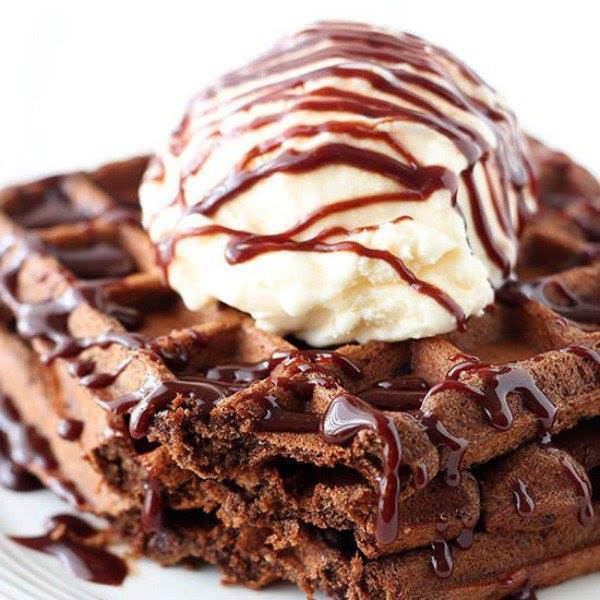
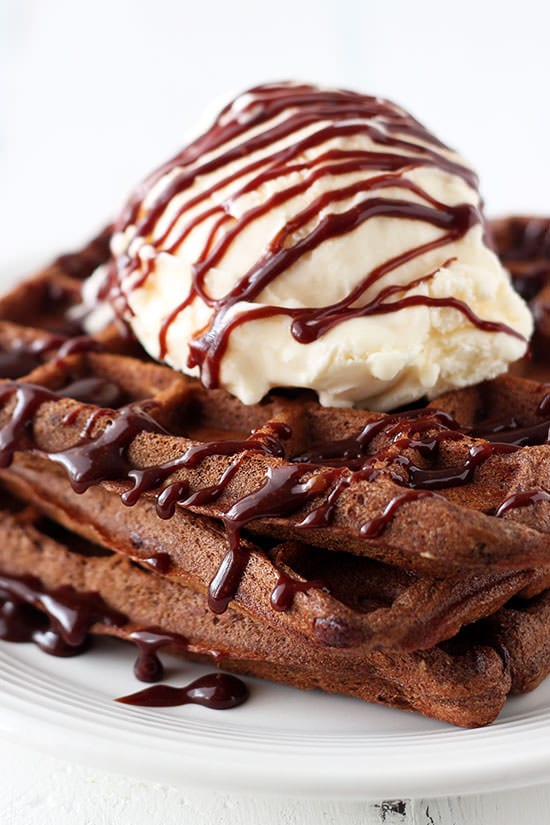
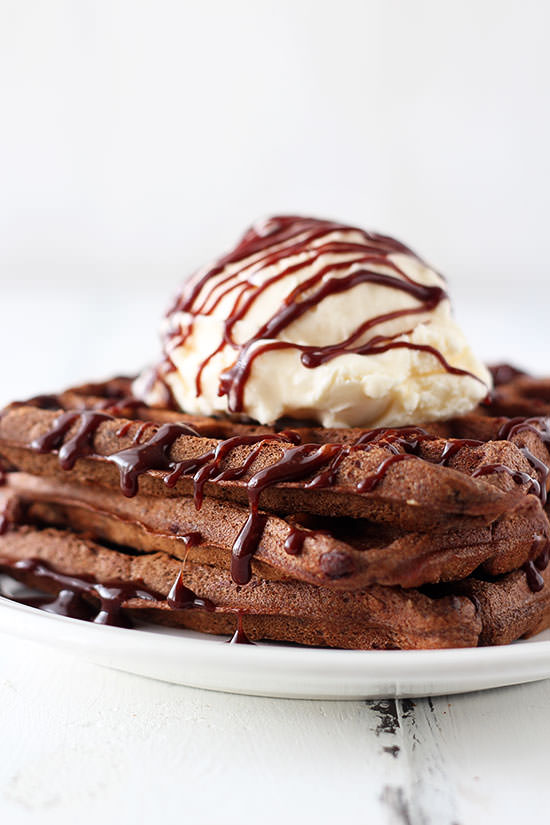
So, these fudge waffles? Yeah… you have GOT TO make them. They’re outrageously, decadently delicious and should probably come with a sugar rush warning sign if you do decide to eat them for breakfast. They are truly a dessert in every possible sense because let’s face it, while you can top many breakfast foods with ice cream and chocolate sauce you probably shouldn’t make a habit out of it. But every once in a while for a special treat to honor a very scrumptious recipe, waffles + ice cream + chocolate sauce = pure happiness.
My new blog contributor Julie recently shared a delightful recipe for Double Chocolate Waffles that had me craving chocolate waffles something fierce. Then I stumbled upon this recipe for Fudge Waffles with ice cream and chocolate sauce and I just had to test it out. The results were too good not to share.
The homemade chocolate sauce recipe I shared recently makes for the perfect pairing with these waffles, you must make both for optimum chocolate indulging results! The waffles taste incredible but are surprisingly simple to make, no complicated yeast batters or anything like that to enjoy the slightly crisp, ultra rich and fudgy yet soft and gooey goodness. YUM. By the way, I used my beloved Chef’s Choice Classic Waffle Maker to make these babies.
Love Handle the Heat? Don’t miss a recipe! Sign up to have new posts delivered straight to your inbox and receive a FREE cookbook!
*This post contains affiliate links.

Chocolate Fudge Waffles
Ingredients
- 2 large eggs, at room temperature
- 4 tablespoons (2 ounces) unsalted butter, melted and cooled, or 1/4 cup vegetable oil
- 1 teaspoon vanilla
- 1 cup buttermilk
- 1 cup (4.5 ounces) all-purpose flour
- 3/4 cup granulated sugar
- 1/2 cup unsweetened cocoa powder
- 1/2 teaspoon baking powder
- 1/2 teaspoon baking soda
- 1/4 teaspoon salt
- 1/4 teaspoon nutmeg
- 1/2 cup chocolate mini-chips
- Homemade chocolate sauce
- Ice cream
Instructions
- In a large mixing bowl, combine the eggs, butter and vanilla, and whisk until pale in color, about 2 minutes. Stir in the buttermilk, then the flour, sugar, cocoa powder, baking powder, baking soda, salt and nutmeg. Gently fold in the chocolate chips.
- Cook the waffles in a preheated greased waffle iron until done, following the directions for your own waffle iron. Serve immeadiately (or keep warm in a 200°F oven) with the ice cream of your choice and chocolate sauce. Waffles can be made ahead and wrapped in plastic wrap and served the next day or frozen for up to 2 weeks. Rewarm them in a toaster oven.


The best Waffle recipe ever!! Used Milk instead of Buttermilk & used Truvia instead of Sugar. Will definitely make these again. Thank You for the recipe!! ☺️
Very tasty waffles and good texture. I doubled the recipe and used vegetable oil and omitted the chocolate chips. Thank you for such a good recipe!