This post may contain affiliate links. Read our disclosure policy.
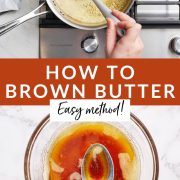
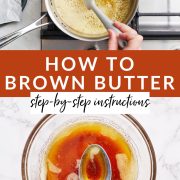
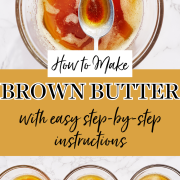
Ready to take your baking to the next level? Let me teach you how to brown butter!
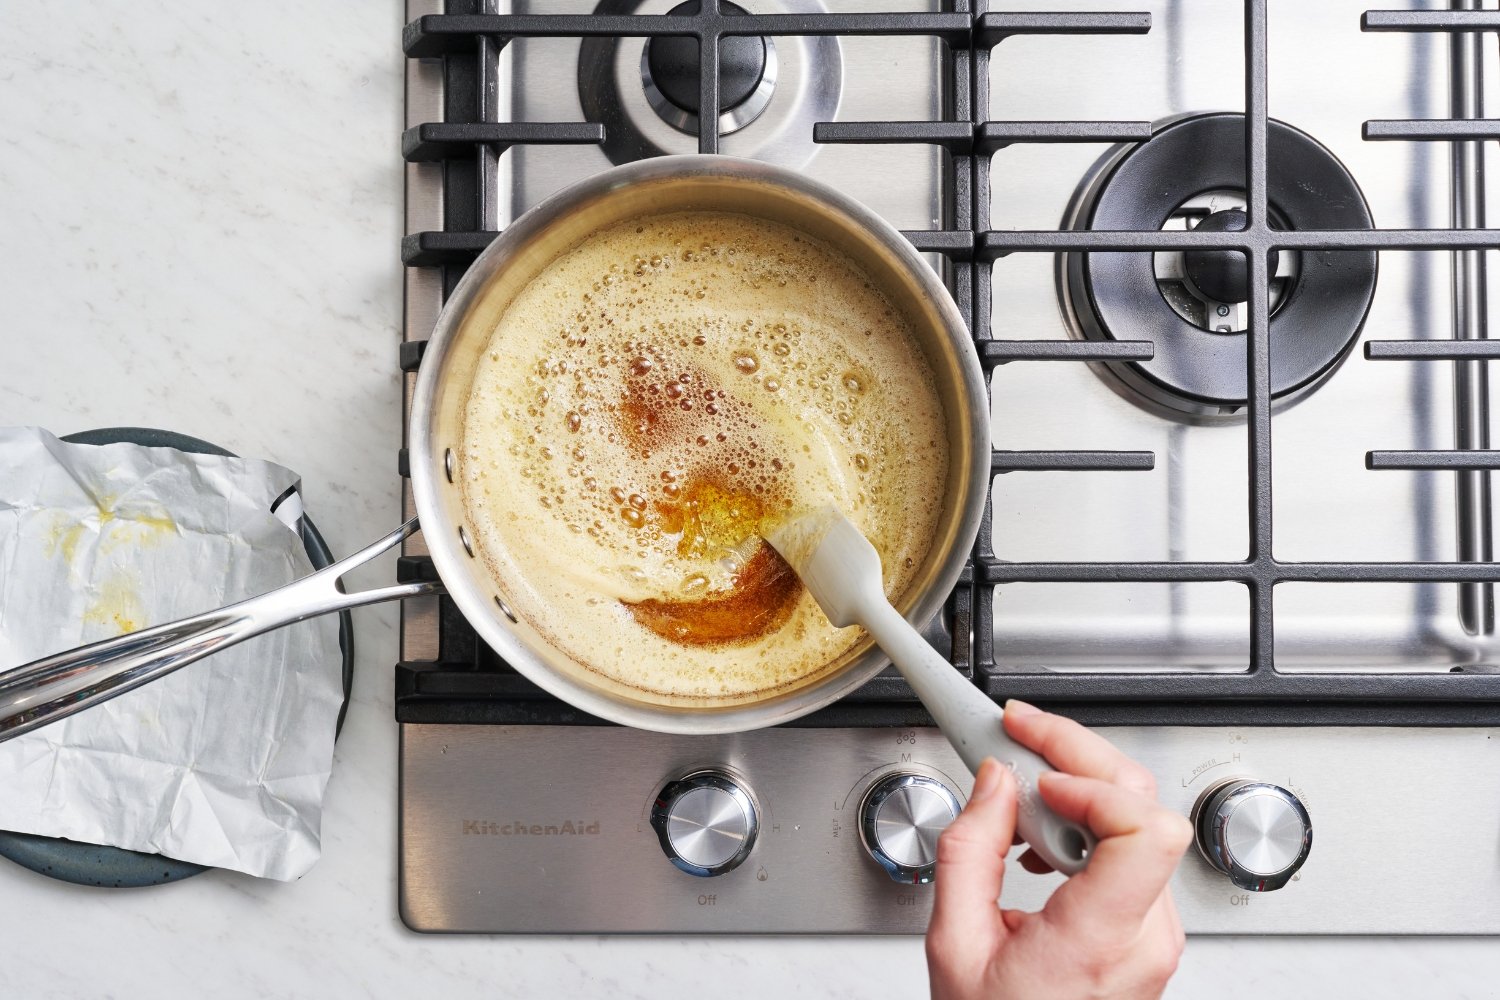
Browning butter elevates a recipe. It adds a slight nuttiness to any baked good or dish, for an utterly divine richness.
Browned butter makes the most incredible cookies (check out my social media famous Browned Butter Toffee Chocolate Chip Cookies here) and when combined with fresh herbs and vegetables (think sage and squash), it makes a delicious pasta sauce.
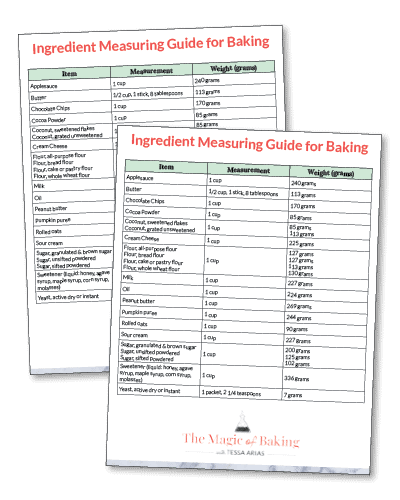
Free Ingredient Measuring Guide!
The key to consistent baking success is a click away. Sign up to get instant access to my printable Ingredient Measuring Guide now!
The actual process for browning butter is very simple, but it is possible to under-brown or over-brown your butter or to use the wrong equipment.
I’ve included some step-by-step instructions and tips below to help you perfectly brown butter, as well as some Baking Science information about using browned butter in recipes.

Sprinkle of Science
How to Brown Butter
What is Brown Butter?
Browning butter adds an incredible depth of flavor to a baked good or savory dish. It is made by simply melting butter, but by continuing to cook the melted butter, you toast and caramelize the milk solids in the butter, creating a rich, nutty butter that’s darker in color and beautifully fragrant.
Do I Need Any Special Equipment to Brown Butter?
I highly recommend using a stainless steel sauté pan for best results. This works better than a saucepan for browning butter because there’s more surface area for the brown bits to develop. Whatever you do, never use a nonstick pan for browning butter. Nonstick prevents the butter from browning completely and prevents you from being able to visually see how browned it’s getting. Same as the dark color of cast iron. Something with a wider surface area, like a sauté pan instead of a saucepan, encourages browning more quickly. Just note the more shallow the pan, the more splatter clean up you may have on your stove.
Aside from the pan, you need a utensil, such as a spatula. Be sure to use a heat-proof spatula, like these, for gentle stirring as the butter cooks.
Under vs. Over-Browned Butter
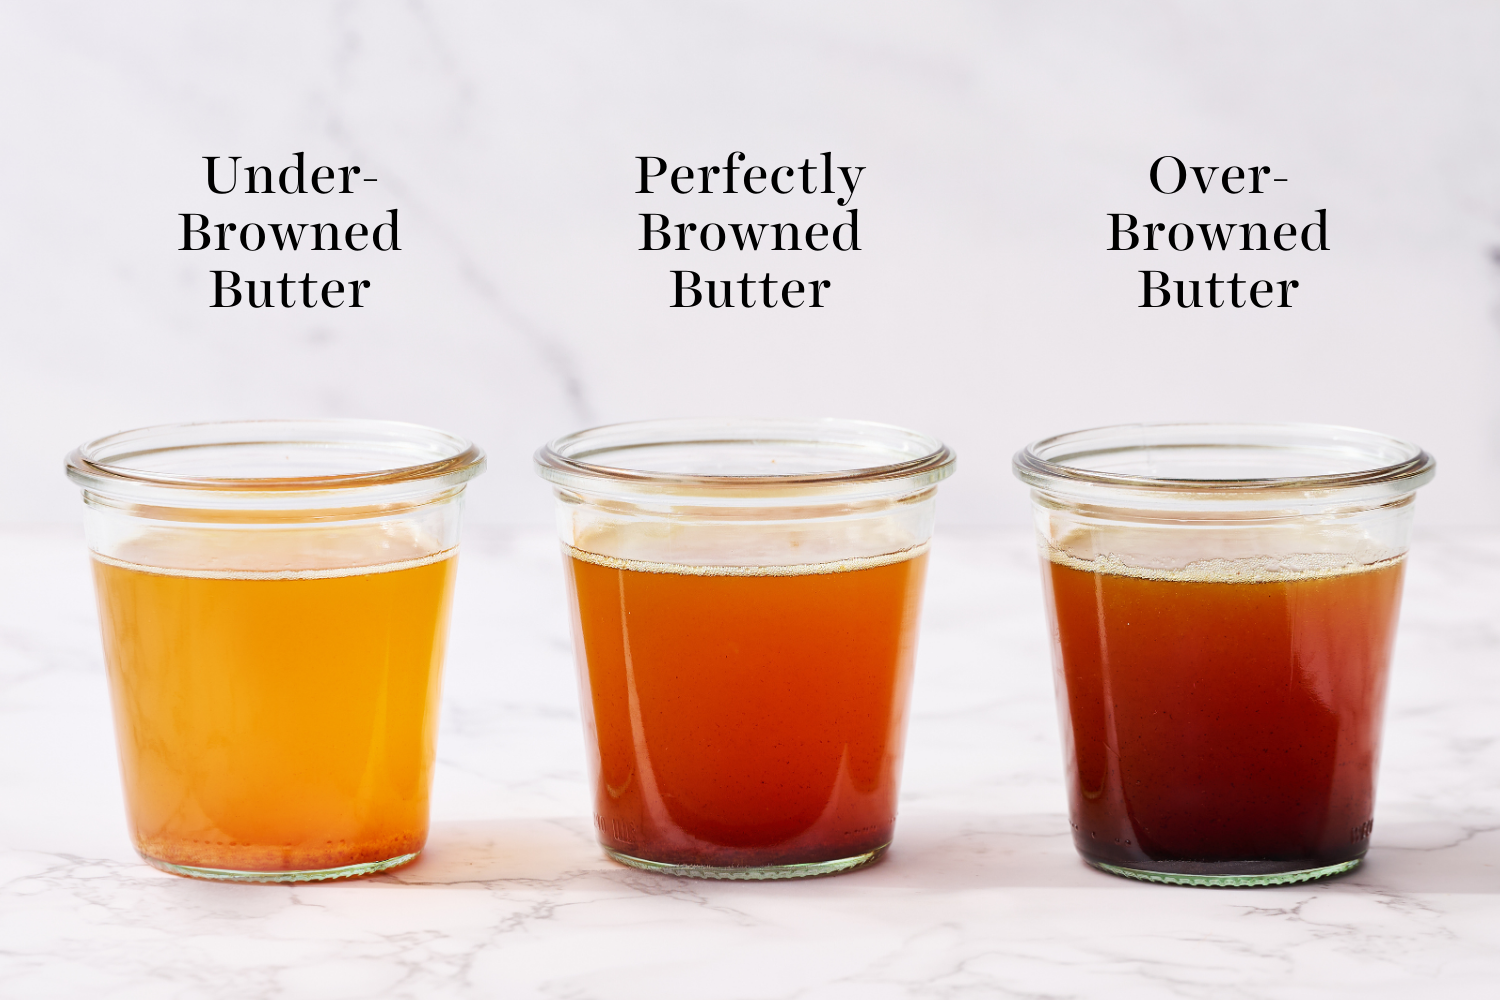
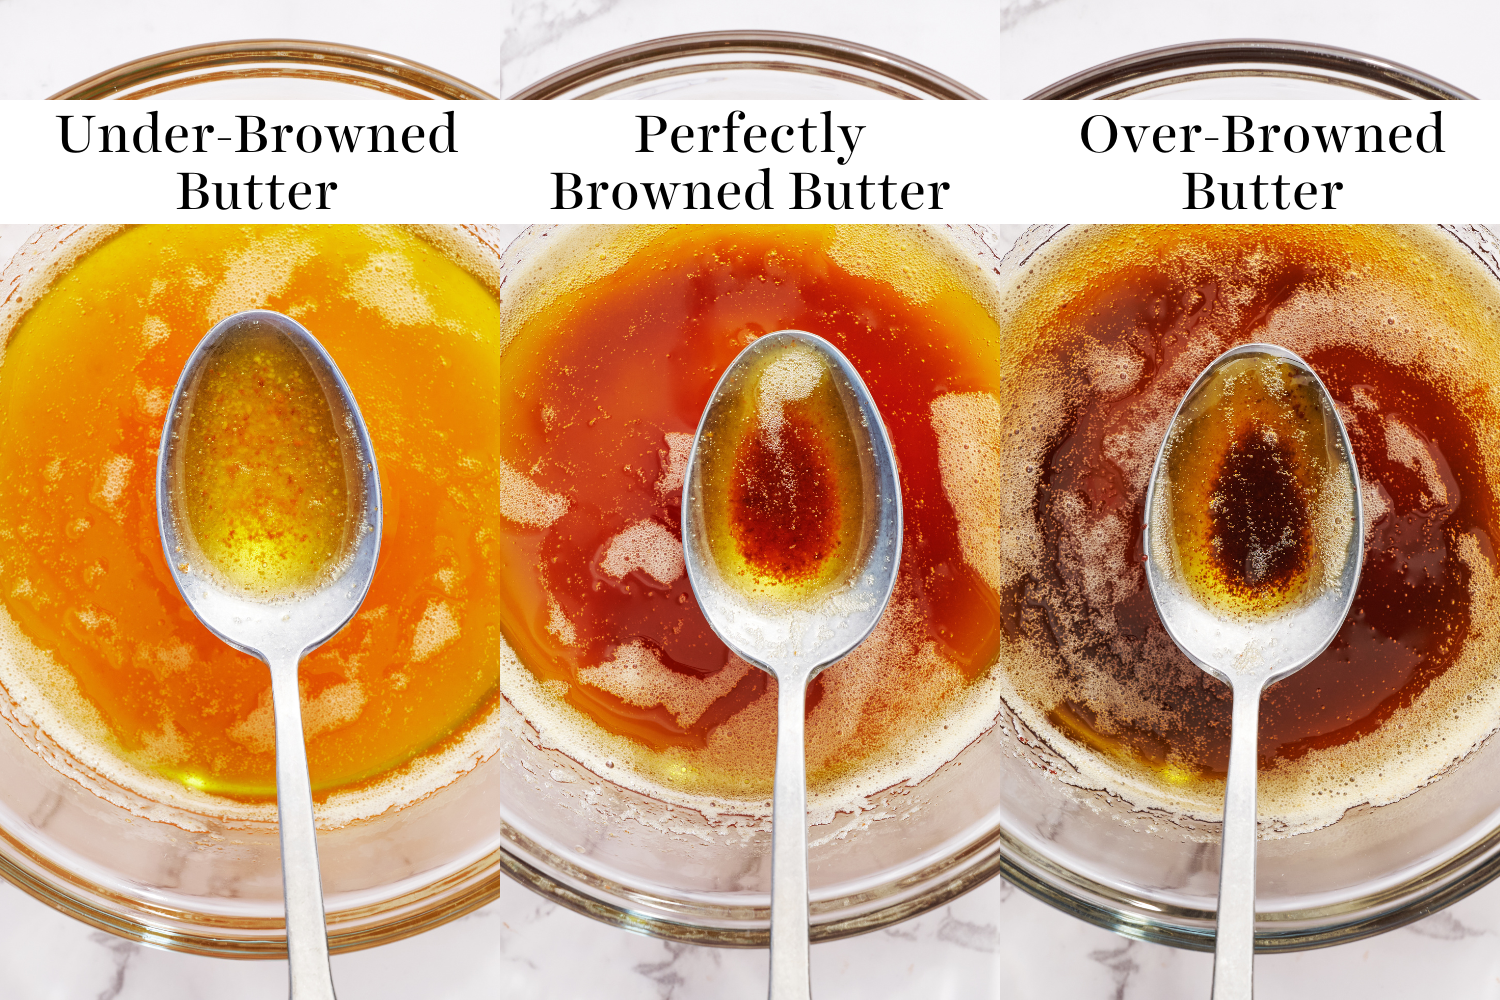
Under-browned butter won’t carry as much flavor, and won’t bring that lovely nuttiness to your bake. It will look lighter as you’ll see in the photo below.
Over-browned butter will taste bitter or even burnt, and be darker brown in color, as you can see in the photo below. This is why you should never step away from the pan while browning butter – it can go from perfect to burnt in seconds.
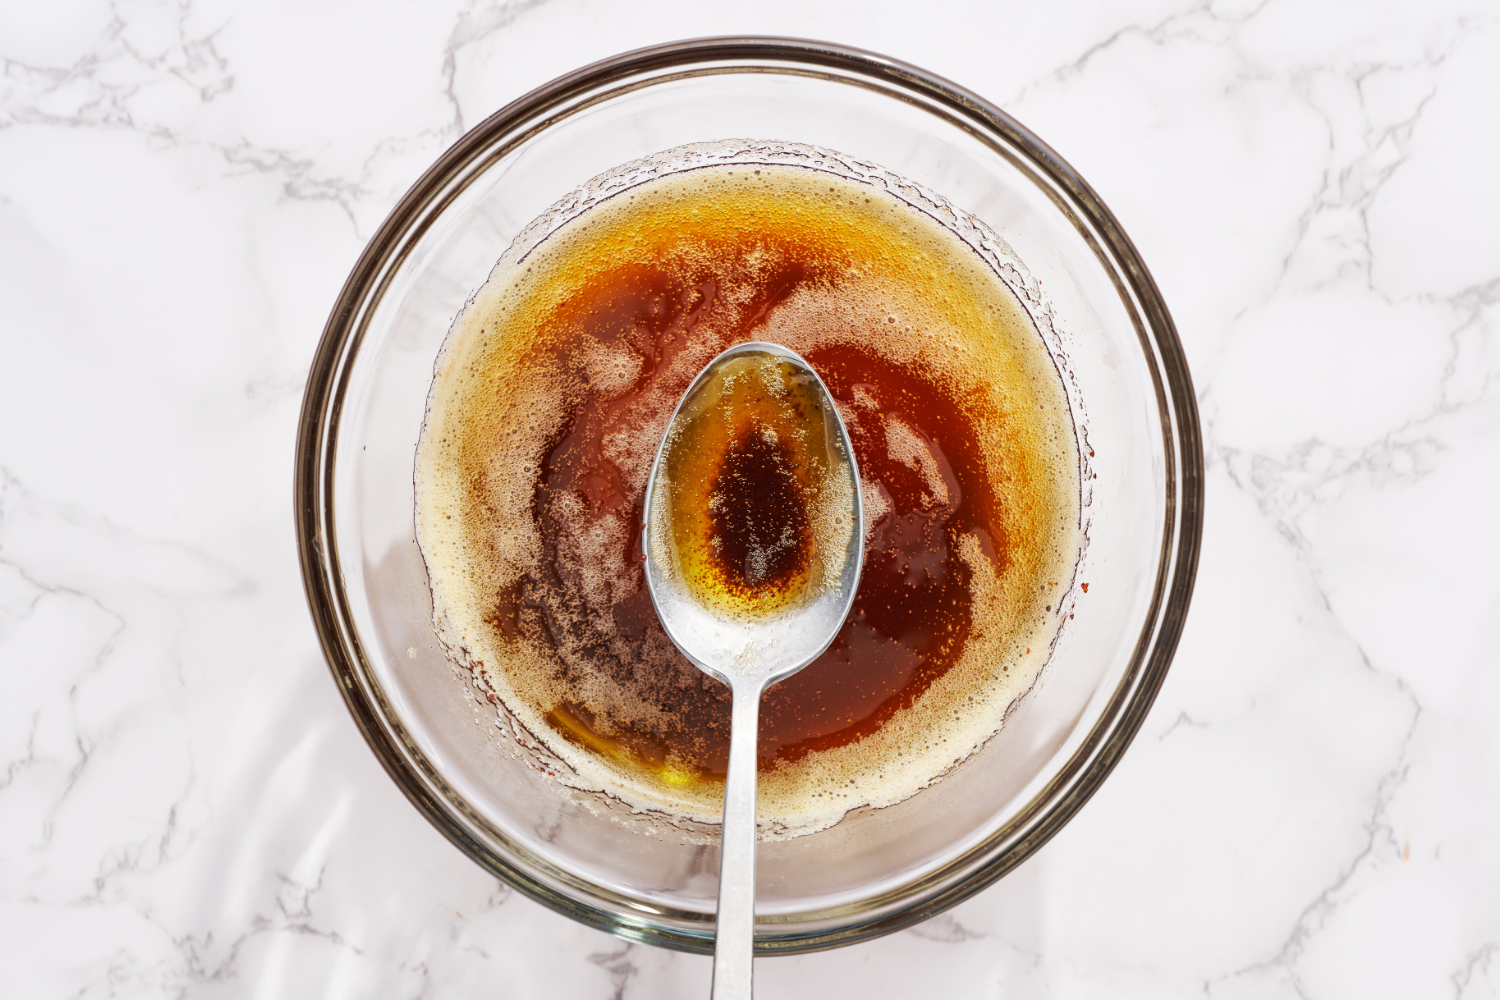
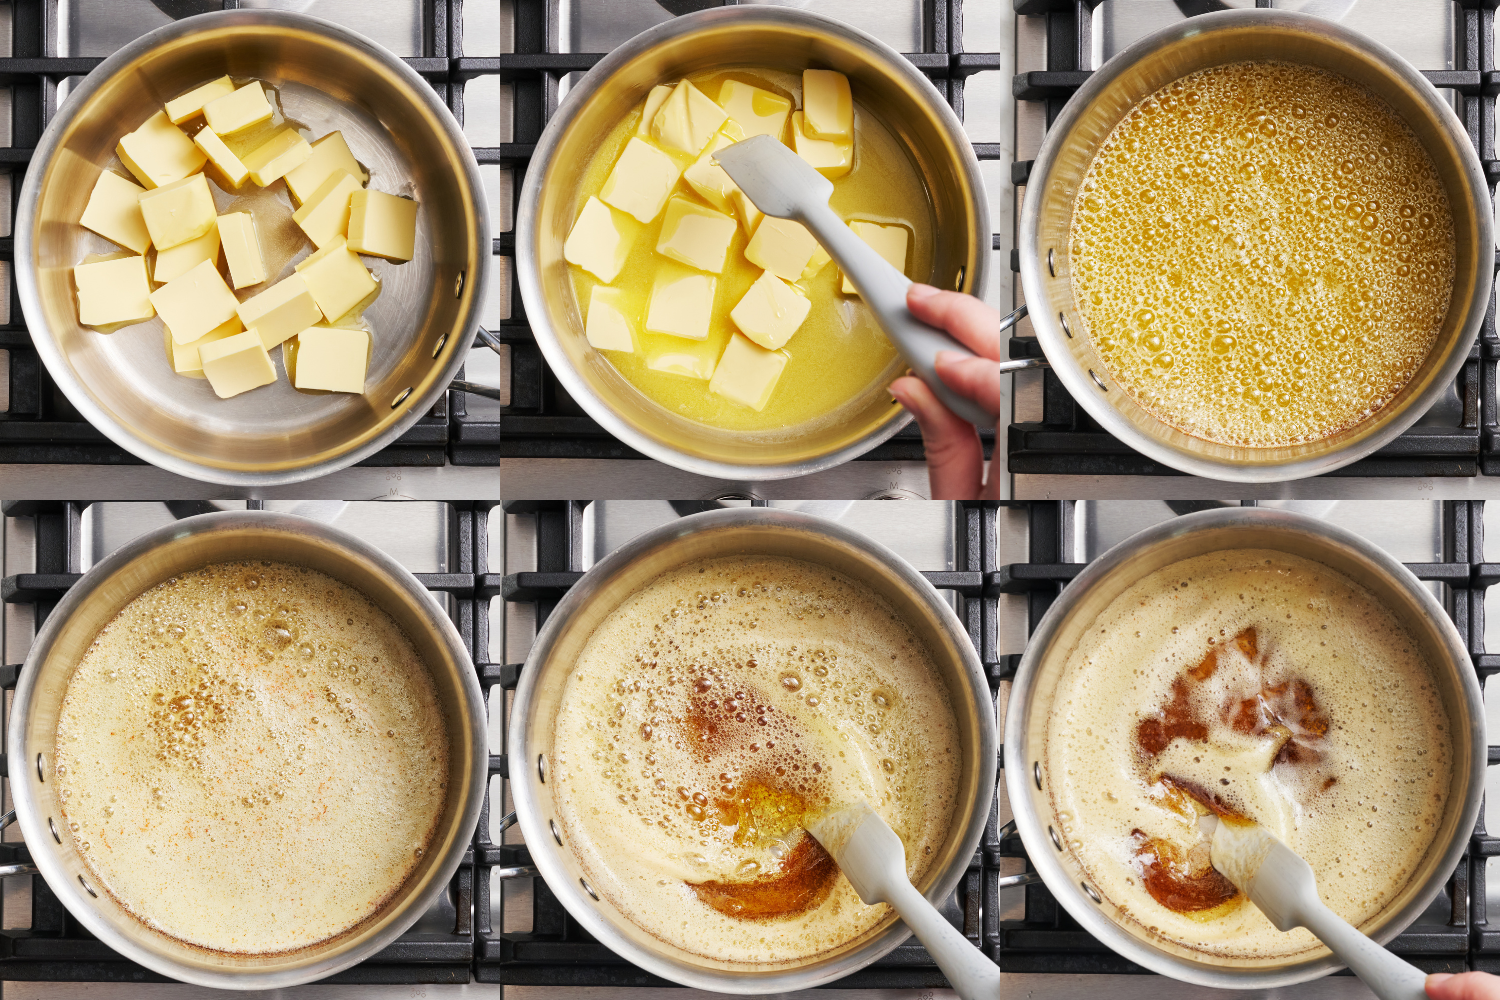
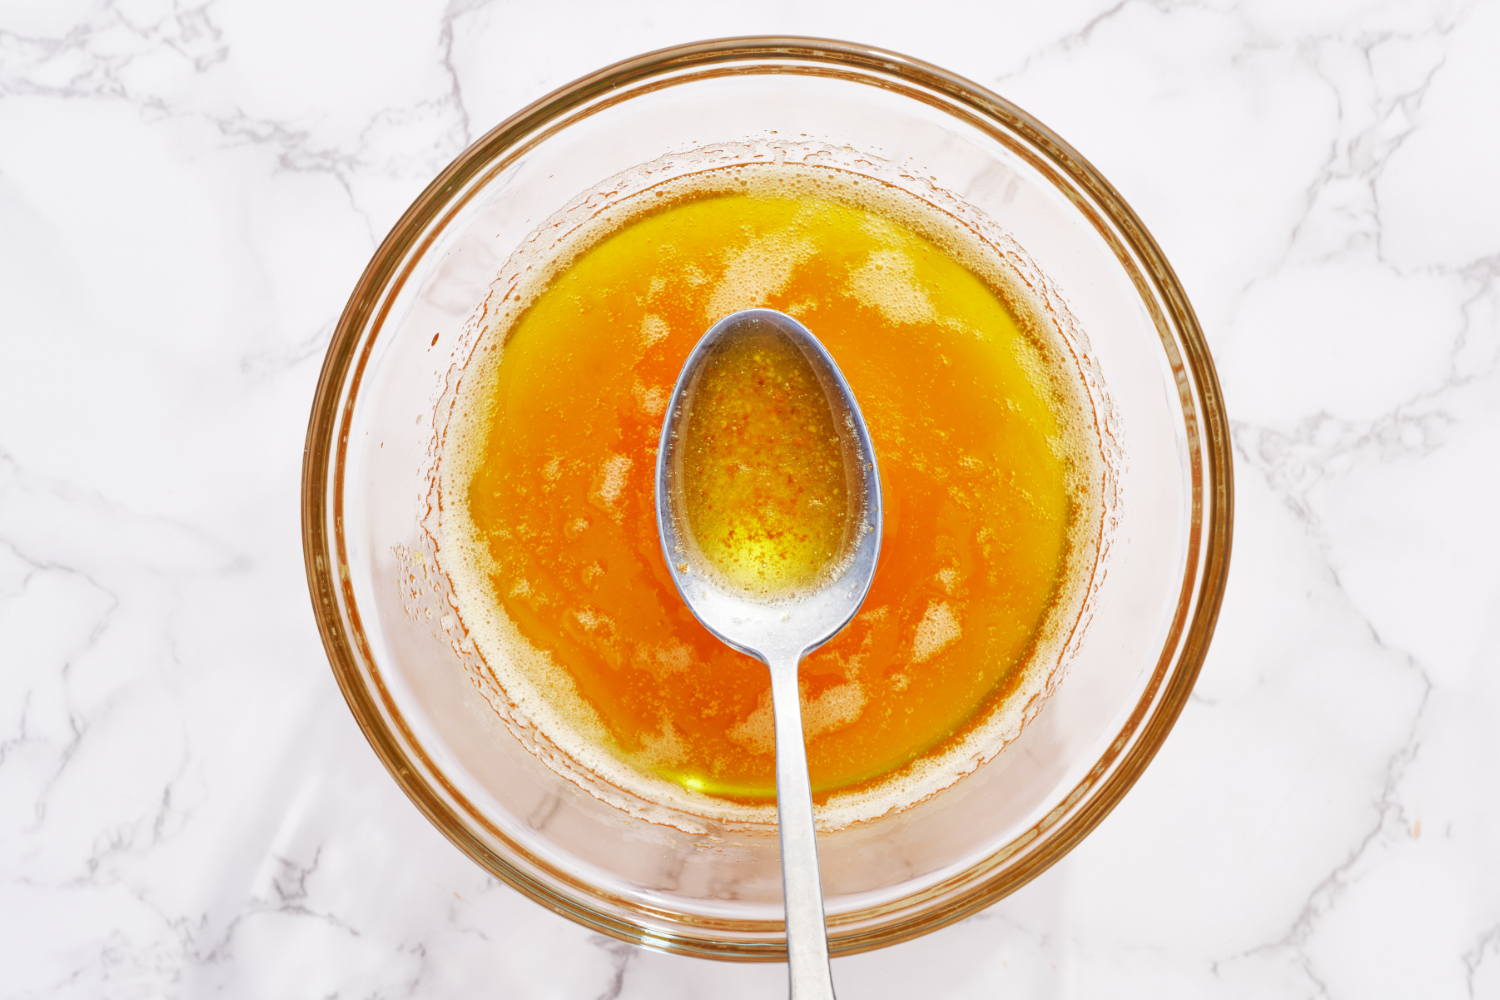
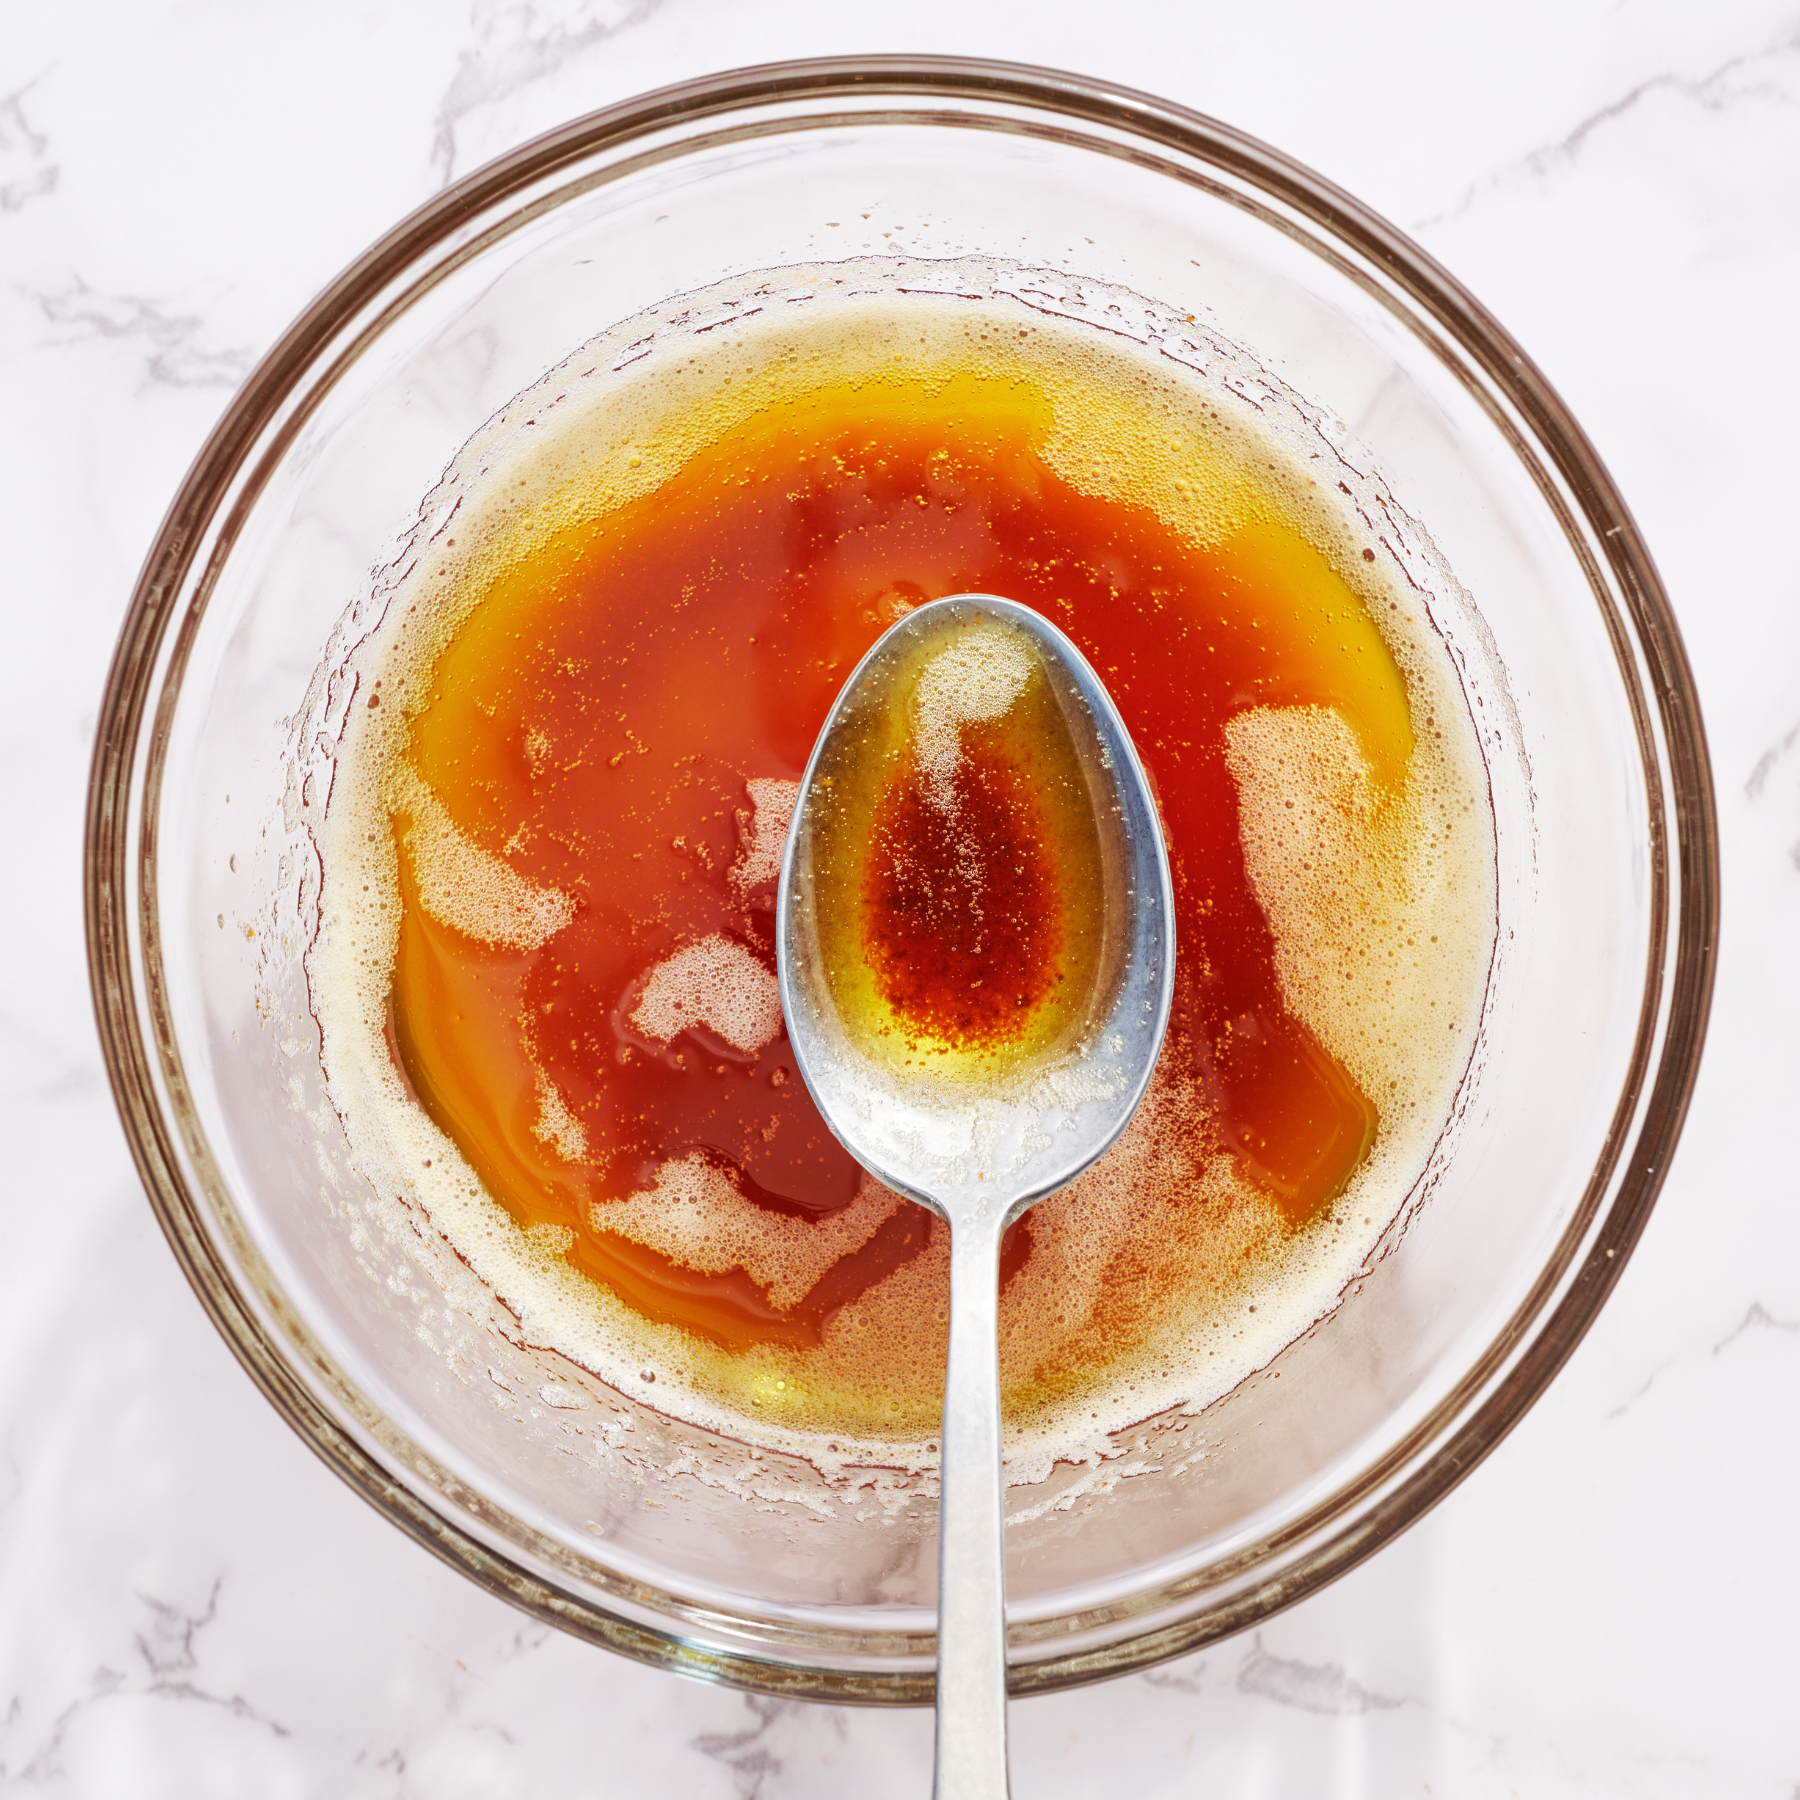
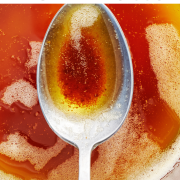
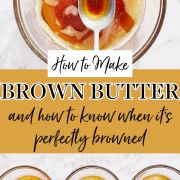
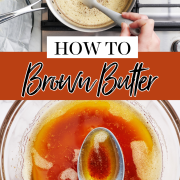
Perfectly browned butter should be deep amber in color and have a nutty fragrance, with darker milk solids visible on the bottom. Check out the side-by-side photos below!
Can I Use Brown Butter in any Recipe, Even if the Original Recipe Doesn’t Use Browned Butter?
Not without some experimentation. Here’s why:
- Brown butter contains less moisture. American butter is about 80% butterfat and 20% water on average, depending on the brand of butter and whether or not it has salt and other additives. European-style butter is higher in butterfat but still contains water. The process of browning butter evaporates the water content in the butter, so the resulting brown butter weighs less and contains less moisture. Some recipes rely on that water content for important chemical processes, so you’ll either need to add back in additional water or find a recipe already formulated to use brown butter.
- Melted vs. creamed butter. Browned butter cannot be substituted in a recipe using creamed butter/sugar because melted, hot butter won’t cream. It can’t form or hold onto those tiny air bubbles that normally occur during the creaming process. More on this below.
How to Adapt a Regular Recipe to a Brown Butter Recipe – Substituting Browned Butter
This can be complicated due to the reasons outlined above, so just note that this may require experimentation. Here are some starting points for converting a recipe to use browned butter:
- Melted butter recipe: Try adding one tablespoon of water or milk per 4-ounce stick (113 grams) to your hot browned butter.
- Creamed butter/sugar: Follow the suggestion above, but chill your browned butter to cool it back to cool room temperature, about 67°F, before creaming.
- Use more butter: Alternatively, you can start the process with about 20% more butter than the recipe calls for and weigh once you’re done browning the butter, to ensure you have the correct weight needed for the recipe. Just note that this method still means that you’re working with less water than the recipe originally intended, so this can change the chemistry of your recipe.
Can I Use Any Type of Butter to Make Brown Butter?
I always recommend using unsalted butter in baking (learn why here), but there is also typically a difference between brands. I recently experimented with different brands of butter and how they compare when browned – check out Part 1 here and Part 2 here.
Should I Use the Browned Specks in Brown Butter?
YES! Those little flecks of brown you see in your browned butter are toasted milk solids. They’re FULL of flavor, so be sure to scrape them all in with your browned butter.
How to Store Brown Butter
As with any butter, once it cools it will re-solidify. Transfer to a heatproof airtight container and store in the fridge for up to 5 days, or in the freezer for up to 2 months.
Recipes Using Brown Butter:
- Browned Butter Toffee Chocolate Chip Cookies
- Brown Butter Rice Crispy Treats
- Brown Butter Carrot Cake
- Brown Butter Brownies
- Brown Butter Coffee Cake
- Brown Butter Dulce de Leche Cookie Cups
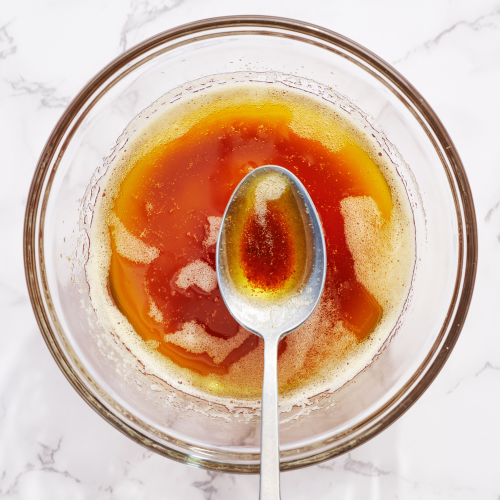
Brown Butter
Email This Recipe
Enter your email, and we’ll send it to your inbox.
Ingredients
- 1/2 cup (113 grams) unsalted butter
Instructions
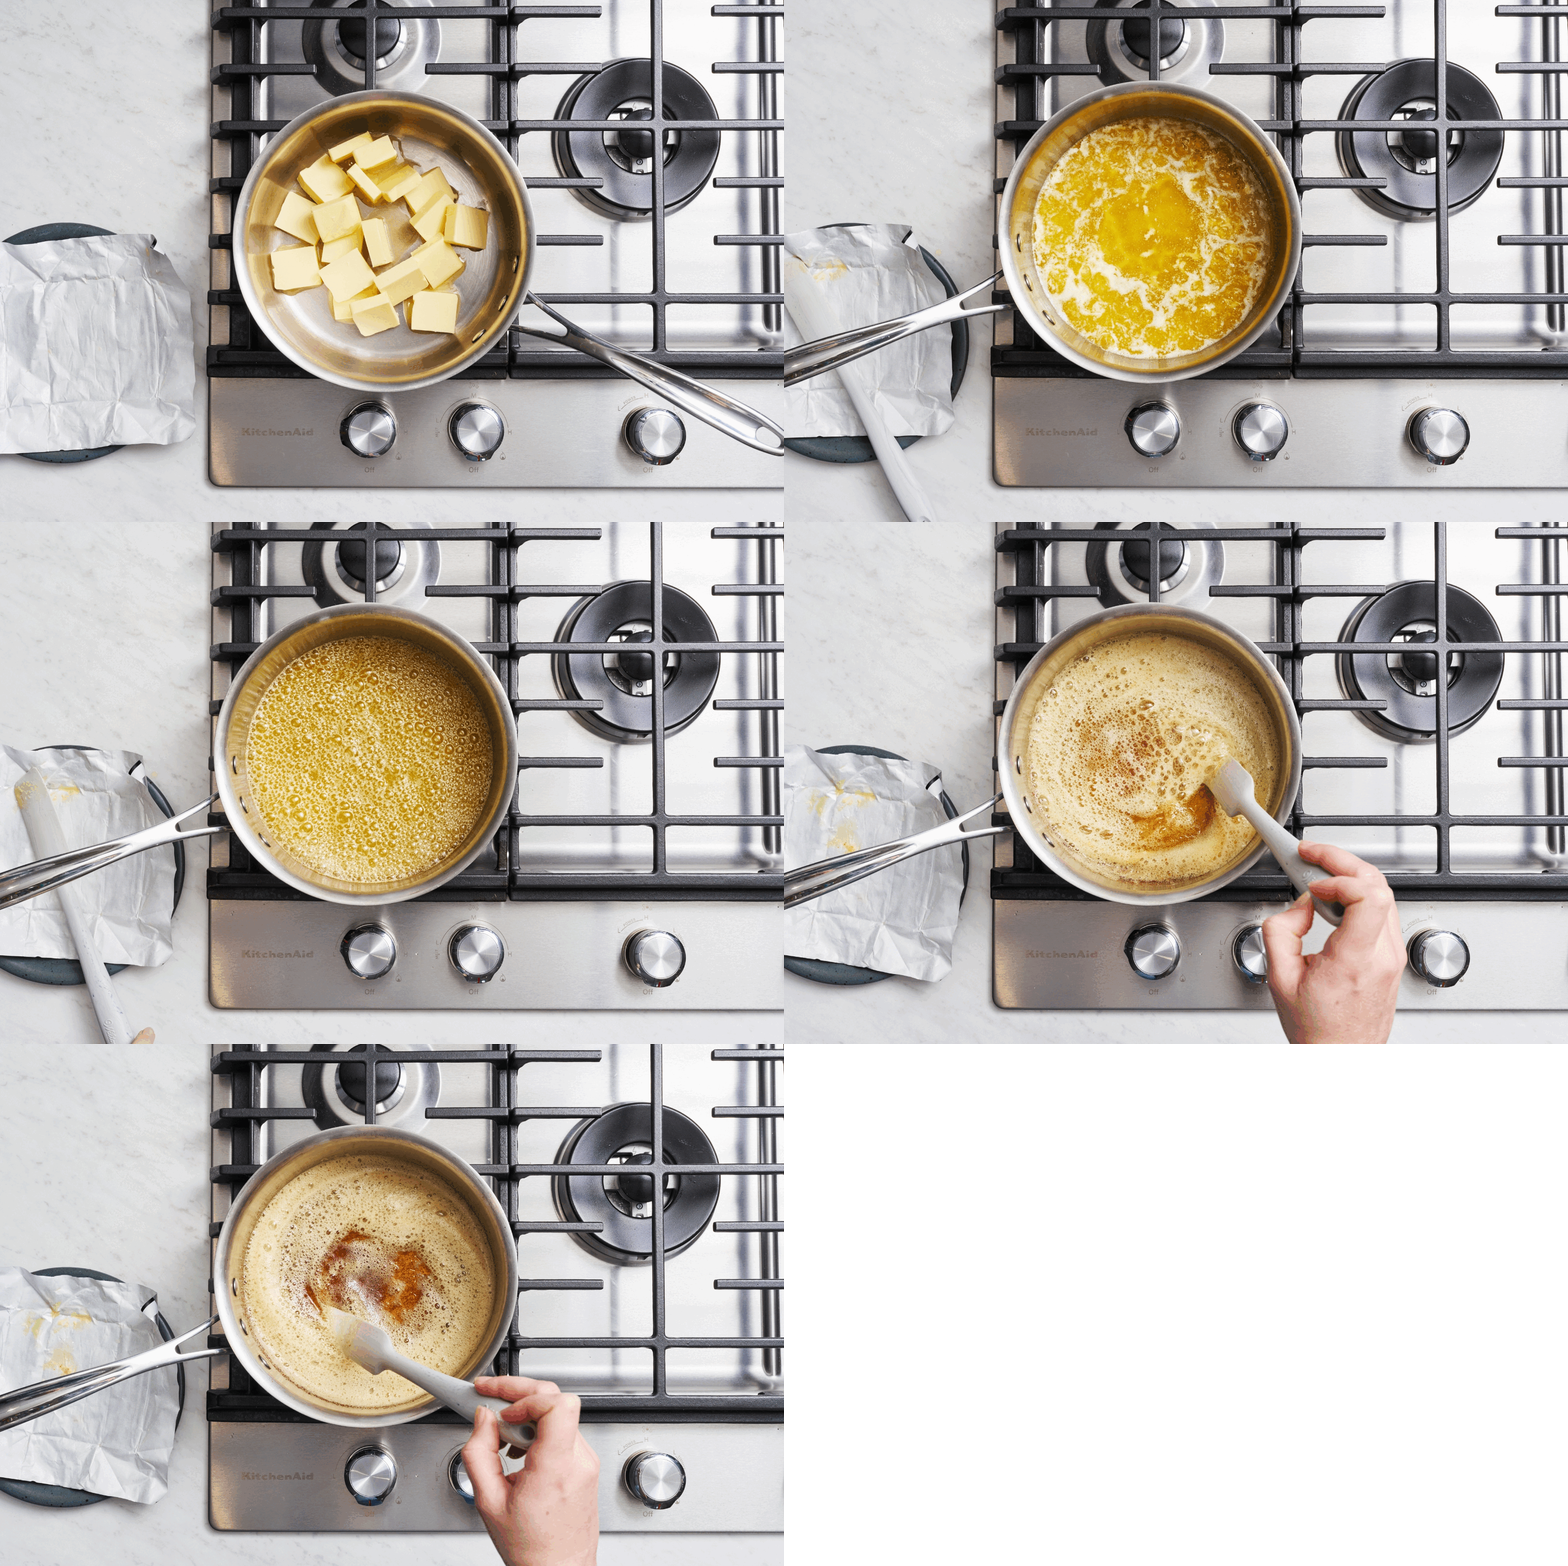
- Cube your butter. Starting with cubed butter helps it to melt more quickly and evenly.
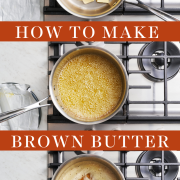
- In a medium stainless steel sauté pan or skillet set over medium heat, melt the butter.
- Swirling the pan occasionally, continue to cook the butter. It should become foamy with audible cracking and popping noises.
- Once the crackling stops, stir the mixture occasionally until the butter develops a nutty aroma and brown bits start to form at the bottom. Don’t swirl the pan too often; we want to encourage those nice brown bits on the bottom to continue to form, and stirring constantly will prevent that. However, sometimes it’s difficult to tell how browned the butter is without stirring.
- Once the bits are amber in color, about 2 to 3 minutes after the popping stops, remove from heat. Use as the recipe indicates. Be sure to scrape out those little flecks of brown in the bottom of the pan—they are toasted milk solids and are FULL of flavor.
Recipe Notes
The Ultimate Cookie Handbook
Learn the sweet SCIENCE of cookie baking in a fun, visual way to customize your own recipes frustration-free. Plus, my best 50+ homemade cookies!
Photos by Joanie Simon.







This really helped me to perfect making brown butter and when I made your recipe for brown butter rice crispy treats I converted the entire office!! One lady wasn’t going to try them because she said she really did not care for rice krispee treats. At the end of the day she decided to try one since I had made them and she likes the things I bake. Well, she ended up eating 3 pieces and I had to make a special batch for the cookie table at her daughter’s wedding! It’s amazing how one simple ingredient can make such a difference.
I love your explanations of how and why. Thanks so much!
What if you don’t have a stainless steel pan/pot and all you have is non stick?
Hi Christina! As Tessa mentions in this article, “Nonstick prevents the butter from browning completely and prevents you from being able to visually see how browned it’s getting.” Feel free to give it a try to experiment, but your results may not work perfectly, unfortunately.