


Tessa's Recipe Rundown
Taste: Deep chocolate flavor without the artificial sweetness of store-bought frozen pies.
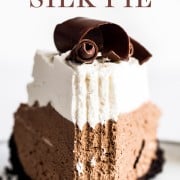
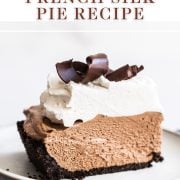
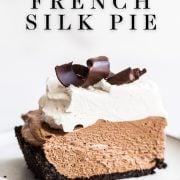
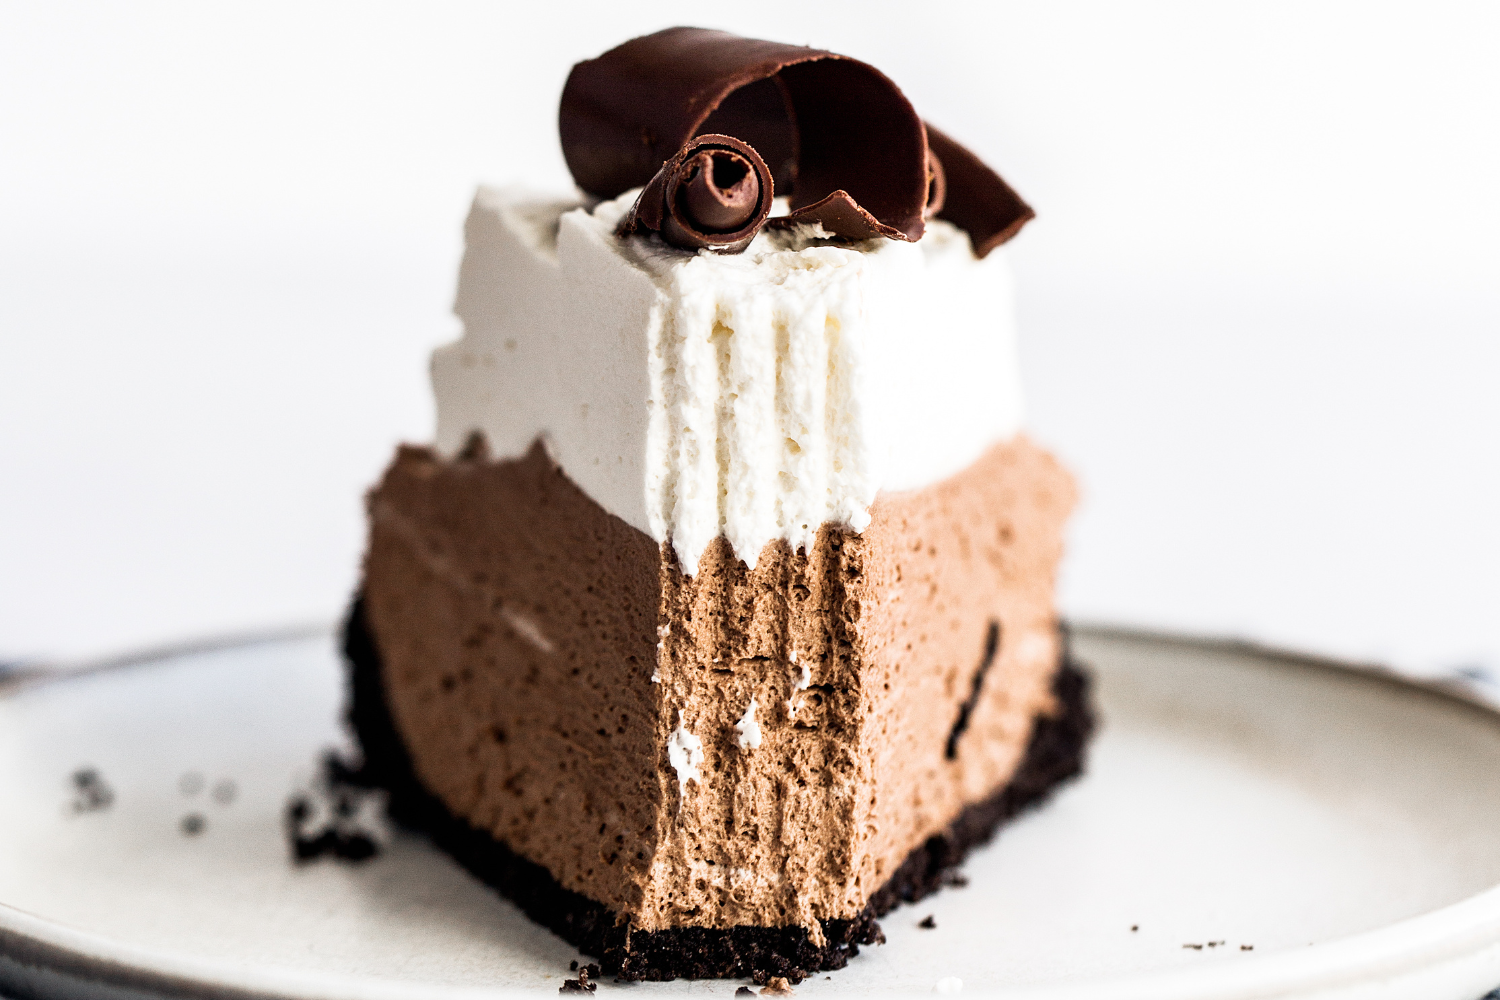
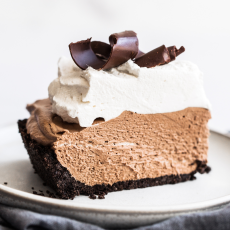
Texture: Ultra smooth, mousse-like filling with a slightly crunchy Oreo crust and cloudy whipped cream.
Ease: A few bowls and steps, but totally manageable. The 6-hour chill time makes it ideal for entertaining.
Why You’ll Love This Recipe: It’ll become your most-requested holiday and special occassion dessert (don’t say I didn’t warn you!).
This post may contain affiliate links. Read our disclosure policy.


Growing up, French silk pie meant the frozen grocery store version with chocolate curls on top. It was tradition!
I didn’t realize how much better a homemade version would be until I first made it myself.

I set out to create my own recipe that kept everything I loved, the silky filling, the mile-high whipped cream, but with better chocolate flavor and a cooking method so it’s safe for everyone to eat (no raw eggs!).
After many tests in the kitchen, this recipe is now perfection. I have to make at least two each Thanksgiving and Christmas or my family will revolt.
This pie is actually my all-time most popular Thanksgiving recipe. It’s been made by THOUSANDS of you! I hope it becomes a tradition in your home as well!
Reader Love
This pie is the absolute best! So creamy! My husband tells me we have to find a holiday to celebrate in every single month so we can make this. Yum! We love it!
–
Reader Love
Everyone should run to the store, buy all the ingredients and make this! Unbelievable! My family asks for it every year it is that good.
–

Sprinkle of Science
Ingredient Notes
Oreo Cookies: Use standard regular-stuffed Oreos with the filling intact. The filling helps bind the crust and adds structure.
Bittersweet Chocolate: For best results, use high-quality baking bars, not chocolate chips. Chips contain stabilizers that prevent smooth melting. Bittersweet provides depth and prevents the filling from tasting overly sweet. You can use the same amount of semisweet chocolate if you prefer a milder chocolate flavor.
Eggs: The eggs are gently cooked with sugar to 160°F to eliminate any food safety concerns. An instant-read thermometer ensures accuracy.
Unsalted Butter: Butter is whipped to create the signature light yet rich texture. It must be properly softened — around 67°F. Too cold and it won’t aerate; too warm and the filling becomes greasy. Feel free to use salted butter if you prefer.
Heavy Cream: Whipped cream is folded into the filling for lightness and structure. The cream must be very cold to whip properly. I recommend a cream with at least 36% milk fat for stability.
For more on selecting chocolate, see my full Chocolate in Baking guide.
How to Make French Silk Pie (Step-by-Step)
I recommend watching the video at the bottom of the recipe card to see me make this recipe first!
1. Make the Oreo Crust
Preheat oven to 350°F. Spray a 9-inch deep-dish pie pan.
Pulse 20 Oreo cookies into fine crumbs. Add melted butter and pulse until evenly moistened — it should resemble wet sand. Press firmly into the bottom and up the sides of the pan. Use the bottom of a measuring cup to compact it tightly.
Bake 10 minutes until fragrant. The crust will look set and matte, not shiny. Cool completely.
2. Cook the Eggs and Sugar
In a small saucepan, whisk together sugar and eggs. I like a flat whisk here.
Cook over medium-low heat, whisking constantly, until the mixture reaches 160°F and thickens enough to coat the back of a spoon. This takes about 5–7 minutes.
Do not rush this step! Too high heat will scramble the eggs. Remove from heat and immediately stir in melted chocolate and vanilla until smooth.
Cool to about 75°F before proceeding. This can take a while so you can speed it up by removing the mixture to a stainless steel bowl so it cools faster. Stir occasionally to prevent a skin from forming.
3. Whip the Butter
In a stand mixer or with a hand mixer, beat room-temperature butter for 2–3 minutes until pale and fluffy. It should look lighter in color and creamy.
Gradually add the cooled chocolate mixture (if it’s too warm, it’ll melt the butter, so be careful here).
Beat on high speed for a full 5 minutes. The mixture will transform from dense to visibly lighter in color and texture. This aeration is what gives French silk pie its signature texture.
4. Fold in Whipped Cream
In a separate bowl, whip cold heavy cream and powdered sugar to stiff peaks. I like to use an immersion blender with the whisk attachment + its paired measuring cup for ultra fast and easy whipping.
Gently fold into the chocolate mixture in 3 additions. The filling should look fluffy and mousse-like, not runny.
5. Chill
Spread into cooled crust. The pie will look tall — that’s correct. It’s best to use your deepest pie pan. If you have too much filling, you can always layer it with Oreo crumbs in mason jars for a chef’s sample later on 😉
Refrigerate at least 6 hours, until fully set. The center should feel firm but still creamy when sliced.
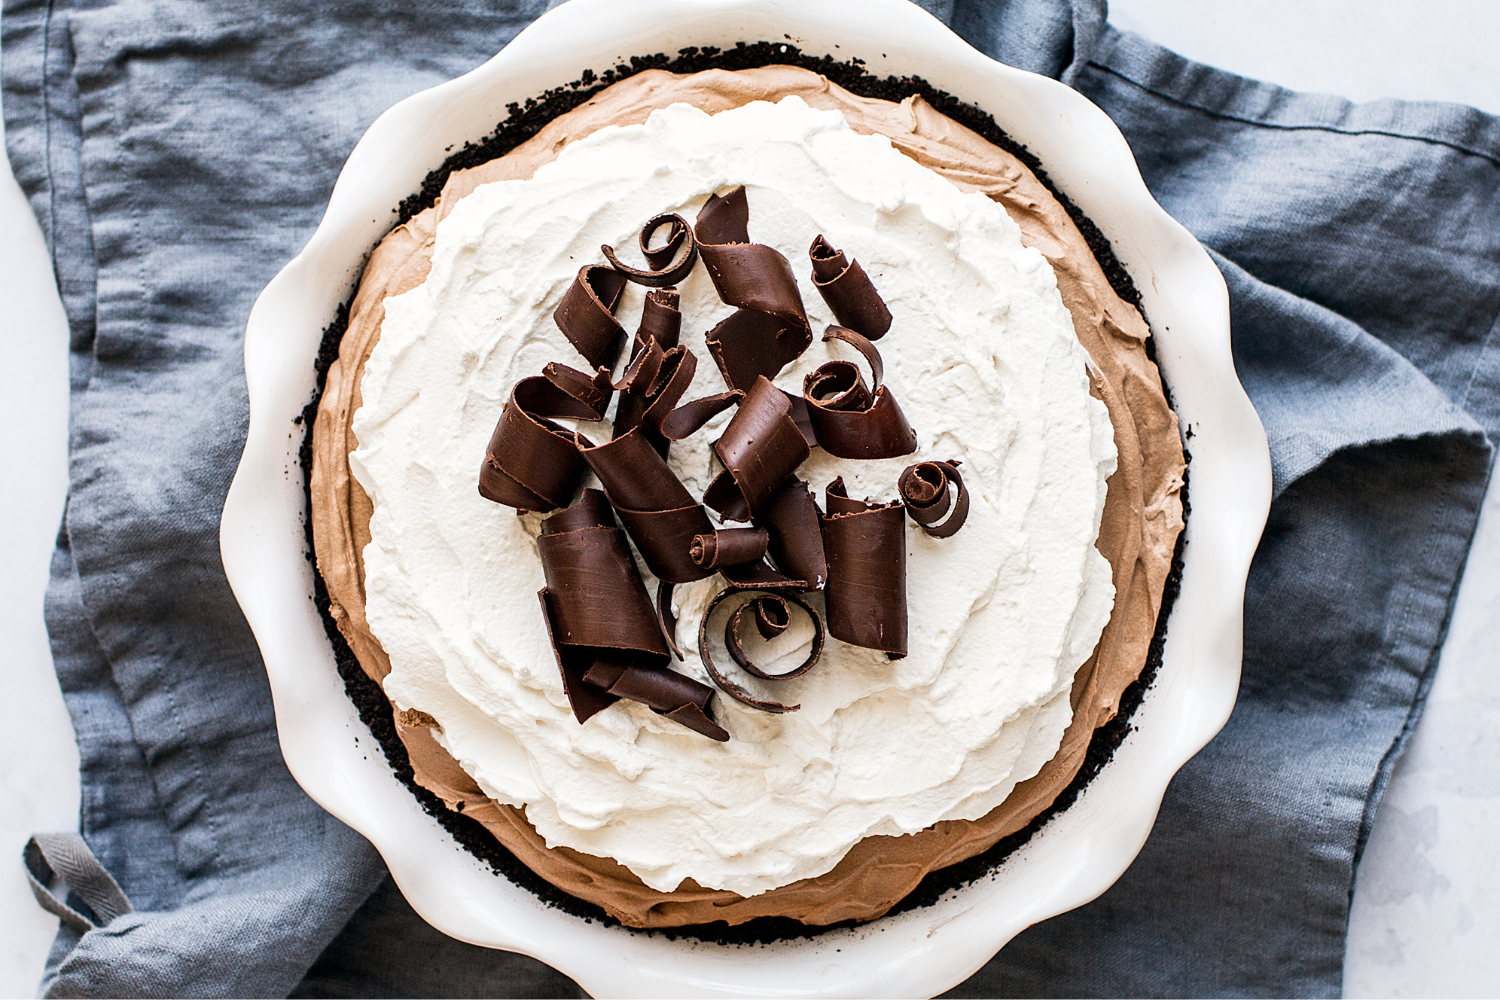
6. Top and Garnish
Whip cream, powdered sugar, and vanilla to stiff peaks.
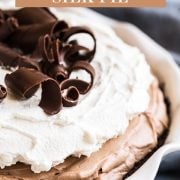
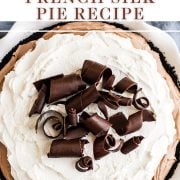
Spread or pipe over chilled pie. Add chocolate curls or a light dusting of cocoa powder (make sure you’re not near a draft or fan). Top no more than a few hours before serving for best appearance.
How to Make Chocolate Curls
I’ll admit, this is a tedious step, but it really makes this pie look gorgeous. Here’s a super helpful step-by-step video on how to make chocolate curls.
Storage & Make Ahead
This French silk pie must chill at least 6 hours before serving.
You can make it up to 2 days ahead, covered and refrigerated.
Add whipped cream shortly before serving for best texture.
FAQs
I haven’t tested freezing this French Silk pie, but some of my wonderful readers have done so with success. Just note that freezing may slightly alter the texture after thawing. Place inside an airtight container and freeze for up to one month. Thaw overnight in the refrigerator before adding whipped cream, chocolate shavings, and serving.
Traditional versions do, but my recipe doesn’t. The eggs are cooked to 160°F, making it safe to serve.
French silk pie is richer even though it has a lighter mousse-like texture. Chocolate cream pie is custard-based (like pudding) .
Yes! Use my pie crust recipe and follow the instructions for blind baking.
The most common causes are:
-Eggs not cooked to 160°F
-Chocolate mixture added while too warm
-Butter not whipped long enough
-Insufficient chill time
Yes, but cooking and cooling will take MUCH longer. To speed up cooling the chocolate & egg mixture, spread it into two shallow pans before proceeding to the next step.
Email This Recipe
Enter your email, and we’ll send it to your inbox.
Ingredients
For the crust
- 20 Oreo (230 grams) cookies (regular-stuffed, keep filling intact)
- 3 tablespoons unsalted butter, melted
For the filling
- 1 1/3 cups (266 grams) granulated sugar
- 4 large eggs
- 8 ounces (227 grams) bittersweet baking chocolate, melted
- 2 teaspoons vanilla extract
- 10 tablespoons (142 grams) unsalted butter, at room temperature
- 1 1/3 cups heavy cream, cold
- 4 teaspoons powdered sugar
For the topping
- 1 cup heavy cream, cold
- 2 tablespoons powdered sugar
- 1 teaspoon vanilla extract
- Chocolate shavings or cocoa powder, for garnish if desired
Instructions
Make the crust:
- Preheat the oven to 350°F. Spray a 9-inch deep pie dish with cooking spray.
- Place the Oreo cookies in the bowl of a food processor and pulse until finely ground. Add in the melted butter and pulse until moistened. Press the mixture into the bottom and up the sides of the prepared pie dish. Bake for 10 minutes, or until fragrant and set. Let cool completely on a wire rack.
Make the filling:
- In a small saucepan, whisk together the granulated sugar and eggs. Set over medium-low heat and cook, whisking constantly, until the mixture reaches 160°F and coats the back of a metal spoon. Remove from heat, then stir in the melted chocolate and vanilla until smooth. Set aside to cool to room temperature (around 75°F), stirring occasionally. To speed up cooling, transfer the mixture to a stainless-steel pan with a larger surface area.
- Using an electric mixer, beat the butter until light and fluffy, about 2 to 3 minutes. Gradually add in the cooled chocolate mixture then beat on high speed for 5 minutes, or until light and fluffy.
- In a separate clean bowl, use an electric mixer to beat the cream until it begins to thicken. Add the powdered sugar and beat until stiff peaks form. Fold into the chocolate mixture.
- Pour the mixture into the pan, smoothing evenly. The pie will be tall with filling. Chill for 6 hours. At this point, the pie can be stored for up to 2 days ahead of time.
Make the topping:
- Use an electric mixer to beat the cream, powdered sugar, and vanilla on high speed until stiff peaks form. Top pie with whipped cream and garnish with chocolate shavings or dust with cocoa powder.
Notes
This post was published in 2019 and has been updated with additional recipe tips. Photos by Ashley McLaughlin.


I made this for valentines, and just bought regular pre made pie crust, and it made two thin pies! The best chocolate pie I’ve ever had! Such a smooth texture and not too rich! For the chocolate I used my favorite 70% cocoa Ghirardelli chocolate bars and it was the perfect balance!
So happy to hear how much you loved this recipe!
The pie was delicious however, it did not become as firm as I think it should have. I think I may have caused this problem by changing the chocolate. I used 2 Oz bittersweet, 2 Oz semi-sweet and 6 Oz of milk chocolate instead of 8 Oz bittersweet. Do you think the extra chocolate is what made it a bit softer? I would appreciate your opinion so I can adjust the next time I make it. It really is a wonderful pie recipe. Thank you.
Hi Sandra! It’s definitely possible the additional chocolate affected the outcome of the recipe. I’m assuming yes, but did you use a digital scale to measure the rest of your ingredients? Also, how long did you chill your filled pie for? If you used a digital scale and chilled for minimum 6 hours, I would recommend making this recipe as written the next time you make it to confirm that the chocolate was the issue. Feel free to mix up the chocolate like you did, but just use 8 ounces total instead. And make sure that the sugar/egg/chocolate/vanilla mixture is cooled to just warm prior to adding to the butter. Let me know how it goes!
Omg! I made it with a regular pie crust. But the filling is soooooo good. Worth the effort for sure. I’ll never make a chocolate pudding pie again.
Unless you’re competing on a cooking show, you’ll find it difficult to prep this pie in the 30 minutes this article states. But the prep time isn’t this pie’s downfall, it’s how unbelievably rich this desert is. Unfortunately this recipe won’t leave you wanting a second piece.
Absolutely loved the texture of the pie! It is so silky smooth! Initially I felt it was a little complicated to make but it ended up being easier than I thought! Love the result.
I have a question though.. I am sure I measured everything correctly but I feel it was a little too sweet for me.. I added some extra chocolate and espresso powder in the end to balance out the sweetness..
What could be the reason behind that? Could it be that I used bittersweet Ghirardelli grand chips and not the baking bar?
Hi Kanika! Tessa actually talks about this in the pink tip box above the recipe, try swapping in semisweet baking chocolate in place of the bittersweet next time to see if that helps 🙂
Super simple to make. The texture is amazing – so light and fluffy ! I made peanut butter whipped cream to top it with. Next time I will try bittersweet chocolate because it was just too sweet for me.
WOW! This definitely impressed! The recipe was really easy to follow and everyone raved about the finished product. It was rich and decadent without being too sweet, and the whipped cream really balanced out the chocolate. Will be making again and again!
Wonderful! So happy to hear it was a such a hit! Thanks so much for taking the time to let us know, we appreciate it!
Thia is absolutely the Best French Silk Pie I have ever made. Everyone I served it to was just devoured it. Make this pie, you will never be disappointed.
So happy to hear that, yay!!
I made this pie this past Thanksgiving. Uh-mazing! It was so delicious! Everyone raved about the chocolatey, cool, beautiful dessert. It felt like half my kitchen was a mess (especially after figuring out how to make chocolate curls!) but it was a pie that tasted as good as it looked! I truly felt like a professional after this one! Definitely worth all of the effort!
So happy to hear how much you loved this pie!
Made as written and pie was delicious but my husband said it was “too fluffy”. He’s used to my old recipe that doesn’t cook the eggs and ends up much denser and has a deeper chocolate flavor. My son and his family declared it delicious, too.
Excellent pie even the non chocolate lovers raved! I splurged on the chocolate and used the valrona 66% chocolate $9 for 7ou. I also thought I had 4 eggs turns out I only had 3 so I rolled with what I had. I was taking the pie to a friend’s house so I decided to stabilize the whip cream because I wasn’t sure how long it was gonna be before we ate dessert. Came across this really great website that totally explained everything you needed to know about whip cream -veenaazmanov.com .Thanks Tessa for a fabulous recipe to start 2022!!
So happy you loved this recipe, Brenda, and that it was such a hit! Thanks so much for taking the time to comment, we appreciate it! 🙂
Nothing short of amazing! Made this for Christmas dinner and it exceeded my expectations. Having never made anything like this before, it seemed a bit intimidating at first — and yes, there are a lot of steps. And yes, you will use a lot of bowls. And appliances. But the recipe is so we’ll written…and it all came together to create a stunning pie. Thank you for a recipe that I’ll turn to again and again when I want to impress everyone at the table!
Wonderful! So glad you loved this recipe, Marsha, and that it was easy to follow!