This post may contain affiliate links. Read our disclosure policy.
One of the first things we learned in my baking class in culinary school was how to temper chocolate.
I was SO excited to learn how to do this because for some reason it always really intimidated me and I never tried to learn it on my own.
I have no idea why I was so intimidated because as I learned in school, it’s actually SUPER easy.
Really all it takes is a little precision and patience – and if you watch the video I made for you and follow the instructions, you will be on your way to tempering beautiful, shiny, hard chocolate in no time!
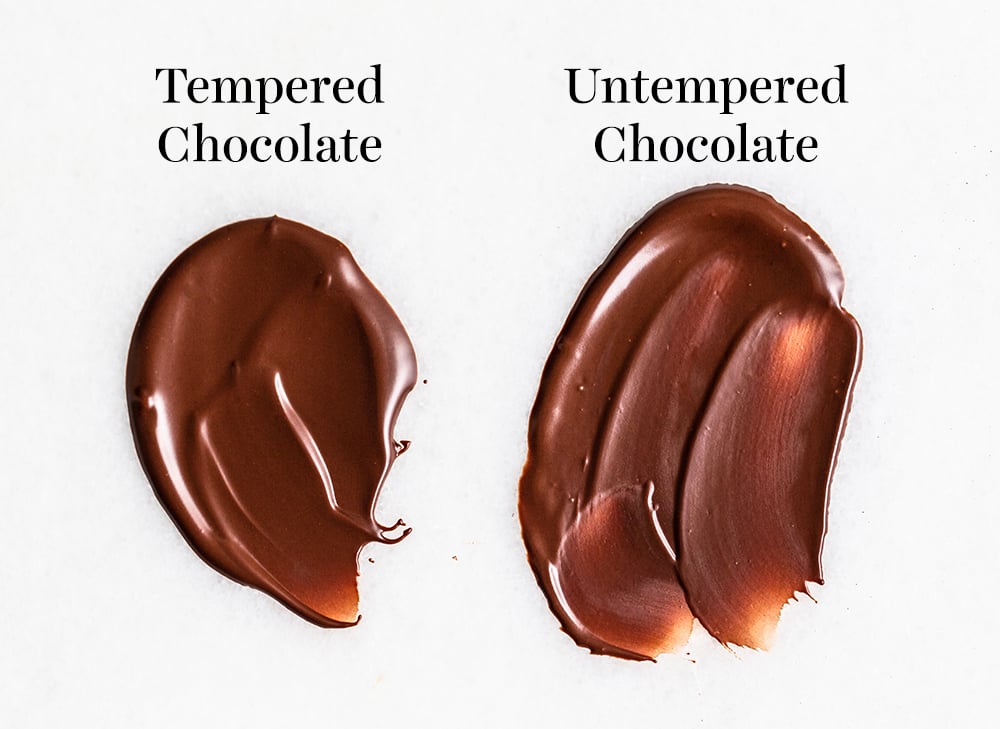
Tempered chocolate is wonderful to use when making homemade candy, such as truffles or peanut butter cups, or peppermint bark, because it maintains a nice smooth, shiny, and hard texture even at room temperature.
It gives your candy a professional quality and makes it much easier to serve and transport – not to mention it just tastes better because you get that wonderful snappy texture. Stay tuned for some recipes utilizing tempered chocolate.
How to Temper Chocolate
TWO RULES for Melting Chocolate
These apply to both melting and tempering chocolate.
1. Never heat above 120°F for bittersweet or semisweet chocolate. If tempering milk or white chocolate, avoid heating above 110°F.
This will sacrifice chocolate flavor.
2. Never expose melted chocolate to water
- Any water will cause the chocolate to seize. Even a droplet from steam!
- You know your chocolate has seized when it becomes lumpy instead of smooth.
- If your recipe calls for liquid, such as butter, water, coffee, or liqueur, always melt it alongside the chocolate simultaneously.
What Does it Mean to Temper Chocolate?
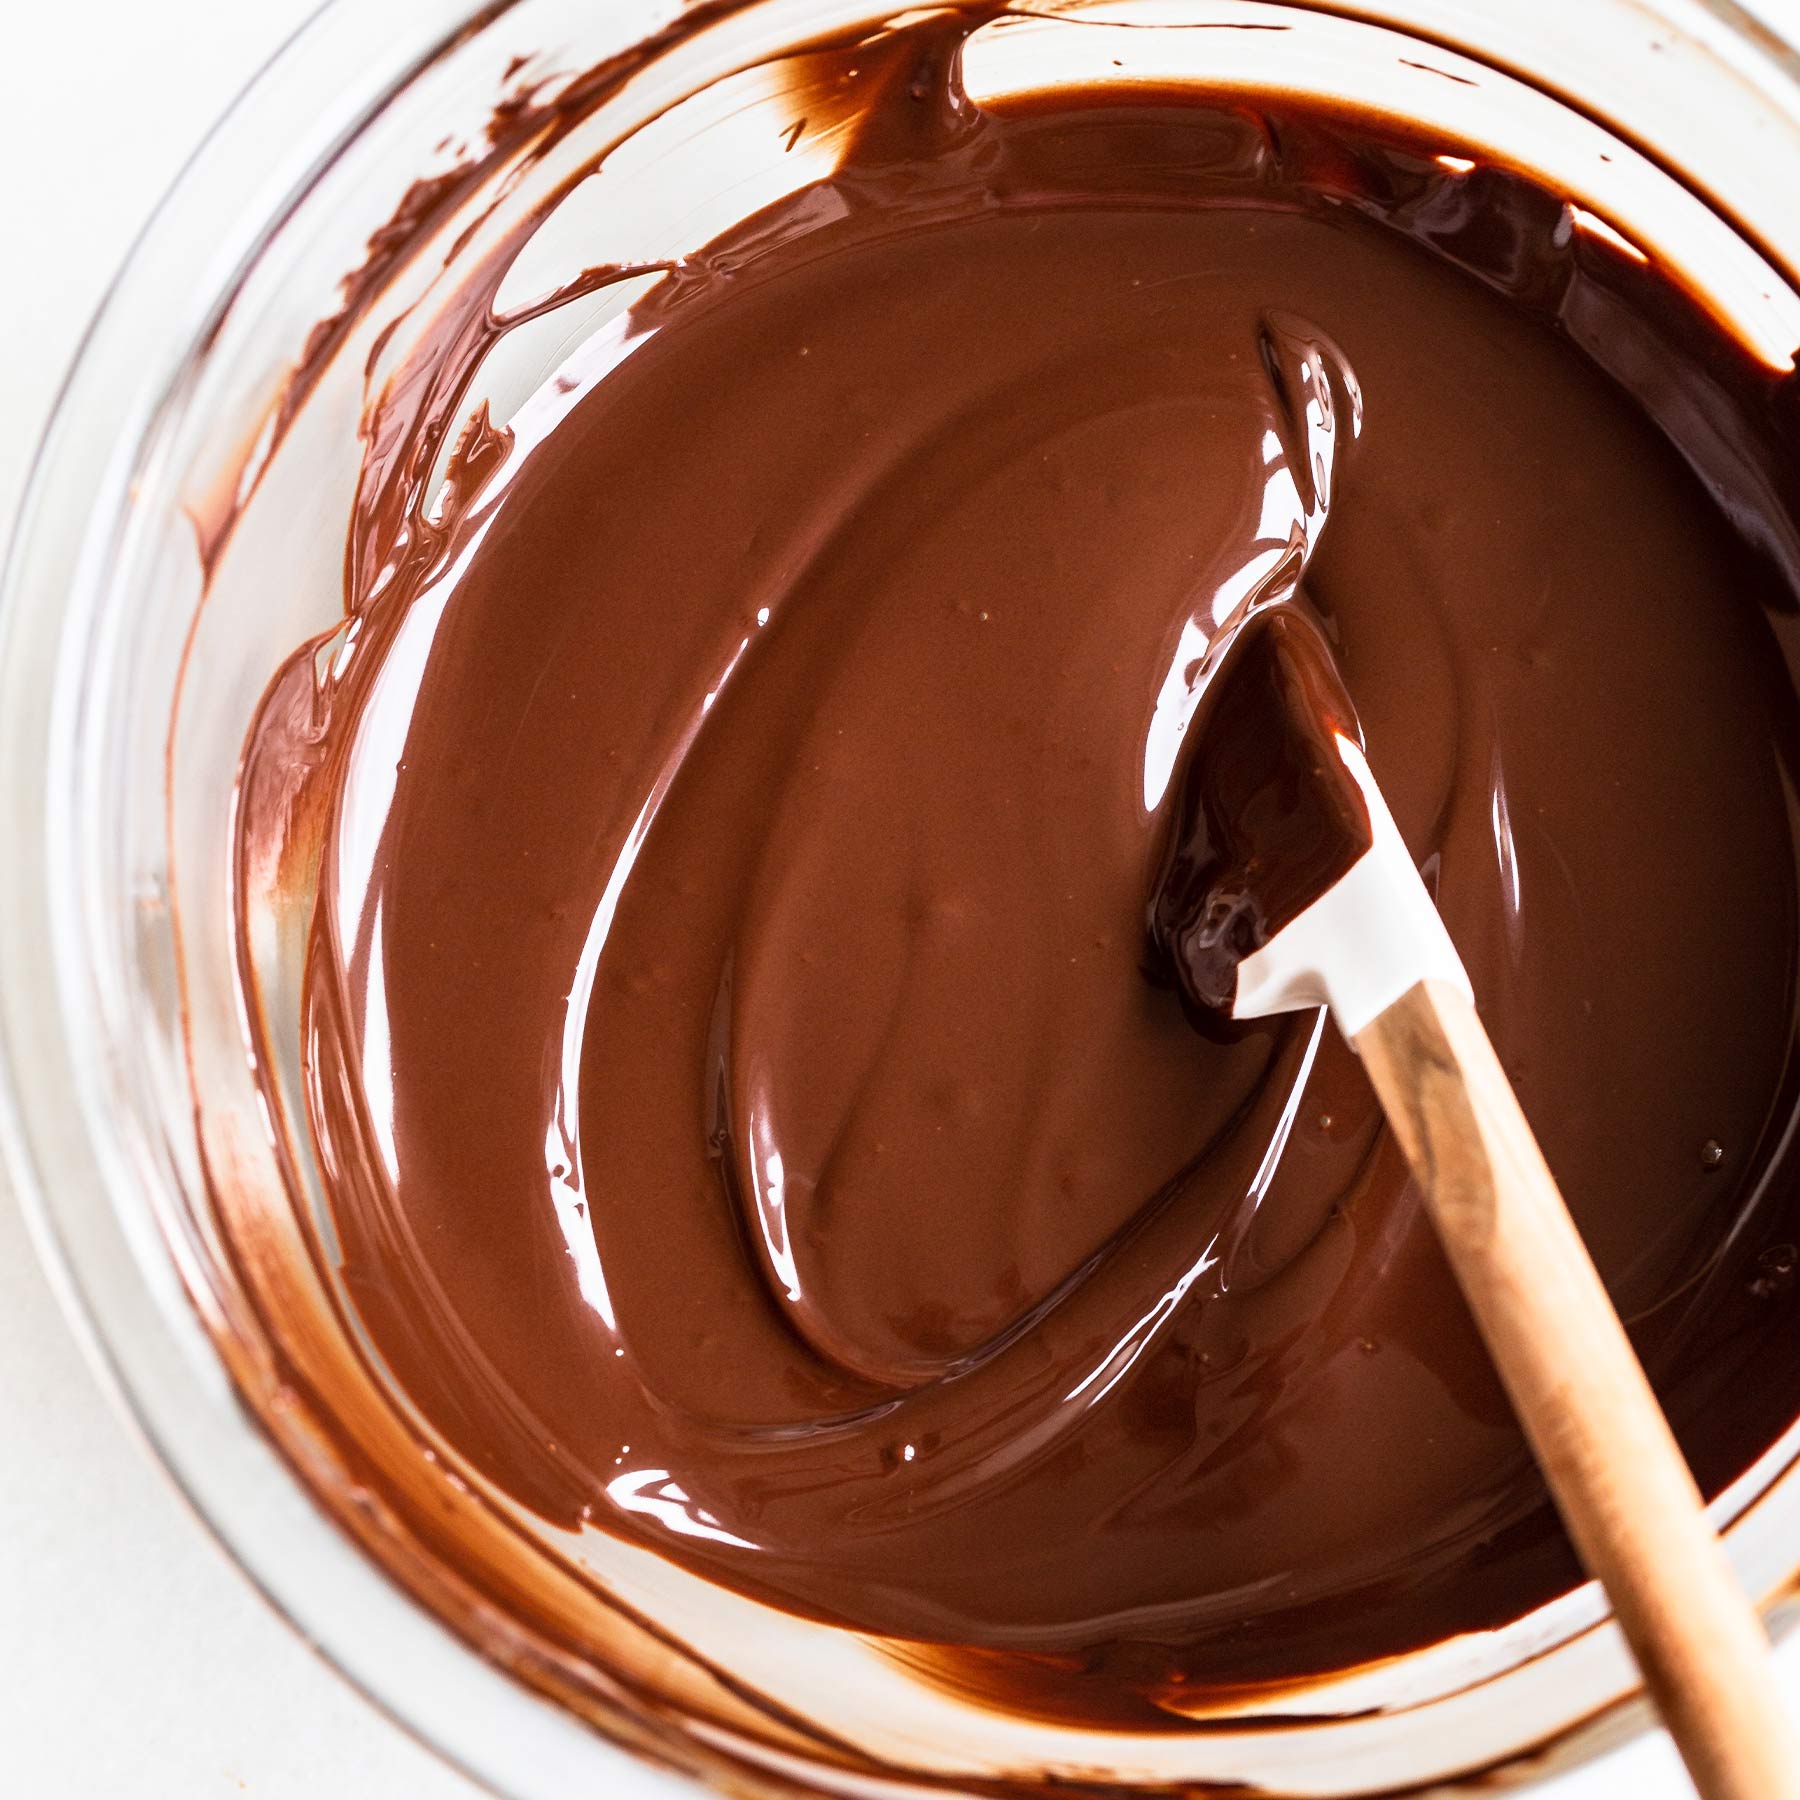
- The process of tempering creates chocolate coatings that are ultra smooth, glossy, and have a crisp satisfying snap when eaten.
- Tempering allows us to manipulate the fat molecules in the cocoa butter of the chocolate to arrange its crystalline structure in a way that creates that snappy chocolate texture.
- This same process, along with proper storage, also helps to prevent the chocolate from blooming, which is when a white coating forms on the surface of the chocolate.
- When using tempered chocolate to coat, say, Oreo cookies, the coated cookies won’t require refrigeration to stay hard and snappy.
When Do I Need to Use Tempered Chocolate?
- Tempering chocolate is perfect for making chocolate candies, truffles, dipped confections, or chocolate cake decorations.
- If you just use melted chocolate to dip, you won’t get a coating that stays snappy. It’ll be dull and soft and will need to be refrigerated just to avoid melting.
- Tempered chocolate products stay hard at cool room temperature. Avoid storing at warm temperatures and at high humidity to protect the tempered chocolate’s structure.
When is Tempered Chocolate Not Needed?
You don’t need to temper if you’re simply adding melted chocolate into a batter, mousse, or ganache.
How Does Tempering Chocolate Work?
- The process involves controlling the melting, cooling, and reheating of chocolate within specified temperature ranges depending on the kind of chocolate.
- The goal of tempering chocolate is to ensure the development and longevity of Form V crystals, one of the six types of cocoa butter crystals.
- This type of fat crystal is stable and contributes to the coveted textural properties of a delicious chocolate treat!
- Maintaining and controlling the development of Form V crystals is also crucial to avoid the unpleasant white, chalky appearance that can form on chocolate when recrystallization occurs.
Why Temper Chocolate?
- Simply put, it’s the best way to get that beautiful professional chocolate coating (without any additional ingredients or refrigeration) while maintaining a delightful chocolate flavor.
- Tempering can be an extra step that feels tedious. There are ‘chocolate’ candy melt products available at many stores that produce a similar crunchy coating when dipped.
- Unfortunately, many of these chocolate compound products aren’t actual chocolate because the cocoa butter has been replaced by hydrogenated industrial oils. They taste artificial and don’t provide the same satisfaction.
What is the Best Chocolate for Tempering? Can you Temper Chocolate Chips?
- Only use high-quality bars of chocolate for baking (such as Ghirardelli baking bars or even Trader Joe’s Pound Plus chocolate) or couverture chocolate wafers (such as Guittard or Valrhona).
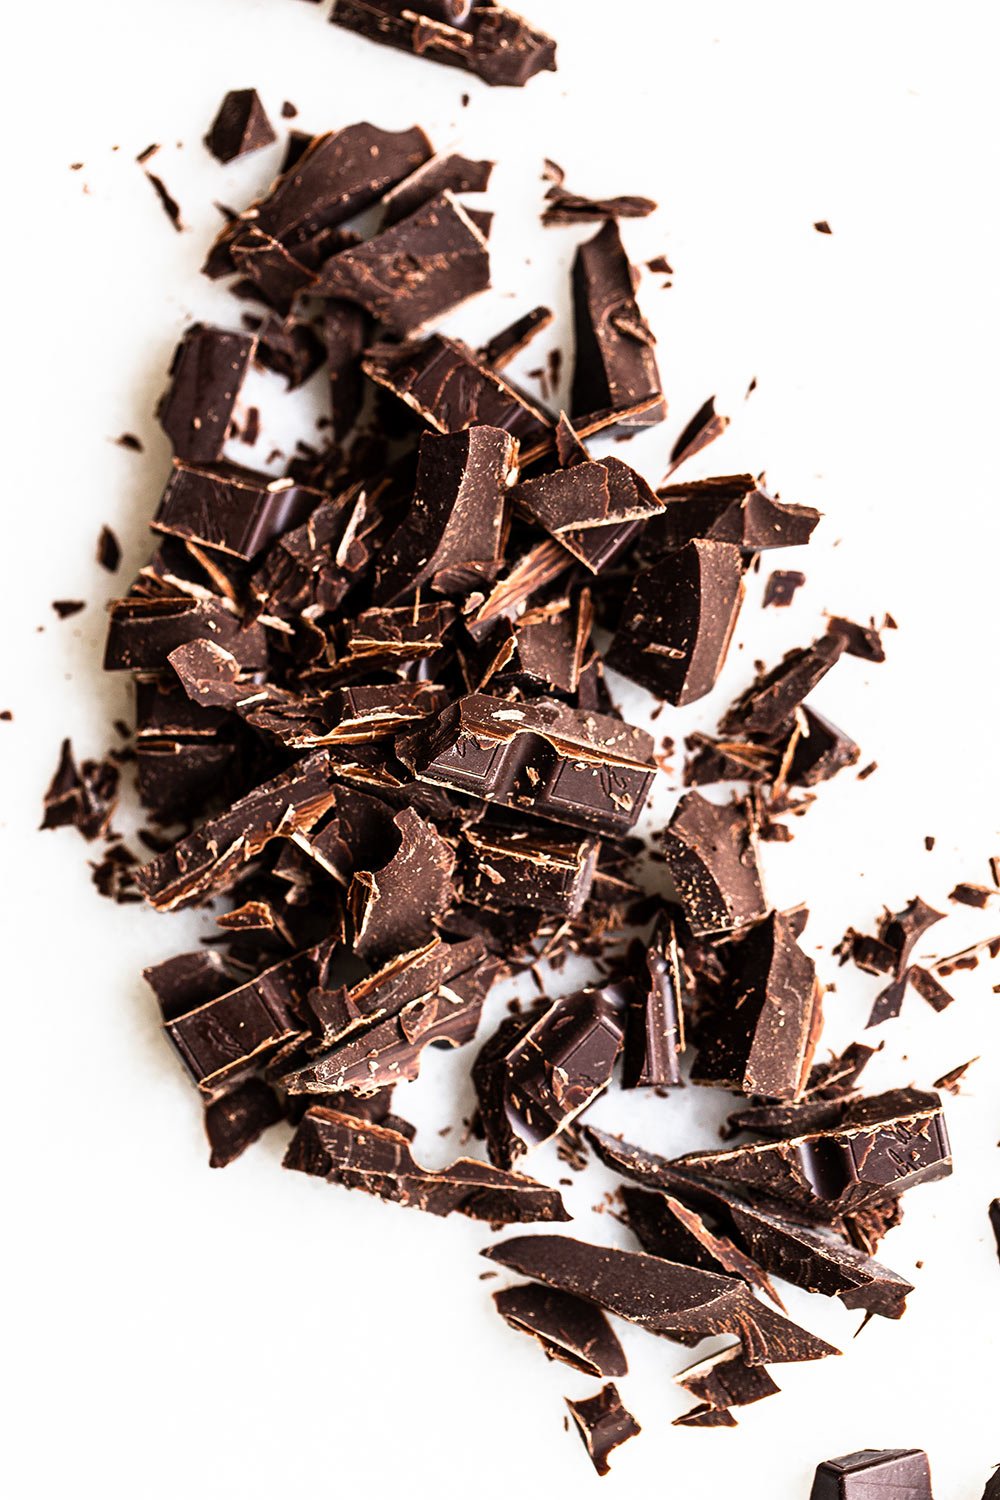
- If using bars, finely chop the chocolate with a serrated knife.
- Finely chopped chocolate will melt more evenly.
- DO NOT use chocolate chips. These have added ingredients that help them to maintain their chip shape when exposed to heat and will not melt down smoothly for tempering.
Can you Temper Chocolate Without a Thermometer?
- In my opinion, a thermometer truly is essential to tempering chocolate because it takes the guesswork out and ensures your temper will set up beautifully.
- Chocolate is expensive so I like to make sure I have the proper tools for success!
- You can use a chocolate thermometer to register the temperature stages of tempering chocolate, or simply a high-quality digital thermometer.
What is a Double Boiler?
- A double boiler is simply a heatproof bowl set over a saucepan filled with about an inch of simmering water.
- You just want to make sure the bowl on top doesn’t touch the water.
- This allows the chocolate to be melted gently by the heat.
- You can use metal or glass bowls for the top part of the double boiler.
- Glass will take longer to cool down as required to temper in Step 2.
How to Save Seized Chocolate
The way to fix seized chocolate is completely counterintuitive. It’s done by actually adding a little bit of melted butter, oil, or water back into the mixture and stirring vigorously. Unfortunately, at this point, the fixed melted chocolate should only be used for chocolate sauce or hot chocolate and not in a recipe.
Fun uses for tempered chocolate:
- Chocolate Truffles
- Peppermint Oreo Truffles
- Homemade Peanut Butter Cups
- Chocolate Covered Strawberries
- Decorating Chocolate Cupcakes!
- Dip pretzels or potato chips

Become a Baking Genius!
Sign up for our free email newsletter for NEW recipes & baking science secrets.
How to Temper Chocolate
Ingredients
- 16 ounces (454 grams) baking chocolate, finely chopped
Instructions
Tempering Chocolate by Seeding:
Tempering Chocolate by Seeding:
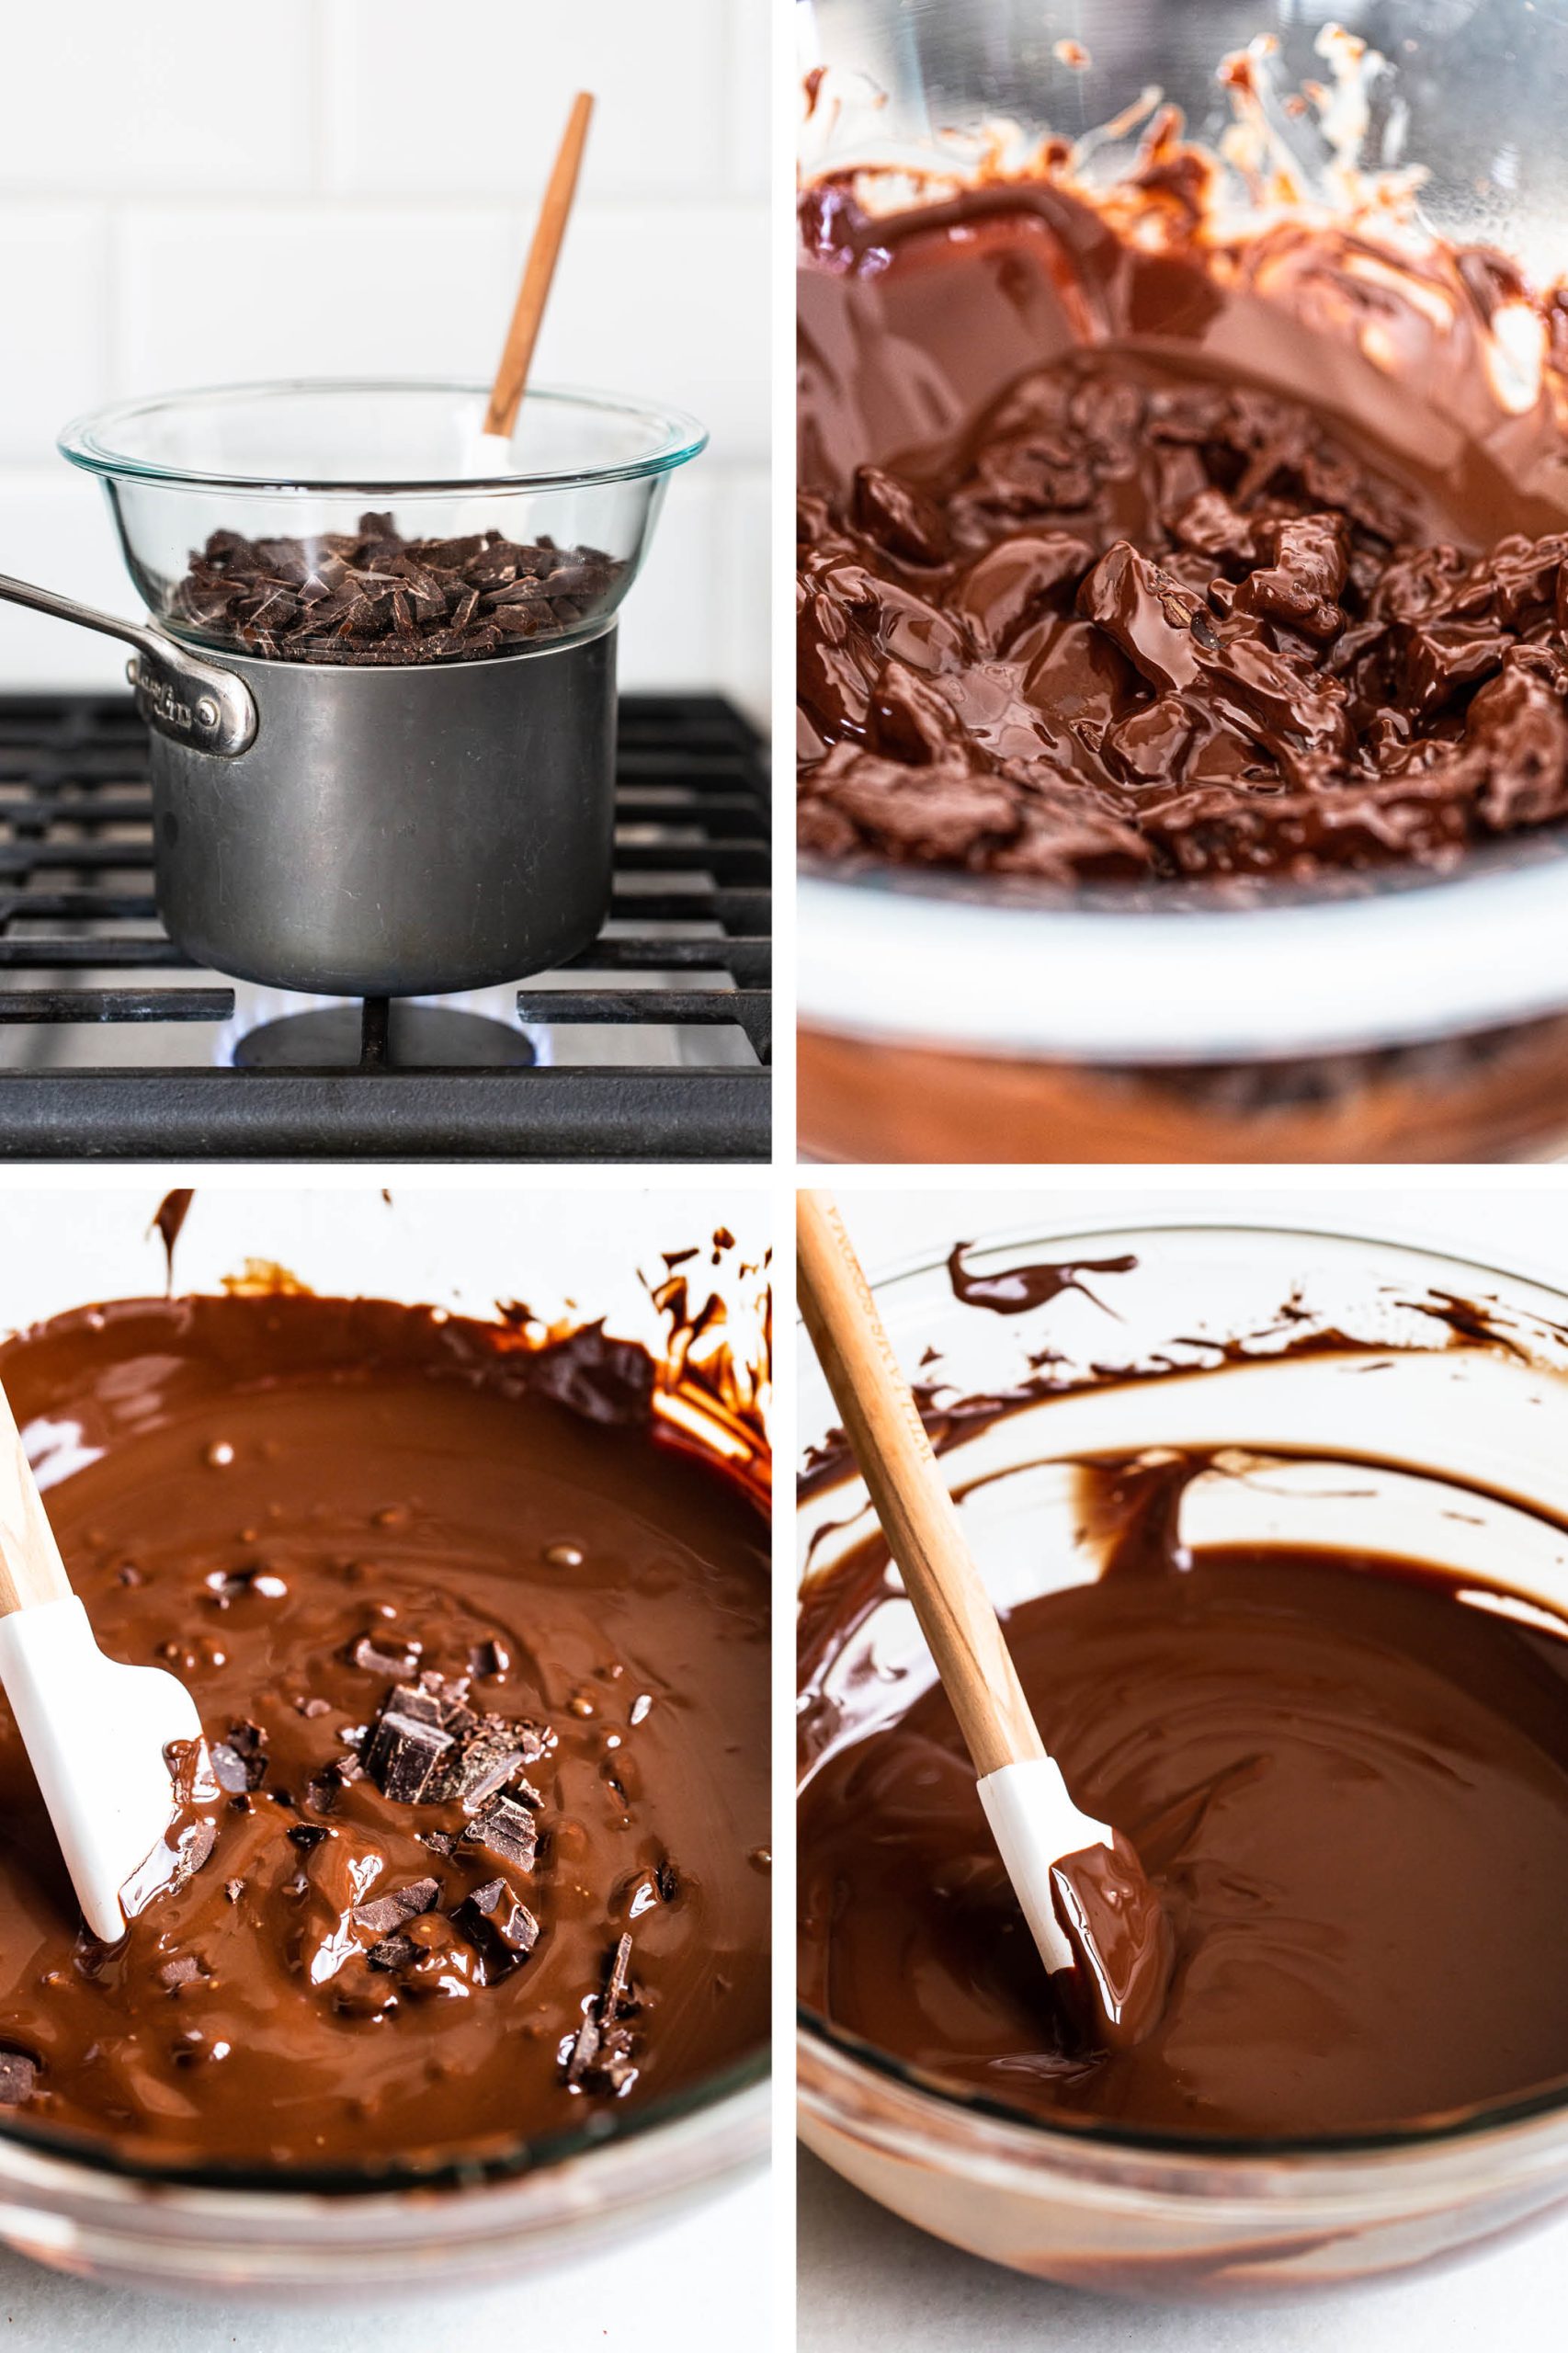
- In a double boiler, melt 2/3 of the chocolate, stirring often, until the thermometer registers around 115°F, but absolutely no higher than 120°F. If tempering milk or white chocolate, heat to 110°F. Remove from the double boiler. Make sure all equipment that comes in contact with the chocolate remains completely dry. Any water will cause the chocolate to seize.
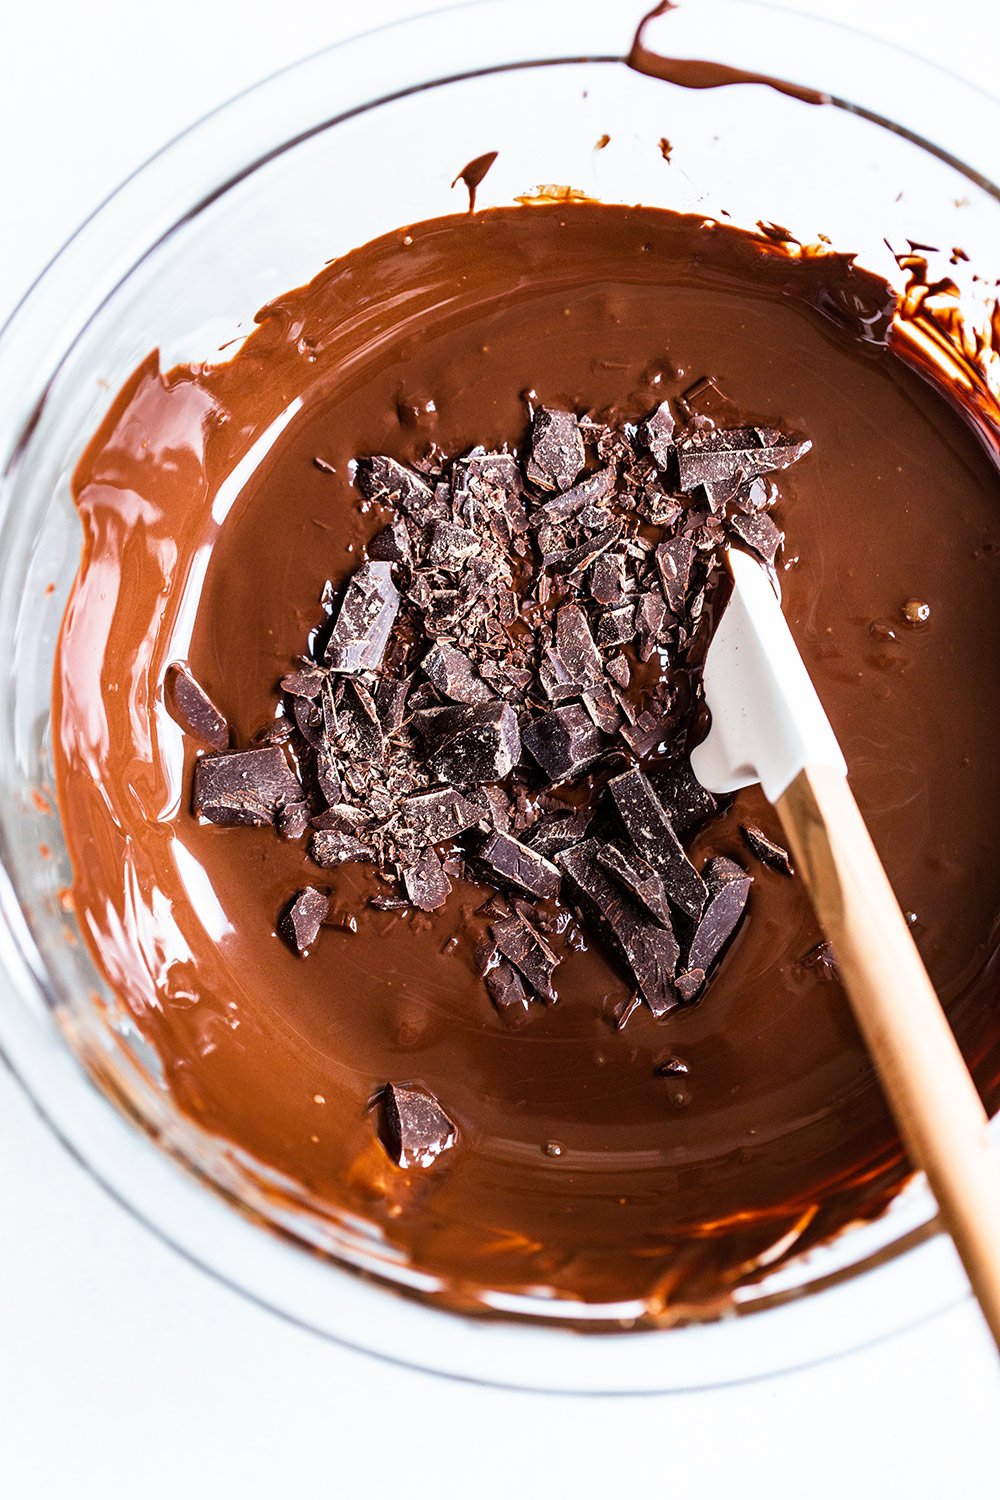
- Gradually seed in the remaining chocolate to bring the temperature down, stirring vigorously and constantly. Stir until the temperature drops to 84°F. This can take some time, usually about 15 minutes, so just be patient – it will come down to temperature! A glass bowl will take longer to cool. Speed this process up by carefully placing the bowl of chocolate into an ice bath, making sure not to get ANY water in the chocolate.
- Reheat the chocolate briefly by placing the bowl back over the double boiler for 5 to 10 seconds at a time, stirring, until it reaches 89°F. This is the “working temperature.” Do not leave the chocolate over the water or let it exceed 91°F.
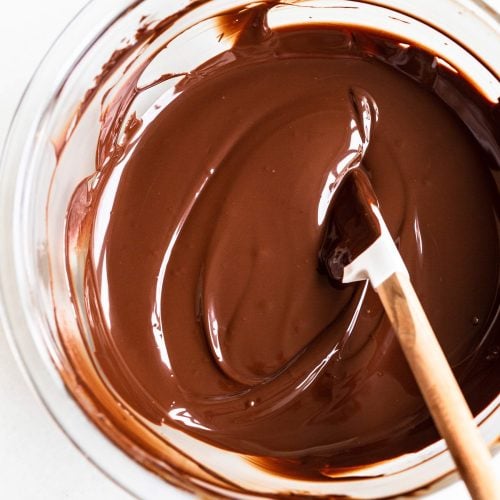
- You’re done! Test your temper by dipping a small piece of parchment into your chocolate. Let it sit at room temperature for a few minutes. The chocolate should be smooth and firm. If it’s streaky or runny, try stirring in more chocolate to the mixture to bring the temperature down further.
- Tempered chocolate can be tempered over and over again. You want to keep the working temperature of about 89°F when working with it. If it goes far below that temperature, set it back over the double boiler until it is 89°F again. If it goes much above that temperature, add more seed chocolate to drop the temperature.
- Put 2/3 of the chocolate in a microwave-safe bowl. Melt at 50% power in 1-minute intervals, stirring between each interval, until melted and smooth. The chocolate should only be between 100 – 110°F.
- Add remaining chocolate in small amounts while stirring. Be sure that the pieces are completely melted before adding more.
- The chocolate will thicken and become cool, shiny, and smooth as you continue stirring and “seeding” it by adding additional small amounts. When it has reached the range 84-91°F, the chocolate will be tempered and ready to work with.
Recipe Notes
This post was originally published in 2013 and updated with more tips and new photos in 2020 and 2023. Photos by Ashley McLaughlin.
Article Credits:
- Written by Tessa Arias
- Edited by Jessie Bruce, Master’s of Public Health Nutrition and Dietetics Candidate at UC Berkeley
Sources:
- Industrial Chocolate Manufacture And Use (2009). In Beckett S. T. (Ed.), (Fourth ed.). United Kingdom: Blackwell Publishing Ltd.
- Amendola, J. (2002). Understanding Baking: The Art and Science of Baking (3rd Edition). Wiley
- Global Education US. VitalSource
- Brenner, M., Sorensen, P., & Weitz, D. (2020). Science and Cooking: Physics Meets Food, From Homemade To Haute Cuisine (First ed.). New York, NY: W. W. Norton & Company, Inc.
- Lonchampt, P., & Hartel, R. W. (2006). Surface bloom on improperly tempered chocolate. European Journal of Lipid Science and Technology, 108(2), 159-168.
doi: Wiley - McWilliams, M. (2016). Foods (8th Edition). Pearson Education (US). VitalSource
- Reaver, A. (2021, Nov. 10). Lipids II – classification, function [Course Lecture]. Introduction and Application of Food Science, University of California, Berkeley, Berkeley, CA, United States.
- Culinary Institute of America. (2022). Tempering Chocolate for Homemade Candy. Retrieved March 20, 2022, from CIA Foodies












If I’m using a chocolate melter and I run low on the tempered chocolate, when adding more chocolate, do I need to:
1- Re-temper the big quantity of chocolate again (Up to 50 then seed temperature back down), or
2- just simply bring it to working temperature (30 degrees)?
I was wondering if chemically speaking, adding new chocolate to a small batch of tempered chocolate would make it tempered as well or would I need to bring this whole new batch to keep making truffles up to 45-50 degrees and back down. Hope that makes sense. Thanks!
Hi Julia! Unfortunately, simply adding new chocolate to tempered chocolate won’t temper the new chocolate. You should only add unmelted chocolate to tempered chocolate in two cases: during step 2 of the seeding method when you’re lowering the temperature, or if the tempered chocolate’s temperature rises above 89°F.
I recommend melting the new chocolate separately, following the tempering process to ensure any crystals are fully melted. Once it’s cooled to 89°F, mix it well into the tempered chocolate. Please let me know if you have any other questions, I hope that was helpful!
Great article! Thanks for sharing your knowledge!
I’m trying to temper Trader’s Joe chocolate for candies but I can’t. Despite trying at least 5 times I can’t get it tempered. I use microwave method and electronic thermometer.
I also have a question about chocolate I wanted to ask, it’s about working temperature and thinness. Trader’s Joe chocolate is to thick at working temperature (I use mix of theirs dark and milk pound chocolate 1:1). I can pour in molds but there’s no chance I can pour it out. I tried to add some cocoa butter but can’t figure out how much and when to add. Do you have any suggestions as you mentioned you used it.
And would chocolate sets at 77 room temperature? Because I’m a bit frustrated about not being able to make tempering right and honestly don’t know what I constantly do wrong. It doesn’t set, doesn’t snap.
Having an Infrared Thermometer is, in my opinion, the most essential tool for tempering because small changes in temperature happen quickly. Instead of seeding with small pieces of chocolate, I use whole callets. When the callets stop melting, I lift them out with a fork and stir until the desired temperature is reached, after which time I place the bowl in another bowl of hot water until the temperature reaches working temp. There is nothing more challenging (and messy) than tempering. The effort eclipses anything I’ve ever made, including puff pastry, croissant, fondant and sugar paste flowers!
Kiersten can you clarify this statement a little. Do you mean heat separately. I like to add a little raspberry
extract about a half teaspoon.
“If your recipe calls for liquid, such as butter, water, coffee, or liqueur, always melt it alongside the chocolate simultaneously.”
Hi Donald! Yes, to clarify, if your recipe includes other liquids like butter, water, coffee, or liqueur, it’s best to melt those liquids together with the chocolate at the same time. This ensures that all the ingredients are properly combined and melted together, resulting in a smooth and consistent mixture. For example, if you’re planning to add raspberry extract to your tempered chocolate, you would typically incorporate it into the chocolate as you’re melting it, usually about a half teaspoon as you mentioned. This allows the flavors to meld seamlessly and evenly throughout the chocolate mixture without causing the chocolate to seize from the temperature change. I hope this helps 🙂
Thank you yes it helped clarify.
Thanks for telling us about the process of chocolate tempering. This is actually super easy and helpful for everyone to know about for sure. Thanks. Keep posting more good information on this!
Awesome guide for tempering chocolate! This can be confusing, but the concise instructions made it super easy! My tempered chocolate turned out 10/10 and it took the truffles that I coated with this up a notch. Definitely keeping this guide in my back pocket!
Hello. I have question. After tempering and putting my chocolates into cases, should i put it into fridge?
Hi Rafa! When tempered correctly, your chocolate won’t require refrigeration unless your filling (or whatever you’re dipping in the tempered chocolate) requires refrigeration. Unless you’re in a super hot environment, the tempered chocolate should set up beautifully snappy and shiny without the need for chilling. I hope that helps! Check out the pink tip box (above the recipe) for more tips 🙂