Tessa’s Recipe Rundown
Taste: Rich, ever so slightly sweet, and perfect with dinner or as French toast in the morning.
Texture: Moist and tender yet firm.
Ease: The steps are relatively easy they just require some patience. I always thought challah was extremely difficult to make but after watching someone do it in school I realized it shouldn’t be that intimidating.
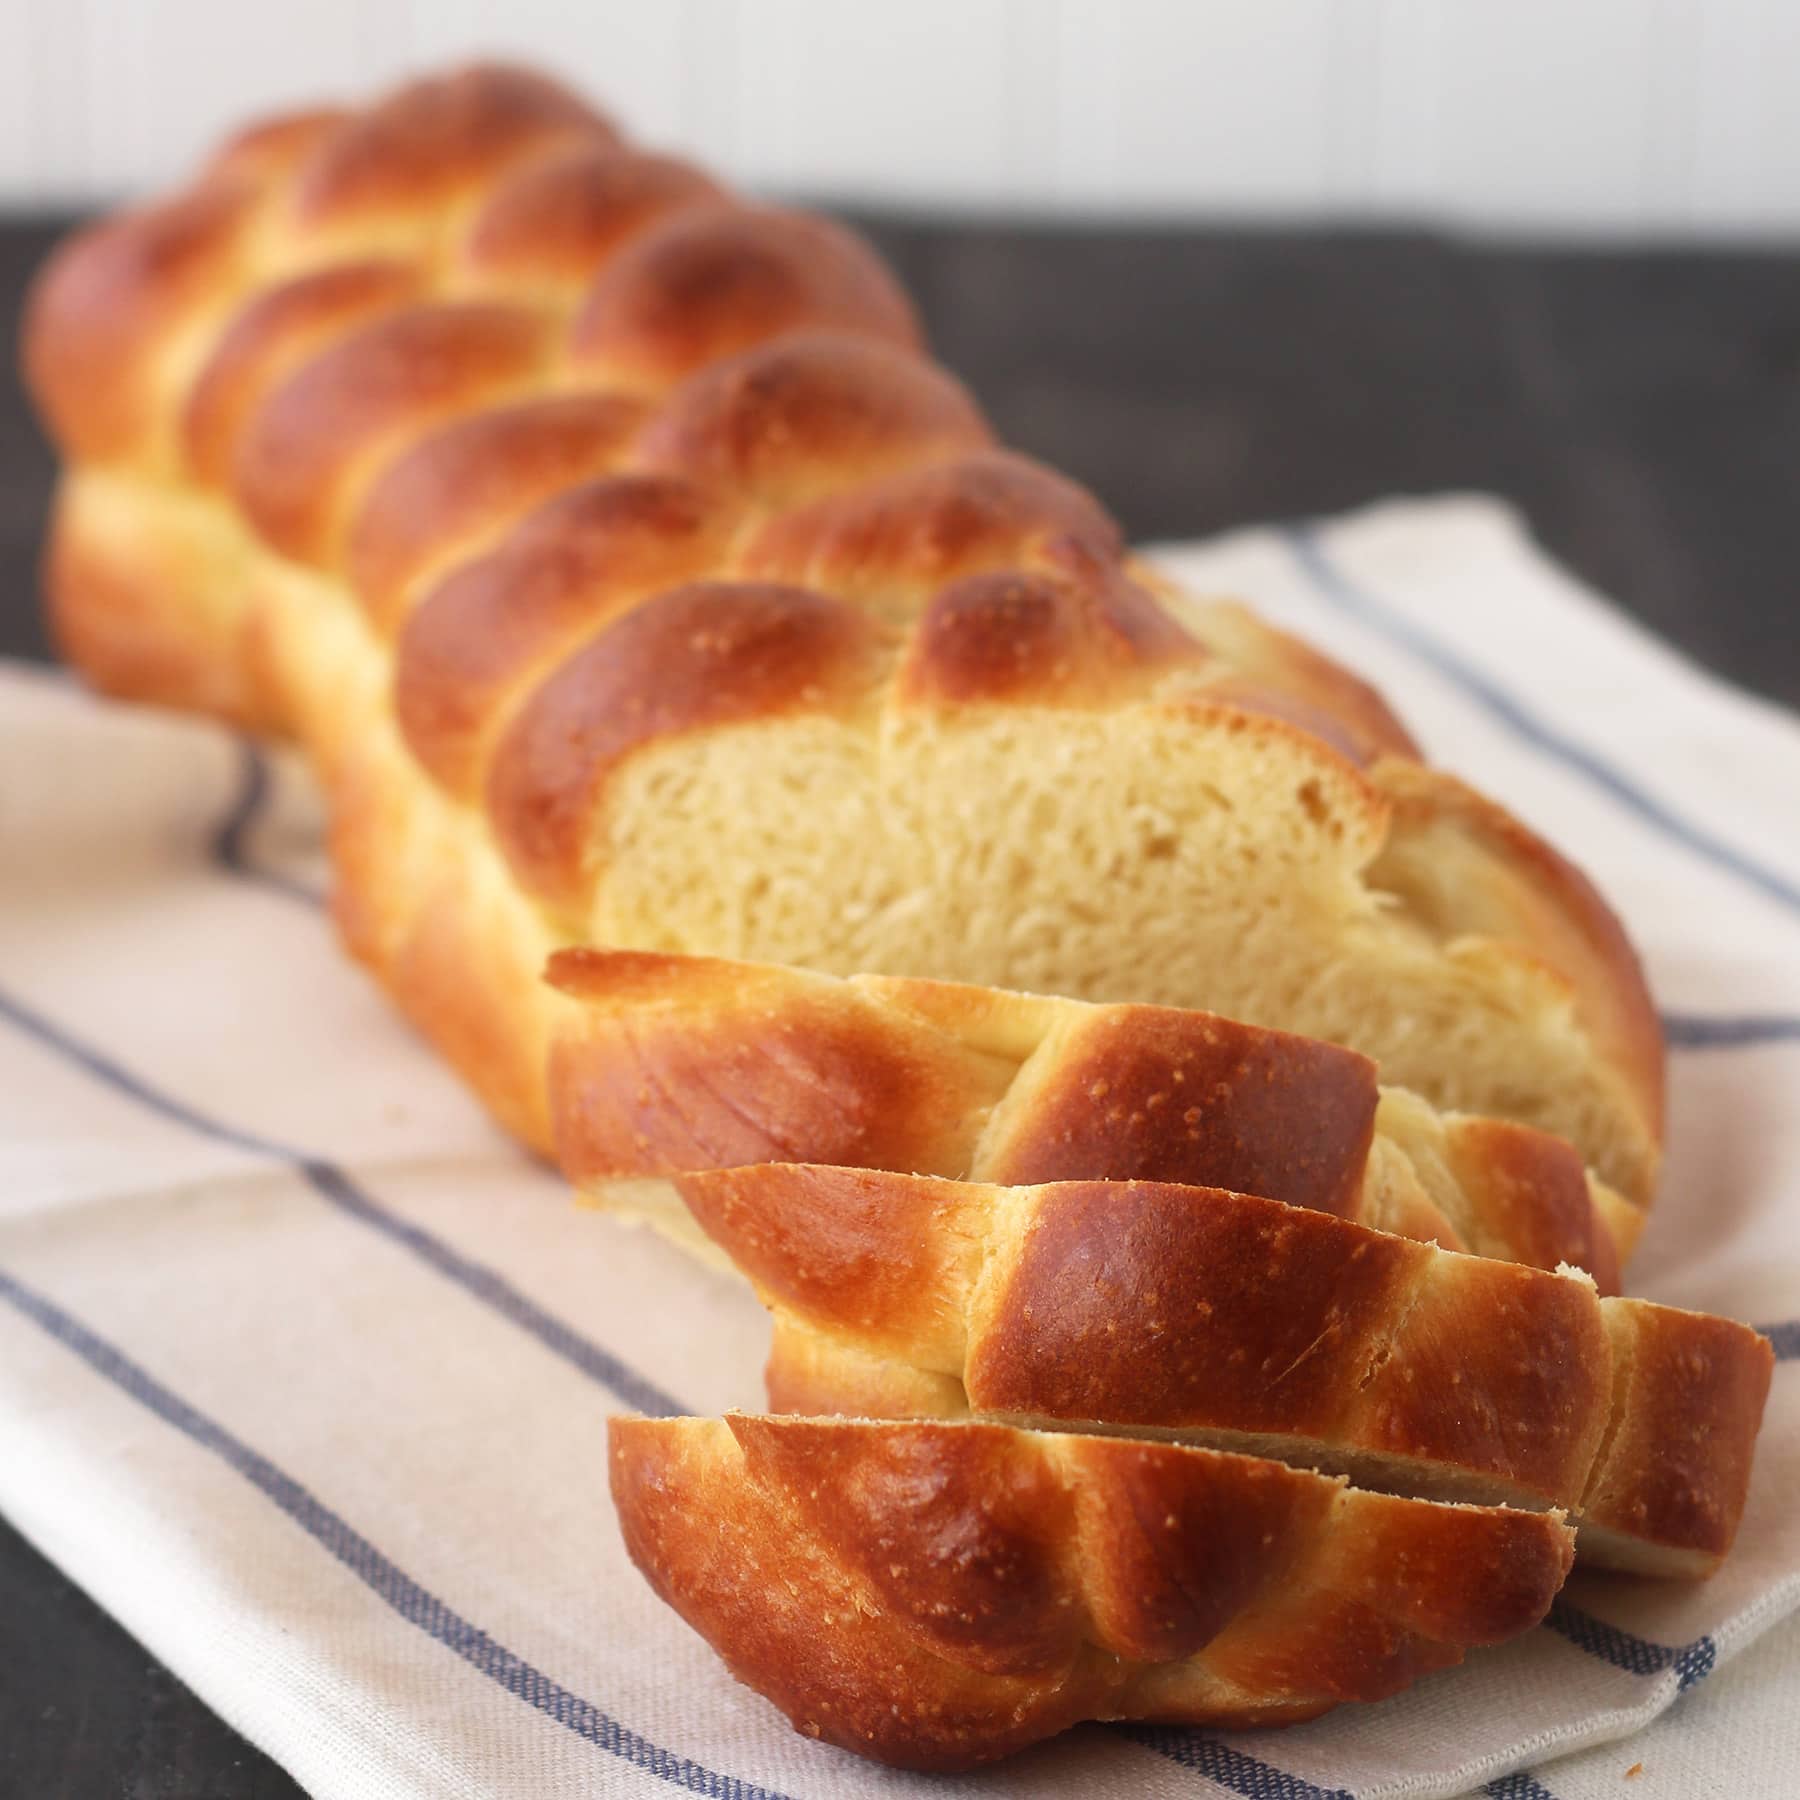
Appearance: Challah is one of the most beautiful loaves of bread and this recipe creates a fantastic but uncomplicated braid.
Pros: So much better than store-bought challah and much more satisfying (both in terms of taste and accomplishment).
Cons: Requires pretty much a whole day to make,
Would I make this again? I’ve made challah probably 5 times at home already.
This post may contain affiliate links. Read our disclosure policy.
I’ve made challah bread way more times than I care to admit after learning how to make it in culinary school.
It’s such a gorgeous and complicated-looking bread that I was never really confident enough to try it.
This recipe is actually pretty easy, even if you’re not a super experienced bread baker.
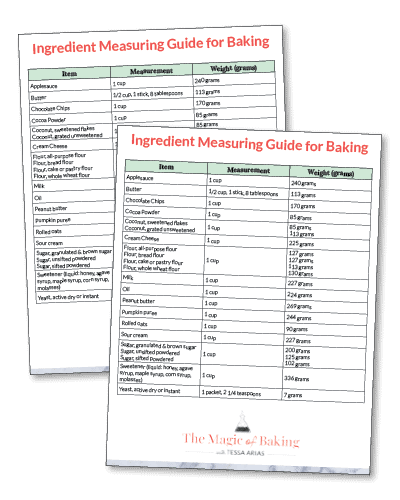
Free Ingredient Measuring Guide!
The key to consistent baking success is a click away. Sign up to get instant access to my printable Ingredient Measuring Guide now!
I wanted to make a video about challah because I feel that once you see how easy it really is your at-home challah baking will be much more successful.
Be sure to save some day-old challah because it makes killer French toast!
*Please note: I am not Jewish so I am not claiming this is traditional or authentic challah.
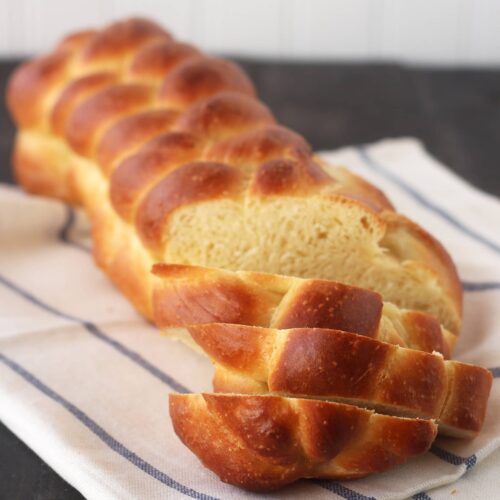
Challah Bread
Email This Recipe
Enter your email, and we’ll send it to your inbox.
Ingredients
- 3 to 3 1/4 cups (15 to 16 1/4 ounces) all-purpose flour, plus more for dusting
- 1 envelope (2 1/4 teaspoons) instant yeast
- 1/4 cup (1 3/4 ounces) sugar
- 1 1/4 teaspoons salt
- 3 large eggs, one egg separated (reserve the white for the egg wash)
- 4 tablespoons (2 ounces) unsalted butter, melted
- 1/2 cup plus 1 tablespoon water, at room temperature
Instructions
- In a medium bowl whisk together the flour, yeast, sugar, and salt.
- In the bowl of a stand mixer fitted with the dough hook, mix together the 2 whole eggs and 1 egg yolk, melted butter, and 1/2 cup of the water until combined. Gradually add the flour mixture. Increase the speed to medium and mix until the dough comes together. Knead for about 5 minutes, or until the dough is smooth and elastic, adding up to a 1/4 cup more flour if the dough is too wet and sticky. Mix the egg white and the remaining 1 tablespoon of water and cover and refrigerate until ready to use.
- Shape the dough into an even ball and place in a lightly oiled ball. Cover with plastic wrap and let rise until doubled in size, about 1 1/2 to 2 hours. Gently press down on the dough to deflate it then cover with plastic and let rise until doubled again, about 40 to 60 minutes.
- Transfer the dough to a floured work surface. Divide the dough into 2 pieces, one about half the size of the other (the small piece should weigh about 9 ounces, the larger should weigh about 18 ounces). Divide the large piece into 3 equal portions. Roll each portion into a 16-inch long rope. Line up the ropes and pinch them together at one end. Braid the rope pieces, pinching the other end together to seal the braid. Place the braid on a parchment or silicone mat-lined baking sheet. Repeat the exact steps with the remaining 3 smaller pieces of dough. Brush egg wash onto the large braid then carefully place the smaller braid on top. Loosely drape the loaf with plastic wrap and let rise until puffy, 30 to 45 minutes.
- Meanwhile, adjust an oven rack to the lower-middle position and preheat to 375°F. Brush the loaf with the remaining egg wash. Bake for 30 to 40 minutes, or until the loaf is golden brown and registers an internal temperature of 190°F with an instant read thermometer. Let the loaf cool completely before slicing.







Great recipe, worked perfectly! My first challah looks beautiful, and I’m going to turn it into French toast casserole tomorrow!
Hi! I am wondering if it’s possible to prep the dough on say a Saturday then bake it on Sunday?
This is my very favorite recipe for Challah. I have been making Tessa’s recipe for about 5 years. I love her videos. This way I can understand better. I have searched around for other Challah bread recipes and always come back to this one, I feel more relaxed with this recipe Always turned out for me. I live in a cold climate and high altitude. When cold, I alwys double the time for rising. I also keep my oven on to warm and let my bread rise there. must keep an eye on it though, you only want to keep the bread warm, not too warm. Enjoy
This is such an amazing recipe!
I’ve had many challas in my life (from Israel)
And this recipe makes such a good soft loaf! I used oil instead of butter and upped the amount of oil to 6TBSP instead of 4. Its a must try! love it.
I have always wanted to mke Challah bread, but the recipes seemed to take too long. I loved your video and found it quite helpful. You made it look so easy. I have my Challah at the last rise now. Can’t wait to taste it. Thanks!
Just made my second loaf, with a six strand braid. Very pretty. My French toast bake with this bread was absolutely fantastic. Would highly recommend both recipes.
I will say, this isn’t the longest bread recipe I have. I started this at 730 am. And it will be Baked and done at 1230ish.
Thanks for a great recipe.
Aw! My top loaf fell of the bottom loaf while cooking….it’s totally fine though. I’m using this loaf for Pioneer Woman’s Baked French Toast on Christmas morning. Maybe I braided too tight and the bottom loaf was too narrow? I’m actually going to make this again, after watching a video for a 6 strand braid.
I Tessa, I love your challad recipe, I am wondering if I can put dry fruits inside, if so, when should I put in?
This is the easiest challah bread recipe and is also delicious. It is foolproof and ticks along throughout the day. It is cooler here in Plymouth England than where you are, but dough still rises, just takes a bit longer!
Thank you Tessa for this recipe. It is a delight. X
Just wanted to say how much this bread is loved by my family ! Sooo easy, too! I made it years ago with your easy to follow video and recipe, and now my family remembers it from 3 years ago Ha ! I have to make it again for Thanksgiving at their request !
Oh that’s so awesome!! Thanks for letting me know, Marci xo
Thank you for this recipe and video. I followed the recipe exactly except for the cooking time.
The color, texture, taste is fantastic. My loaf of bread was cooked in a 350 degree oven for 13 minutes. After letting it rest and cool, I sliced it and it was fully cooked on the inside. The bready is sturdy and tender and slices beautifully. Wonderful recipe!
Yay! Happy to hear that, Lucille 🙂
Can this dough be made in bread machine cycle and then finished by hand and oven-baked? I’m short on time!!
I don’t see why not!