Tessa’s Recipe Rundown
Taste: I just adore the tartness of the raspberries contrasted with the boldness of the chocolate. Such a sweet combination! Texture: Rich, soft, and creamy with flecks of crunchy chocolate throughout the filling. And don’t forget the buttery bite of that crust! Ease: No baking and no ice cream machine required. You will dirty a few mixing bowls and use a couple of different basic kitchen appliances. Pros: Refreshing summer treat that you can make days ahead of time. Cons: Messy… but worth it. Would I make this again? Absolutely!This post may contain affiliate links. Read our disclosure policy.
If you have a microwave you won’t need to use your oven or stove once to prepare this recipe!
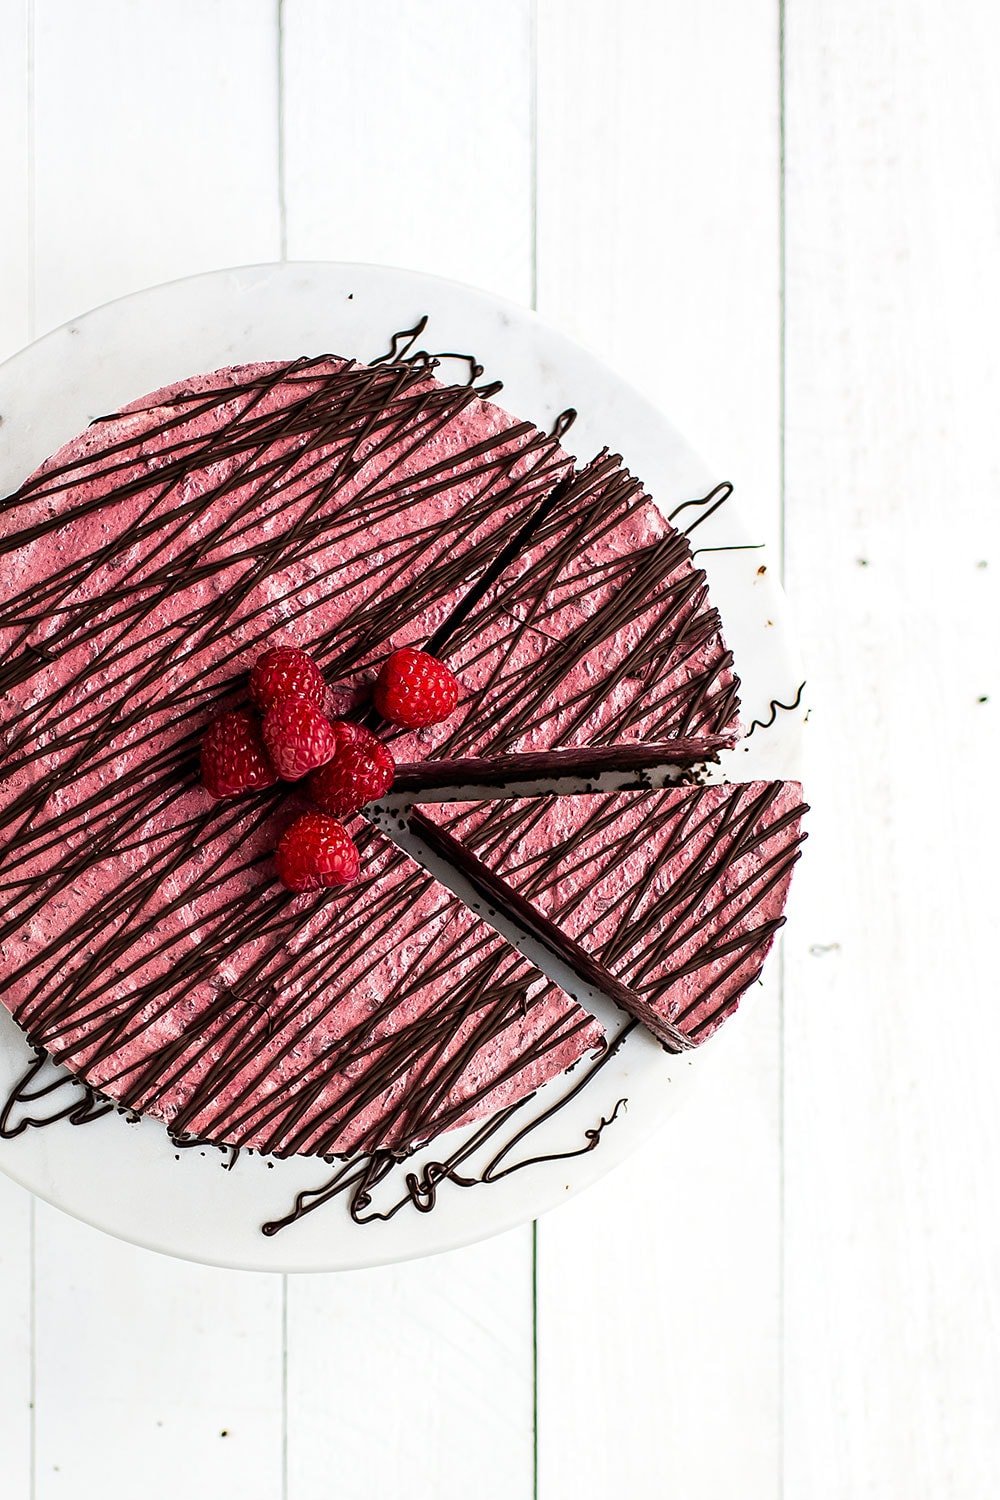
When it comes to food, favors are typically dulled by freezing. It’s just harder to fully taste something frozen.
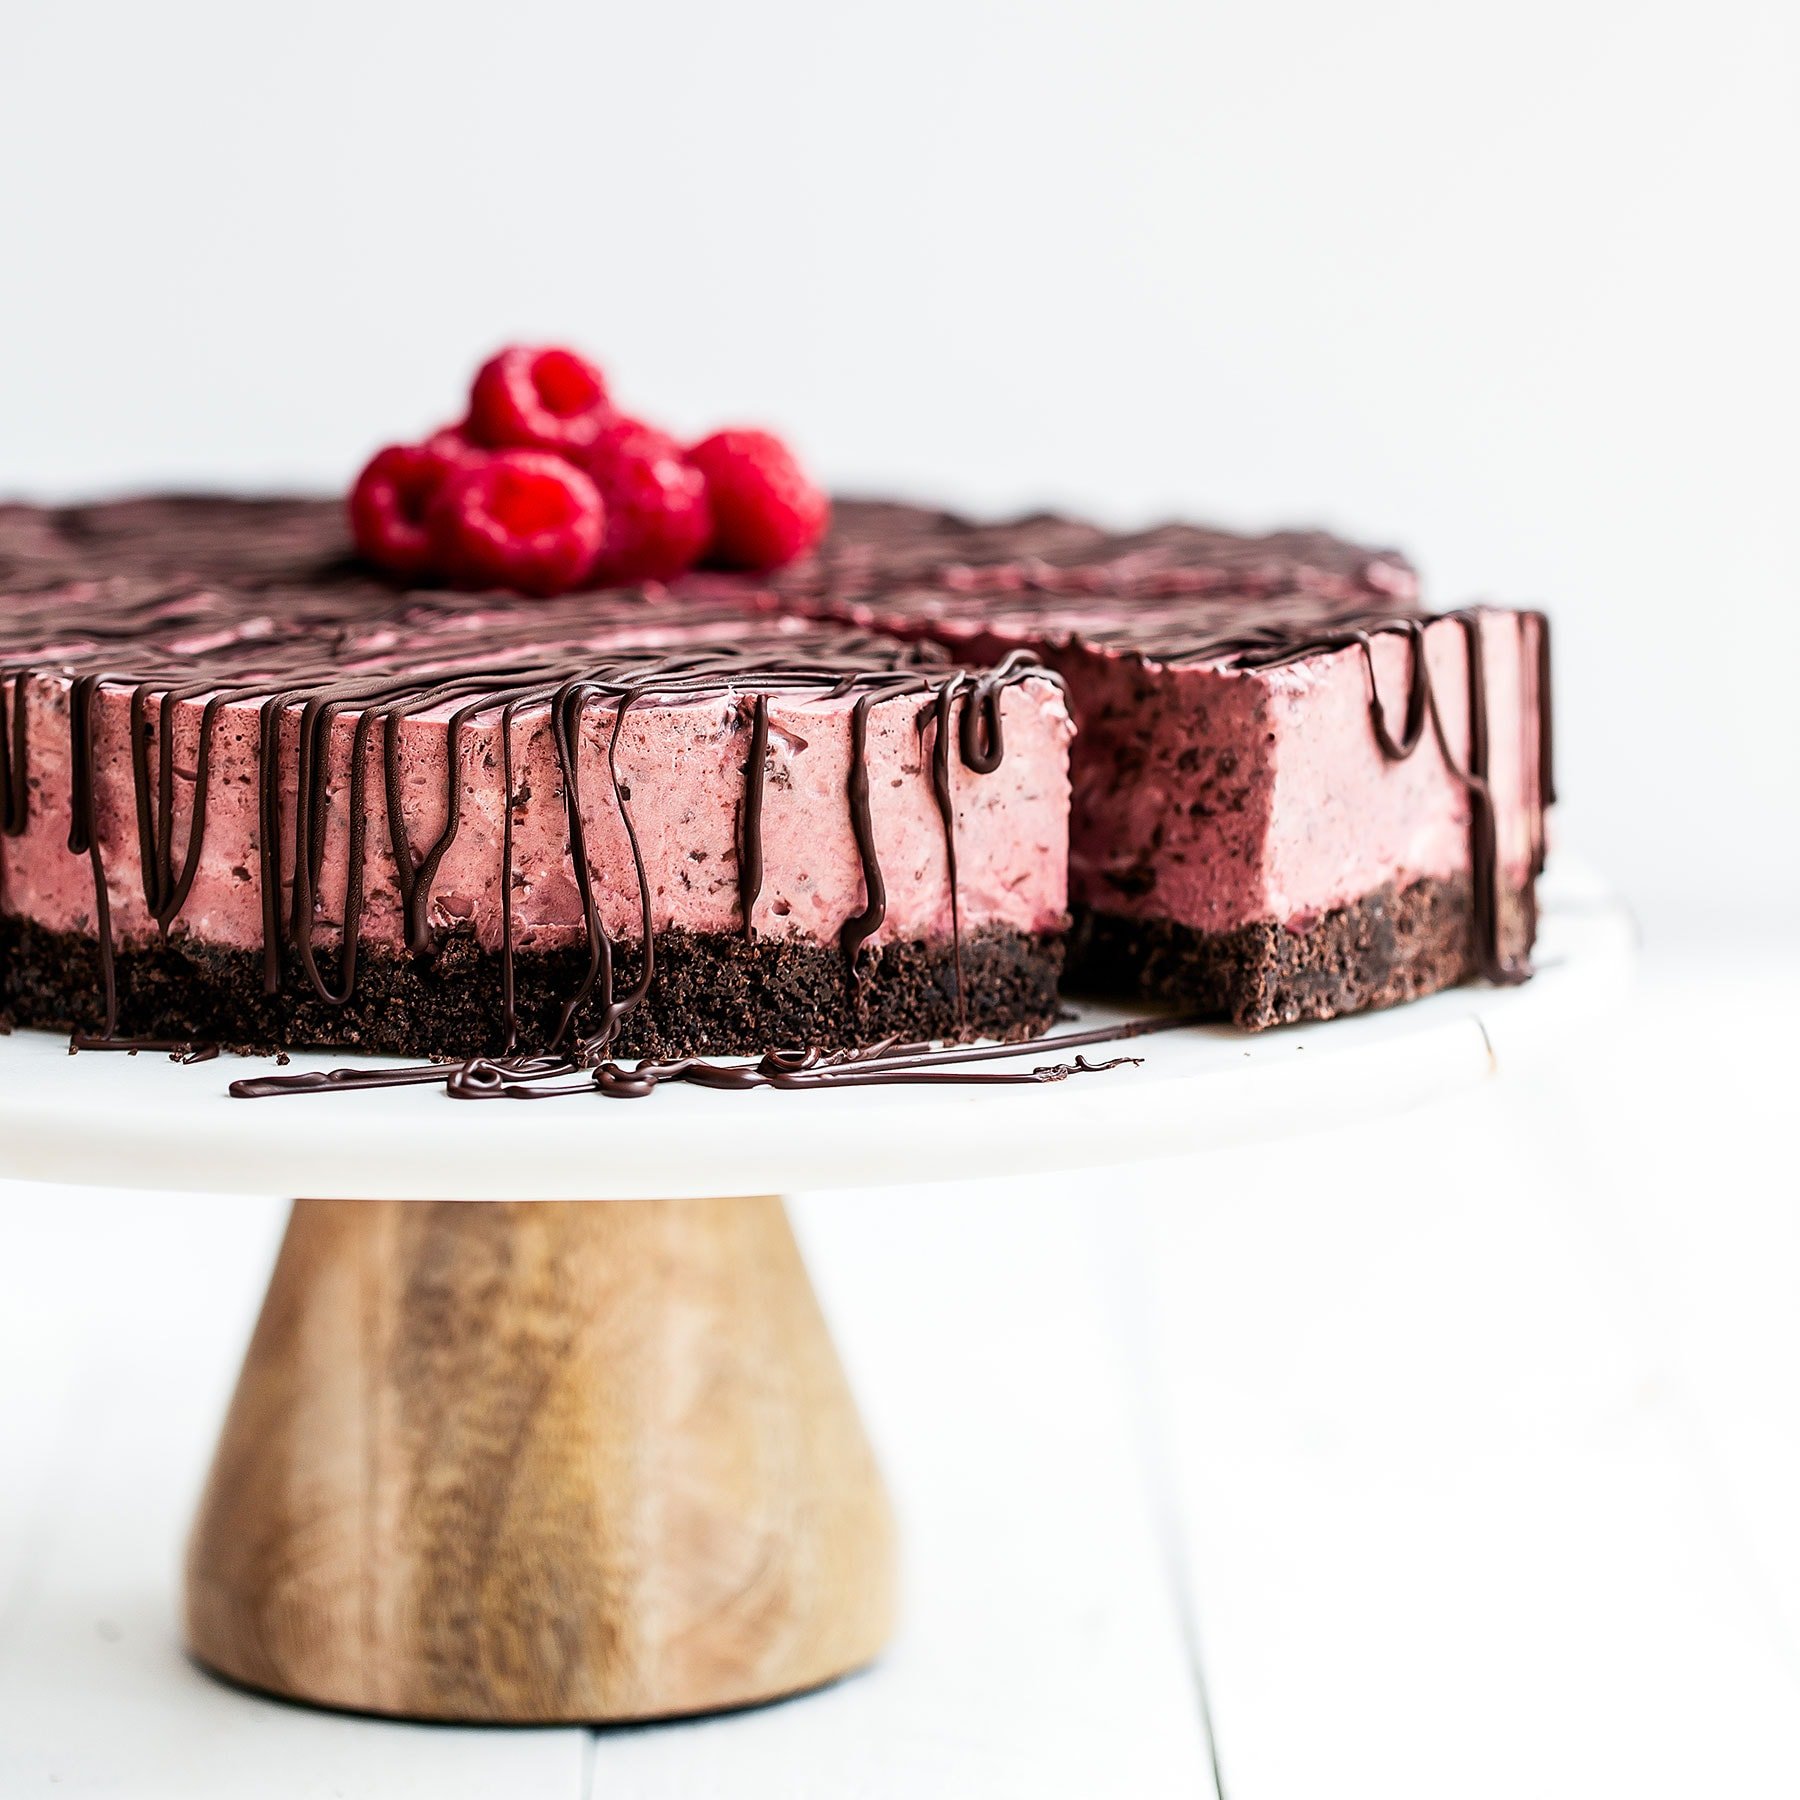
But when it comes to the intense combination of chocolate + raspberry, well those flavors hold up beautifully even when frosty. The taste, texture, and chill all combine to make each bite just pure bliss. Eating a slice of this pie is an experience to be savored!
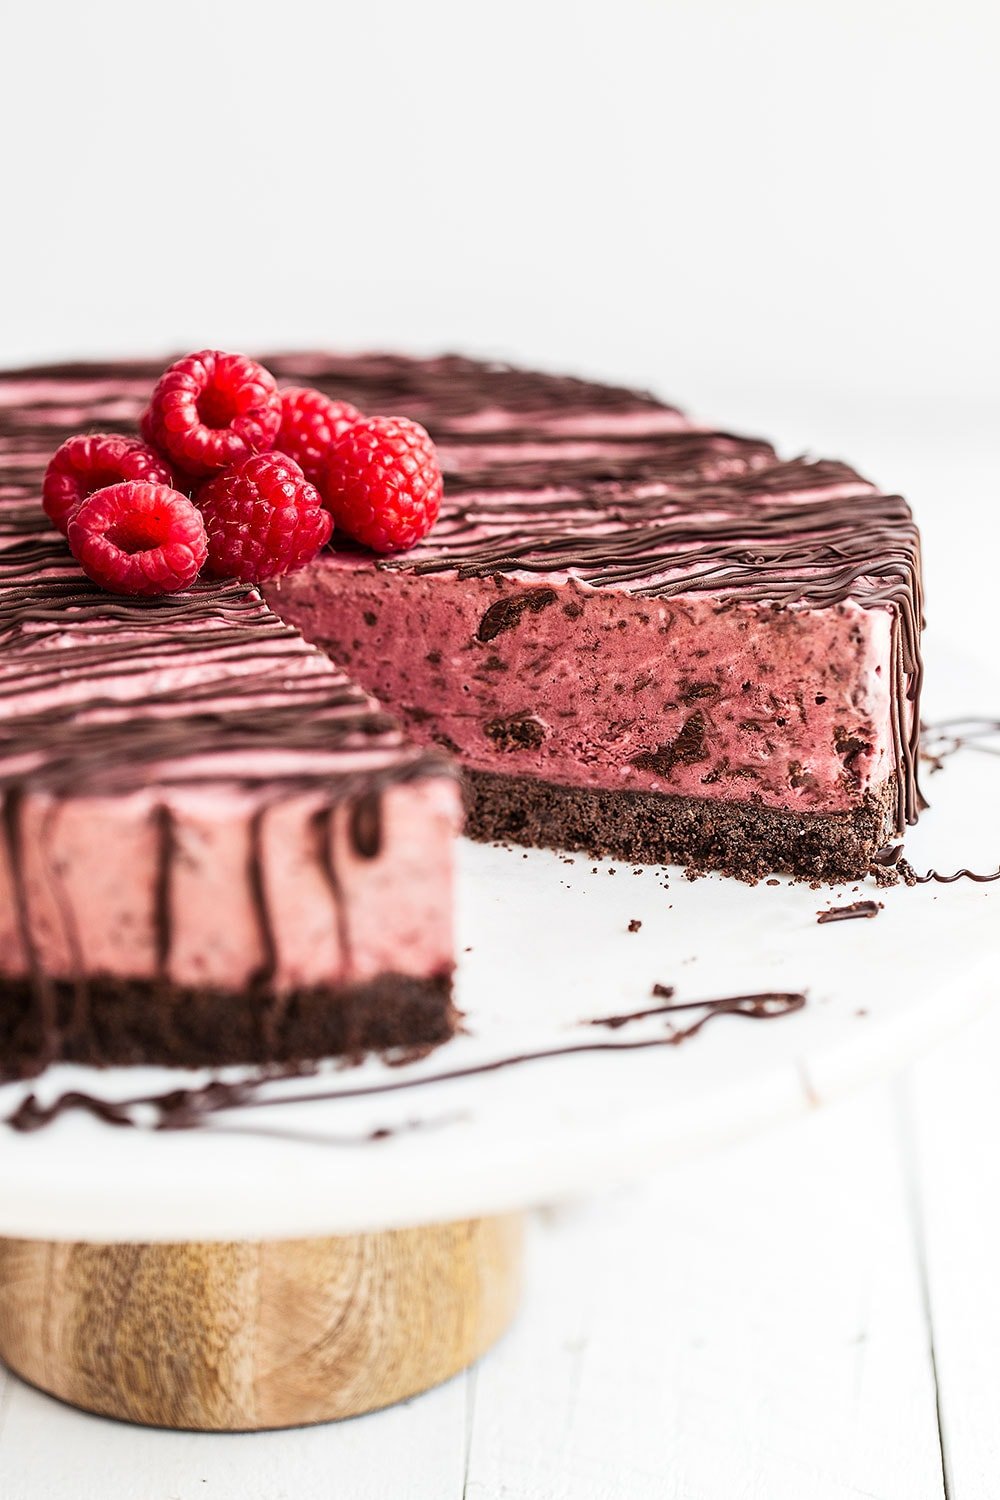
I’d highly recommend reading the recipe completely before you start preparing it. There are a few components that are made separately then mixed together to form the filling. I’ve detailed it all in the recipe tips box below.
No Bake Frozen Chocolate Raspberry Pie Recipe Tips
Chocolate Cookie Crust
This recipe calls for 14 “full size” chocolate graham crackers, meaning the entire rectangular sheet of graham cracker. This should weigh 227 grams or 8 ounces. If you’re using pre-ground crumbs, it should be 1 cup crumbs.
I like to use a springform pan for this recipe so you can pop it right on out onto a cake stand or serving platter and cut clean slices super easily.
Pie Filling
This pie filling has a few different components that you prepare separately then mix together. You will dirty a few bowls, but it’s how we achieve a creamy frozen pie that involves no baking and no ice cream machine. You will need a few different standard kitchen appliances, though.
You start by blending together raspberries, sugar, and cocoa powder. If you’re using frozen raspberries, thaw them beforehand. Either will work! I like to press this mixture through a fine mesh strainer to remove the raspberry seeds. However, if you prefer the seeds feel free to skip this step.
Next, you take an electric mixer and beat the cream cheese, yogurt, and powdered sugar. This contributes a light yet creamy texture to the pie. You see, raspberries have water content that gets hard and icy when frozen. So we counteract that by adding richness and sugar to help keeps things softer. Beating air into this mixture will lighten the texture.
You then add combine the raspberry mixture, cream cheese mixture, and cooled melted chocolate chips. When you add the melted chips something interesting happens. They become a sort of “stracciatella” texture because of the cold yogurt. Flecks of hardened chocolate become woven into the pie filling. Yum!
Lastly, whip the cream until stiff peaks form. Be sure to use cold heavy whipping cream. You can use a clean bowl with your mixer, or an immersion blender with a whisk attachment, or even whip the cream by hand if you’re feeling strong.
The key is to gently fold the cream into the raspberry cream cheese mixture. You don’t want to deflate too much of that air that we just whipped in. Again, this is all done to create a beautifully smooth, creamy, and light texture without needing an ice cream machine.
Chilling, Serving, and Storing
Freeze the pie for at least 4 hours before serving. I typically like to make it the night before I plan on serving it. Keep it covered in the freezer for up to 1 week.
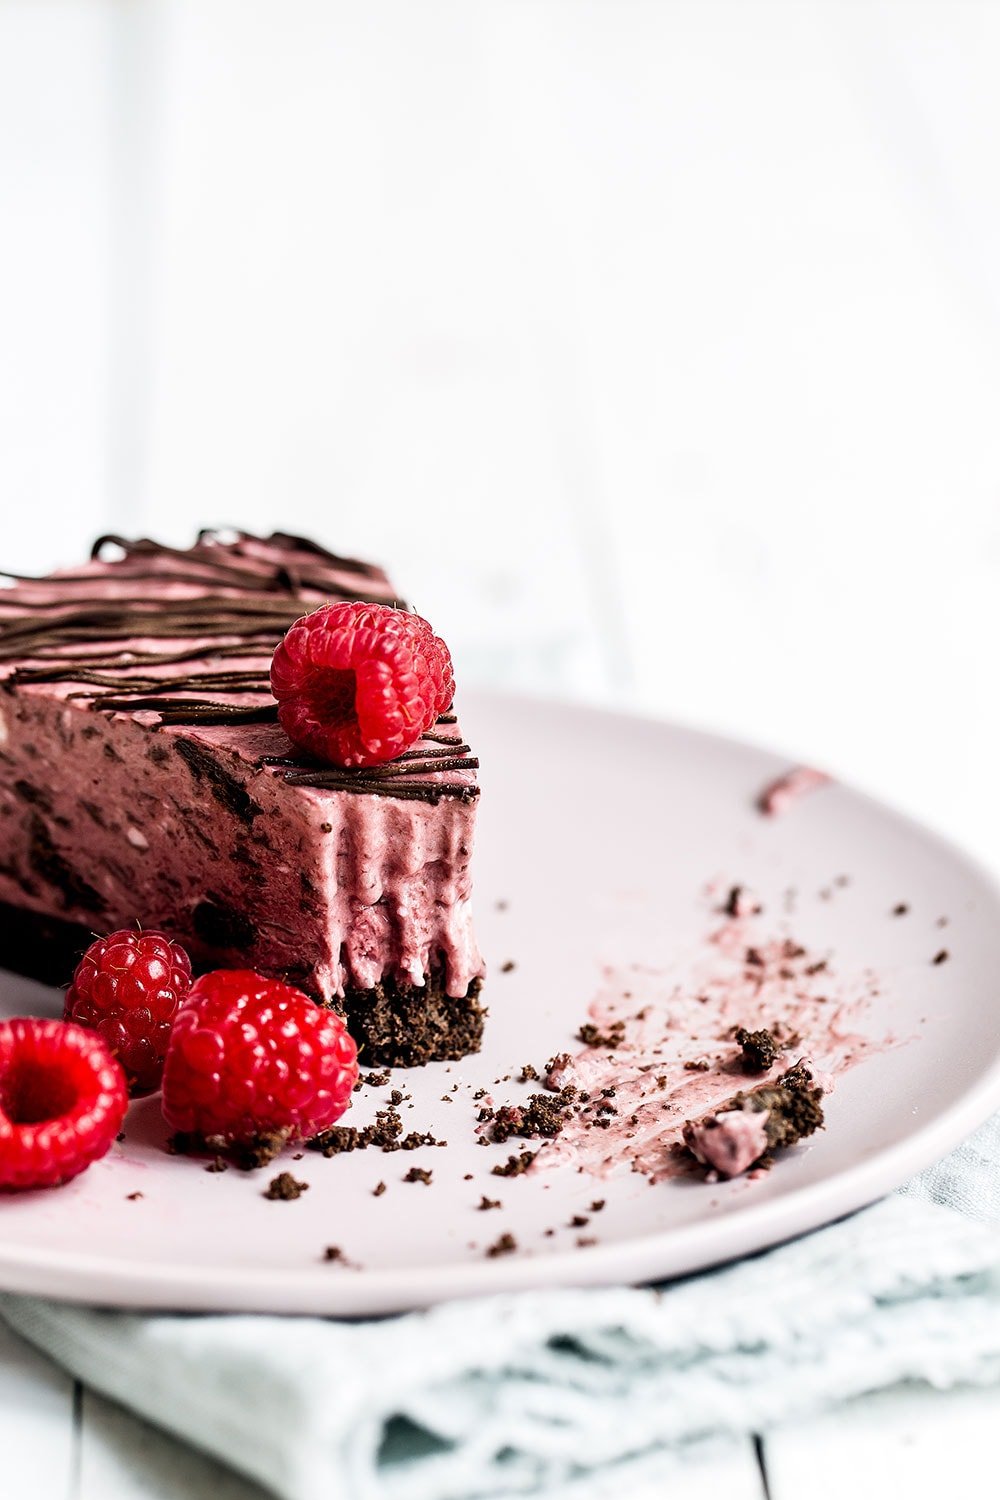
Before serving, let it sit at room temperature for 5 to 10 minutes so it’s easier to slice and enjoy. Drizzle more melted chocolate on and serve alongside fresh raspberries for a special touch.
More Chocolate Pie Recipes:
- Frozen Mint Chocolate Chip Pie
- Chocolate Peanut Butter Pudding Pie
- Chocolate Caramel French Silk Pie
Photos by Ashley McLaughlin.
This pie was the recipe selection for my July 2018 Baking Challenge! Here’s a peek at some of the community entries:

No Bake Frozen Chocolate Raspberry Pie
Ingredients
For the crust:
- 14 whole (227 grams) chocolate graham crackers
- 7 tablespoons (99 grams) unsalted butter, melted
For the filling:
- 1 cup (170 grams) semisweet chocolate chips
- 3 cups (420 grams) raspberries, fresh or thawed frozen
- 2/3 cup (133 grams) granulated sugar
- 1/4 cup (21 grams) unsweetened cocoa powder
- 1 1/2 cups (340 grams) plain nonfat yogurt, cold
- 8 ounces (227 grams) cream cheese, at room temperature
- 1/2 cup (63 grams) powdered sugar
- 1/2 cup heavy cream, cold
For topping:
- 1/2 cup semisweet chocolate chips, melted
- Fresh raspberries, for garnish
Instructions
For the crust:
- Spray a 9-inch springform pan with nonstick cooking spray.
- In the bowl of a food processor pulse the graham crackers until finely ground. Add the butter and pulse until moistened. Use the bottom of a measuring cup, glass, or ramekin to press the crust mixture into the bottom of the prepared pan. Place in the freezer.
For the filling:
- In a microwave-safe bowl, microwave the chocolate chips in 30-second bursts, stirring between bursts, until melted and smooth. Let cool.
- In the clean bowl of a food processor or blender, combine the raspberries, sugar, and cocoa powder and pulse until smooth. Press the mixture through a fine mesh strainer to remove seeds.
- In the bowl of an electric mixer, beat the cream cheese on high speed until light and creamy. Add the yogurt and powdered sugar and beat until smooth. Add in the raspberry mixture and cooled melted chocolate, beating to combine. The chocolate will become a sort of “stracciatella” texture with flecks of hardened chocolate woven into the mixture.
- In another bowl whip the cream until stiff peaks form. Gently fold into the raspberry cream cheese mixture until just combined. Spoon into the prepared crust. Freeze until solid, at least 4 hours.
- Let sit a room temperature for 5 to 10 minutes before slicing, drizzling with melted chocolate, and garnishing with fresh raspberries. Pie can be covered and stored in the freezer for up to 1 week.








Although the taste is great, as soon I mixed the raspberries with the cocoa powder I had a muddy brown mixture. And then adding in the melted chocolate made it even browner. The color pink in the picture is very deceiving.
What’s the whipping cream for ?
The heavy cream helps to give this pie beautifully smooth, creamy, and light texture without needing an ice cream machine.
I had the recipe bookmarked since the baking challenge and finally made it. WOW!!! It is absolutely delicious!
My husband loves fruity desserts and he was literally dancing! He felt that all the dishwashing he did was worth it
(I used chocolate Maria Cookies, couldn’t find Graham)
my favorite recipe to make. I substitute graham crackers for a brownie crust and it’s delicious.
So glad you love this recipe!
i am going to use blueberries instead,as my raspberries i brought home do not look good. Less Sugar?
The cakes you make are very attractive. This frozen cake is very new summer color.
Made this Saturday. Tasted wonderful but when I added the cooled chocolate, it just turned the mixture a muddy brown instead of the pretty pink with flecks of “stracciatella-ed” chocolate. Did I need to refrigerate the raspberry mixture to get it really cold before I added the chocolate? How cool should the chocolate be? it still tastes great but it doesn’t look very pretty – not like your beautiful picture. What should I do differently the next time I make it? Thank you!
Was your yogurt cold, Karen?
I do not believe the cups to grams measurement is accurate –
and I wanted to ask why we are using non fat yogurt? Is it the watery consistency that is preferred because I would assume the higher fat content would give a richer consistency?
Thank you
I am planning to make these in a mini cheesecake pan. Can they be refrigerated instead of frozen to make for easier removal from the pan? Will they firm up right?
Thankyou for another delicious recipe Tessa! I’ll definetelly try it. Since it’s we don’t have Graham crackers in our supermarkets we can use the homemade recipe wich I think will do a lot better although it means just a little more work on our hands… lol… But that’s just part of the fun, isn’t it?
hi, Tessa!
is there a substitute for graham crackers? I can’t seem to find any similar thing locally :/ let alone chocolate graham crackers. I usually just make cheesecake with butter cookies and don’t use sugar for the bottom. doesn’t really stay crunchy though :/
any suggestions on substitutes? are these just plain crackers like Mulino Bianco crackers integrali?
best from a teacup country of Slovenia!
I had the recipe bookmarked since the baking challenge and finally made it. WOW!!! It is absolutely delicious!
My husband loves fruity desserts and he was literally dancing! He felt that all the dishwashing he did was worth it
I’m so glad you and your husband enjoyed this recipe!
It looks delicious, u will make it.
Thank you so much.