


Tessa’s Recipe Rundown
Taste: Like a massive peanut butter cup from heaven.
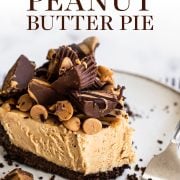
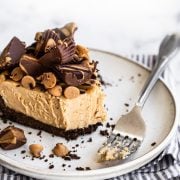
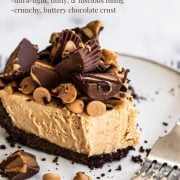
Texture: The crust is crunchy yet buttery, the peanut butter filling is ultra-light, fluffy, and luscious, and the candy on top takes it to a whole new level. Every bite is bliss.
Ease: Super duper easy!! You’ll get a few dishes dirty and need some patience for the pie to set, but this is a great easy go-to dessert recipe.
Pros: Easy, crowd-pleasing, and can be made ahead of time.
Cons: None.
Would I make this again? 100% yes!
This post may contain affiliate links. Read our disclosure policy.
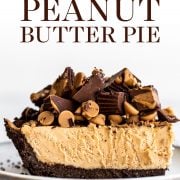
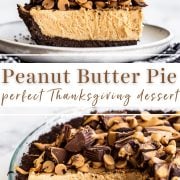
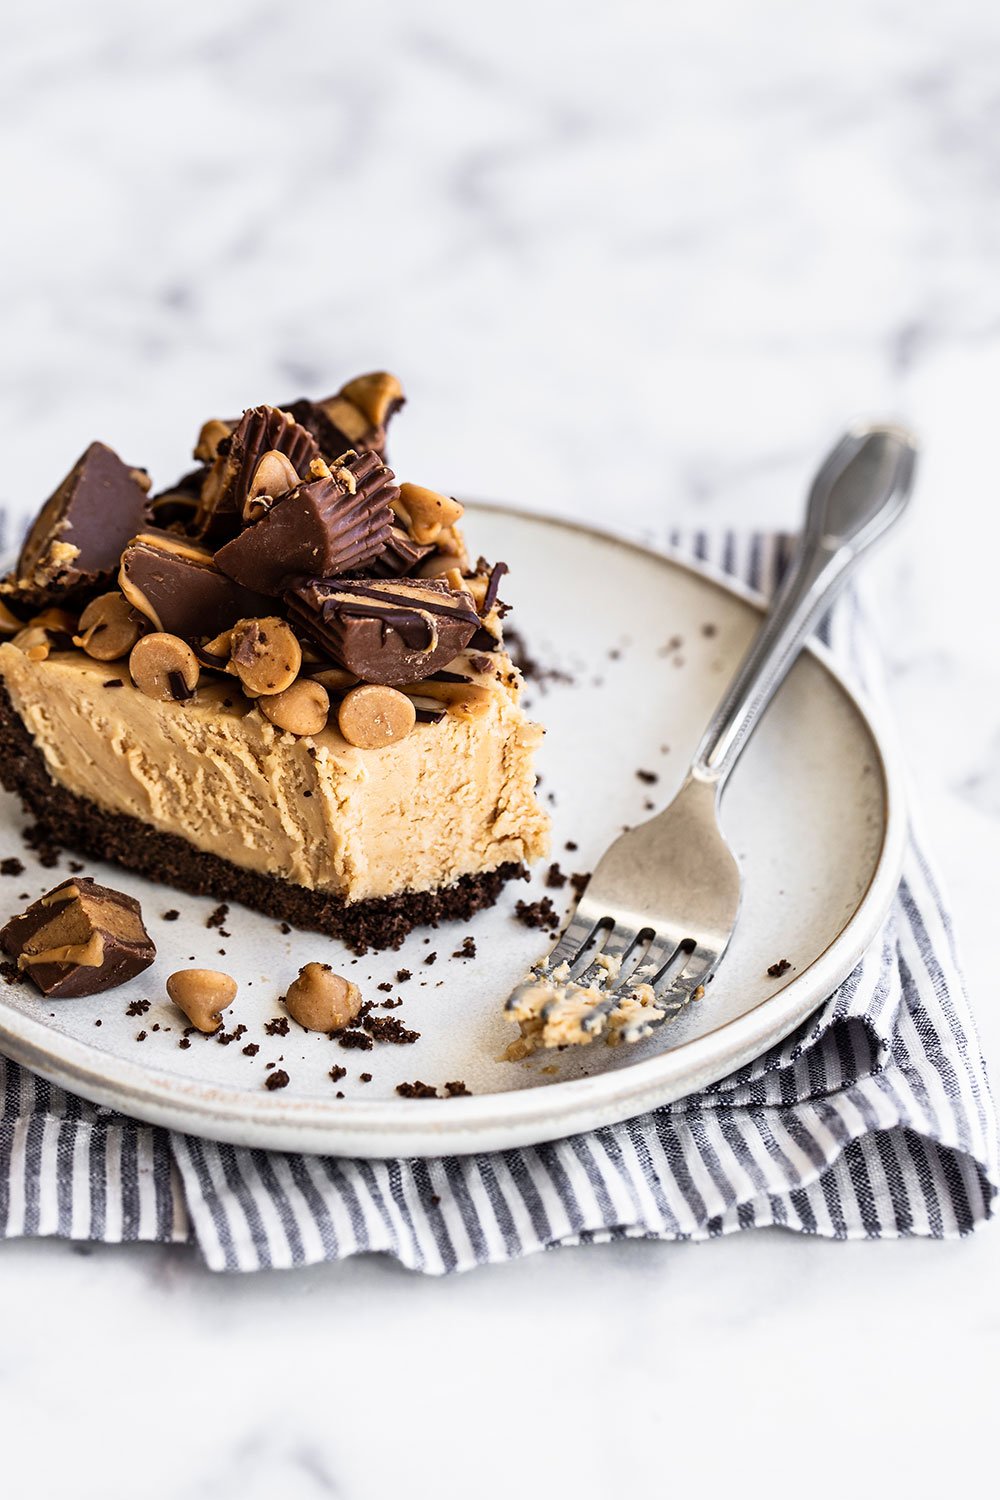
Life doesn’t get much better than this Peanut Butter Pie.
To me, peanut butter is one of the great pleasures of life. I’m OBSESSED with the stuff. Especially when it’s combined with chocolate… in PIE form.
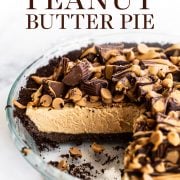
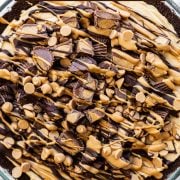
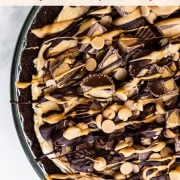
This isn’t any old peanut butter pie. I mean, just look at it. It’s over the top, messy, and unapologetically sinful in the best possible way.
I’ve accompanied this recipe with a step-by-step video to not only show you how to make this beautiful pie, but to whet your appetite for it.
Because the chocolate + peanut butter flavors truly belong together.
This easy Peanut Butter Pie recipe is a total crowd-pleaser and won’t last long at all. That coupled with the fact that it can be made completely ahead of time makes it a perfect go-to recipe for easy entertaining. Everyone will want seconds of this pie. It’s that good!

Sprinkle of Science
How to Make Easy Peanut Butter Pie
How to Make Peanut Butter Pie WITHOUT Cool Whip
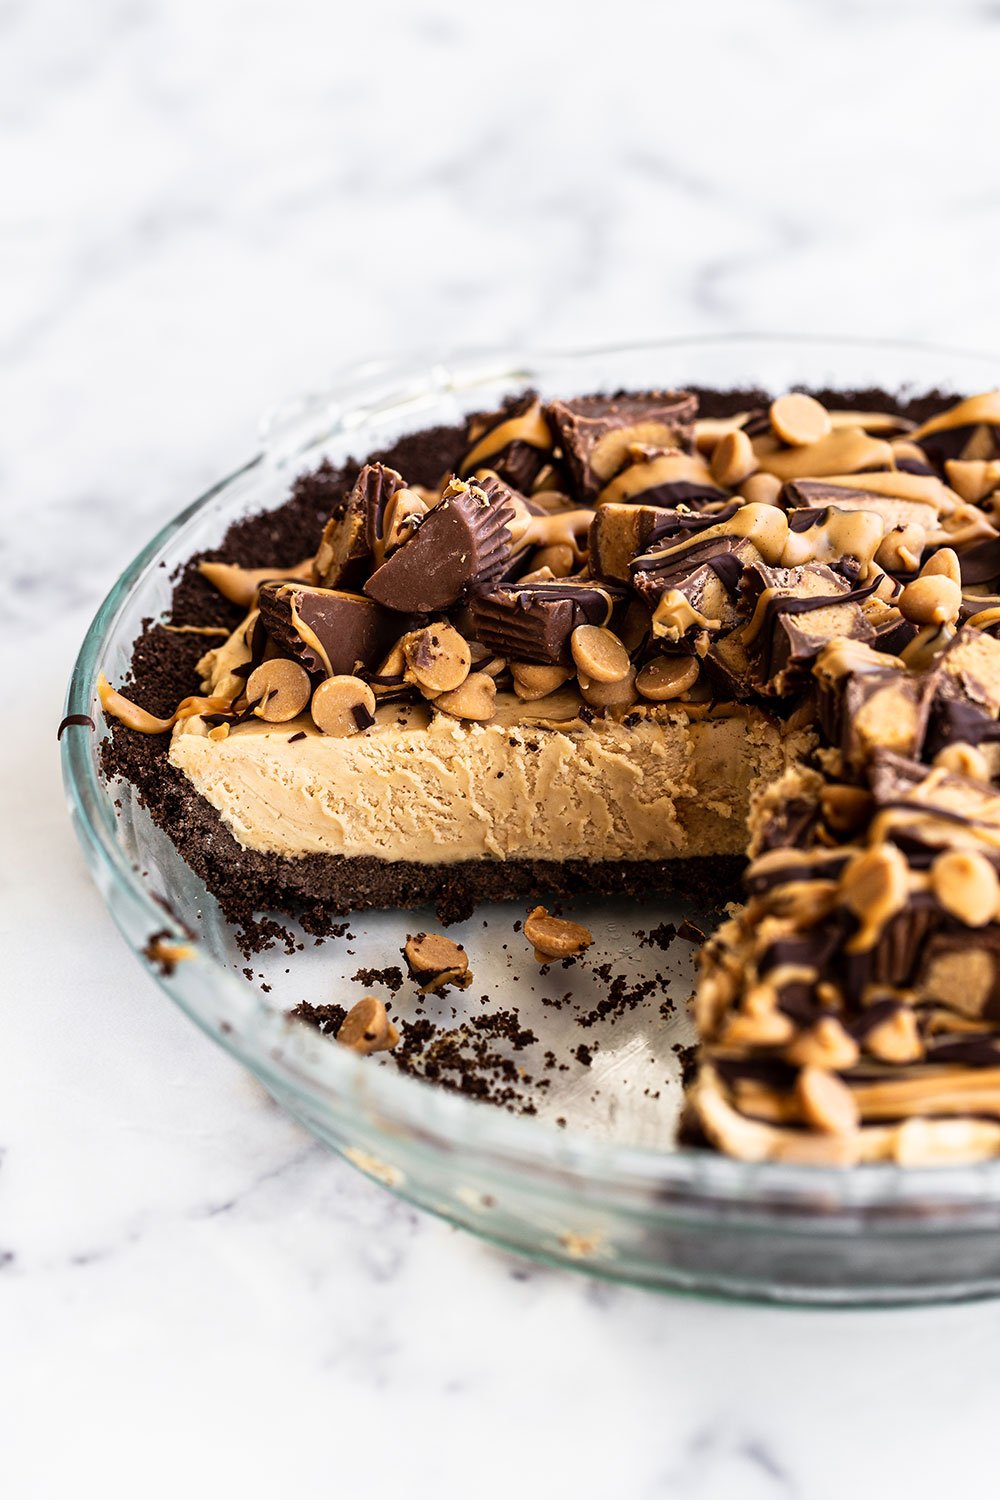
My favorite part about this pie recipe is that it’s entirely homemade! We make the filling with a mixture of peanut butter (of course!), cream cheese, heavy cream, and powdered sugar. Whipping the cream, then folding it in with the other beaten ingredients, gives this pie a light, creamy, yet rich texture without any Cool Whip (or any other highly-process whipped topping).
Pie Crust Variations
This recipe calls for a chocolate graham cracker cookie crust, but you could also use:
- Chocolate Teddy Grahams or chocolate wafer cookies (use the same amount by weight for best results, you should have about 1 3/4 cups crumbs total)
- Oreo crust (follow the crust ingredients & instructions in my French Silk Pie recipe)
- Regular graham crackers (follow the crust instructions in my Chocolate Peanut Butter Pudding Pie recipe)
- My all-butter Best Ever Pie Crust recipe , or a Lattice Pie Crust
What Kind of Peanut Butter is Best for Pie?
- Use conventional creamy peanut butter for this recipe, such as Skippy or Jif.
- Any kind of “natural” peanut butter that doesn’t include an added oil to stabilize the mixture will result in a pie filling that could become oily and separated.
- If you must use natural peanut butter, make sure it’s extremely well stirred and smooth before using.
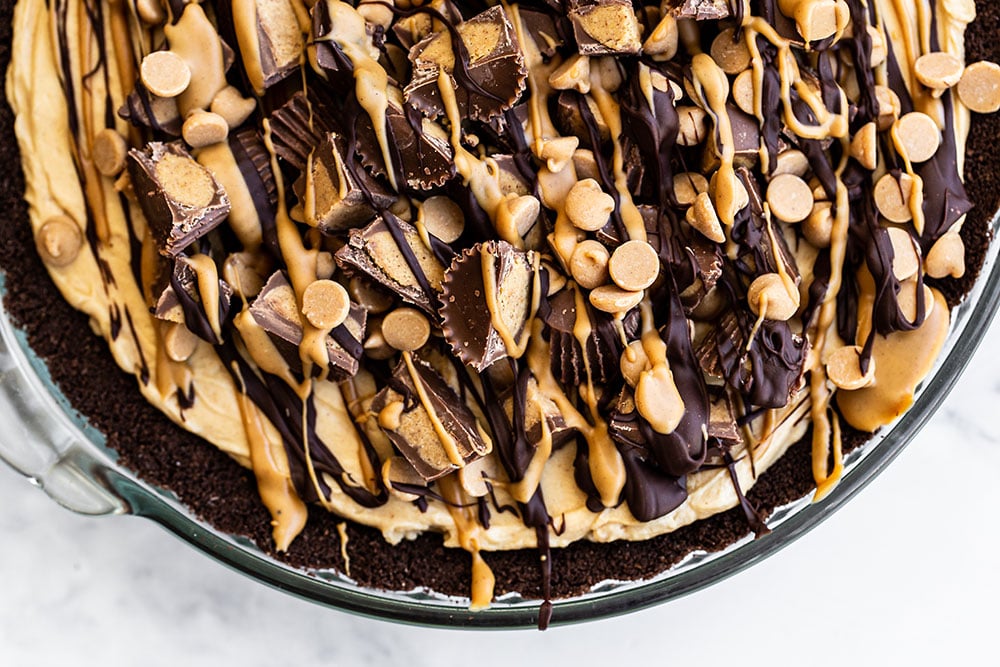
How Much Melted Chocolate + Peanut Butter for Topping?
This is entirely up to you and your taste preferences! Simply melt the peanut butter and chocolate in your microwave and drizzle as much as you’d like over your pie.
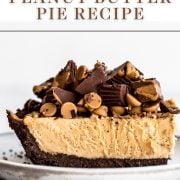
How Many Peanut Butter Cups Do I Need?
Use as many or as few as you like – and feel free to customize! If you’d like to add some Reese’s Pieces in there, go right ahead – be as creative and fun as you wish.
Can’t Have Peanuts? Use Almond Butter Instead!
- Use the same amount of almond butter as peanut butter in the recipe.
- Add 2 teaspoons of vanilla extract to the cream cheese, powdered sugar, and almond butter filling (still adding the 1 teaspoon of vanilla extract to the heavy cream mixture as well).
- For the toppings, skip the Reese’s cups and peanut butter chips and instead garnish with almond butter cups and melted chocolate, or any other toppings of your choice.
How to Serve Peanut Butter Pie
You can actually serve the finished pie frozen or refrigerated, depending on which texture you prefer – or how hot it is outside!
How Long is Peanut Butter Pie Good For?
Store covered in the fridge for up to 3 days.
How to Freeze Peanut Butter Pie
Wrap tightly in plastic wrap and store in the freezer for up to 1 month. Serve frozen, or thaw overnight in the fridge before serving, if preferred.
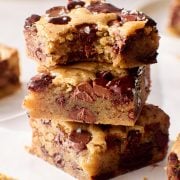
More Crowd-Pleasing Pie Recipes:
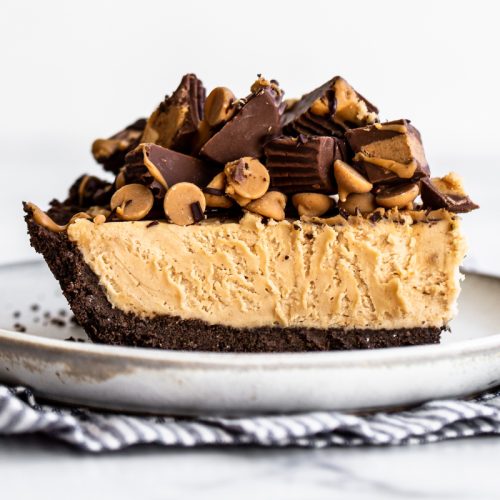
Peanut Butter Pie

Email This Recipe
Enter your email, and we’ll send it to your inbox.
Ingredients
For the crust:
- 14 whole (196 grams) chocolate graham crackers*
- 1 tablespoon light brown sugar
- 7 tablespoons (99 grams) unsalted butter, melted
For the filling:
- 8 ounces (227 grams) cream cheese, at room temperature
- 3/4 cup (94 grams) powdered sugar plus 2 tablespoons, divided
- 1 cup (270 grams) creamy conventional peanut butter
- 1 cup (240 grams) heavy whipping cream
- 1 teaspoon vanilla extract
For the topping:
- Melted peanut butter
- Melted chocolate
- Mini Reese’s cups
- Peanut butter chips
Instructions
- Preheat the oven to 325°F.
For the crust:
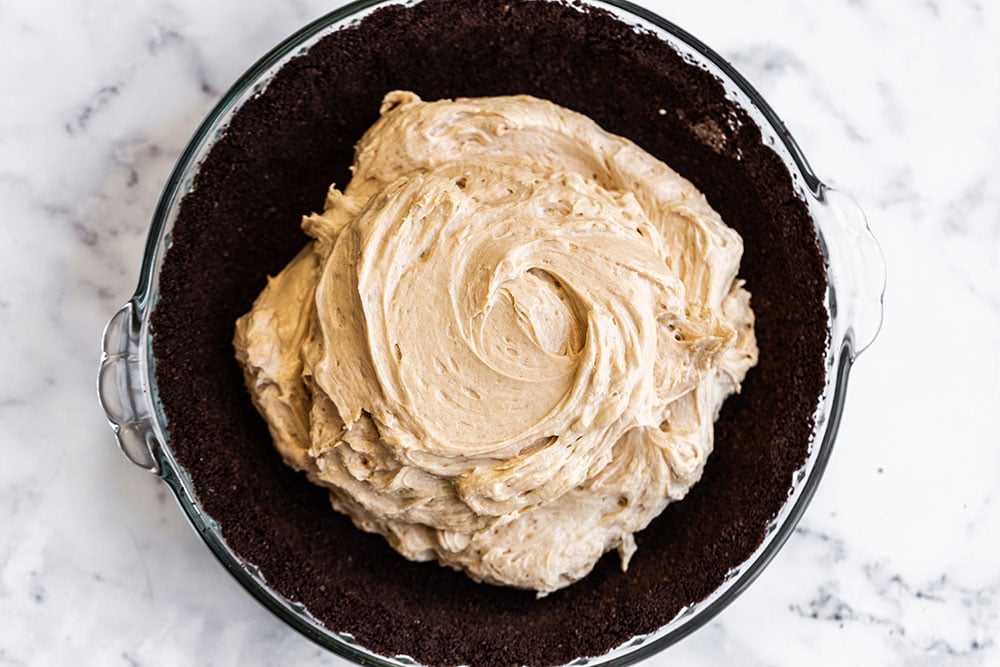
- In the bowl of a food processor, process the crackers and sugar until finely ground. Add the butter and pulse until moistened. Use the bottom of a measuring cup, glass, or ramekin to press the crust mixture into the bottom and up the sides of a 9-inch pie plate. Bake until fragrant, about 10 to 12 minutes. Cool completely on a wire rack.
For the filling:
- In a large bowl, use an electric mixer to beat the cream cheese, 3/4 cup powdered sugar, and the peanut butter until light and fluffy, about 3 minutes.
- In a separate bowl, use an electric mixer with the whisk attachment to whip the heavy cream until thick and light. Add in the remaining 2 tablespoons of powdered sugar and the vanilla extract and continue to whip until stiff peaks form.
- Gently fold the whipped cream into the peanut butter mixture. Pour into the prepared pie shell and freeze for 3 hours or chill in the fridge at least 6 hours.
- Place your melted peanut butter and melted chocolate in separate resealable bags or piping bags. Snip off a tiny corner of the bag's tip. Squeeze slightly to drizzle the melted peanut butter and melted chocolate over your pie. Top with mini Reese's cups and peanut butter chips. Serve frozen or refrigerated.
- Store in the fridge, covered, for up to 3 days, or in the freezer for up to 1 month.
Recipe Notes
This recipe was originally published in 2015 and was recently updated with new tips & photos. Photos by Ashley McLaughlin.


Recipe was easy to follow. The finger lick was delicious.
Another great recipe from Handle the Heat! I would have like some drizzling instructions. My drizzles looked more like blobs.
Another great recipe from Handle the Heat. I would have liked some instruction on how to drizzle. My chocolate and peanutbutter drizzles were more like blobs.
Thanks for the feedback, Elizabeth! I just updated the recipe instructions to include that.
so so good! made it on national peanut butter day and it was amazing!
This pie is so creamy and delicious. I have made it twice and will continue to make this! Love peanut butter desserts.
Loved this! I added mini mini Reese’s peanut butter cups, mini Reese’s peanut butter cups, Reese’s pieces, peanut chocolate chips, and nestle roll house peanut butter caramel morsels to the top, regretting not adding peanut m&ms but I love how beautiful it turned out! First time having PB pie too (oh and made an Oreo pie crust instead out of Peanut Butter Pie Oreos [can’t believe they have those] because I figured why not) sorry for the long comment
Wow, my mouth is watering reading through your toppings! Also, great idea using Peanut Butter Pie Oreos for the crust, I bet your pie tasted incredible!
Can this be made into cupcakes? Would the baking of the crust be different?
We haven’t tried that, but I’d imagine this recipe could be made into mini “cupcake” peanut butter pies! As we haven’t experimented with it, you’ll want to follow the sensory indications of the recipe over the baking time of the crust, baking until your mini crusts are fragrant. Please let us know how it goes!
I made this in cupcake form. Looks fantastic. I baked for 10 minutes, should have been closer to 8. Not burned, but a bit too dry. It made 18, as I did not want to overfill, and wanted the toppings to stay on. Melted peanut butter went on great, had to pipe the chocolate due to the mini size.
Cannot figure out how to add a picture.
So glad they turned out well for you! We don’t have a way to include photos on our website, but feel free to share either on Instagram using the tag #handletheheat so Tessa can see, or in our Facebook Group.
SO delicious and unexpectedly light in texture! A winner for sure-
I’m not sure what this is- a mouse, pie, or cheesecake type dessert. Either way, it’s delicious! If you’re a peanut butter lover, you will definitely love this recipe. It was very simple to make.
I could not find chocolate graham crackers (or chocolate teddy grahams or anything similar). I could have used oreo, but I opted to use graham crackers + sugar + cocoa instead. It worked out just fine.
Glad your substitution worked perfectly, so happy you love this recipe!
Oh my! This is a great recipe, even though my pie raised like a cake~ haha made it with 100% peanut peanut butter makes it even more delicious and rich!
Wow, this is the perfect recipe. I’m not super crazy about peanut butter, but the mix of it and cream cheese is perfect. It was so easy to make. My husband loved it. The only thing I did different was I added a few chocolate chips to the top. If you haven’t tried this, you need to.
Can’t go wrong with more chocolate, yum! Happy this recipe was a hit!
Delicious!! This pie is quite manageable to make, it tastes amazing, and is quite impressive to share 🙂 Tessa’s step by step directions make it easy to follow. I’ll definitely make it again.