


This post may contain affiliate links. Read our disclosure policy.


Tessa’s Recipe Rundown
Taste: The quick baking soda bath provides that distinct pretzel taste you know and love.

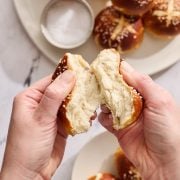
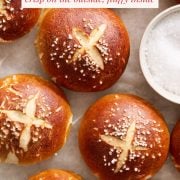
Texture: Crisp on the outside with a fluffy, chewy interior.
Ease: Surprisingly easy but very satisfying.
Why you’ll love this recipe: The perfect way to add a gourmet, baker-style touch to any BBQ, game night, or Oktoberfest celebration.
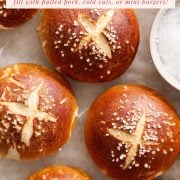
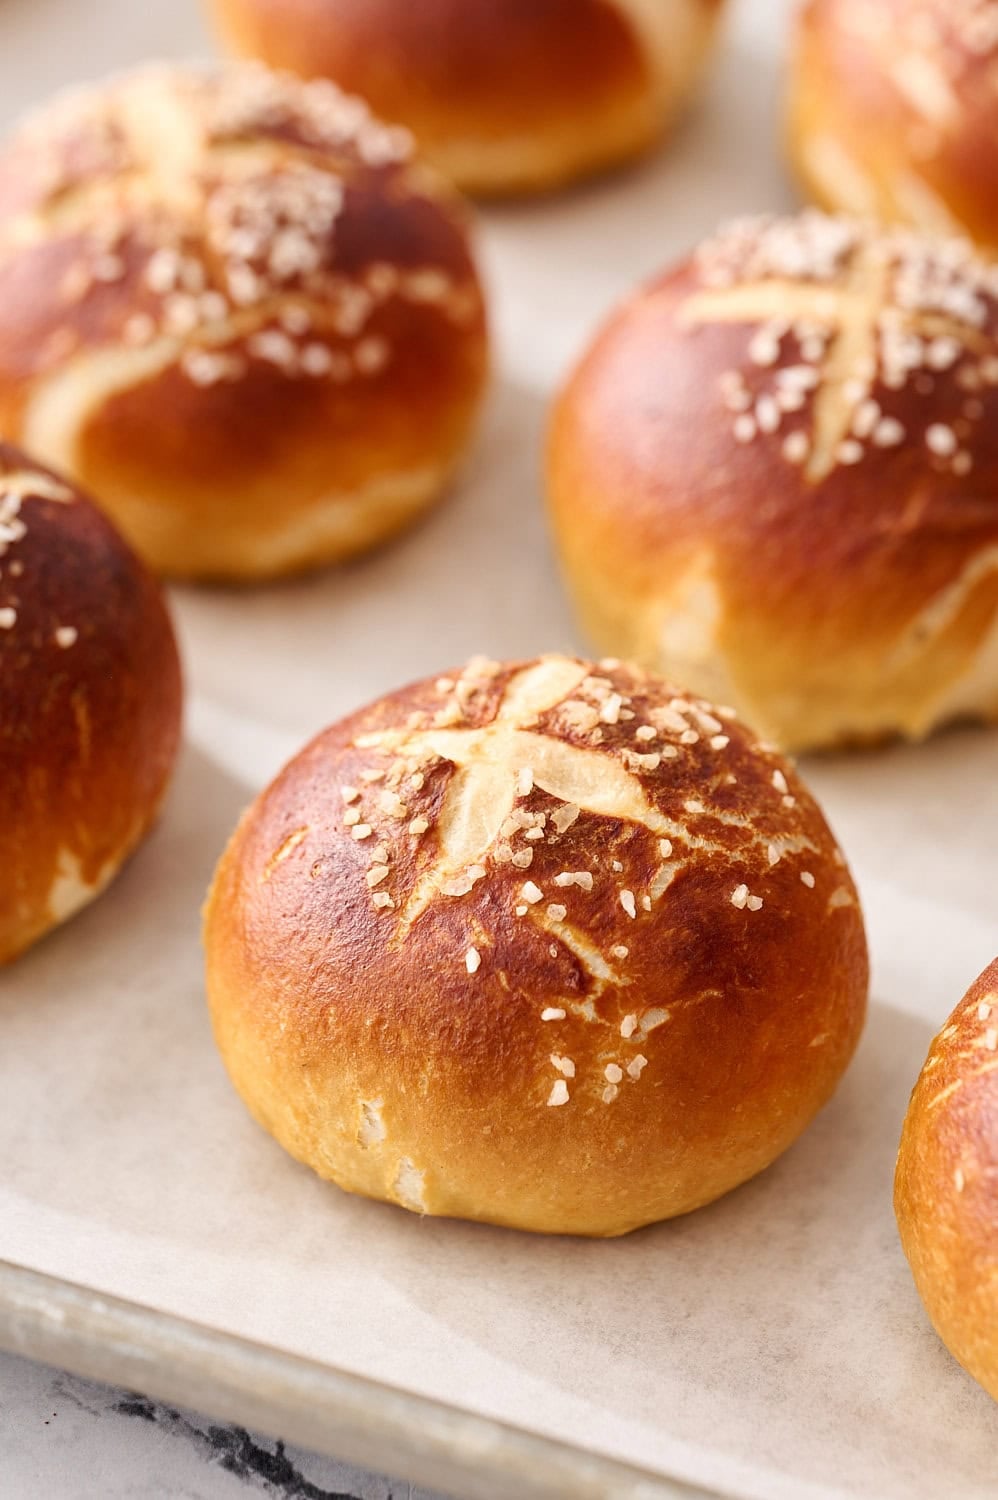
Forget basic, bland grocery store buns. These salty, chewy pretzel rolls will steal the show. Whether it’s pulled pork, mini burgers, veggie patties, or even a breakfast sandwich, these are the buns you deserve.
I promise, they are shockingly simple to make. Yes, there’s a few steps and two relatively short rise times. But you can totally do this from start to finish on a free afternoon. This is one of those delightful recipes that transforms basic ingredients into something incredible.
Or, follow my make-ahead instructions to prep these before the Super Bowl or any other occasion.
Recipe Ingredients
Butter: Just a touch to add some flavor and richness to these buns. If you’d like, save some extra butter for melting and brushing onto the freshly baked rolls.
Instant Yeast: This speeds up rising times, but if you only have active dry yeast, use that in place at a 1:1 ratio and expect about 20% longer for total rising time.
Brown Sugar: Just a tablespoon to add a tiny hint of sweetness, balance the alkaline flavor of the baking soda bath, and to promote browning. You can also use barley malt syrup (more traditional) or even regular white sugar or honey in a pinch.
Warm Water (Important Note!): In order to properly activate the instant yeast, the water needs to be around 120°F. If it’s too cool, the dough will take longer to rise. If it’s too hot (140°F) it will kill the yeast. Basically, it should feel comfortably warm.
All-Purpose Flour: This recipe was successfully tested with bleached Gold Medal All-Purpose Flour as well as unbleached King Arthur All-Purpose Flour.
Note: If it’s over 65% humidity where you live, you may need to add an extra 2 tablespoons of flour to yield a smooth, elastic dough that doesn’t stick to the bowl. Avoid adding too much extra flour; otherwise, your buns may turn out dense and dry.
Salt: Fine salt (I prefer sea salt, you can also use table salt) is added to the dough for flavor and because it performs the important function of tightening the gluten network (the structure of the bread) and tenderizing the final buns. Then, for topping, I use pretzel salt ordered from Amazon. You can also use coarse sea salt instead.
Baking Soda: There’s none inside the dough, but instead the shaped and risen rolls are bathed in a baking soda solution. More on this below.
How to Make Pretzel Buns (Step-by-Step)

Prepare the Dough: In the bowl of a stand mixer fitted with the dough hook, combine all ingredients and knead until a smooth and elastic dough forms. You can also knead by hand, it’ll just take some tenacity!
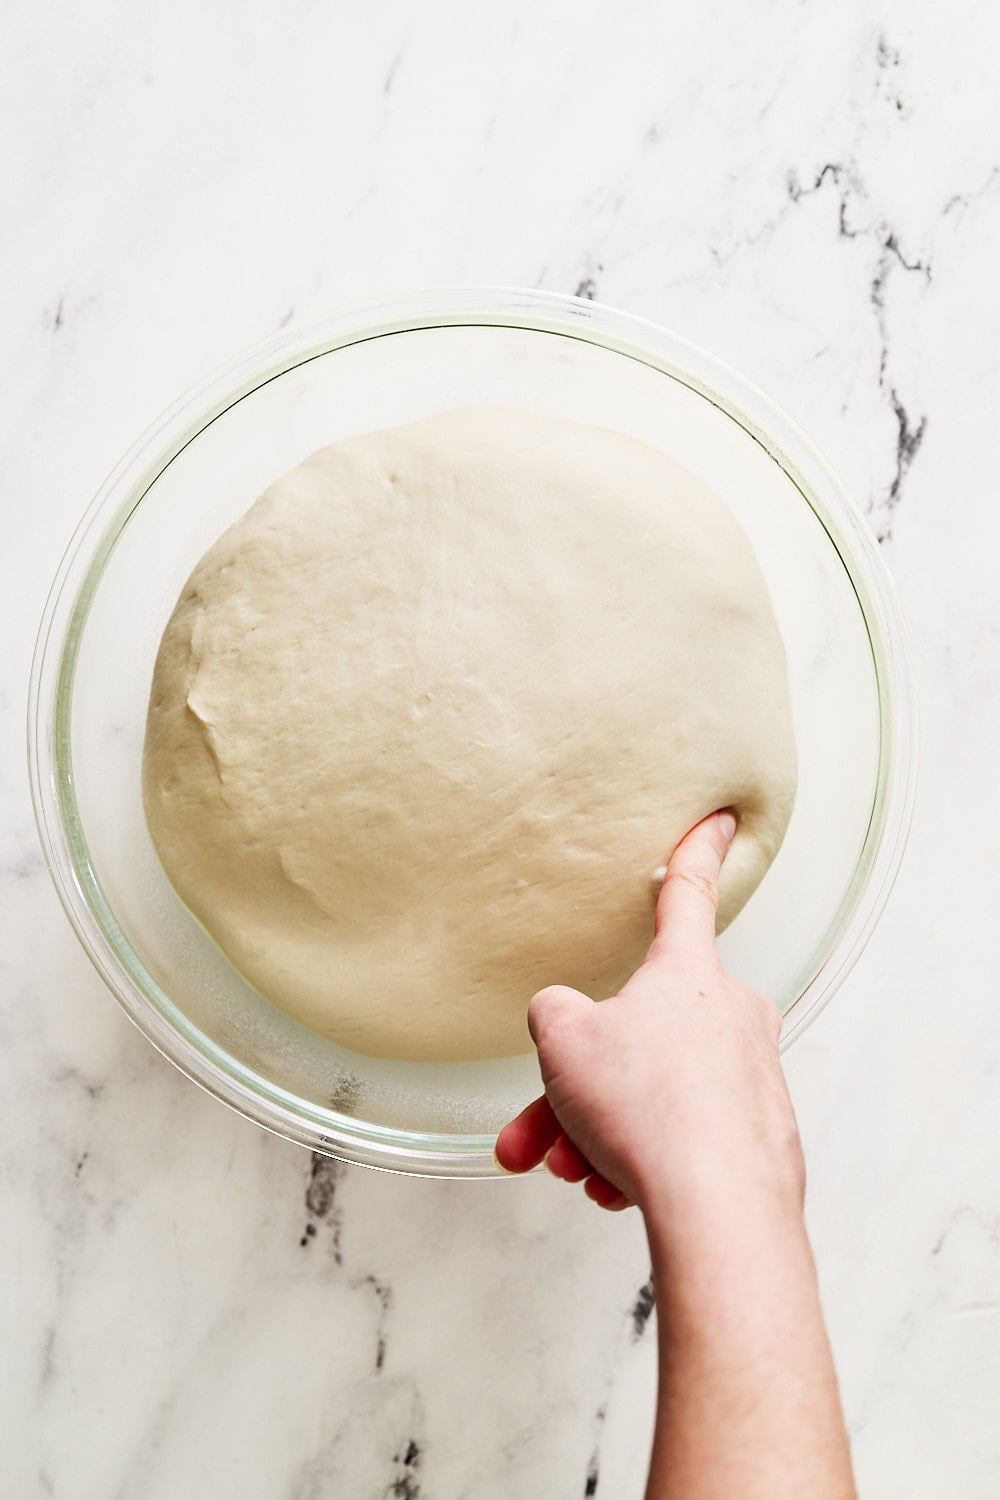
First Rise: Place the dough in a greased bowl, turn to coat, and cover tightly with plastic. Let rise in a warm place until doubled in size, about 1 hour. The dough is ready when a finger pressed in leaves a mark that doesn’t spring back.
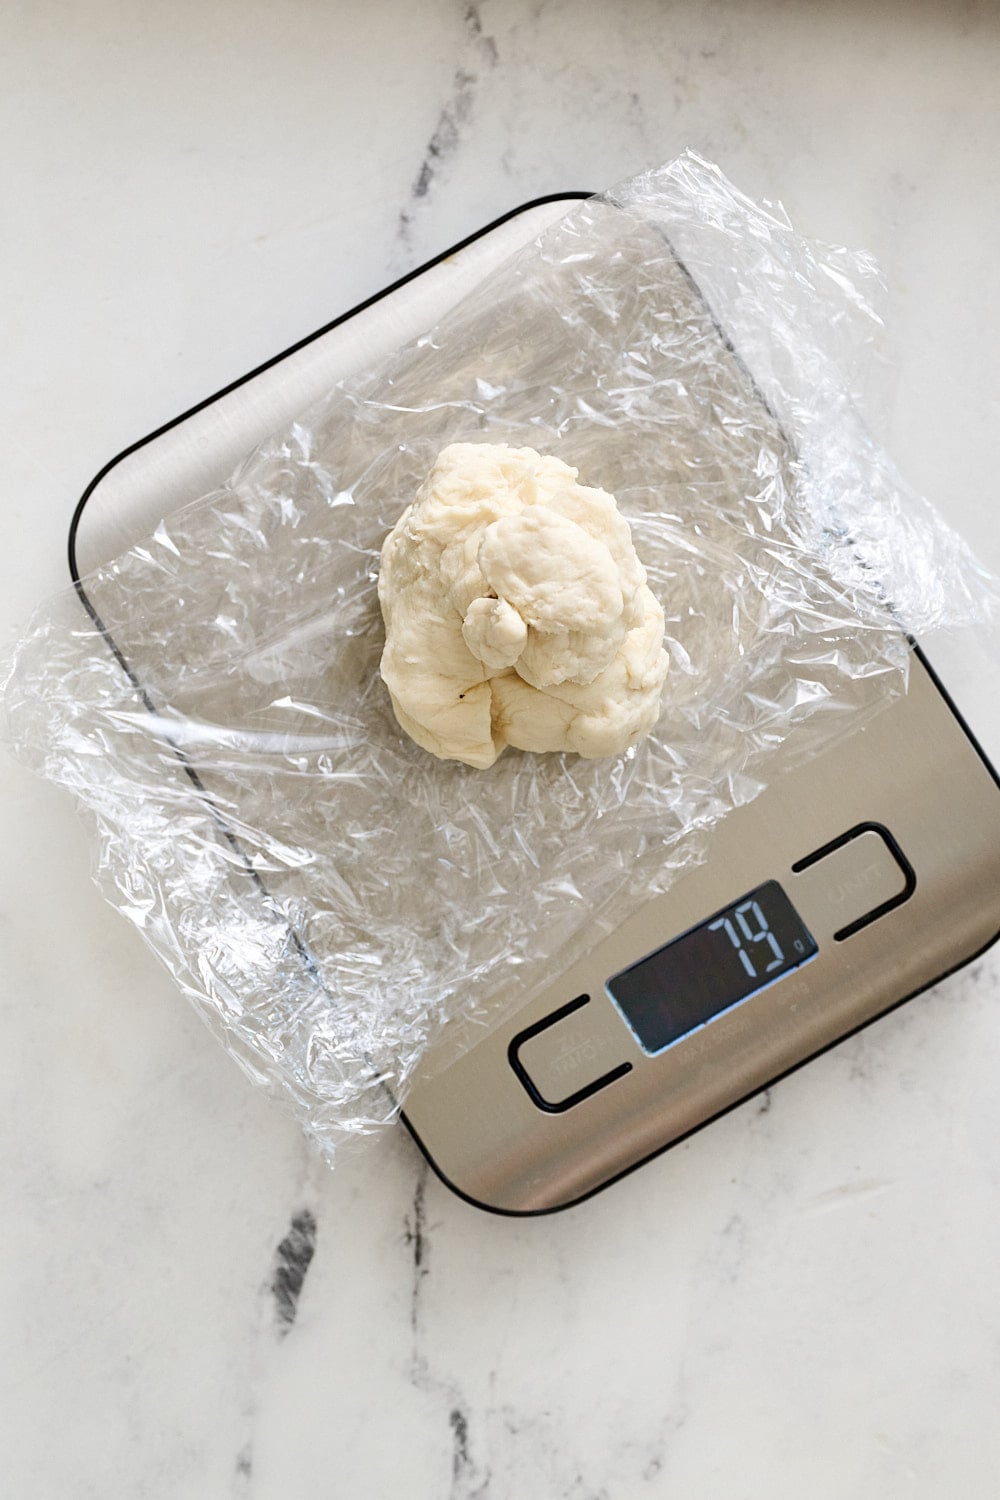
Divide: Tear into 12 equal portions (a scale makes precise work of this).
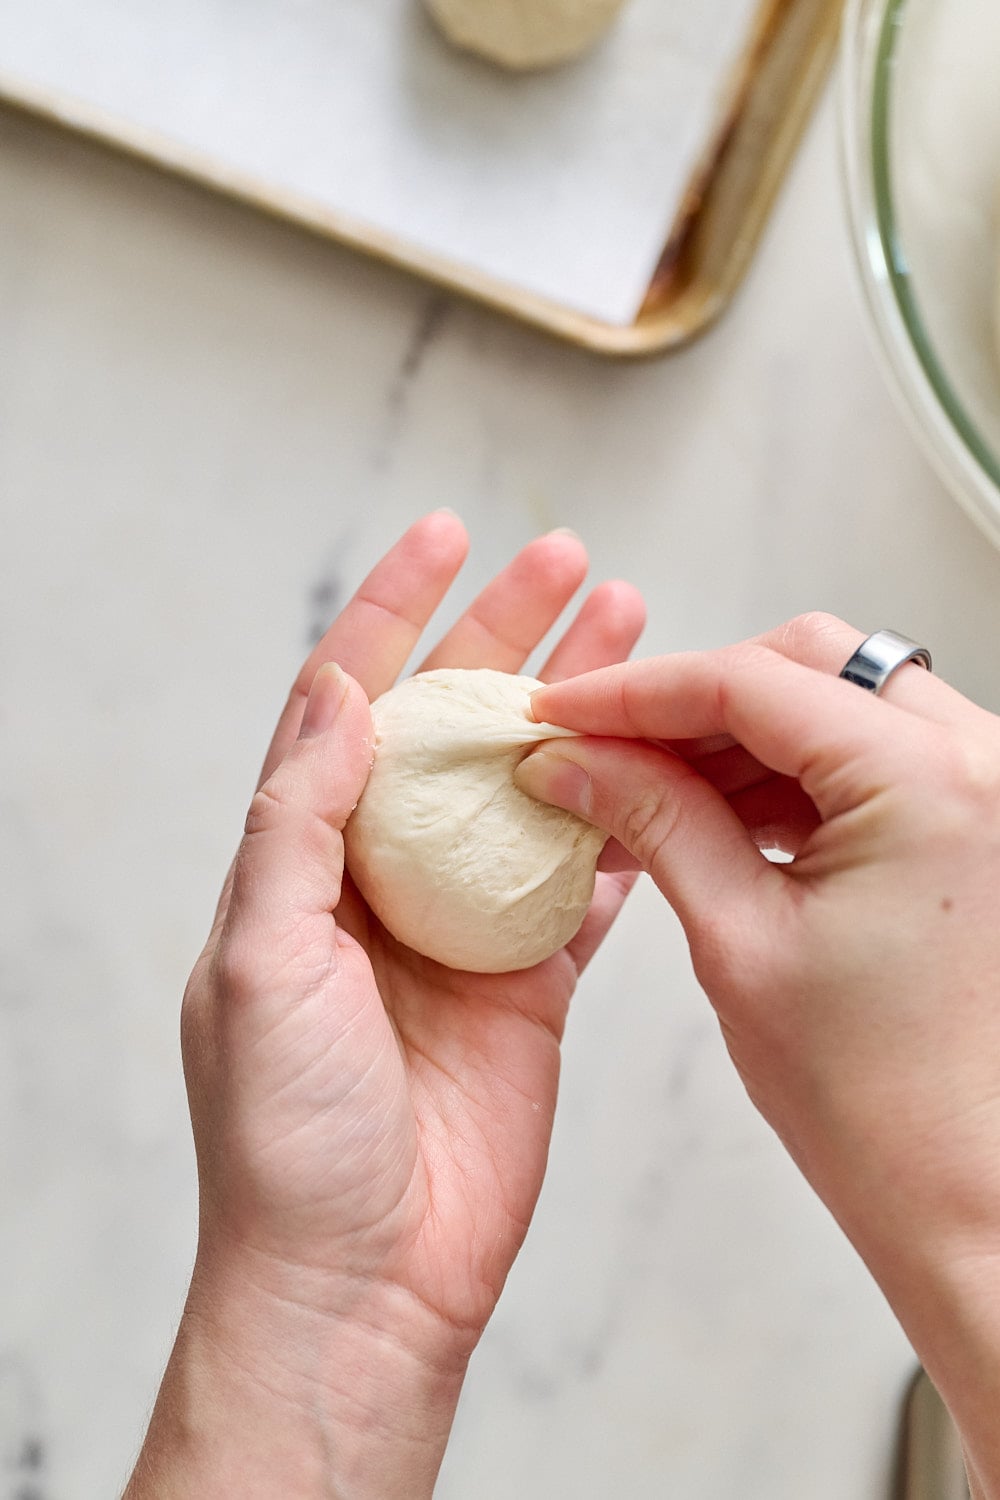
Shape: Turn each portion into a smooth ball by pinching and tugging on flaps of dough to converge into one central seam.
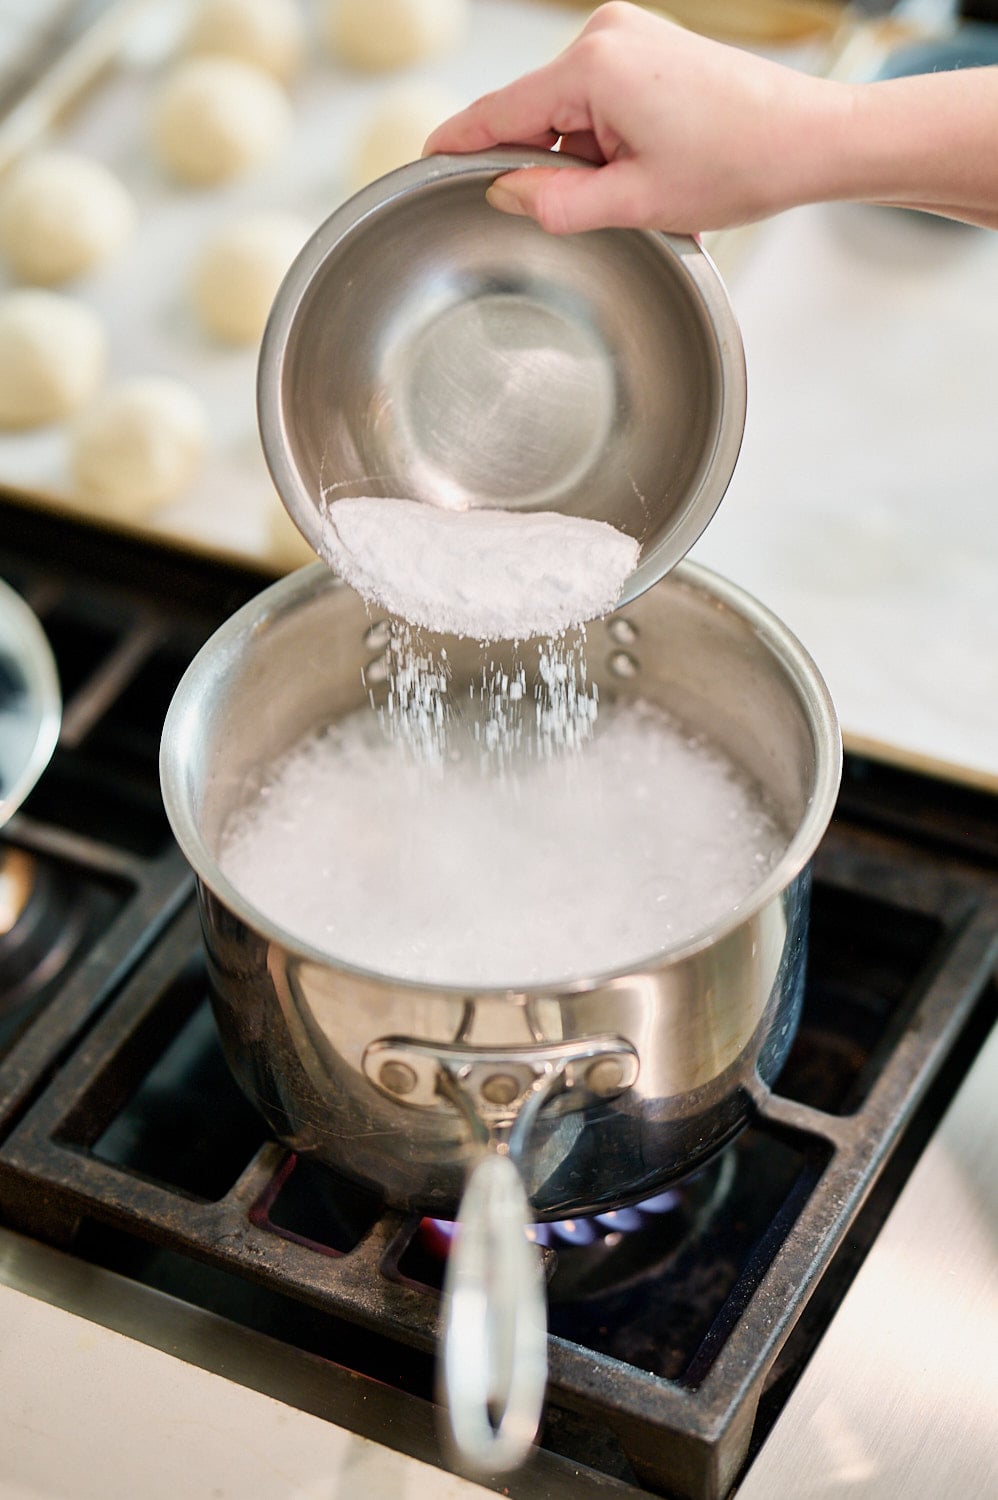
Prepare bath: Bring 6 cups of water to a boil then carefully and gradually add the baking soda. Use caution, it’ll foam up quickly.
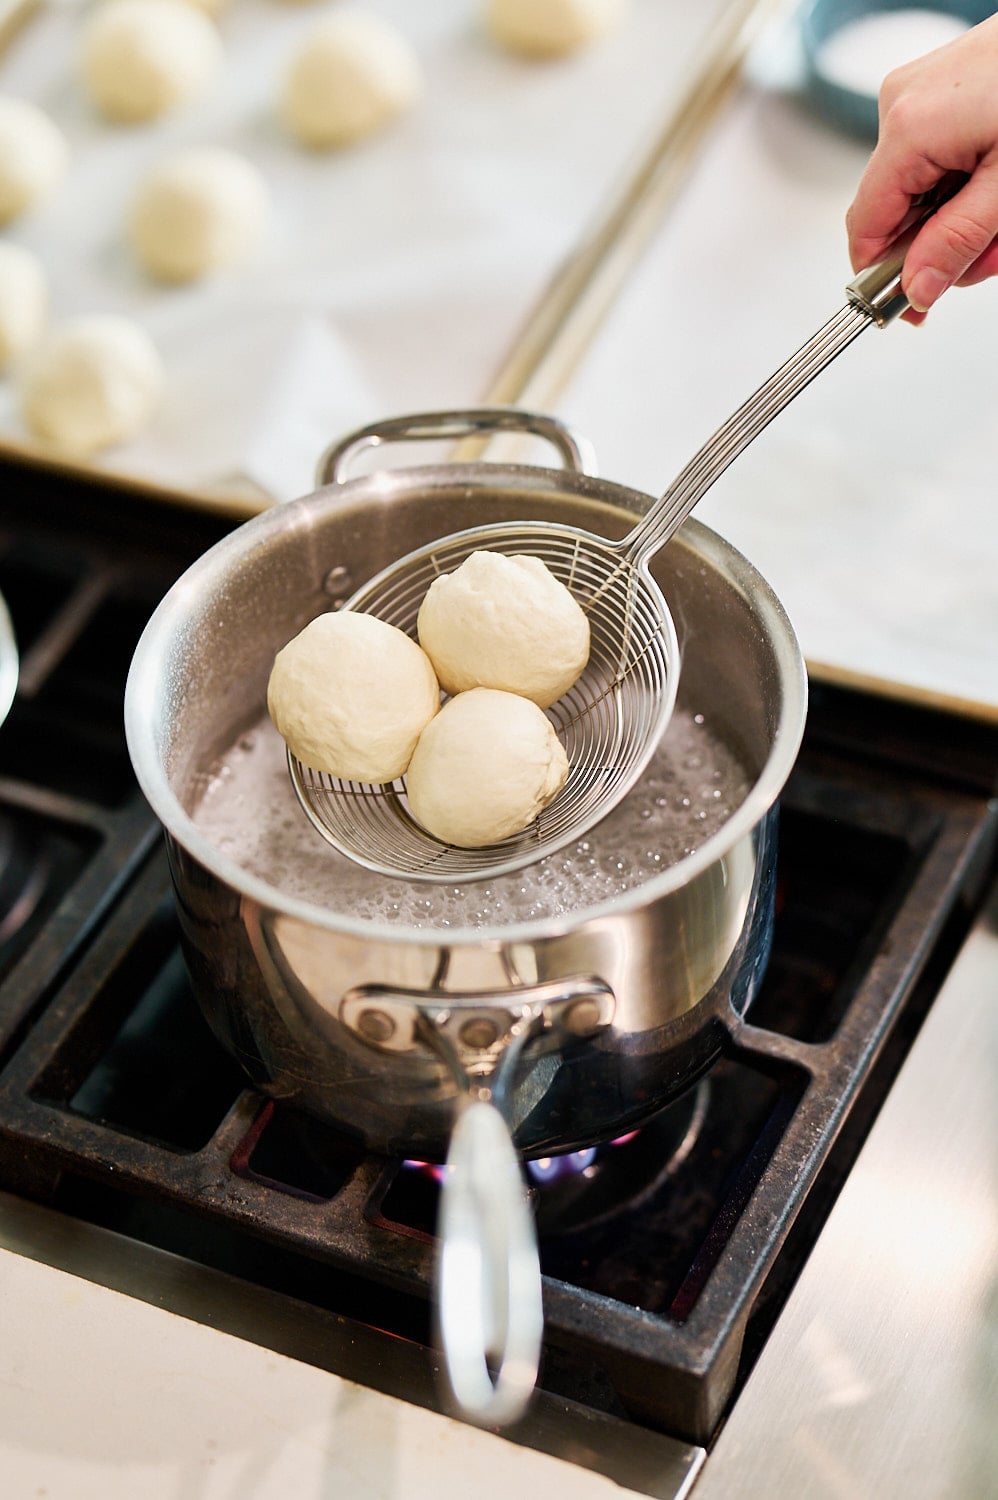
Dip pretzels: A few at a time, into the bath for about 15 seconds per side. Place on a greased parchment or silicone baking mat-lined baking sheet.
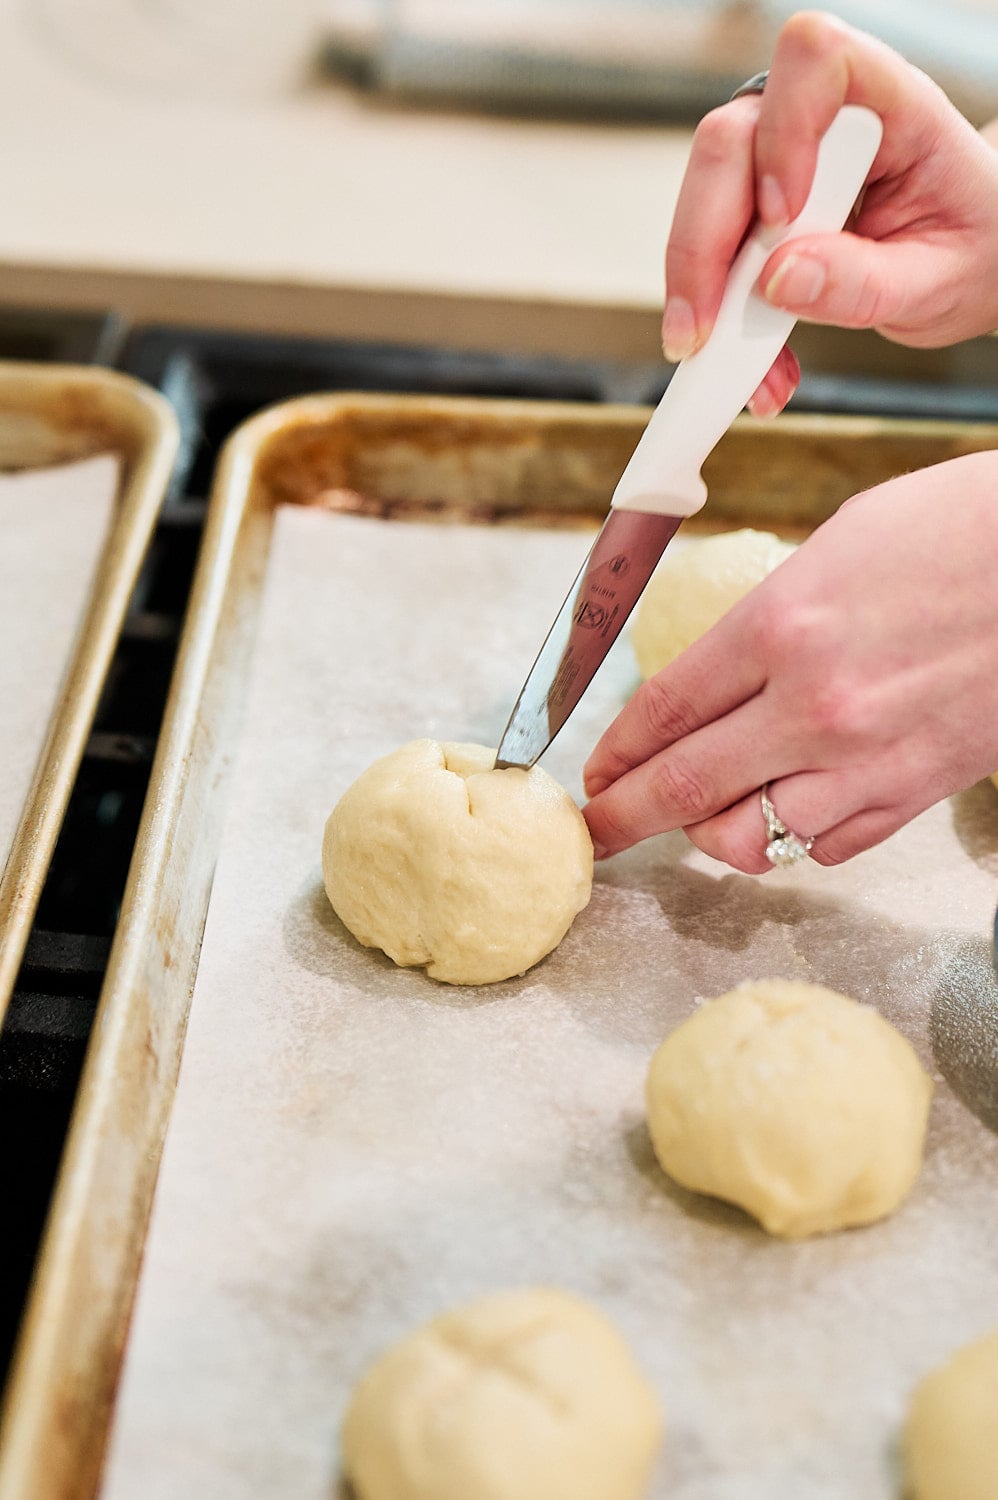
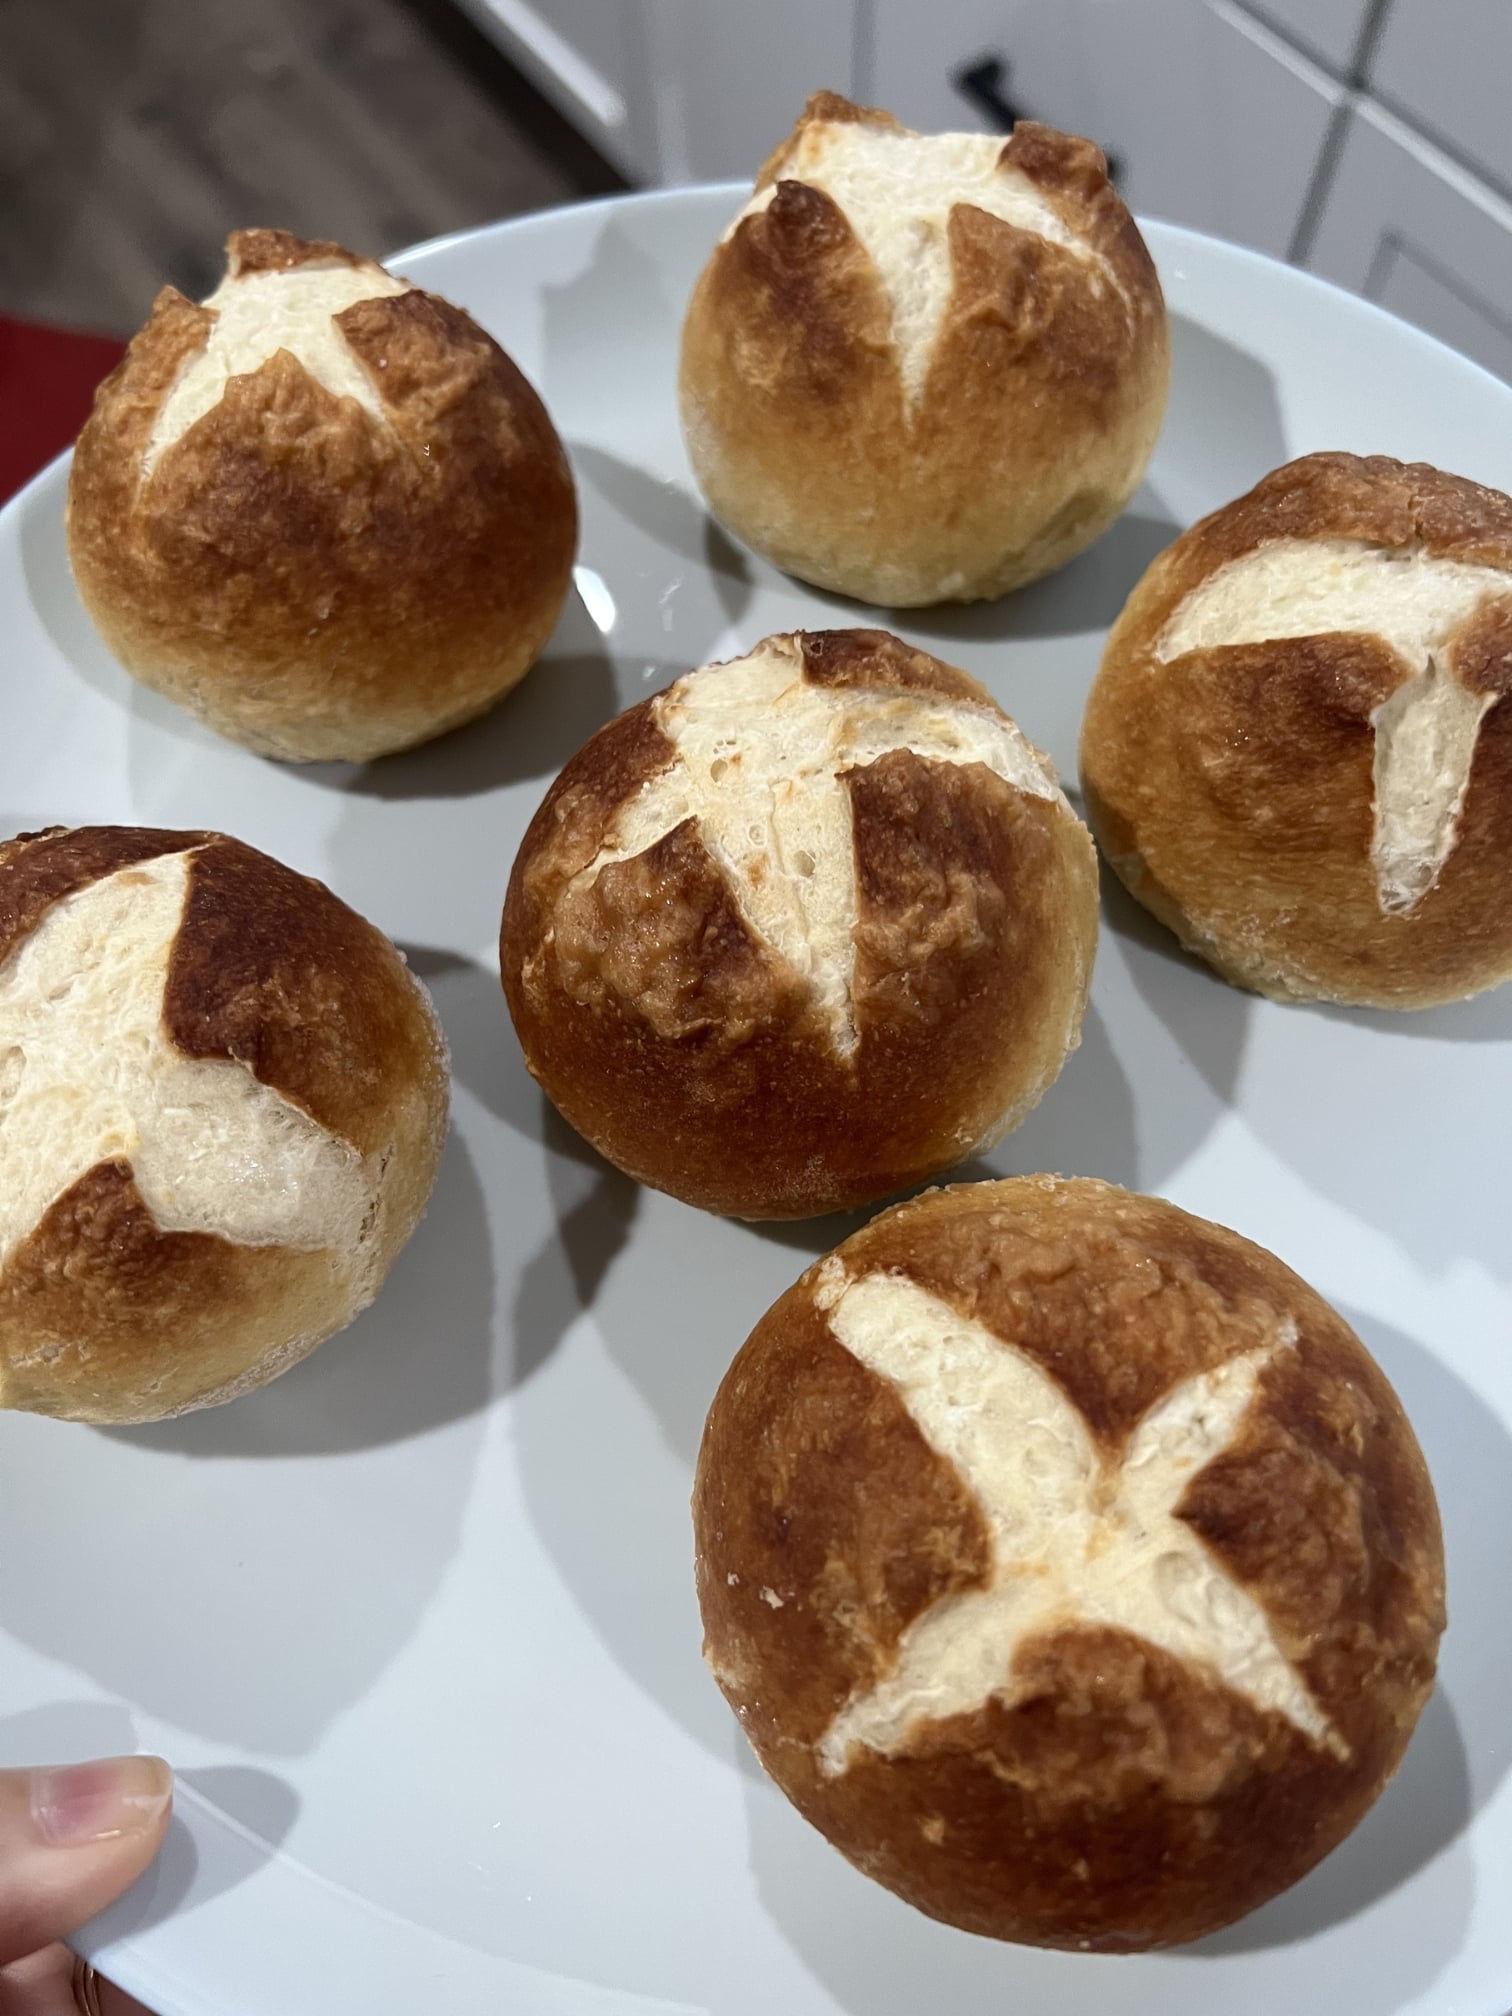
Score: Use a small sharp knife to make a crisscross into the center of each bun to help facilitate their expansion and spring in the oven. It should be about ¼-inch deep.
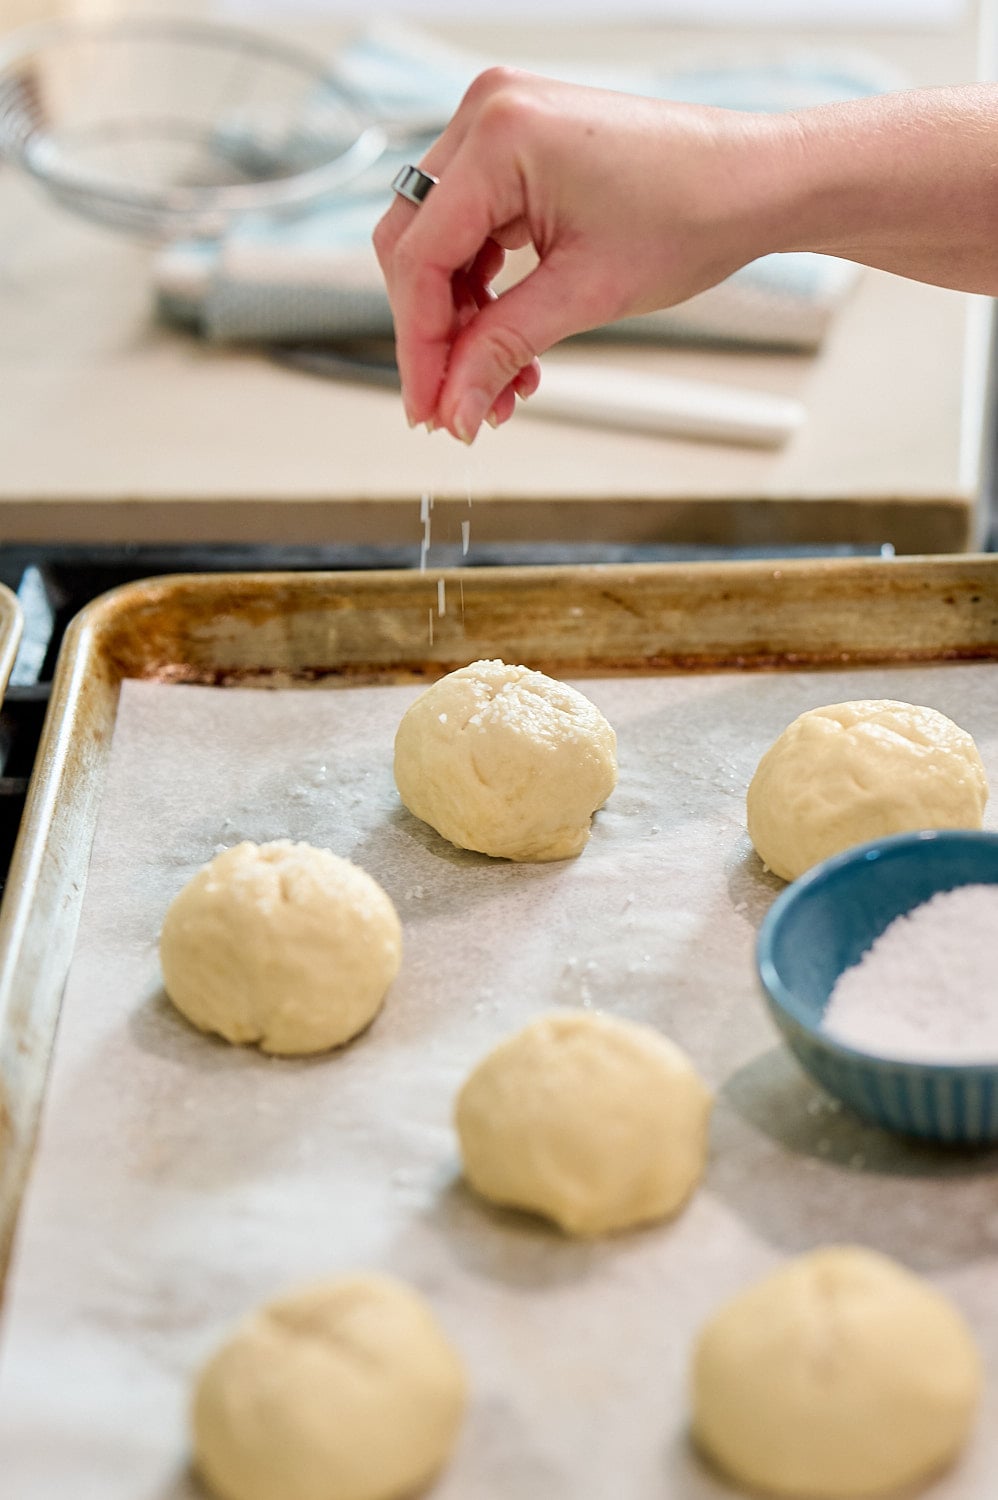
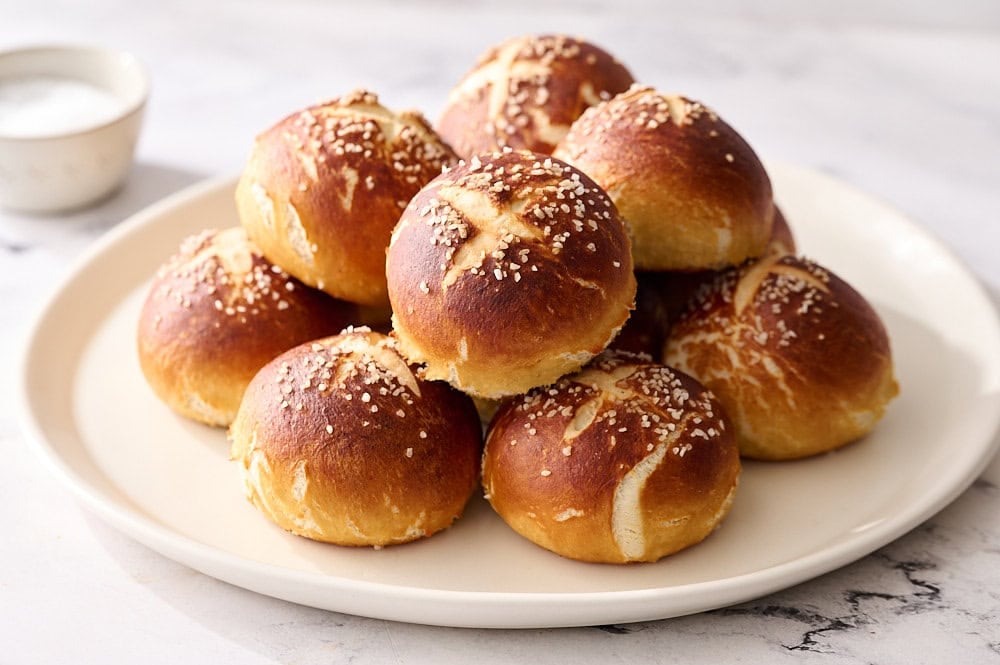
Salt: Immediately sprinkle with pretzel salt or coarse salt while the buns are still wet. If you wait too long, the salt won’t stick to the buns.
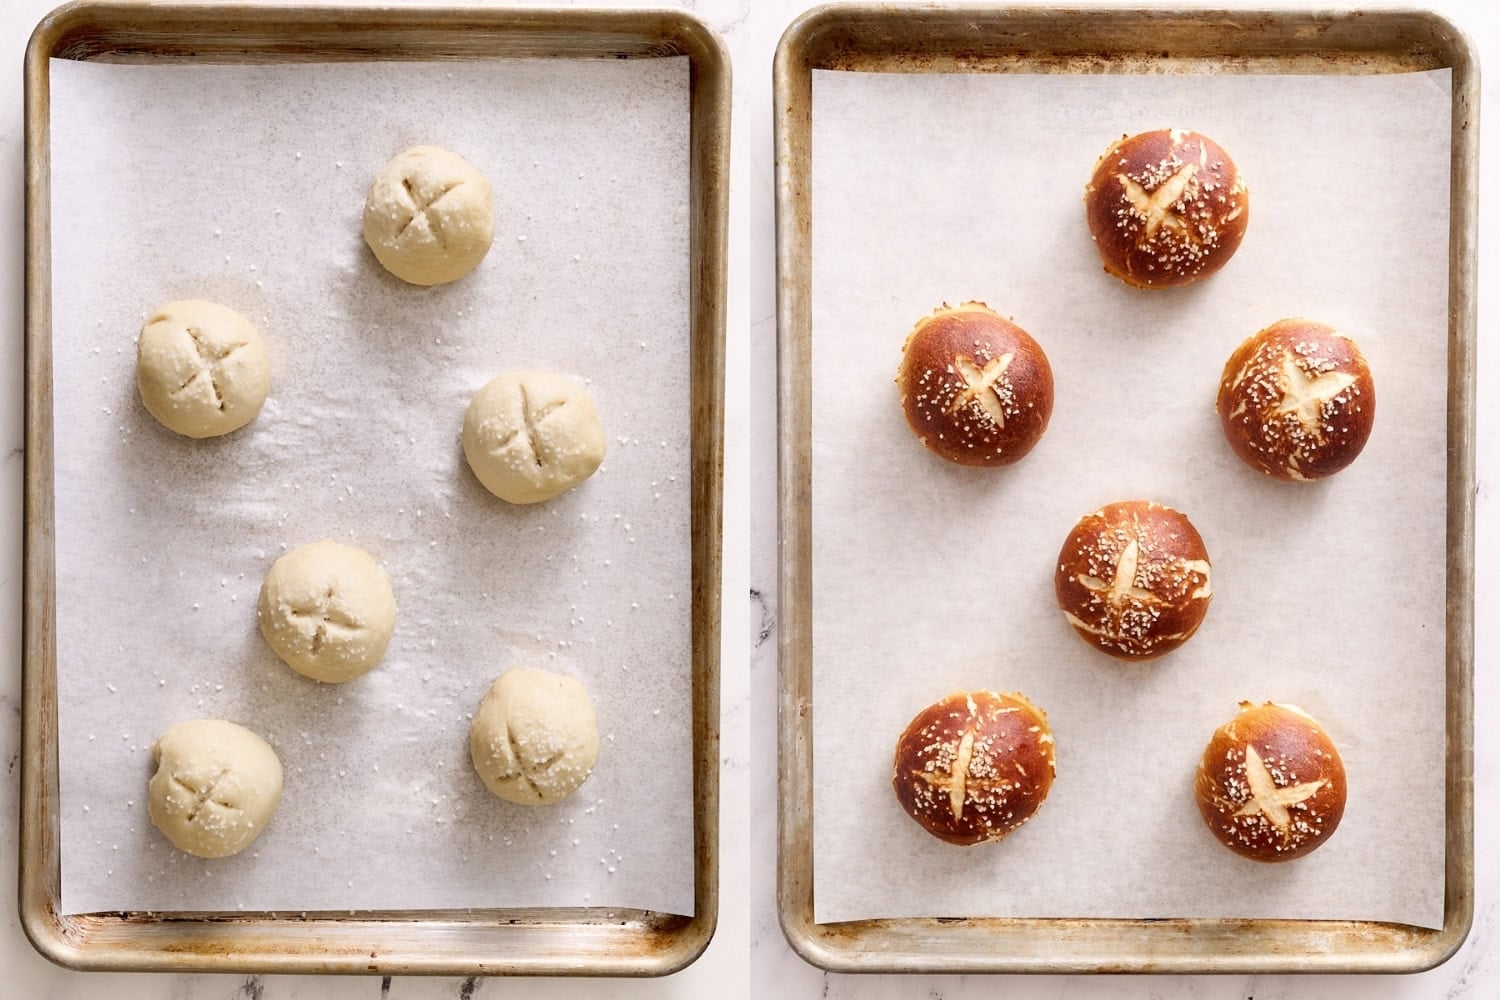
Bake: Bake at 400°F for 15 to 16 minutes, or until deeply golden brown.

Serve: These are best the day they’re made. Storage options are below!
Sprinkle of Science
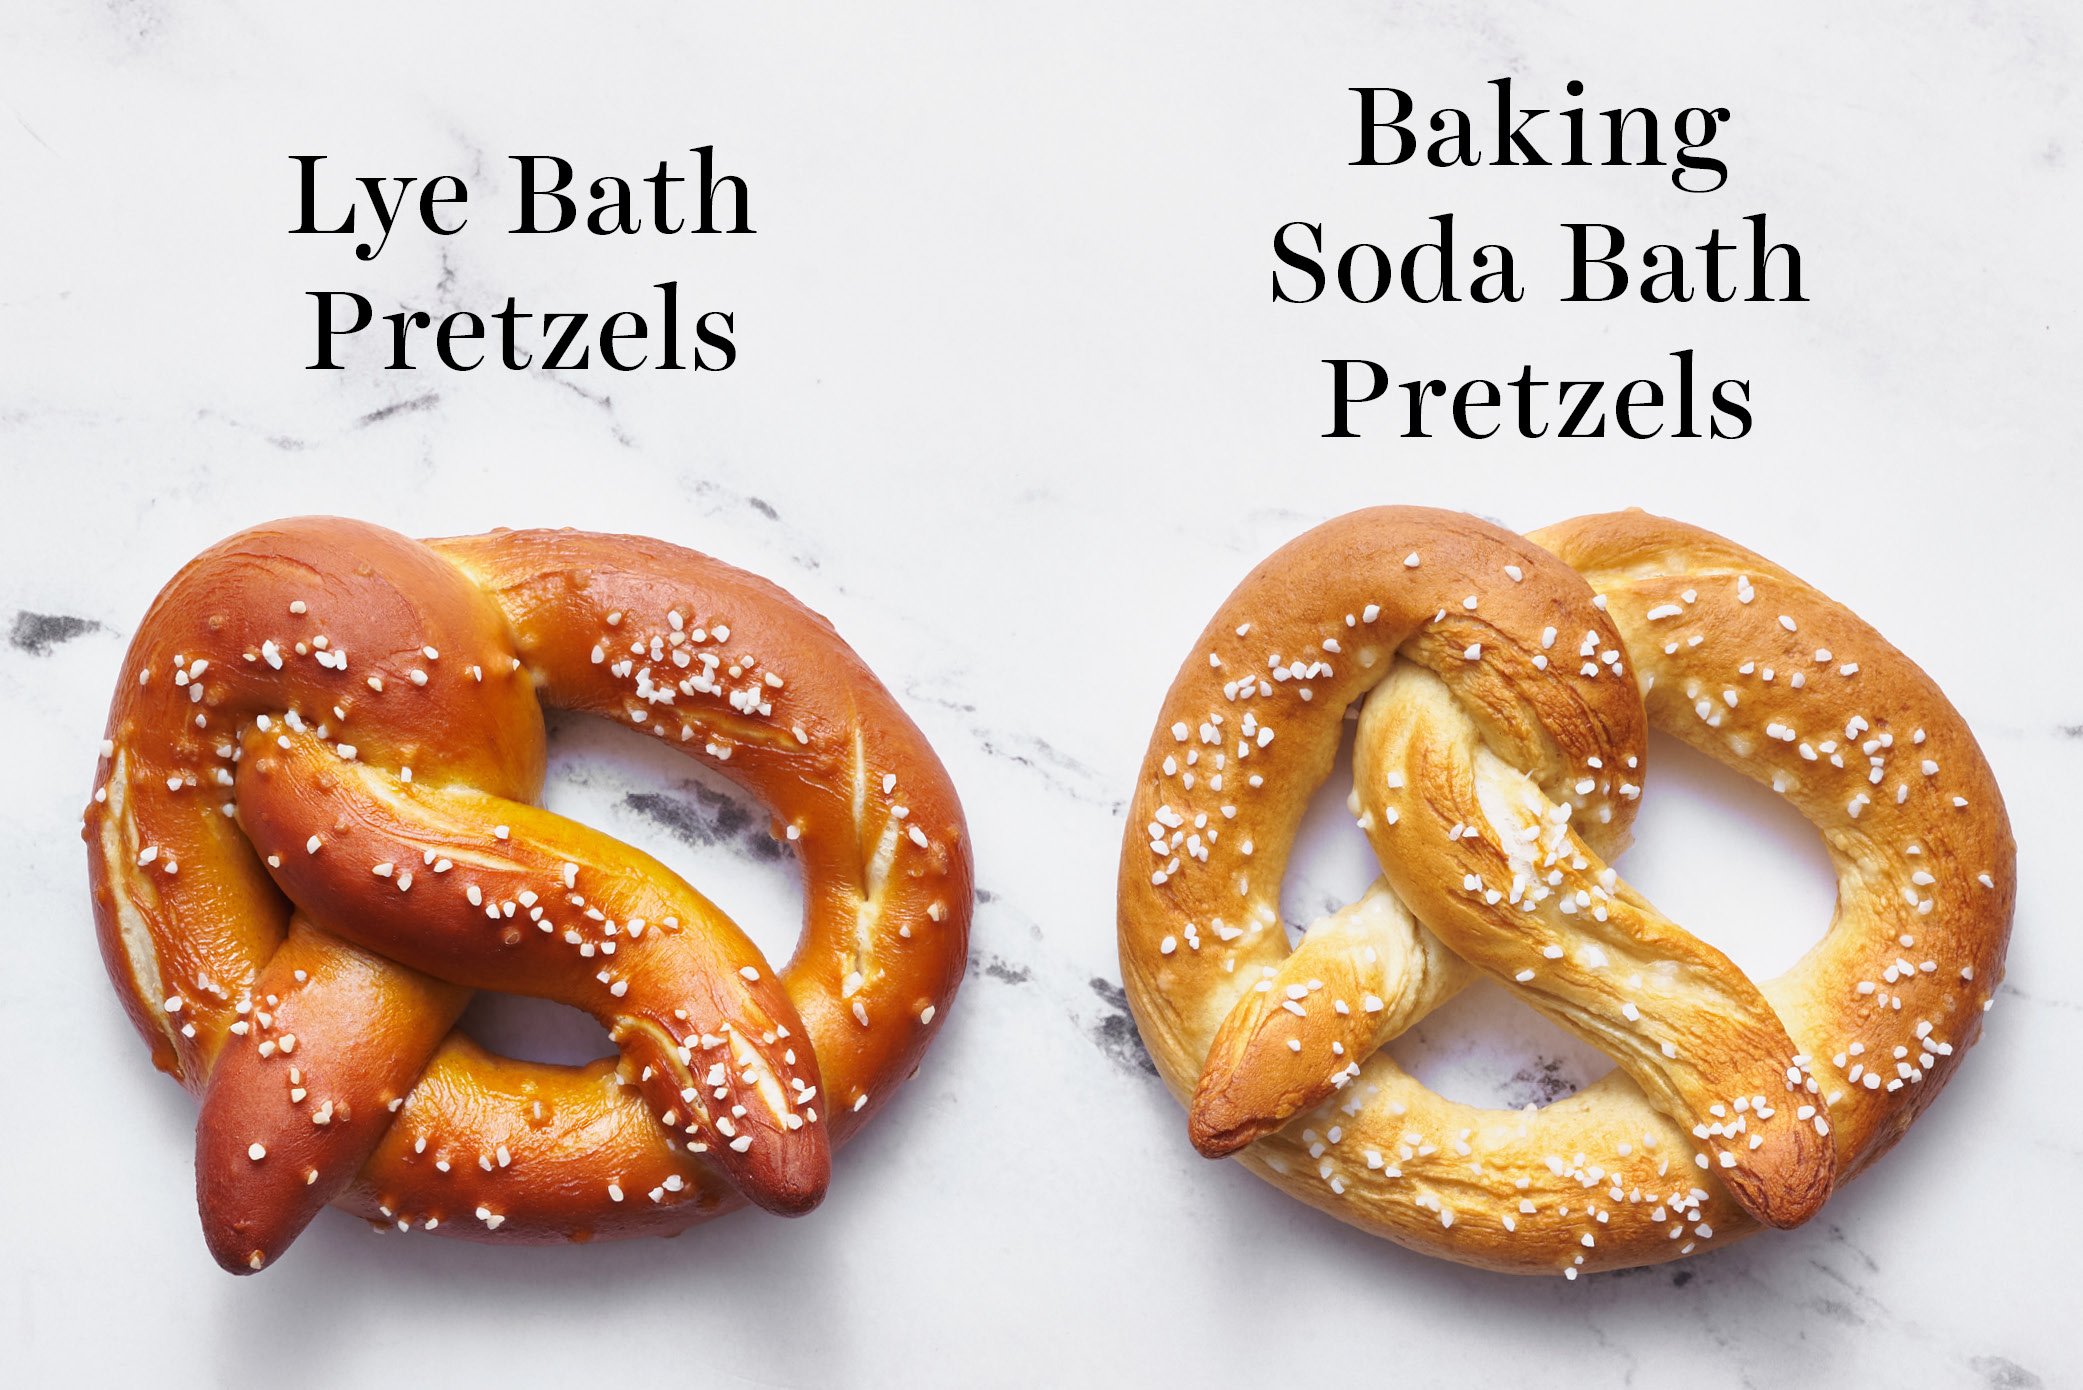
Traditionally, pretzels are bathed in a lye solution (like my husband’s classic Pretzel Recipe, pictured here) which is even more alkaline (pH ~13) than baking soda (pH ~8). To make this pretzel bun recipe more approachable, I developed it to use a baking soda bath.
If you’d prefer to use lye, follow the exact instructions in this Pretzel recipe tutorial.
This alkaline solution accelerates the Maillard reaction, creating that deeply browned crust and distinct pretzel flavor. They truly aren’t pretzel anything without this step, so don’t skip it!
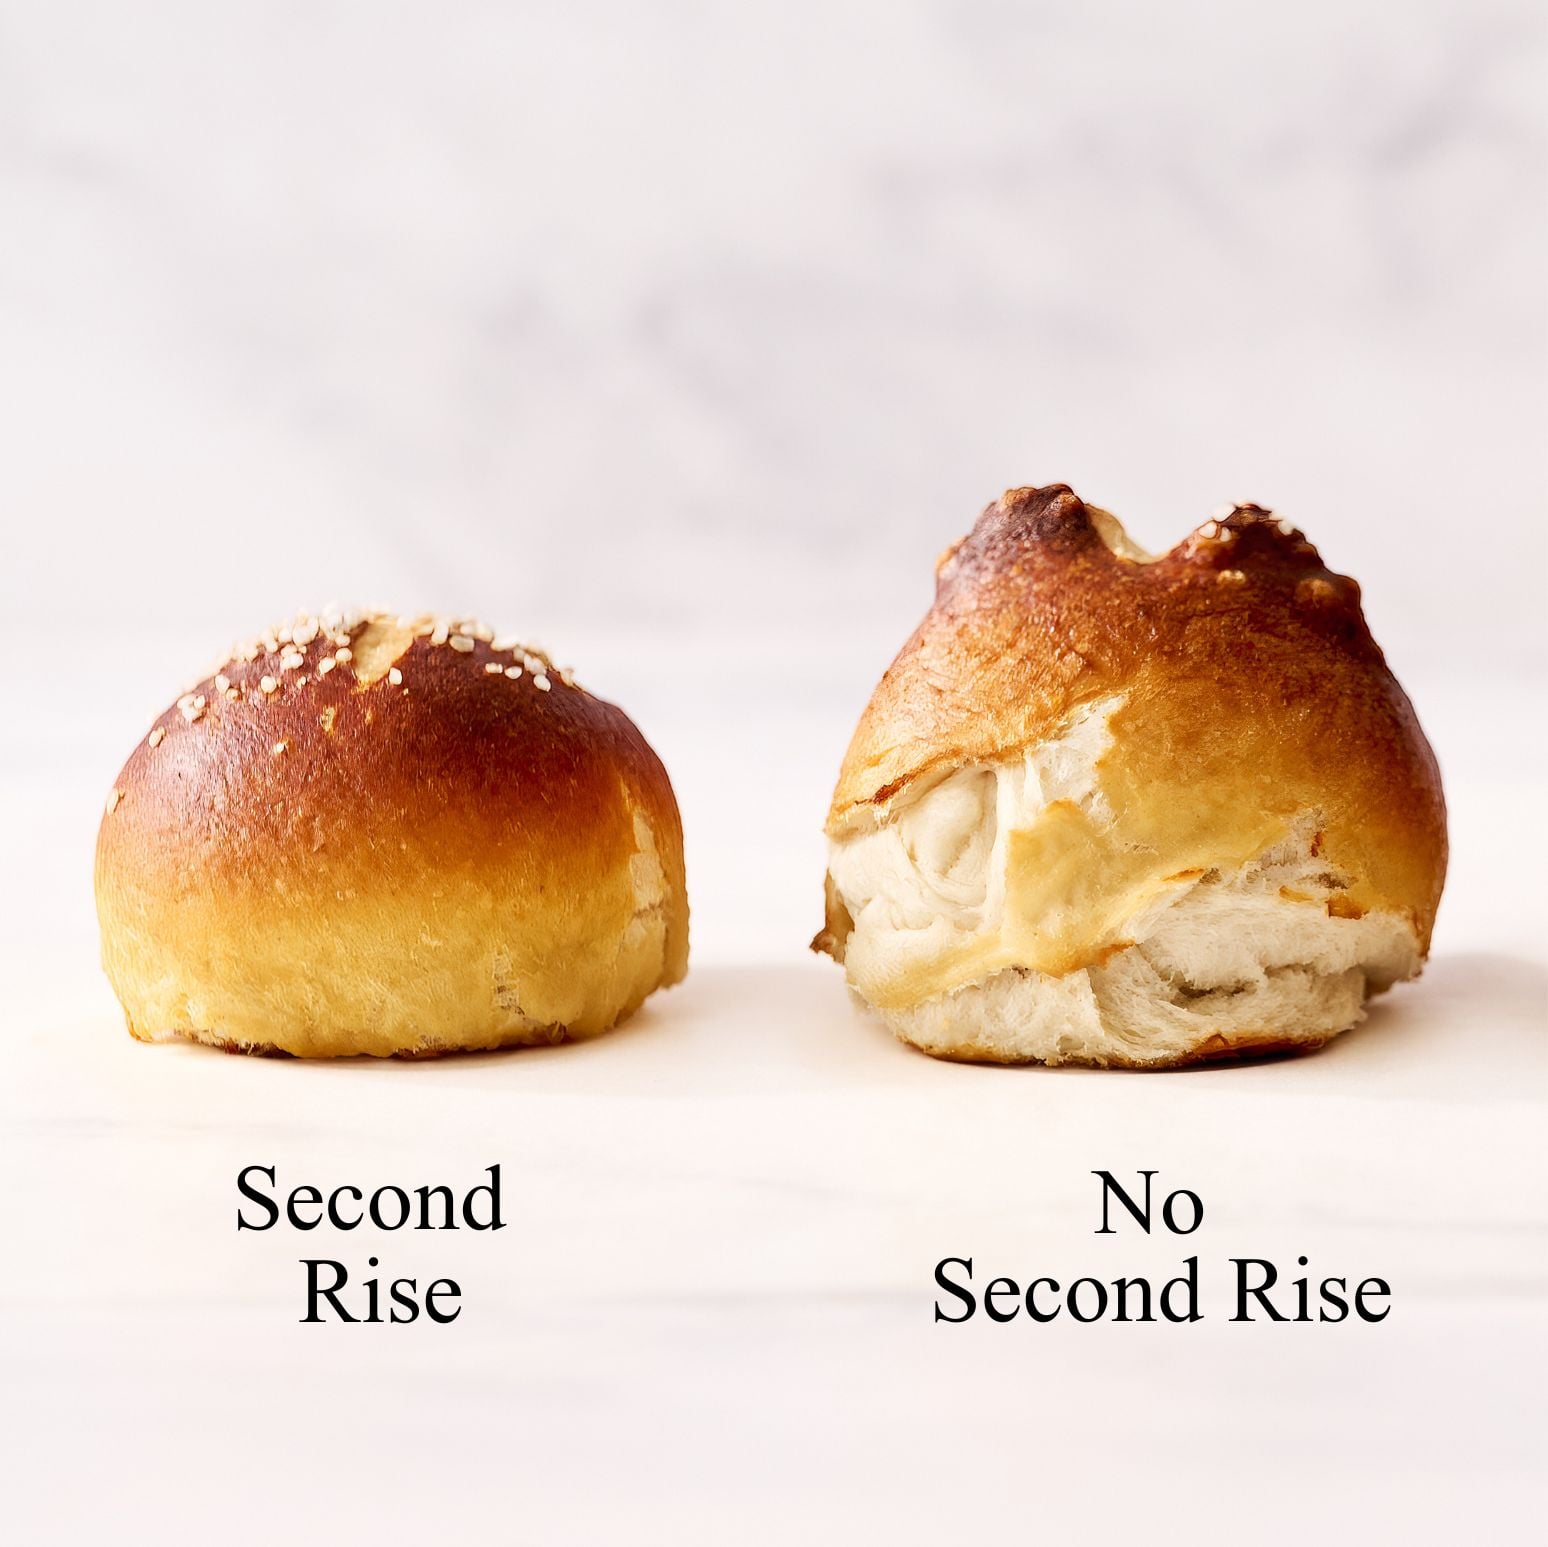
In my husband’s Classic Pretzel recipe, there’s no second rise. This helps keep their pretzel shape and a chewy texture. I also experimented with skipping the second rise for this pretzel bun recipe. This worked in warm weather, but caused massive cracks in cold weather!
Storage & Make ahead
Serve warm or at room temperature the same day you bake the pretzels. Day-old pretzel buns will be a bit stale and taste better toasted.
Freeze: In an airtight container for up to 1 month. To reheat, defrost for 30 seconds in the microwave, cut in half, and toast in a toaster oven to restore the crunchy exterior.
Note: With freezing, some moisture will leech because of the salt sprinkled on top, causing puckered tops. If this bothers you, withhold the salt, freeze, and reheat from frozen in a 350°F oven for about 20 minutes, then brush immediately with a bit of melted butter and sprinkle with salt.
Test Kitchen Notes
This recipe was tested numerous times before being published. Experimental batches included different methods of raising the alkalinity of the dough before baking.
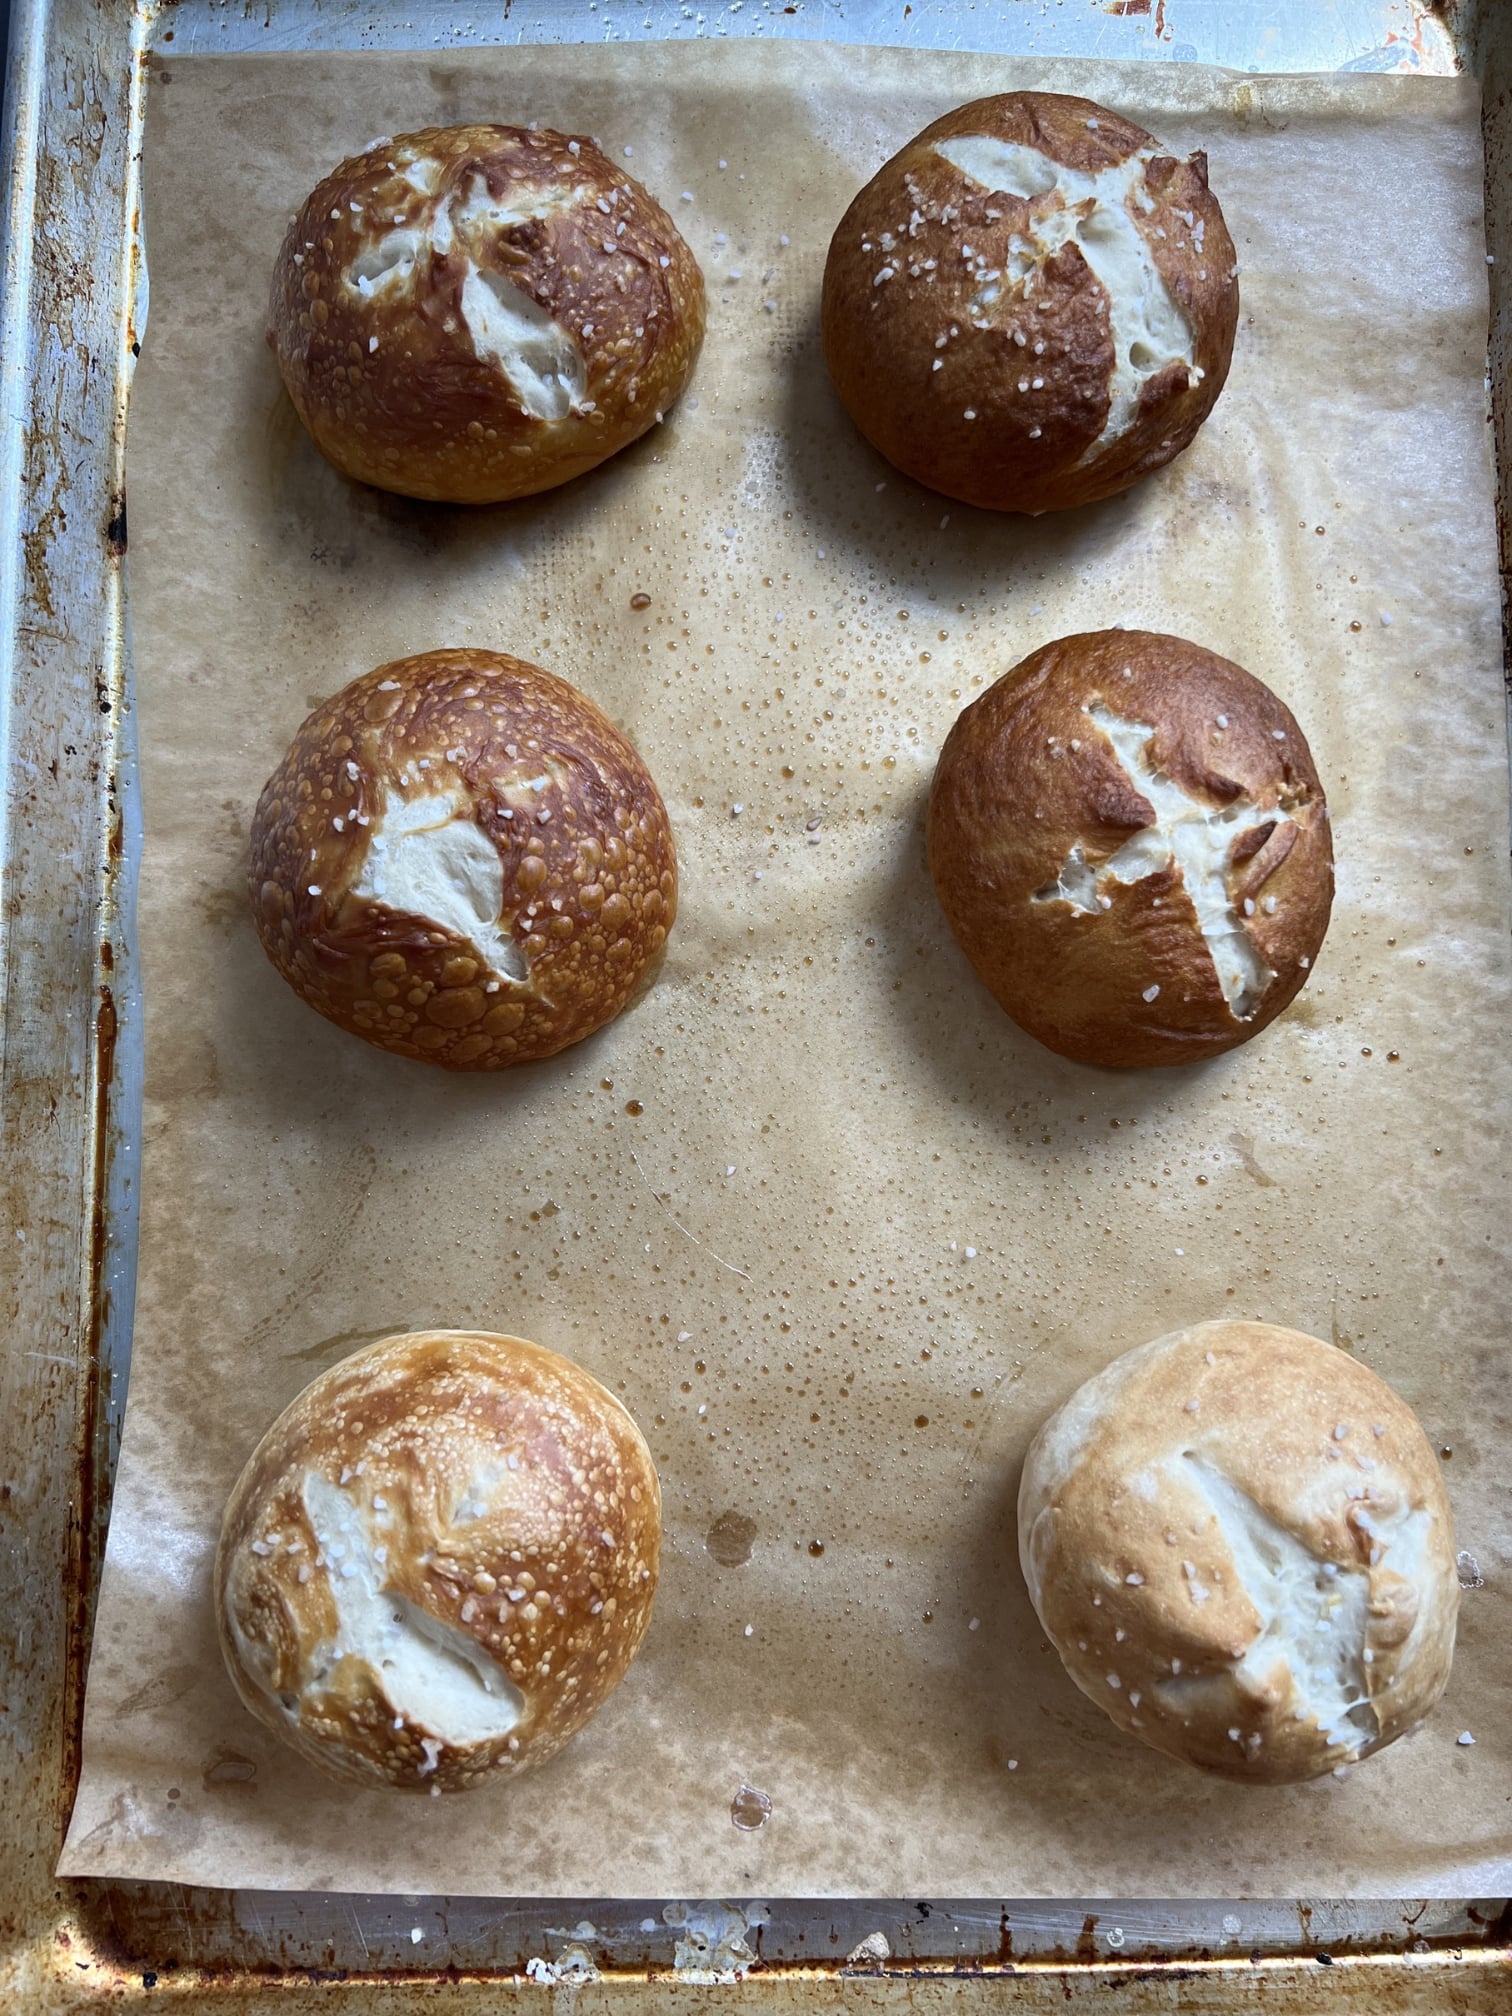
1. Lye (right) vs. Baking Soda (left)
This experiment tested lye vs. baking soda bath vs. simply brushing an alkaline solution (bottom row). This would’ve been nice and easy, but it didn’t work whatsoever!
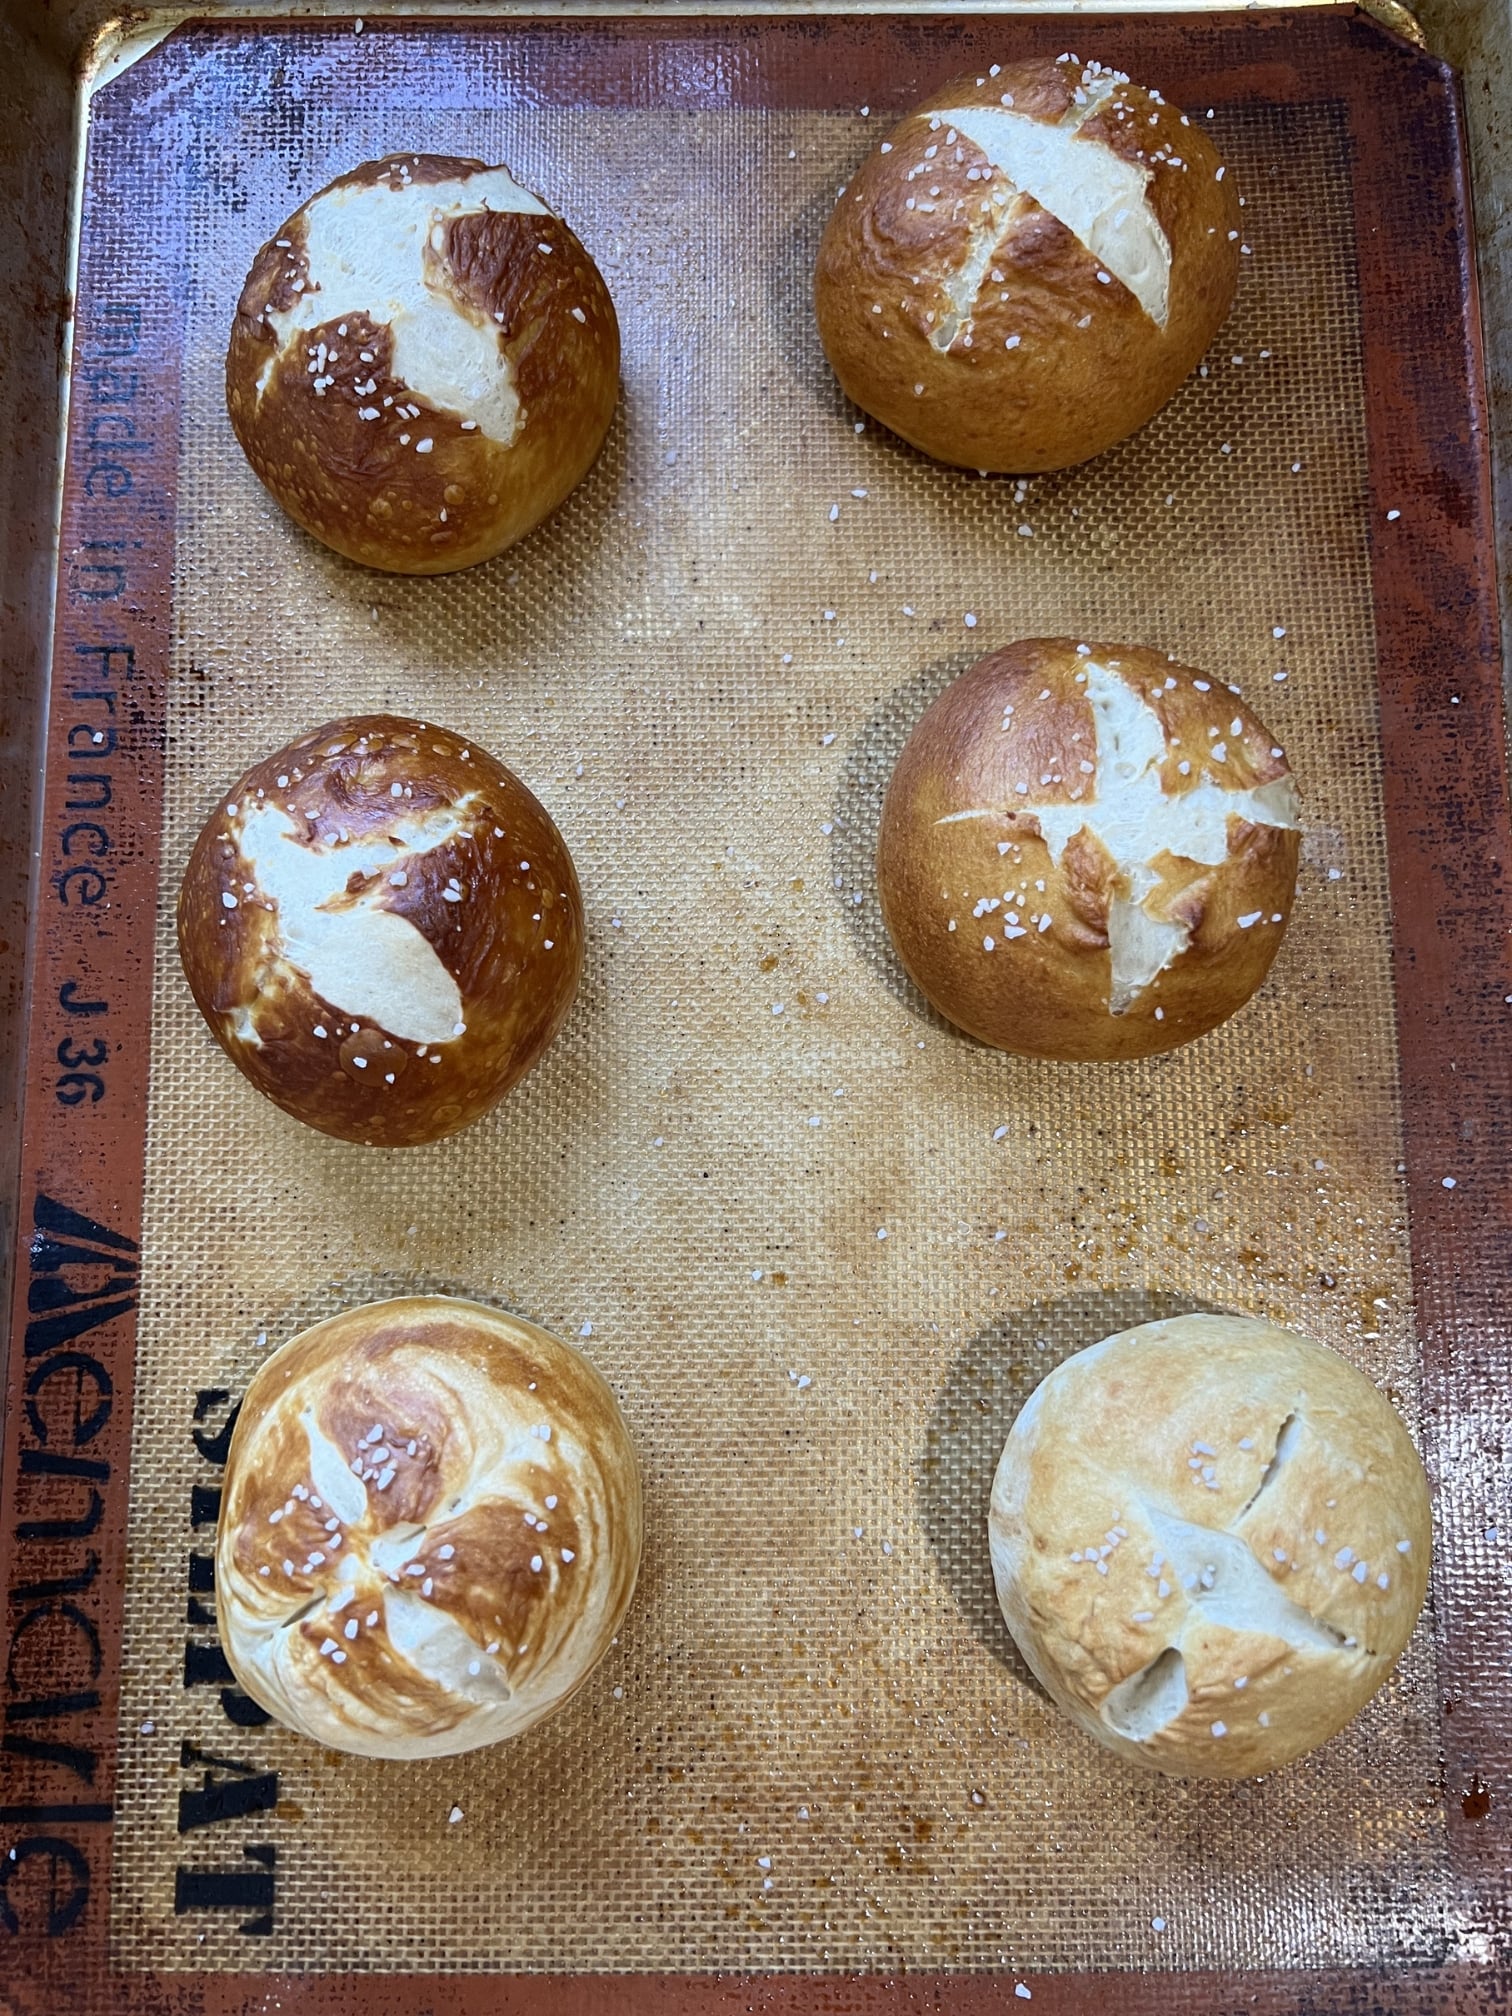
2. Silpat
Completing the same tests, but on a Silpat to see if it made any difference. It helped prevent the wet pretzel buns from sticking, but greased parchment also worked fine.
3. Reheating
My recipe tester experimented with freezing and reheating the pretzel buns. The instructions above come straight from her observations!
Frequently Asked Questions
My pretzel buns are a happy marriage between a soft dinner roll and a chewy pretzel. You get the deeply golden, caramelized, and slightly crisp exterior with a fluffy interior more like a regular bun.
Yes! Use active dry yeast in place of the instant (also called Rapid Rise) at a 1:1 ratio and expect about 20% longer for total rising time.
For convenience! This recipe was tested with both, and baking soda provided enough alkalinity to create a golden brown exterior without the hassle of using lye.
I buy it from Amazon. You can also use coarse sea salt.

Email This Recipe
Enter your email, and we’ll send it to your inbox.
Ingredients
For the pretzels:
- 2 tablespoons (28 grams) butter, melted and cooled to just warm (about 80°F)
- 2 1/4 teaspoons (7 grams) instant yeast (1 packet)
- 1 tablespoon (14 grams) light brown sugar
- 1 1/2 cups (355 grams) warm water (about 120°F)
- 4 1/2 cups (572 grams) all-purpose flour*
- 1 teaspoon fine sea salt
- Pretzel salt or coarse salt, for topping

For the baking soda bath:
- 6 cups (1422 grams) water
- 1/4 cup (60 grams) baking soda
Instructions
Make the dough:
- In the bowl of a stand mixer fitted with the dough hook, combine all of the dough ingredients. Mix on low speed until combined.
- Increase speed to medium and knead for 10 minutes, until the dough is smooth, elastic, and doesn’t stick to the sides of the bowl or your hands. Add a little more flour if needed.
- Place in a greased bowl, turning to coat. Cover tightly with plastic wrap and let rise until about doubled in size, about 1 hour.
Shape the buns:
- Line two baking sheets with parchment paper and lightly grease with nonstick cooking spray or butter, or line with ungreased silicone baking mats.
- Press the dough down and turn out onto a clean work surface. Using a bench scraper, divide the dough into 12 equal pieces (about 78 grams each). Shape each piece into a smooth ball and place on the prepared baking sheets, arranging three buns per row (six buns per pan).
- Cover and let rise for about 30 to 45 minutes, or until visibly puffed.
- Meanwhile, preheat the oven to 400°F.
Prepare the baking soda bath:
- In a medium saucepan or pot, bring the water to a boil. Reduce heat to medium and gradually add the baking soda, taking caution as it will bubble up.
- Working in batches of three, dip the pretzel buns into the baking soda solution for 15 seconds per side. Use a slotted spoon to carefully transfer back to the prepared baking sheets. Score the tops of each bun with a crisscross using a paring knife and sprinkle generously with pretzel salt immediately, while the buns are still wet. Don’t wait until all the buns are dipped, or the salt won’t stick. Repeat with remaining buns.
Bake the pretzels:
- Bake for about 15 to 16 minutes, until deeply golden brown. Bake for less time for softer buns and more time for crispier buns.
- Let cool for 5 minutes before peeling away from the parchment paper. Serve warm or at room temperature the same day you bake the pretzels.
- To store, freeze the baked pretzels in an airtight container for up to 1 month. To reheat, defrost for 30 seconds in the microwave, cut in half, and toast in a toaster oven to restore the crunchy exterior.
Notes
More Pretzel Recipes You’ll Love:
- Classic Bavarian-Style Pretzels
- Soft Pretzel Bites
- Cinnamon Sugar Pretzels
- Garlic Parmesan Pretzels
- Soft Pretzel Stuffing (save for Thanksgiving!)
This recipe was originally published in 2013, and updated in 2026 with a recipe overhaul, new photos, and more baking tips. Photos by Joanie Simon.


I made these pretzel buns for a little family birthday lunch, and everyone loved them. They’re fun to make, too! I will definitely make these again and again.
Yum, they look fantastic, Becky!
Made these today, they were awesome! I love your site! My whole family loved the flavor of these rolls!
These look so delicious! What a great snack. Nice pictures too!
Oh man, just found what I’m making tomorrow. I don’t think they’ll get used as buns though, because by the time they are done lunch will be over and I have a hard time thinkin’ they’ll last until the next lunch. Mmm. Maybe hot ham and swiss for dinner though?! I’m sold.
I buy thesr buns constantly and now I have a re.cipe! Awesomeness