Tessa’s Recipe Rundown
Taste: Sweet and slightly tangy with that characteristic Snickers chocolate caramel and nut flavor throughout.
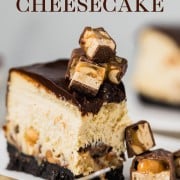
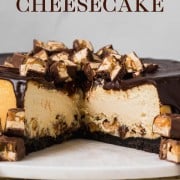
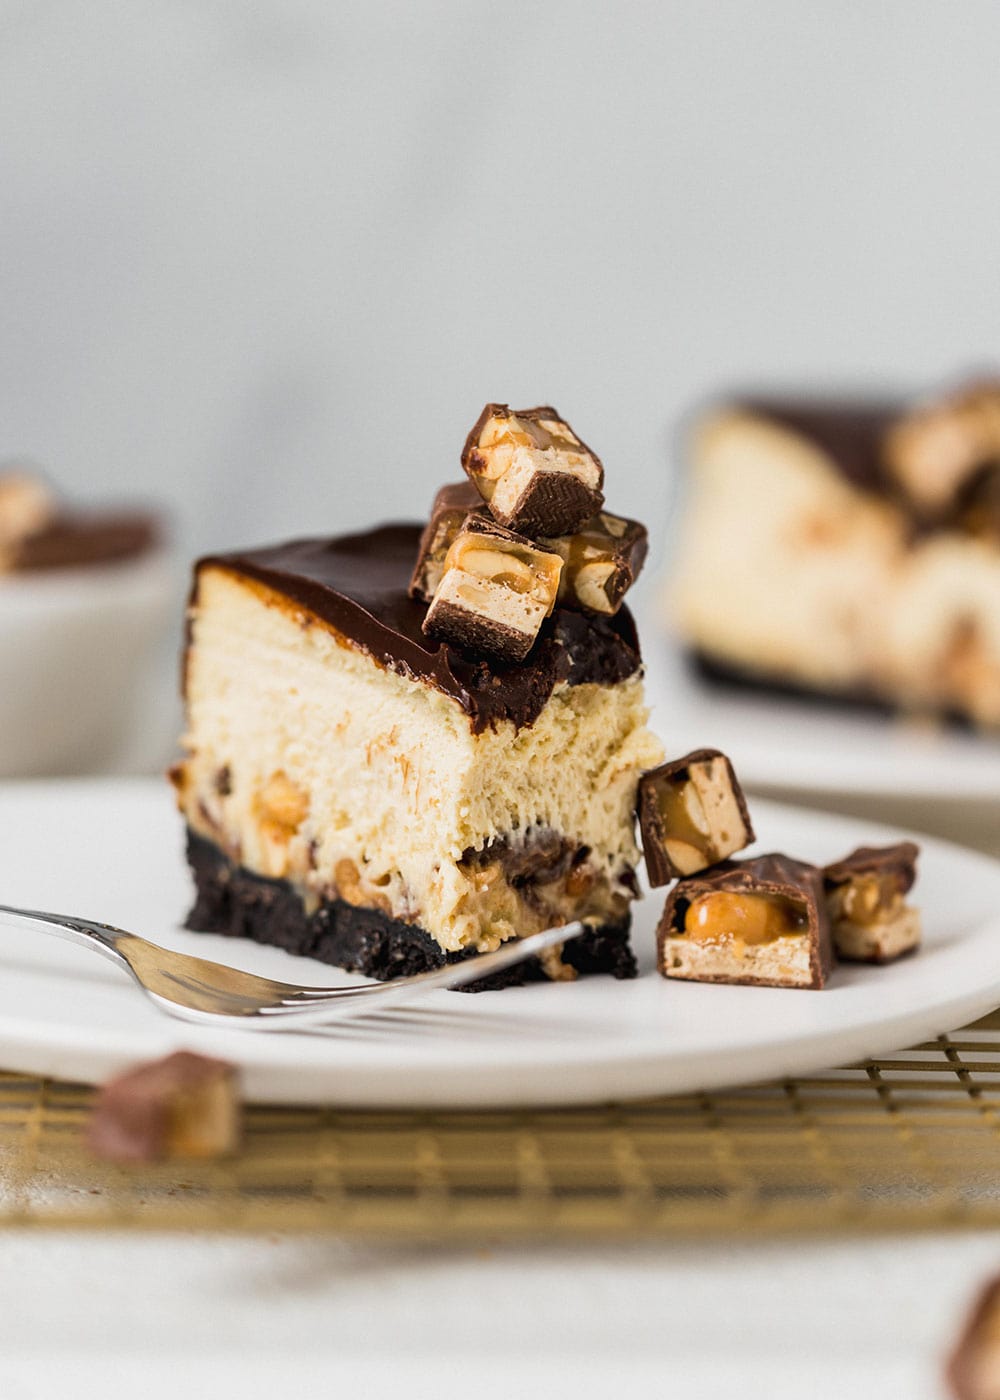
Texture: The crust is buttery yet crunchy, the filling is ultra luscious and creamy, and the ganache is ridiculously thick and fudgy. Not to mention the crunchy bites of Snickers throughout.
Ease: There’s no water bath required! You will dirty a few dishes.
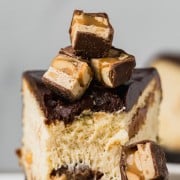
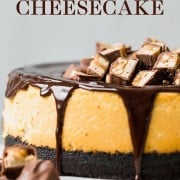
Appearance: I mean… just look at that thick ganache dripping down the sides and the pile of Snickers on top? I don’t know if anyone would be able to deny themselves at least a taste!
Pros: So decadently amazing.
Cons: Ultra indulgent. A small slice on special occasions!
Would I make this again? Oh yes.
This post may contain affiliate links. Read our disclosure policy.
But… not really. Because one bite into a slice of this Snickers Cheesecake and you will have been sent to heaven and back.
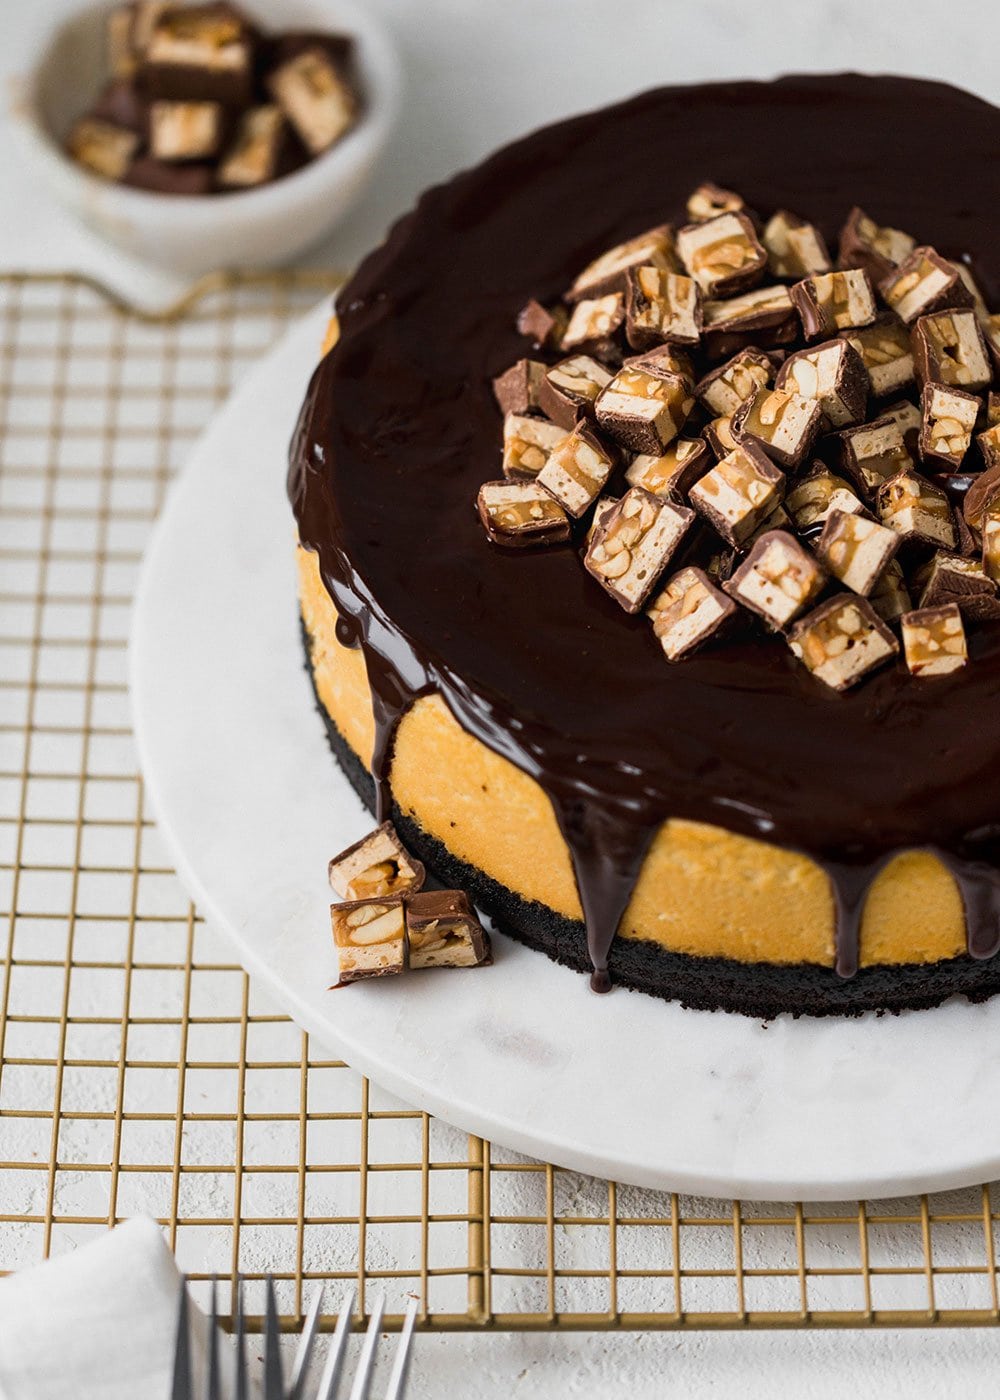
It pretty much looks as outrageous as it tastes and is a showstopper at any get together. Make it for your family and they will adore you (and maybe hate you a little at the same time).
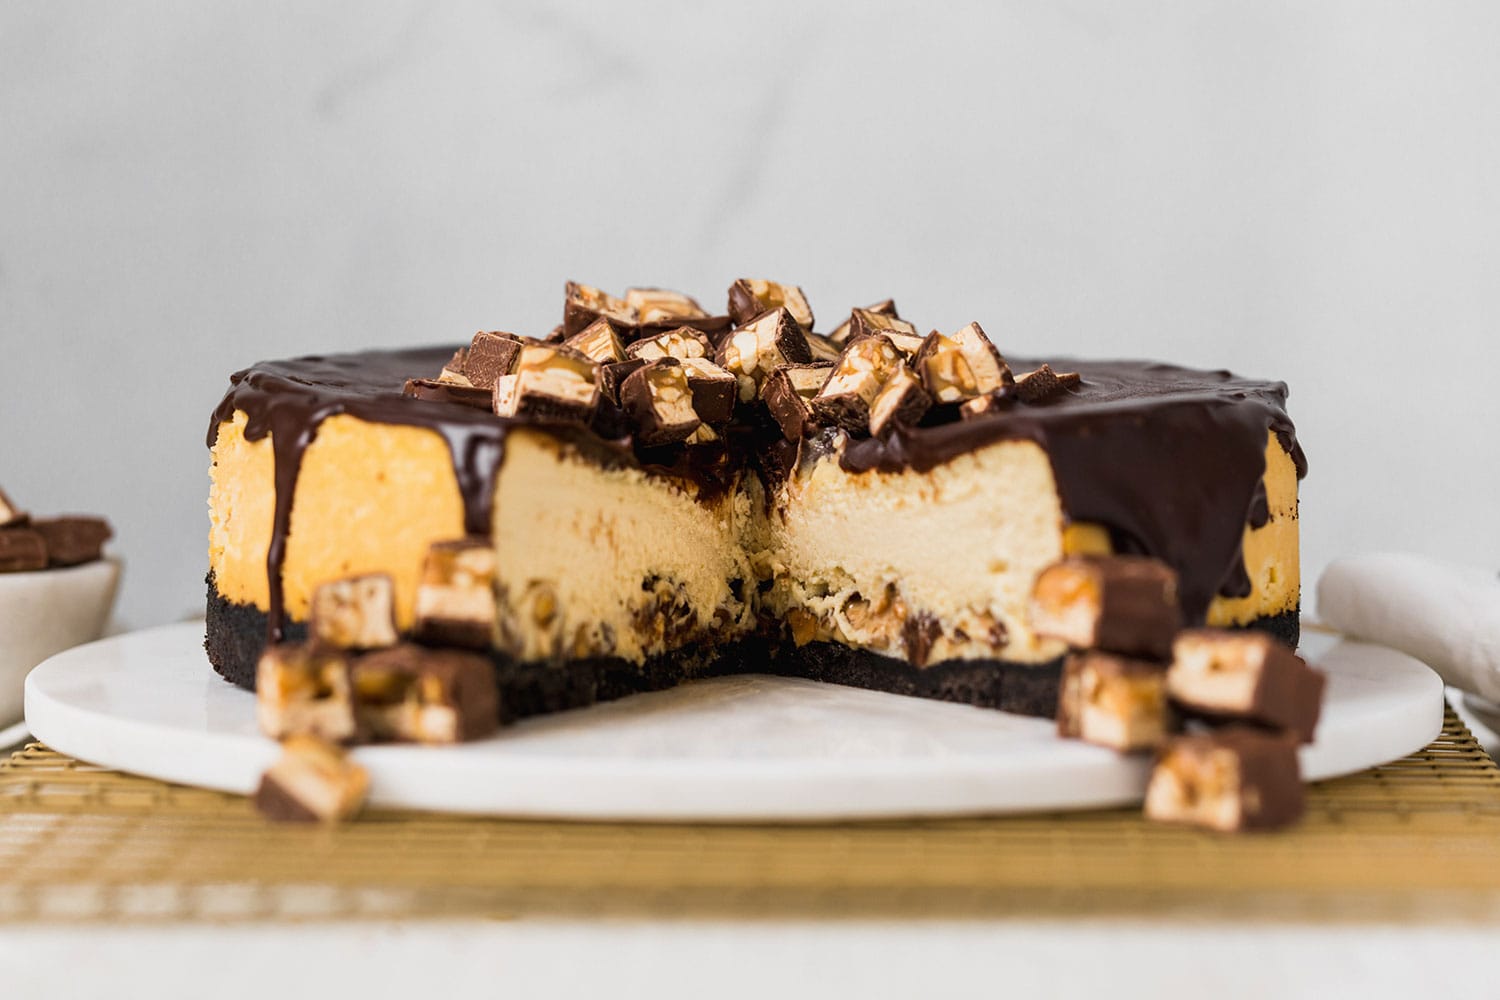
Snickers Cheesecake Recipe Tips
Oreo Cookie Crust
Use standard Oreo cookies for the crust, filling included. Since we’re using a springform pan, I always like to place my cheesecake on a rimmed baking sheet before baking just in case any butter seeps out of the cracks of the pan. That way you don’t end up with butter burning on the bottom of your oven. I would do this even if your pan says it’s “leakproof,” because that’s usually not 100% true.
Cheesecake Filling
Be sure to use high quality full-fat bricks of cream cheese. It really makes a difference! And whatever you don’t, don’t use cream cheese that’s for spreading on a bagel.
The cream cheese should be completely room temperature. If it’s too cold, it won’t mix thoroughly and you’ll end up with little bits and pockets of unblended cream cheese. For best results, make sure your eggs are room temperature too!
Baking Cheesecake without a Water Bath
There is no water bath required for this recipe! I decided to skip that hassle because even if some cracks form, we’re covering the cheesecake with thick chocolate ganache which will hide any imperfections. If you want more tips for baking cheesecake without cracks, check out my free Ultimate Cheesecake Guide.
When it comes to cheesecake, it’s always better to err on the side of underbaking than over-baking. The edges should be set and dry, but if the center is still slightly wobbly or jiggly that’s fine. The residual heat will continue to cook the cheesecake even once it’s removed from the oven.
In my online baking class The Magic of Baking, I go in-depth in this concept and others so that you can know with confidence when something is truly done.
Serving & Storing Cheesecake
The hardest part of this recipe is that you must let it chill for 4 hours before you even think of slicing and serving it! I usually like to let it chill overnight, just to make sure it’s completely set and I’m able to cut clean slices.
Store the cheesecake in the fridge for up to 2 days.
More Cheesecake Recipes
- Ultimate Classic Cheesecake
- Oreo Cheesecake
- Ultimate Chocolate Cheesecake
- No Bake Mini Peanut Butter Cheesecakes
- Classic Cheesecake Bars
This recipe was originally published in 2014 and recently updated with new photos, weight measurements, and more recipe tips. Photos by Jess Larson.
Snickers Cheesecake
Ingredients
For the crust::
- 30 (340 grams) standard whole Oreo cookies (NOT double-stuffed)
- 4 tablespoons (57 grams) butter, melted
For the cheesecake filling::
- 32 ounces (907 grams) cream cheese, at room temperature
- 5 large eggs
- 1 1/2 cups (300 grams) lightly packed light brown sugar
- 1/2 cup heavy cream
- 1 teaspoon vanilla
- 18 fun-size Snickers bars (1-11.8 ounce package), coarsely chopped
For the topping::
- 1 cup (170 grams) semisweet chocolate chips
- 1/2 cup heavy cream
- 9 fun-size Snickers bars, coarsely chopped
Instructions
For the crust:
- Preheat the oven to 325°F. In the bowl of a food processor, process the cookies until they are finely ground crumbs. Add the butter and pulse until moistened. Press into the bottom and halfway up the sides of a 9-inch springform pan. Bake for 10 minutes. Place on a wire rack to cool.
For the filling:
- In the bowl of an electric mixer, beat the cream cheese until smooth. Add the eggs, one at a time, beating until smooth. Add in the sugar, cream, and vanilla and beat until combined. Be careful not to overbeat. Stir in the Snickers bars.
- Pour the batter into the cooled crust. Place the pan on a rimmed baking pan to prevent any leakage. Bake for about 1 hour to 1 hour 15 minutes, or until set and the top looks slightly dry. If the middle is slightly wobbly, that’s fine. Err on the side of underbaking rather than overbaking.
- Cool the cheesecake completely on a wire rack. Refrigerate until completely chilled, at least 6 hours. Release the cheesecake from the pan onto a cake stand or serving plate.
For the topping:
- Place the chocolate chips in a medium heatproof bowl. In a small saucepan heat the cream just until simmering. Pour over the chocolate chips. Let sit for 3 minutes before stirring until the mixture is melted and smooth. Pour over the cheesecake, allowing to drip down the sides. Sprinkle the Snickers over the cheesecake. Serve or cover and store in the fridge for up to 2 days.








The most amazing cheesecake I have every made !!!
I make this every year and it’s been a huge not every time!
LOVEEEE this recipe – I’ve made it a few times now and it turns out delicious every time!
I’m so glad to hear that!
I made this for Thanksgiving, following the recipe to the letter (even weighing my ingredients) – it tasted great but was very wet in the middle – I even cooked it for 10 minutes longer than directed! That was disappointing even though everyone thought it tasted fine.
This is such a delicious cake! It’s very rich so make sure you have a lot of people to share it with. I don’t know if I’ll use the topping next time as it just made it a bit too sweet for me. The oreo base is a winner.
I made this for my husband’s birthday and was so disappointed. The crust was super soggy and greasy and the filling should have baked for a lot longer than 1 hour at 325 mine baked for almost for 1 hour and half and still didn’t set even after being in the fridge for 2 days.
I’ve turned cooking Cheesecakes into a hobby. I’ve made this Cheesecake 4 times now and it’s my 89 year old Mom’s favorite (and everyone at work).A couple of things I’ve learned, cook times are much longer than most people say. I quit using a water baths about a year ago because they leak sometimes. I do cook them at a little lower heat and always add my eggs last and don’t beat them, just incorporate them. These last 2 steps have kept my Cheesecakes from cracking. It does take time to learn the right “giggle” it should have when you turn your oven off. Turn the oven off and crack the oven door for about an half hour to start your cooling and end your cooking procedure.
nice recipe like to try it.
Can I add creamy peanut butter to the filling? Do I need to modify any other ingredients?
Every year since 2016 or so I have made this amazingly wonderful cheesecake for my wife for her birthday. It’s become a tradition! Thanks so much for the recipe!
This turned out exactly as expected. I agree with Tessa and others – lots of butter/oil leaked out of the springform pan so definitely cook it on a baking sheet. I used a 9 inch springform and had to cook it for an hour and a half. It still looked pretty soft and wiggly but it did firm up to a nice texture once completely cooled. The chocolate ganache topping really made this for me so don’t skip that step. I recommend making this if its something you are craving. I was pleased with it but I won’t likely make it again – life is too short to have the same dessert twice!
I have made this cheesecake 3 separate times and it is always such a big hit! I am currently making one for a friend’s birthday (her request after having a slice of my husband’s bday cake that I made). I use a 10 in pan, and it works just as well. Just a little less crust on the sides. I cooked it for an hour last time and it did seem just a bit underdone, so I am adding an extra 10-15 minutes this go around. I’ll also make a little extra chocolate for the top since it seems I didn’t have quite enough last time. Thank you for this recipe! It is a favorite with all!
Ya its tasty thanks for sharing recipe