


Tessa’s Recipe Rundown
Taste: Chocolatey with hints of cherry and the whipped cream is perfect!
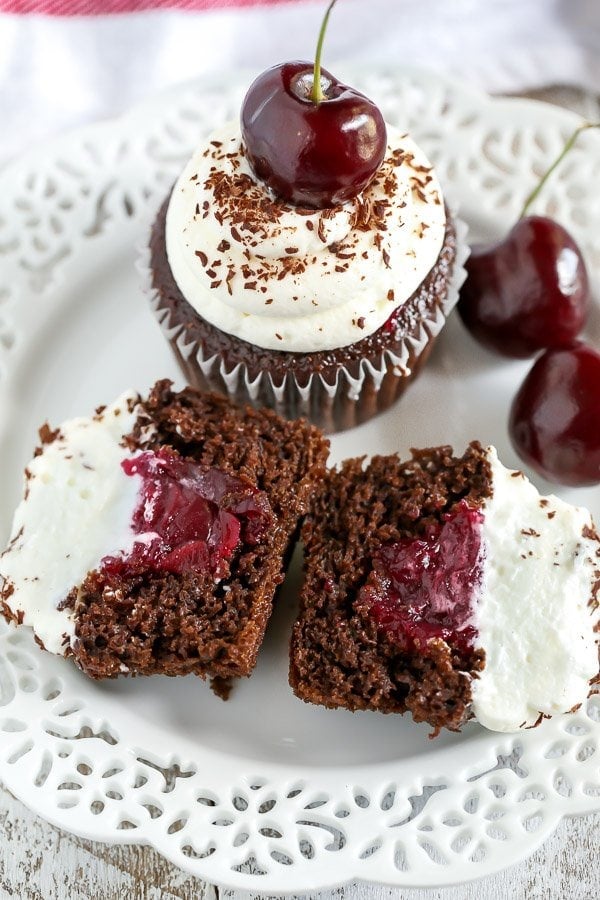
Texture: Soft and light and the cherry filling is a fun surprise!
Ease: These cupcakes are a little time consuming, but definitely worth it.
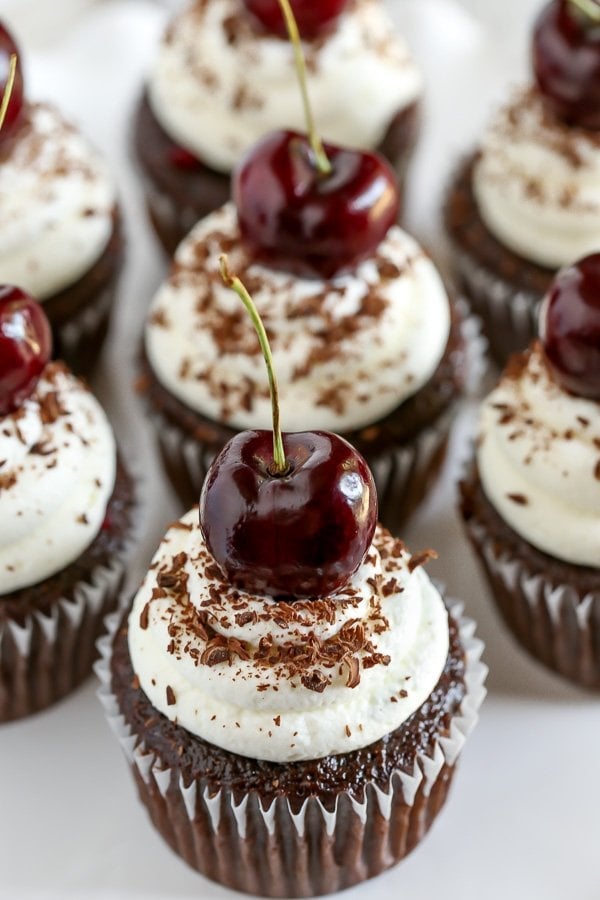
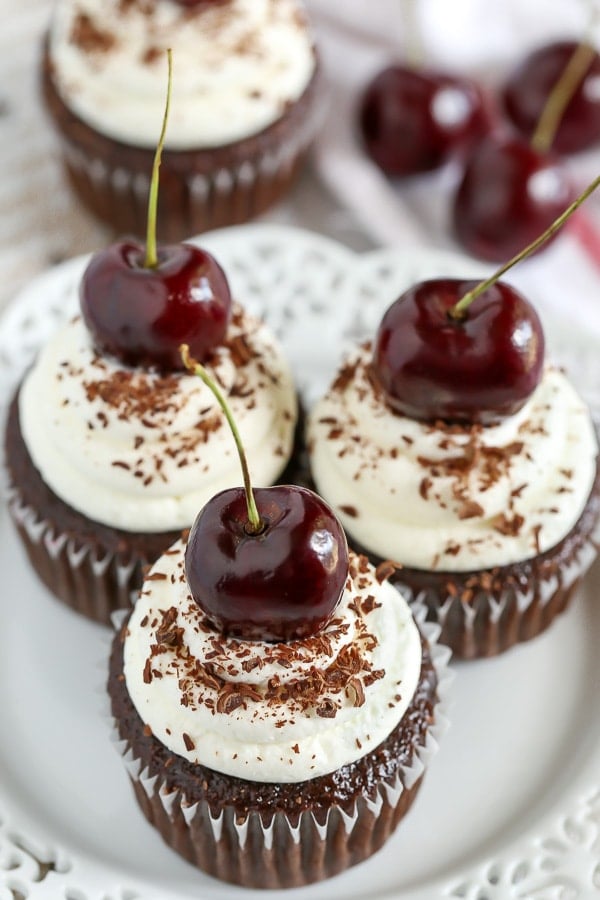
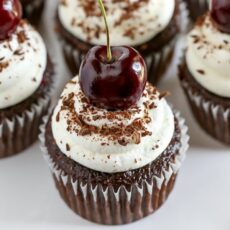
Appearance: The whipped cream, chocolate, and cherry on top of these cupcakes makes them so cute!
Pros: They taste amazing!
Cons: A little time consuming.
Would I make this again? Definitely!
This post may contain affiliate links. Read our disclosure policy.
Please welcome Danielle from Live Well Bake Often as she shares this Black Forest Cupcake recipe! Be sure to check out her for me! -Tessa
When I was growing up, my grandmother used to always bake a black forest cake for birthdays. Although my family tends to celebrate birthdays with a cheesecake now days, black forest cakes have always held a special place in my heart. So, I decided to transform her favorite cake into these adorable Black Forest Cupcakes.
I’ve made a lot of cupcakes, from lemon raspberry to pumpkin, but these Black Forest Cupcakes are one of my favorite creations so far. Everything is made completely from scratch, even the cherry pie filling in the middle!
The base of these Black Forest Cupcakes starts with my favorite chocolate cupcake recipe. Not only are the cupcakes soft and light, but they stay moist for days. Can you tell from the picture how moist the cupcakes turn out? Seriously, so good. Once they’re baked and cooled, you’ll cut out the center and fill each one with some cherry filling.
Speaking of that cherry filling? Making your own cherry pie filling at home is easy and it tastes a million times better than anything you can get out of a can. In fact, I had my husband taste test the filling and he absolutely despises cherry filling from a can. The verdict? He actually really liked it! I think you will too.
I used sweet red cherries in the filling, since I wanted to top the cupcakes with them as well. You can easily use another type of cherry in this recipe, just adjust the amount of sugar to your personal preference.
One thing to note is that you’ll need to slice the cherries in half before measuring them out and making the filling. I felt like the smaller pieces of cherries worked much better to fill the cupcakes, since some cherries can be kind of large.
Also, you will need to pit the cherries. Does anyone else absolutely hate pitting cherries? I don’t own a cherry pitter, but I actually use a sturdy plastic straw. Just push the straw up through the center of the bottom of each cherry and it will remove the pit and stem. So easy!
Lastly, there’s the homemade whipped cream. There is some unflavored gelatin in the whipped cream recipe, but it’s just there to stabilize the whipped cream. Have you ever noticed that whipped cream can sometimes fall flat after so long? The gelatin helps to prevent that and keeps the piped whipped cream on top of your cupcakes perfectly in place for days.
If you don’t have any unflavored gelatin or prefer not to use it, you can simply leave it and the water out of the whipped cream recipe. The whipped cream won’t hold up as long, but it will still taste just as good. Enjoy!
Email This Recipe
Enter your email, and we’ll send it to your inbox.
Ingredients
For the chocolate cupcakes:
- 1 cup all purpose flour
- 1/4 cup plus 2 tablespoons unsweetened cocoa powder
- 3/4 teaspoon baking powder
- 1/2 teaspoon baking soda
- 1/2 teaspoon fine sea salt
- 1/2 cup granulated sugar
- 1/2 cup brown sugar
- 1/3 cup oil
- 1 large egg
- 1 teaspoon vanilla extract
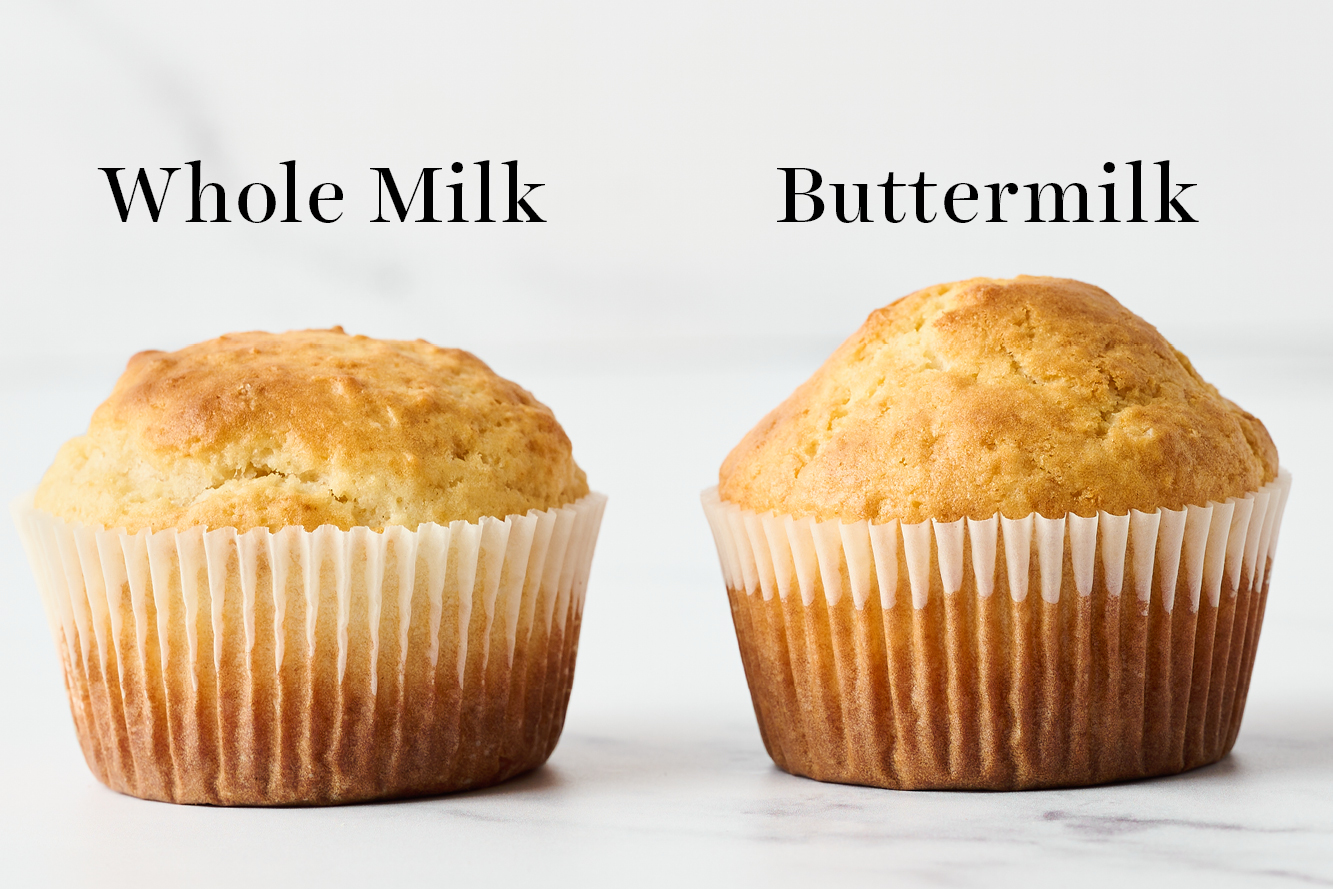
- 1/2 cup buttermilk
- 1/2 cup boiling water
- 1 teaspoon instant espresso powder


For the cherry filling:
- 2 cups pitted and halved sweet cherries
- 1/4 cup granulated sugar
- 1/4 cup water
- 2 tablespoons cornstarch
- 2 teaspoons fresh lemon juice
- 1/2 teaspoon vanilla extract
For the whipped cream:
- 2 tablespoons water
- 1 and 1/2 teaspoons unflavored gelatin
- 1 and 1/2 cups heavy whipping cream
- 1/3 cup powdered sugar
- 1 teaspoon vanilla extract
Instructions
To make the chocolate cupcakes:
- Preheat oven to 350°F. Line two 12-count cupcake pans with 16 cupcake liners and set aside.
- In a large mixing bowl, sift together the flour, cocoa powder, baking powder, baking soda, and salt. Whisk in the granulated sugar and brown sugar until well combined. Add in the oil, egg, vanilla extract, and buttermilk and mix until just combined.
- Add the instant espresso powder into the boiling water and mix until dissolved, then add to the mixing bowl. Mix with the rest of the ingredients until well combined, making sure not to over mix the batter. The batter will be thin, this is okay.
- Evenly distribute the batter between all 16 cupcakes liners, making sure to only fill them a little over half way full. Bake at 350°F for 18-20 minutes or until a wooden toothpick inserted into the cupcakes comes out clean. Remove from the oven and carefully remove the cupcakes from the pan. Transfer the cupcakes to a wire rack to cool.
To make the cherry filling:
- Add the cherries, granulated sugar, lemon juice, water, and corn starch to a saucepan and mix until well combined. Heat over medium heat, stirring often, until the mixture has thickened. Remove from the heat and stir in the vanilla extract, then set aside to cool.
To make the whipped cream:
- Pour the water in a small bowl and sprinkle the unflavored gelatin on top. Allow to sit for a few minutes. Transfer to the microwave and microwave for a few seconds until the gelatin has dissolved. Stir well and set aside to cool for a few minutes.
- In the bowl of a stand mixer fitted with the whisk attachment, or in a large mixing bowl using a hand-held mixer, add the heavy whipped cream, powdered sugar, and vanilla and mix on medium speed until it starts to thicken. Turn the mixer to low, slowly pour in the gelatin, then continue mixing at medium-high speed until stiff peaks form.
To make the cupcakes:
- Once the cupcakes and cherry filling have cooled, use a knife to cut out a hole in the center of each cupcake. Scoop about 1-1.5 tablespoons of the cherry filling into each cupcake. Then pipe the whipped cream on top. Garnish with chocolate shavings and a cherry on top!


The cupcakes were moist and delicious! Love this recipe
I made these cupcakes for a birthday but found I will not be using the recipe to make them again. The cupcakes turned out OK, the cake mixture only made 9 cupcakes and the cake was a bit bitter. The cherry fully was OK but next time would follow a recipe that did not include cornflour. The whipped cream icing was superb and tasted and look fabulous. Am happy I gave this recipe ago, you don’t know till you try something out to see if you like it.
How long can these sit in frig before serving abs also how long can whipped topping last before serving. Can they be topped day before and in frig or day of serving and how long? Thanks.
Hi Cherie! This is actually not a Handle the Heat recipe, it’s from a guest blogger Danielle, from the Live Well Bake Often blog. I’m sorry I can’t help with your questions, but HTH has not tested this recipe! This may need to be a post Tessa revisits in the future to redo.
Hey, these sound so yummy! I wanted to make some for a picnic but it’s really hot over here and will be about 85 degrees fahrenheit. Will the whipped cream melt in the outdoor weather if out for about 5 hours? I plan to make them the day before and refrigerate in an airtight container overnight.
Hi Sarah! Unfortunately the whipped cream will melt in the outdoor heat if the cupcakes are out that long, even though it is a stabilized whipped cream. Do you have the ability to keep them chilled while they’re outside (for example, ice packs underneath what they’re stored in) as well as keeping them out of the sun?
Simply delicious!! The cup cake itself is not too sweet, airy and perfectly moist. The filling was tasty and I couldn’t stop my 5 year old from eating it all by itself. I used corn starch to stabilize my whipped cream as I don’t eat gelatin. I used 1.5 table spoons of powdered sugar for each cup of heavy cream and the sweetness was just perfect for me. This will be my go to recipe for cupcakes during the cherry season.
I’m so happy to hear you loved this recipe so much and that it’s now your go-to recipe!! You just made my day 🙂
Hi did you still include water when you replaced gelatin with cornstarch?
hi, im pretty sure that the cornstarch is used as a thickener, so i think you still add the water. 🙂
I made these cupcakes this morning and they are delicious!! Thank you.
Great to hear that!
Oh my amazing! Made for a fundraiser and got so many compliments. Rich and super moist chocolate cupcakes. I didn’t have buttermilk so substituted cream and vinegar to make my own. Only had canned sour cherries, so made a filling with the juice from the can and left out the lemon juice as they were already tart. Perfect with the whipped cream topping including the unflavored gelatin. A keeper! Thanks!