


Tessa’s Recipe Rundown
Taste: Olive oil + fresh rosemary + salt = bold, savory, craveworthy flavor!
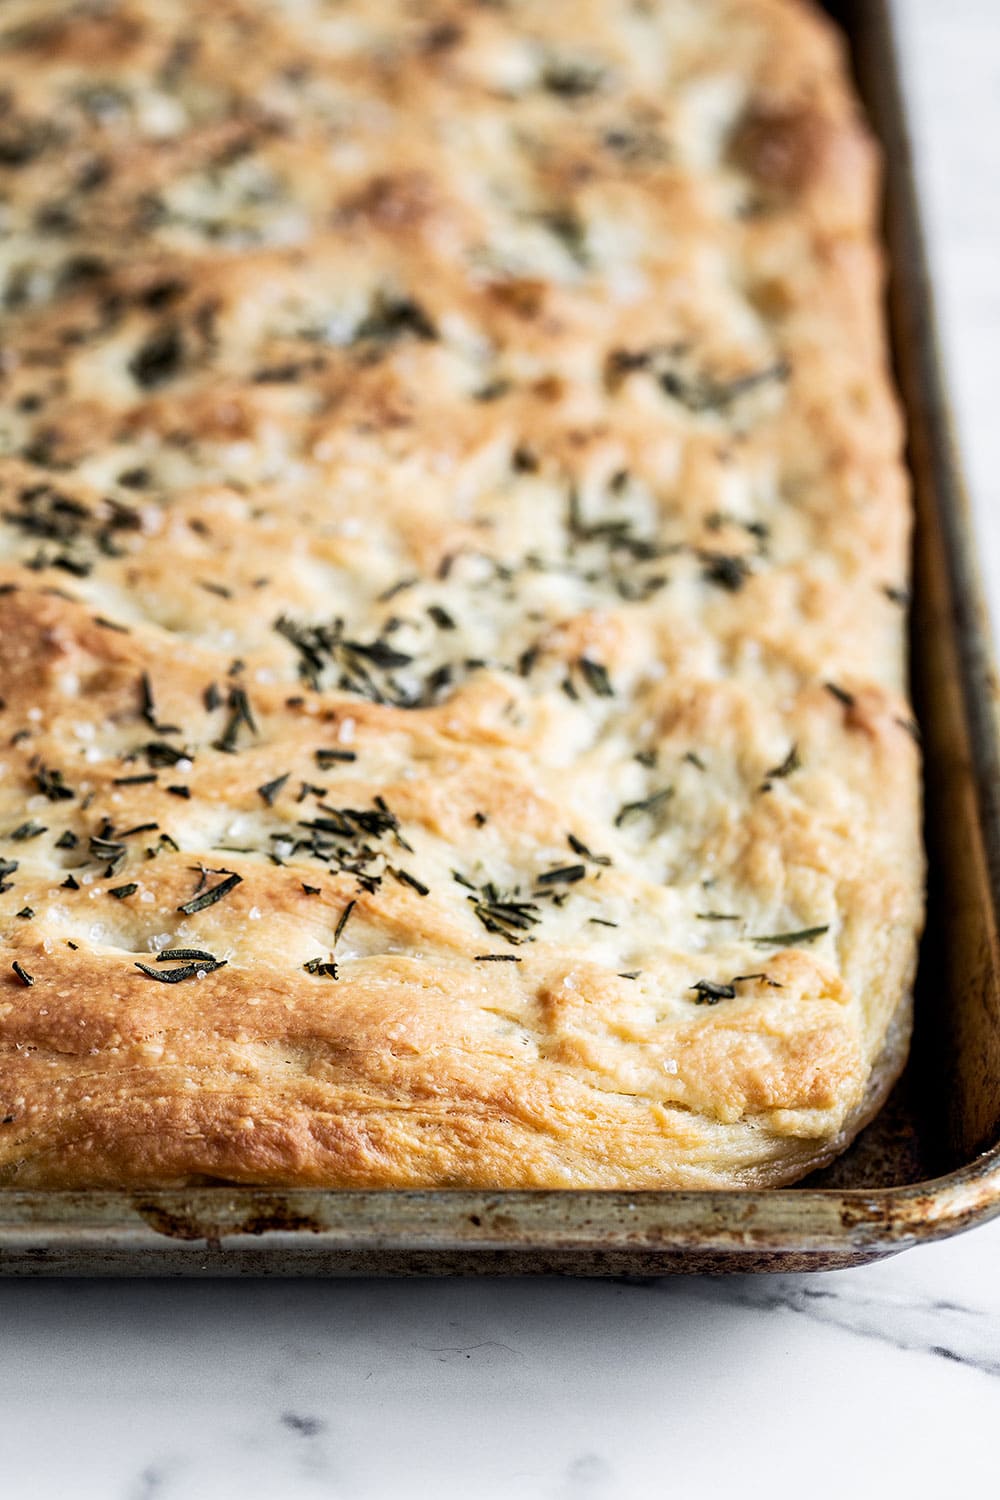
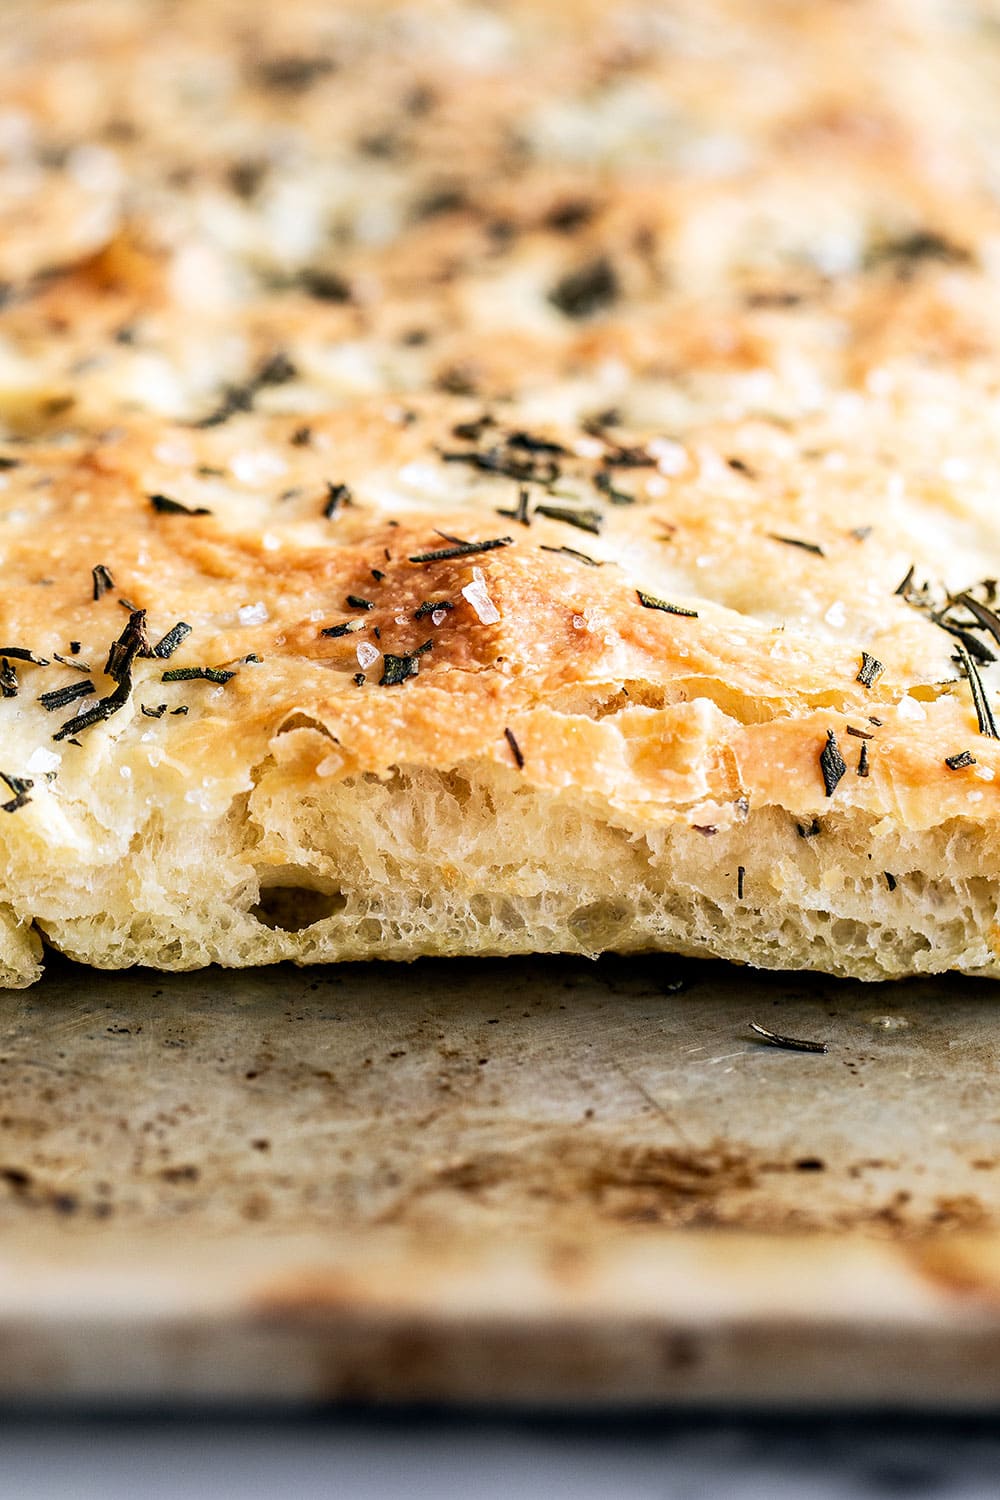
Texture: Soft and chewy inside with perfectly crisp golden edges.
Ease: No kneading, no mixer, just time & patience.
Why You’ll Love This Recipe: Incredibly forgiving and beginner-friendly, though you’d never guess from the amazing results.
This post may contain affiliate links. Read our disclosure policy.


My focaccia recipe is one of the highest reward, lowest effort breads you can make right at home.
After watching Salt Fat Acid Head on Netflix , I tweaked my original focaccia bread recipe to reduce the yeast and extend the fermentation time.

This dramatically improved the flavor and texture without adding more difficulty. In fact, this method now allows for flexibility. You can bake it the same day or refrigerate the dough for several days to develop more flavor.
Reader Love
Made this for some friends for dinner to go along with my beef and barley soup. So delicious and easy to make! Everyone loved it.
–

Sprinkle of Science
Ingredients Notes
- Active dry yeast – A small amount of yeast + a long rise time = more flavor.
- All-purpose flour – The backbone of our focaccia bread, no need to run to the store for bread flour here!
- Granulated sugar – Just a little, to help feed the yeast as the bread ferments.
- Salt – Do not skimp! It may seem like lot (there’s three salt additions), but trust the process.
- Fresh rosemary – Adds aroma and that classic flavor. Chop finely so it doesn’t burn. And yes, fresh is best.
- Extra virgin olive oil – Again, do not skip. It’s a lot of oil, but it provides flavor, moisture, and crispness.
How to Make Focaccia Bread (Step by Step)
- Activate the yeast.
In a large bowl, combine warm water (110-120°F), yeast, and sugar. Let sit until slightly foamy, about 5 minutes. The surface should look cloudy with small bubbles. - Mix the dough.
Stir in 2 teaspoons chopped rosemary, half the flour, and the salt. Add ½ cup olive oil, then gradually add remaining flour until a shaggy, slightly sticky dough forms. The dough should look rough and loose, not smooth. - First rise (bulk fermentation).
Use wet hands to transfer dough to a lightly oiled bowl, cover, and let rise at room temperature for 8–10 hours, until doubled.
Optional: Refrigerate for up to 3 days for deeper flavor. - Spread onto pan.
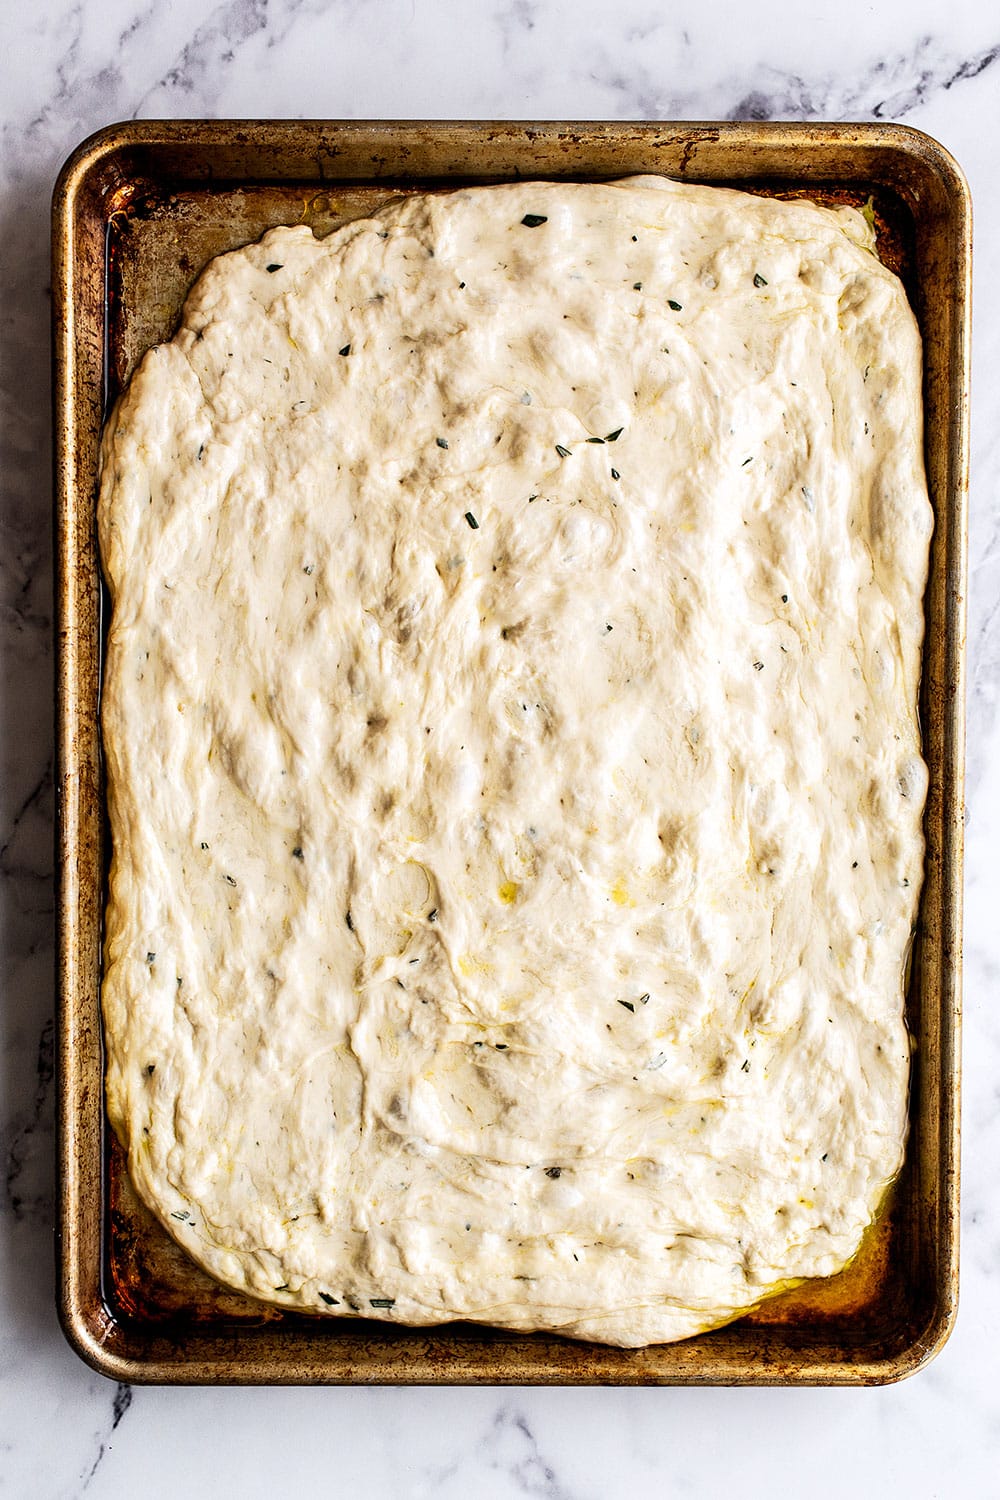
Coat a rimmed half-sheet pan generously with remaining ½ cup olive oil. Turn dough out and gently stretch to fit the pan.
If it springs back: Cover and rest 10 minutes, then continue. - Dimple deeply.
Use your fingertips to press deep dimples all over the dough, reaching through to the pan bottom. This creates texture and holds the brine. - Add the brine.
Dissolve salt in warm water. Pour evenly over dough, letting it pool in the dimples. - Second rise.
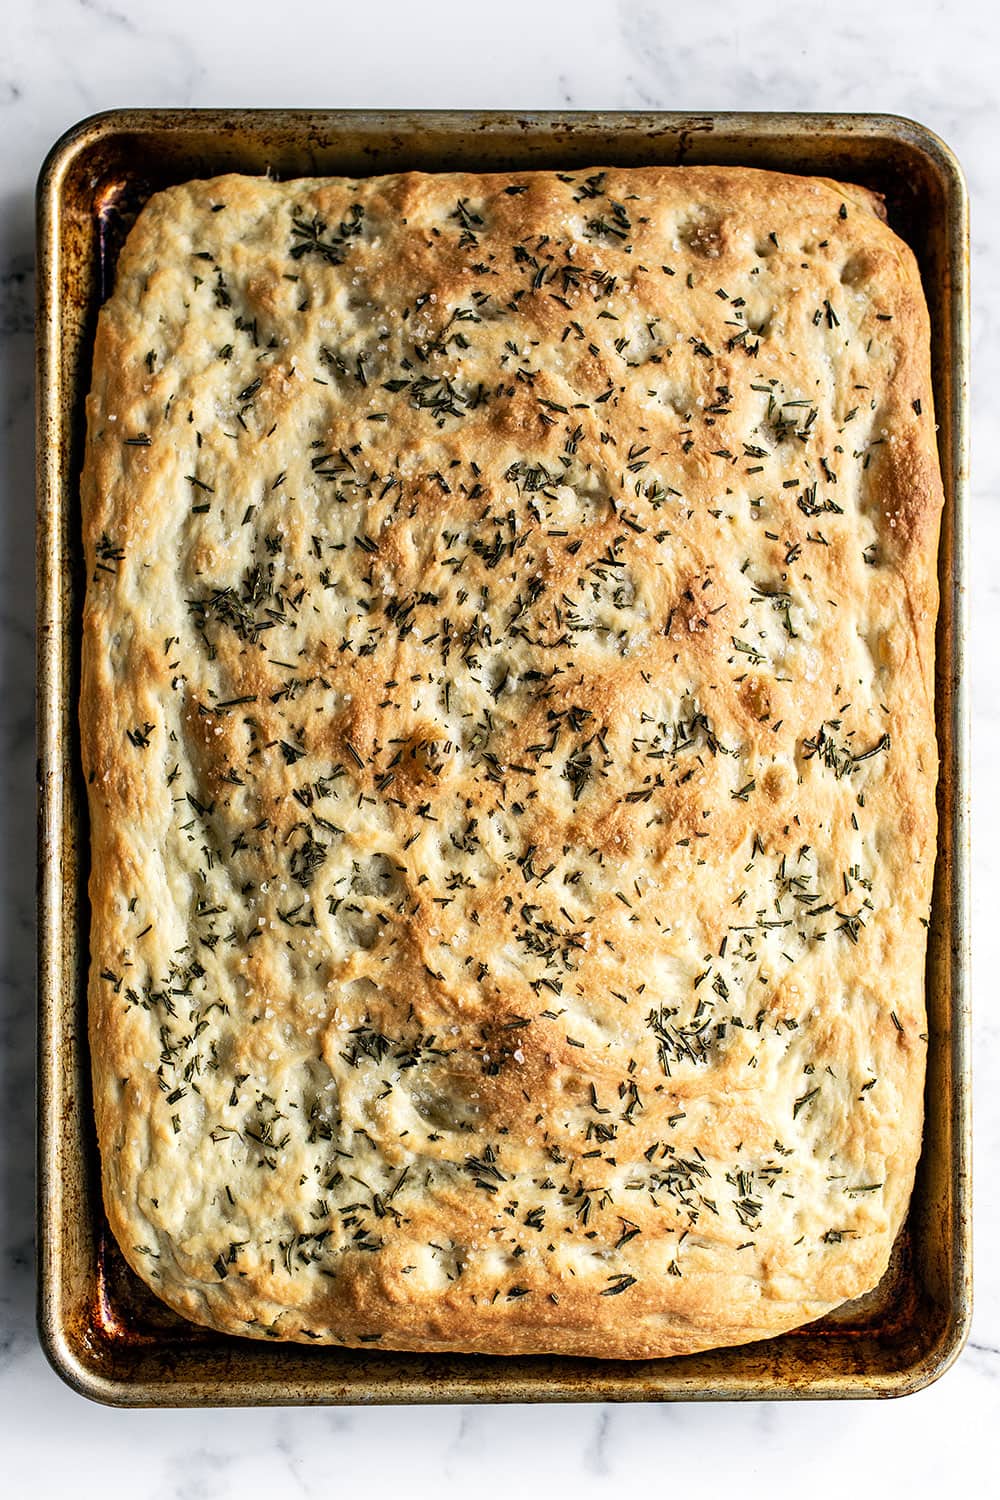
Cover loosely and let rise until visibly puffy, about 45 minutes. - Bake.
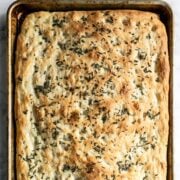
Preheat oven to 450°F. Sprinkle dough with flaky salt and remaining rosemary. Bake on the stone for 25–30 minutes, until deeply golden with crisp edges.
To guarantee crispy golden brown edges, I like to use a pizza stone to bake the tray of focaccia dough on. If you don’t have one, simply invert a high-quality rimmed baking pan and use in place of a stone.
Variations for Homemade Focaccia Bread
- Fresh herbs – Feel free to add whatever herbs you like to this focaccia bread. Fresh sage is a delicious alternative/addition. Fresh thyme, basil, and chives are also fabulous options.
- Toppings – You can also top the bread with whatever you fancy. I like shredded cheese (parmesan cheese works great), crumbled feta or goat cheese, torn fresh mozzarella, olives, bell peppers, cherry tomatoes, or even caramelized onions.
- Homemade everything bagel seasoning adds a fun touch.
- Garlic cloves – Add fresh, finely minced garlic to the dough.
- Pizza – Make a Focaccia Pizza!
- Sandwiches – Use a serrated knife to slice your cooled bread in half and make focaccia sandwiches.
- Dip into your favorite soups!
Storage
Focaccia bread is best the day it’s made. Store leftovers in a plastic bag for up to 1 day or freeze for up to 1 month.
Allow to defrost at room temperature then refresh in a 325°F oven until warmed through and crispy again, about 5 minutes.
FAQs
Focaccia is an Italian bread known for its olive oil–rich dough, dimpled surface, and crisp edges. It’s softer, flatter, and more flavorful than regular sandwich bread.
Usually not enough olive oil or insufficient oven heat. Use a metal pan (even a dark colored pan, which I usually avoid unless I want deeply golden bottoms & edges!), bake at 450°F, and don’t skimp on oil.
No! This no-knead focaccia bread recipe is beginner-friendly and relies on time, not technique.
Yes. Refrigerate the dough after the first rise for up to 3 days for better flavor. If refrigerating, don’t allow the dough to fully double before placing in the fridge, otherwise you may risk over-proofing.
Yes, that should work, but your crust may turn out much chewier and your dough stiffer.

Email This Recipe
Enter your email, and we’ll send it to your inbox.
Ingredients
For the dough:
- 2 cups lukewarm water, about 110° to 120°F
- 1 teaspoon active dry yeast
- 1 tablespoon granulated sugar
- 5 sprigs fresh rosemary leaves, chopped and divided
- 5 1/4 cups (670 grams) all-purpose flour
- 1 tablespoon kosher salt, plus coarse sea salt for sprinkling
- 1 cup extra-virgin olive oil, divided
For the brine:
- 3/4 teaspoon fine sea salt
- 1/3 cup lukewarm water

Instructions
- In a large bowl, combine the warm water, yeast, and sugar. Add in 2 teaspoons of the chopped rosemary, half the flour, and the salt, and stir to combine. Add 1/2 cup olive oil. Gradually add in the remaining flour until a shaggy mass forms. Only add in as much flour as you need to create a shaggy, slightly sticky dough.
- Transfer the dough to a lightly oiled bowl. Cover with plastic wrap and let ferment at room temperature for about 8 to 10 hours, or until doubled in size.
- You can also refrigerate the dough for several days to rise slowly. This will also develop more flavor. Note the second rise will take at least twice as long if the dough is cold.
- Coat a rimmed half-sheet pan with the remaining 1/2 cup olive oil. Turn the dough onto the pan and begin pressing it out with your fingertips to fit the size of the pan. Coax and stretch the dough to fit the entire pan, or just about. If the dough springs back, cover and let it rest for 10 minutes before proceeding. Spread your fingers to make little dimples all the way through the dough.
Make the brine:
- Combine the warm water and salt together until the salt is dissolved. Pour all over the dough to make little pools of water in the dimples. Cover loosely with plastic and allow to rise again until the dough is puffy, about 45 minutes.
Bake the bread:
- Meanwhile, place a baking stone in the oven and preheat to 450°F. If you don't have a baking stone, invert a heavy-duty rimmed baking sheet and place in the oven to preheat.
- Sprinkle the dough liberally with coarse sea salt and the remaining rosemary leaves. Bake with the sheet pan on top of stone until the focaccia is golden brown, 25 to 30 minutes.
- Let cool until just warm before serving. Store leftovers in an airtight container for 1 day, or freeze for up to 1 month.
More Savory Recipes You’ll Love:
This recipe was originally published in 2014 and has been updated with recipe improvements and new photos. Photos by Ashley McLaughlin.


Hi Tessa,
Have quite a few of your recipes printed and planning on making today. A little coffee shop where I used to live made Focaccia Buns that were so awesome! While I don’t usually like olives I loved the few that were in the bun. I saw Frenchie (the cook) bring them out of the oven once and brushed them with (lots) of butter. Any idea on how to make them?
Ooh Focaccia Buns sound lovely! I might have to look into developing a recipe 🙂
Hi Tessa,
How would the first few steps be adapted for someone who doesn’t have a standing mixer?
Thanks,
Metta
Hi Metta – as I mentioned in the video you can knead the dough by hand, it’ll just take some strength and maybe a bit more time.
Oh my goodness, that looks soooooo good!
Got it this time! Thanks for fixining it.
Awesome! You’re so welcome.
I tried to save this recipe to my Ziplist and it’s not working. I keep getting a message that the content isn’t there. Can this be fixed?
Thanks for bringing this to my attention Jessica. It appears something is very wrong with this post, there are now multiple issues that I have found. I am working on resolving these issues and will let you know when they are fixed. Sorry for the inconvenience!
Jessica, can you try again now? If it still isn’t working try restarting your browser.
Looks like it came from the store! Gorgeous!
I’m new to your blog and I love that the first post I received is for focaccia. I’m also delighted to know that you don’t own a bread machine. Baking bread from scratch is really not difficult, though mastering the technique of hand-kneading has a bit of a learning curve (I don’t have a stand mixer, either). Homemade bread is the best.
Thanks so much! Glad to have a fellow homemade bread lover around 🙂
Focaccia is my favorite! Looks gorgeous, Tessa!
I love focaccia and can’t wait to try this out!
Tessa, thank you so much for posting this wonderful focaccia recipe! And all of your instructions and step-by-step photos are so helpful. I love focaccia and have to try it at home now.
Wow-this looks truly delicious! I’ve been dying for some good focaccia bread and just so happen to have all the ingredients so I’m going to give this a try this week! And the photos beautiful as usual!
Hi, Tessa,
Nothing makes your house smell more like home than bread in the oven! Your focaccia looks delicious – I can almost smell it baking now. 🙂
A couple of baking notes….
1. You should really, really, really consider weighing ALL the ingredients. Besides making ‘baker’s math’ calculations easier, it turns out that inaccurate measurements are a very common problem (especially few new bakers) and, in my opinion, are the single biggest reason people get ‘turned off’ to baking.
2. Salt. Building on point #1, salt, especially kosher salt, needs to be weighed. The density of kosher salt varies wildly by brand. i.e. Morton kosher salt is about twice as dence as Diamond Crystal kosher salt, meaning the amount of salt in a volume-based measurement (like a tablespoon) can be way, way, way off depending on the brand of salt you’re using. Weighing gets rid of this problem completely.
3. Freezing dough. If you’re going to freeze pizza or focaccia dough you want to let it go through the 1st rise (primary fermentation) first before freezing to let the dough develop. The cold of the freezer really annoys the yeast and shuts them down quickly. Going directly into the freezer will result in an under-developed dough which won’t taste or bake the way it should.
4. Bread machine. If you use your bread machine as a ‘dough machine’, you don’t need a lot of adaptation…just mix the dough in the bread machine and then pick up where you move the dough to an oiled bowl. Focaccia is a flat bread by definition – part of its appeal is the high crust to crumb ratio – so you should not bake focaccia in a bread machine ever.
BTW – I love your writing style – very clear, easy to follow and you always add an element of fun into each recipe. Always a delight to read your work!
Happy baking!
Paul:
Thanks for bringing up the “weigh your ingredients” issue. I totally AGREE. Weighing is the smartest thing a baker can do. And that’s a good tip on freezing dough. I’ve never done it but I do slice and freeze my bread after the first feeding frenzy.