


Tessa’s Recipe Rundown
Taste: Buttery, garlicky, and so cheesy!
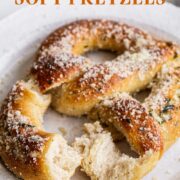
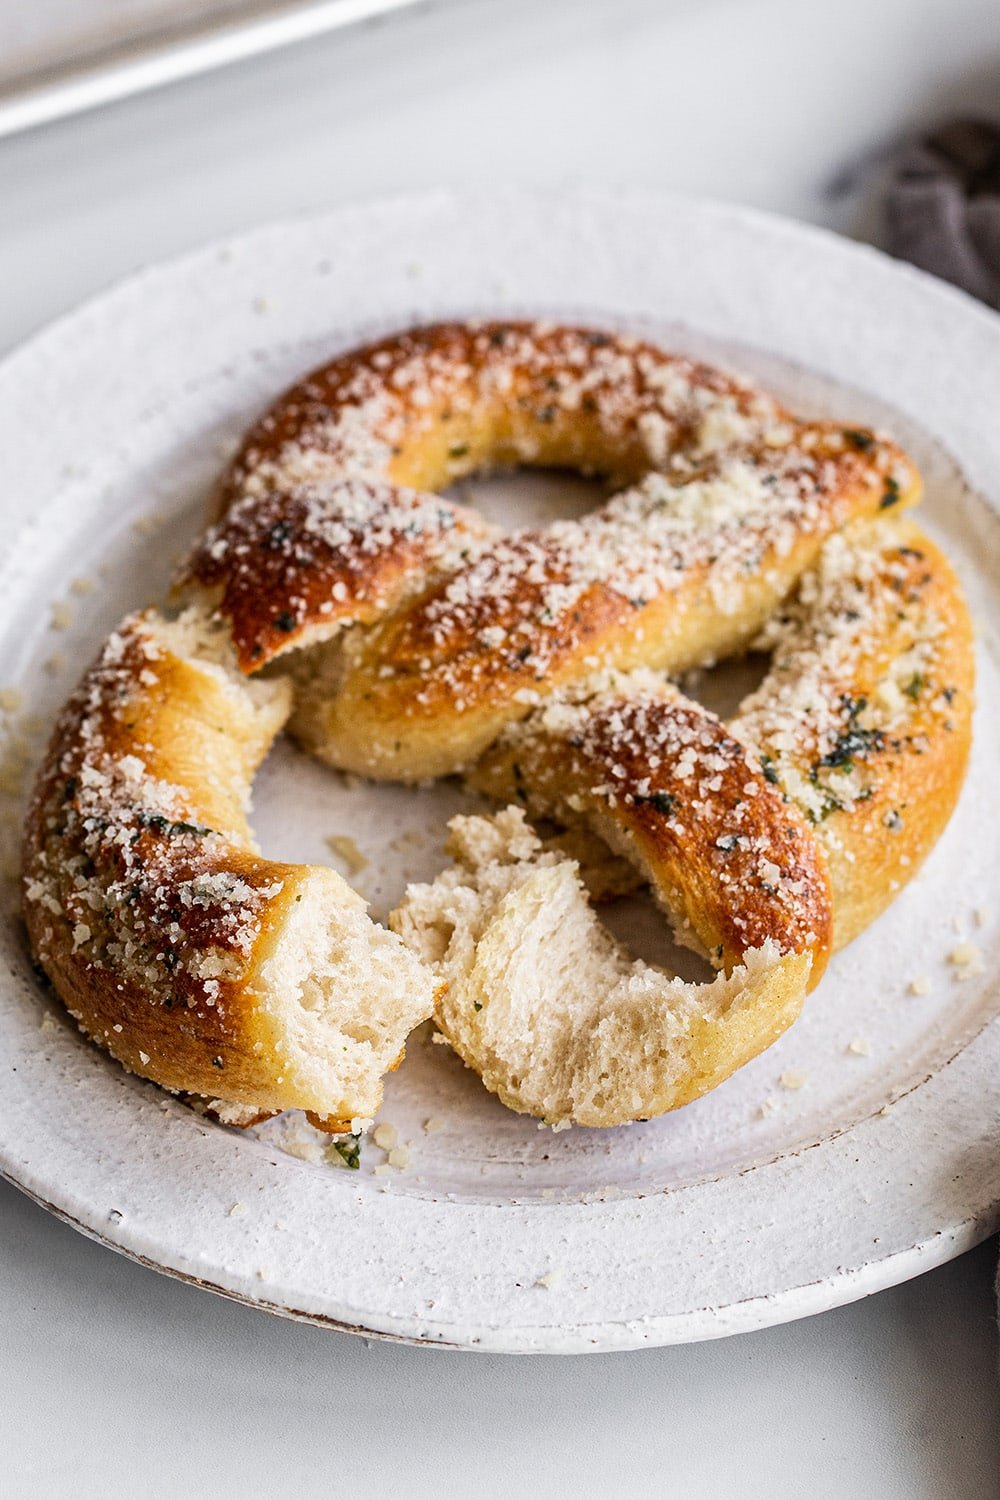
Texture: Crisp outside, soft inside.
Ease: Don’t be intimidated by the baking soda bath – it’s simple once you get the hang of it!
Why You’ll Love This Recipe: The absolute perfect snack for game day, Super Bowl parties, or even a cozy afternoon in.
This post may contain affiliate links. Read our disclosure policy.


As much as I LOVE the classic Soft Pretzel Recipe on my site (a recipe my fiancé Joe actually invented!), sometimes I want to spice it up a bit.
What better way to spice up pretzels than by adding heaps of garlic and cheese?! There’s almost nothing better.
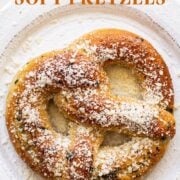
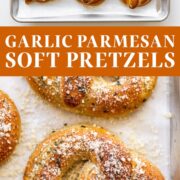
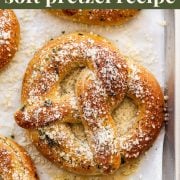
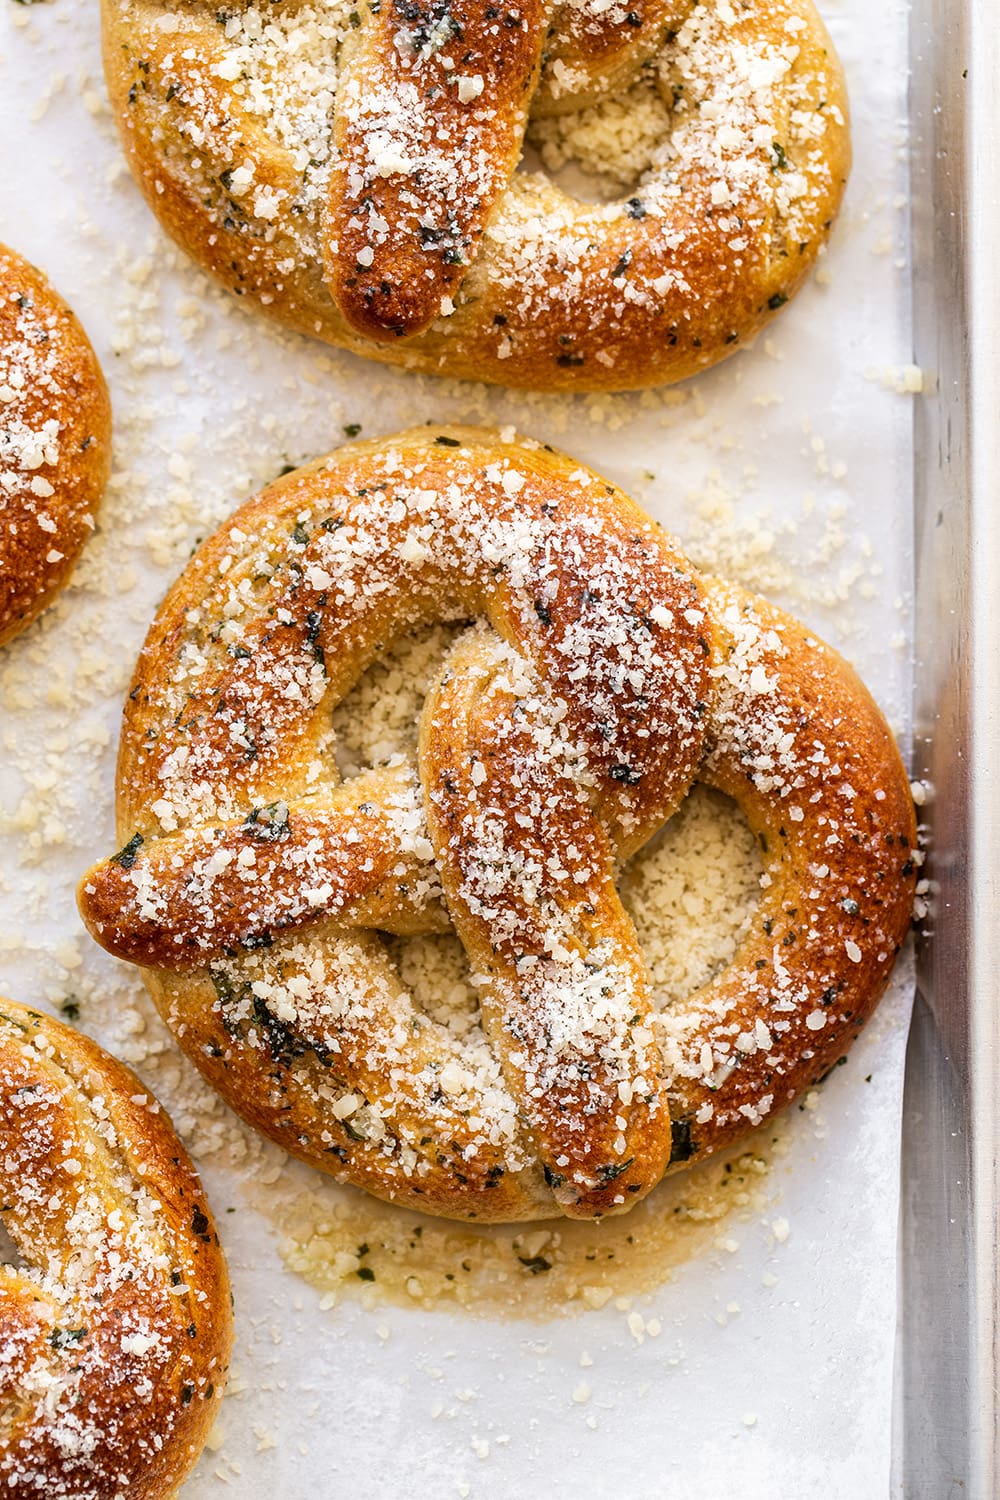
These addictive Garlic Parmesan Soft Pretzels are the ultimate game day food, Super Bowl appetizer, or party snack.
Buttery, cheesy, and loaded with garlic. What more could you want out of a carb?!

Sprinkle of Science
How to Make Garlic Parmesan Soft Pretzels
Knead Your Pretzel Dough
This dough is quite dense and heavy so it needs to be kneaded well in order to allow the gluten to develop. The gluten is the backbone of the structure of these pretzels, giving them their distinct shape and chewy texture.
If you don’t have a stand mixer with a dough hook, you can also knead by hand. It’ll just require some upper body strength and about 5 additional minutes.
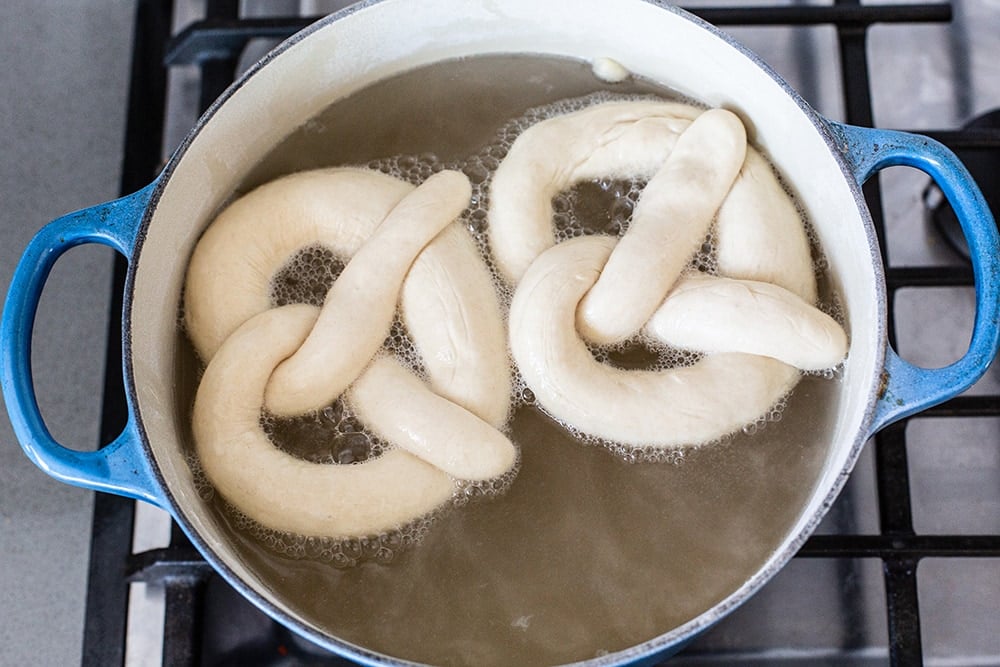
How to Make A Baking Soda Bath for Pretzels
Don’t be afraid of this step. It is really easy and makes a big difference in getting that golden crispy outside with the soft inside texture.
- You’ll need 2/3 cup of baking soda and 10 cups of water.
- In a large pot, bring the baking soda and water to a boil.
- Boil the pretzels in small batches in the soda solution for 45 seconds, then flip and boil for an additional 45 seconds.

Note: Make sure to dunk only up to two pretzels at a time to ensure they are able to soak thoroughly.
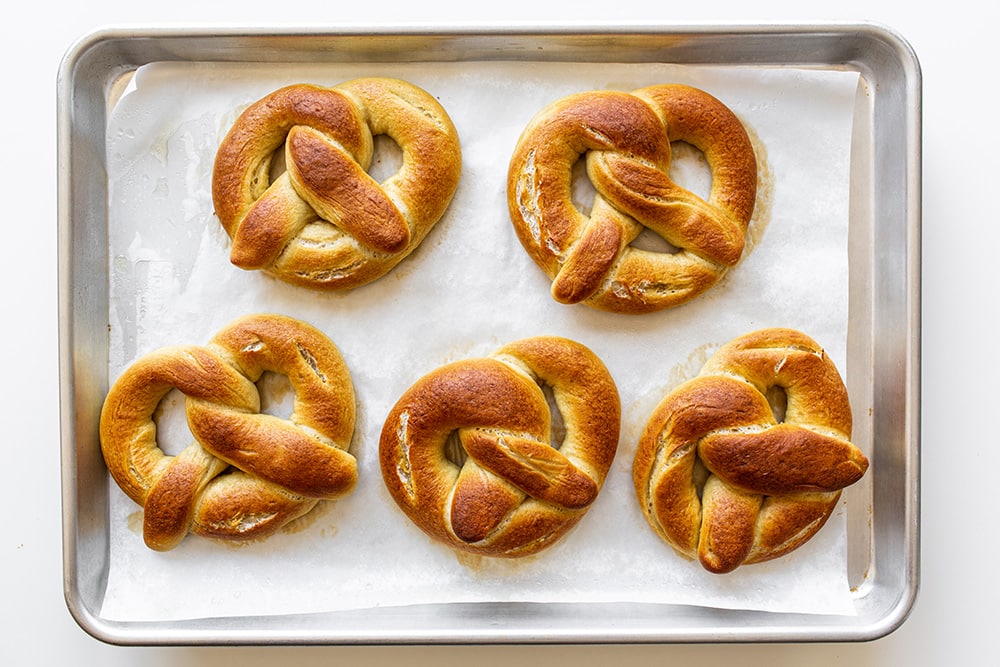
How to Shape Pretzels
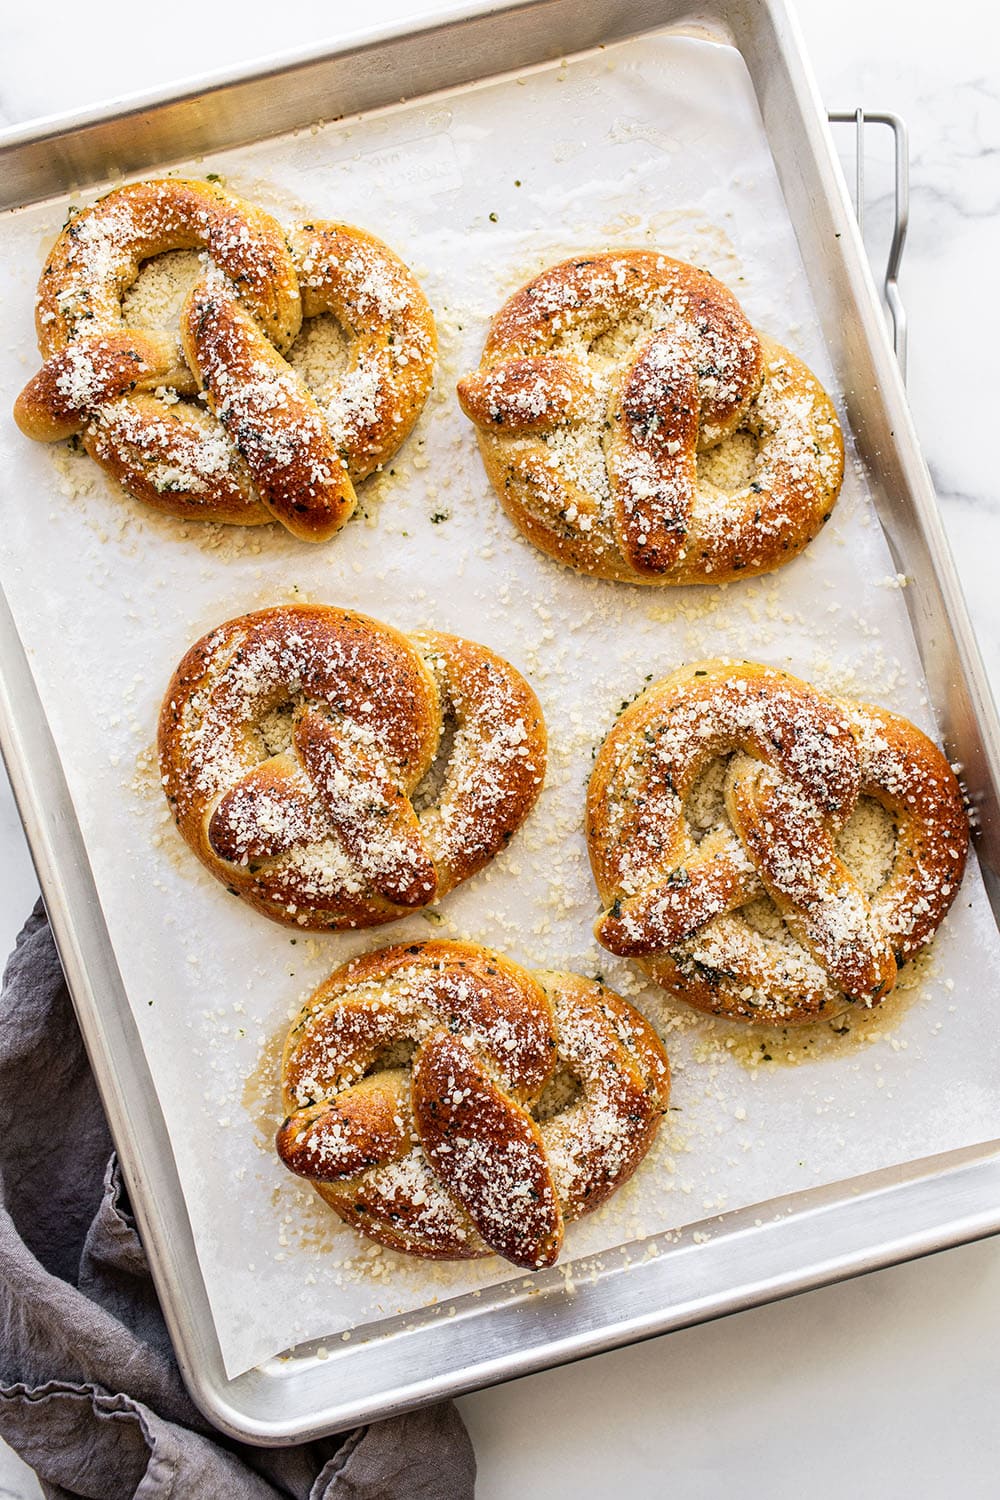
Shape logs of dough into a letter U. Cross the arms placing one over the other, then twist them around each other once. Bring the ends down to the bottom of the U and gently press to stick. Place on two greased parchment-lined baking sheets.

How to Store Pretzels
These pretzels are definitely best served the day they’re baked. Even better, still warm from the oven! However, you can store in an airtight container at room temperature for up to 2 days. Reheat in the toaster oven at 350°F for a few minutes to refresh.
How to Freeze Pretzels
Store the baked but plain uncoated pretzels in an airtight container in the freezer for up to 2 months.
Defrost by letting them sit on the counter for about an hour. Or, simply microwave for about 30 seconds. If desired for a crispier texture, once defrosted, refresh in the toaster for about 5 minutes. Proceed with coating with butter and sprinkling with the topping as directed in the recipe.
Email This Recipe
Enter your email, and we’ll send it to your inbox.
Ingredients
For the pretzels:
- 1 tablespoon active dry yeast
- 1 tablespoon brown sugar
- 1 1/2 cups (355 grams) warm water (about 110°F), divided
- 5 cups (635 grams) all-purpose flour
- 2 teaspoons fine sea salt
- 4 tablespoons (57 grams) unsalted butter, melted


For baking soda bath:
- 2/3 cup of baking soda
- 10 cups of water
For the garlic Parmesan:
- 4 tablespoons unsalted butter, melted
- 4 cloves garlic, minced
- 1/4 teaspoon salt (add more or less to taste)
- 1/4 teaspoon garlic powder
- 1 teaspoon dried parsley
- 1/3 cup finely grated Parmesan cheese
Instructions
- Preheat the oven to 400°F. Line two baking sheets with parchment paper. Spray with nonstick cooking spray.
Make the dough:
- In the bowl of a stand mixer fitted with the dough hook, combine the yeast, sugar, and 1/4 cup of the water. Whisk to combine. Let stand for 5 minutes or until frothy.
- Add the remaining 1 1/4 cups water, flour, and salt and stir to combine. On low speed, gradually pour in the melted butter.
- Increase speed to medium and knead for about seven minutes until the dough is elastic and completely smooth and doesn’t stick to the sides of the bowl or your hands. This will be a dense dough, so be careful not to step away from your mixer in case it decides to jump on the counter.
Shape the pretzels:
- There is no need to allow this dough to rise prior to shaping. Remove the dough to a clean work surface (do not flour). Divide into 10 equal pieces (each should be about 100 grams). Roll each piece against the counter or between your palms into about a 20-inch long log.
- Shape the log into a letter U. Cross the arms placing one over the other then twist them around each other once. Bring the ends down to the bottom of the U and gently press to stick. Place on two greased parchment-lined baking sheets. Repeat with all the dough portions.
- Cover and allow the shaped pretzels to rise for 30 minutes while you prepare the bath. The shaped pretzels should be slightly puffed before 'bathing.'
Prepare the baking soda bath:
- In a large pot, bring the baking soda and water to a soft boil. Once risen, boil the pretzels in small batches in the soda solution for 30 seconds, then flip and boil for an additional 30 seconds.
- Using a slotted spoon, remove the pretzels back to the prepared baking sheets. Using a paring knife, score two slices into the thickest part of each pretzel. Repeat until all pretzels have been bathed and scored.
Bake the pretzels:
- Bake both trays at 400°F for about 16 minutes, alternating the trays half through the baking time for even baking, until deeply golden brown. Bake for less time for softer pretzels and more time for crispier pretzels.
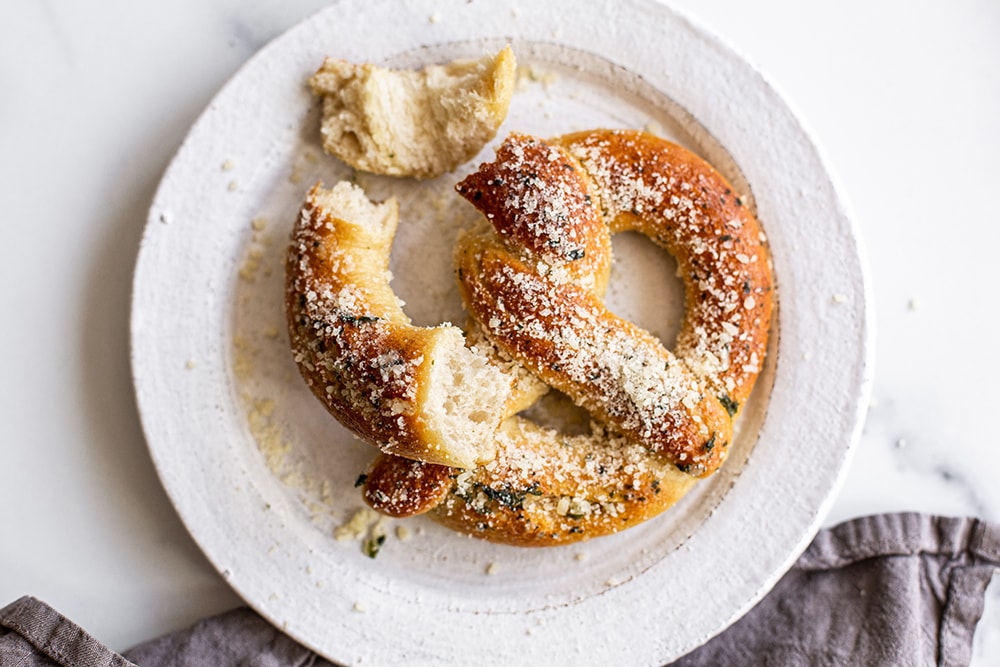
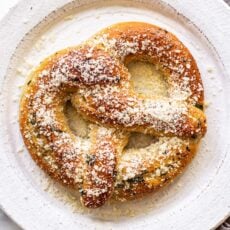
Prepare the topping:
- While the pretzels bake, melt the butter in a small saucepan set over medium-low heat. Add the garlic and cook, stirring frequently, until fragrant, 1 to 2 minutes. Add the salt, garlic powder, and parsley and stir to combine.
- Brush hot pretzels all over with the garlic butter mixture. Sprinkle generously with the Parmesan cheese. Serve warm.
This post was originally published in 2015 and updated in 2022 with recipe improvements and new photos. Photos by Ashley McLaughlin.


Can one use barley malt powder instead of syrup? And if so, how much and when one one add it?
Hi Linda! Just clarifying, this recipe uses 1 tablespoon of brown sugar, not barley malt syrup. You’re welcome to replace the brown sugar with 1 tablespoon barley malt syrup instead. We haven’t tried barley malt powder, so I can’t say for sure. Let us know how it goes if you give it a try 🙂
These garlic parmesan pretzels are delicious! The recipe is easy and fun. Try them!!
I made the Garlic Parmesan Pretzels as bites to enjoy with a wine and cheese family celebration. The Garlic Parmesan topping was so good I made extra for dipping. They worked beautifully, reheated quickly and like the pretzels and cheese sauce were a hit with the family. Thank you Tessa and HtH!
Wow, that sounds like such a delicious time! So fun! Glad to hear everyone loved them 🙂
These were amazing. I fully intend to make a large batch and keep my freezer stocked.
The parmesan garlic pretzels were delicious, and so easy to make! They were perfect as a snack on a snowy day.
So glad you loved them! I agree, they’re the perfect treat during these winter months!
Delicious and super easy!!
Fantastic! And fun to make, even though rolling out the pretzels was an unexpected amount of work!
Of course it didn’t help when I tipped the pan of topping onto the floor with the baking pans as they came out of the oven! I was already on a tight time schedule, but redoing the topping was a quick process the second time around. And I used a coarser salt after seeing how things were coming together.
Oh my goodness, sounds like you had quite the time making these pretzels! Glad they turned out well!
These were just so mmmm… My brother loved them and asked for a THIRD serving!! Super delicious… absolutely perfect!
Yay!! So happy to hear they were such a hit!
Oh my amazing!! I can’t even put into words how delicious these were!
These were delicious! My husband and I loved them and they were the perfect pre-game snack!
They’re really easy to make and greatly explained 🙂 Taste is also yummy, just like garlic bread
Sadly they tasted a bit too much of baking soda, in my view. And my brush kept on smelling of garlic after washing it :c
Ahhh!! I love these so much! So fun to make as well and love the short rising time!