




Tessa’s Recipe Rundown
Taste: S’mores filling is usually ultra sweet so I think the spiced gingersnap cookies offer a PERFECT balance of festive flavors.
Texture: Oh man. Chewy, slightly crisp, ooey, gooey, and sticky.
Ease: These are super simple but are much easier to make nice and neat and pretty if you use marshmallow fluff and a kitchen torch.
Appearance: Messily mouthwatering.
Pros: Incredible holiday flavor combination. So much more texture and flavor than your typical Christmas sugar cookie that’s for sure!
Cons: Messy to eat but that just makes it more fun, right?!
Would I make this again? Oh yah.
This post may contain affiliate links. Read our disclosure policy.
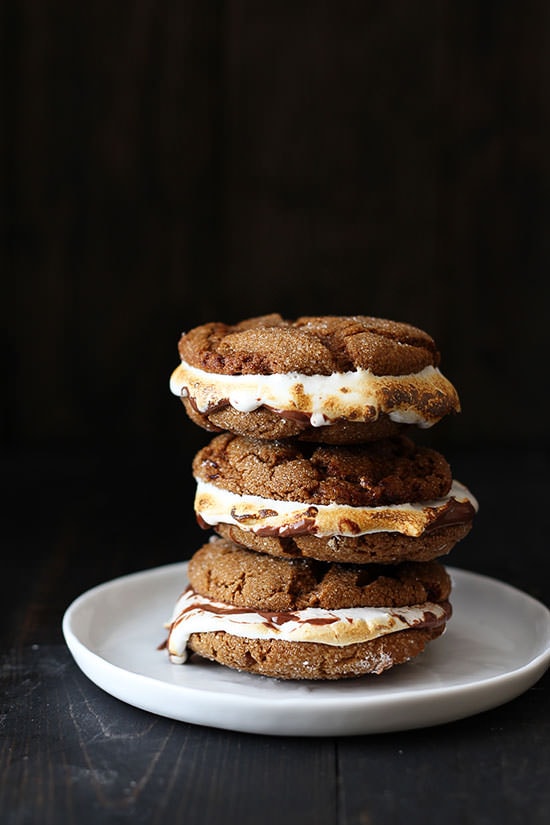
Graham crackers are an excellent vessel for s’mores because they offer crunch and a break from the ultra sweet marshmallow and typical Hershey’s milk chocolate. Don’t get me wrong, I ADORE s’mores and anything with s’mores flavors – but sometimes it can be a little bit of sweetness overload. I just love a good chewy, slightly sweet, spiced gingersnap cookie with a bit of a crunch at the edges. Plus you can’t beat the sparkling sugar coating and crackly appearance, they just LOOK like Christmastime right?
Well I didn’t want to just post a plain gingersnap cookie recipe because there’s a ton floating around online. I wanted to take it up a notch. That’s why when the idea of using homemade gingersnap cookies instead of graham crackers for s’mores sandwiches popped into my head I immediately began gathering all the necessary ingredients. I think I was unconsciously inspired by What’s Gaby Cooking and her Chocolate Chip S’mookies last year. Later that day I was in heaven munching on these ridiculously tasty treats. If you know anything about me you know I am ALL about the texture and I will dream about these gingersnap s’mores and their amazing chewy, crispy, ooey, gooey, stickiness for days.
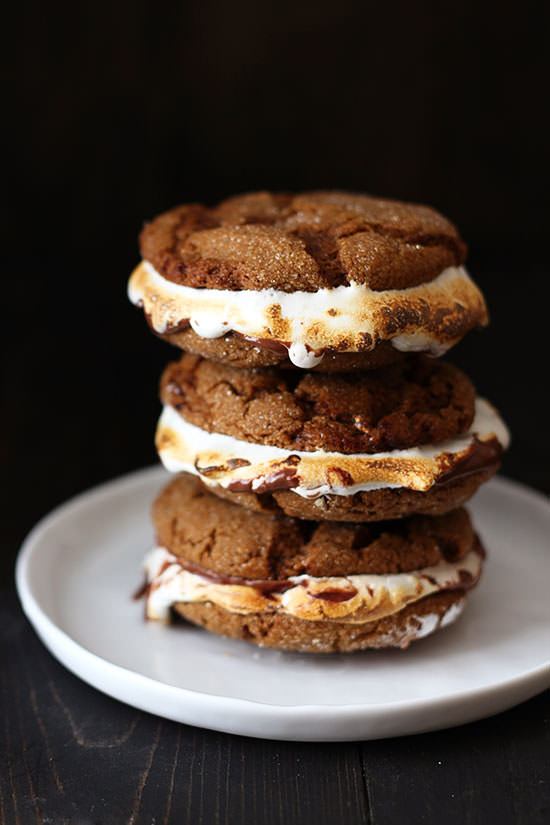
I love to use my medium spring-loaded cookie scoop (1 1/2 Tablespoons) and this kitchen torch for this recipe!
Marshmallow Note:
I tried these Gingersnap S’mores with both toasted marshmallows and marshmallow fluff and the fluff was the clear winner for s’mores sandwiches that are neater, prettier, and flat enough to eat easily. However with the marshmallow fluff you have to use a kitchen torch for best results. SO with that said feel completely free to use regular marshmallows, just note that the sandwiches may be thicker than these pictures indicate.
There’s another option (really you can make these babies any way you want). If you won’t miss out on the toasted part of s’mores (especially for those of you who don’t have means for toasting marshmallows) or the slightly crisp gingersnaps, you can also assemble Gingersnap S’mores (using regular marshmallows or fluff, melted chocolate or Hershey’s bars), wrap each in foil, and place in a 350°F for 4 to 5 minutes.
If you make these Gingersnap S’mores, be sure to take a picture and tag it #handletheheat on Instagram. I love seeing your photos!


Email This Recipe
Enter your email, and we’ll send it to your inbox.
Ingredients
- 1 stick (½ cup, 113 grams) unsalted butter, at cool room temperature
- 3/4 cup (150 grams) granulated sugar, divided
- 1/2 cup (100 grams) lightly packed dark brown sugar
- 1/3 cup (113 grams) unsulphured molasses, not blackstrap
- 1 large egg, at room temperature
- 2 ¼ cups (286 grams) all-purpose flour
- 1 ½ teaspoons baking soda
- 1 ½ teaspoons ground ginger
- 1 teaspoon ground cinnamon
- 1/4 teaspoon ground cloves
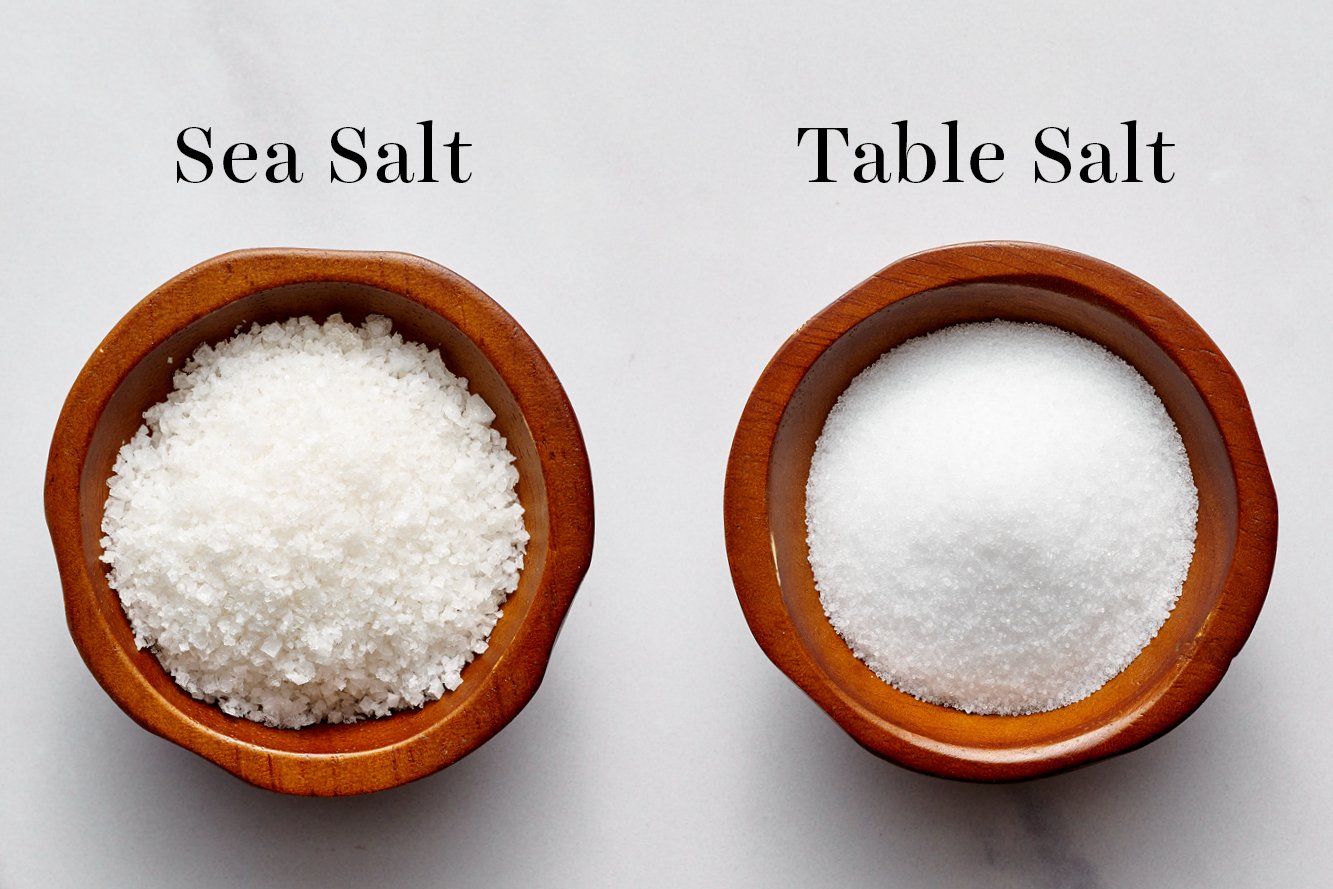
- 1/2 teaspoon fine sea salt
- 1 cup (170 grams) milk chocolate chips or Hershey bars
- 1 batch Marshmallow Fluff, homemade or store-bought, or 13 large marshmallows
Instructions
- Preheat the oven to 350°F. Line baking sheets with parchment paper.
- In a large bowl, use an electric mixer to beat the butter, 1/2 cup (100 grams) granulated sugar, and brown sugar until light and fluffy, about 2 minutes. Add the molasses and egg and beat until combined. Add the flour, baking soda, ginger, cinnamon, cloves, and salt and beat until combined.
- Place the remaining 1/4 cup (50 grams) granulated sugar in a shallow dish. Use a medium cookie scoop to divide the dough into 1 ½-tablespoon portions, gently roll into balls (dough will be soft), then roll in the sugar before placing on the baking sheets, spacing 2 ½ inches apart.
- Bake for about 12 minutes, or until the edges are very lightly golden brown and the centers are just set. Let cool on the baking sheets for 5 minutes before transferring to a wire rack to cool completely.
- Melt the chocolate chips in a heat-safe bowl in the microwave in 30-second bursts, stirring between each burst, until just melted. Let cool slightly to just warm, if needed, so it isn’t hot enough to melt the marshmallow fluff.
- Flip half the cookies over and use a piping bag or spoon to dollop about 2 teaspoons of melted chocolate in the center of each, leaving a border around the edges.
- Flip the remaining cookies over and use a piping bag or spoon to dollop about 1 tablespoon of marshmallow fluff in the center of each, again leaving a border around the edges. Using a kitchen torch, lightly toast the fluff, being careful not to scorch the cookies. Sandwich each marshmallow cookie with a chocolate cookie.
- Serve immediately or store in a single layer in an airtight container in the fridge until fully chilled, about 30 minutes. Once chilled, you can stack them and refrigerate for up to 1 week. Enjoy chilled or let come to room temperature before serving.
Notes
- Marshmallow fluff: Make up to 1 week ahead.
- Cookie dough: Refrigerate for up to 72 hours; roll in sugar before baking. Bake 12 minutes, then bang pan on counter slightly so cookies aren’t quite as thick.
- Baked, unassembled cookies: Freeze for up to 6 weeks, let thaw at room temperature before assembling.
- Baked, assembled cookies: Best served the same day, but can be chilled in a single layer up to 1 week. See freezing instructions above recipe.
- If transporting: For a long transport, freeze the assembled cookies ahead of time and let them thaw during transit. For shorter trips, refrigerate them and keep chilled until about 15-30 minutes before serving. For a slightly less messy option, use store-bought large marshmallows.


These look amazing – like the bakery style, giant molasses cookies I love. Can you say a little more about the texture of these? They look thick and chewy, but I can’t tell for sure. I know these have a lot more baking soda than your gingerdoodles, and these look chewier than the crispy gingersnaps. Which do you recommend I try for a chewy, thick gingersnap? Thank you!
Hi Caitlin! These cookies are chewy in the middle and slightly crisp on the edges – chewier than Tessa’s Gingersnaps but a little more sturdy and chewier than the Gingerdoodles. I hope that helps! Let us know what you think if you give these (or the Gingerdoodles!) a try!