This post may contain affiliate links. Read our disclosure policy.
Chocolate Ganache is like liquid gold.
It tastes rich and creamy. It looks shiny and elegant.
If I can find any use for it, I will absolutely go overboard. In my mind, ganache elevates any dessert recipe to a whole new level with its ultra-chocolaty flavor and luscious texture.
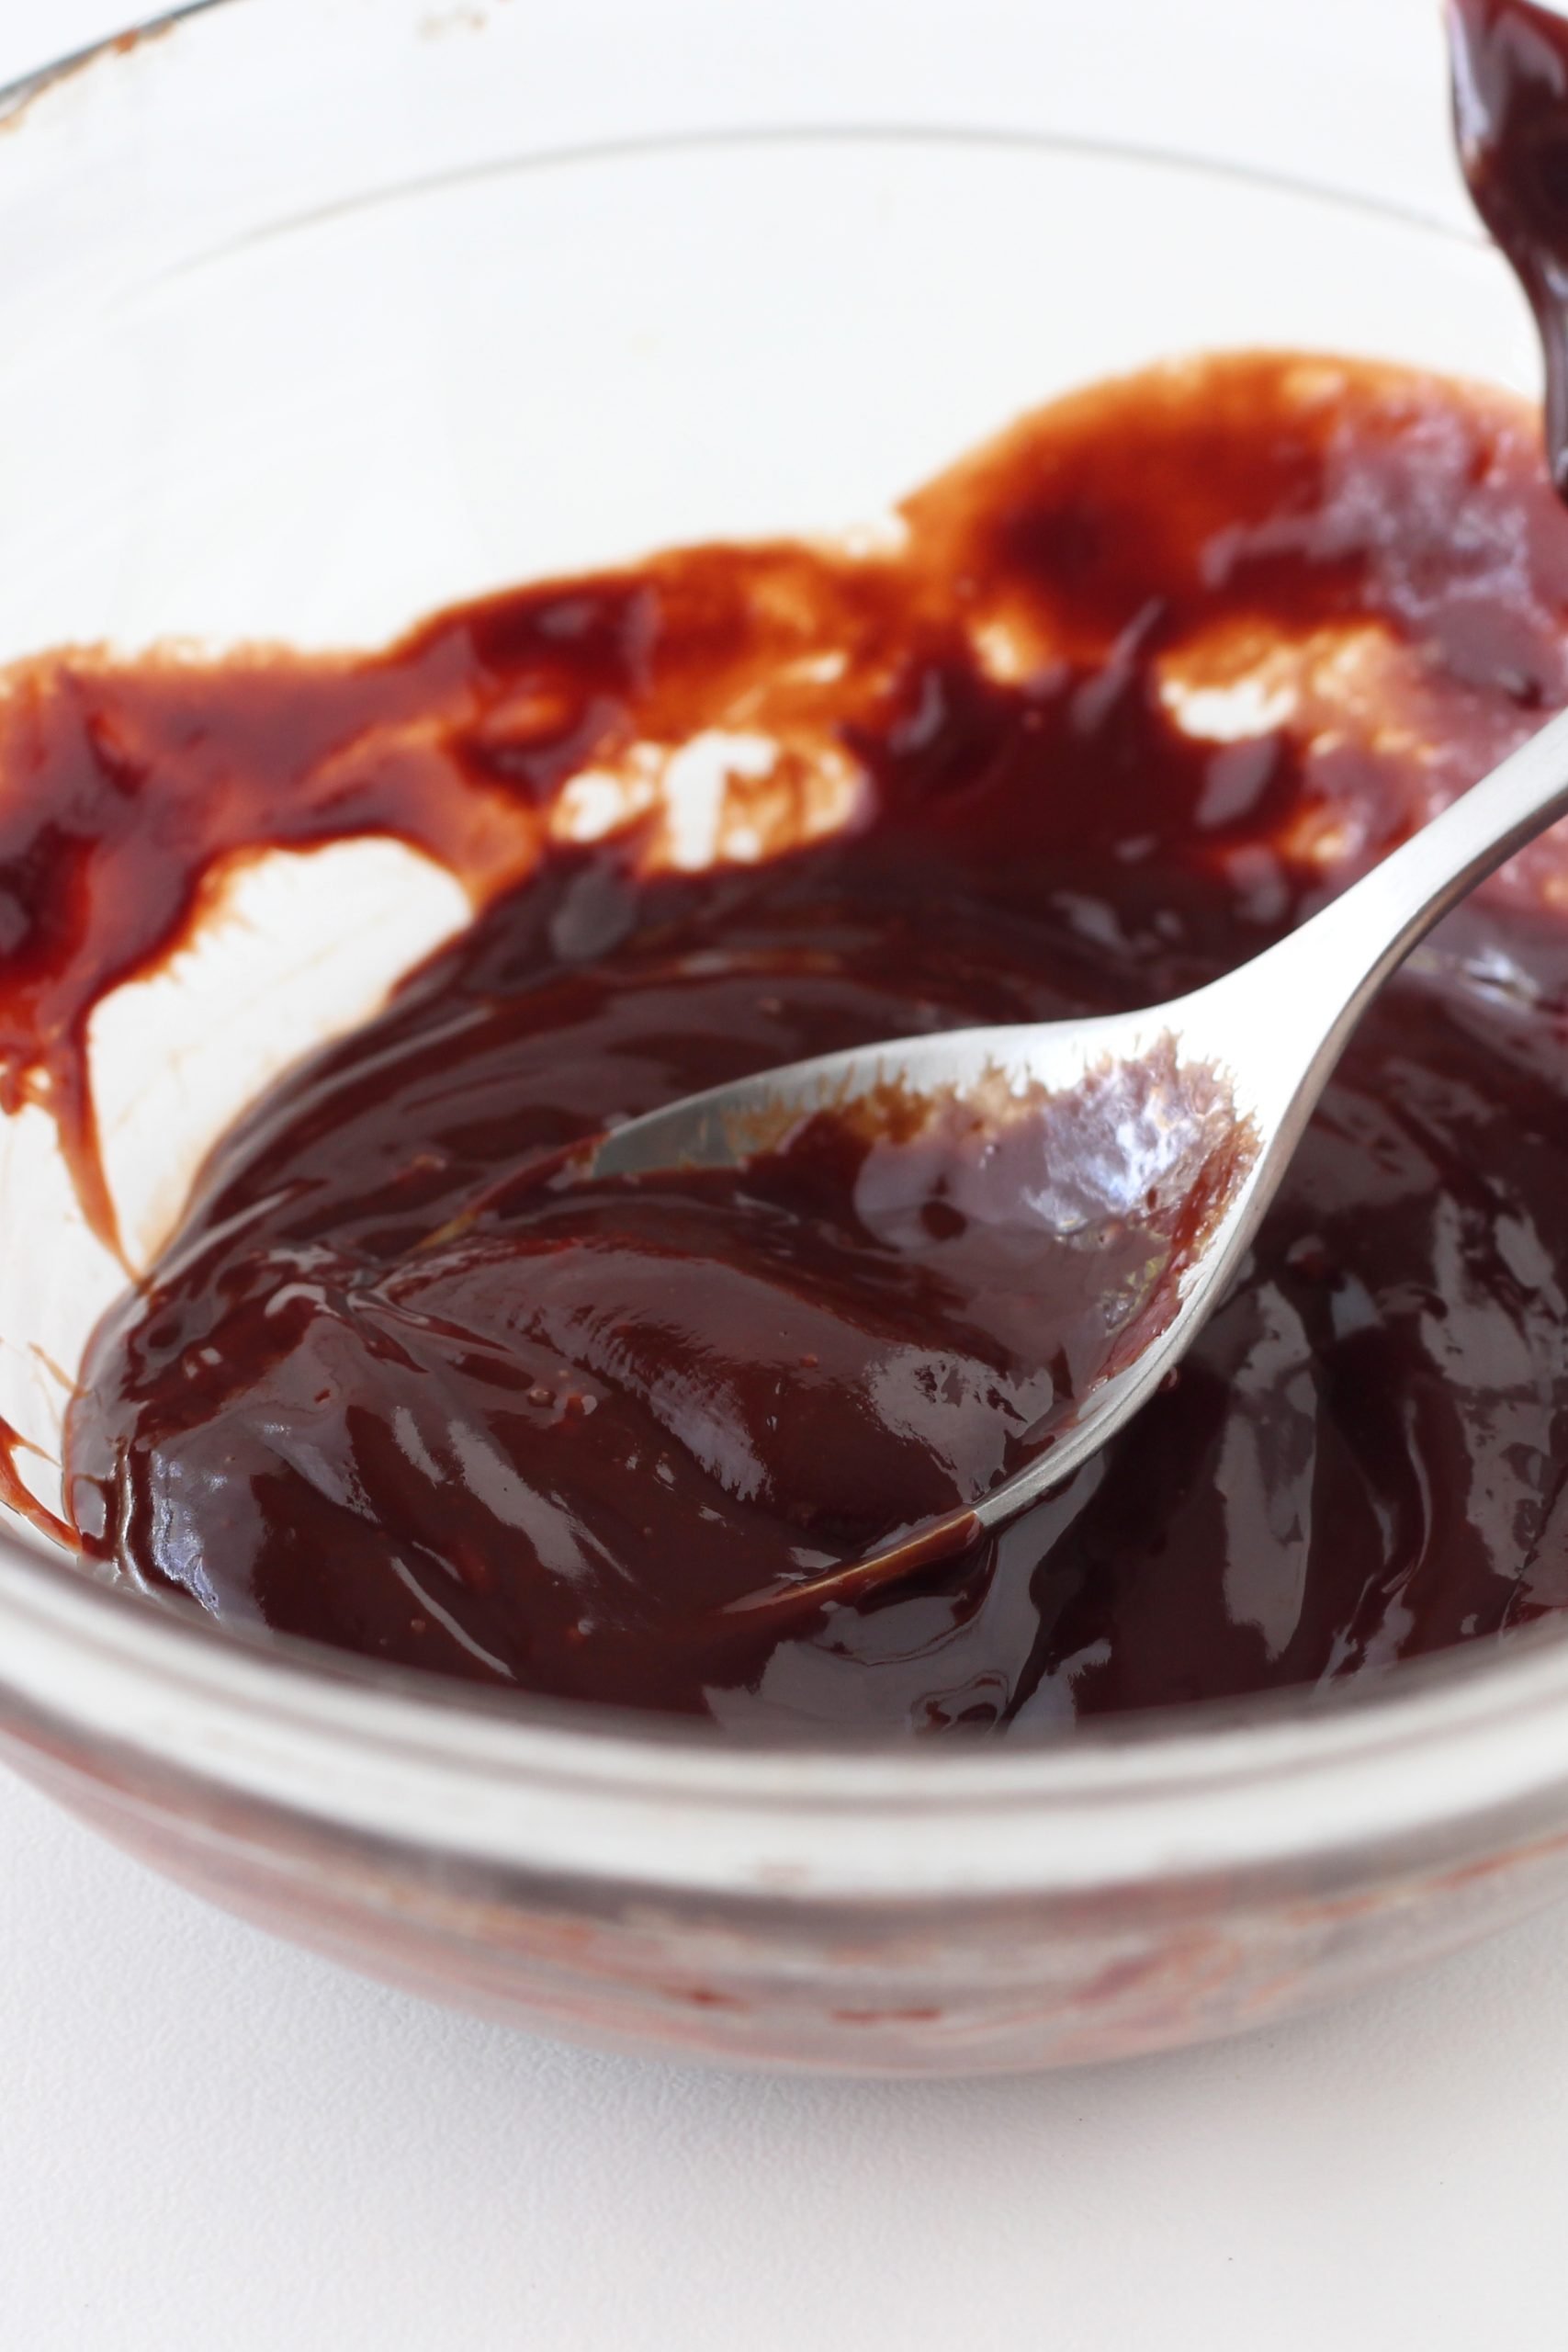
I use it in many of the recipes I create, so I thought a detailed step-by-step video and tutorial covering all the ratio options for ganache, alongside flavor ideas, would be so fun.
With this post as your guide, you can pretty much create any kind of ganache for any dessert with any flavor!
How to Make Chocolate Ganache
1. Chop the Chocolate
- Coarsely chop the chocolate with a serrated knife then transfer to a heatproof bowl.
- You can use chocolate chips, but since they have ingredients added to help them keep their chip shape, you’re best off using a bar of baking chocolate and chopping it yourself.
- Since ganache has only two ingredients, be sure to use the highest quality ingredients possible for the best flavor.
- You can use milk or white chocolate, but note that since they contain much more milk than semisweet or bittersweet chocolate, they can be more susceptible to heat damage. This means you must be very careful not to overheat. Additionally, the extra milk in these chocolates also makes for a softer ganache, so reduce the amount of cream used.
2. Heat the Cream
- Bring the cream to just a boil over medium-high heat. Don’t allow the cream to boil over!
- You can also heat the cream in the microwave, but watch it carefully.
- Pour the heated cream over the chopped chocolate and let stand for 5 to 10 minutes, to allow the hot cream to melt the chocolate, and to allow the overall temperature to reduce. Emulsions like ganache form better at 90 to 110°F.
- The higher the fat content of the cream, the richer and more stable the ganache will be.
- Heavy whipping cream is the traditional choice, but you can even use crème fraiche or sour cream. You’ll just need to heat the crème fraiche/sour cream and chocolate together in a double boiler until melted and smooth.
- You might be able to get away with using nondairy alternatives such as soy milk or almond milk, but the texture will not be as rich and creamy.
3. Whisk
- Start slowly, then vigorously whisk the mixture in one direction until smooth and creamy.
- This may take a little while, just keeping whisking.
- The ingredients won’t want to mix at first, but by forcing them to do so, we are creating an emulsion, which leads to that thick, rich texture everyone loves about ganache.
Basic Ganache Ratios
The ratio of chocolate to cream greatly impacts the final texture. Which ratio to use will depend on your need and preferences. These ratios don’t have to be perfect, you can increase or decrease the chocolate to cream depending on your desired consistency. Note that as ganache cools, it becomes increasingly thick and solid.
1:1 Ratio Ganache
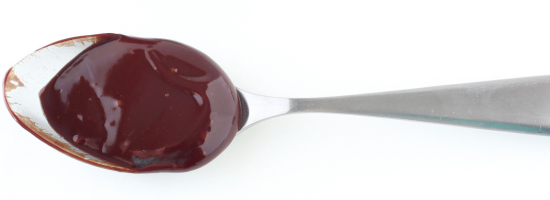
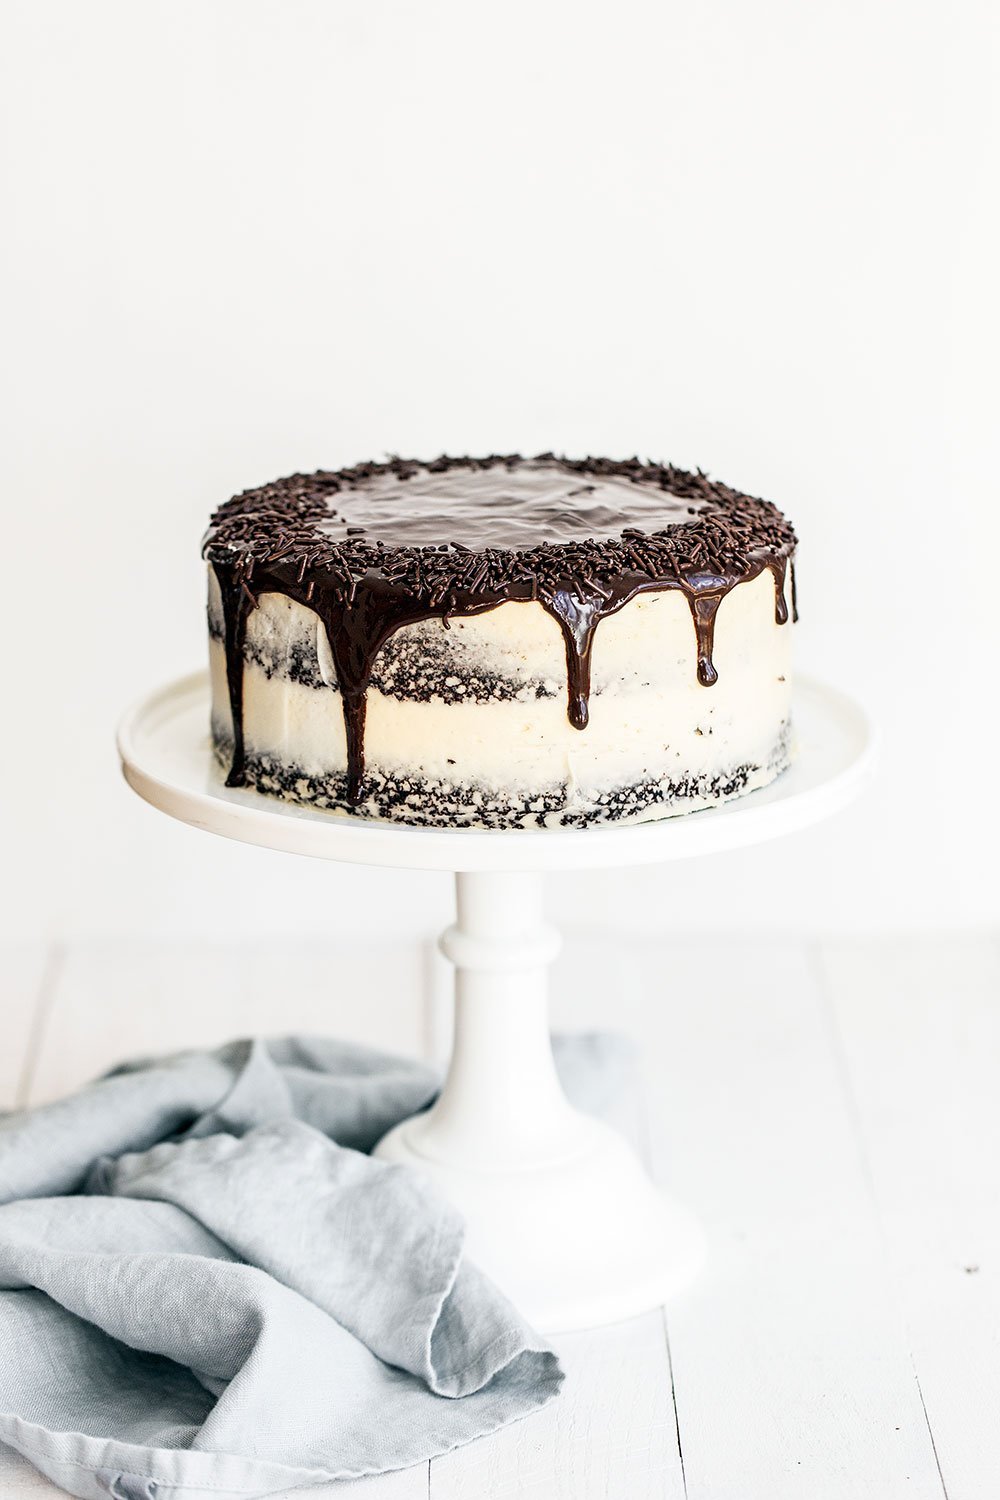
To make ganache for a layer cake filling or to cover with a thick glaze, like with my Guinness Chocolate Cake with Irish Buttercream, use equal parts chocolate and cream.
To glaze a cake, cheesecake, or other dessert with ganache:
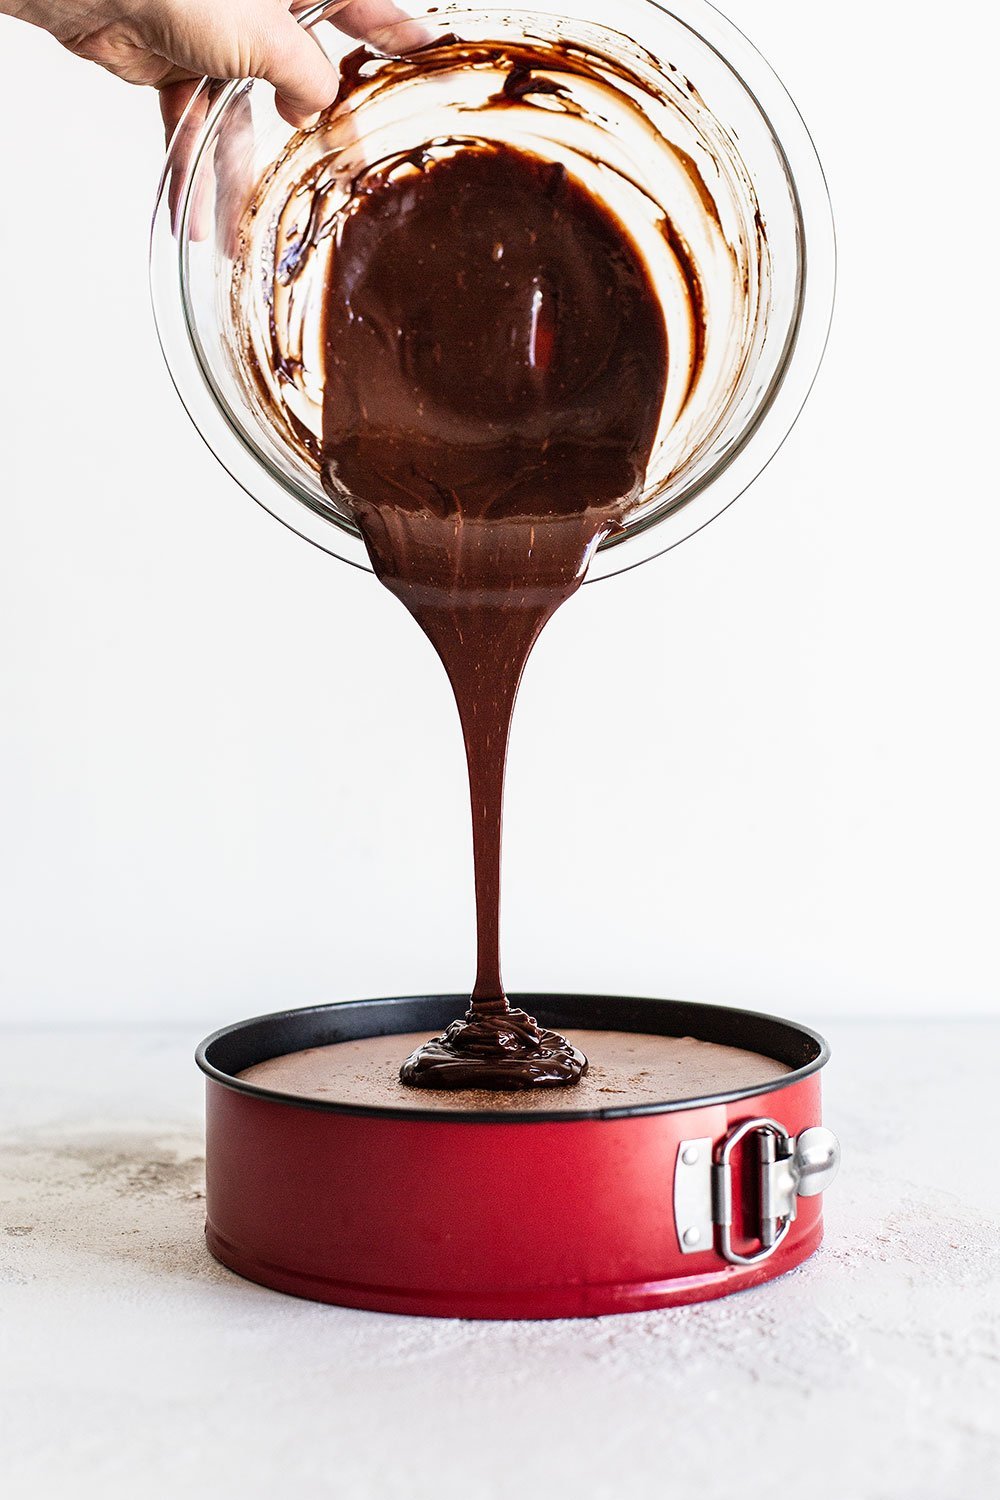
- Let the ganache sit uncovered until it’s at room temperature, about 15 minutes, before pouring over the cake.
- Start pouring in the middle gently working your way to the edges.
- You can either do a single coating or let the ganache pour over the sides.
2:1 Ratio Ganache
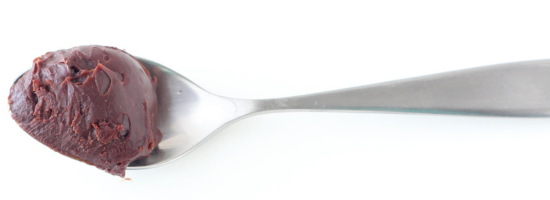
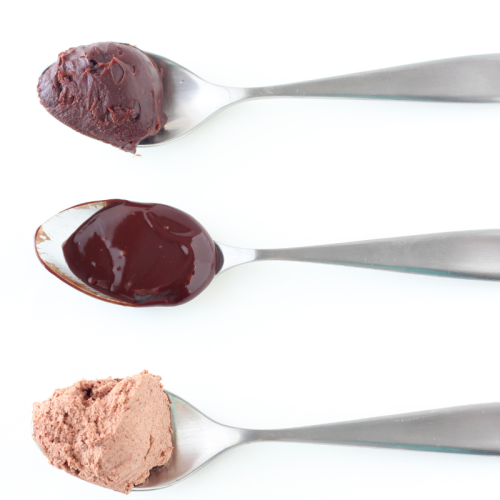
- For a very thick, almost solid fudge-like ganache which is perfect for making truffles or thick fillings for cookie sandwiches, macarons, or tarts, you want to use twice as much chocolate compared to the cream.
- This would mean 8 ounces of chocolate to 4 ounces (1/2 cup) of cream.
- This ganache will become solidified as it cools, especially in the fridge.
- To make for a solid yet chewy texture and shiny appearance, add a tablespoon of corn syrup along with the cream.
For tons of tips on making truffles, check out my Ultimate Truffle Guide.
1:2 Ratio Ganache
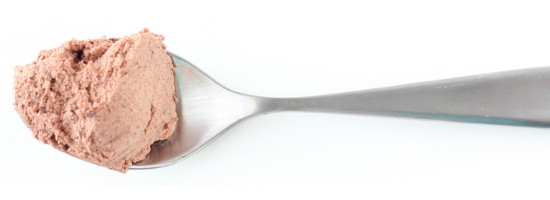
- For thin, pourable ganache glaze use a 1:2 ratio, one part chocolate to two parts cream.
- This is great for dipping fruit in or pouring over ice cream!
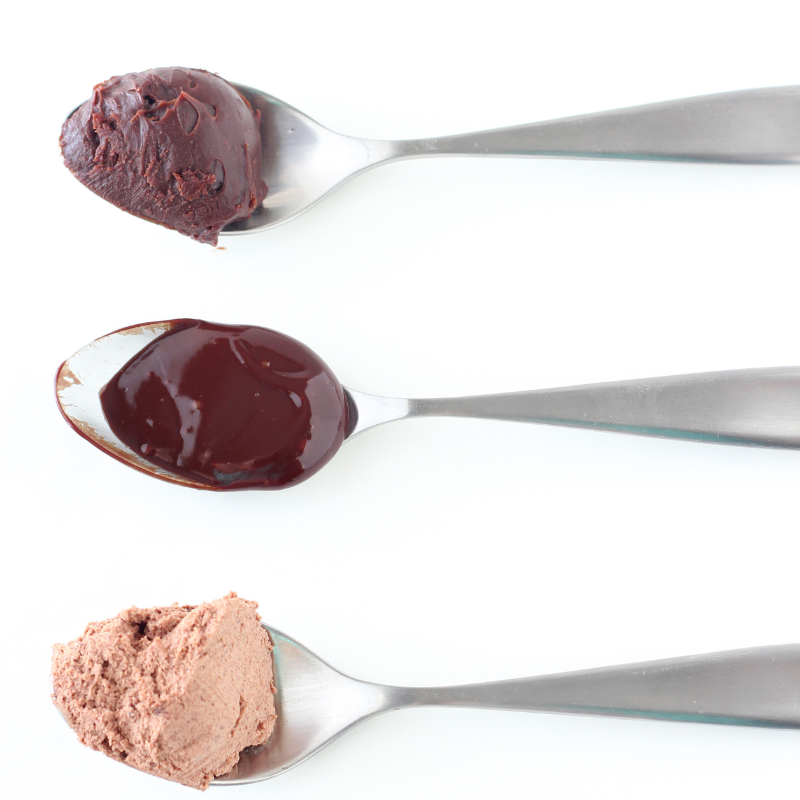
- It’s especially perfect for making whipped ganache, which is photographed above.
- Whipped ganache tastes like a combination of chocolate whipped cream and chocolate mousse.
Ganache Flavor Options
Some of these flavor additions may change the consistency of the ganache. Add more cream or chocolate as you see fit.
- Salt: To bring out the sweet flavor of the ganache, add 1/8 teaspoon salt to the hot mixture.
- Liqueurs and Brandies: Substitute 1 to 2 ounces of the cream with a flavored liqueur such as Grand Marnier, Bailey’s, Chambord, or a brandy such as Armagnac to the warm ganache.
- Other flavorings: Add flavored extracts, fruit purees, espresso powder, or spices to the warm ganache.
- Peanut Butter or Nutella: Add 2 tablespoons to a 1/4 cup smooth peanut butter or Nutella along with the chopped chocolate to the hot cream.
- Cream infusion: As you heat the cream, infuse it with flavor. Bring to a boil, then add fresh mint leaves, tea, herbs such as lavender, coffee beans, or citrus zest and let sit for 5 to 10 minutes. Strain before using. Note that you may need to rewarm the cream before adding it to the chocolate.
Storage: How to Store Ganache
- Always store with a piece of plastic wrap pressed against the surface to prevent any film or crust from forming.
- The general rule is that classic ganache may stay at room temperature for up to 2 days, then must be refrigerated.
- If you’d rather be safe (which I recommend), keep it refrigerated for all storage.
- Ganache can be frozen for up to 1 month.
- Thaw in the fridge then let come to room temperature before using.
- The reason some classic ganache recipes can be stored at room temperature (though some would disagree with that) is because the sugar and fat content is so high it actually binds the water together in a way that microorganisms can’t utilize it to grow and thrive. Because of this I feel comfortable leaving ganache out at a cool room temperature for several hours if I need to.
Chocolate Ganache
Ingredients
1:1 ratio ganache: for thick glazes, fillings, and frostings
- 8 ounces chocolate
- 1 cup (8 ounces) heavy cream
2:1 ratio ganache: for very thick, almost solid fudge-like ganache for truffles, tart fillings, etc.
- 8 ounces chocolate
- 1/2 cup (4 ounces) heavy cream
1:2 ratio ganache: for very thin, pourable ganache for dipping, ice cream, or whipping
- 4 ounces chocolate
- 1 cup (8 ounces) heavy cream
Instructions
- Coarsely chop the chocolate with a serrated knife then transfer to a heatproof bowl.
- Pour the cream into a small saucepan set over medium-high heat and bring just to a boil. Pour over the chopped chocolate and let stand for 5 to 10 minutes to allow the hot cream to melt the chocolate and to allow the overall temperature to reduce, because emulsions form better at 90 to 110°F.
- Vigorously whisk the mixture in one direction until smooth and creamy. This may take a little while, just keep whisking. If using as a glaze, allow to cool for 15 minutes before pouring. If using for truffles, cover and chill for 1 hour, or until solid yet malleable, before scooping balls. If using as a frosting, allow to chill for 4 hours, or until almost solidified, before using.
Whipped Ganache
- To make whipped ganache, let a 1:2 ratio ganache chill in the fridge until thickened, about 1 hour. Whip with an electric mixer fitted with the whisk attachment, slowly increasing the speed to medium-high. Whip until just light in color and fluffy in texture. Be careful not to overwhip which will lead to a grainy texture. If this happens, reheat the ganache in a double boiler then strain and start again.
Recipe Notes
This post was originally published in 2015 and updated with additional recipe tips in 2023.








I have also done 3:1 ratio to get a softer ganache for cake fillings (used as both whipped and just spread on cake) as I find the 2:1 ganache still too firm once the cake refrigerated (with a cream based filling the cake needs to be refrigerated).
I made the 2:1. 7oz dark chocolate squares and 1 of of mini semi sweet chips, added 2 TBSP of unsalted butter, 1/2 tsp vanilla. It worked perfectly atop my brownie vanilla ice cream cake. Got hardened perfectly after re-freezing and tastes delicious! Wish I could send a picture!
Yummy! Your ice cream cake sounds absolutely amazing, and hardened chocolate on ice cream tastes so good! Happy to hear the ganache worked perfectly 🙂
Doing it again this year for my subs birthday.
Yay! So happy to hear that, Lisa!! Happy birthday to your son 🙂
Thank you
Sons****
Hi there, thanks so much for this clear, easy breakdown of ratios/applications. A question re: white chocolate ganache, you wrote: “The extra milk in these chocolates also makes for a softer ganache, so reduce the amount of cream used.” If it’s going to be whipped and used as a frosting on a cake, which ratio would you use and how much would you reduce the cream by? Thanks so much for sharing your ideas and feedback.
Warm regards,
Shireen Carlson.
Petaluma, CA
Hi Shireen! Tessa actually has a recipe for a whipped white chocolate ganache, on a delicious vanilla poppyseed cake, all available here! I hope that helps 🙂 Happy baking!
My ganache turned out perfect! I did a 1:1 ratio to get a drizzle for my cupcakes. How long can the ganache be stored in the fridge? I saw it can be frozen for up to a month but not how long it keeps in the fridge.
Thanks for the recipe!
Wonderful!! It’ll store for over a week in the fridge…I would say as long as the cream is good for 🙂
The video link is broken. I thought it would answer my question, but since I can’t watch it, my question is, are you measuring the chocolate by weight or volume?
Hi Kat, whenever I note an ingredient in ounces, grams…etc., you can assume that I am measuring by weight as it is the most accurate method of measurement-most recipes from the U.S. use volume (cups, teaspoon, tablespoon); however, I only use those when measuring milk, water, or creams because there’s no air inside those ingredients. Hope that helped!
i havent made ganache before so im looking everywhere for the right metion and amounts
im looking at doing a 12″ cake, want to use it for filling and cover the cake.
would you know the amount i would need what method is best for both?
To make ganache for a layer cake filling or frosting, as discussed above, I recommend using equal parts chocolate and cream 🙂 The yield is 1
1/2-2 cups, depending on the ratio you choose. As for the amount, it really depends on how much frosting you want to have for your cake! You could always double the recipe to be sure you have plenty. Good luck!
This is my go to recipe for making whipped ganache for my devil’s food cake. I’ve used these directions several times and have never messed it up! The family loves this special treat! I do it just like the recipe calls for with my heavy whipping cream and chocolate at a 2:1 ratio. After cream and chocolate are combined it goes in the fridge to cool for 45-60 mins then whipped up. I generously put between 2 9″ rounds, then generously frost the top and sides! This is to die for cake and “frosting.” Careful though, just the thought makes me drool and gain 10 pounds! Thanks for this wonderful recipe!
Hi Tessa,
Can I freeze Gamache?
Thank you,
Brenda
Very helpful, thanks
You’re so welcome!
I want to make a choclate tart. However my family prefer milk chcolate. Would you use the 2:1 ratio and pour into the crust ?
Can I use cadbury’s mint chocolate bar for this recipe
I have a question…I was just at a restaurant that had a ganache torte with no crust and a salted caramel peanut butter cream on top. I would love to make this, it tasted like fudge and it was my favorite dessert ever!! Do you think I could do something like this with your 2:1 recipe?
First, very informative re: ganache ratio and purpose. Second, simple. Third, not too many ads to interfere with reader experience which I appreciate. Fourth, love hor the ganache video appears on the side. Great practicle tips with very little of my time invested wading though the information. Great images. Simple.
Thank you so much, Tessa! This is a post – 5 years old – that is definitely standing the test of time!
Cheers!
Valerie