


Tessa’s Recipe Rundown
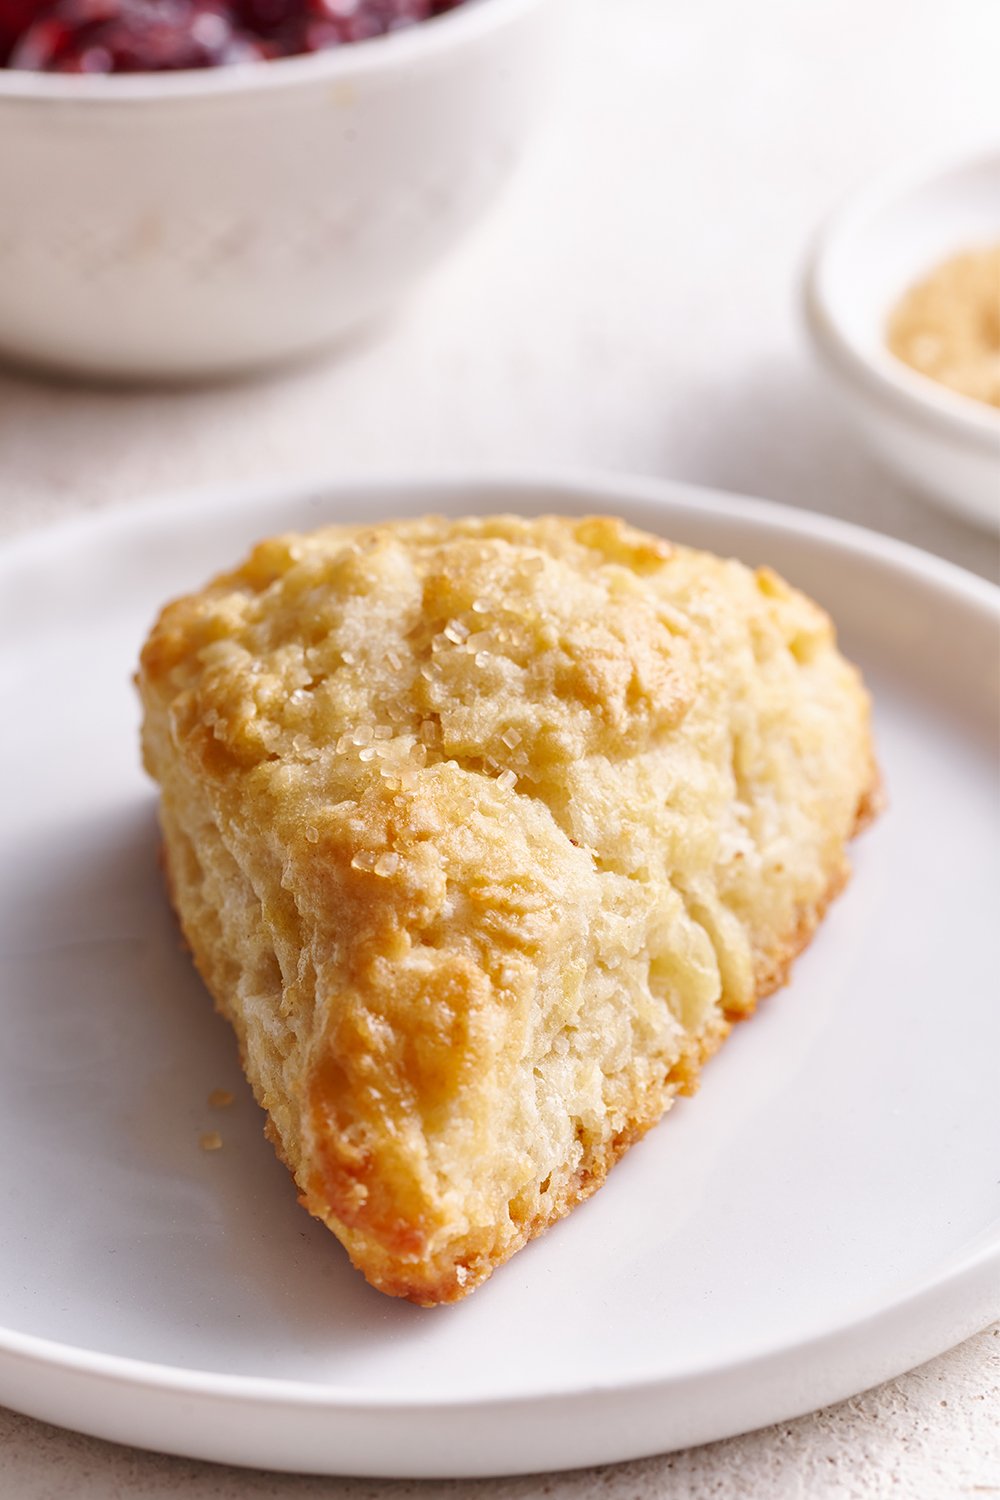
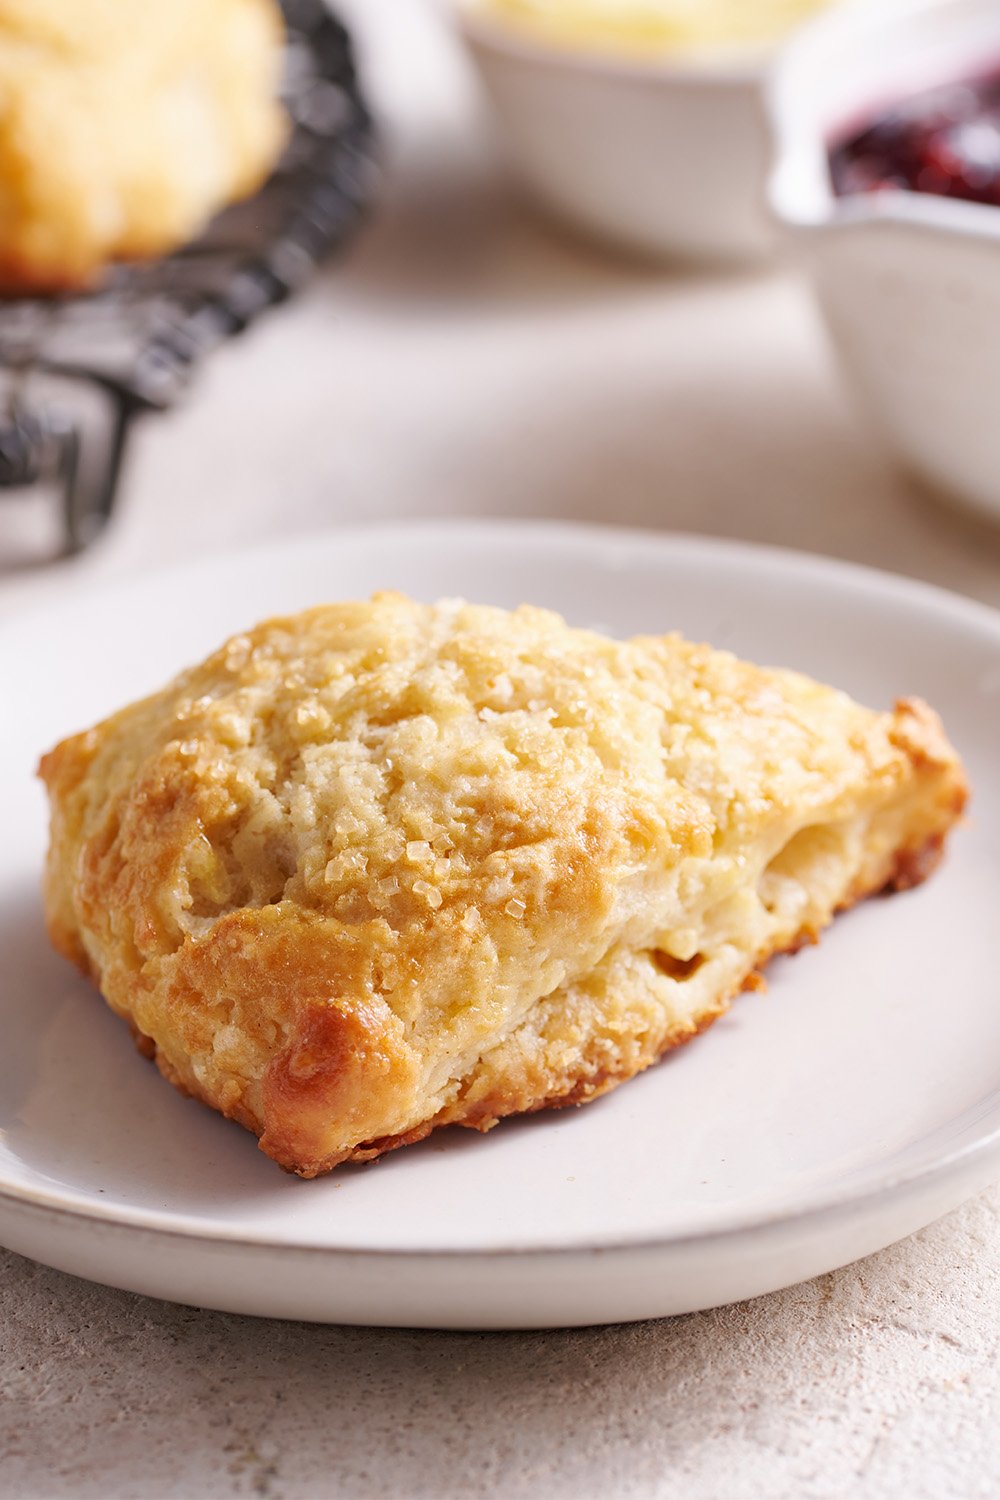
Taste: These scones are ultra buttery with a hint of sweet tanginess. The customization and flavor options are endless!
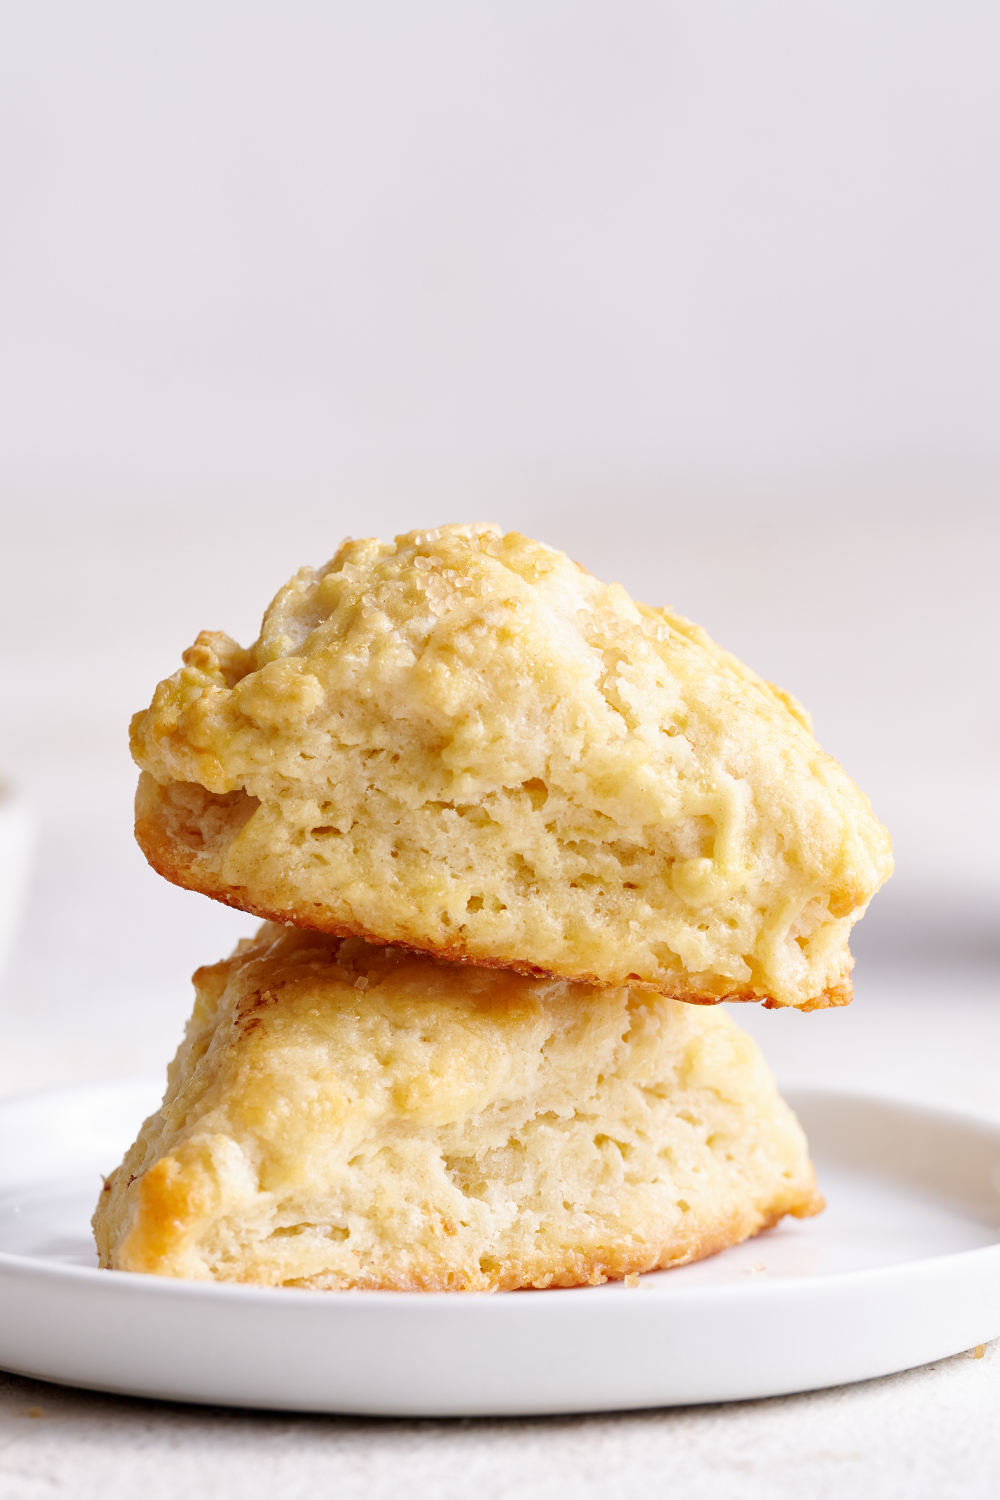
Texture: Extremely tender, flaky, light, and golden brown on top. Every bite is heaven!
Ease: Super easy. Less than 40 minutes from start to finish, plus you can make them ahead of time.
Why You’ll Love This Recipe: The perfect recipe to have in your back pocket for any special breakfast or brunch.
This post may contain affiliate links. Read our disclosure policy.
I never used to understand the obsession and appeal of scones – that is, until I took a bite of a truly great scone!
Many scones are bland and dense – but once I perfected this recipe, I realized how delightful scones can be. They’re sturdier and heartier than biscuits because they contain eggs and more sugar.
What I love most about them (besides all. the. BUTTER.) is that they belong on any breakfast or brunch table.
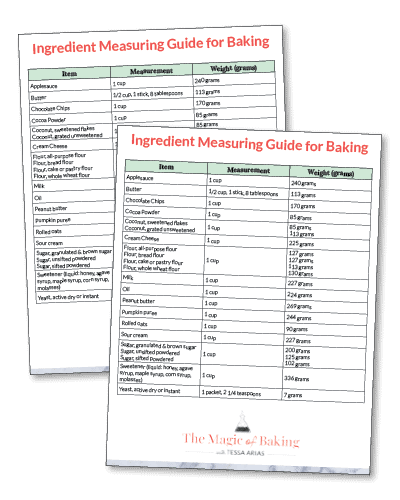
Free Ingredient Measuring Guide!
The key to consistent baking success is a click away. Sign up to get instant access to my printable Ingredient Measuring Guide now!
British publication The Mirror even noted how unforgettable this recipe is in their recent article all about scones!
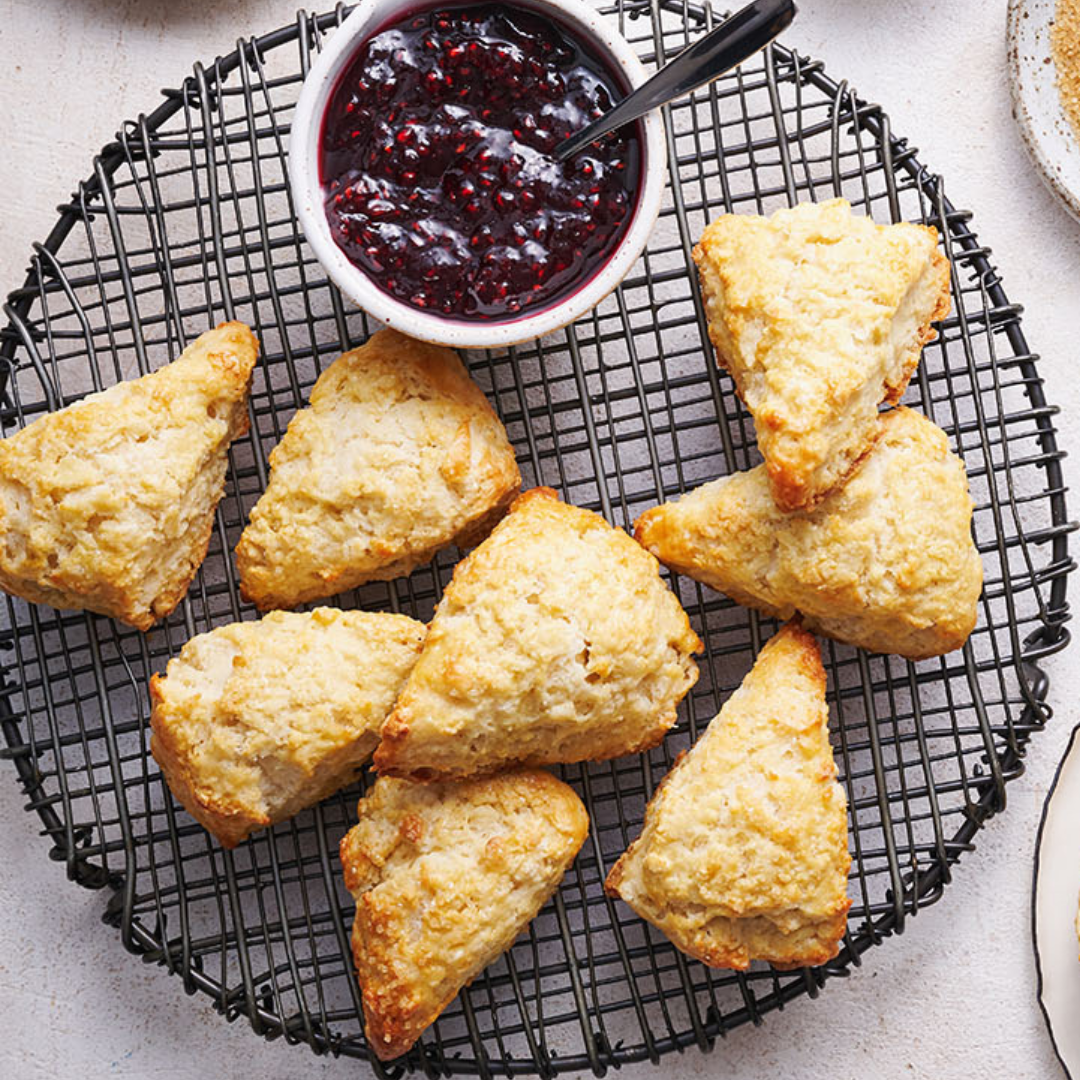
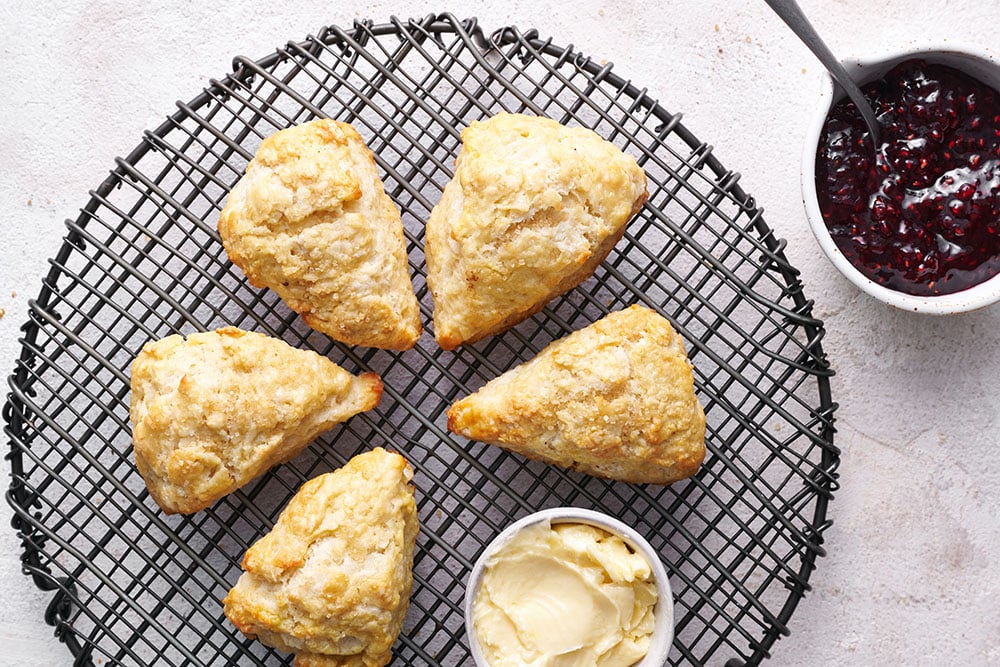
You can add nuts, citrus zest, chocolate chips, or simply serve alongside flavored butter or your favorite jam and clotted cream (although this is more of an American scone recipe than British).
Be sure to read through all my tips below to make buttery, tall, flaky, perfect scones every time!

Sprinkle of Science
How to Make The Best Scones
Flaky Scones Need Cold Butter
- Butter must be COLD from the very start until the dough enters the oven.
- The cold butter melts upon entering the oven and the water content in butter evaporates in steam.
- As the steam escapes, it bursts up and creates that beautiful tall, flaky, fluffy texture.
- To maintain the cold butter, I like to cube then freeze my butter before assembling the dough.
- I also always prefer to use unsalted butter for baking. You can find out why here: Salted vs. Unsalted Butter.
Why is Buttermilk Used in Scones?
This is absolutely the preferred liquid here. It will result in tender, taller scones because its acidity reacts with the baking powder and tenderizes the dough. It also adds a lovely tang to create more depth of flavor.
What if I Don’t Have Buttermilk? Can I Substitute and Still Make Scones?
I don’t recommend substituting buttermilk with a DIY buttermilk. If you aren’t able to use buttermilk, you can also use keffir or heavy cream. Learn more about the science of buttermilk here.
Tips for Making Scone Dough:
- Whatever you do, do not overmix the flour mixture or dough or allow it to get too warm, to avoid flatter, tougher, and less flaky scones.
- My absolute favorite tool for making this dough quickly and easily by hand (so I don’t have to lug out my food processor) is this OXO bladed pastry blender.
- Use a marble pastry board to help keep the dough cool. If at any point you notice the butter become greasy and melty, pop the dough into the freezer for 10 to 15 minutes before proceeding.
- Once shaped, you can also place the baking sheet of unbaked scones in the fridge or freezer while the oven preheats, to ensure the butter remains nice and cold.
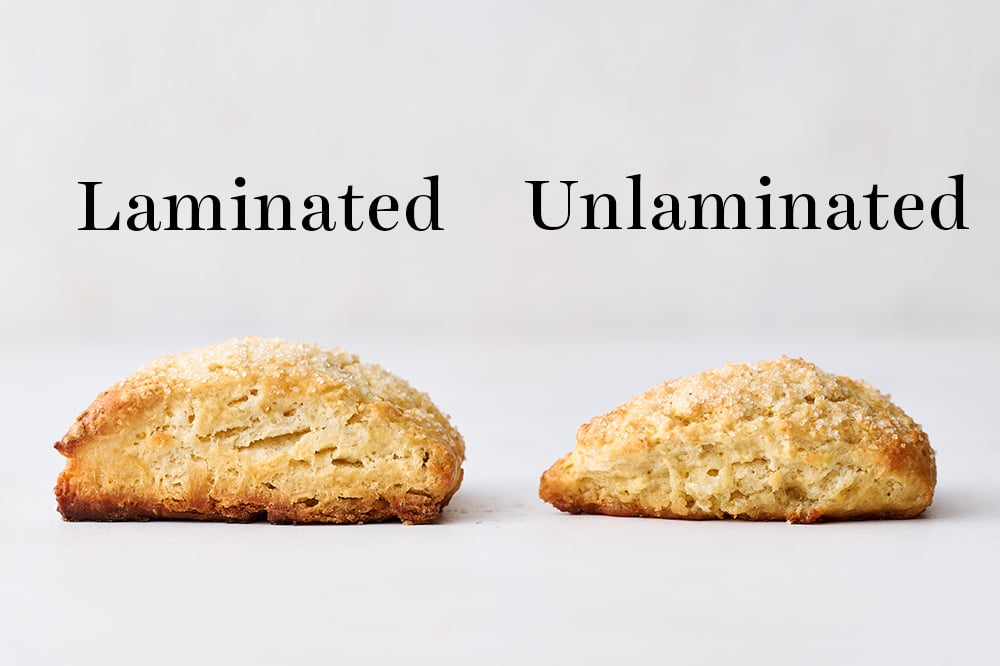
How to Make Tall, Flaky Scones Bonus Tip
We’re stealing a trick from croissant baking that I also use in my Best Ever Pie Crust recipe! A little bit of “lamination” gets the scones to shoot up sky-high with tons of flaky layers. Don’t worry, it sounds more complicated than it actually is.
If this seems like too much work, just skip this step – they’ll still be delicious! Check out my How to Make Tall Scones & Biscuits article for more tips.
How to Laminate Your Scone Dough:
- If adding any mix-ins, fold into the dough now.
- Turn the craggly mass of dough out onto your work surface.
- Shape it into a rectangle.
- Fold the rectangle horizontally in thirds, like you’re folding a piece of paper to go into an envelope.
- Flatten it out into a rectangle again.
- Now fold it in thirds once more, but going the opposite direction. This will also help you to gently ‘knead’ the dough so it comes together into a more cohesive disk without overmixing it. Overmixing leads to rubbery and tough scones and biscuits.
Try to shape half your dough using this trick and half without to compare the difference. You’ll be surprised!
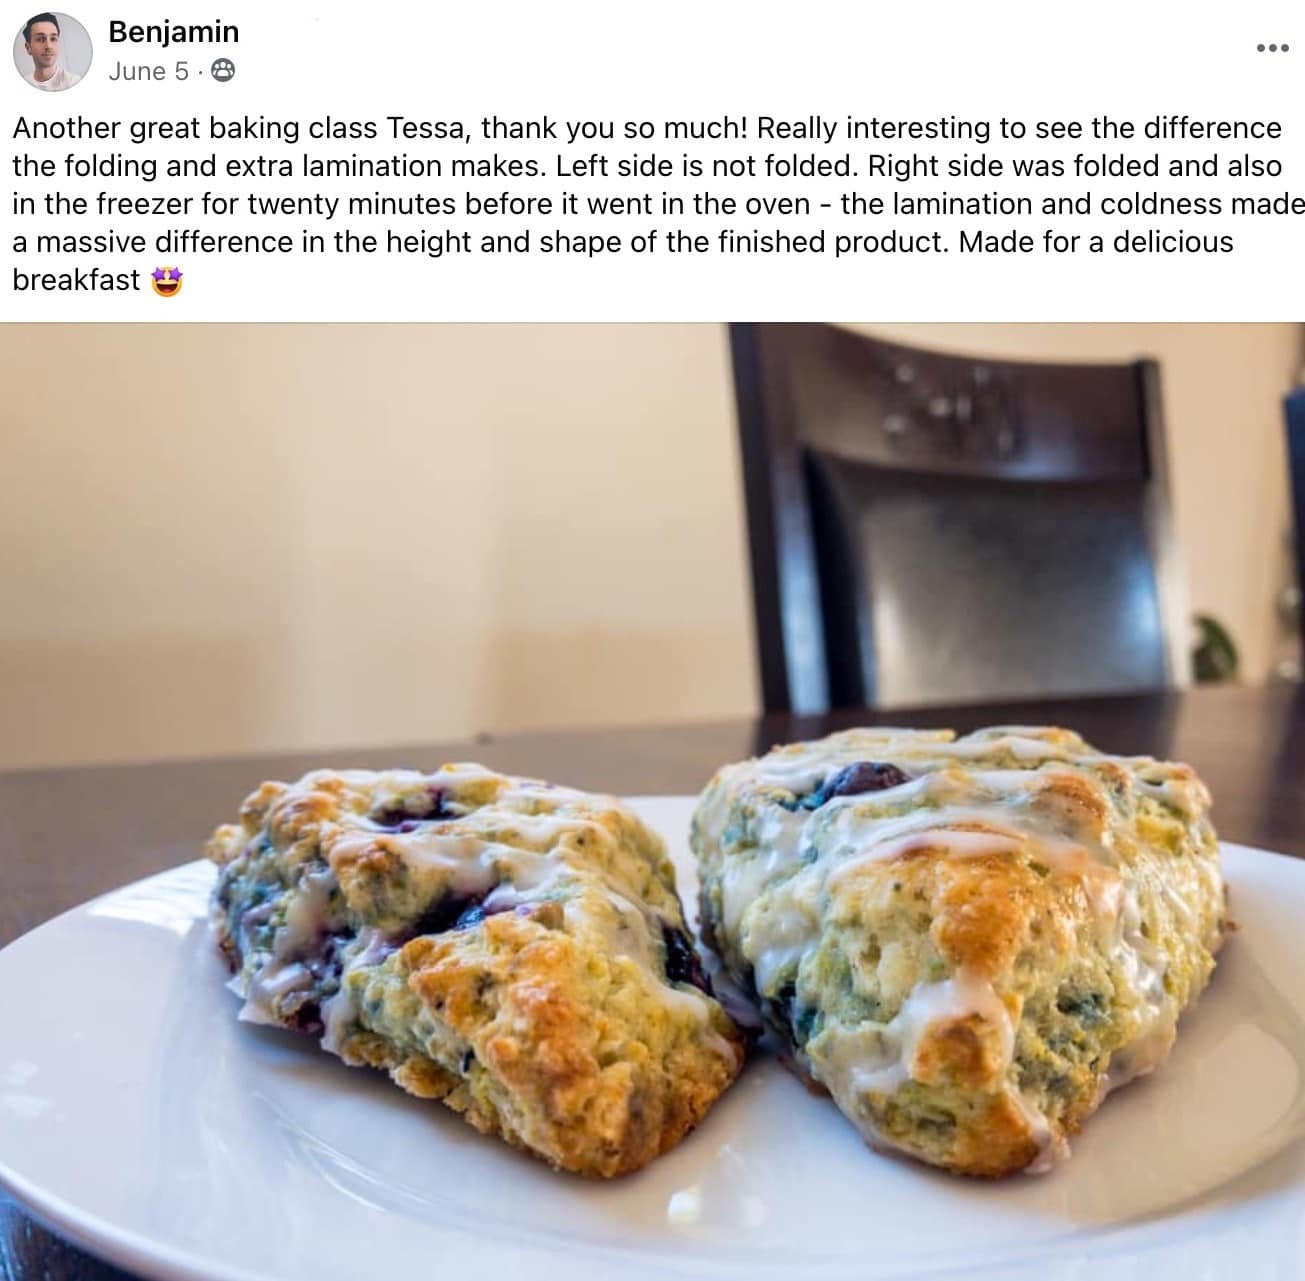
I actually demonstrated this during a live Zoom class with my Blueberry Scone recipe. Take a look at Benjamin’s laminated vs. un-laminated scones:
How to Make Scones Ahead of Time
The shaped unbaked scones can be covered with plastic wrap and refrigerated overnight. Bake from the fridge as the recipe directs.
How to Freeze Scones
Place shaped, unbaked scones inside an airtight container and freeze for up to 1 month. If baking from frozen, add about 2 minutes to the baking time.
Scone Flavor Variations
Feel free to get creative with your flavorings! Listed below are some ideas with specific ingredient additions, but you can fold in about 3/4 cup of dried fruit, chocolate chips, nuts, etc. If you want to make a fruit scone, dried fruit or frozen berries work best.
- Cranberry Orange Scones
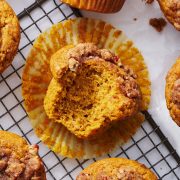
- Pumpkin Scones
- Blueberry Scones
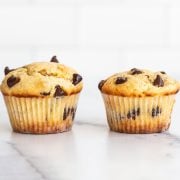
- Chocolate Chip Scones – like a scone and chocolate chip cookie had a baby!
- Lemon Poppy Seed: Add 3 tablespoons poppy seeds + 2 tablespoons grated lemon zest to the dough.
- Cinnamon Sugar: Mix 3 tablespoons granulated sugar with 1/2 teaspoon ground cinnamon and sprinkle on the after the egg wash.
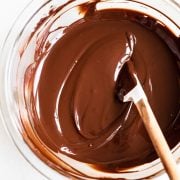
How to Make A Glaze for Scones
- 1 1/2 cups (188 grams) powdered sugar
- 2 tablespoons water, milk, or citrus juice
- 2 tablespoons unsalted butter, melted
- 2 teaspoons vanilla extract, or other extract
- Citrus zest, to taste, if desired
- Directions: Whisk all glaze ingredients together until thick but still pourable glaze forms. Spread or drizzle over cooled scones and let stand until glaze has set.
More Brunch Recipes You’ll Love:
- Savory Scones (made with shallots, jalapenos, and cheese!)
- Ultimate Muffin Recipe (customizable!)
- Quiche Lorraine
- Chocolate Chip Coffee Cake

Classic Scones

Email This Recipe
Enter your email, and we’ll send it to your inbox.
Ingredients
- 3 cups (381 grams) all-purpose flour, measured correctly
- 1/3 cup (66 grams) granulated sugar
- 1 teaspoon fine sea salt
- 1 tablespoon baking powder
- 1/2 teaspoon baking soda
- 1 1/2 sticks (170 grams) unsalted butter, cold and cubed
- 1 cup (237 grams) buttermilk
- 2 large eggs, divided
- 1 teaspoon vanilla extract
- Coarse sugar, for topping
Instructions
- Adjust the oven rack to the center position and preheat to 400°F. Line two baking pans with parchment paper.
- In a large bowl, combine the flour, sugar, salt, baking powder and baking soda.
- Add the butter and cut with a pastry cutter or a fork until the butter is the size of large peas.
- In a separate bowl, whisk together the buttermilk, 1 egg, and vanilla extract.
- Make a well in the middle and add the liquid mixture. Mix until just combined. Don't over mix. If adding in dried fruit, nuts, chocolate, or other flavorings, do so now.
- Transfer the dough to a floured surface. *Optional Step: See Recipe Notes for lamination instructions.
- Divide into 2 equal parts. Lightly knead each into 3/4-inch thick, 6-inch diameter rounds. Cut each round into 8 wedges and place on your prepared baking pans. Space them out about 2 inches apart.
- Make Ahead: At this point, the unbaked scones can be covered and refrigerated overnight, or placed inside an airtight container and frozen for up to 1 month. If baking from frozen, add about 2 minutes to the baking time.
- In a small bowl, combine the remaining egg with 1 teaspoon water. Brush over the scones. Sprinkle with the coarse sugar.
- Bake for 12 to 15 minutes or until lightly browned. The scones are best served warm, or within a few hours of baking.
Recipe Notes
- Turn the craggly mass of scone dough out onto your work surface.
- Shape it into a rectangle.
- Fold the rectangle horizontally in thirds, like you’re folding a piece of paper to go into an envelope.
- Flatten it out into a rectangle again.
- Fold it in thirds once more, but going in the opposite direction.
- This will also help you to gently ‘knead’ the dough so it comes together into a more cohesive disk without overmixing it. Continue with step 7 above.

The Ultimate Cookie Handbook
Learn the sweet SCIENCE of cookie baking in a fun, visual way to customize your own recipes frustration-free. Plus, my best 50+ homemade cookies!
This recipe was originally published in May 2017 and updated in 2023 with new photos and even more baking tips. Photos by Joanie Simon.


Why do my scones not taste nice coming out of freezer?
These scones are seriously perfect. I have made this recipe more times than I can count and every time people always RAVE about them!
So happy to hear this!
Great recipe. My scones usually turn out hard. This time, they turned out light and “fluffy” as my brother put it. Laminating the dough was a good learning experience too. I’ve baked this recipe twice this weekend. I will be baking it again.
These are amazing. Nice flavor. Rose nicely. Tender. Good even cold. Beats the stuff out of any other scone I have ever eaten
The best scones ever. I make them at least once a week and take them into work. They are a big hit with everyone
I have made these scones so much and are always so happy with them! My mom begs me to make these for her!
Thanks Tessa
Loved this recipe! Quick and easy. Just now made it and eating them as I type. I did cut them a bit larger, cutting only four from each round. The outside is crunchy, and the inside fluffy. Just delicious! Not a traditional scone, but wonderful nonetheless.
I make this recipe at least once a month! So wonderful. I add strawberries or blueberries or they are delicious as is. I highly recommend this recipe!!
Looks great! Cant wait to try it!!
Tessa, how would you add sourdough starter to this recipe?
Also, could you please address the chewiness in a scone? I once had a scone in Denmark that was flaky, chewy and just scumptious.
Thank you
No questions. Will be using your recipe and tips next time I make scones, which will be soon.
Love your page, got right to tips and directions, didn’t have to click several times to get to the tips or recipes. THANK YOU. Will post a pic when I make my next batch of your cinnamon scones.
These were so yummy! I don’t care for most scones because they are dry and hard. These were nothing like that, which was great. I just tried them with the suggested sugar on top (delicious and light!), but I’m excited to try the other variations. Extra bonus – the recipe was so easy! My mom was always intimidated to make pastries, so I was nervous to try these, but it was no problem. 🙂
Hi Tessa, thank you for the recipe. I tried to make the scones today but my batter is wet!
I’m not sure where I went wrong, all my ingredients are measured using scale, well except for the egg. I did use a buttermilk alternate though – 1 cup of milk + 1 tbsp apple cider.
I couldn’t knead the dough at all, so I just portioned them and baked in a muffin tray. They turned out moist and fluffy, so taste wise was still great.
We made these this afternoon and they were so amazing! We put blueberries in them. We are ten year olds and love to bake so will definitely be making them again!!! Do we store them in the fridge or just out in a container?