Tessa’s Recipe Rundown
Taste: There’s a reason this flavor combo is a classic! Amazing flavor that will remind you of carefree summers. Texture: The cookies hold up beautifully to the rich and creamy ice cream. Ease: Takes a bit of effort to complete this recipe, but everything can be made ahead of time. Appearance: Absolutely adorable. Pros: Delightful homemade version of the classic dessert. Cons: A bit time consuming and messy, but can be eased by spreading the work over a few days or taking on as a weekend baking project. Would I make this again? Yes!This post may contain affiliate links. Read our disclosure policy.
The weather is warming up and the sun is coming out which means it’s time for… ICE CREAM!
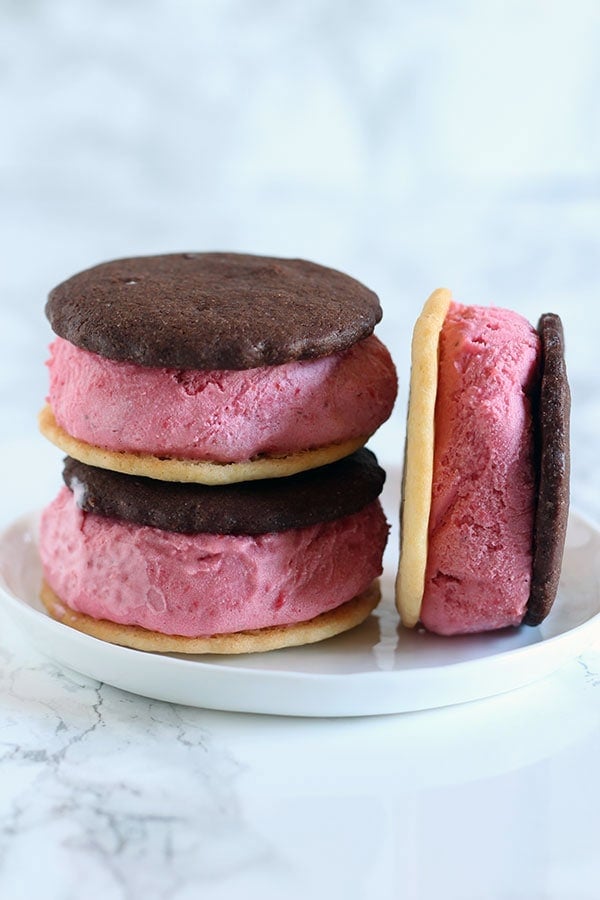
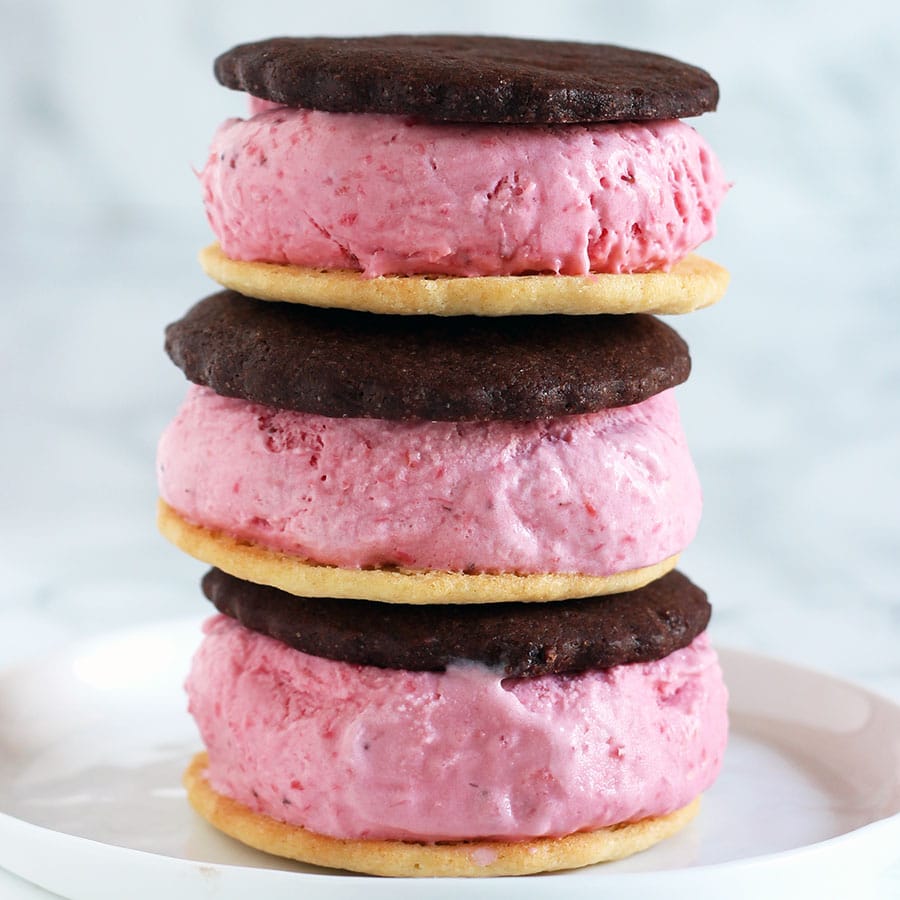
Homemade from scratch and adorable ice cream sandwiches, to be specific. If you didn’t know, I actually published an entire cookbook all about ice cream sandwiches. Sooooo I’m kind of an expert on the topic! But shockingly I had never made Neapolitan Ice Cream Sandwiches before.
I was actually Neapolitan-inspired by the lovely Amanda from I am Baker and her stunning Neapolitan Rose Cake and Neapolitan Cheesecake. You just can’t beat the beauty of these colors side-by-side! I hope you’ll embark on this baking project soon, as there’s nothing quite as perfect for a warm weather get together than these colorful and fresh ice cream sandwiches.
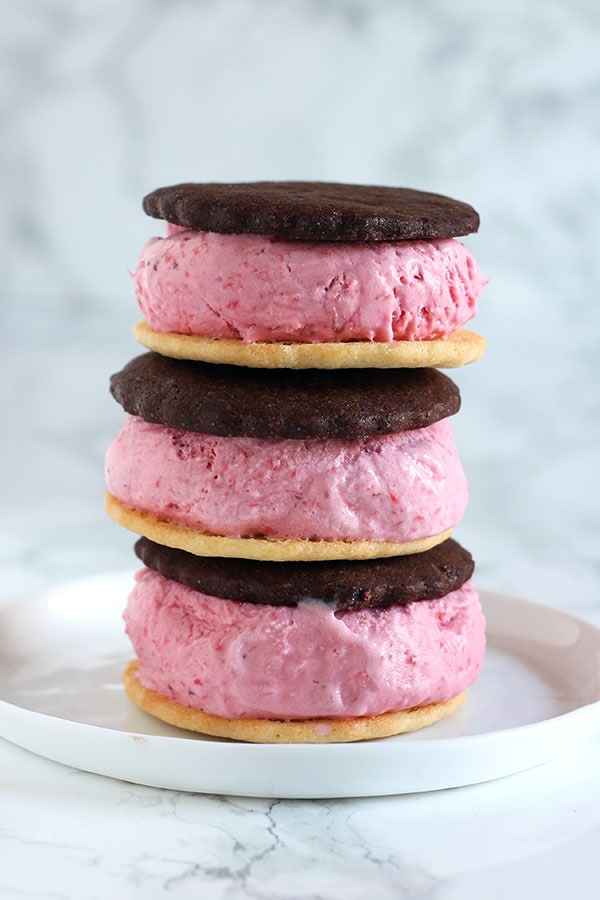
Neapolitan Ice Cream Sandwich Recipe Tips
The below tips and tricks aren’t meant to intimidate or overwhelm you, just to answer some questions that might pop up and offer you guidance so you have the best experience making this recipe.
The Strawberries
Fresh strawberries are always best, but feel free to use defrosted frozen strawberries if you need to.
Making the Ice Cream
There are no eggs and no cooking involved in this homemade strawberry ice cream recipe! It gets its creaminess and richness from the cream cheese, sour cream, whole milk (don’t use anything less than whole!!) and heavy cream. The corn syrup helps prevent the ice cream from crystalizing, which can happen easily due to the water content of the strawberries. If you must leave the corn syrup out, go ahead. But I would recommend adding a splash of vodka to prevent the crystallization instead.
Ice cream machine
I used my trusty Cusinart Ice Cream machine. Whatever machine you use, just make sure the freezer bowl is completely frozen and that the mixture is completely chilled, otherwise you’ll end up with soup instead of ice cream.
Without a machine
I also have a video tutorial HERE showing you how to make ice cream without a machine.
Make the Cookies
So in an effort to save time, energy, and cleanup, I wrote the recipe so you create one batch of dough, then add cocoa powder to one half. That way, we make both the vanilla and the chocolate cookies in one go. I prefer to use Dutch-process cocoa powder here for its intense color, but feel free to use regular unsweetened. However, the cocoa powder absorbs some moisture so that the chocolate cookies don’t spread quite as much.
To counter that, we add in 2 extra teaspoons of milk to the chocolate cookie dough. If you want to go a step further to ensure your vanilla and chocolate cookies end up being about the same size, make sure the vanilla cookie dough circles are REALLY cold before baking. I would actually suggest removing the chocolate cookie dough circles from the freezer while the vanilla cookies bake.
Another tweak I made to make the recipe easier is to roll out the dough while it’s warm, then refrigerate the sheet before cutting out shapes. This will save you time and some upper body strength!
Beautify the Sandwiches
To get really neat and pretty ice cream sandwiches, I have a little trick. I take a scoop of ice cream and place it on a large sheet of plastic wrap. I wrap the plastic over the scoop and use my hands to shape and even it out. Then I use the bottom of a measuring cup to flatten until it’s the same diameter as the cookies, cupping and twisting the scoop to even the edges.
Make Ahead
The cookie dough, baked cookies, ice cream base, and churned ice cream can all be made ahead of time. The assembled sandwiches can also be individually wrapped and frozen for up to 1 week. This makes the recipe much easier if you spread the steps out!
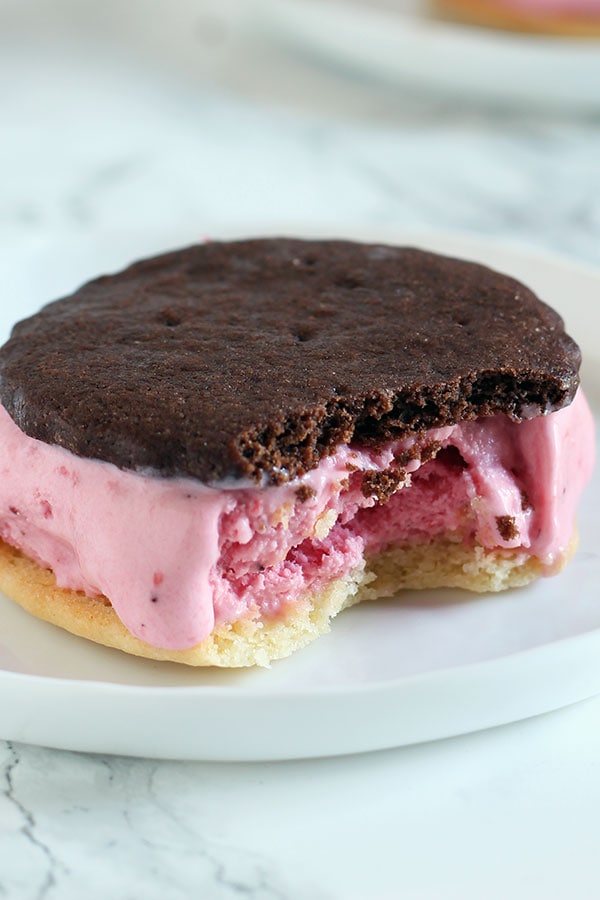
Neapolitan Ice Cream Sandwiches
Ingredients
For the Strawberry Ice Cream:
- 1 pound (453 grams) fresh strawberries, hulled and chopped
- 4 ounces (113 grams) cream cheese, at room temperature
- 1/2 cup (113 grams) sour cream
- 1/2 cup (113 grams) whole milk
- 1/2 cup (113 grams) heavy cream
- 2 teaspoons fresh lemon juice
- 2 tablespoons corn syrup
- 3/4 cup (149 grams) granulated sugar
- 1/4 teaspoon fine sea salt
- 1 1/2 teaspoons vanilla extract
For the cookies:
- 1 1/2 sticks (170 grams) unsalted butter, at room temperature
- 1 1/2 cups (297 grams) granulated sugar
- 2 large eggs
- 2 teaspoons pure vanilla extract
- 1 tablespoon milk, plus 2 teaspoons, divided
- 2 1/2 cups (319 grams) all-purpose flour
- 2 1/2 teaspoons baking powder
- 1/4 teaspoon fine sea salt
- 1/4 cup (25 grams) unsweetened Dutch-process cocoa powder
Instructions
Make the strawberry ice cream:
- In the bowl of a blender or food processor, puree all the ice cream ingredients until smooth. Transfer the mixture to a medium bowl and press plastic wrap against the surface. Place in the refrigerator for at least 1 hour, or until chilled. Mixture can be stored for up to 1 day.
- Pour the chilled mixture into an ice cream maker and freeze according to the manufacturer’s directions. Remove to an airtight container and freeze for at least 3 hours, or until firmed.
Make the cookies:
- In a large bowl, use an electric mixer to beat the butter and sugar on medium-high speed until smooth and well combined, 1 to 2 minutes. Add the eggs, one at a time, until well combined. Add the vanilla extract and 1 tablespoon milk. Add the flour, baking powder, and salt.
- Remove half the dough and place in a separate bowl. Each half of dough should weigh about 430 grams. Add the cocoa powder and remaining 2 teaspoons milk to half the dough and mix until combined.
- Place one half of the soft dough in between two large pieces of parchment paper or plastic wrap on a work surface. Roll the dough out to a 1/4-inch thickness, using the parchment paper to prevent sticking. Repeat with the remaining half. Place each sheet of dough in the freezer until firm, 30 minutes to 1 hour.
- Line large baking sheets with parchment paper or silicone baking mats. Use a cookie cutter to cut out circles from the dough and place on prepared baking sheets, spreading at least a 1/2 inch apart.
- Chill the baking sheets in the refrigerator for 30 minutes, or until the dough circles are firm.
- Meanwhile, preheat the oven to 350°F.
- Remove the baking sheets from the refrigerator and prick the cookies all over with the probe of an instant-read thermometer or the blunt end of a skewer or chopstick. Bake the vanilla cookies first, for 9 to 10 minutes, or until the cookies are set. Then bake the chocolate cookies. Let cool on baking sheets for 5 minutes before removing to a wire rack to cool completely. Cookies can be stored in airtight containers in the freezer for up to 1 month.
Assemble the sandwiches:
- Remove the ice cream from the freezer and assemble ice cream sandwiches. Freeze the sandwiches until firm, at least 1 hour, before serving.
- Sandwiches can be individually wrapped in plastic and stored in the freezer for up to 1 week. Let sit at room temperature for 5 to 10 minutes before serving.










I made the vanilla cookies recently and filled with birthday cake ice cream. The cookies are thin and still soft after sitting in the fridge for a couple of days so they were perfect! So good!