

Tessa’s Recipe Rundown
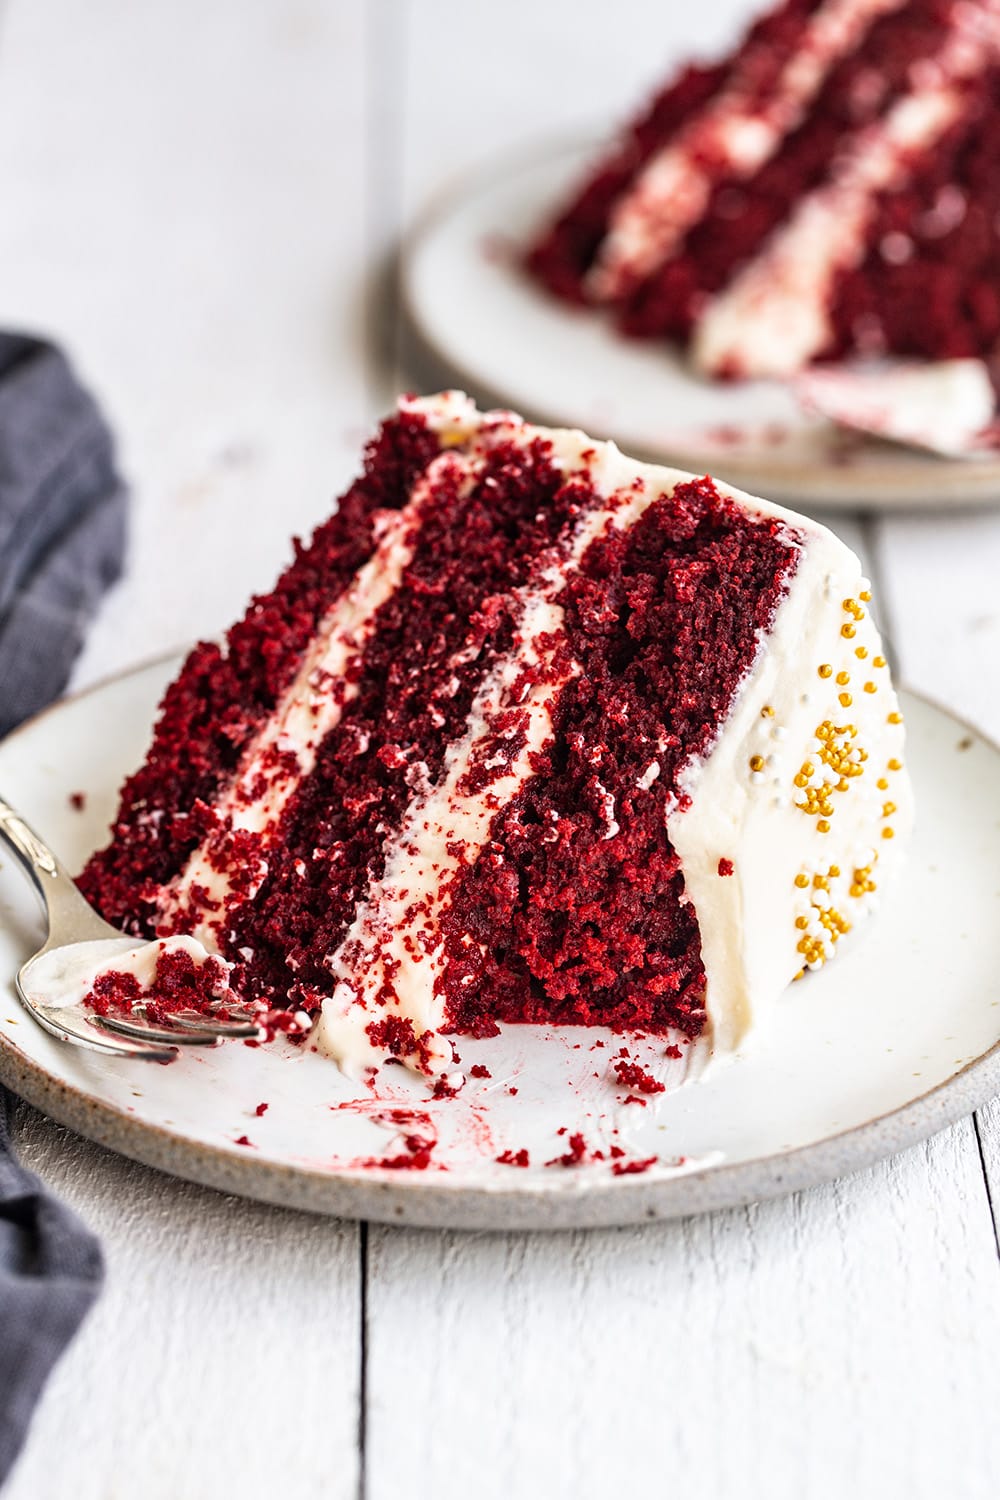
Taste: Sweet but not overly so with that tang from the cream cheese.
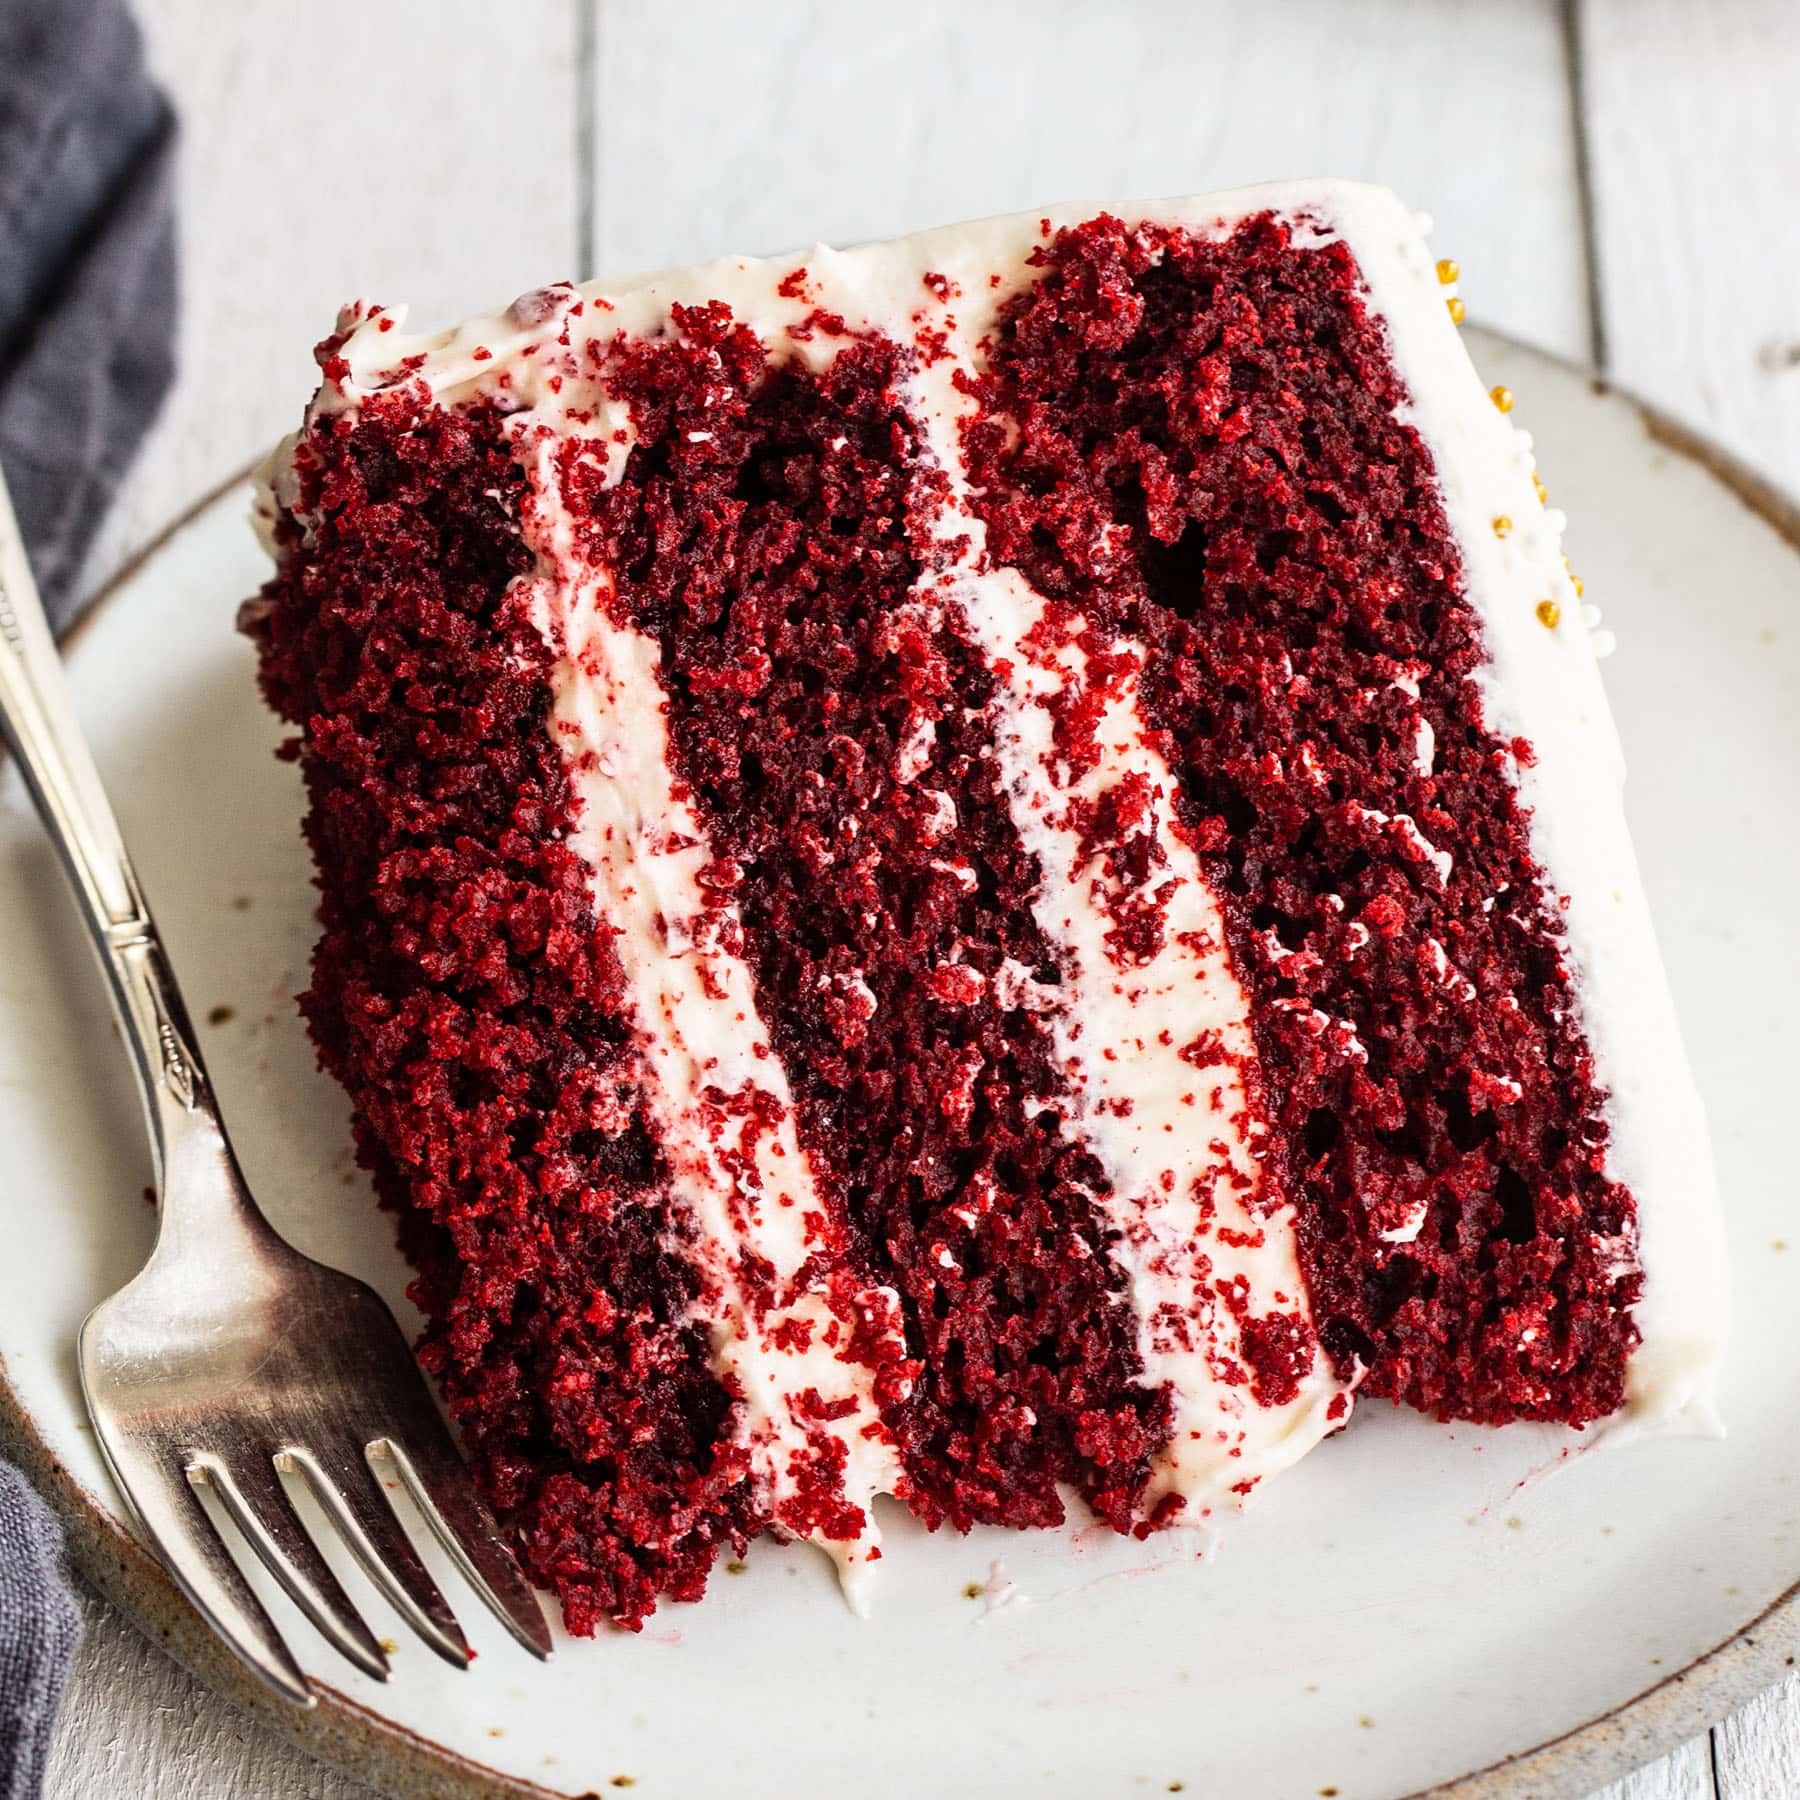
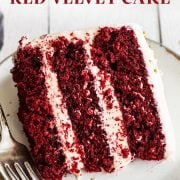
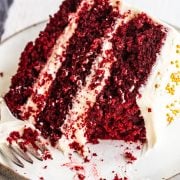
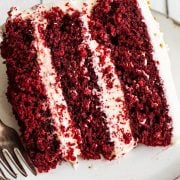
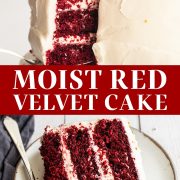
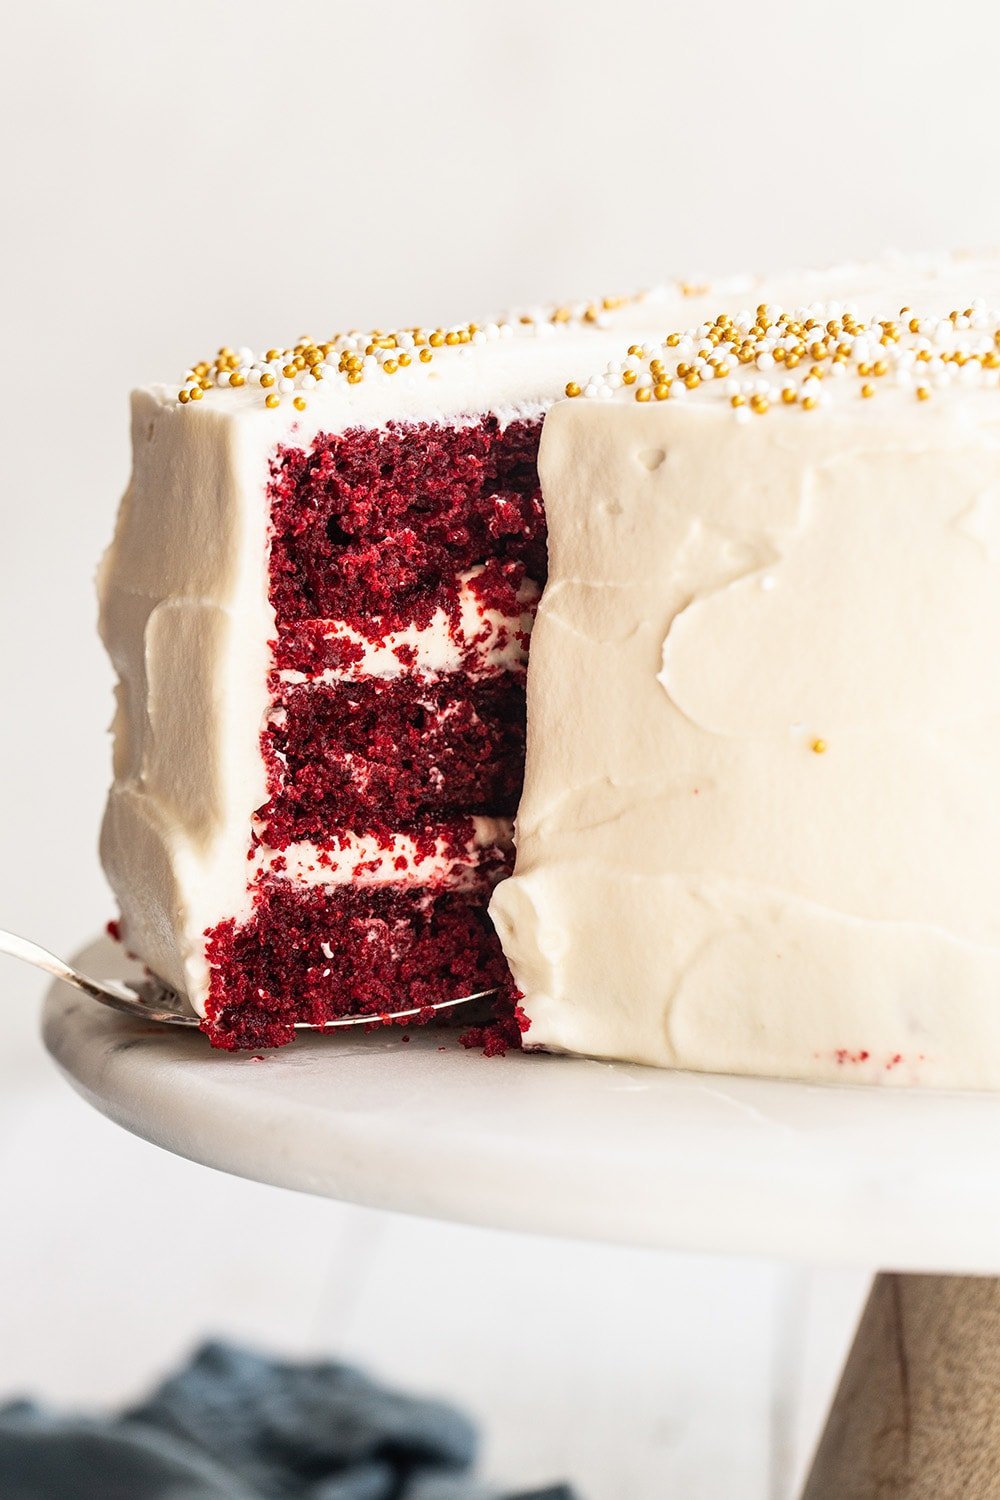
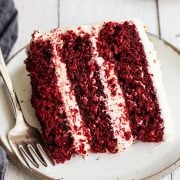
Texture: This is definitely the (and I hate to use this word) most MOIST red velvet cake I’ve ever tasted.
Ease: You are going to dirty dishes and spend a couple of hours to get this cake made but it is definitely worth it, especially if you or your family are red velvet lovers.
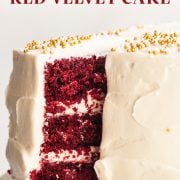
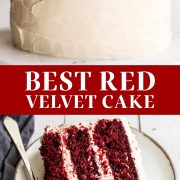
Appearance: This is what red velvet cake is all about. I’ve experimented and only red gel food coloring gives that intensely red hue.
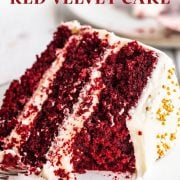
Pros: Super moist cake with an unbelievable frosting. My go-to recipe for red velvet now.
Cons: None.
Would I make this again? Yes, especially for birthdays.
This post may contain affiliate links. Read our disclosure policy.
I’m very excited to share this recipe for Red Velvet Cake with Cream Cheese Frosting with you today, but first, I have something to say that may shock you…
I’m not a huge fan of red velvet.
I know it’s tremendously popular. But most red velvet type desserts that I’ve tasted have always been bland, dry, or sickeningly sweet. Plus, there can never be enough chocolate in my book so the tease of cocoa in red velvet cake kind of angers me if I’m being honest!
I’m happy to say I created a fabulous recipe that even I enjoy eating. This doesn’t mean I plan on giving up my chocolate cake anytime soon, but now I have a go-to red velvet cake recipe.
This cake is absolutely perfect for birthdays, Valentine’s Day, 4th of July, Christmas, or any time the red velvet flavor craving strikes. I wanted to make this recipe super easy, so you don’t need any cake flour!

How to Make Red Velvet Cake
What is Red Velvet Cake? Is Red Velvet Cake Just a Chocolate Cake with Red Food Coloring?
Red Velvet Cake is a popular dish in the Southern United States. Although traditional recipes vary from modern ones, it’s now typically made with a small amount of cocoa powder, buttermilk, vinegar, and red food coloring as staple ingredients. Its name references both its color as well as its soft, velvety smooth texture. It’s not really a chocolate cake, but simply has a hint of chocolate flavor.
Best Red Velvet Cake Baking Tip: Use ROOM TEMPERATURE Ingredients!
With the exception of the hot coffee / hot water, you really want to make sure your eggs and buttermilk are brought completely to room temperature. This will help to form a uniform and cohesive batter and cake.
Why Use Hot Coffee or Hot Water in a Cake Recipe?
Just like in my Best Chocolate Cake recipe, this Red Velvet Cake uses hot coffee as a staple ingredient. If you don’t have coffee, you can just use hot water. The coffee does help to enhance that hint of chocolate flavor, and the heat of the liquid helps to ‘bloom’ the cocoa, bringing out its full flavor.
What if I Don’t Have Buttermilk?
Buttermilk works best in this recipe to provide a rich and tender cake. It is traditional (along with the vinegar too!). You can learn more about the science of buttermilk in my Buttermilk 101 article here. I would not recommend using a buttermilk substitute. If you must, use whole milk instead but note the cake’s final taste and texture will be different.
What Kind of Food Coloring is Best for Red Velvet Cake?
I would highly recommend using gel food coloring for red velvet cake and not liquid or ‘natural’ food coloring (I did a whole experiment with natural food coloring – check it out here!). You’ll need at least 3 teaspoons, possibly more depending on the brand, so don’t buy just one small bottle (0.75 oz). Opt for a larger bottle or buy two smaller ones. I like Americolor or Chefmaster gel food coloring.
Overview Instructions of How to Make Red Velvet Cake:
Make the Red Velvet Cake Batter:
- Prepare three 8-inch round cake pans with parchment rounds, spraying parchment and sides of pans generously with nonstick cooking spray.
- Whisk together the hot coffee and cocoa powder, setting aside for 5 minutes. Whisk in a separate medium bowl the dry ingredients of the flour, baking powder, baking soda, salt, and cinnamon.
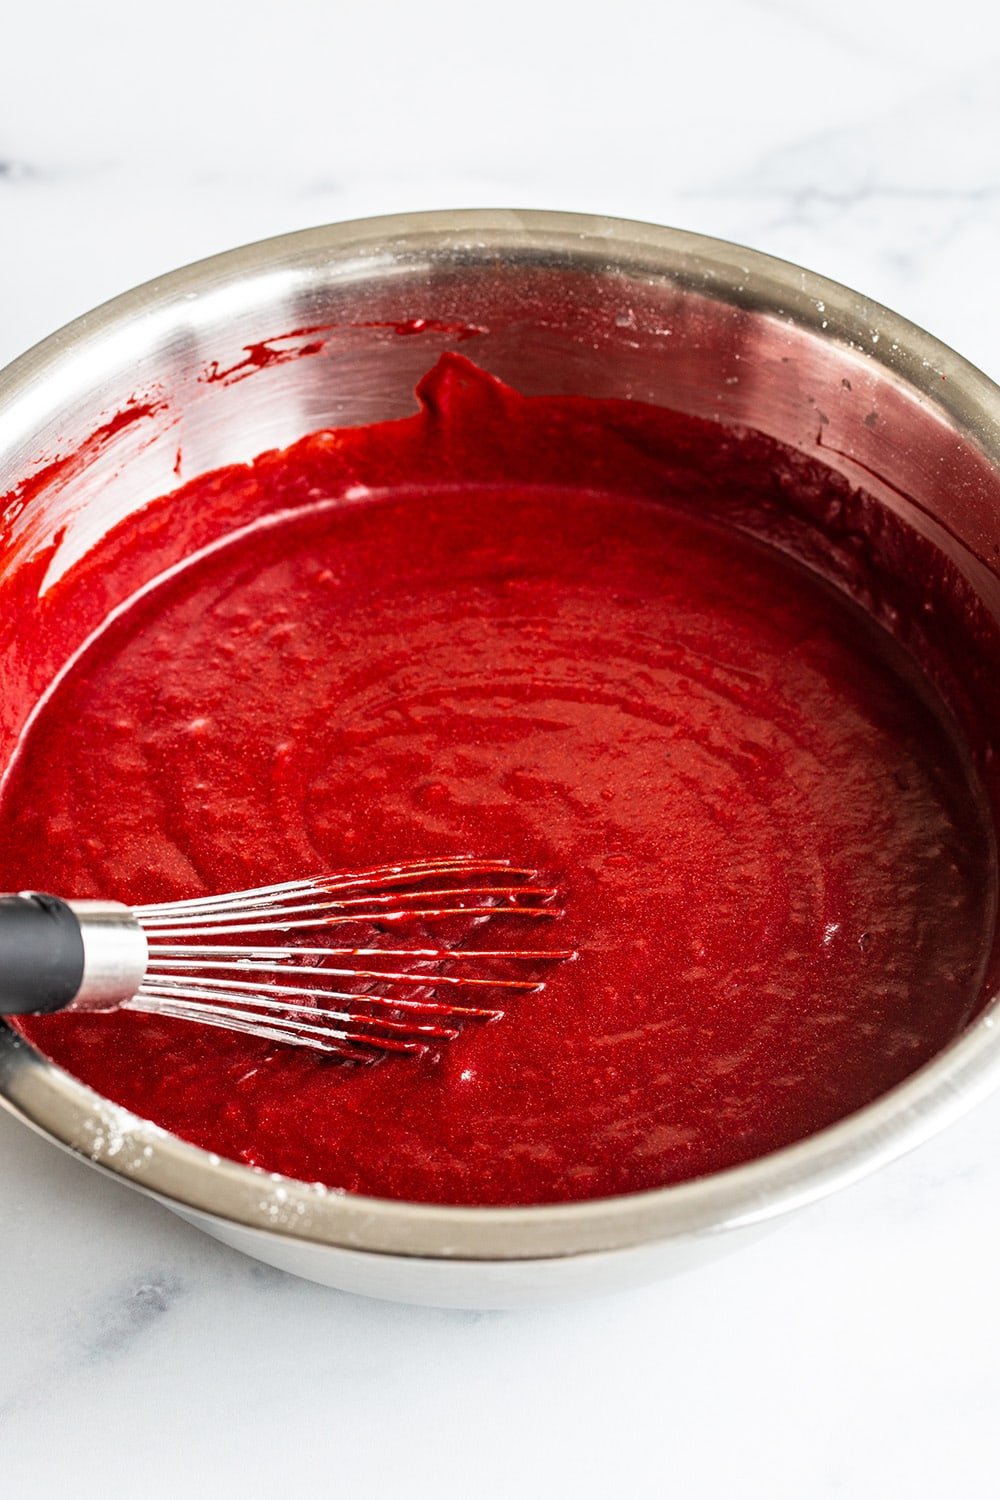
- In a large bowl, whisk together the sugar, vegetable oil, and melted butter. Add in eggs and egg yolk, whisking until well combined. Add buttermilk, vanilla, and food coloring, and whisk to combine.
- Whisk in the vinegar and coffee mixture. Sift the flour mixture in thirds into the wet ingredients, folding until incorporated.
- Pour the batter evenly between your prepared pans. Tap the bottoms against the counter several times.
- Bake at 325°F for 25-30 minutes, or until a cake tester comes out clean.
- Place the cake pans on a cooling rack. Once cool to the touch, run a thin knife around the edges to loosen the cake, and invert onto the cooling racks. Cool completely.
Make the Cream Cheese Icing:
- Using an electric mixer fitted with the paddle attachment (or a hand mixer), beat the cream cheese and butter on medium-high speed until light, creamy, and smooth.
- Scrape down the sides and bottom of the bowl to ensure no clumps remain.
- Add vanilla and beat until combined.
- Gradually add in the confectioners’ sugar on low speed and beat until the buttercream frosting is fluffy.
Assemble:
- Lay one of the cake layers flat-side up on a cake plate or pedestal.
- Use about a third of the frosting to fill the bottom cake layer, then top with the second cake layer and repeat. Place the final cake layer flat-side up. Use the rest of the frosting to ice the sides and top of the cake, using an offset spatula to smooth the icing.
- Refrigerate until ready to serve!
What Kind of Baking Pans to Use for Red Velvet Cake?
Use three 8-inch cake pans for this recipe. My favorite brand of cake pan is Fat Daddio’s, they bake evenly and wash up easily. Don’t use darkly coated nonstick cake pans or you may end up with dry or overbaked cake edges.
Can I Use 9-inch Cake Pans Instead?
Although this recipe was specifically designed for 8-inch cake pans, you may be able to bake in two 9-inch cake pans. Fill each 3/4 full and increase the baking time by about 5 to 10 minutes because there will be more batter in each pan.
How to Prevent Red Velvet Cake from Sticking:
Be sure to line each cake pan with parchment rounds. I like these ones which have tabs to easily pull out the baked cake layers. Spray the sides of the pans and the parchment generously with nonstick cooking spray.
What Kind of Frosting is Best with Red Velvet Cake?
Cream cheese frosting is the classic choice for red velvet cake! Its tangy flavor complements the sweetness of the cake layers. If you’d prefer something more sturdy or want to make special cake decorations, opt for my Best Buttercream instead.
Favorite Tools for Layer Cakes:
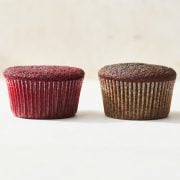
Can I Make Red Velvet Cupcakes Instead?
I actually have a Red Velvet Cupcake recipe here! It’s the same base recipe as this Red Velvet Cake, but with a few tiny tweaks to result in perfect cupcakes.
How to Make Cake Ahead of Time & How to Freeze Red Velvet Cake:
You can wrap unfrosted un-cut cooled cake layers completely in several layers of plastic wrap. Place inside a freezer bag or airtight container. Store at room temperature for up to 4 days or freeze for up to 2 months. Defrost overnight in the fridge (do not thaw at room temperature or you will end up with mushy cake).
How to Store Homemade Red Velvet Cake Recipe:
Cover with a cake keeper and store at room temperature for up to 6 hours, then refrigerate for up to 3 days.
More Red Velvet Recipes:
- Red Velvet Cupcakes
- Red Velvet Crinkle Cookies
- Red Velvet Cookies with Cream Cheese Frosting
- Red Velvet Ice Cream Sandwiches

Red Velvet Cake
Ingredients
For the cake:
- 1/2 cup of plain hot coffee or boiling water
- 1/4 cup (21 grams) unsweetened natural cocoa powder
- 2 1/4 cups (279 grams) all-purpose flour
- 1/2 teaspoon baking powder
- 1 teaspoon baking soda
- 1 teaspoon fine sea salt
- 1/4 teaspoon ground cinnamon, optional
- 2 cups (400 grams) granulated sugar
- 1/2 cup (109 grams) fresh vegetable oil
- 1 stick (113 grams) unsalted butter, melted
- 2 large eggs, at room temperature
- 1 large egg yolk, at room temperature
- 1 cup buttermilk, at room temperature
- 2 teaspoons vanilla extract
- 3 teaspoons red gel food coloring, plus more if needed*
- 1 teaspoon distilled white vinegar
For the cream cheese frosting:
- 16 ounces (454 grams) cream cheese, at room temperature
- 2 sticks (227 grams) unsalted butter, at room temperature
- 2 teaspoons vanilla extract
- 4 cups (500 grams) powdered sugar, sifted
Instructions
For the cake:
- Preheat the oven to 325°F. Line three 8-inch cake pans with parchment rounds and spray parchment and sides of pans generously with nonstick cooking spray.
- In a glass measuring cup, whisk the hot coffee and cocoa powder. Cover and let stand for 5 minutes.
- In a medium mixing bowl, whisk together the flour, baking powder, baking soda, salt, and cinnamon.
- In a large mixing bowl, whisk together the sugar, vegetable oil, and melted butter. Add in the eggs and yolk and whisk for twenty seconds, or until very well combined. Add in the buttermilk, vanilla and food coloring and whisk to combine. Whisk in the vinegar and coffee mixture. Using a fine mesh sieve, sift the flour mixture into the batter in three additions, whisking until each addition is incorporated.
- Divide the batter equally between the prepared pans. Tap the bottoms of the pans against the counter several times to release any air bubbles.
- Bake for 25 to 30 minutes, or until a cake tester or toothpick comes out clean. It’s normal for the cake to look slightly spongy on top. Place the cake pans on cooling racks. When the pans are cool enough to touch, run a thin knife around the edges of the pans to loosen the cakes. Invert onto the wire racks. Let cool completely.
For the frosting:
- In the bowl of a stand mixer fitted with the paddle attachment, beat the cream cheese and butter on medium-high speed until very light, creamy, and smooth. Scrape down the bottom and sides of the bowl to ensure no clumps remain. Add in the vanilla and beat until combined. On low speed, gradually add in the sugar and beat until fluffy, about 3 minutes. If the frosting is too thick, add a splash of milk or cream. If it’s too thin, add more sifted powdered sugar.
To assemble:
- Lay one cake layer flat-side up on a cake plate or pedestal. Tuck in strips of baking paper under the cake edges to keep the plate clean.
- Use about a third of the frosting to fill the bottom cake layer, then top with the second cake layer and repeat. Place the final cake layer flat-side up. Use the rest of the frosting to ice the whole cake. Serve.
- The cake can be covered and stored in the refrigerator for up to 3 days.
Recipe Notes
This post was originally published in 2013 and updated in 2022 with recipe improvements and new photos. Photos by Ashley McLaughlin.
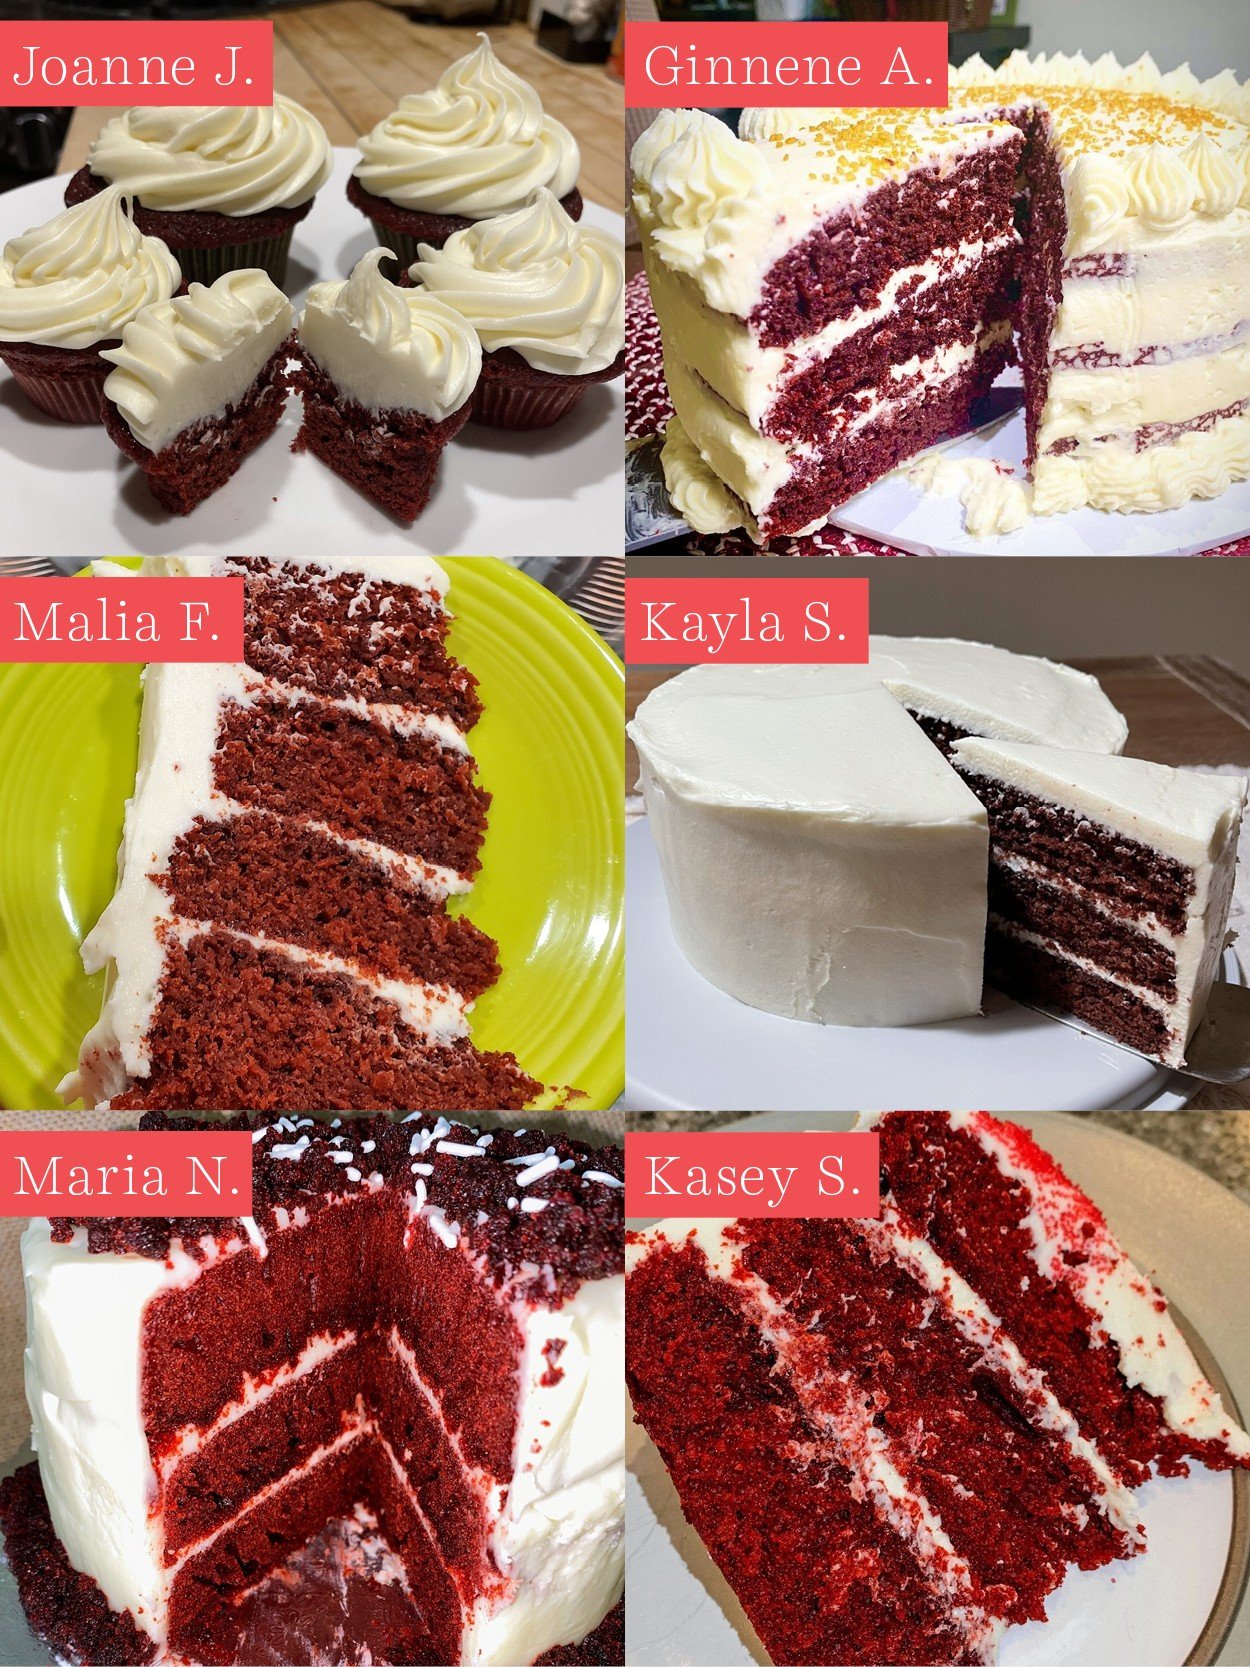
February Baking Challenge
This recipe was the February 2022 selection for our monthly baking challenge! Every month you can join the challenge by baking the recipe and snapping a photo for a chance to win prizes! Learn more about my monthly baking challenges here. Check out some of the cakes (and cupcakes!) baked by you guys:


I have a question for you – if I were to make these into cupcakes, do you know what the adjusted cooking time should be?
About 15 to 20 minutes.
Sorry Tessa, I hate oil in cakes 🙁 . It is absolutely nothing compared to the rich melt-in-your-mouth feel of butter. Can I use melted butter instead of oil in this recipe? Or just creamed butter and sugar?
I’ve never tried this recipe with butter instead of oil so I can’t say for sure. I’d definitely try creaming the butter and sugar together if you give it a go.
I made this cake and it turned out terrible! I’m not a novice baker either. It just had a very very oily, greasy taste to it. Not sure what the problem was, but it was definitely not a success over here 🙁
Can’t say I’ve ever seen anything call for 2 Tbsp of vanilla ~ before I add that much, is this correct or should it read 2 tsp.?
Thanks!
Hi Shannon, thanks for pointing that out! It is 2 teaspoons NOT 2 tablespoons – I fixed the error 🙂
I made this cake and it turned out really oily and tasted odd to me. Also, an two tablespoons of vanilla seems like entirely too much, are you sure that’s right?
Hi Megan, I’ve fixed the vanilla amount to 2 teaspoons. I once made red velvet cupcakes that had a weird oily taste and when I did some investigation to figure out why it was because my vegetable oil had expired. Maybe the same thing happened to you!
Could I omit the coffee?
Hello! This cake looks delicious and I plan on making it very soon. I live in Colorado, so I was wondering if you had high altitude adjustments.
Merry Christmas!
Nadiyah
I’d like to try this recipe, but 2 cups of liquid (1 c. oil, 1 c. buttermilk) sounds like too much in comparison to 2 c. flour. Just wan to make sure it’s not a misprint. Thanks.
Nope, no misprint. Feel free to read some of the comments above yours, this is a crowd pleasing recipe!
I made this Red Velvet Cake this pass weekend and I must say this truly is the very best I have ever made. Every one said it was great! I too have been looking for a moist Red Velvet Cake for a long time and I have found it.
I did not try the Cream Chees Frosting becasue I alread have one I love.
Love this cake. I am trying the Chocolate Cake next week and will let you know on that one as well.
Thank you so much for sharing this recipe with all of us!
Merry Christmas!
Kathy
So glad to hear that!! Hope you enjoy the chocolate cake. Merry Christmas!
Found your recipe through Pinterest – and so glad I did! It was wonderful and has actually gotten better after being in the fridge a day.
I just wanted to say thanks for the great recipe!
Oh – the one tinnny problem I had was my cream cheese frosting was a little lumpy, but I’m guessing that was because it wasn’t very softened when I mixed it up! Rookie mistake. Still tasted deelish though and let’s face it, that’s all that matters! Thanks again 🙂 happy holidays!
Yes, sometimes too cold cream cheese can create lumps. You should be able to beat the heck out of this cream cheese frosting with an electric mixer until the lumps are gone, though. Glad you enjoyed the recipe otherwise!
This cake has turned out perfect for me every time 🙂
Thank you so much for this recipe I have been looking forever for one to come out completely red and this one is perfect!
As for people who are Canadian 1 1/4 cup is equal to 300 ml or 300 grams
And 12oz is roughly one package of cream cheese
I am Canadian but I studied to be a baker and know metric and imperial measuring systems
you make your coffee with milk or water?