Tessa’s Recipe Rundown
TASTE: Perfectly-balanced sweetness that’s beautifully offset by the tangy cream cheese.
TEXTURE: Soft, tender and so moist, with a super silky cream cheese frosting.
EASE: Easier than you might think!
PROS: Super moist cupcakes with an unbelievable frosting.
CONS: A bit shy on the dome in order to preserve the moist texture, but once they’re frosted, nobody will ever know.
WOULD I MAKE THIS AGAIN? Yes!
This post may contain affiliate links. Read our disclosure policy.
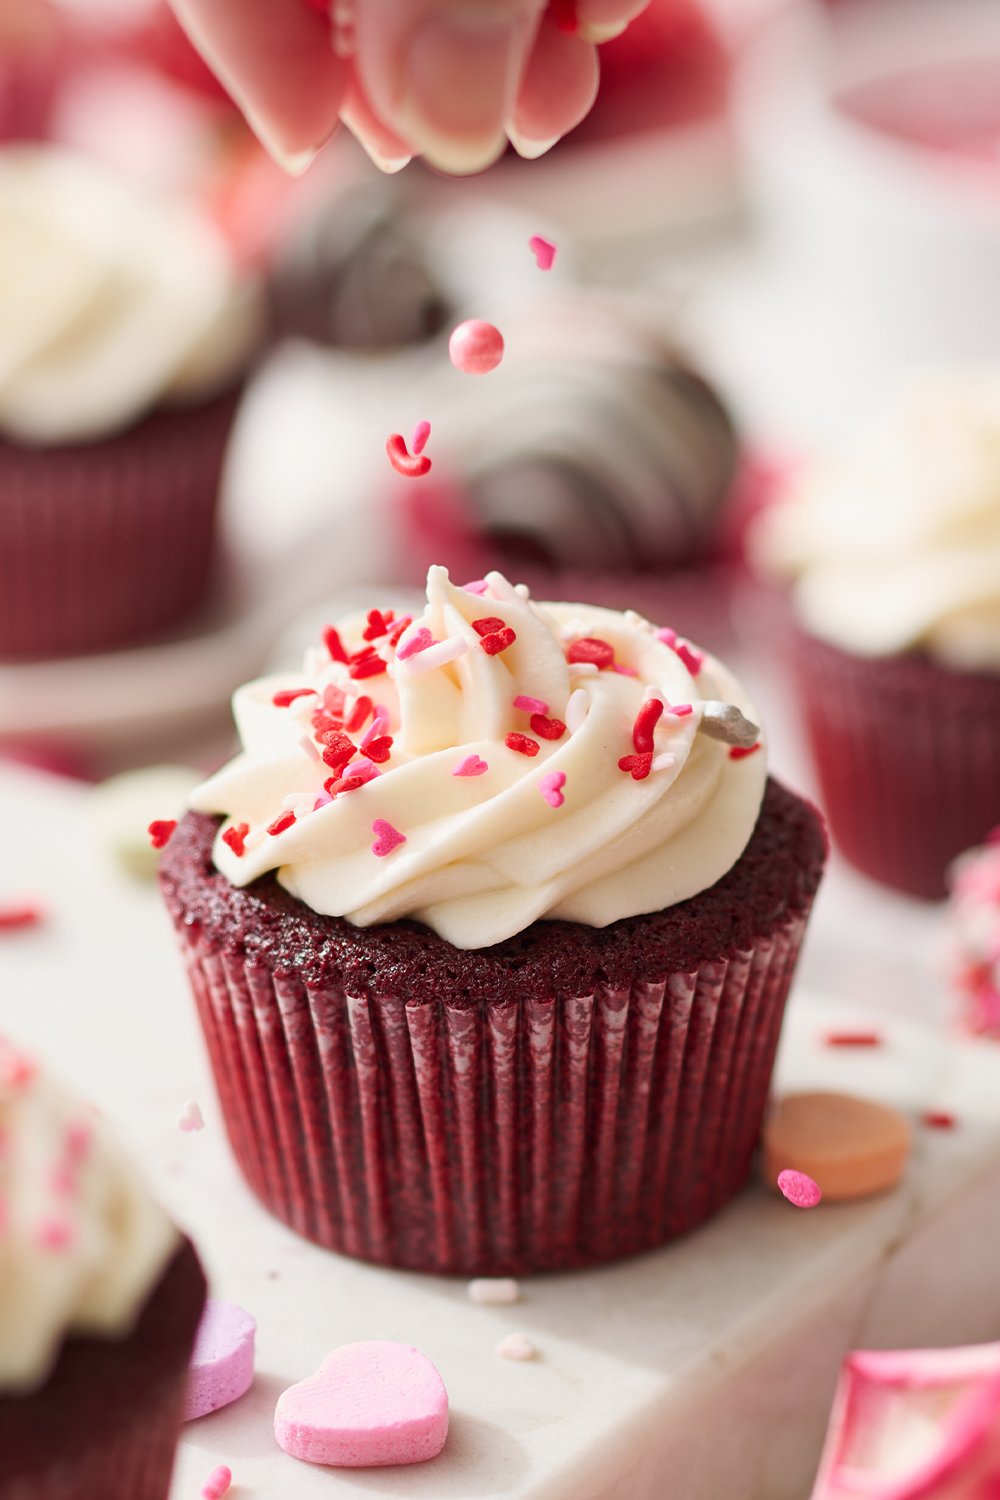
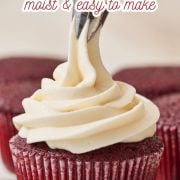
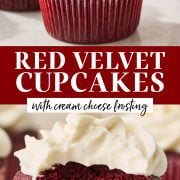
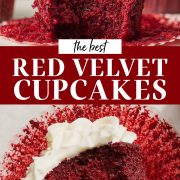
These Red Velvet Cupcakes are easily the most delicious red velvet cupcakes I’ve ever tasted.
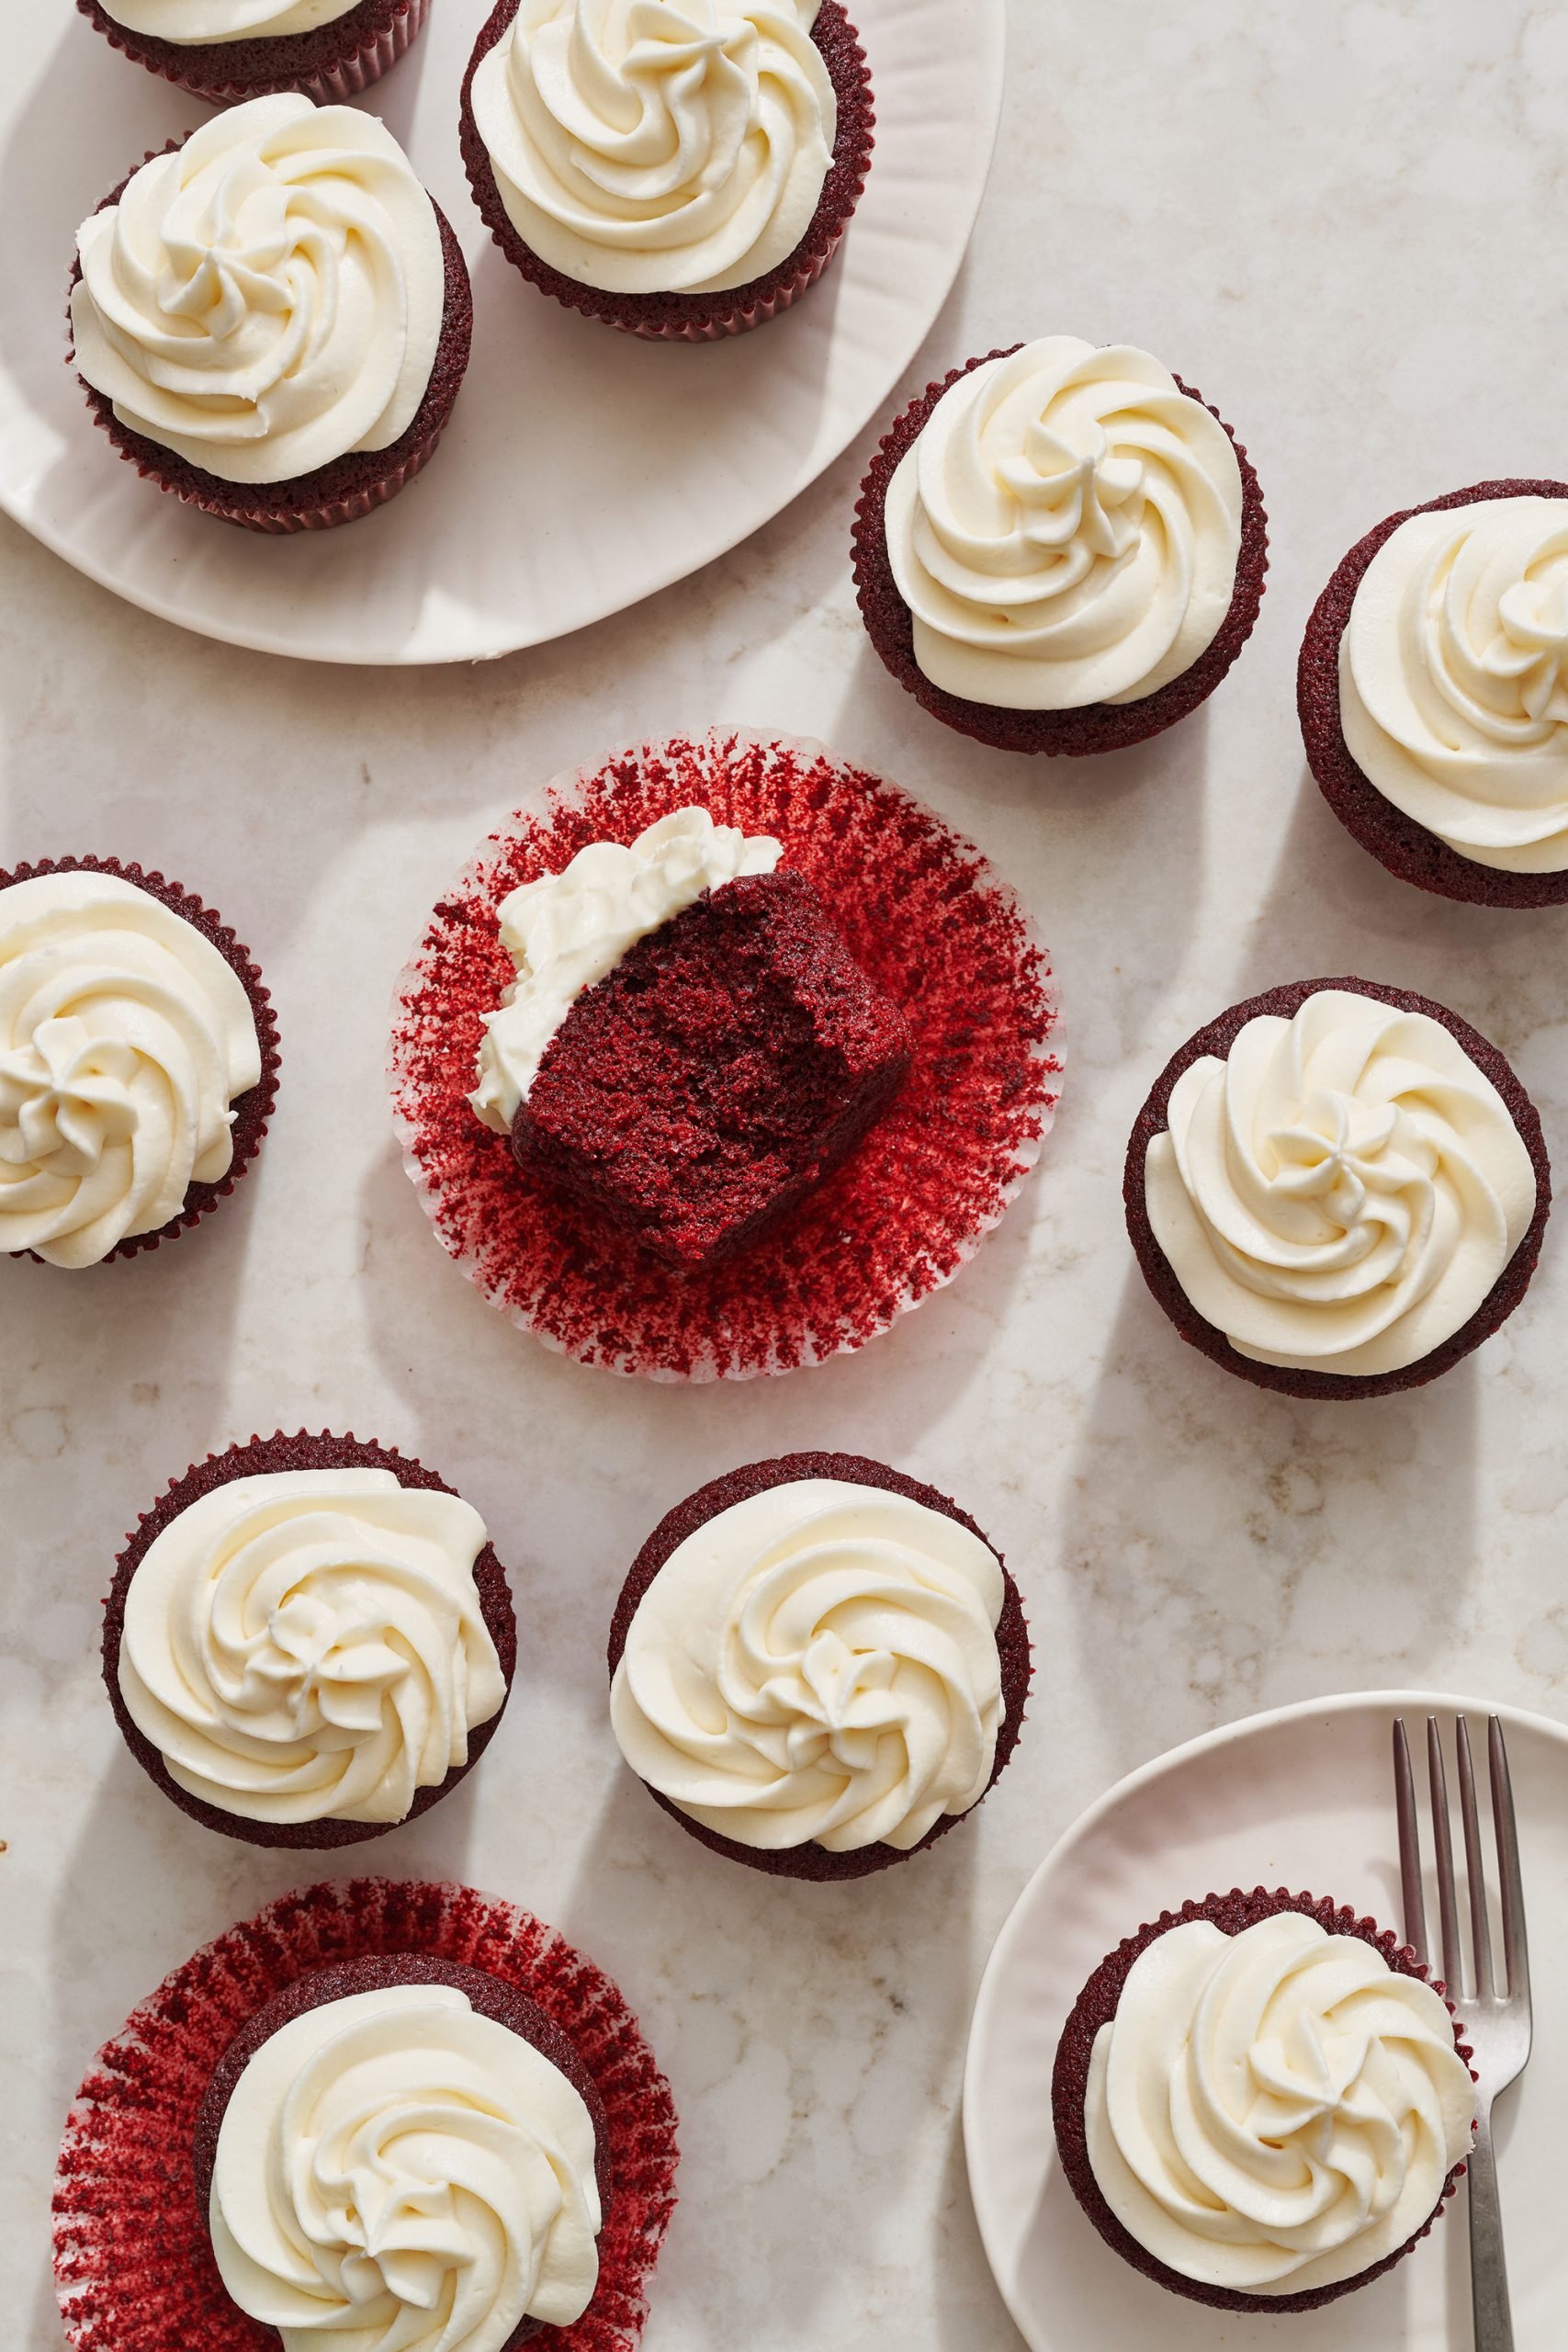
Now, I have a confession to make: I’m not a huge fan of red velvet. It’s like that quirky cousin of the dessert world, always trying to stand out with its not-quite-chocolate, not-quite-vanilla identity.
Most of the time, red velvet treats leave me feeling sugar-shocked, or they’re just bland and dry. And as a self-proclaimed chocoholic, I’ve always felt it could use a little more cocoa love.
Free Baking Science Mini-Course!
From cookies that spread to undercooked brownies, this FREE 5-day Baking Science course helps you conquer common baking challenges and make bakery-worthy treats every time.
I previously decided to see if I could right other red velvet wrongs, which resulted in the perfect Red Velvet Cake. It’s an amazingly delicious cake, proving that red velvet can be wonderful if it’s done well.
Then I thought, why not turn that cake magic into cupcakes? The base was perfected, but, of course, I had to put it to the test.
The cake recipe didn’t convert directly into cupcakes like I envisioned. After a couple of tweaks and a whole lot of taste-testing by my wonderful team (hard job, right?), I’m thrilled to declare that these Red Velvet Cupcakes are pure bliss. I’m confident you’ll fall in love, too!
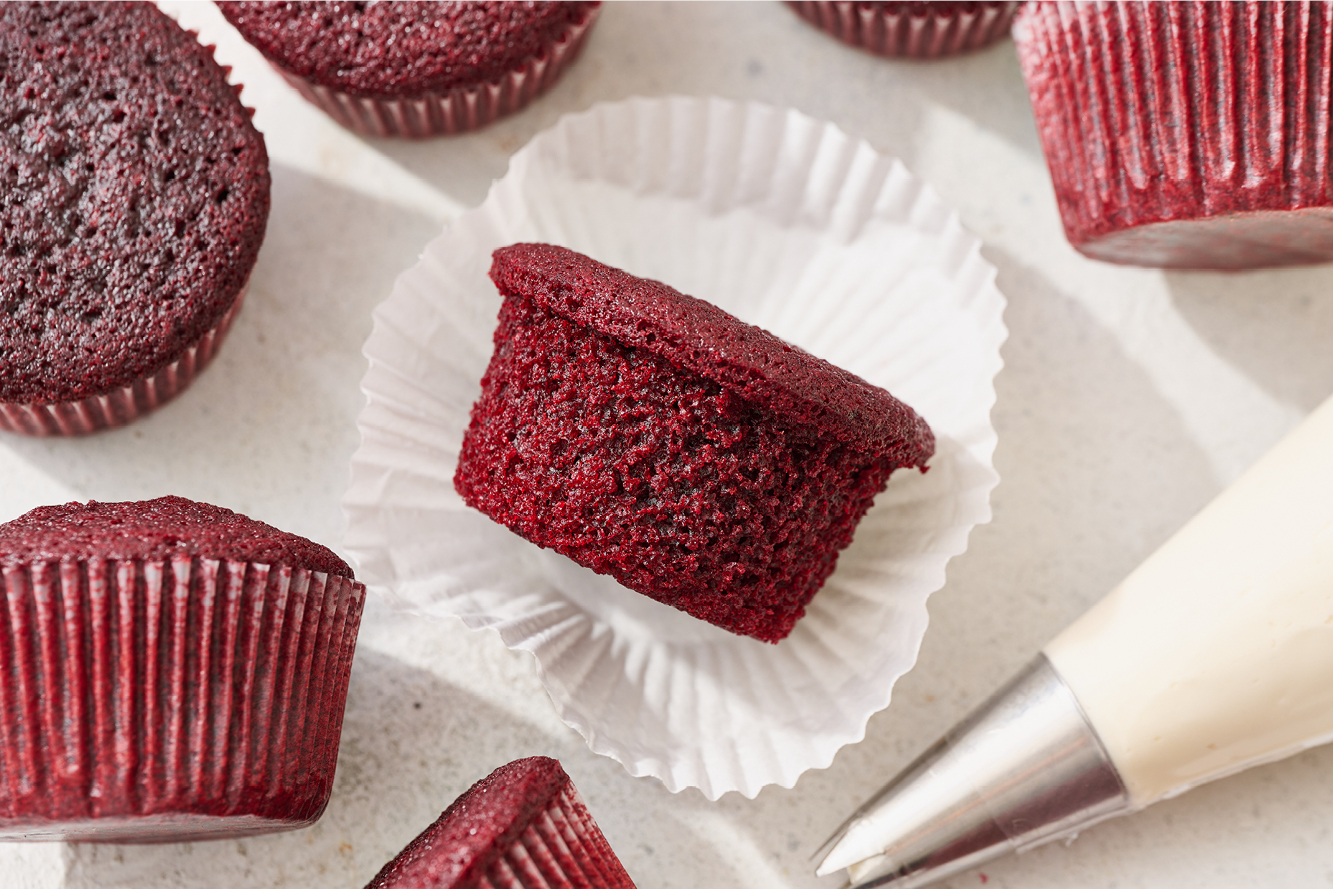
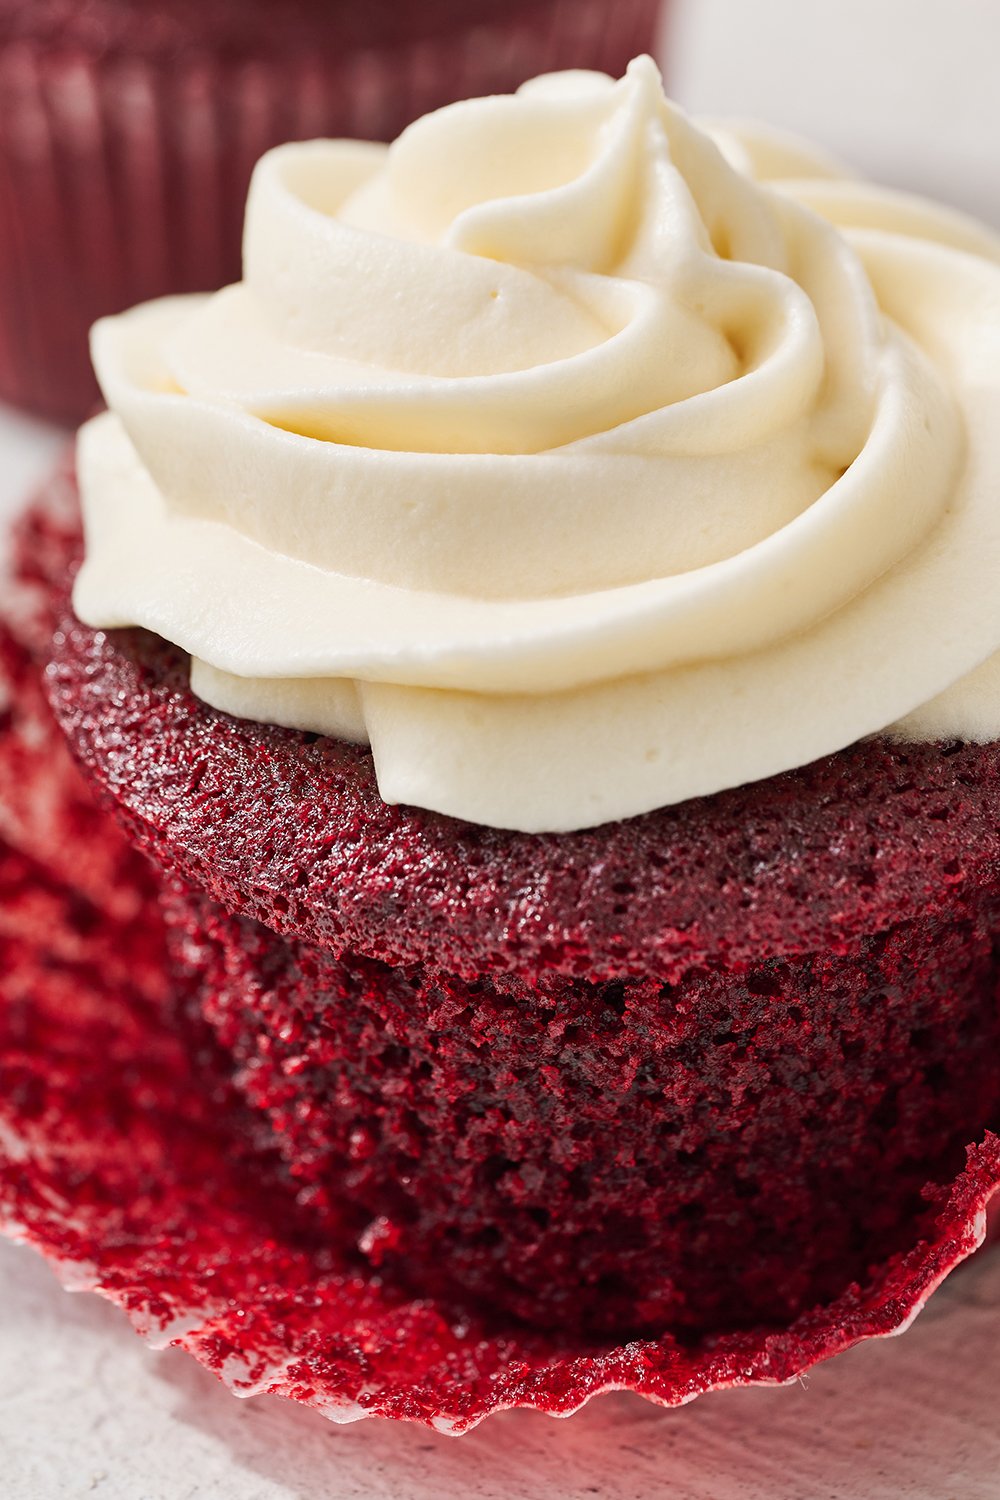
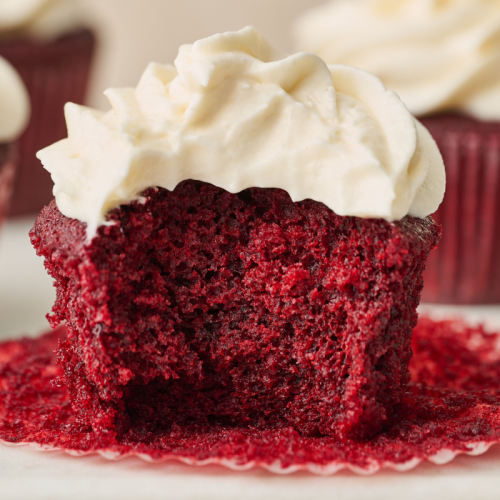
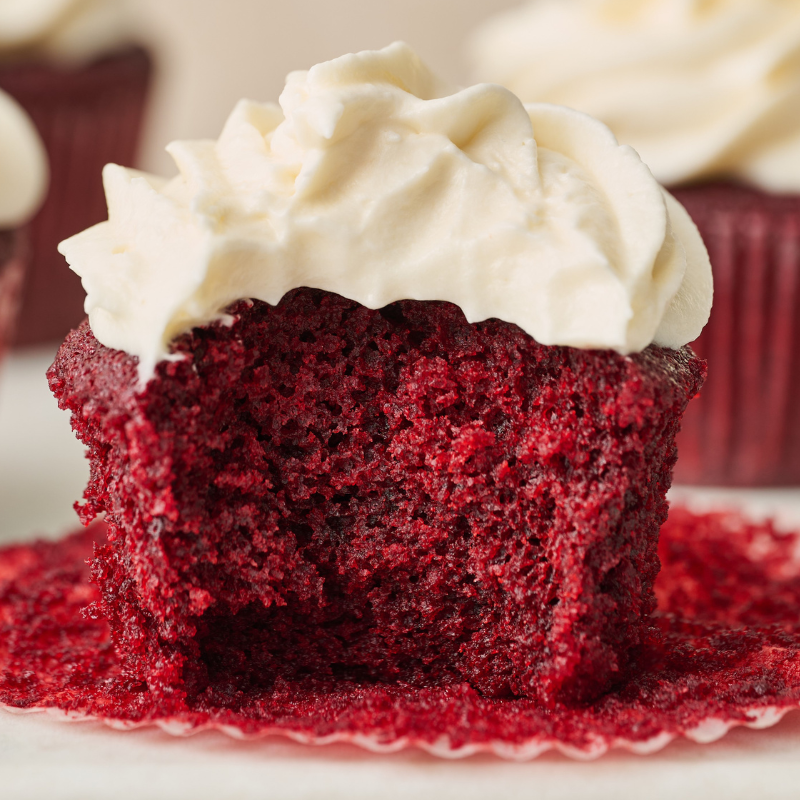
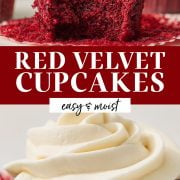
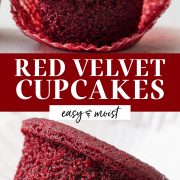
These cupcakes aren’t just good; they’re otherworldly. The texture? Ultra tender and moist, and the flavor? Imagine rich cocoa with the subtlest hint of cinnamon, both coming together to beautifully perfect the red velvet flavor.
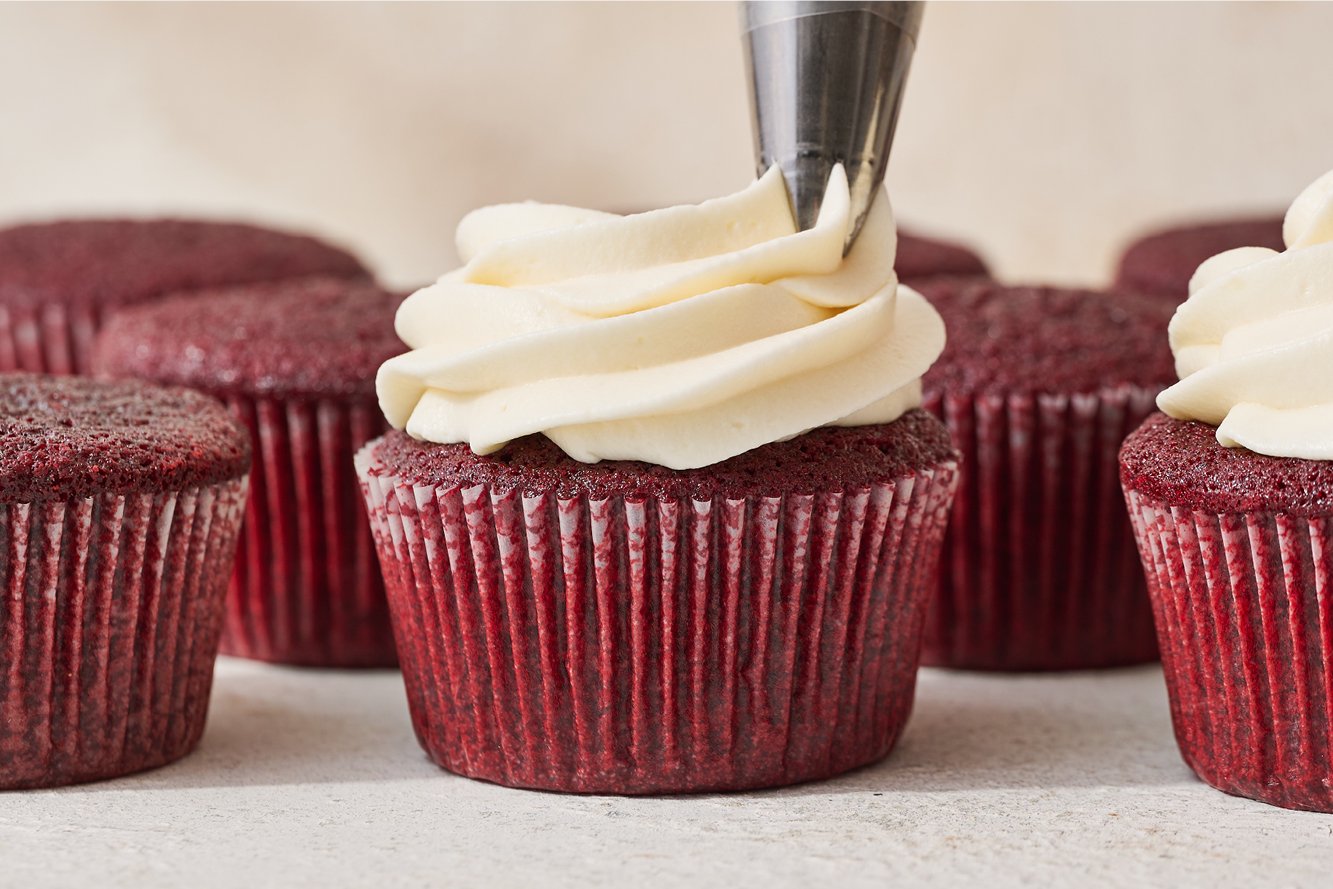
One of our taste testers considered these “god tier,” so if you’re ready to reach cupcake nirvana, continue reading for the Red Velvet Cupcakes you’ve been waiting for.

Sprinkle of Science
How to Make Red Velvet Cupcakes
How to Make MOIST Red Velvet Cupcakes
- Use room temperature ingredients. With the exception of the hot coffee / hot water, you really want to make sure your eggs and buttermilk are brought completely to room temperature. This will help to form a uniform and cohesive cupcake batter.
- Measure your flour correctly. I highly recommend using a digital scale for the most accurate way to measure your ingredients. If you don’t have one, use the ‘scoop and level’ method to prevent adding too much flour to your cupcake batter, as this will make your red velvet cupcakes dry and tough. Learn more about how to measure correctly here.
- Don’t reduce the sugar in this recipe. Sugar actually helps contribute to moistness! Learn more about the role sugar plays in baking here.
- Use real buttermilk. More on this just below.
Do I Have to Use Buttermilk in Red Velvet Cupcakes?
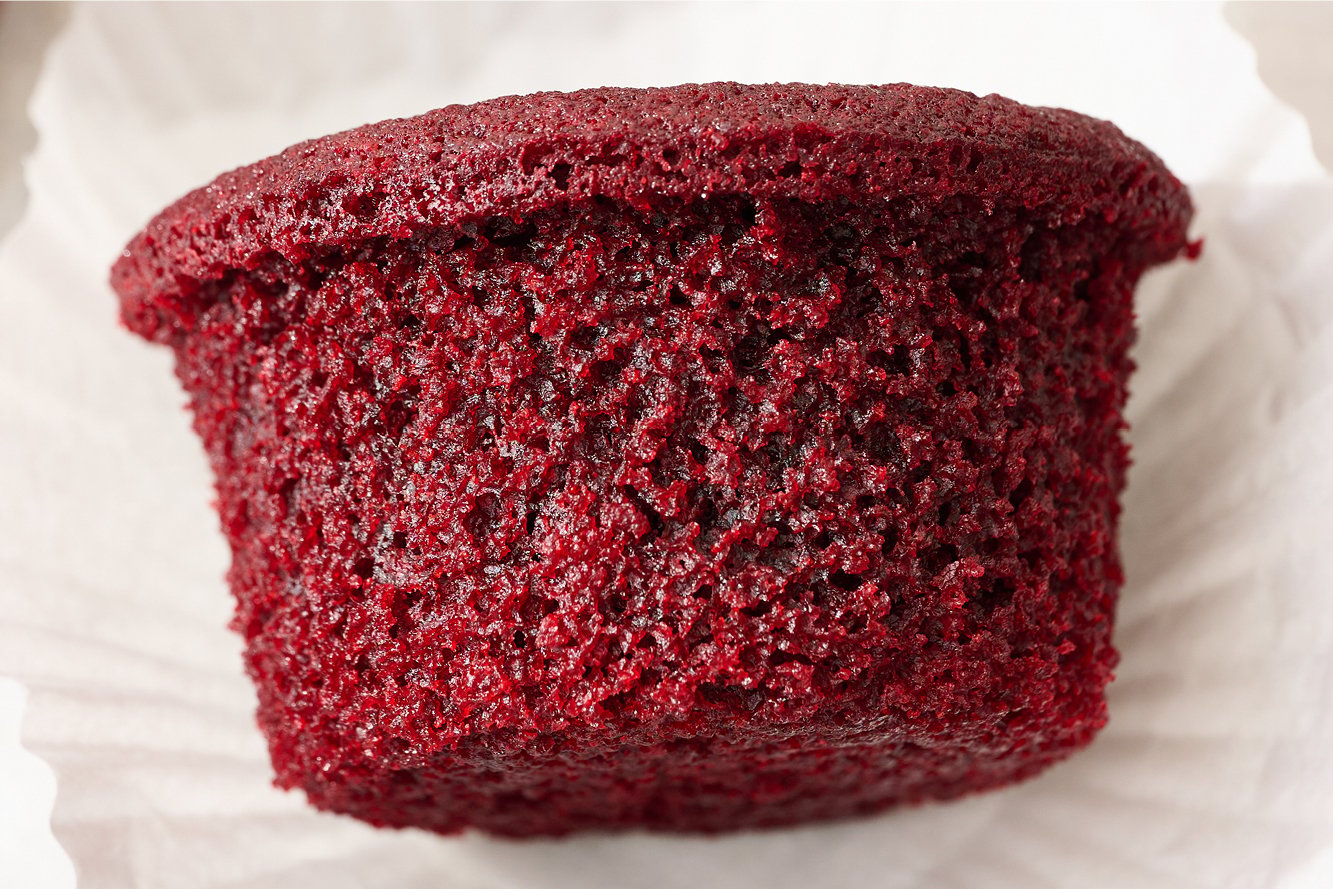
Buttermilk is a must when it comes to providing a rich, tender, and moist cupcake. It also helps to activate the baking soda to leaven the cupcakes and is a traditional ingredient (along with the vinegar). You can learn more about the science of buttermilk in my Buttermilk 101 article here. I don’t recommend using a DIY buttermilk substitute (aka milk + vinegar or lemon juice). A better substitute would be plain Kefir. If you must, use whole milk instead – but note the taste and texture of your cupcakes will be different.
Why Use Hot Coffee? Do I Have to Use Coffee?
Just like in my Best Chocolate Cake recipe, Red Velvet Cupcakes use hot coffee. The heat of the liquid helps to ‘bloom’ the cocoa, bringing out its full flavor. You won’t taste the coffee but it does help to balance the sweetness! If you don’t have coffee, you can just use hot water.
What Kind of Food Coloring is Best for Red Velvet Cupcakes?
- I highly recommend using gel food coloring for Red Velvet Cupcakes.
- Avoid liquid food coloring. It’s not as vibrant and you must use way more than if using gel coloring.
- You’ll need 1 ½ teaspoons, possibly more depending on the brand. Buy more than you think, it’s better to have extra.
- I like Americolor, Chefmaster, or Wilton gel food coloring for this recipe. You can find these in stores like Michael’s, Hobby Lobby, or cake decorating stores, or simply from Amazon.
Can I Use Natural Food Coloring Instead?
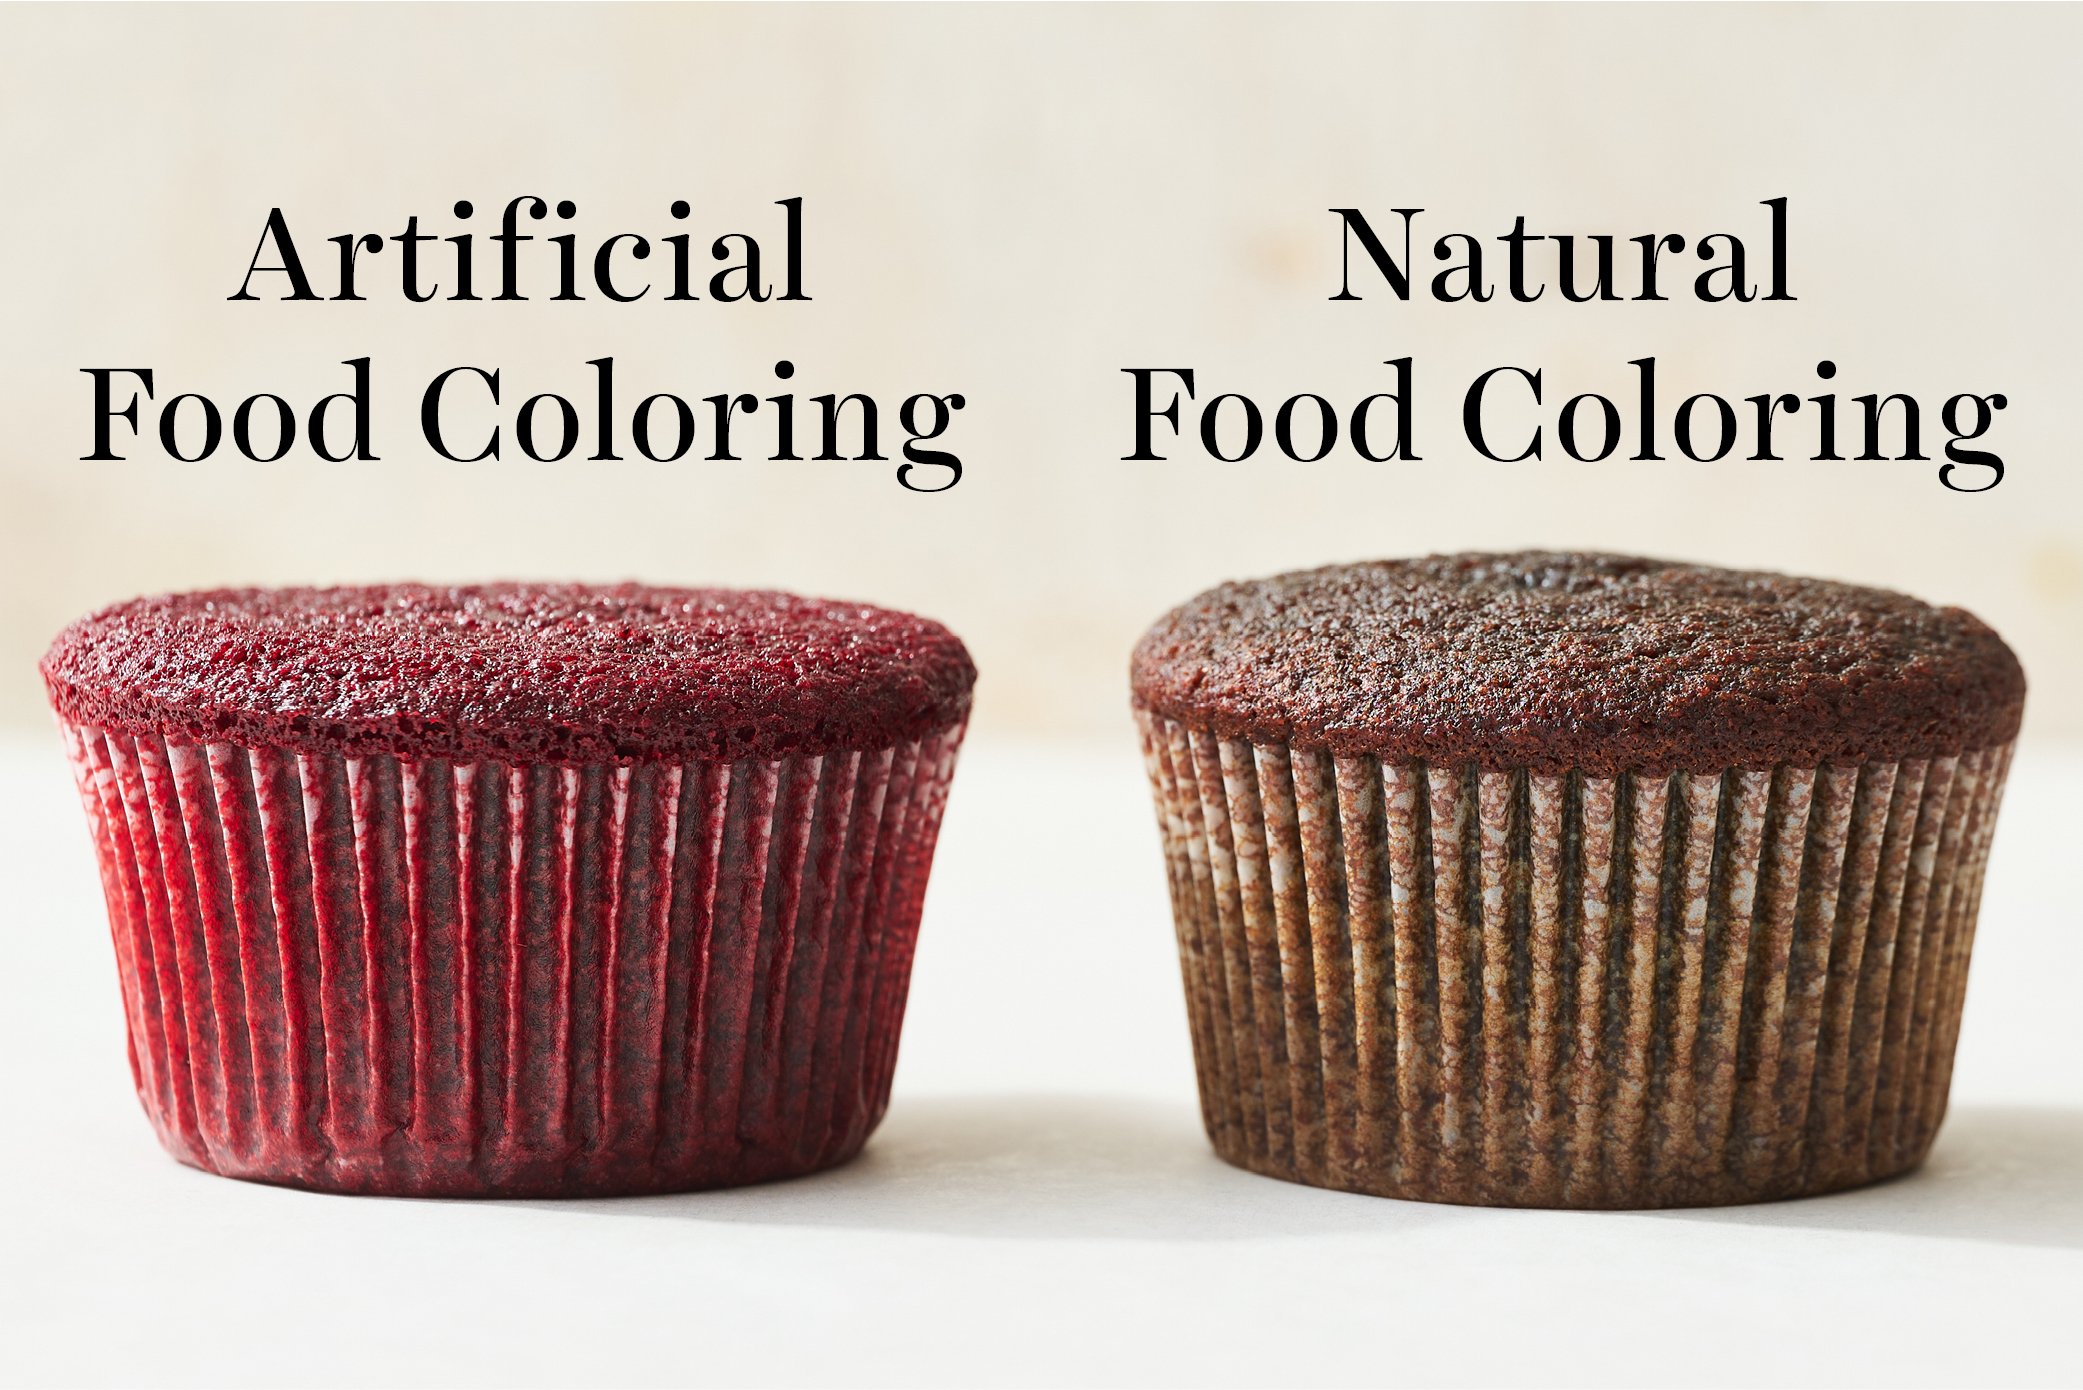
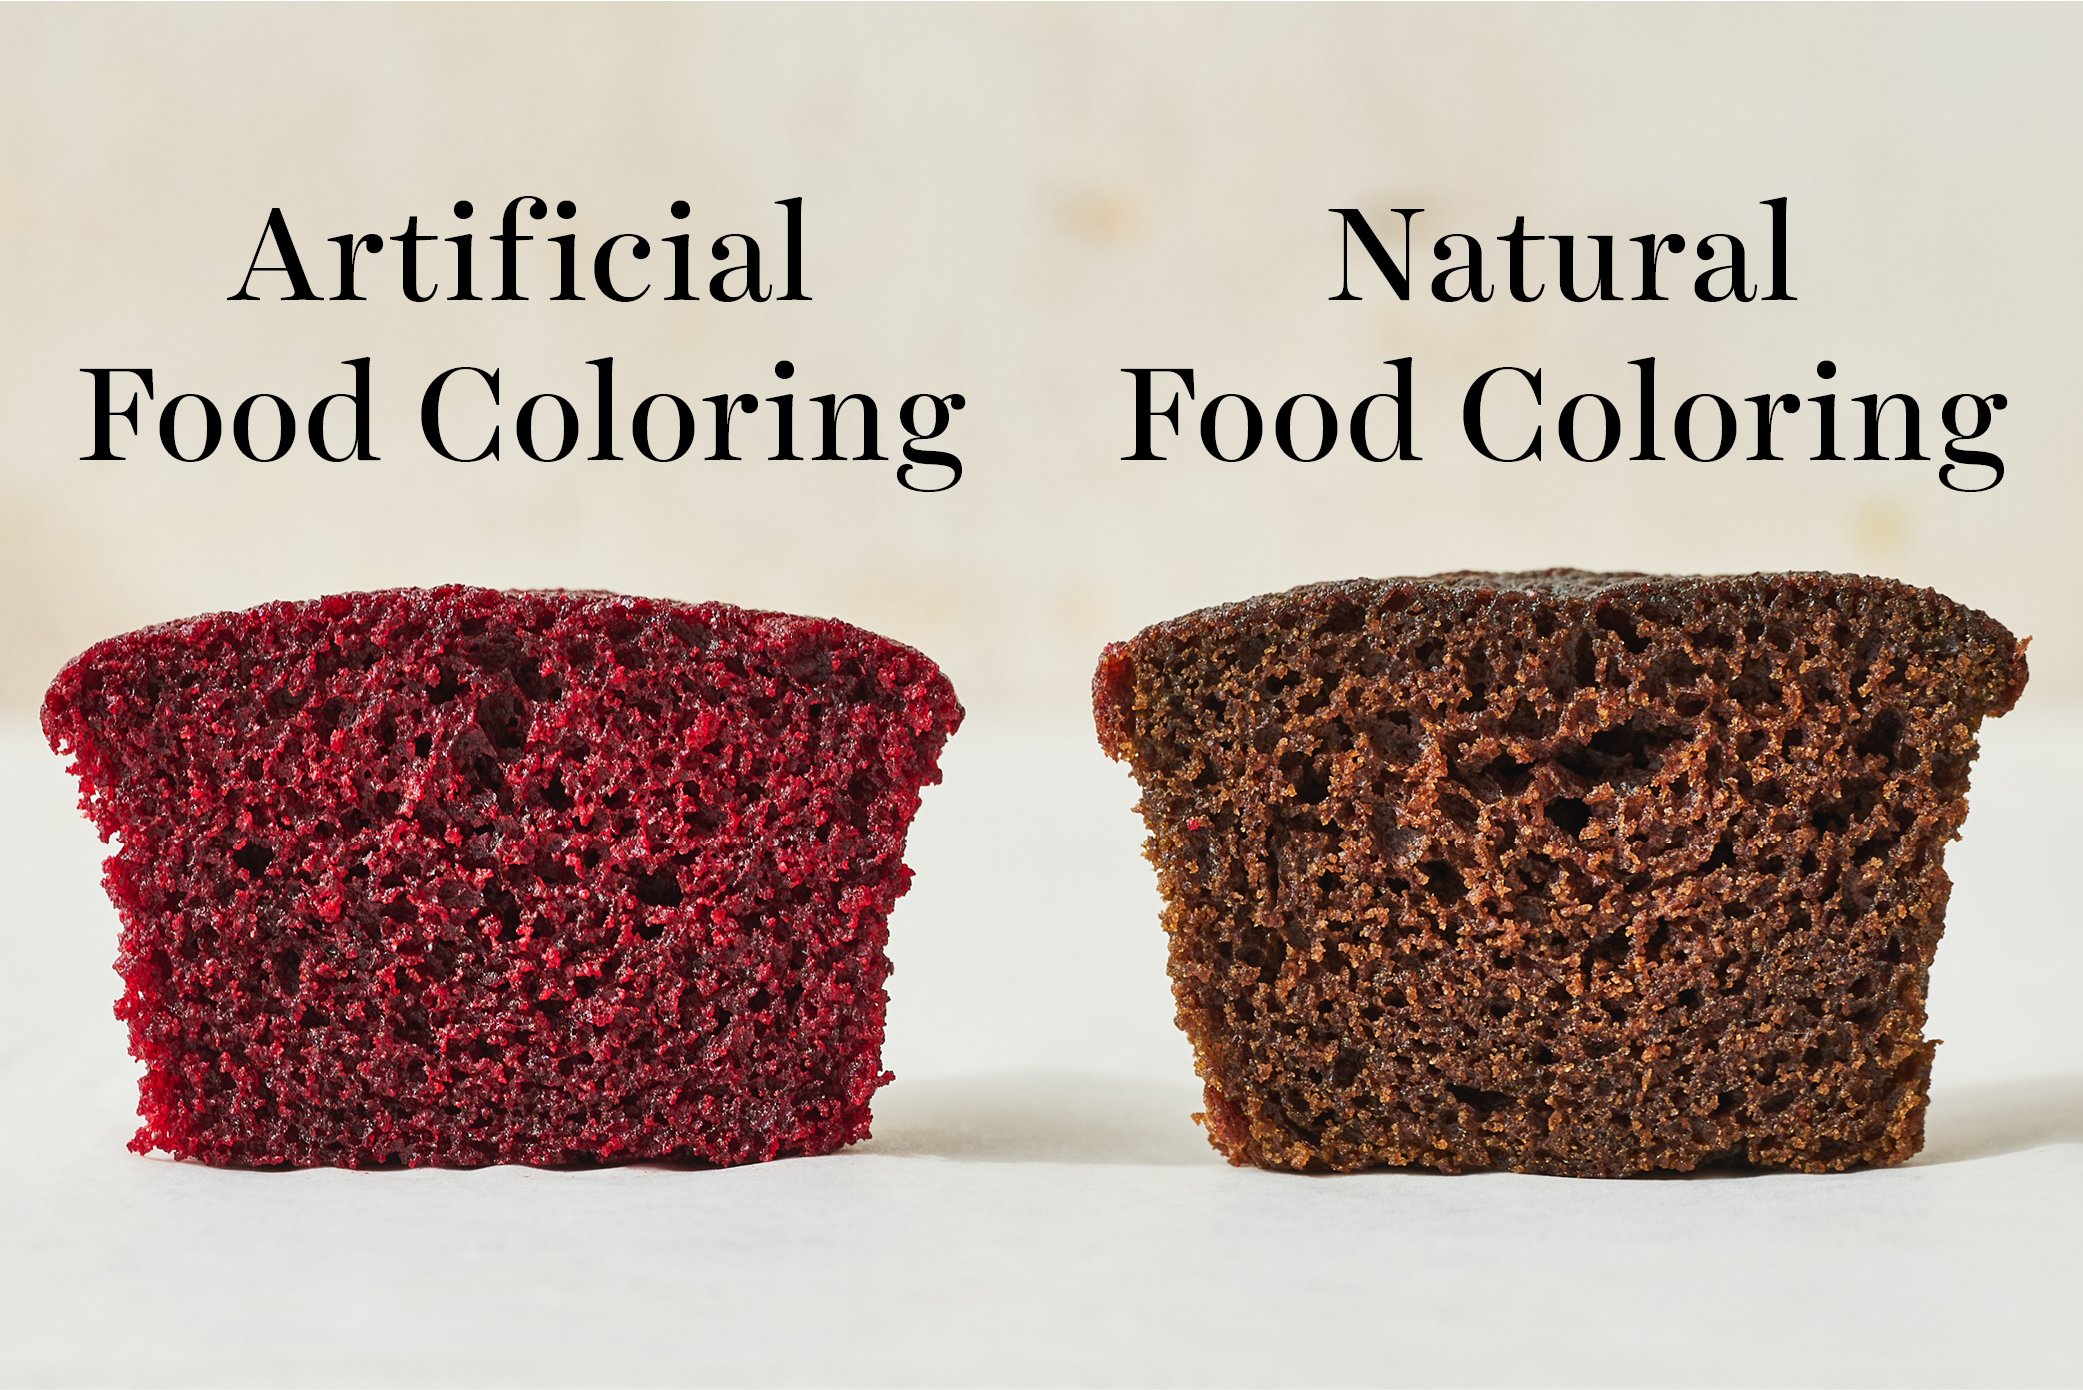
We tested using beetroot powder, a popular natural dye alternative, in place of gel food coloring while developing this recipe. We found the cupcakes made with beetroot powder to be more crumbly with an earthier dirt-like flavor. They also lost their dark pink coloring entirely when baked! Leavening agents (this recipe contains both baking soda and powder) can have a negative reaction with beet powder and quickly oxidize, resulting in the loss of color. Check out the full experiment and learn more about Natural vs. Artificial Food Coloring here.
While we haven’t tested other natural food colorings, if you don’t want to use artificial food coloring, just leave it out! The cupcakes will still have the same flavor and moist texture but be a light shade of brown instead.
The Best Cupcake Pan
This recipe has been successfully tested in this Wilton cupcake pan and in this USA cupcake pan. I have not tried these Red Velvet Cupcakes as mini cupcakes.
Why Did My Cupcakes Sink?
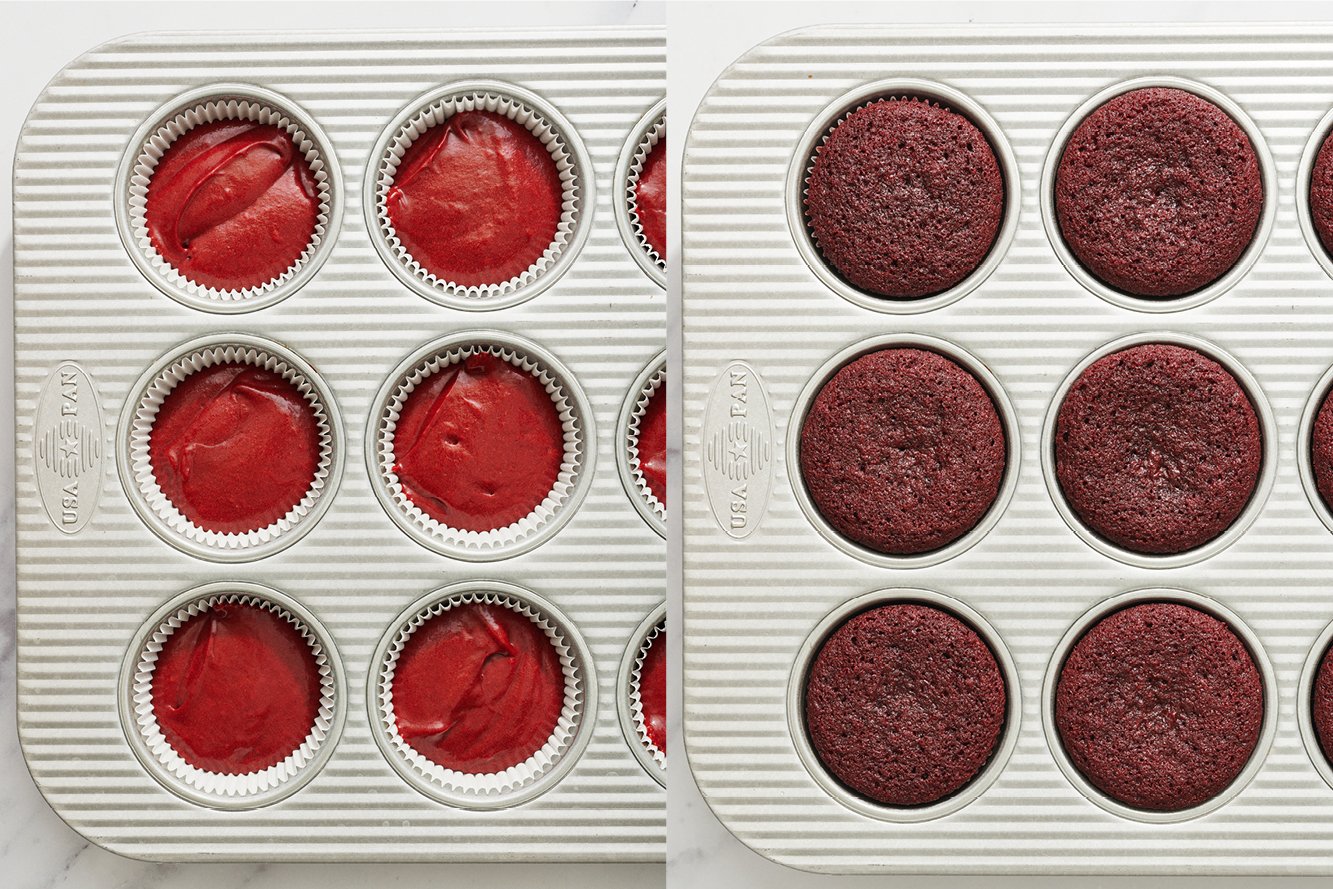
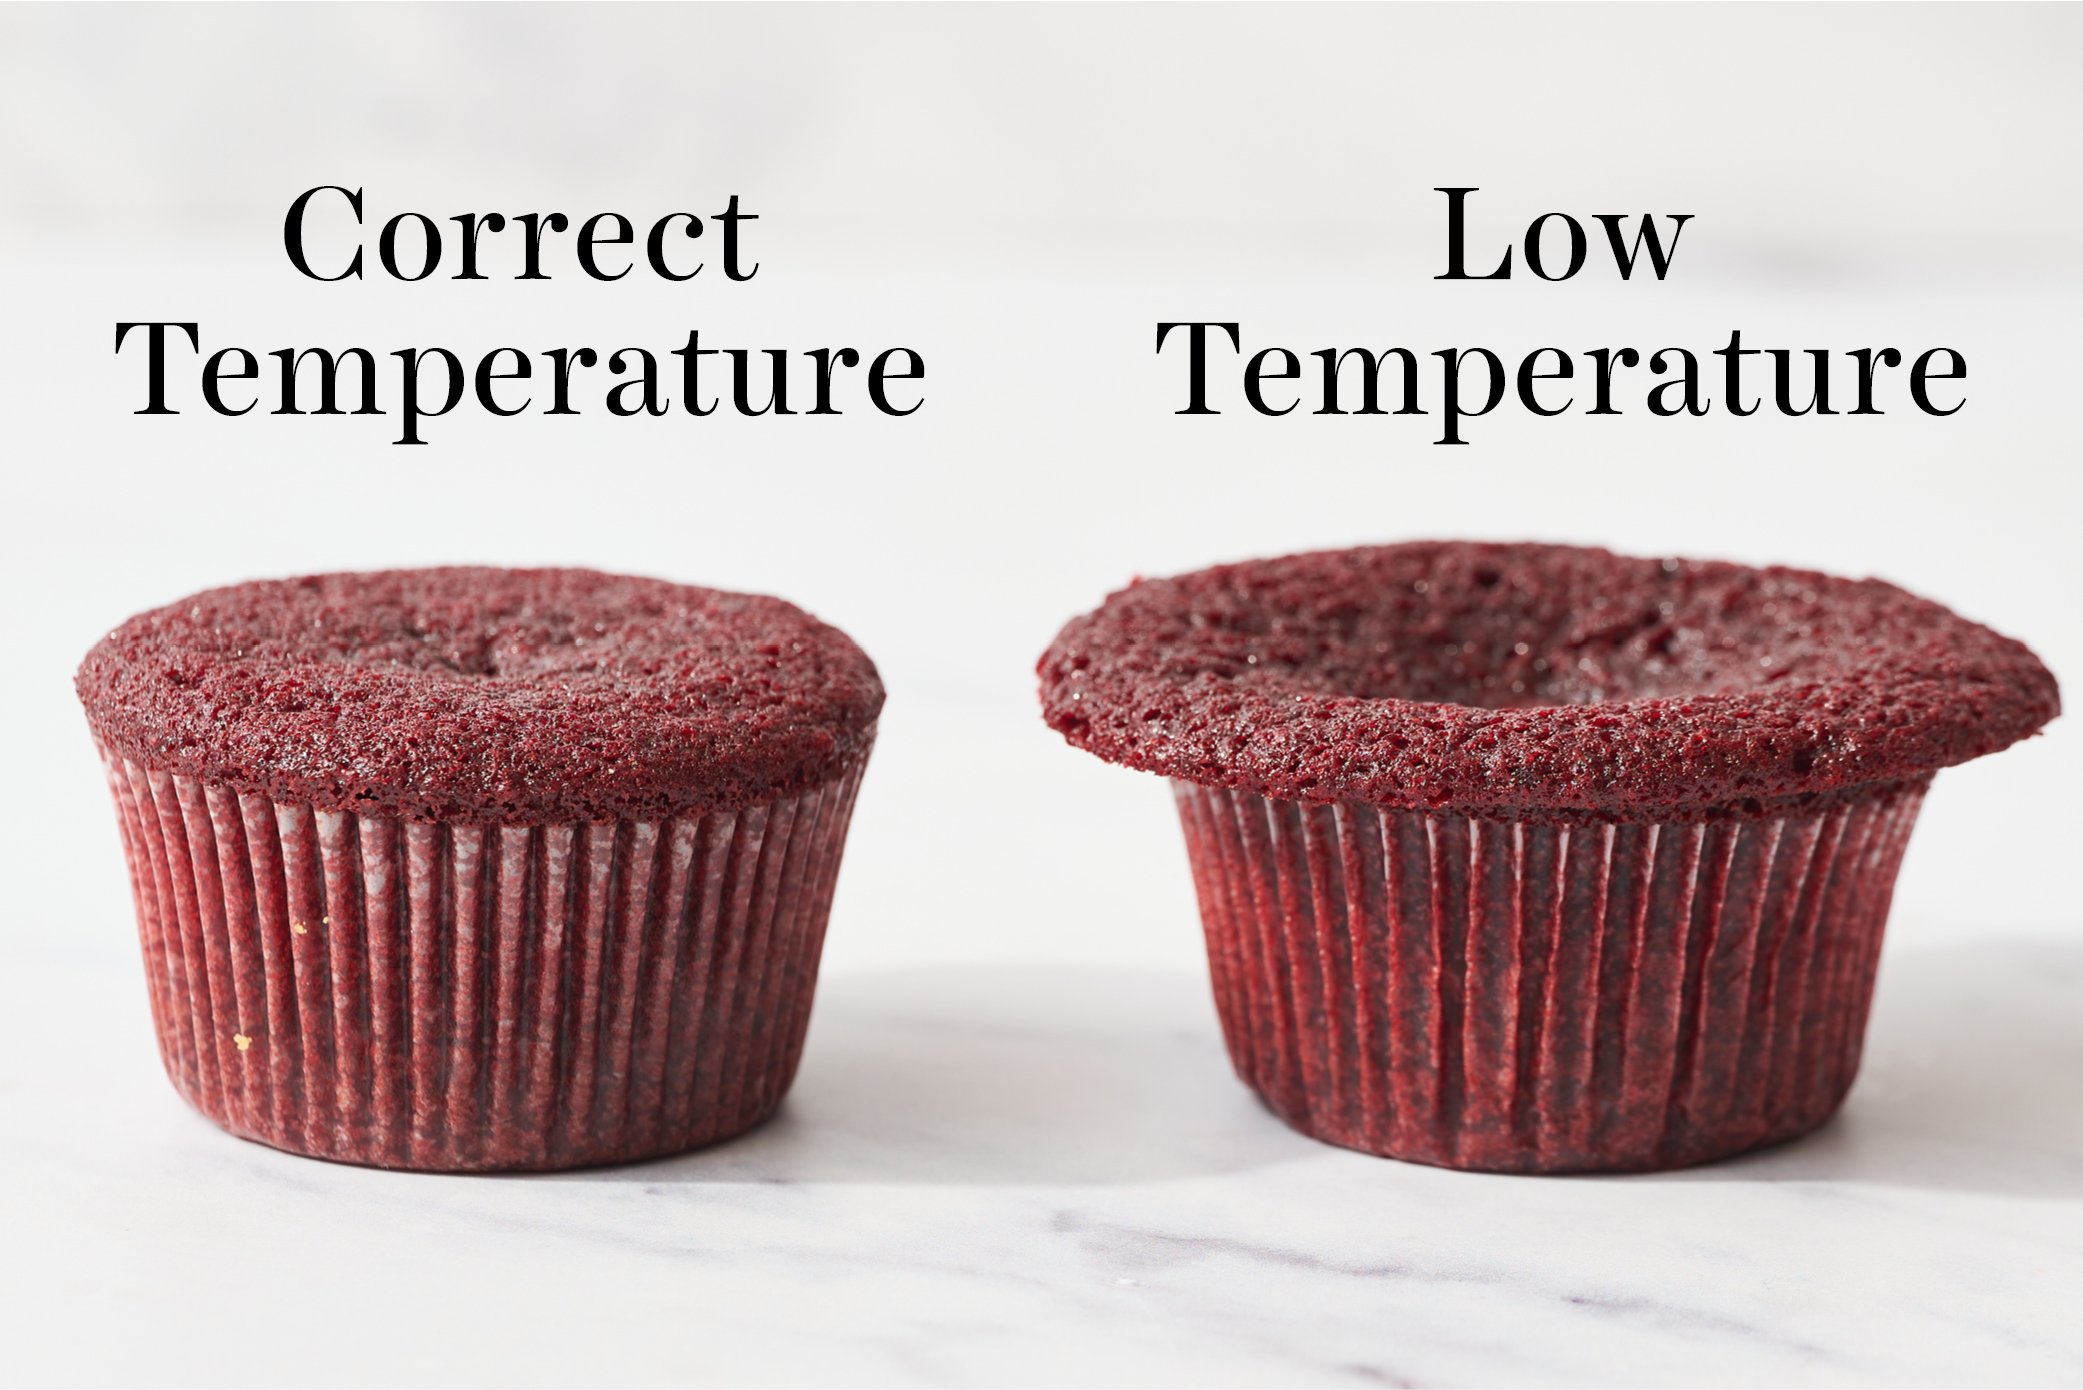
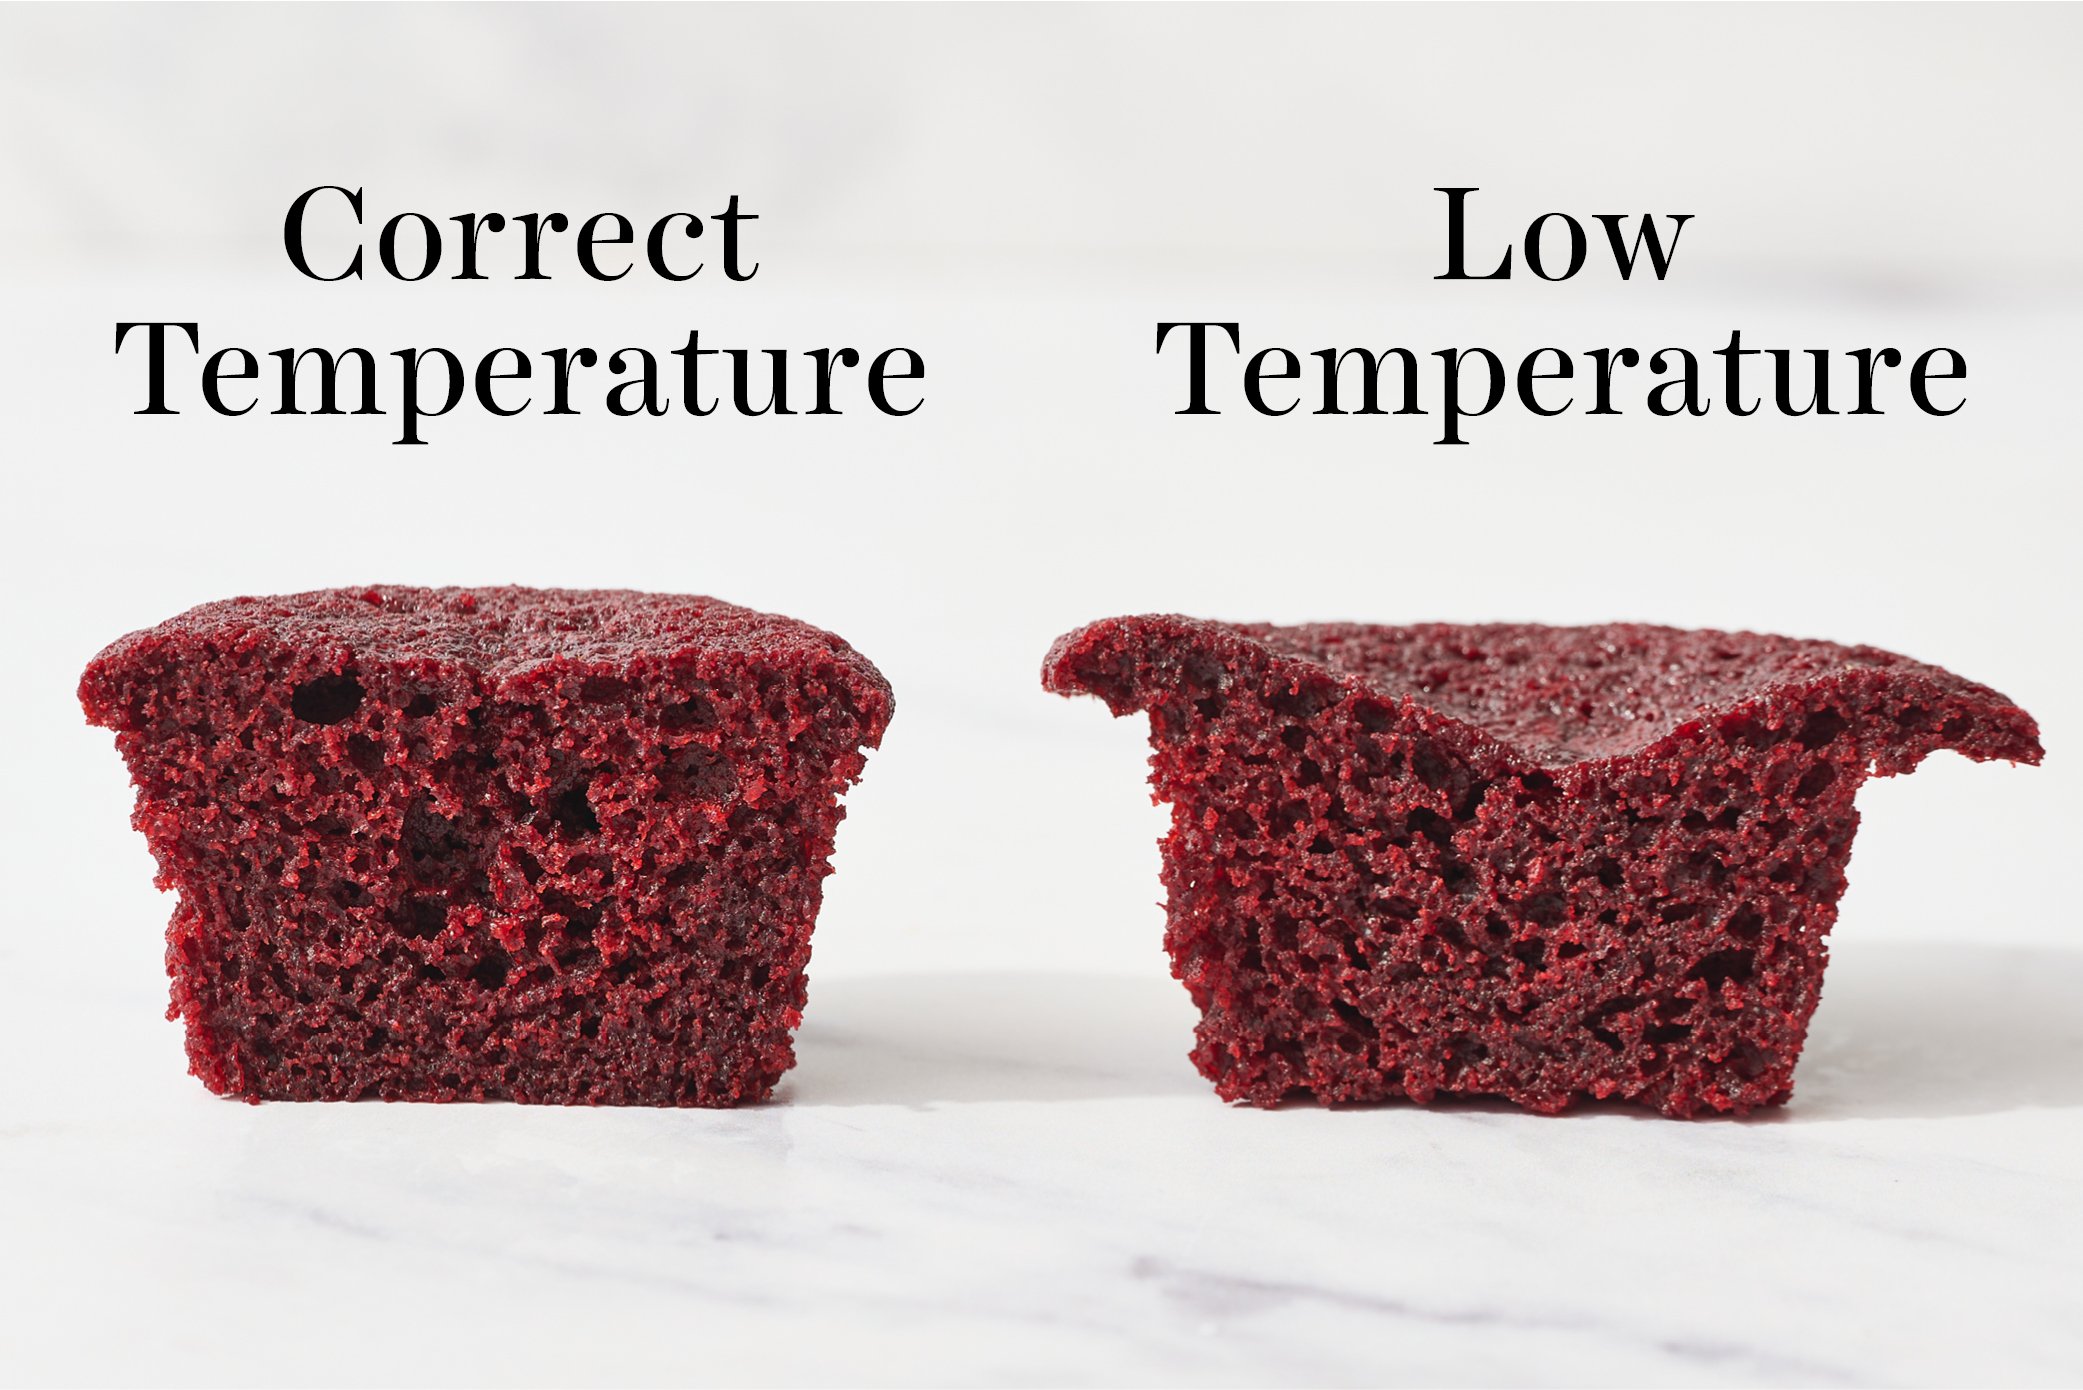
While baking these cupcakes in our photographer’s studio, we noticed the oven had inconsistent temperatures which resulted in sunken cupcakes. We switched to another oven that was able to keep a consistent heat for perfectly tall cupcakes. Check out my article on How to Prevent Cupcakes (and cakes!) from Sinking here.
How to Prevent Cupcakes from Sticking to the Liner
Use high-quality liners. These cupcake liners are my favorite, as cupcakes don’t stick to them. Check out my article on how to prevent cupcake liners from sticking here if this is a common problem for you.
What Kind of Frosting is Best with Red Velvet Cupcakes?
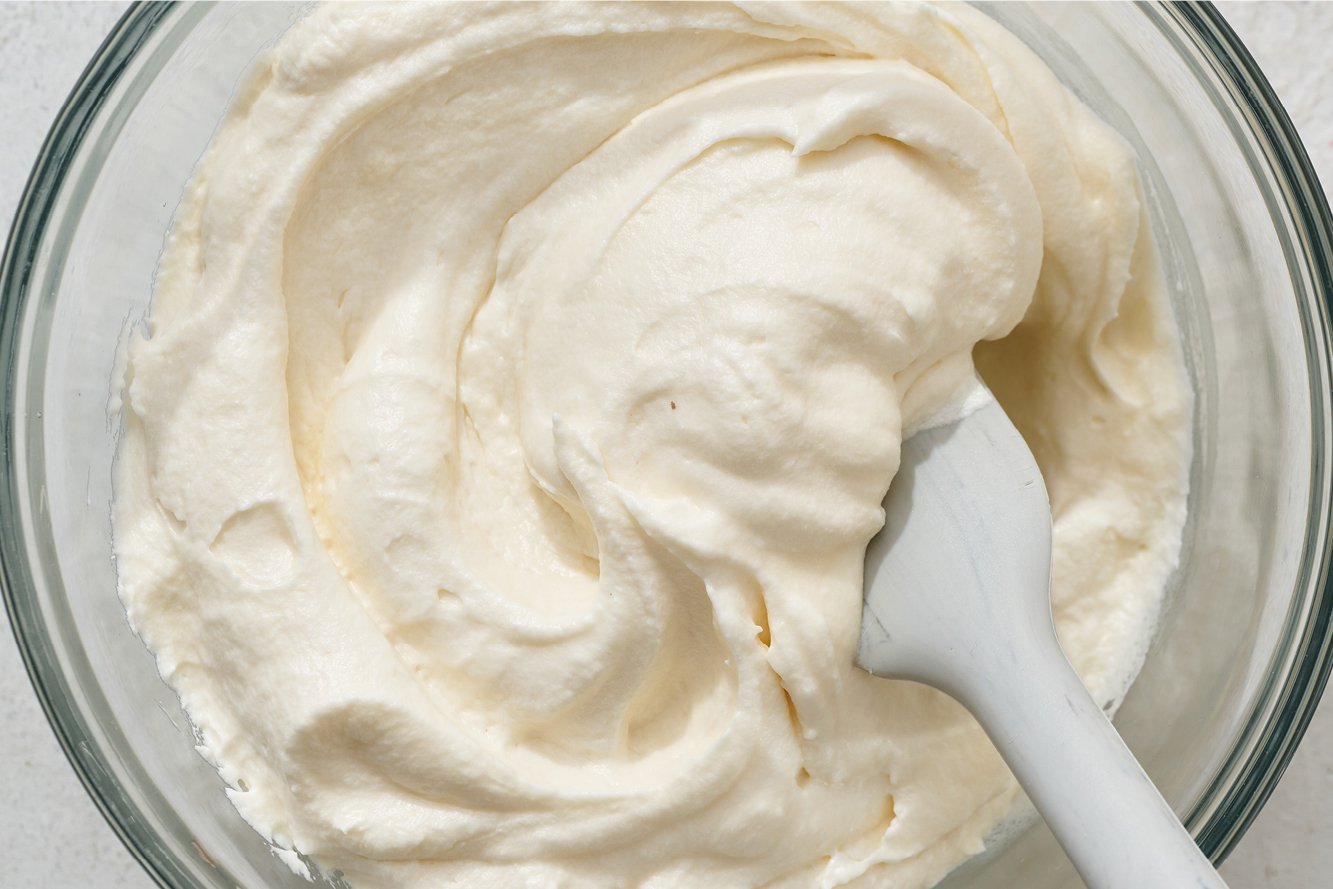
- Cream cheese frosting is the classic choice for Red Velvet Cupcakes! Its tangy flavor complements the sweetness of the cupcakes so nicely.
- For a sturdier frosting perfect for decorative piping, add about 3/4 cup (94 grams) of additional powdered sugar, or until the desired consistency is reached.
- If you prefer, feel free to use my Best Buttercream recipe instead.
Cream Cheese Frosting Tips
- The cream cheese: Use regular full-fat cream cheese at a cool room temperature. Do NOT use whipped or spreadable cream cheese made for bagels.
- The butter: Use unsalted butter at cool room temperature – about 67°F. Butter that’s too warm will be greasy and can cause runny frosting.
- The powdered sugar: I recommend investing in organic powdered sugar that contains tapioca starch instead of cornstarch because it dissolves much more readily, for a smooth, creamy frosting.
- Learn more about how to make the perfect cream cheese frosting in my full post here.
How to Make Red Velvet Cupcakes Ahead of Time
You can store completely cooled, unfrosted cupcakes inside an airtight container at room temperature for up to 3 days. The tops may become a little sticky on top due to the sugar in the cupcakes, but it’s nothing frosting can’t cover and they’ll still taste incredible. You can also make the frosting ahead of time and transfer it to an airtight container, stored in the fridge for up to 3 days. Bring to room temperature and re-whip with an electric mixer before using.
How to Store Red Velvet Cupcakes
Store cupcakes covered at room temperature for up to a day, or in the refrigerator for up to 3 days.
How to Freeze Red Velvet Cupcakes
- Wrap unfrosted cupcakes individually in plastic wrap (this prevents freezer burn and taste transference).
- Place cupcakes inside an airtight container or freezer bag on a shelf in your freezer where they won’t get smashed.
- Freeze for up to 2 months.
- Defrost overnight in the fridge (do not thaw at room temperature or you will end up with mushy cupcakes).
- Frost and serve!
More Recipes You’ll Love:
- Red Velvet Cake
- Best Chocolate Cupcakes
- Carrot Cake Cupcakes
- Red Velvet Crinkle Cookies
- Red Velvet Cookies with Cream Cheese Frosting
Red Velvet Cupcakes
Email This Recipe
Enter your email, and we’ll send it to your inbox.
Ingredients
For the cupcakes:
- 1/4 cup (56 grams) plain hot coffee or boiling water
- 2 tablespoons (12 grams) unsweetened natural cocoa powder
- 1 cup + 2 tablespoons (140 grams) all-purpose flour
- 1/2 teaspoon baking powder
- 1/2 teaspoon baking soda
- 1/2 teaspoon fine sea salt
- 1/8 teaspoon ground cinnamon, optional
- 1 cup (200 grams) granulated sugar
- 1/4 cup (55 grams) fresh vegetable oil
- 1/2 stick (57 grams) unsalted butter, melted
- 1 large egg, at room temperature
- 1/2 cup (119 grams) buttermilk, at cool room temperature (67°F)
- 1 teaspoon vanilla extract
- 1 ½ teaspoons
red gel food coloring - 1/2 teaspoon distilled white vinegar
For the cream cheese frosting:
- 5 ounces (151 grams) cream cheese, at cool room temperature
- 5 ½ tablespoons (77 grams) unsalted butter, at cool room temperature
- ¾ teaspoon vanilla extract
- 1 ⅓ cup (167 grams) powdered sugar, sifted*
Instructions
For the cupcakes:
- Preheat the oven to 350°F. Line a standard 12-cup muffin tin with paper liners.
- In a glass measuring cup or small bowl, whisk the hot coffee and cocoa powder. Cover and let stand for 5 minutes.
- In a medium mixing bowl, whisk together the flour, baking powder, baking soda, salt, and cinnamon.
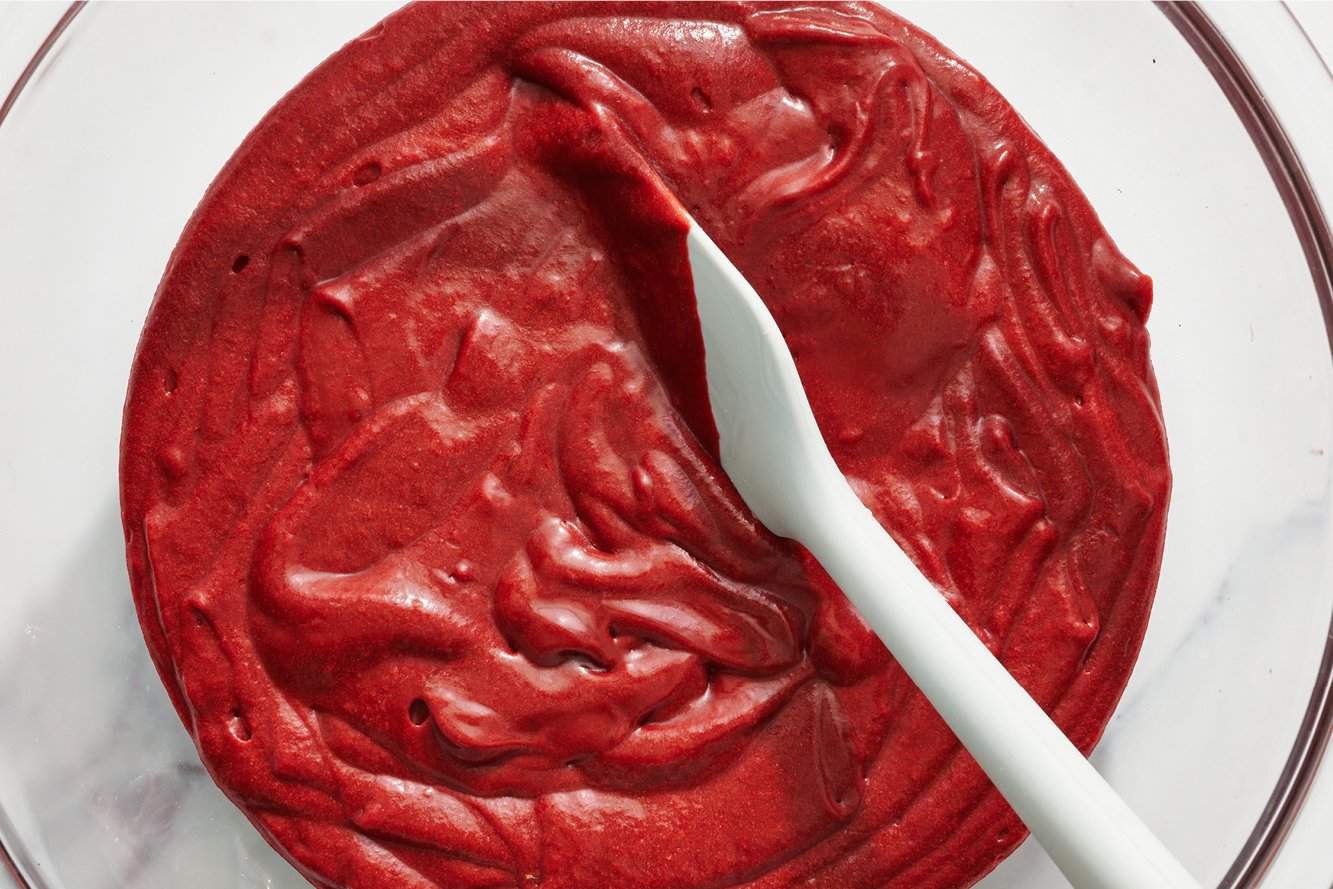
- In a large mixing bowl, whisk together the sugar, vegetable oil, and melted butter. Add in the egg and whisk for twenty seconds, or until very well combined. Add in the buttermilk, vanilla, and food coloring and whisk to combine. Whisk in the vinegar and coffee mixture. Using a fine mesh sieve, sift the flour mixture into the batter in three additions, whisking until each addition is incorporated. Batter will be thin.
- Using a spring-loaded scoop, divide the batter evenly among prepared muffin cups. Lightly tap the bottom of the pan against the counter several times to release any air bubbles.
- Bake until cupcake tops are no longer sticky to the touch and a cake tester or toothpick comes out clean, about 17-20 minutes. It’s normal for the tops to look slightly spongy.
- Let cupcakes cool in pan on a wire rack for 10 minutes before removing from the pan to cool completely, about 1 hour.
Make the frosting:
- In the bowl of a stand mixer fitted with the paddle attachment, beat the cream cheese and butter on medium-high speed until very light, creamy, and smooth. Scrape down the bottom and sides of the bowl to ensure no clumps remain. Add in the vanilla and beat until combined. On low speed, gradually add in the sifted powdered sugar and beat until fluffy, about 3 minutes. If the frosting is too thick, add a splash of milk or cream. If it’s too thin, add more sifted powdered sugar.
Recipe Notes
The Ultimate Cookie Handbook
Learn the sweet SCIENCE of cookie baking in a fun, visual way to customize your own recipes frustration-free. Plus, my best 50+ homemade cookies!
Photos by Joanie Simon.







These are SO good!! I made them this past weekend for Pentacost Sunday. Everyone loved them and said this needs to be a new tradition! This does take some work (especially since I doubled the recipe and made mini cupcakes) but they were probably the very best I have ever had! VERY GOOD recipe!! Thank you!!
Dear lord, these are perfection. I’ve never been a fan of red velvet but I tried this recipe and all of a sudden, red velvet is my new favorite!! Brilliantly soft, boldly flavored, and easy to make. I’m forever grateful for this recipie!
So happy to hear how much you loved them, Blaire!