


Tessa Arias, Chef and Cookbook Author
This post may contain affiliate links. Read our disclosure policy.


If you’ve been following me for a while, you’ve probably seen me talk about the correct way to measure flour at one time or another.
How you measure your baking ingredients can make or break your success in the kitchen.
It’s actually kind of crazy just how critical this one step can be! I see so many frustrated comments and messages from readers asking what could have gone wrong when a recipe doesn’t turn out. Most of the time, it’s due to measuring issues.
The easiest ingredient to mismeasure is flour. That’s because it can be so easily compacted into a container or measuring cup without realizing.
Other ingredients can be mismeasured, too, but flour is the most commonly mismeasured – and the results can be disastrous. Accidentally adding more flour than the recipe calls for can yield baking results that are:
- Dry (instead of moist)
- Dense (instead of light and fluffy)
- Crumbly (instead of moist, chewy, or fudgy)
- Tough (instead of tender)
- Rubbery (instead of delicate)
Basically, results that no one wants!
Luckily with a few simple tricks, it’s easy to improve your baking by learning how to measure your flour correctly. I’ve laid it all out in the video and instructions below. If you follow these guidelines every time you bake a recipe, you’ll see much more consistent results.

Sprinkle of Science
How to Measure Flour Correctly
Why is it Important to Measure Flour Correctly?
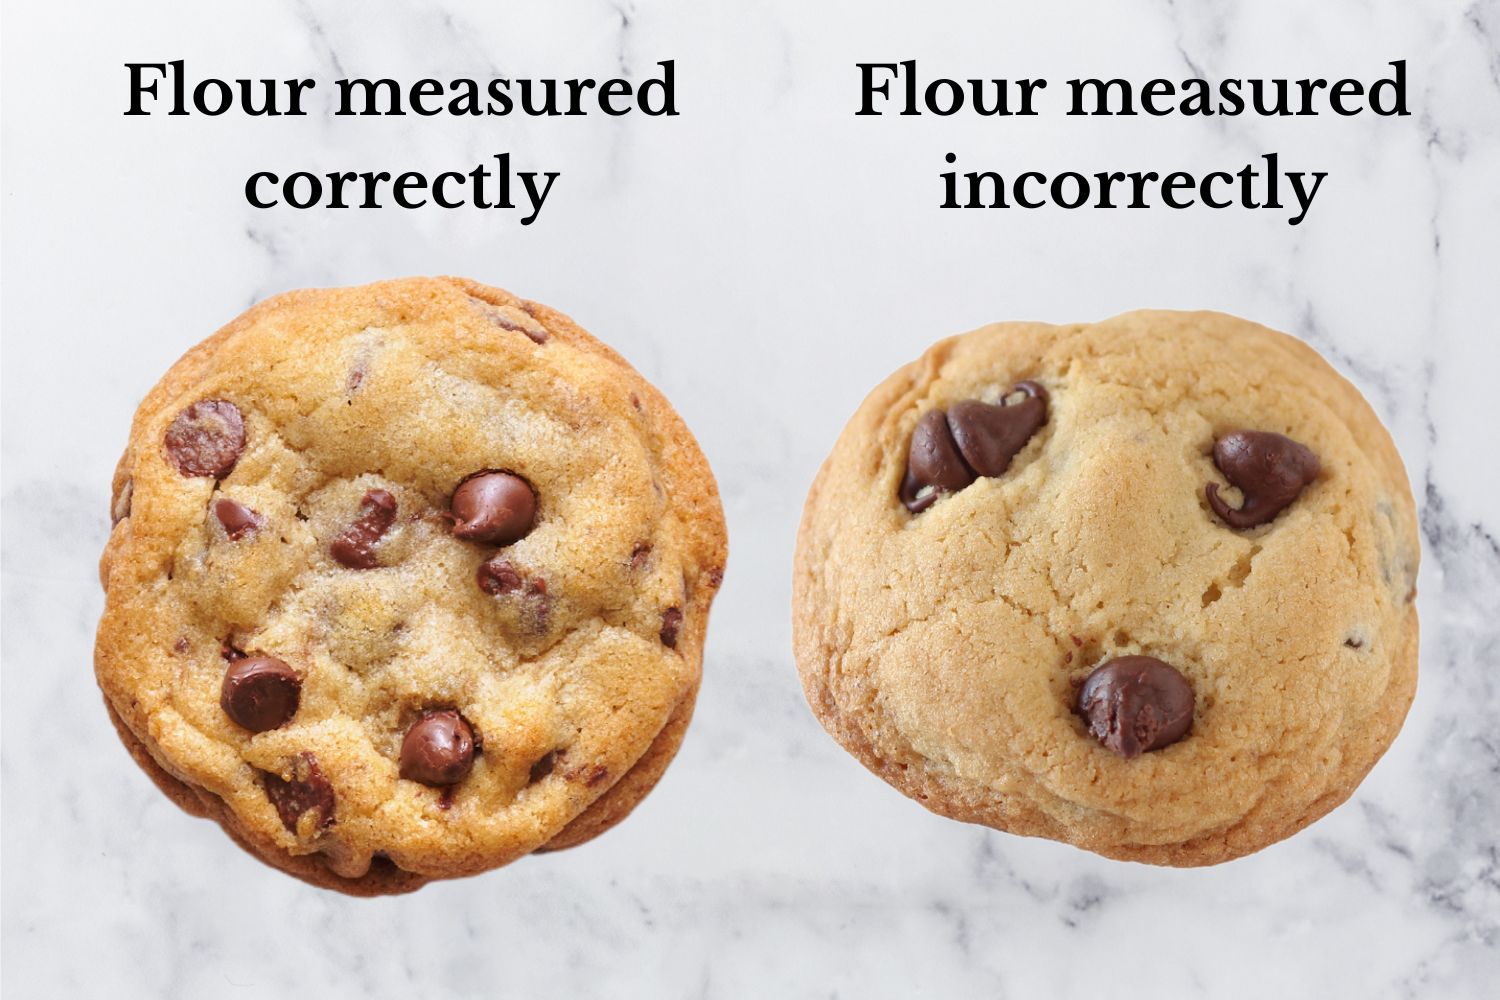
The cookies below were made using the exact same recipe – but the cookie on the left was made by measuring flour with a scale, and the cookie on the right was made with compacted cups of flour. The cup-measured cookies ended up being dry and tough, and hardly spread while baking:
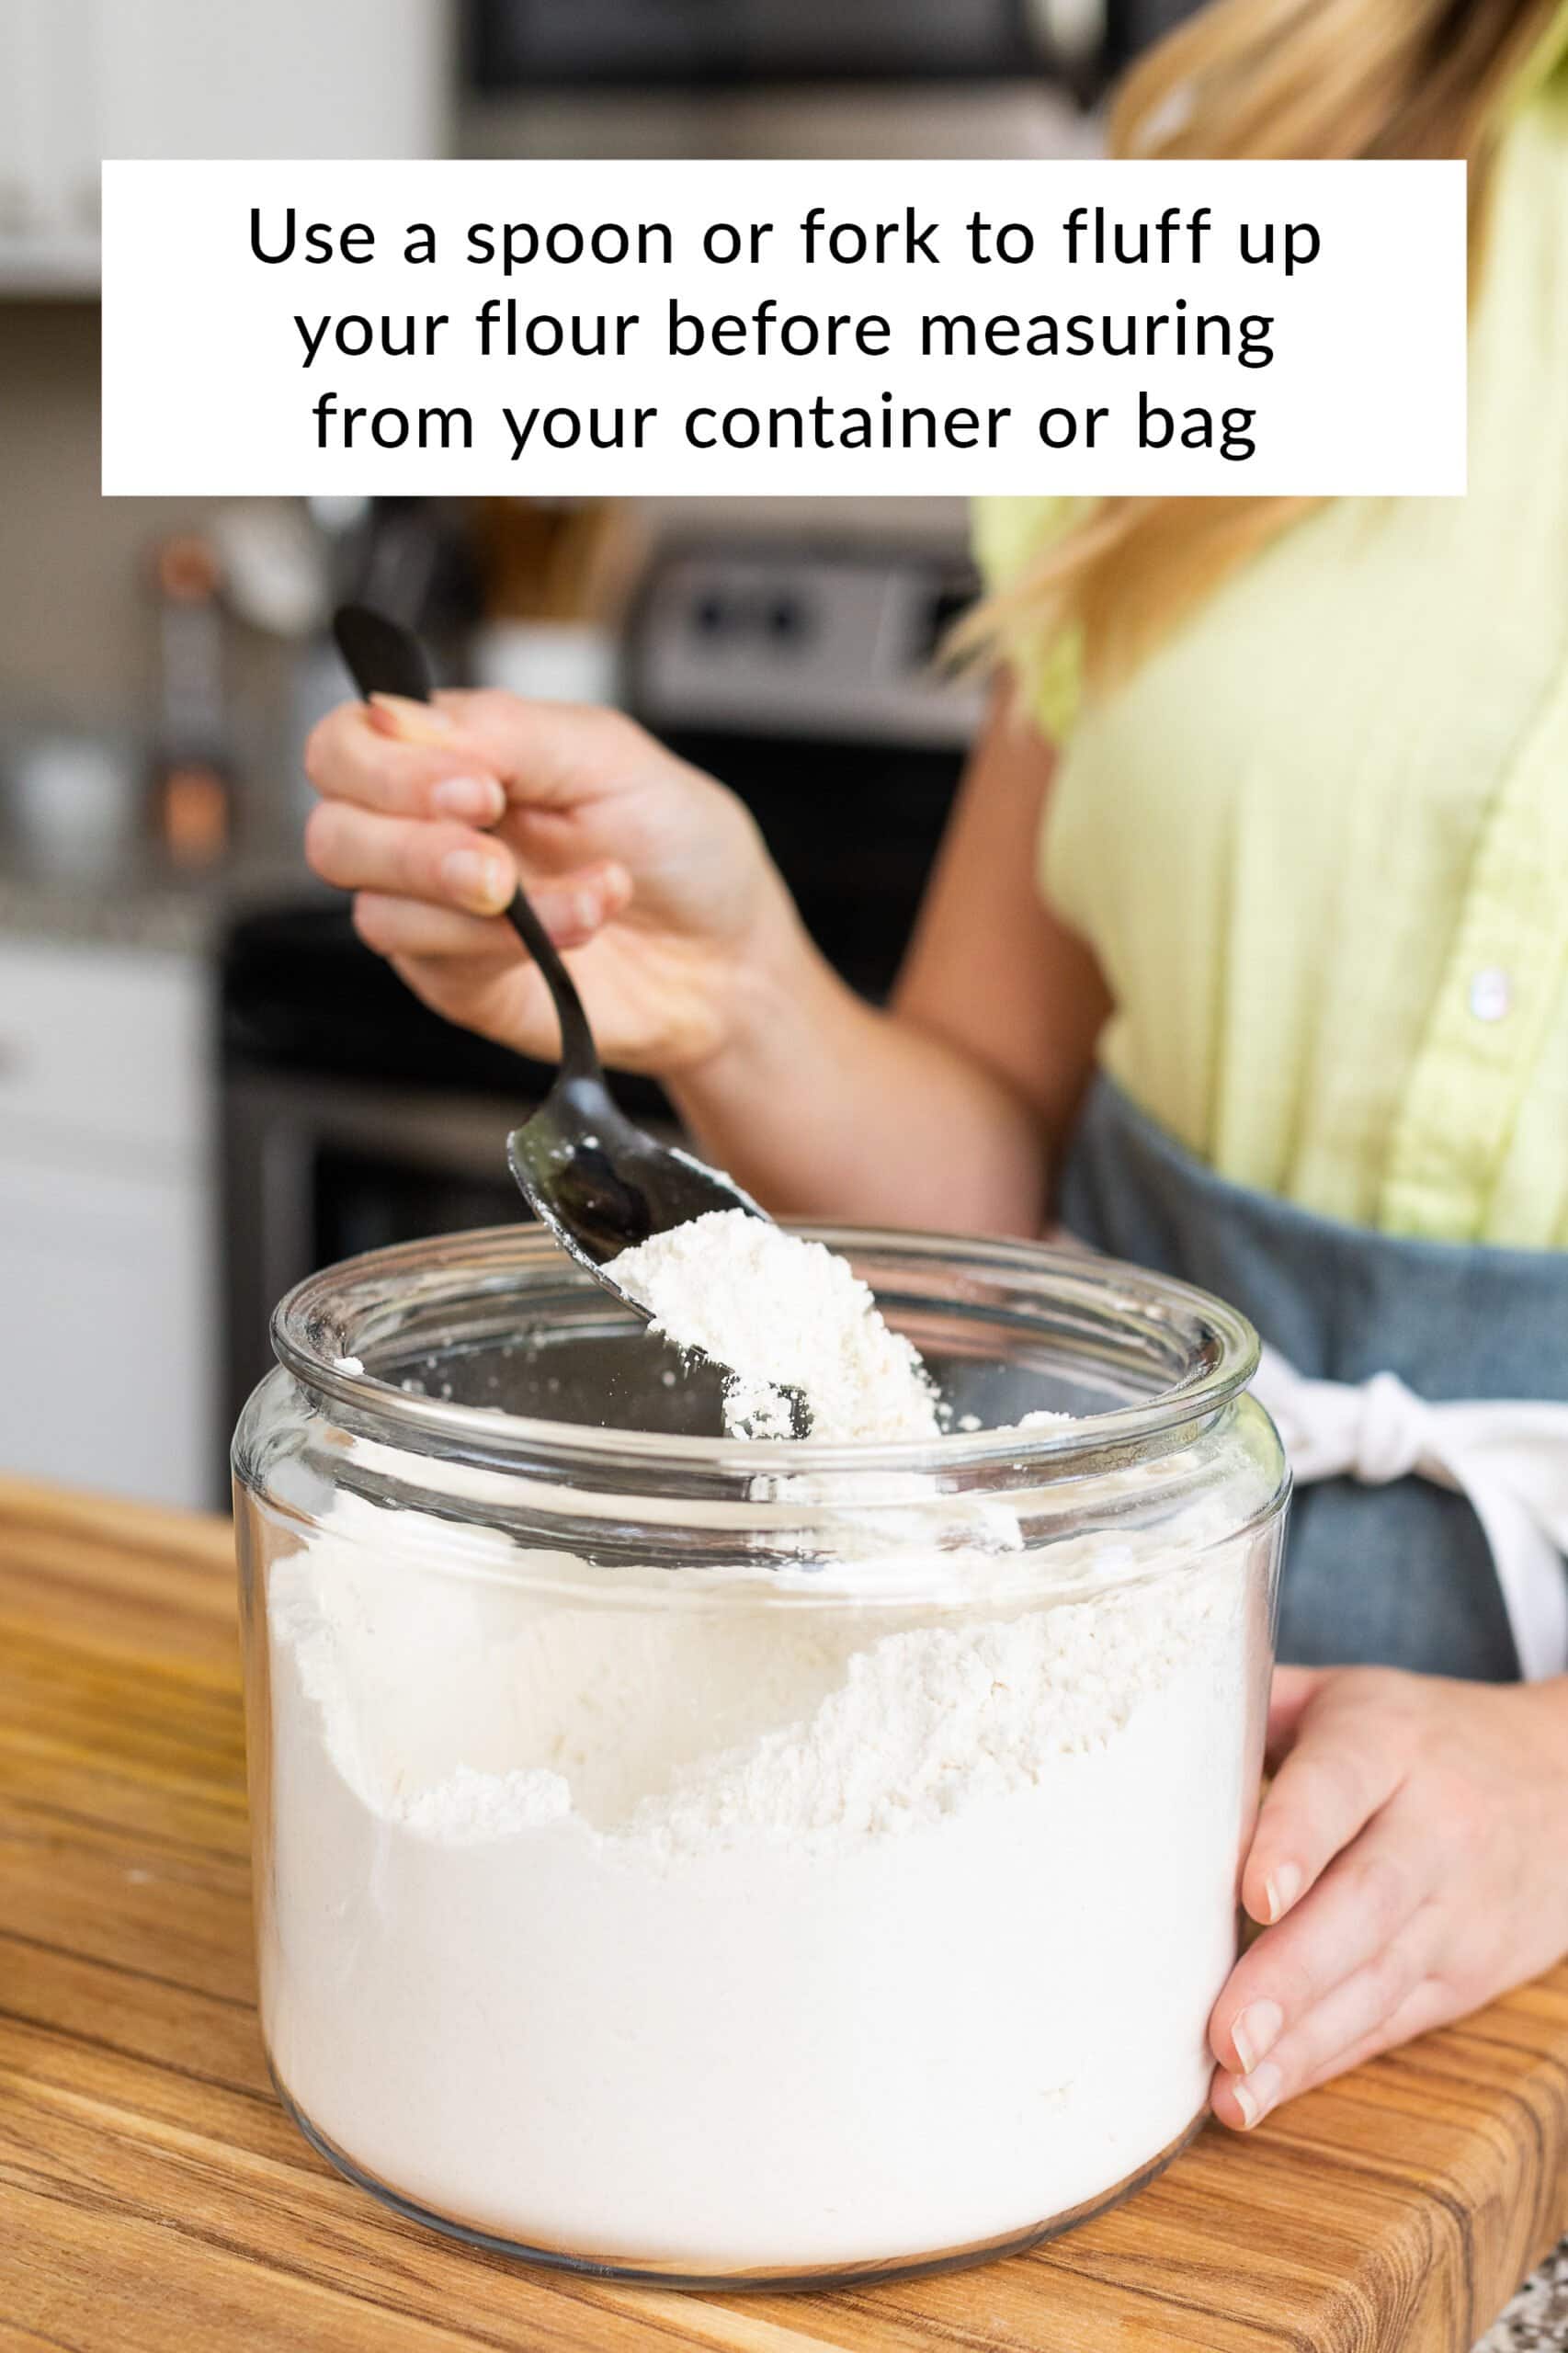
Fluff Your Flour
The first step to measuring flour is to fluff up your flour in its container or bag. Simply take a spoon or fork and fluff the flour around to loosen it up.
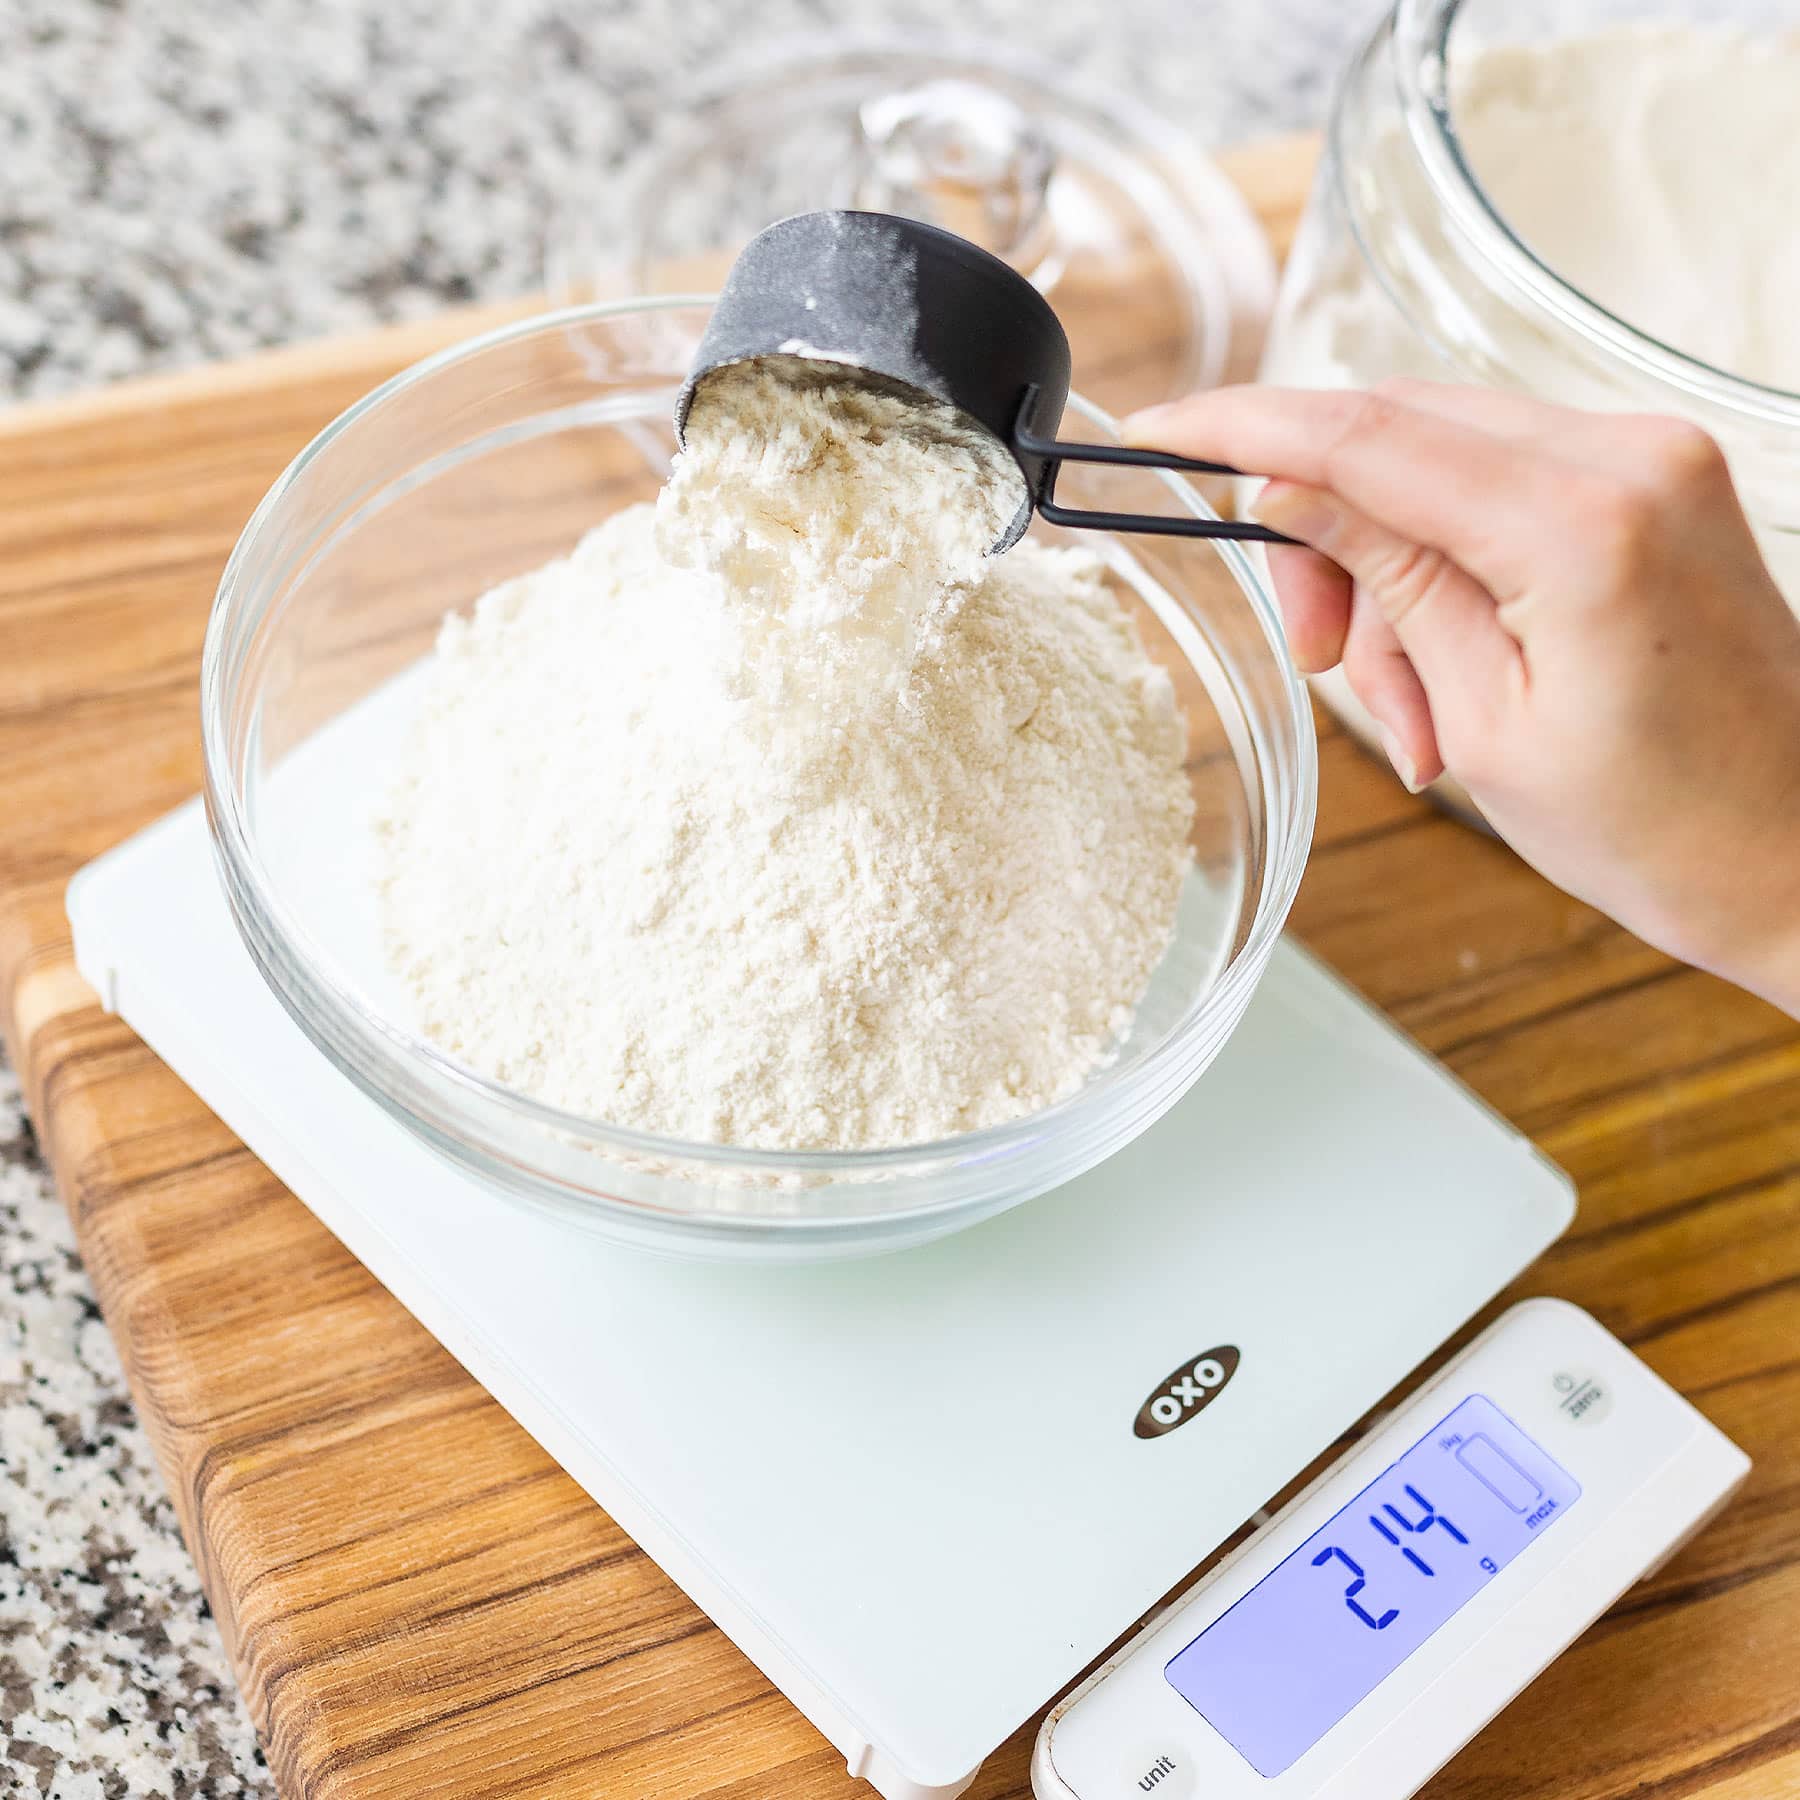
Measuring with a Scale
Measuring with a digital kitchen scale is the best and simplest way to improve your baking. Measuring with a scale gives you 100% accuracy. It also dirties fewer dishes because you aren’t using a bunch of measuring cups.
This is my favorite scale by OXO. This one is a cheaper alternative I also like.
How to Measure Flour with a Scale
- Use a spoon or fork to fluff up your flour before measuring. Flour easily settles and compacts into its container, which can make it easy to add too much to your recipe.
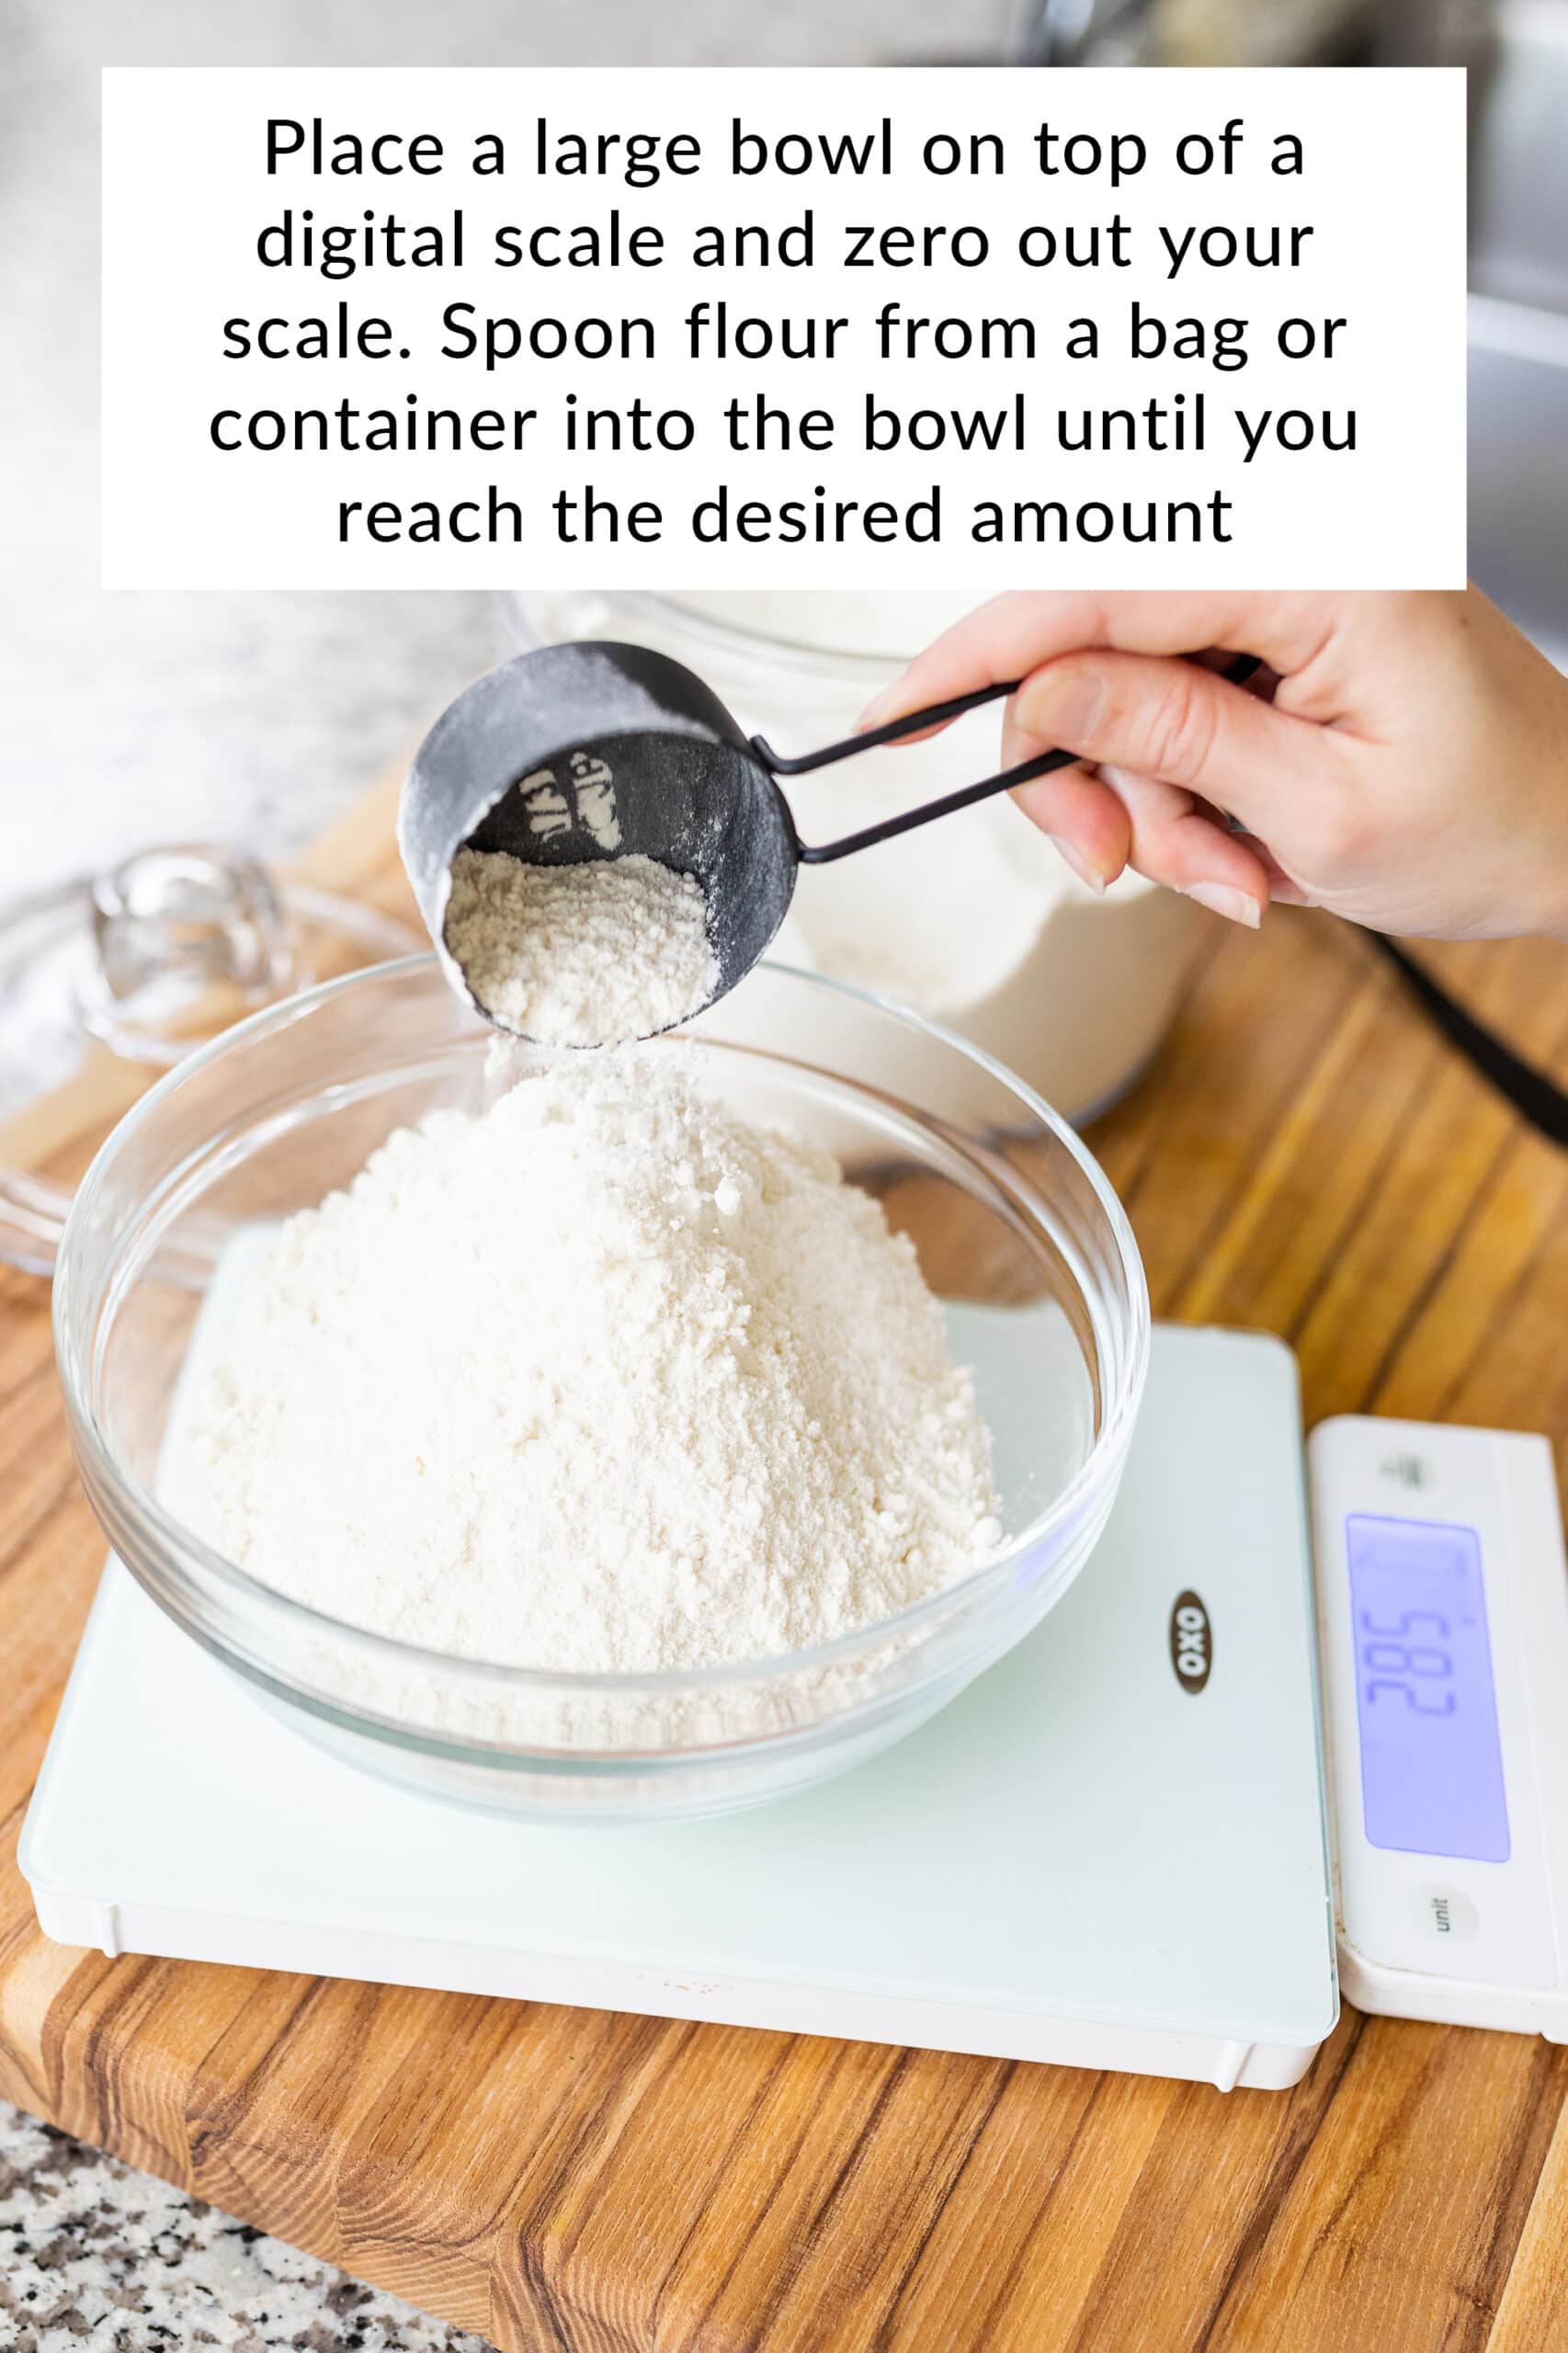
- Place a large bowl on top of a digital scale. Press the zero / tare button on the scale to return the weight to zero before weighing your flour.
- Spoon flour into the bowl until you reach the required amount.
- Press the zero / tare button to return the weight to zero before adding each new ingredient.
Note: Different Ingredients Weigh Different Amounts
- 1 cup of every ingredient will NOT weigh 8 ounces, as different ingredients have different densities.
- If that’s confusing, think of it like this: 1 cup of rocks would not weigh the same as 1 cup of feathers.
- The majority of my baking recipes here on Handle the Heat include weight measurements in grams. I find grams to be the easiest unit to work with.
- You can also download my handy printable Ingredient Measuring Guide, so you can measure in grams even if a recipe lists only in volume!
If You Don’t Have a Scale, Use The Spoon & Level Method
If you don’t have a kitchen scale, the ‘spoon and level’ method is the second best way to measure flour. Though not as precise as a scale, the spoon and level method helps to ensure you don’t accidentally compact too much flour into your measuring cup.
How to Measure Flour with the Spoon & Level Method
- Use a spoon or fork to fluff up your flour before measuring.
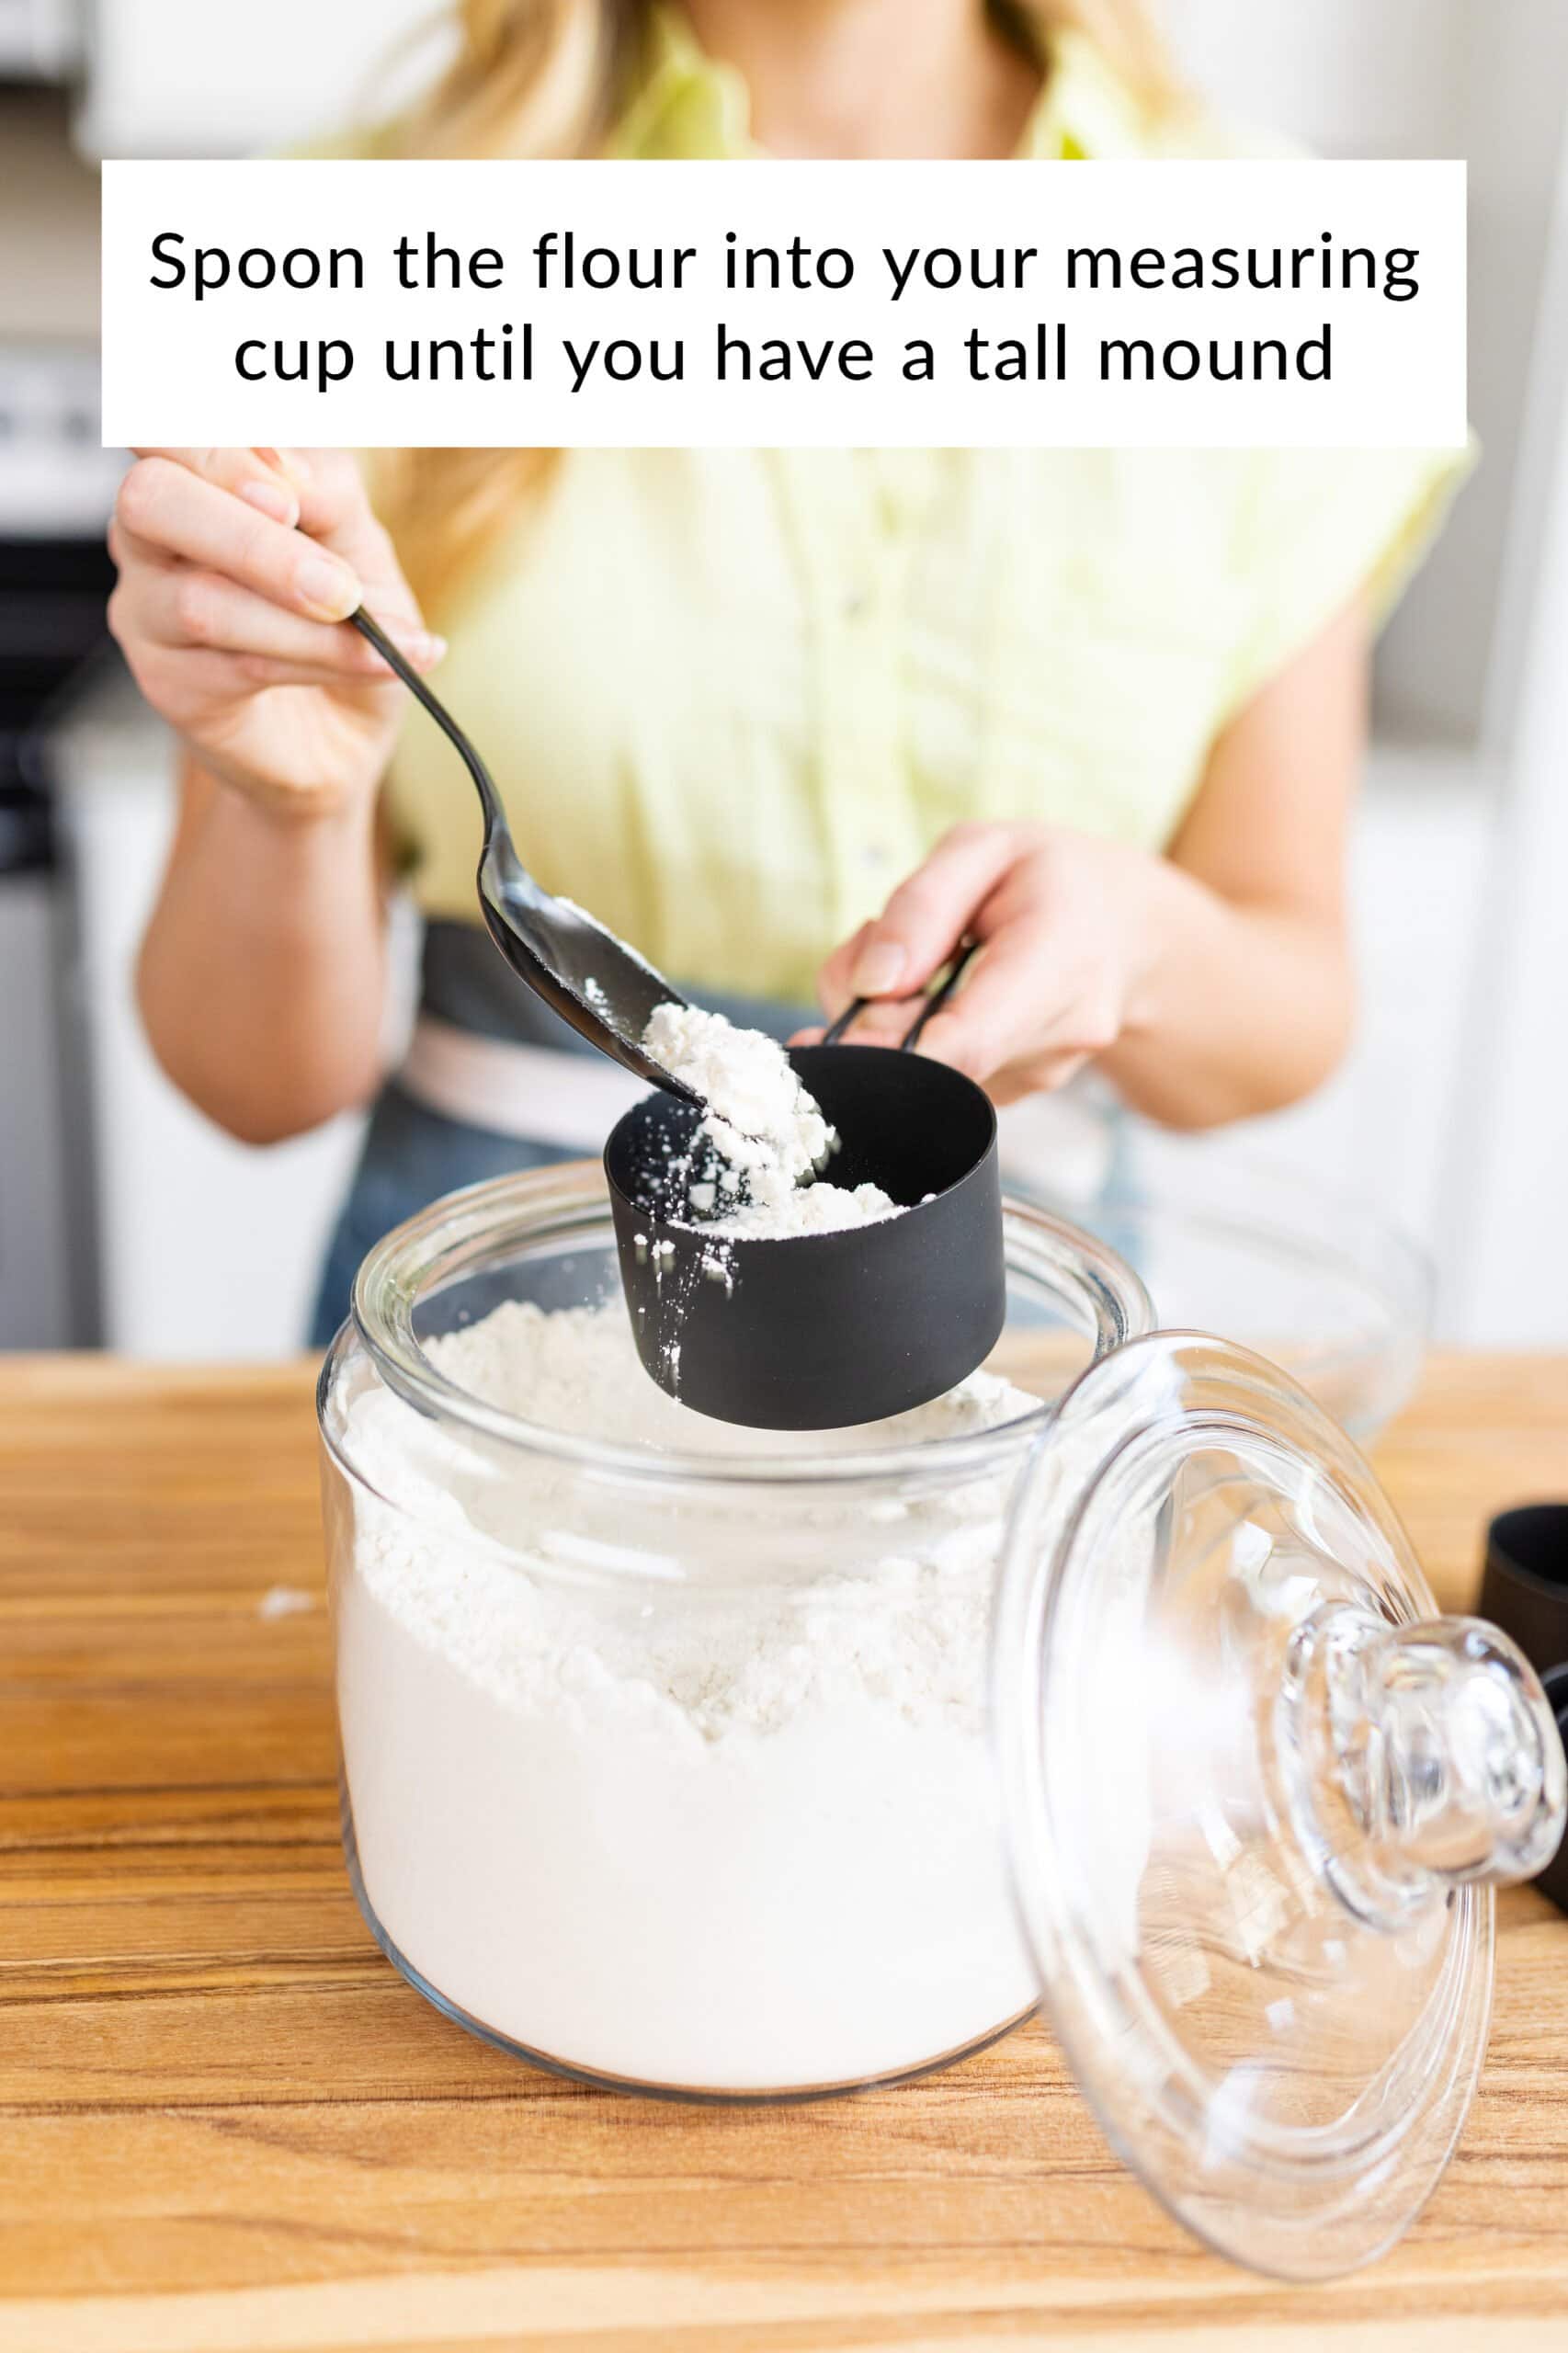
- Spoon the flour into your measuring cup until you have a tall mound. Do not place a measuring cup directly into your flour bag or container (more on this below).
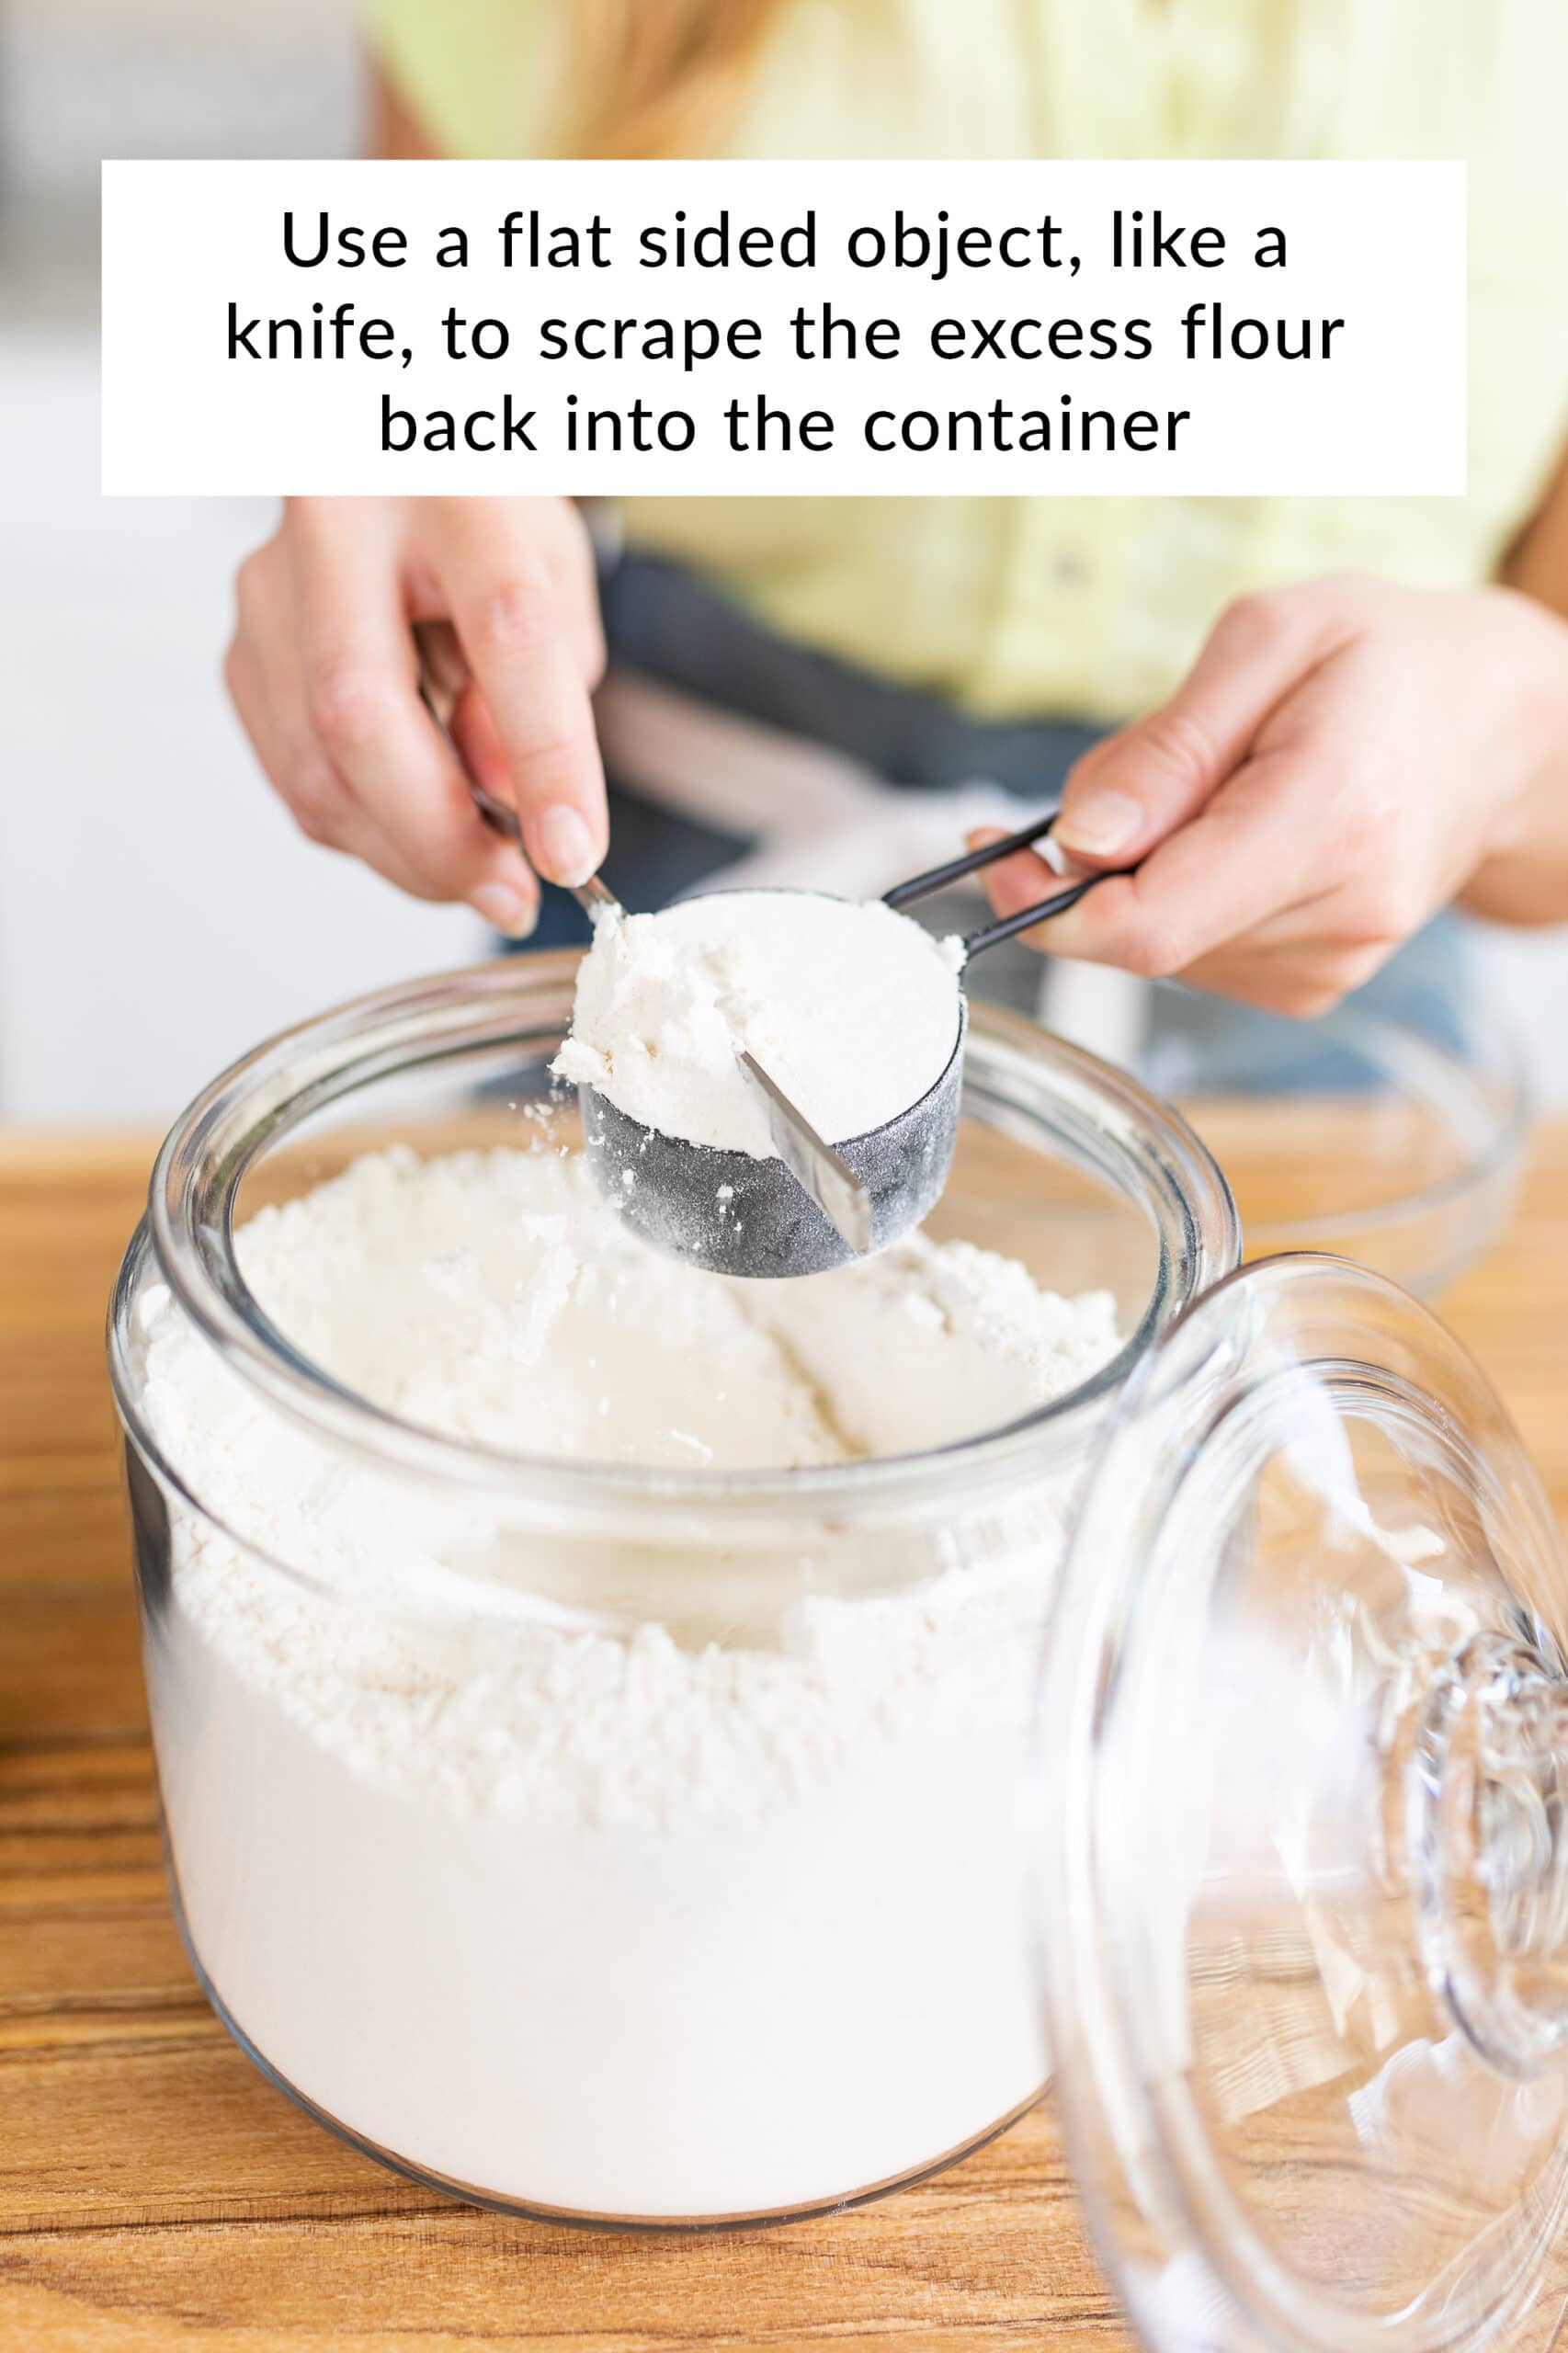
- Use the flat edge of a knife to scrape the excess flour back into the container.
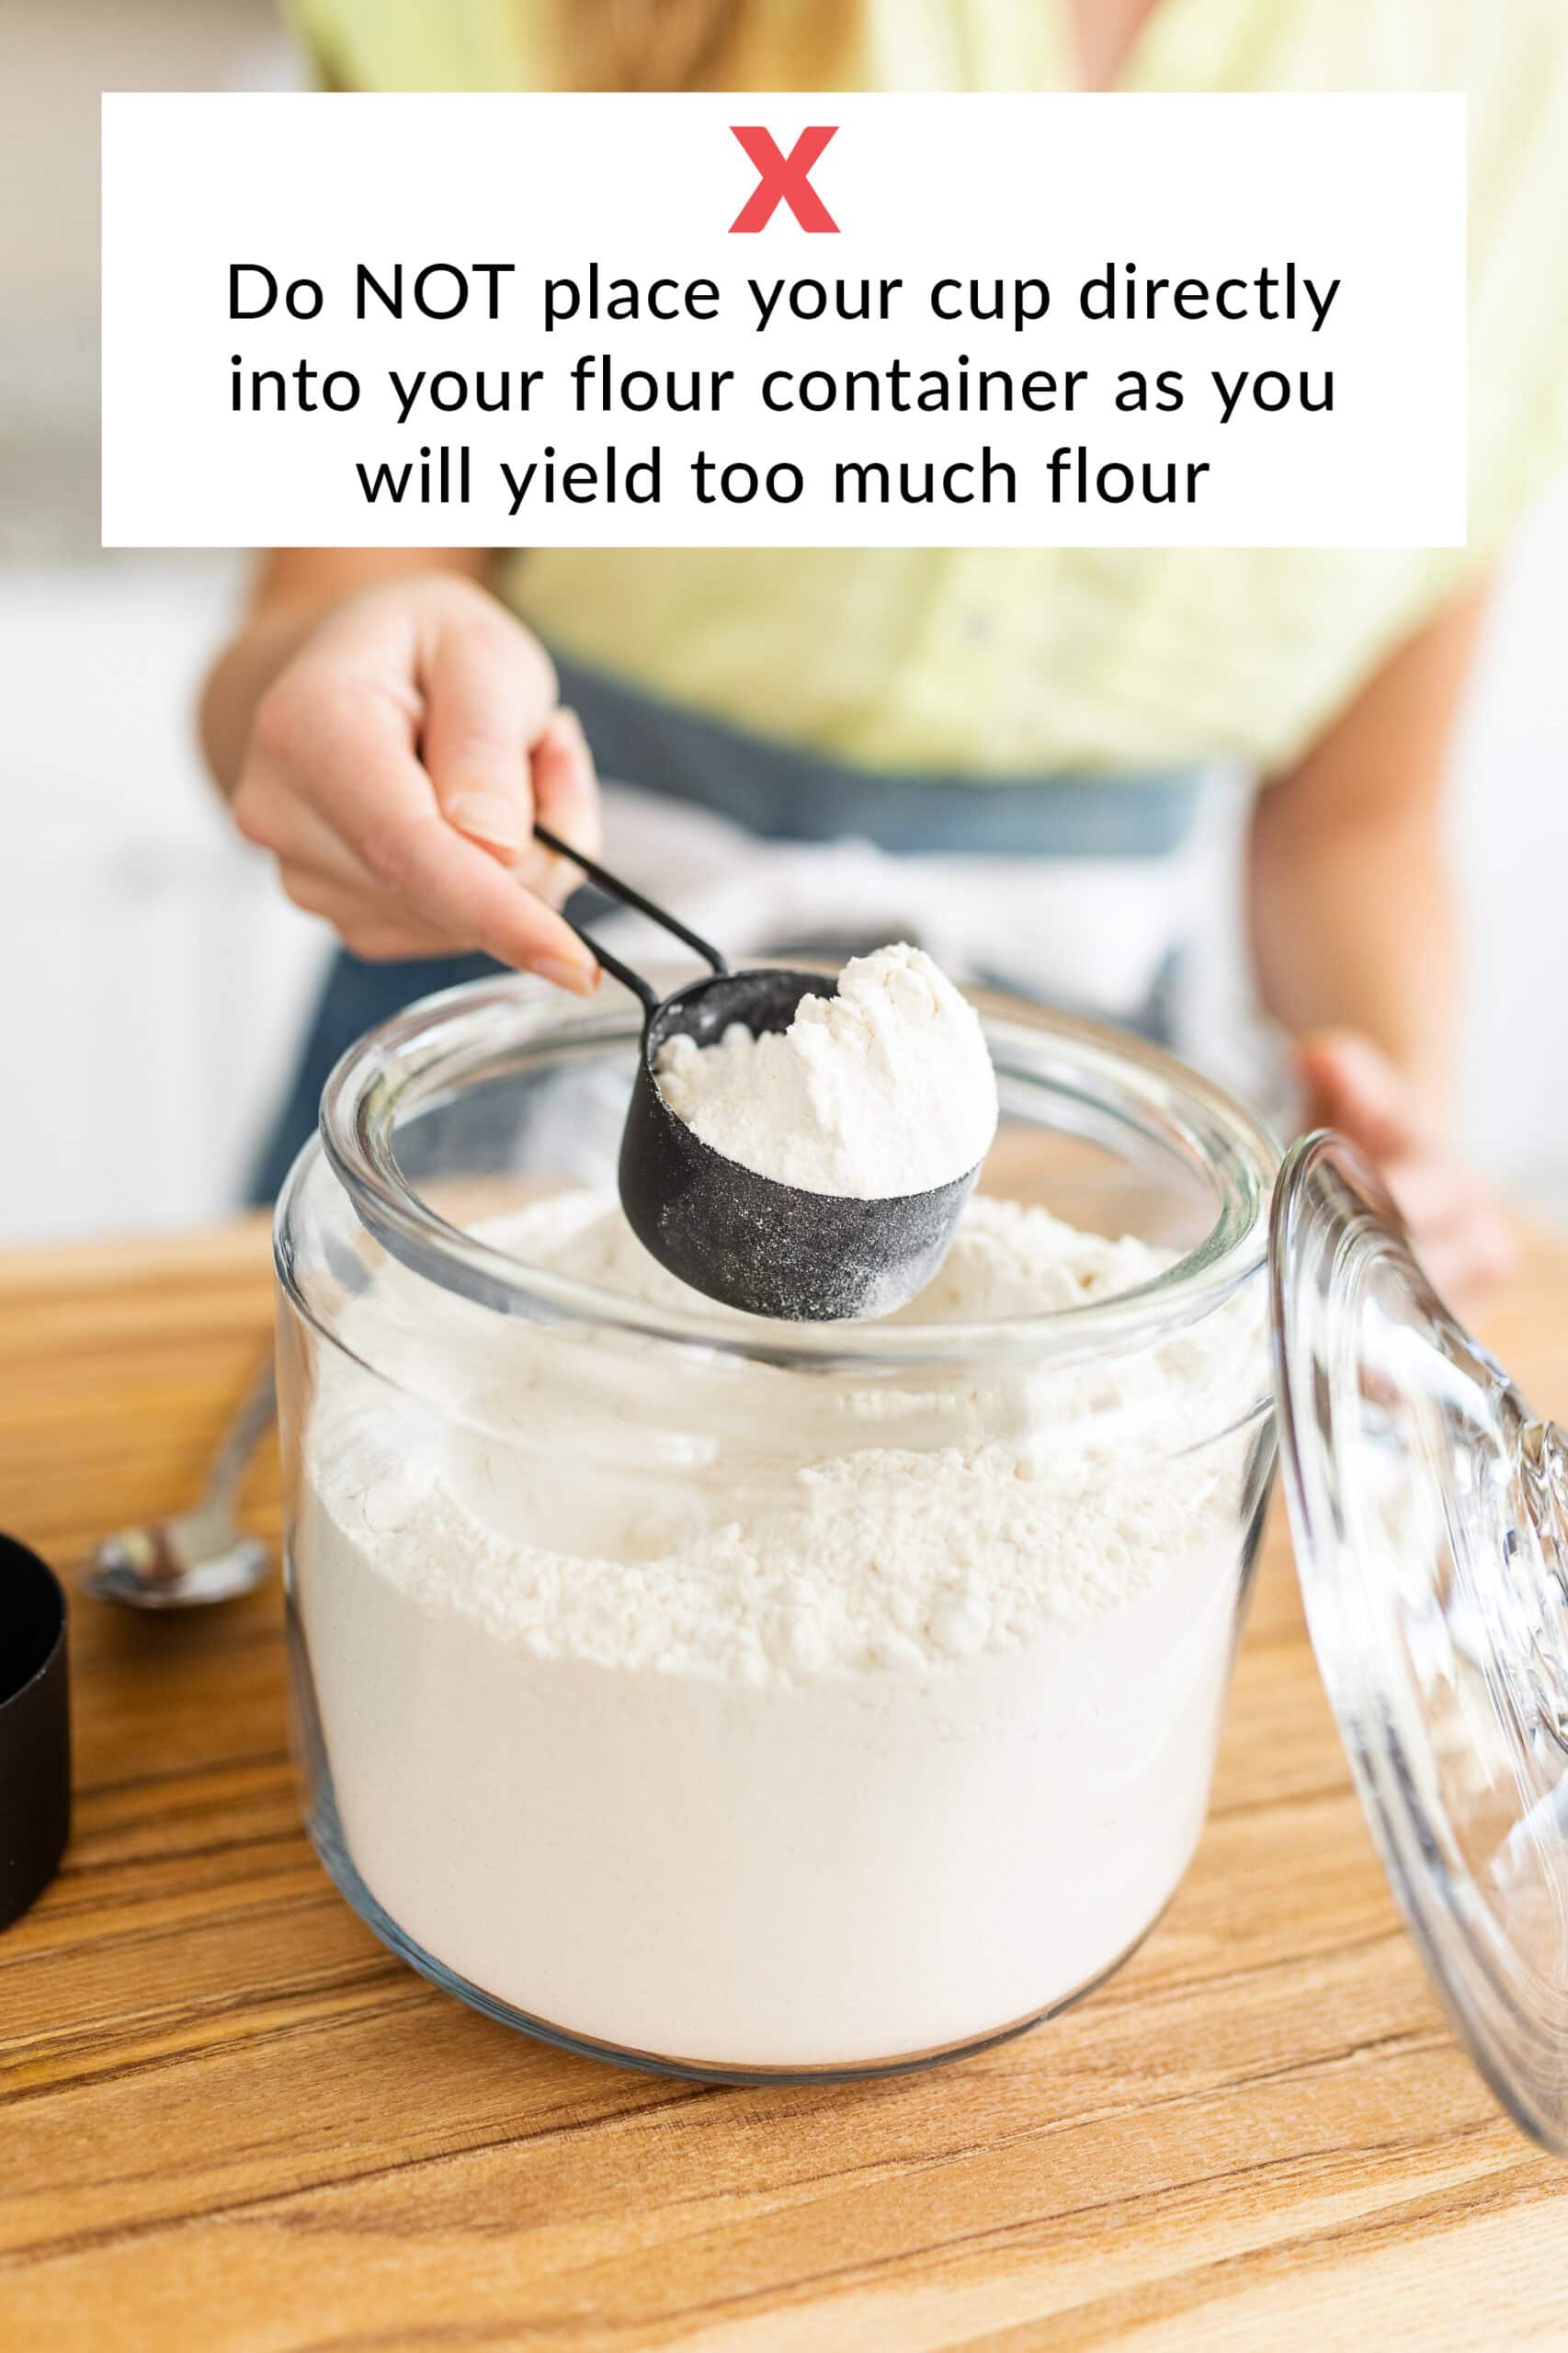
Never Scoop Directly From Your Flour Container!
Never place a measuring cup directly into your flour bag or container, as this will pack too much flour into your measuring cup.
Do you Measure Flour Before or After Sifting?
Whether to measure flour before or after sifting depends on how the ingredient is called for in the recipe. For example, if the recipe calls for “1 cup flour, sifted,” measure the flour first and then sift. If a recipe calls for “1 cup sifted flour,” sift the flour first, then measure.
Recipes You’ll Love:
Now that you’ve learned one of the most crucial steps in baking, make sure to check out some of my top recipes!
Photos by Lauren Peachie.


Aloha,
Thank you for the videos and awesome advice on all the important baking topics. Question: if a recipe calls for sifting the flour, once we measure the flour amount called for on the recipe, using a scale of course, should one remeasure the sifted flour for amount accuracy? Or is this not necessary?
Mahalo
Aloha Sandy! Great question 🙂 The difference comes down to how the recipe lists the flour in the instructions. If the recipe says “flour, sifted”, measure the flour first and then sift it. No need to remeasure after sifting. If it says “sifted flour”, sift first, then measure the amount needed. Sifting loosens the flour, so the volume is slightly different than unsifted. I hope that helps!
I’m also curious if dry versus liquid measuring cups make a difference in the outcomes? I learned about this way back when, but never see it specified in recent years. Maybe it’s assumed that everyone knows the difference, but I wonder if it’s possible this could be a mistake some people make.
I have a scale! And I use it a lot! But I baked some rolls the other day and measured my ingredients. I found you when I was looking for an explanation. Now I know why it’s so important to weigh weigh weigh. Thank you!
Welcome to Handle the Heat, Tamalita! We’re so happy we popped up in your search 🙂 Weighing ingredients is such a game-changer in the kitchen. I’m glad you’ve already got a scale!