This post may contain affiliate links. Read our disclosure policy.
It’s been quite a while since I’ve created a new Ultimate Guide post so I figured it was time to get experimenting and make another huge mess in my kitchen in pursuit of recipe perfection!
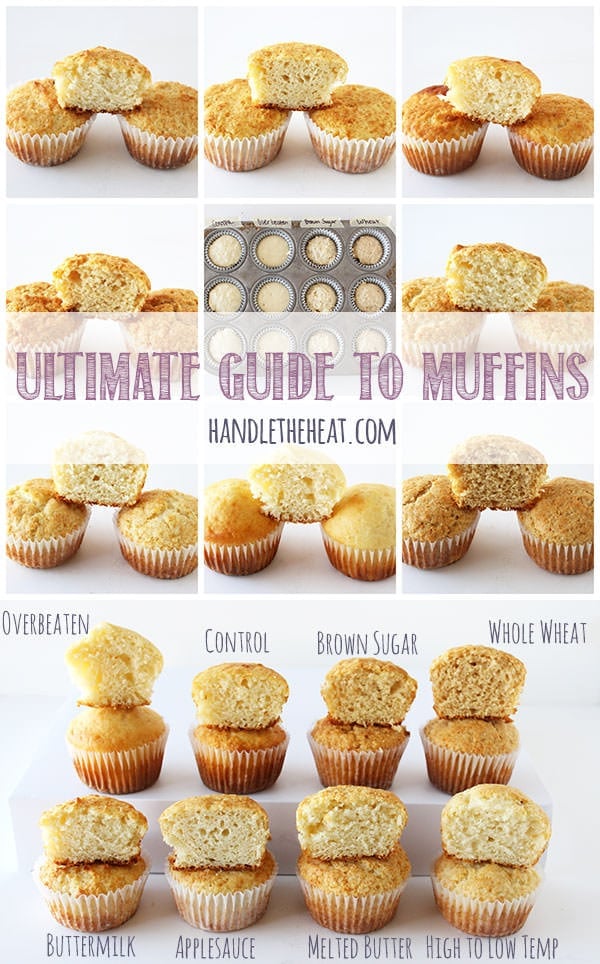
I do these posts, which may make me seem like a lunatic baker to anyone watching, because I think that actually seeing and reading about how a single ingredient or technique can impact a baking recipe is SO immensely helpful. Based off your feedback, it seems like you guys find these posts helpful too! I believe everyone should be able to create their ultimate version of any recipe, that baking shouldn’t be a source of confusion or frustration, and I want to help you by sharing my experiments.
So today I’m diving into the magnificent world of muffins. I’ve had a few requests for an Ultimate Guide to Muffins and I’m happy to say it was such a blast to experiment with them! If you’ve ever had questions about muffins, or wondered why your muffins turn out too short, crumbly, dry, bland, etc., you’ve got to read this post! Some secrets to ultra tender, moist, flavorful, and beautifully tall muffins are just below.
Tools and Ingredients Used:
I made every effort to replicate each batch as perfectly as possible, using the same exact tools and ingredients whenever applicable. I used a food scale to measure ingredients to ensure 100% accuracy and used an oven thermometer to gauge exact baking temperatures. Each batch was baked for exactly 20 minutes, except the high to low temperature batch which I’ll get to in a moment. I used paper liners for each batch and coated them with nonstick baking spray to ensure the muffins wouldn’t stick.
–Chicago Metallic Uncoated Standard Muffin Tin
-Large (3-Tablespoon) Spring-Loaded Cookie Scoop
–Oven thermometer
–Escali Digital Food Scale
–Best Quality Reynold Standard White Cupcake Liners
–Pillsbury No-Stick Baking Spray with Flour
-Gold Medal All-Purpose Flour
-Table salt
-Large eggs
-Whole dairy milk
Control Recipe
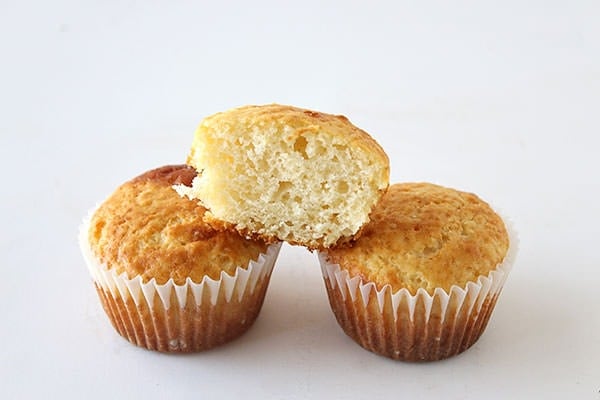
Whenever I do these Ultimate Guide experiments, I base every experimental batch off one control recipe that I feel represents the most basic and standard recipe possible and the same goes for this muffin control recipe. I decided to bake just plain muffins, with nothing mixed inside to give the most pure results. Every batch following this control will include one small change, keeping everything else the same so we can see how that change impacts the final result.
Yield: 12 muffins
Ingredients:
2 cups (254 g) all-purpose flour
½ cup granulated sugar
½ teaspoon fine salt
1 tablespoon baking powder
1 cup whole milk
¼ cup vegetable oil
1 large egg
Directions:
Preheat the oven to 400°F. Line a standard muffin tin with paper liners or coat with nonstick cooking spray (or both).
In a large bowl combine the flour, sugar, salt, and baking powder. In a liquid measuring cup beat together the milk, oil, and egg. Pour into the dry ingredients and stir JUST until combined, do not overmix. Divide evenly among the muffin tin cups. Bake for 20 minutes, or until golden brown and a toothpick inserted in the center comes out clean.
Overbeaten
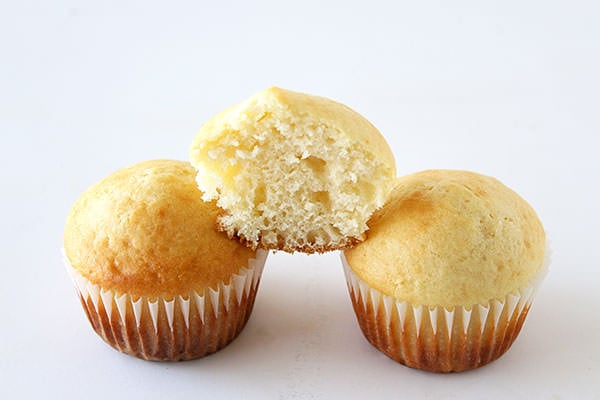
When it comes to mixing up a muffin batter, things couldn’t be simpler. Muffins are easy peasy. Yet, there is one rule that can make or break your muffins: do not overbeat. You can stir the dry ingredients and the wet ingredients separately as much as your heart desires, but once they’re combined you should only beat until they are JUST combined. Streaks of flour remaining is actually fine. So I wanted to try out a batch where I intentionally over-beat the batter to show you the results, so you can understand exactly why this rule exists.
As you can see right off the bat, these muffins are by far the tallest with the most dramatic domes. They are also the most pale in color. While they make look nice and tall and smooth (almost like cupcakes), these muffins were dry and they were dense. Not pleasant at all. If there were any questions about overbeating muffin batter, I think these muffins here answered them. Don’t do it unless you want dry little hockey puck muffins!
High to Low Baking Temperature
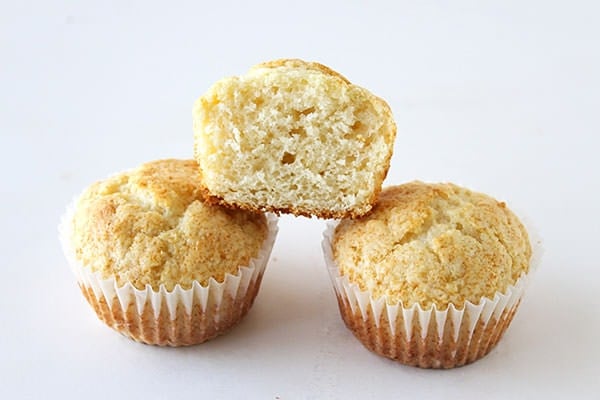
This batch was based off a few pins I’ve seen floating around Pinterest that show how much taller and domed muffins and cupcakes are if you start them off in a hot oven then turn the temperature down slightly. This made sense to me in theory, knowing that baking powder is partly activated by heat. So for this batch I took the control recipe and started it off by baking for 5 minutes at 450°F, then turned the temperature down to 400°F and continued baking for slightly less than 15 minutes. These muffins were beautifully tall, attractive, moist, and soft. Win!
Brown Sugar
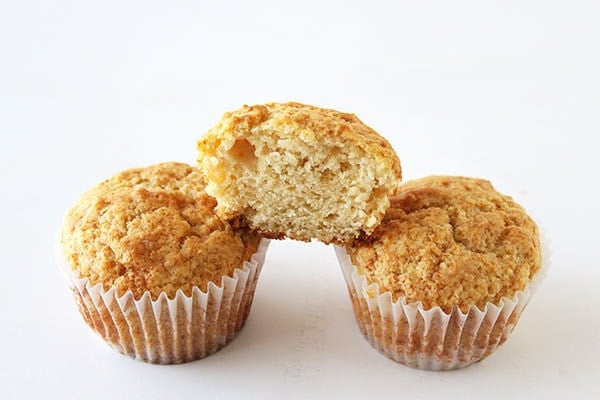
For this batch I removed the 1/2 cup granulated sugar from the control recipe and replaced it with 1/2 cup packed light brown sugar. The resulting muffins were slightly darker, with a more craggy rough appearance which made for a slightly crunchy exterior which I quite enjoyed. Not to mention the flavor was really nice and well rounded. I liked the brown sugar muffins a lot!
Whole Wheat
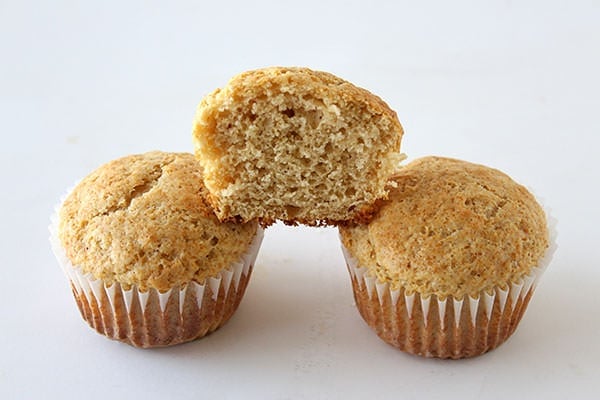
I decided testing out a batch of whole wheat muffins would be interesting. Since muffins are often eaten for breakfast, I wanted to see if it was possible to make them a little bit lighter and “skinner.” So I removed all the 2 cups of all-purpose flour and substituted in 2 cups of King Arthur White Whole Wheat Flour. I used white whole wheat flour because it has the same nutritional value as regular whole wheat with a more subtle wheat flavor, perfect for muffins in theory. These muffins were definitely darker, I was actually surprised by how dark they were considering I used white whole wheat flour.
This batch had a lovely tall domed top with a firm, slightly crumbly texture and slightly nutty flavor. Overall the result was good, though if I were to make muffins with white whole wheat flour again I’d probably add a touch more liquid since wheat flour absorbs more moisture. These muffins were lacking just a bit of moisture.
Buttermilk
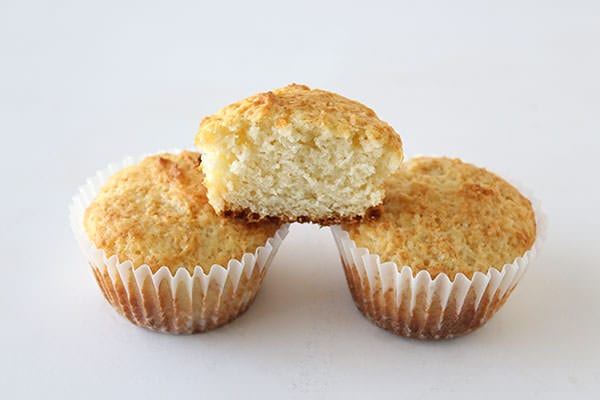
The control recipe calls for 1 cup of whole milk, so I was curious to see how switching that out for 1 cup of buttermilk would impact the muffins. The buttermilk muffins had a finer crumb texture, meaning they weren’t as loose and filled with holes. However, they were SUPER moist and flavorful. I absolutely loved this batch and don’t think I’ll make muffins without buttermilk again, which surprised me. I didn’t think I’d be such a huge proponent of buttermilk because it means grabbing an extra ingredient at the store, but it’s so worth it!
Learn more about the science of baking with buttermilk here.
Applesauce
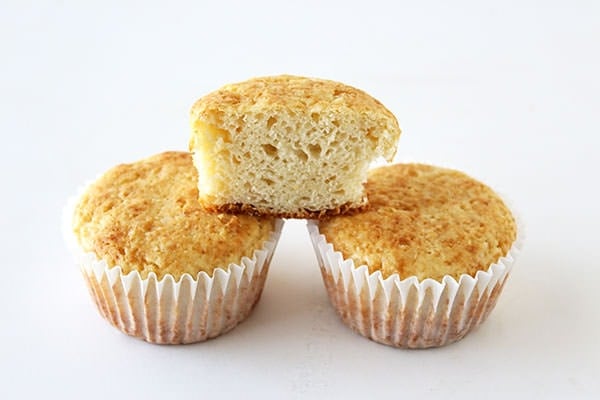
For the last 2 experiments I wanted to play with the fat in the control recipe, the 1/4 cup vegetable oil. First I wanted to see if I could again make the muffins a little lighter by substituting the oil with 1/4 cup plain (unsweetened) applesauce. I really thought this would work wonderfully, but was sadly surprised by how tough and strangely chewy these muffins were. Since there is a relatively small amount of oil in muffins, I think I’ll stick with normal fat. Using applesauce, at least in this way, was not worth the nutritional payoff at all. Muffins should not be chewy!
Melted Butter
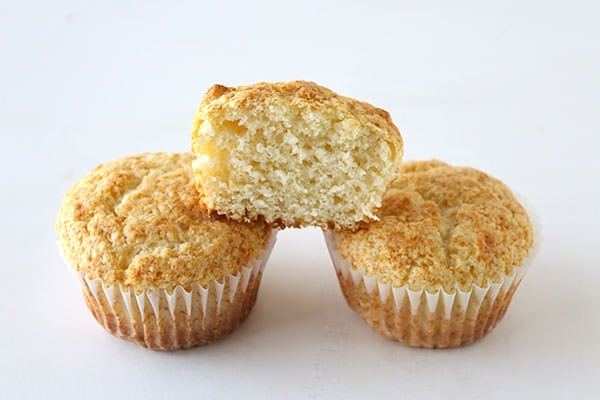
After the sad applesauce batch, I wanted to see if using butter instead of oil would possibly improve the control recipe. I melted 4 tablespoons of unsalted butter to replace the oil, proceeding with the recipe normally. The melted butter muffins were beautifully moist and had wonderful flavor. It was a win!
Side-by-Side Comparison:
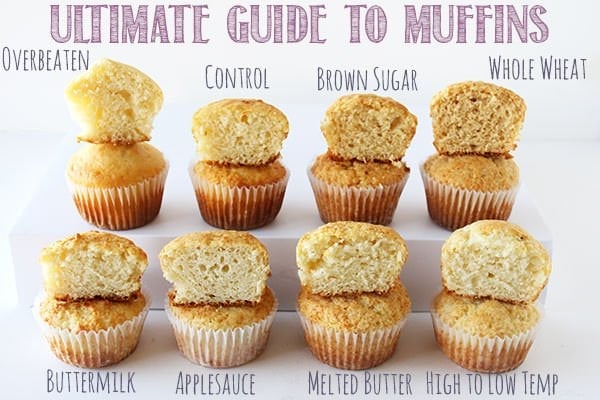
So which was the best?
The buttermilk muffins were my favorite, though overall all the muffins were pretty bland since there were no mix-ins! I also really liked the effect of the high to low temperature method, and will absolutely be using that for muffins and cupcakes in the future. Stay tuned for this Friday, I’ll be sharing my Ultimate Muffin Recipe based on the results of my experimenting! Which would be your favorite? How do you bake your muffins?
More Ultimate Guides:
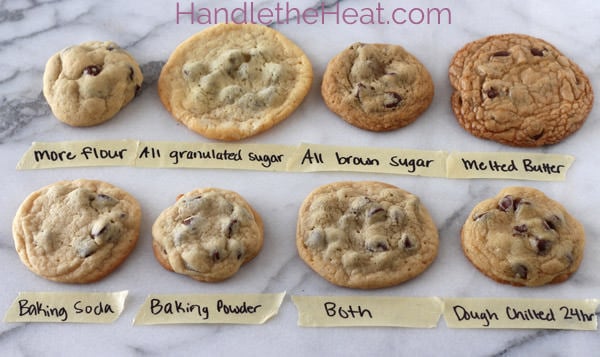 Ultimate Guide to Chocolate Chip Cookies
*This post contains affiliate links.


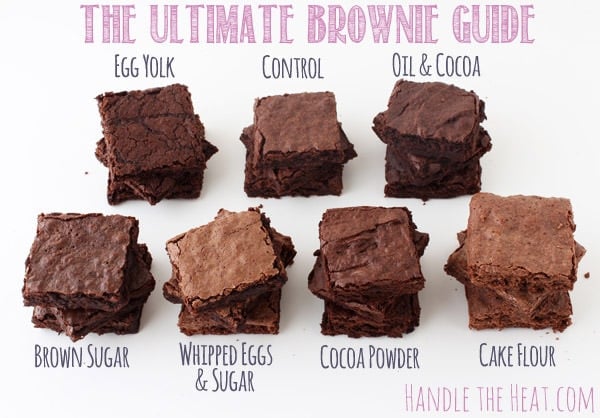 Ultimate Brownie Guide
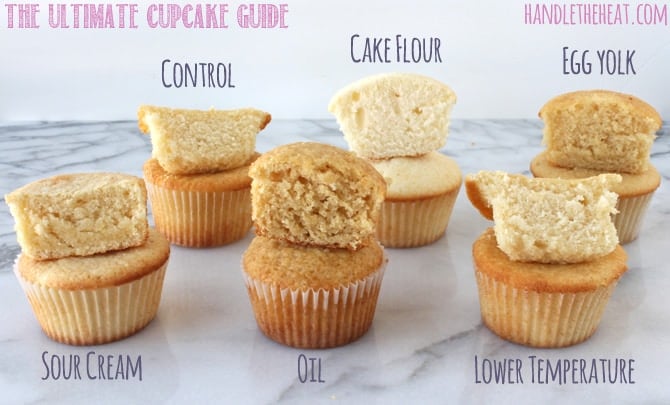 Ultimate Cupcake Guide






Thank you Tessa, I appreciate your test and am going to try them. The cake, soft muffins are not to my liking so I have been looking for a better texture. That is how I stumbled on your guide. Just what I needed.
Thanks again.
Great! Please let us know how your baking goes, I’m excited for you to try this recipe! There are so many wonderful add-ins to choose from 🙂
This is so helpful. Thank you very much for putting this all together. It helped with my muffins this morning, and I plan to use your cookie guide on the weekend.
Happy to hear this!
This is very helpful. To make flavoured muffins do you just add fruit?
I talk about all the different customization options in this post here: https://handletheheat.com/ultimate-muffins/ Have fun!
wonderful tips, thank you!
Download of the Muffin freebie is not completing.
I would like to know what happen is you use other substitute for flour. Like 50% wheat flour and 50% corn flour (other other types of flour like potato flour) Since these have less gluten.
The guides you make are precisely why You are my only ‘follow’ subscription. As a scientist, I can appreciate one variable at a time to problem solving. Tesa, you are generous, thoughtful and your recipes so far have always performed exactly as expected.
Please keep up the terrific work and thank you for the guides.
Thanks for the testing and showing the results
in an easy manner (comparison photo graph) to understand.
Food needs to look as good as it tastes and vise visa.
Thanks for the testing and showing the results
in an easy manner (comparison photo graph).
explain why with these changes, the results obtained are different from the control recipe?
Hi! Hoping you can help me with Appe Crumble Muffins. I recently made these and while they turned out really nice with a crumble topping, they seemed to be a little undercookd or soggy on the inside. I’m afriad if I left them in for a little longer in the oven, the muffin will burn or dry out. I toss and mix the dry ingredients together, then coat the diced apples evenly before mixng it to the wet mixture. All good, then I baked at 175 in a gas Chef oven f r 25 minutes. All looked perfect but when cooled the muffins seemed to be rather moist on the inside appearing uncooked. How can I fix this?