


Tessa's Recipe Rundown
Taste: Deep chocolate flavor without the artificial sweetness of store-bought frozen pies.
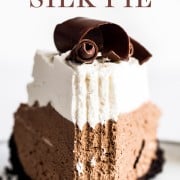
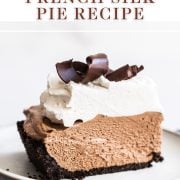
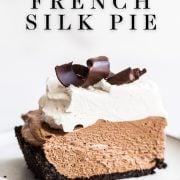
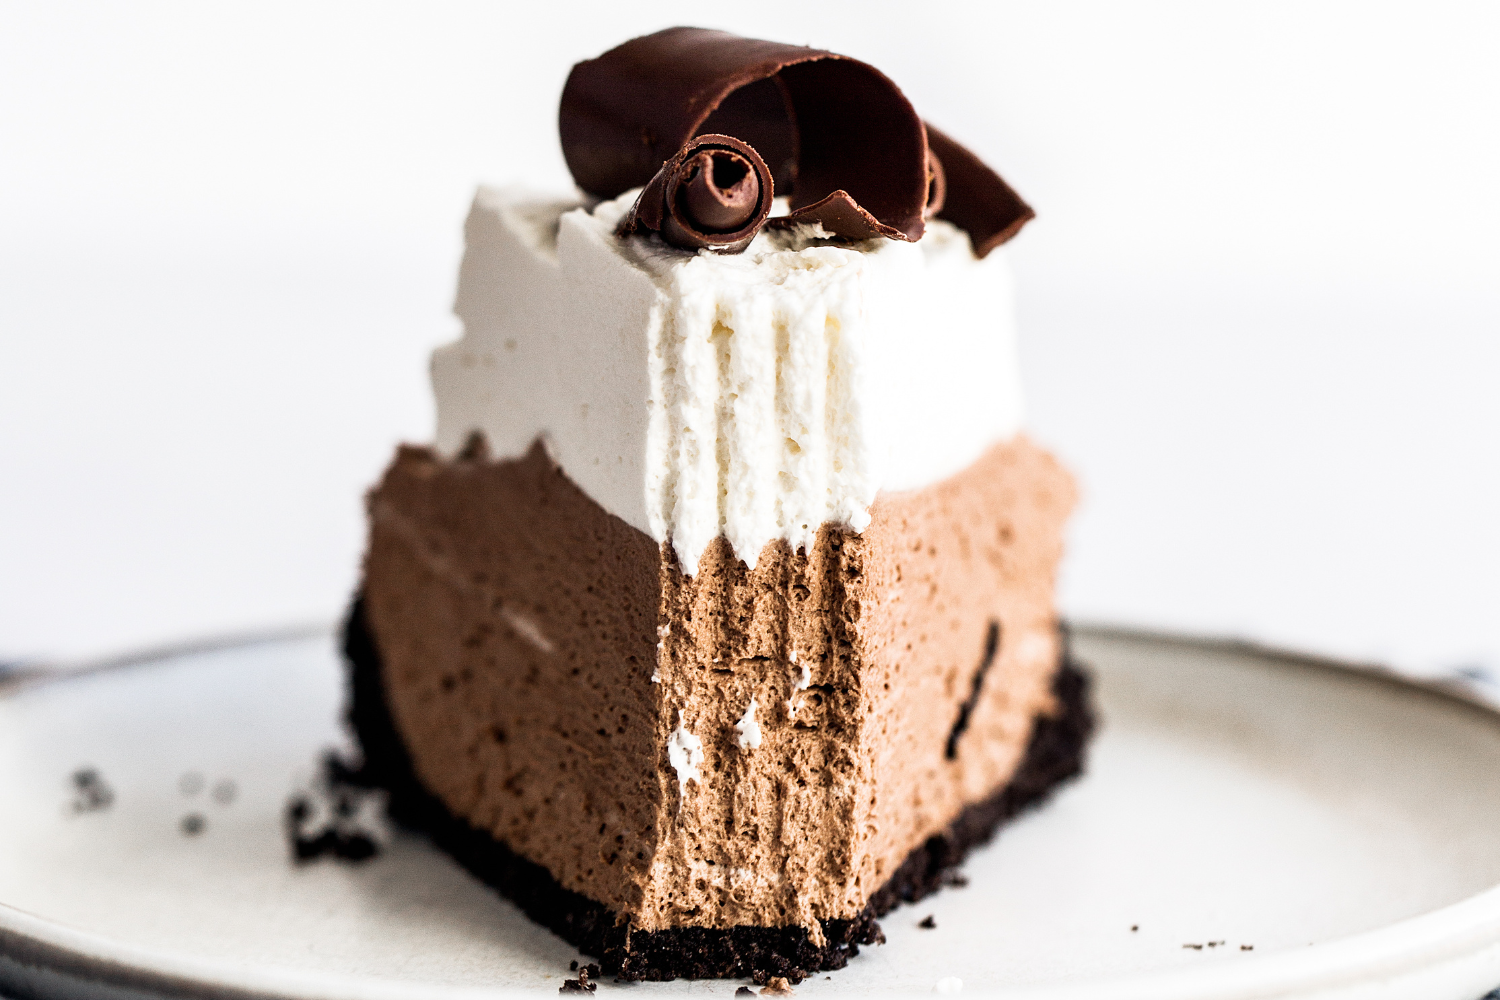
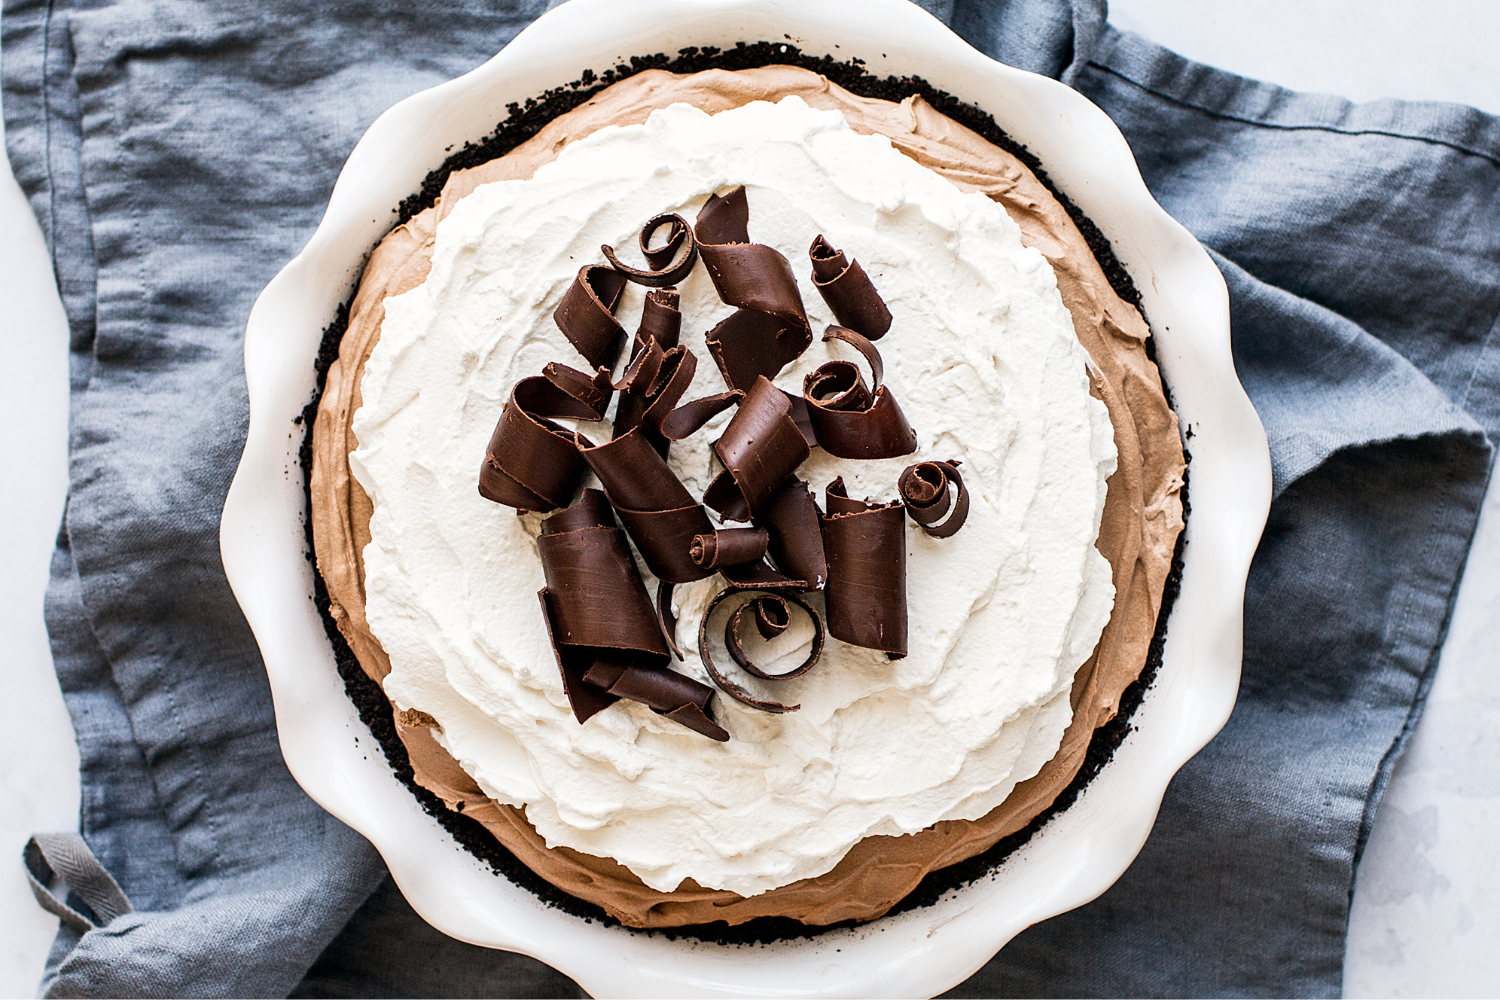
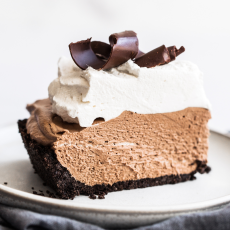
Texture: Ultra smooth, mousse-like filling with a slightly crunchy Oreo crust and cloudy whipped cream.
Ease: A few bowls and steps, but totally manageable. The 6-hour chill time makes it ideal for entertaining.
Why You’ll Love This Recipe: It’ll become your most-requested holiday and special occassion dessert (don’t say I didn’t warn you!).
This post may contain affiliate links. Read our disclosure policy.


Growing up, French silk pie meant the frozen grocery store version with chocolate curls on top. It was tradition!
I didn’t realize how much better a homemade version would be until I first made it myself.

I set out to create my own recipe that kept everything I loved, the silky filling, the mile-high whipped cream, but with better chocolate flavor and a cooking method so it’s safe for everyone to eat (no raw eggs!).
After many tests in the kitchen, this recipe is now perfection. I have to make at least two each Thanksgiving and Christmas or my family will revolt.
This pie is actually my all-time most popular Thanksgiving recipe. It’s been made by THOUSANDS of you! I hope it becomes a tradition in your home as well!
Reader Love
This pie is the absolute best! So creamy! My husband tells me we have to find a holiday to celebrate in every single month so we can make this. Yum! We love it!
–
Reader Love
Everyone should run to the store, buy all the ingredients and make this! Unbelievable! My family asks for it every year it is that good.
–

Sprinkle of Science
Ingredient Notes
Oreo Cookies: Use standard regular-stuffed Oreos with the filling intact. The filling helps bind the crust and adds structure.
Bittersweet Chocolate: For best results, use high-quality baking bars, not chocolate chips. Chips contain stabilizers that prevent smooth melting. Bittersweet provides depth and prevents the filling from tasting overly sweet. You can use the same amount of semisweet chocolate if you prefer a milder chocolate flavor.
Eggs: The eggs are gently cooked with sugar to 160°F to eliminate any food safety concerns. An instant-read thermometer ensures accuracy.
Unsalted Butter: Butter is whipped to create the signature light yet rich texture. It must be properly softened — around 67°F. Too cold and it won’t aerate; too warm and the filling becomes greasy. Feel free to use salted butter if you prefer.
Heavy Cream: Whipped cream is folded into the filling for lightness and structure. The cream must be very cold to whip properly. I recommend a cream with at least 36% milk fat for stability.
For more on selecting chocolate, see my full Chocolate in Baking guide.
How to Make French Silk Pie (Step-by-Step)
I recommend watching the video at the bottom of the recipe card to see me make this recipe first!
1. Make the Oreo Crust
Preheat oven to 350°F. Spray a 9-inch deep-dish pie pan.
Pulse 20 Oreo cookies into fine crumbs. Add melted butter and pulse until evenly moistened — it should resemble wet sand. Press firmly into the bottom and up the sides of the pan. Use the bottom of a measuring cup to compact it tightly.
Bake 10 minutes until fragrant. The crust will look set and matte, not shiny. Cool completely.
2. Cook the Eggs and Sugar
In a small saucepan, whisk together sugar and eggs. I like a flat whisk here.
Cook over medium-low heat, whisking constantly, until the mixture reaches 160°F and thickens enough to coat the back of a spoon. This takes about 5–7 minutes.
Do not rush this step! Too high heat will scramble the eggs. Remove from heat and immediately stir in melted chocolate and vanilla until smooth.
Cool to about 75°F before proceeding. This can take a while so you can speed it up by removing the mixture to a stainless steel bowl so it cools faster. Stir occasionally to prevent a skin from forming.
3. Whip the Butter
In a stand mixer or with a hand mixer, beat room-temperature butter for 2–3 minutes until pale and fluffy. It should look lighter in color and creamy.
Gradually add the cooled chocolate mixture (if it’s too warm, it’ll melt the butter, so be careful here).
Beat on high speed for a full 5 minutes. The mixture will transform from dense to visibly lighter in color and texture. This aeration is what gives French silk pie its signature texture.
4. Fold in Whipped Cream
In a separate bowl, whip cold heavy cream and powdered sugar to stiff peaks. I like to use an immersion blender with the whisk attachment + its paired measuring cup for ultra fast and easy whipping.
Gently fold into the chocolate mixture in 3 additions. The filling should look fluffy and mousse-like, not runny.
5. Chill
Spread into cooled crust. The pie will look tall — that’s correct. It’s best to use your deepest pie pan. If you have too much filling, you can always layer it with Oreo crumbs in mason jars for a chef’s sample later on 😉
Refrigerate at least 6 hours, until fully set. The center should feel firm but still creamy when sliced.
6. Top and Garnish
Whip cream, powdered sugar, and vanilla to stiff peaks.
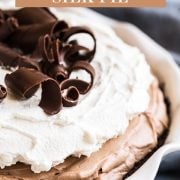
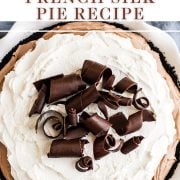
Spread or pipe over chilled pie. Add chocolate curls or a light dusting of cocoa powder (make sure you’re not near a draft or fan). Top no more than a few hours before serving for best appearance.
How to Make Chocolate Curls
I’ll admit, this is a tedious step, but it really makes this pie look gorgeous. Here’s a super helpful step-by-step video on how to make chocolate curls.
Storage & Make Ahead
This French silk pie must chill at least 6 hours before serving.
You can make it up to 2 days ahead, covered and refrigerated.
Add whipped cream shortly before serving for best texture.
FAQs
I haven’t tested freezing this French Silk pie, but some of my wonderful readers have done so with success. Just note that freezing may slightly alter the texture after thawing. Place inside an airtight container and freeze for up to one month. Thaw overnight in the refrigerator before adding whipped cream, chocolate shavings, and serving.
Traditional versions do, but my recipe doesn’t. The eggs are cooked to 160°F, making it safe to serve.
French silk pie is richer even though it has a lighter mousse-like texture. Chocolate cream pie is custard-based (like pudding) .
Yes! Use my pie crust recipe and follow the instructions for blind baking.
The most common causes are:
-Eggs not cooked to 160°F
-Chocolate mixture added while too warm
-Butter not whipped long enough
-Insufficient chill time
Yes, but cooking and cooling will take MUCH longer. To speed up cooling the chocolate & egg mixture, spread it into two shallow pans before proceeding to the next step.
Email This Recipe
Enter your email, and we’ll send it to your inbox.
Ingredients
For the crust
- 20 Oreo (230 grams) cookies (regular-stuffed, keep filling intact)
- 3 tablespoons unsalted butter, melted
For the filling
- 1 1/3 cups (266 grams) granulated sugar
- 4 large eggs
- 8 ounces (227 grams) bittersweet baking chocolate, melted
- 2 teaspoons vanilla extract
- 10 tablespoons (142 grams) unsalted butter, at room temperature
- 1 1/3 cups heavy cream, cold
- 4 teaspoons powdered sugar
For the topping
- 1 cup heavy cream, cold
- 2 tablespoons powdered sugar
- 1 teaspoon vanilla extract
- Chocolate shavings or cocoa powder, for garnish if desired
Instructions
Make the crust:
- Preheat the oven to 350°F. Spray a 9-inch deep pie dish with cooking spray.
- Place the Oreo cookies in the bowl of a food processor and pulse until finely ground. Add in the melted butter and pulse until moistened. Press the mixture into the bottom and up the sides of the prepared pie dish. Bake for 10 minutes, or until fragrant and set. Let cool completely on a wire rack.
Make the filling:
- In a small saucepan, whisk together the granulated sugar and eggs. Set over medium-low heat and cook, whisking constantly, until the mixture reaches 160°F and coats the back of a metal spoon. Remove from heat, then stir in the melted chocolate and vanilla until smooth. Set aside to cool to room temperature (around 75°F), stirring occasionally. To speed up cooling, transfer the mixture to a stainless-steel pan with a larger surface area.
- Using an electric mixer, beat the butter until light and fluffy, about 2 to 3 minutes. Gradually add in the cooled chocolate mixture then beat on high speed for 5 minutes, or until light and fluffy.
- In a separate clean bowl, use an electric mixer to beat the cream until it begins to thicken. Add the powdered sugar and beat until stiff peaks form. Fold into the chocolate mixture.
- Pour the mixture into the pan, smoothing evenly. The pie will be tall with filling. Chill for 6 hours. At this point, the pie can be stored for up to 2 days ahead of time.
Make the topping:
- Use an electric mixer to beat the cream, powdered sugar, and vanilla on high speed until stiff peaks form. Top pie with whipped cream and garnish with chocolate shavings or dust with cocoa powder.
Notes
This post was published in 2019 and has been updated with additional recipe tips. Photos by Ashley McLaughlin.


I am a chocolate lover and this pie was delicious! Very strong chocolate flavor and the recipe was pretty simple!
So glad you enjoyed this recipe! You can always swap the bittersweet chocolate for semisweet if you prefer a more mild flavor, too.
OMG! This is the best chocolate pie I have ever had! Instead of using bittersweet chocolate I used semi sweet and the taste was amazing. Was silky smooth and had a great flavor. This recipe for me is a keeper! 🙂
Hooray! So glad you loved this pie recipe.
Daaang that’s a good pie! Oh my goodness we loved it & I will make it again! I made mine gluten-free with g-free chocolate graham crackers.
I’m thrilled you loved this pie!
I loved the texture but thought it was very sweet and would have liked more chocolate flavor.
Hi Marie, as I mention in the pink box above, you can swap in semisweet chocolate for the bittersweet for a different flavor. Hope you give this pie another try!
I made this into mini pies for my office. The pie filling made 24 3″ tarts, and I had to triple the crust recipe. They were definitely a hit though! For the whipped cream I just added a bit of corn starch to stabilize it as I made them the night before.
So glad this recipe was a hit at your office! Hooray!
I made this for the first time and it was amazing! So light and silky! Will definitely make again!
This pie is addictive – it’s light and fluffy, yet so decadent. I have a feeling I’ll be making it often for my partner!
Thrilled you loved this pie recipe!
This makes a beautiful pie, it’s a little labor intensive, but worth the time.
I’m so glad you enjoyed this pie recipe!
Love this pie! Super easy to make and it tastes absolutely delicious! Everyone loved it and wanted the recipe. I’ll definitely be making this again.
So glad this pie was enjoyed!
I love when I can make a dessert for my family that knocks it out of the park, and this one did just that! It turned out sooo good and exactly what I was going for. And I followed the recipe with no changes. Thank you!!!
I’m so glad you loved this pie recipe, Lynn!
Easy and delicious
Thank you so much!
This recipe was a great one for a first timer. I think I will use regular crust next time, but love the ease of the cookies this time around. Thank you!
So happy you tried this recipe out!