


Tessa's Recipe Rundown
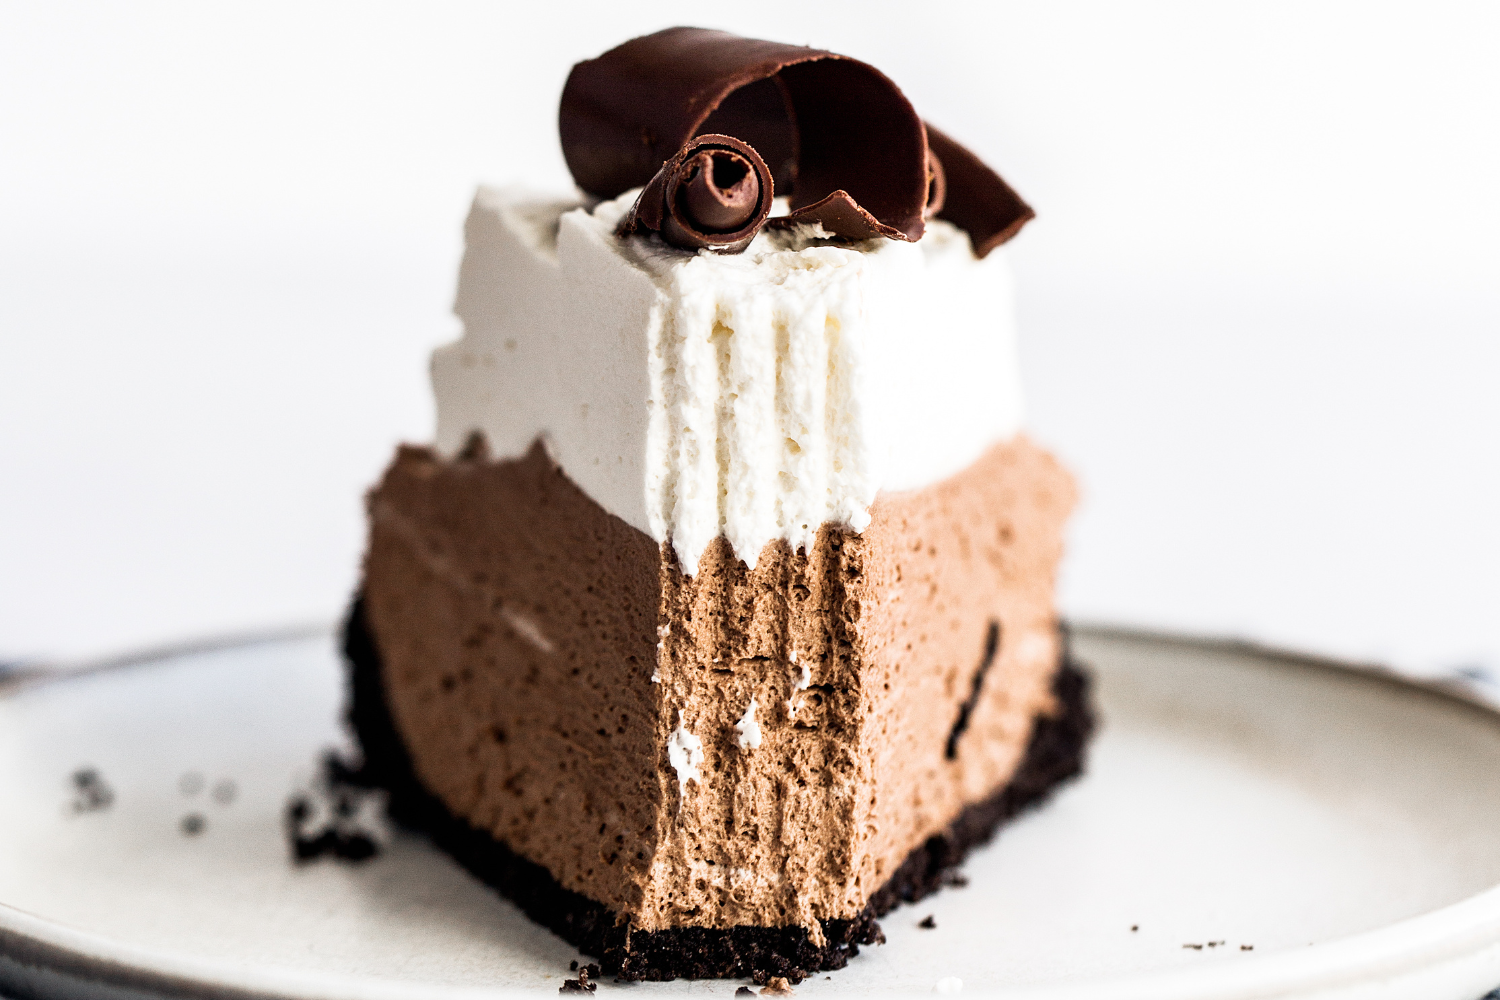
Taste: Deep chocolate flavor without the artificial sweetness of store-bought frozen pies.
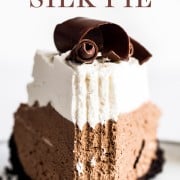
Texture: Ultra smooth, mousse-like filling with a slightly crunchy Oreo crust and cloudy whipped cream.
Ease: A few bowls and steps, but totally manageable. The 6-hour chill time makes it ideal for entertaining.
Why You’ll Love This Recipe: It’ll become your most-requested holiday and special occassion dessert (don’t say I didn’t warn you!).
This post may contain affiliate links. Read our disclosure policy.


Growing up, French silk pie meant the frozen grocery store version with chocolate curls on top. It was tradition!
I didn’t realize how much better a homemade version would be until I first made it myself.

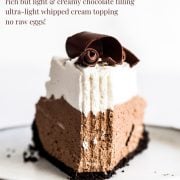
I set out to create my own recipe that kept everything I loved, the silky filling, the mile-high whipped cream, but with better chocolate flavor and a cooking method so it’s safe for everyone to eat (no raw eggs!).
After many tests in the kitchen, this recipe is now perfection. I have to make at least two each Thanksgiving and Christmas or my family will revolt.
This pie is actually my all-time most popular Thanksgiving recipe. It’s been made by THOUSANDS of you! I hope it becomes a tradition in your home as well!
Reader Love
This pie is the absolute best! So creamy! My husband tells me we have to find a holiday to celebrate in every single month so we can make this. Yum! We love it!
–
Reader Love
Everyone should run to the store, buy all the ingredients and make this! Unbelievable! My family asks for it every year it is that good.
–

Sprinkle of Science
Ingredient Notes
Oreo Cookies: Use standard regular-stuffed Oreos with the filling intact. The filling helps bind the crust and adds structure.
Bittersweet Chocolate: For best results, use high-quality baking bars, not chocolate chips. Chips contain stabilizers that prevent smooth melting. Bittersweet provides depth and prevents the filling from tasting overly sweet. You can use the same amount of semisweet chocolate if you prefer a milder chocolate flavor.
Eggs: The eggs are gently cooked with sugar to 160°F to eliminate any food safety concerns. An instant-read thermometer ensures accuracy.
Unsalted Butter: Butter is whipped to create the signature light yet rich texture. It must be properly softened — around 67°F. Too cold and it won’t aerate; too warm and the filling becomes greasy. Feel free to use salted butter if you prefer.
Heavy Cream: Whipped cream is folded into the filling for lightness and structure. The cream must be very cold to whip properly. I recommend a cream with at least 36% milk fat for stability.
For more on selecting chocolate, see my full Chocolate in Baking guide.
How to Make French Silk Pie (Step-by-Step)
I recommend watching the video at the bottom of the recipe card to see me make this recipe first!
1. Make the Oreo Crust
Preheat oven to 350°F. Spray a 9-inch deep-dish pie pan.
Pulse 20 Oreo cookies into fine crumbs. Add melted butter and pulse until evenly moistened — it should resemble wet sand. Press firmly into the bottom and up the sides of the pan. Use the bottom of a measuring cup to compact it tightly.
Bake 10 minutes until fragrant. The crust will look set and matte, not shiny. Cool completely.
2. Cook the Eggs and Sugar
In a small saucepan, whisk together sugar and eggs. I like a flat whisk here.
Cook over medium-low heat, whisking constantly, until the mixture reaches 160°F and thickens enough to coat the back of a spoon. This takes about 5–7 minutes.
Do not rush this step! Too high heat will scramble the eggs. Remove from heat and immediately stir in melted chocolate and vanilla until smooth.
Cool to about 75°F before proceeding. This can take a while so you can speed it up by removing the mixture to a stainless steel bowl so it cools faster. Stir occasionally to prevent a skin from forming.
3. Whip the Butter
In a stand mixer or with a hand mixer, beat room-temperature butter for 2–3 minutes until pale and fluffy. It should look lighter in color and creamy.
Gradually add the cooled chocolate mixture (if it’s too warm, it’ll melt the butter, so be careful here).
Beat on high speed for a full 5 minutes. The mixture will transform from dense to visibly lighter in color and texture. This aeration is what gives French silk pie its signature texture.
4. Fold in Whipped Cream
In a separate bowl, whip cold heavy cream and powdered sugar to stiff peaks. I like to use an immersion blender with the whisk attachment + its paired measuring cup for ultra fast and easy whipping.
Gently fold into the chocolate mixture in 3 additions. The filling should look fluffy and mousse-like, not runny.
5. Chill
Spread into cooled crust. The pie will look tall — that’s correct. It’s best to use your deepest pie pan. If you have too much filling, you can always layer it with Oreo crumbs in mason jars for a chef’s sample later on 😉
Refrigerate at least 6 hours, until fully set. The center should feel firm but still creamy when sliced.
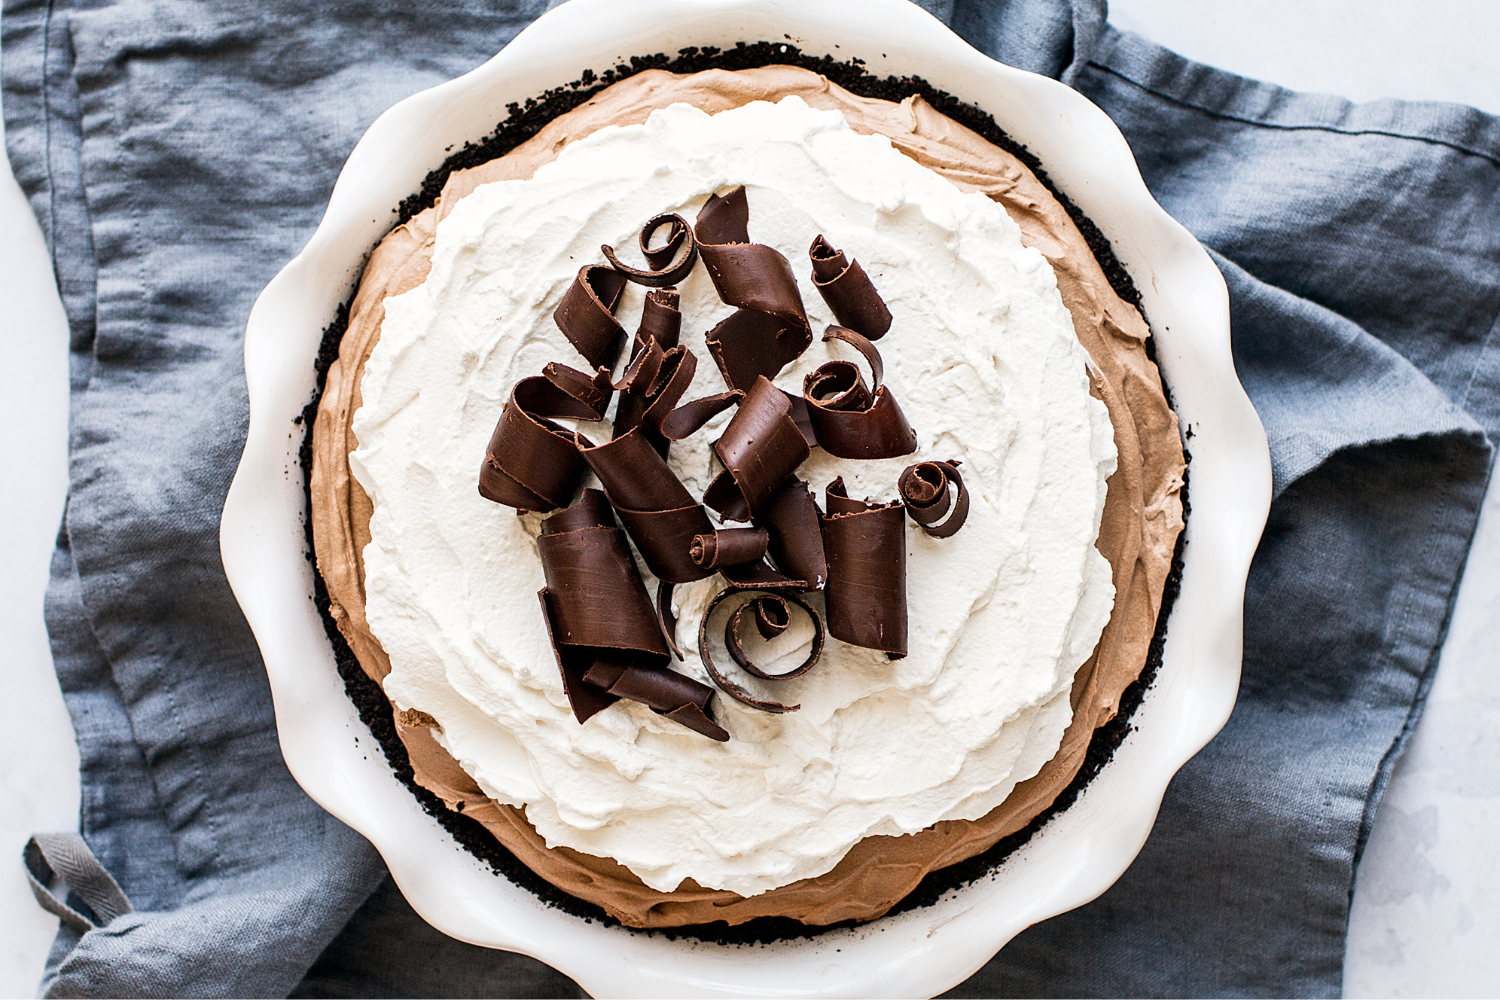
6. Top and Garnish
Whip cream, powdered sugar, and vanilla to stiff peaks.
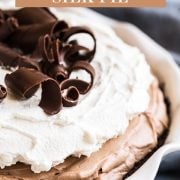
Spread or pipe over chilled pie. Add chocolate curls or a light dusting of cocoa powder (make sure you’re not near a draft or fan). Top no more than a few hours before serving for best appearance.
How to Make Chocolate Curls
I’ll admit, this is a tedious step, but it really makes this pie look gorgeous. Here’s a super helpful step-by-step video on how to make chocolate curls.
Storage & Make Ahead
This French silk pie must chill at least 6 hours before serving.
You can make it up to 2 days ahead, covered and refrigerated.
Add whipped cream shortly before serving for best texture.
FAQs
I haven’t tested freezing this French Silk pie, but some of my wonderful readers have done so with success. Just note that freezing may slightly alter the texture after thawing. Place inside an airtight container and freeze for up to one month. Thaw overnight in the refrigerator before adding whipped cream, chocolate shavings, and serving.
Traditional versions do, but my recipe doesn’t. The eggs are cooked to 160°F, making it safe to serve.
French silk pie is richer even though it has a lighter mousse-like texture. Chocolate cream pie is custard-based (like pudding) .
Yes! Use my pie crust recipe and follow the instructions for blind baking.
The most common causes are:
-Eggs not cooked to 160°F
-Chocolate mixture added while too warm
-Butter not whipped long enough
-Insufficient chill time
Yes, but cooking and cooling will take MUCH longer. To speed up cooling the chocolate & egg mixture, spread it into two shallow pans before proceeding to the next step.
Email This Recipe
Enter your email, and we’ll send it to your inbox.
Ingredients
For the crust
- 20 Oreo (230 grams) cookies (regular-stuffed, keep filling intact)
- 3 tablespoons unsalted butter, melted
For the filling
- 1 1/3 cups (266 grams) granulated sugar
- 4 large eggs
- 8 ounces (227 grams) bittersweet baking chocolate, melted
- 2 teaspoons vanilla extract
- 10 tablespoons (142 grams) unsalted butter, at room temperature
- 1 1/3 cups heavy cream, cold
- 4 teaspoons powdered sugar
For the topping
- 1 cup heavy cream, cold
- 2 tablespoons powdered sugar
- 1 teaspoon vanilla extract
- Chocolate shavings or cocoa powder, for garnish if desired
Instructions
Make the crust:
- Preheat the oven to 350°F. Spray a 9-inch deep pie dish with cooking spray.
- Place the Oreo cookies in the bowl of a food processor and pulse until finely ground. Add in the melted butter and pulse until moistened. Press the mixture into the bottom and up the sides of the prepared pie dish. Bake for 10 minutes, or until fragrant and set. Let cool completely on a wire rack.
Make the filling:
- In a small saucepan, whisk together the granulated sugar and eggs. Set over medium-low heat and cook, whisking constantly, until the mixture reaches 160°F and coats the back of a metal spoon. Remove from heat, then stir in the melted chocolate and vanilla until smooth. Set aside to cool to room temperature (around 75°F), stirring occasionally. To speed up cooling, transfer the mixture to a stainless-steel pan with a larger surface area.
- Using an electric mixer, beat the butter until light and fluffy, about 2 to 3 minutes. Gradually add in the cooled chocolate mixture then beat on high speed for 5 minutes, or until light and fluffy.
- In a separate clean bowl, use an electric mixer to beat the cream until it begins to thicken. Add the powdered sugar and beat until stiff peaks form. Fold into the chocolate mixture.
- Pour the mixture into the pan, smoothing evenly. The pie will be tall with filling. Chill for 6 hours. At this point, the pie can be stored for up to 2 days ahead of time.
Make the topping:
- Use an electric mixer to beat the cream, powdered sugar, and vanilla on high speed until stiff peaks form. Top pie with whipped cream and garnish with chocolate shavings or dust with cocoa powder.
Notes
This post was published in 2019 and has been updated with additional recipe tips. Photos by Ashley McLaughlin.


OMG! Beat french silk pie ever! I use a regular pie crust, has preference, my husband loves this. You follow step by step, will turn out amazing! Thanks so much for recipe. Is a keeper!!❤️❤️
So thrilled to hear this!! 🙂
This recipe is outrageous!! Easy to make and over the top delicious. I dissolved a tablespoon of espresso granules into a few tablespoons of warm cream and added that to the cream I whipped for the filling. I also added an additional 6 oz or so of chocolate: 3 oz dark, 3 oz milk. The coffee and additional chocolate gave the filling an extra depth of flavor.
I also used gluten-free oreo-type cookies for the crust. Didn’t make any difference to the flavor or texture and it’s an easy substitution for gluten-free folks.
My husband is a very happy birthday boy.
So happy you and your husband enjoyed this silk pie, Carol!!
Easy for a novice baker. I was nervous to take on this simply bc I wasn’t sure i would get my egg & sugar mixture right. I cooled my egg & chocolate mixture down but wisking while it rested in an ice bath. Nervous after reading various comments. That it wouldn’t set up. This actually set up beautifully for me. I used a store bought pie shell as thats what I had on hand. I made my own chocolate shavings and my own whipped topping. I couldn’t stop licking the bowls. Taking to a BBQ later today. And ive already written this down for ny own collection. Great job.
That’s SO wonderful to hear, Ann!!! So happy this turned out perfectly and I’m sure everyone at your BBQ will love it 🙂 Thank you so much for letting us know!
I just want to add 2 tips here,
1: After you cook the eggs and sugar you should always strain it bring it before you go any further with it to get out any tiny bits of cooked egg or hardened sugar that may be in there.
2: Make sure chocolate an egg mixture is completely cooled before you add whipped cream or It will not stay fluffy or set well.
Hi Erin! Thanks for your feedback and tips! We do recommend whisking the egg and sugar mixture constantly while it’s cooking, which will reduce the possibility of having cooked egg bits, but straining is definitely an option if you experience this 🙂 And yes, definitely make sure your chocolate mixture is at room temperature, just barely warm when you touch it, to ensure the mixture sets up well.
I see that a lot have been having trouble with the pie setting up, I haven’t cut into it yet but it seems to be OK. My question is about the amount bittersweet chocolate. Mine is much darker than your picture. 8 ounces seems to be a lot of chocolate or am I reading the recipe wrong??
Hi Mary Jo! Yes, 8oz of chocolate is correct! Perhaps you used a different type of bittersweet chocolate (some brands offer varieties with varying levels of cocoa; Ghirardelli, for example, sells 60% and 70%, so the 70% would be stronger and darker than the 60%). Alternatively, you may have whipped your mixture for a shorter time than the recipe required, for the mixture to lighten up a little more. I hope your pie was delicious, and please let me know if you need any help troubleshooting further!
– Kiersten @ HTH
Are u making sure that the chocolate is completely cooked before you add whipped cream? And folding g the whipped cream in softly?
I made this for Easter dinner. It was scrumptious and well worth the time required to make the pie. Your detailed steps saved the day for sure. The chocolate flavor is rich and satisfying. I garnished with shaved chocolate. I thought those chocolate shavings gave a serving the “oh wow!” punch a serving needed to be extra special. The batter quantity very amply filled the pie dish. It’s delicious for that special meal.
Thanks for your rave review, Debbie! So happy to hear how much you love this recipe 🙂
This is the best dessert I have ever made or eaten. It was so worth the extra effort. Thank you for sharing!
Wonderful!! So happy to hear that 🙂
I don’t think this recipe is written correctly. Pie filling doesn’t usually call for whole eggs, only egg yolks. Filling did not set up overnight. It was like chocolate soup.
Hi Jkel! Yes, this recipe is written correctly and calls for whole eggs. I’m sorry to hear that your filling didn’t set up properly! That’s not due to using whole eggs, a soupy mixture is due to too warm of ingredients or a step not being beaten for long enough. Each step is crucial in creating an airy but also rich and creamy filling (heating the sugar and eggs to 160°F, making sure your butter isn’t warmer than room temperature before adding the other ingredients, making sure the butter/cooled chocolate mixture is light and fluffy and that the cream/powdered sugar is beaten to stiff peaks). You also want to make sure that the pie is chilled for at least 6 hours, which is the final step in setting properly. I truly hope you give this recipe another try. When the filling sets properly, you won’t want to stop eating it! Please let me know if I can help further, and let me know how your next attempt goes!
I think I messed up I added the chocolate not realizing to cook egg and sugar firat any way to fix
Hi Charity! Unfortunately, adding the chocolate at this stage could result in the chocolate seizing, or getting overheated and giving your pie an unpleasant and gritty texture. I would definitely recommend starting over at this point, I’m sorry to say. Good luck for Round 2! Let us know what you think of this pie once you’ve given it a try! 🙂
You’re seriously blaming the recipe when people have been getting perfect results using this exact recipe for years since it was posted? Its okay t admit you did it wrong, next time just ask what might have gone wrong and correct the issues.
Delicious! My family loved it and so did I.
I made this on Easter and while I have to consider it a fail for me, personally, it was still delicious, creamy and rich. Mine didn’t gel as it should have after overnight refrigeration. It was sliceable but very soft and nearly runny. Not sure what I did wrong and followed the recipe exactly, including the spoon test and used a thermometer. But, WOW! the taste of this pie is wonderful! I will definitely try it again. It is definitely worth the mess.
So glad you enjoyed this recipe! Without having made this right along with you, it’s tough to say for sure what went wrong, but I would make sure next time that your chocolate mixture has cooled until barely warm before beating in with the butter, and then ensuring that your cream/powdered sugar mixture is beaten until stiff peaks form. If your filling is too warm prior to adding to the whipped cream mixture, all the air you beat into the whipped cream will be reduced and it won’t set up properly. Please let us know how it goes if you give this recipe another try in the future 🙂
Tastes good, but filling is not stiff and fluffy.
Hi Beth! Sorry to hear your filling didn’t set properly! That’s typically due to too warm of ingredients or a step not being beaten for long enough. Was the sugar and eggs heated to 160°F? How about your butter, was it warmer than room temperature? Did you make sure the butter/cooled chocolate mixture was light and fluffy and the cream/powdered sugar beaten to stiff peaks? Each of these steps is crucial in creating an airy but also rich and creamy filling. You also want to make sure that the pie is chilled for at least 6 hours, which is the final step in setting properly. I really hope you try this recipe again, please let me know if you have more questions, hopefully this helps!
Do I need to let the pie set in the refrigerator before adding the topping?
Hi Karen! Yes, the pie needs to set prior to adding the topping 🙂 If you refrigerate the pie with the topping, after about a day in the fridge, the whipped cream will start to deflate and weep onto the surface of the pie. If you were wanting to just prep the pie in the morning for dinner in the evening, that should be fine. Let us know what you think of this recipe!