


Tessa’s Recipe Rundown
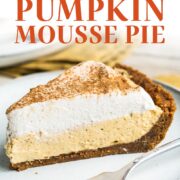
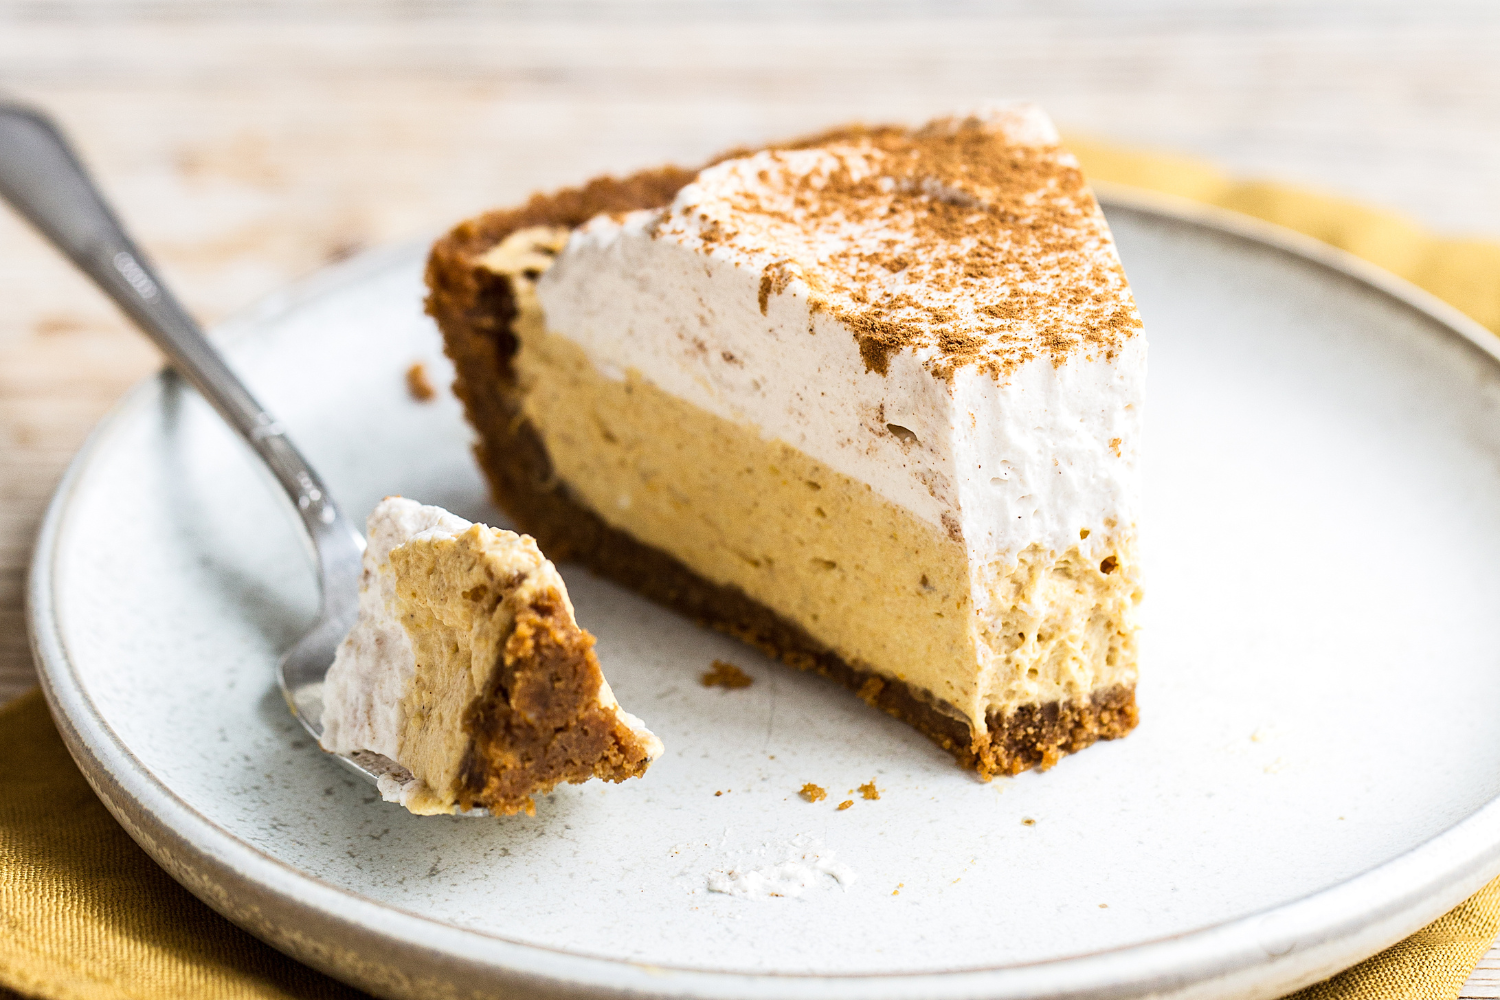
Taste: Like a cloud of pumpkin pie. That Biscoff cookie crust really makes this pie something special.
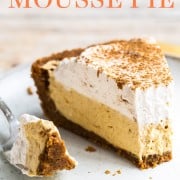
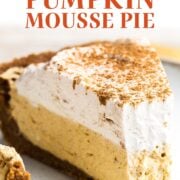
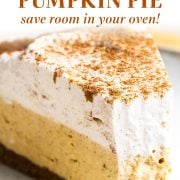
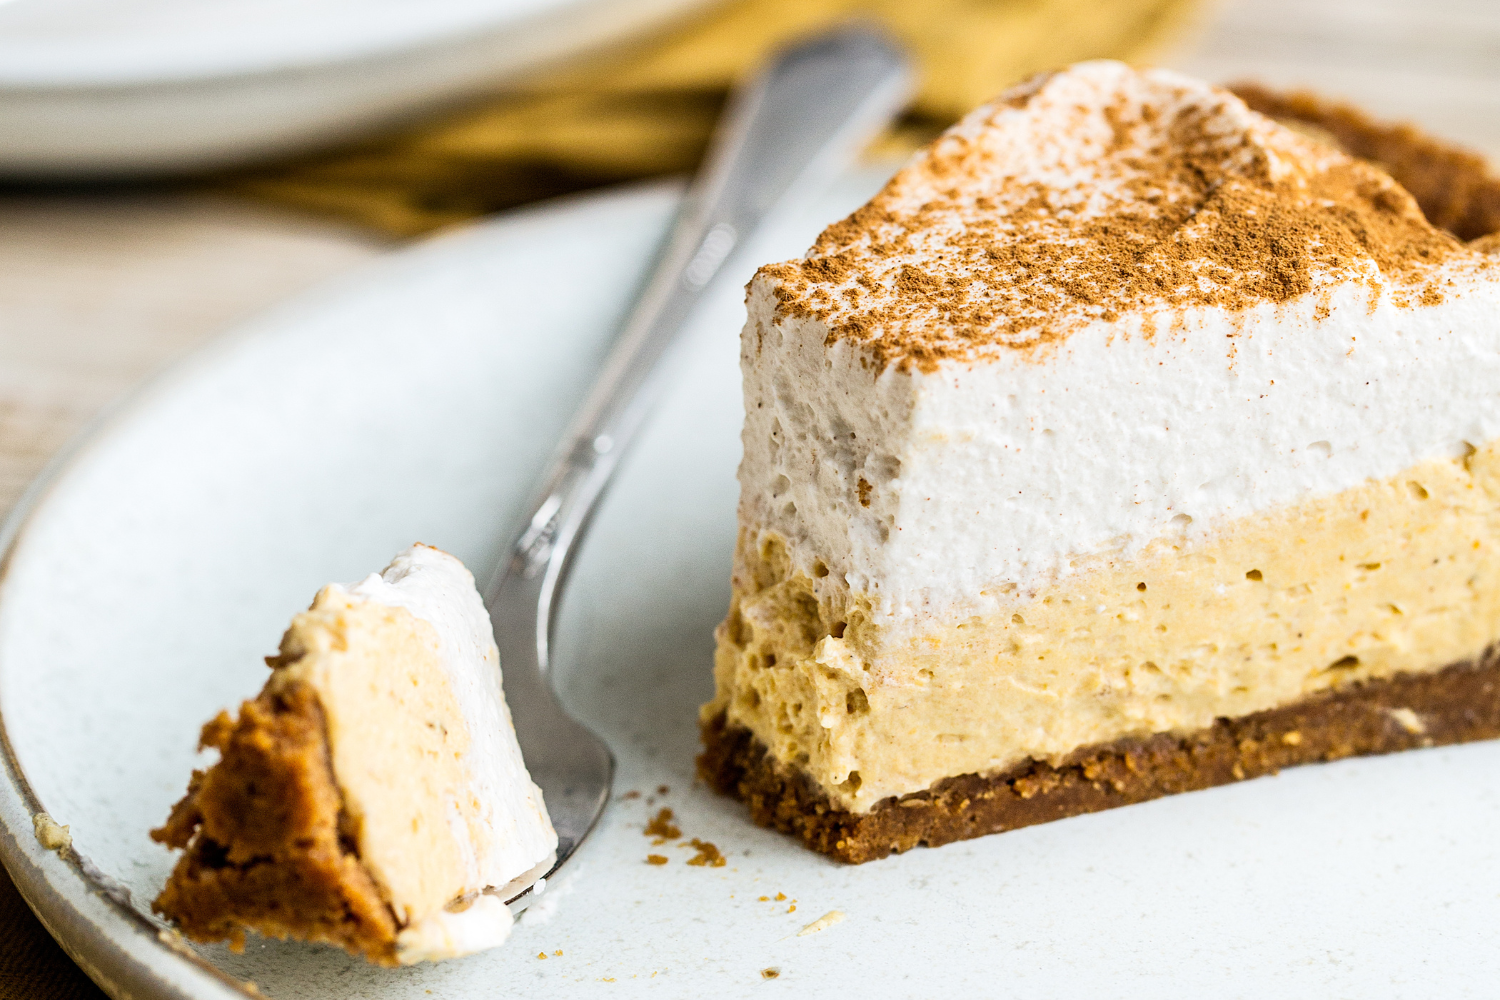
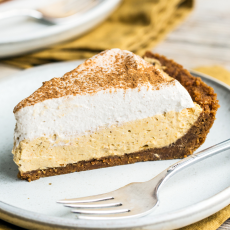
Texture: The crust is crunchy, the mousse filling is fluffy, and the whipped cream on top is light and creamy.
Ease: You will dirty a few bowls to assemble the pie, but you won’t be taking up any space in your oven while doing it!
Pros: Fun and delightful twist on the classic pumpkin pie that you can make ahead of time without the oven.
Cons: None!
Would I make this again? Absolutely, this might become a Thanksgiving essential!
This post may contain affiliate links. Read our disclosure policy.
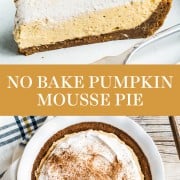


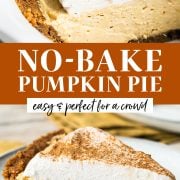
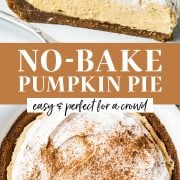
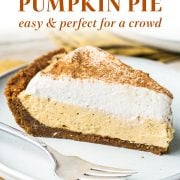
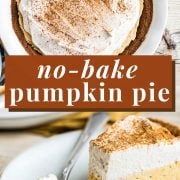
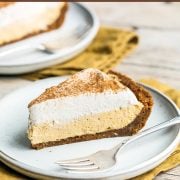
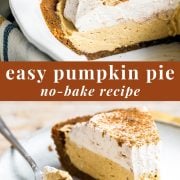
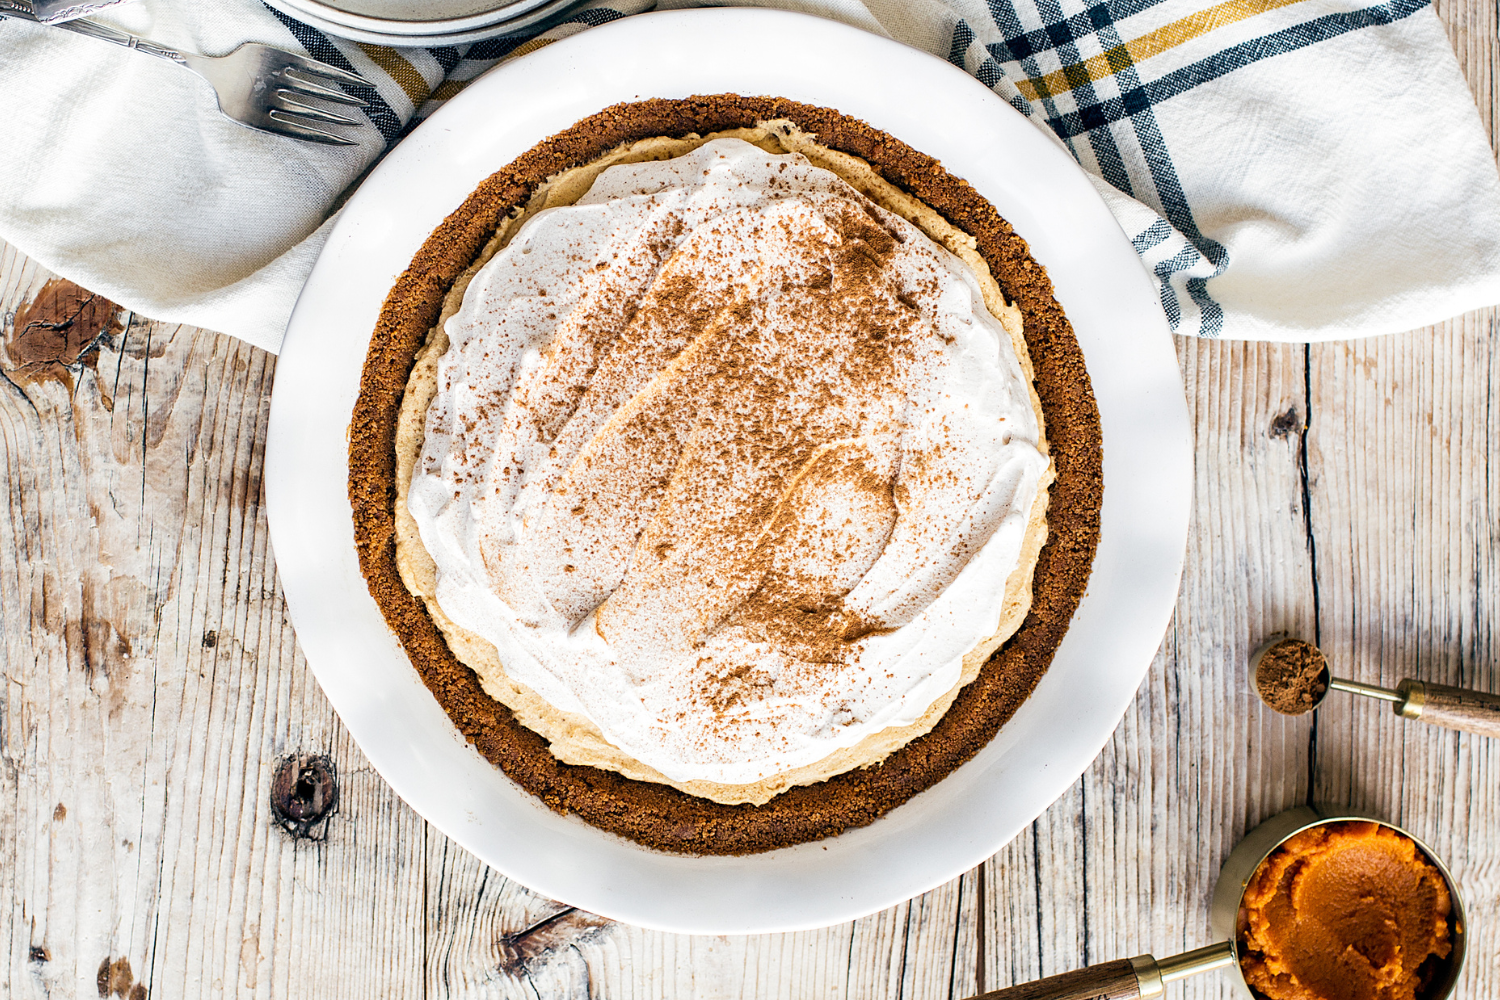
This No Bake Pumpkin Mousse Pie takes all the best things about pumpkin pie and adds them to a light, creamy, and utterly delicious no-bake variation.
Pumpkin pie has never been my favorite Thanksgiving dessert. I think it’s because it can often be pretty bland and boring. Especially in comparison to any show-stopping pies on the dessert table like a flavorful Caramel Apple Streusel Pie or a decadent Pecan Pie.
This pie puts a new, fun spin on pumpkin pie. And, bonus: it won’t take up precious space in your oven.

The oven is valuable real estate in my kitchen this time of year. The last thing you want is to do any more mental time and temperature calculations trying to figure out just how you’ll cook everything, in what order, and at what time.
So I decided to create a no-bake pumpkin pie that would be perfect for Thanksgiving or Friendsgiving. This pie is light and delicate, not dense like your traditional pumpkin pie – and it’s super easy to make! Just check out Cathy’s review below:
Reader Love
This is SO GOOD – I will be making it for the 4th Thanksgiving in a row. I am definitely not a baker, but I can mix ingredients with the best of ’em, so I am happy and proud to finally be able to provide a holiday dessert that everyone enjoys. Thank you!
–
I truly love this No Bake Pumpkin Mousse Pie and I hope your family will too!

Sprinkle of Science
How to Make No Bake Pumpkin Mousse Pie
The Biscoff Cookie Crust
One of my favorite parts about this recipe is the Biscoff cookie crust! Biscoff cookies (aka Speculoos cookies) are kind of a cross between gingersnaps and graham crackers, loaded with warm comforting spices and an almost caramelized sweetness. I find them at most grocery stores or Target in the packaged cookie aisle, but you can also grab them online here.
Crust Tips:
- Since there’s no baking involved in this recipe, it’s important to use a generous amount of butter in the crust so it won’t crumble too much as you slice it.
- Be sure to really pack the crust into the pie pan.
- The bottom of a measuring cup or a tart tamper makes easy work of this.
Can I Use a Different Crust?
You can use gingersnap cookies, graham crackers, or digestive biscuits instead. You’ll need two scant cups of cookie crumbs (about 15 full graham crackers). It’s easiest to swap out the cookie option if you have a scale and can use the weight measurement provided in the recipe.
Note that you may need a little additional melted butter if using a different type of cracker, so add just enough butter so it holds together when pressed.
The Spices
Be sure to use fresh spices for the best flavor. If you open your spice jar and the aroma isn’t strong (or especially if it’s expired), it’s time to replace it.
Pumpkin Mousse Pie Filling Tips
- You will need an electric mixer for multiple components of this recipe.
- A stand mixer is ideal, but a hand mixer will work just fine.
- The filling needs to set for at least 6 hours. I usually just make the pie the night before I plan to serve it.
- Do not use homemade pumpkin puree! It’s far too watery for this recipe. More on this just below.
The Pumpkin Puree
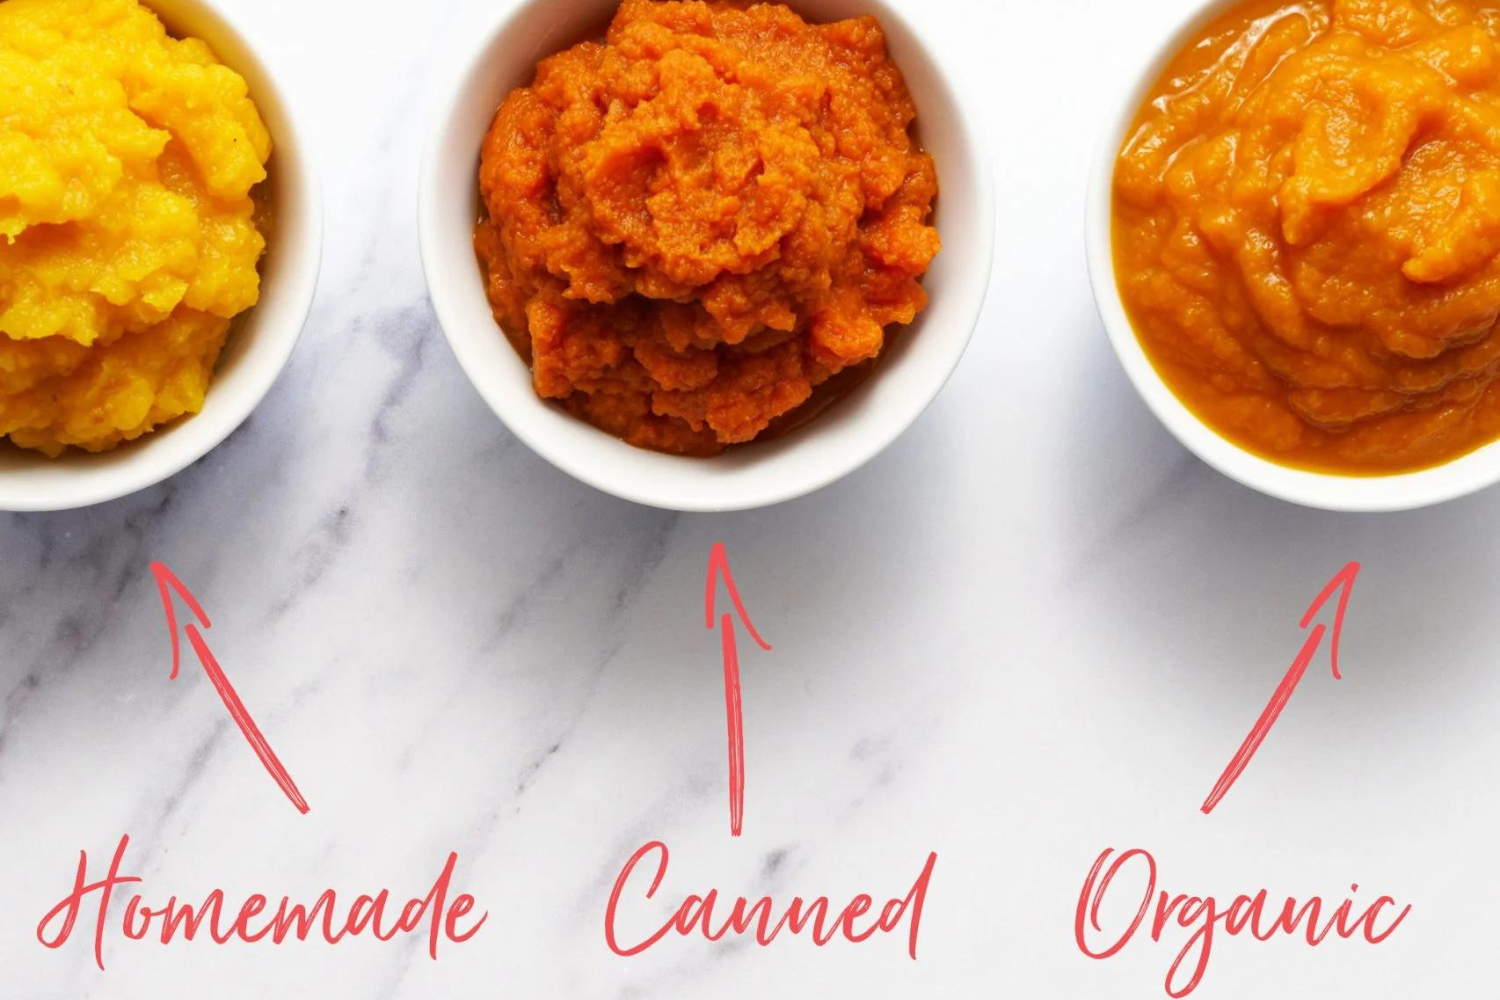
I used store-bought canned pumpkin puree for this Pumpkin Mousse Pie recipe. Do not use homemade pumpkin puree in this recipe because it will add too much excess liquid. Do not use canned pumpkin pie filling, either – it is not the same thing as pumpkin puree.
Read Next: Pumpkin Cheesecake With Biscoff Cookie Crust
Check out my Fresh vs. Canned Pumpkin article for the differences between using fresh pumpkin puree, regular canned pumpkin, and organic canned pumpkin.
Tessa’s Tip
If you have leftover canned pumpkin puree, try my Pumpkin Spice Coffee Cake or Pumpkin Muffins for the perfect Thanksgiving breakfast, or my Brown Butter Pumpkin Chocolate Chip Cookies for a delicious fall sweet treat!
The Whipped Cream Topping
- Be sure to top the pie with the whipped cream no more than a few hours before serving.
- The whipped cream will begin to deflate and weep if topped too far in advance.
- You can also use stabilized whipped cream if you need to make this pie further in advance or if you’re traveling with it.
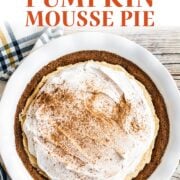
- I love to garnish the pie with a sprinkling of ground cinnamon, or even a sprinkle of ground Biscoff cookies, for a beautiful presentation.
Which Pie Pan Should I Use for This Recipe?
This recipe was written to use a 9-inch pie pan. Because this pie doesn’t go in the oven, the pie pan material doesn’t matter as much as it would for a baked pie. Check out my Best Pie Pan article for more info on pie pans.
How to Make No-Bake Pumpkin Mousse Pie Ahead of Time
Once the crust and mousse filling are made, the pie can be stored for up to 2 days covered in the refrigerator. As mentioned above, the whipped cream should be added shortly before serving for the prettiest presentation, but if you don’t mind it looking a little deflated, you can add the whipped cream up to 1 day before.
Read Next: Homemade Cranberry Sauce (Bright, Fresh, & Easy)
Can You Freeze Pumpkin Mousse Pie?
Yes! Pumpkin Mousse Pie can be frozen before adding the whipped cream, but doing so may slightly alter the texture after thawing. Place inside an airtight container and freeze for up to one month. Thaw overnight in the refrigerator before adding whipped cream and serving.
More Pie Recipes You’ll Love:
Email This Recipe
Enter your email, and we’ll send it to your inbox.
Ingredients
For the crust:
- 1 (8.8 ounce or 250 gram) package Biscoff / Speculoos cookies
- 7 tablespoons (99 grams) unsalted butter, melted
For the pumpkin mousse:
- 1 cup (237 grams) heavy whipping cream, cold
- 4 ounces (113 grams) cream cheese, at room temperature
- 1/4 cup (50 grams) light brown sugar
- 1/2 cup (122 grams) canned pure pumpkin puree
- 1 teaspoon vanilla extract
- 1/2 teaspoon ground cinnamon
- 1/8 teaspoon ground cloves
- 1/8 teaspoon ground nutmeg
- 1/8 teaspoon ground ginger
For the whipped cream:
- 1 cup (237 grams) heavy cream, cold
- 3 tablespoons (23 grams) powdered sugar, sifted
- 1 teaspoon vanilla extract
- 1 teaspoon ground cinnamon
Instructions
Make the crust:
- Spray a 9-inch pie dish with cooking spray.
- Place the cookies in the bowl of a food processor. Pulse until finely ground. Add the butter and pulse until moistened. Press the mixture into the bottom and up the sides of the prepared pie dish.
Make the pumpkin mousse:
- In the bowl of an electric mixer fitted with the whisk attachment, beat the cream until medium-stiff peaks form. Set aside.
- In a separate large bowl, use an electric mixer fitted with the paddle attachment to beat the cream cheese on medium-high speed until smooth and creamy, about 30 seconds. Add in the brown sugar, pumpkin puree, vanilla, cinnamon, cloves, nutmeg, and ginger, and continue to beat until very well combined, with no pockets of cream cheese remaining, scraping down the bottom and sides of the bowl as needed.
- Gently fold the whipped cream into the pumpkin mixture until combined. Spread gently and evenly into the prepared crust. Cover with plastic wrap and refrigerate until set, at least 6 hours or overnight.
Make the whipped cream:
- In a large bowl, use an electric mixer fitted with the whisk attachment to beat the cream until it begins to thicken. Add in the powdered sugar, vanilla, and cinnamon and continue to whip until medium peaks form.
- Shortly before serving, spread the whipped cream over the pie. Sprinkle with more cinnamon to garnish, if desired. Serve.
Notes
This post was originally published in 2018 and has been updated with additional recipe tips. Photos by Ashley McLaughlin.


Love this recipe! I doubled the spices (except for the cloves) and added 1 TBS powdered sugar to the mouse to enhance the flavor. I tried (and loved) the whipping cream made with gelatin. It made a beautiful topping that lasted. A definite hit with my guests, even over the berry and apple pie!
This recipe was just OK – the pumpkin flavor is very muted. The whipped cream topping was a bit too much cream for my personal preference, as the pie itself tastes mostly like cream. The crust does not hold together very well. Would not make again.
My favorite hit, no miss for guests
Literally just got done making the first half, and when I tasted the filling I already knew it was going to be good. This is literally the perfect recipe if you aren’t a fan of pumpkin pie because it’s too heavy and you like cheesecake. It’s light, fluffy, hint of tang from cream cheese and still feels festive with a hit of pumpkin. the Biscoff crumbles adds a bit of texture. I might top it with crumbled pralines after I put whipped topping right before serving. This will be a classic at my thanksgiving table for years to come.
Woohoo! So happy to hear that, Priscilla!
I can’t find Spekuloos at any Trader Joe’s and would love to make this! What can I substitute with?? Thank you!!!
Hi Arpee! Tessa included lots of cookie substitution ideas in the pink tip box, above the recipe. Happy baking!
It took :20 to make over all, with using store bought crust. I can see we’re a more dense crust would be better.
Had 2 issues. First is I could not taste any pumpkin. Not even the aftertaste. I will try to add 50% less mousse to see it that helps.
The other issue is that I followed the recipe strict. The volume of the topping is not the recipe volume. Not a deal breaker, but questionable.
Yes, I would suggest this recipe. Try it out, make tweaks as needed.
So easy to make and so delicious! There’s only 1/4 cup of brown sugar in the mousse which is just the right amount of sweetness. And the biscotti crust was perfect for the pie. The homemade whipped cream added just the right touch to this very light, very flavorful pie!
Can I sub mascarpone for cream cheese? I don’t like the tang of cream cheese
Hi Emilee! We haven’t tried that, so we can’t say for sure! Let us know how it goes if you give that a try 🙂
Do you make the whipped cream twice? Once to mix in and once to top with?
Hi Cass! Yes, you’ll make two separate amounts of whipped cream, one to gently fold into the filling to make the mousse, and once more to top with. Be sure to read through the instructions completely before beginning, so you know how the recipe will flow. Also check out the pink tip box, above the recipe, for more tips! Happy baking 🙂