This post may contain affiliate links. Read our disclosure policy.
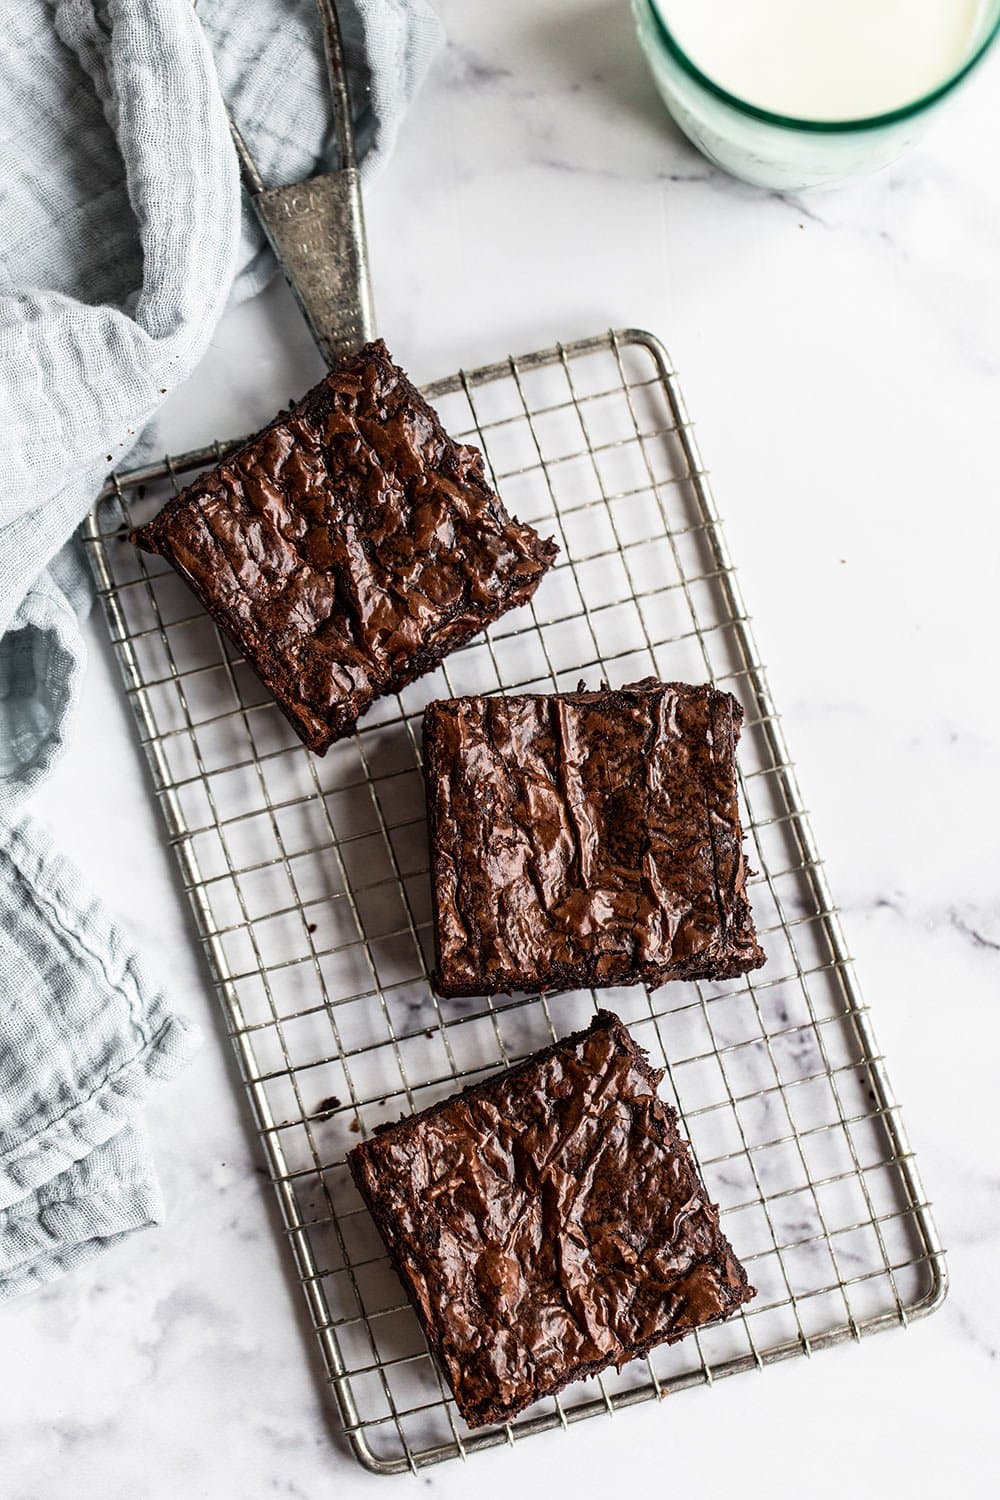
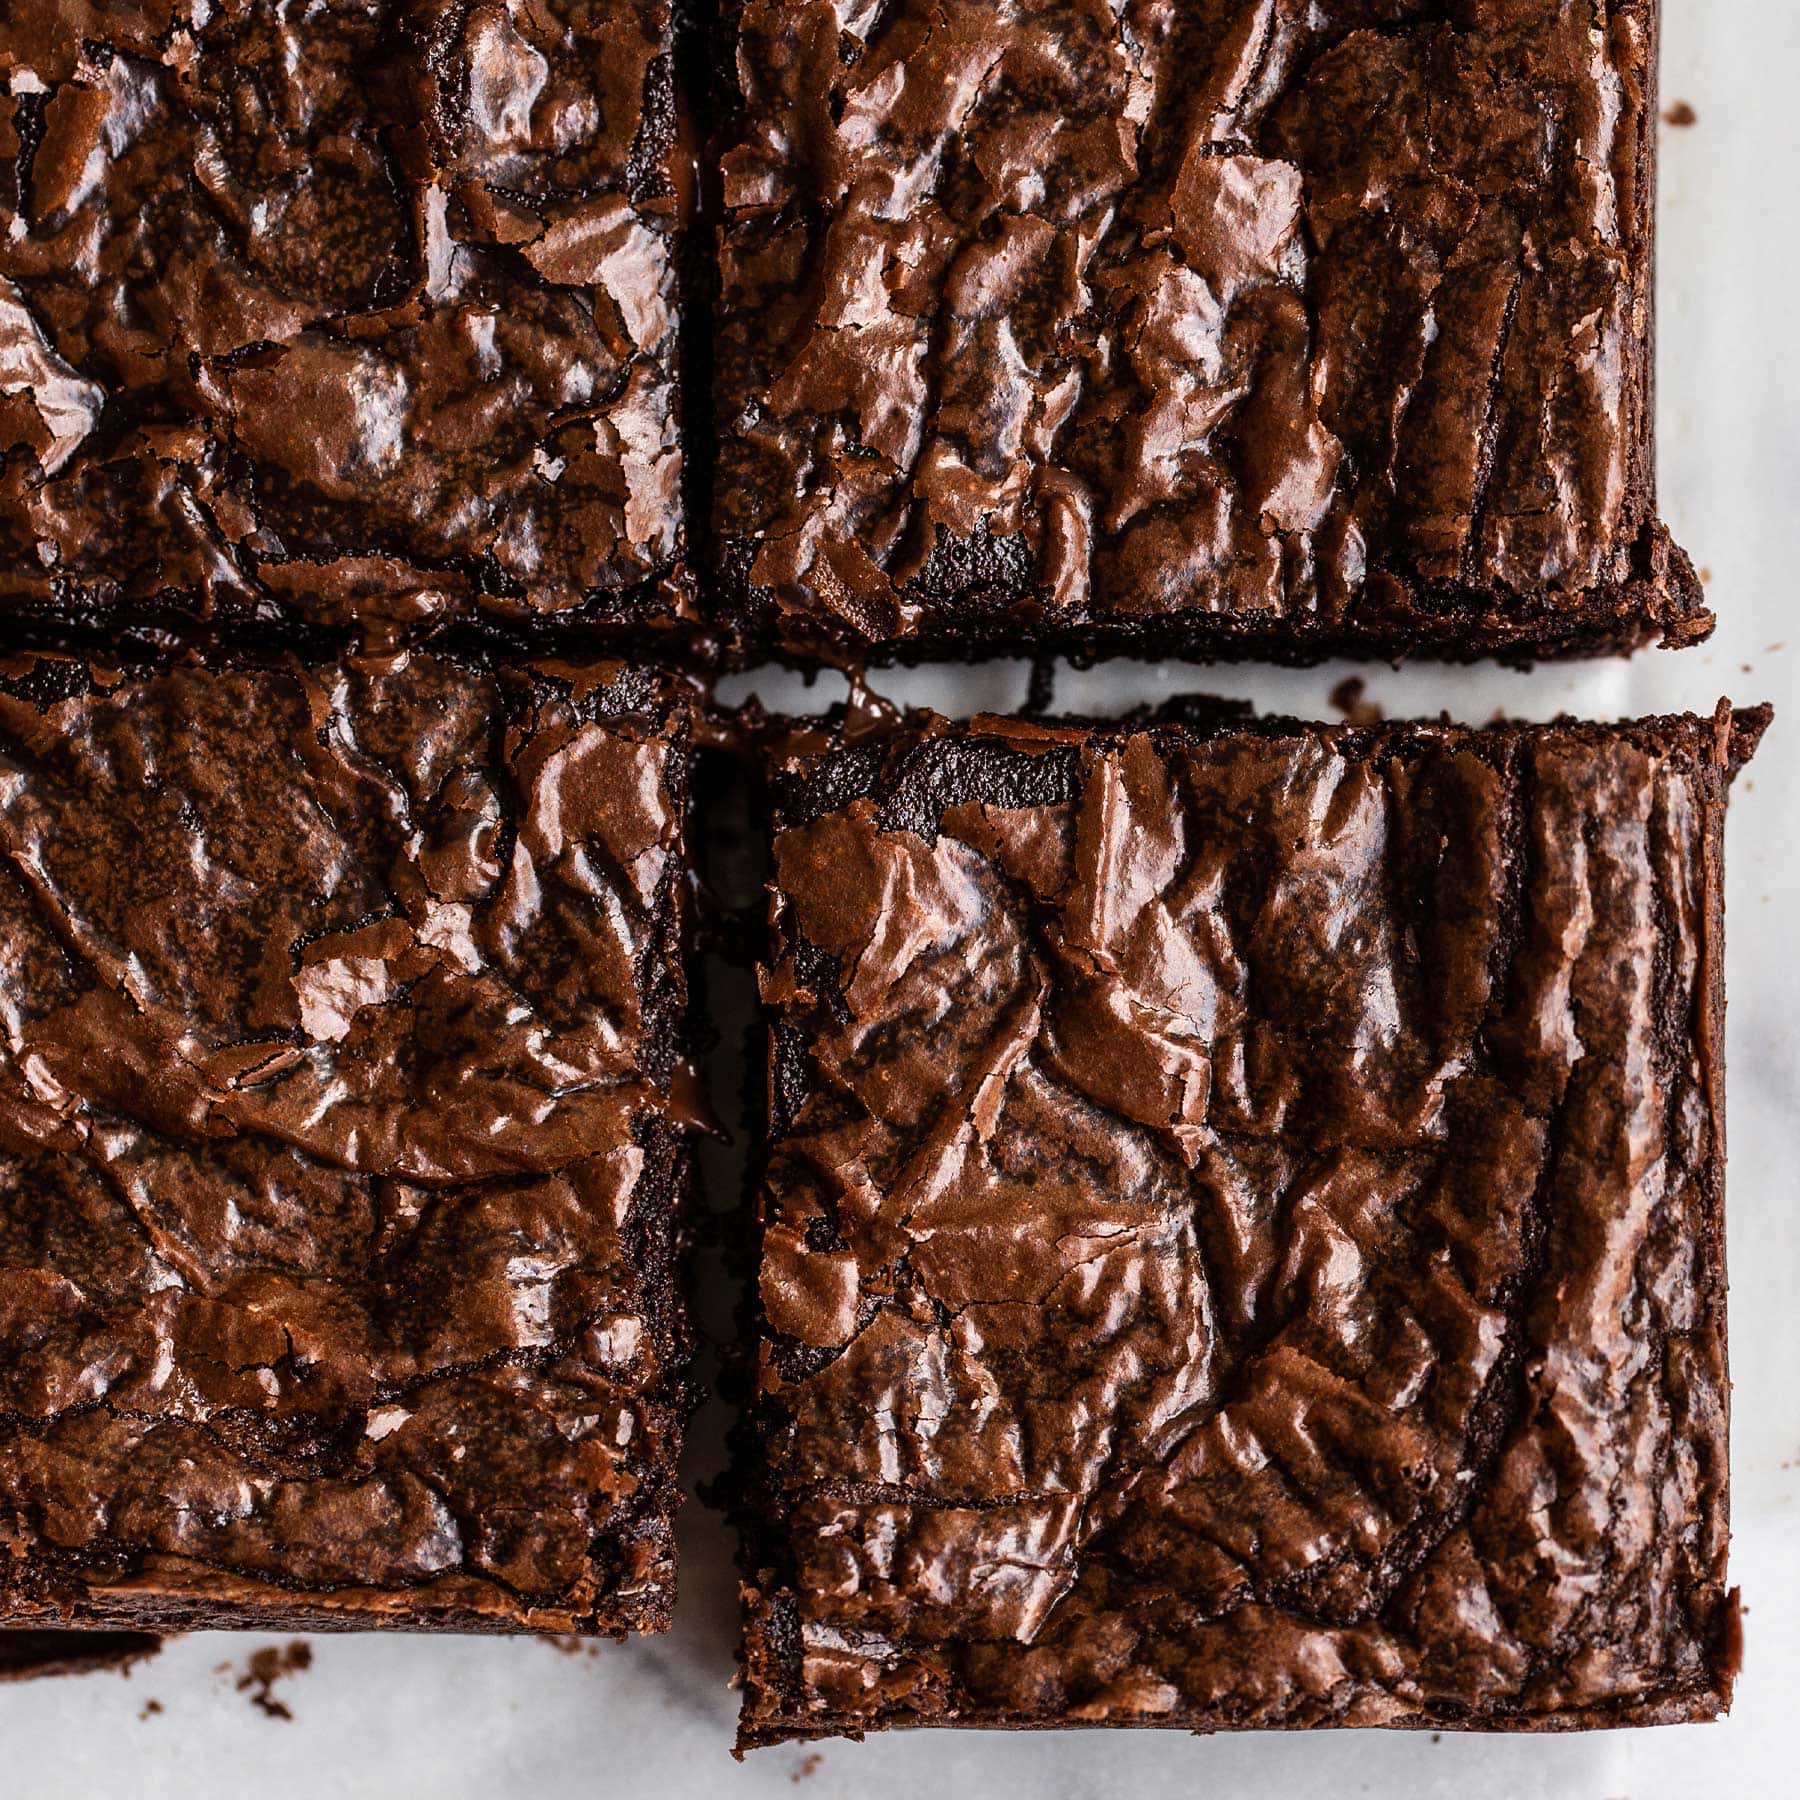
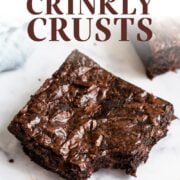
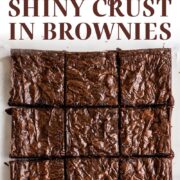
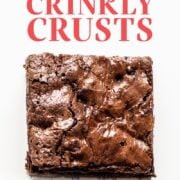
The true hallmark of a perfect brownie is one that has that enviable shiny, glossy, crinkly, tissue thin crust on top. Not every recipe yields that gorgeous crust. And not every baker can produce that crust reliably.
At least, not until they read this article! I’m diving into the science behind that shiny thin crust we all love and want for our brownies.
I have a LOT of brownie recipes in the archives of this website. Deciding which one to bake can be a challenge. The good news is that you can apply the methods I detail below to pretty much any recipe. Some of my published recipes already use these methods, and others can be benefitted from them to all but guarantee that brownie crust.
Frustrated with blah brownies?
This cheatsheet has everything you need—from essential tools to foolproof tips plus two crave-worthy recipes—to help you master perfect brownies every time!
The Key To Glossy Brownie Crust? Dissolve Your Sugar Properly!
Dissolving sugar into the brownie batter is the key to developing that shiny crust.
This is a challenge for a couple reasons, and is why that shiny, glossy, tissue thin crust can feel so elusive.
If you notice your brownie batter has lots of graininess to it from the sugar, it likely won’t develop a very pronounced brownie crust.
So what do we do?
There are a few methods to improve how much the sugar dissolves into the batter.
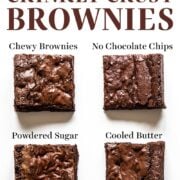
All the methods described below were tested on my most popular brownie recipe: Best Chewy Brownies. That’s the recipe you see photographed in all the comparison shots in this article.
How to Make Brownies with Shiny Thin Crust
Method 1: Add Sugar to Hot Butter
There’s an important caveat to understand regarding this method: sugar only dissolves in water. Not fat. In fact, you can dissolve a lot of sugar in water — twice the amount by weight of sugar in any amount of water as discussed by Dr. Pia Sorensen in Adam Ragusa’s video on investigating how brownie skin forms. If you’ve ever made simple syrup you know how sugar can dissolve completely into water. That same effect won’t happen if you heat oil and add sugar.
About twenty percent of butter is made of water. If that water content is hot from melting the butter when you add in the sugar, it will dissolve more readily into the water. This helps to create that shiny crust, not just on brownies but also chocolate cookies and even chocolate chip cookies using melted butter. I always add the sugar into the hot butter. Look what happens when you don’t:
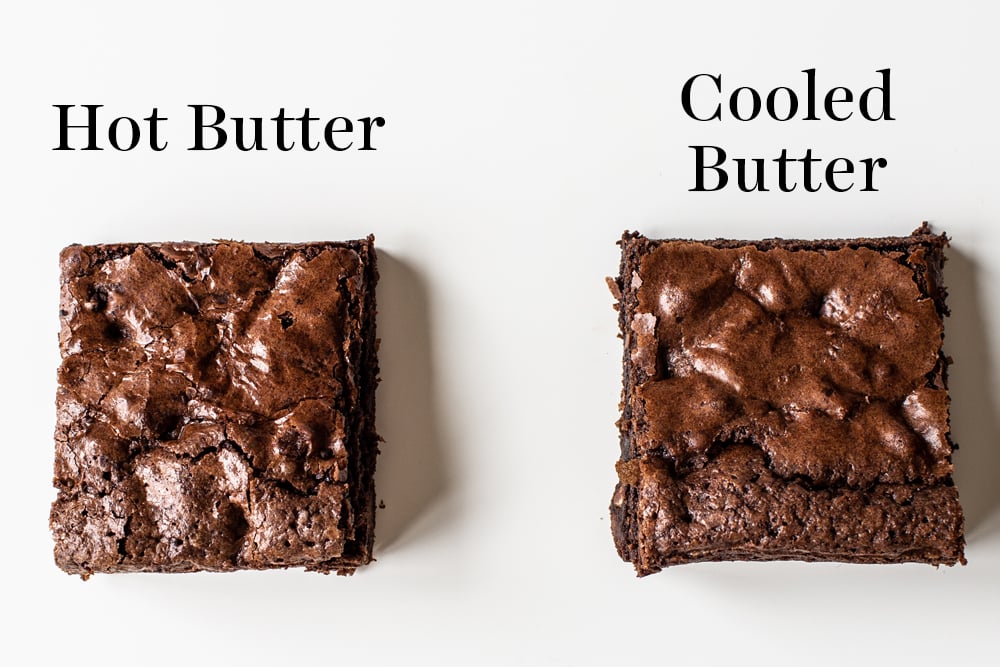
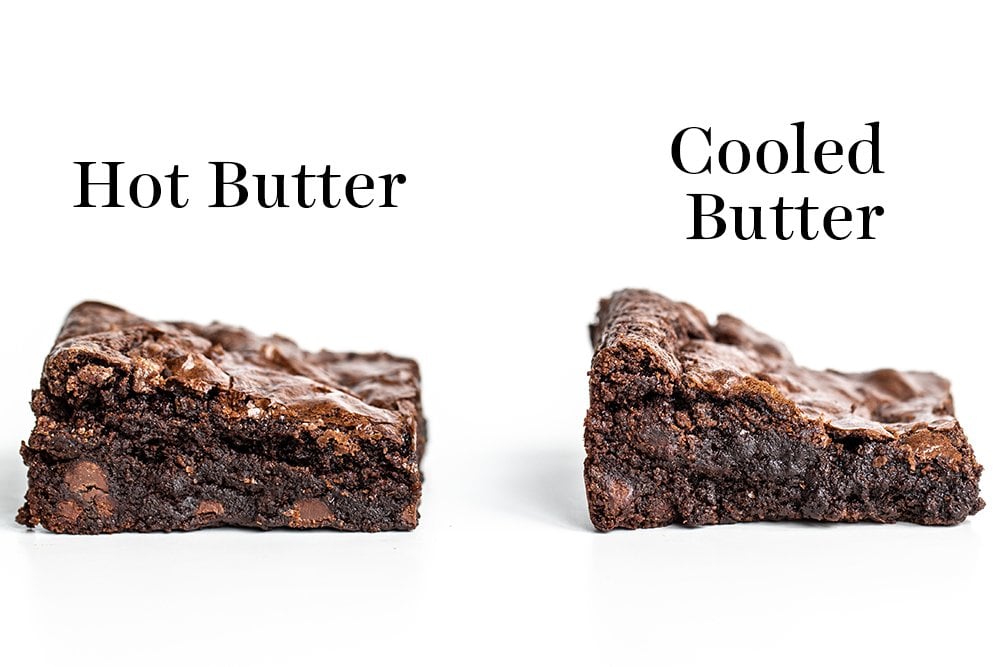
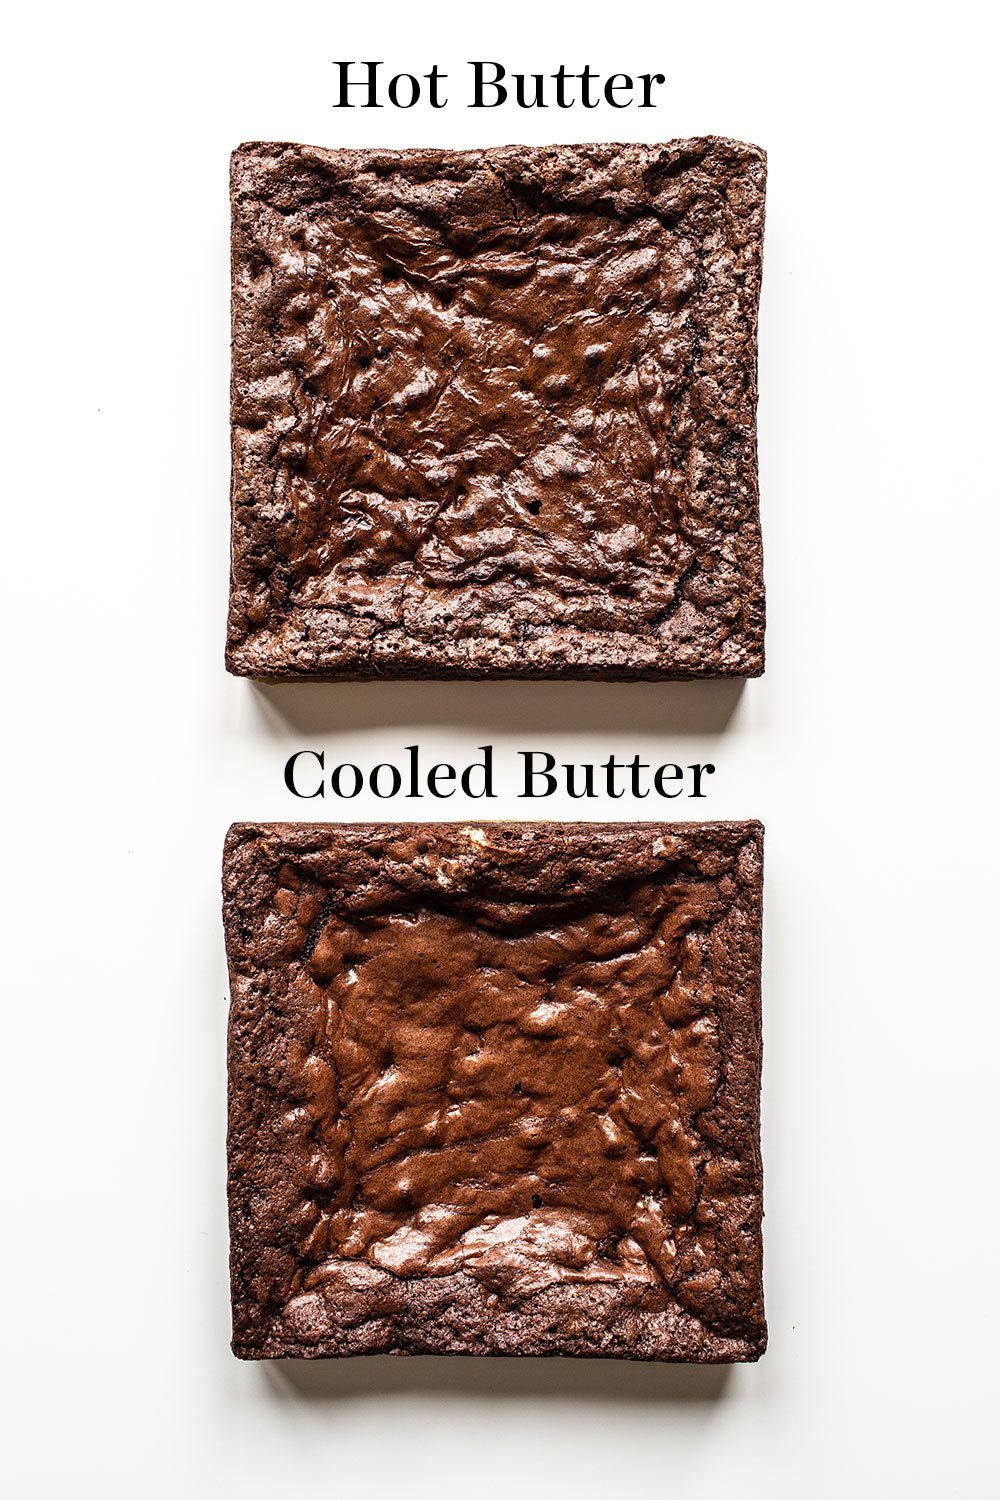
It has the added benefit of cooling the butter more quickly so you can add your eggs sooner without scrambling them.
Method 2: Whipping Eggs + Sugar
I first experimented with this technique of whisking the sugar into the eggs back in 2012. It helps to agitate the sugar to better dissolve into the water content of the egg whites and for the sugar and egg proteins to form bonds.
I originally learned about it from ScientificallySweet.com, but this meringue technique can actually be traced back as far as 1929, as Stella Parks describes in her recipe book, BraveTart: Iconic American Desserts, when discussing how Swans Down changed the brownie game by publishing a brownie recipe in a mail order cookbooklet where the “directions called for whipping the eggs with sugar and for melting the butter and chocolate into a sort of ganache. This made brownies more fudgy than cakey…”
The goal is to aerate the eggs and sugar so much that they create a foam. The intensity and structure of this foam yields different results:
In my Ultimate Fudgy Brownie recipe, I call for whipping the eggs and sugar for 3 minutes. This creates kind of a meringue crackled crust on top.
In my Brown Butter Brownies (pictured above), heavily inspired by Stella Parks, I call for beating the eggs and sugar until they’re completely and totally foamed, which takes around 8 minutes. The time actually totally depends on your mixer power.
In my Best Easy Brownie recipe, I shortcut this foaming technique by calling for whisking the eggs, sugar, and butter together by hand for 1 minute. However, this is done after the sugar is added to the hot butter and melted chocolate mixture. The heat encourages dissolution of the sugar into the water content.
Method 3: Use powdered sugar instead
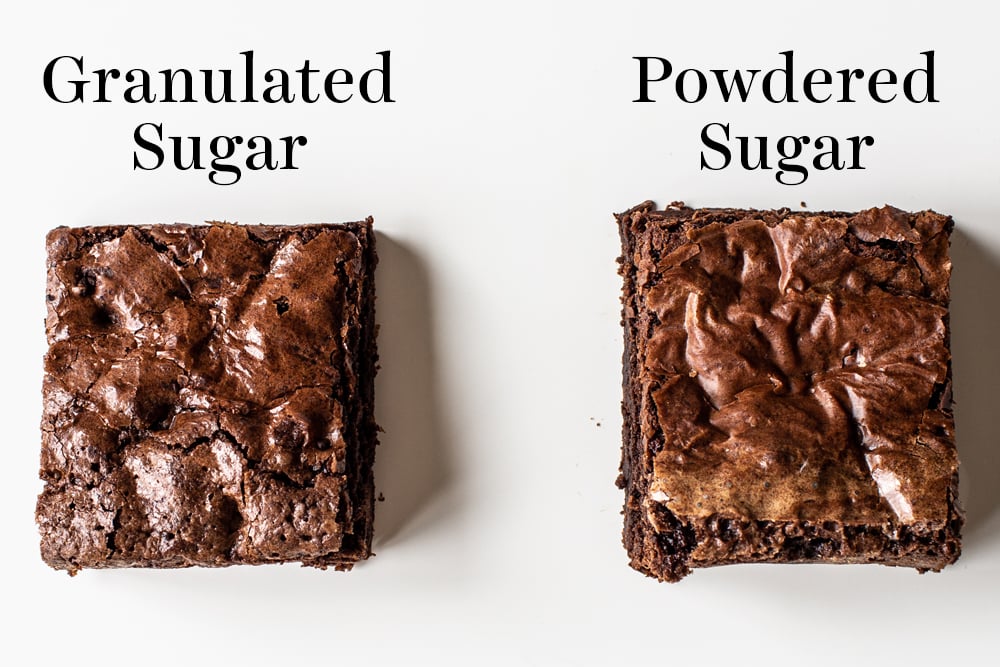
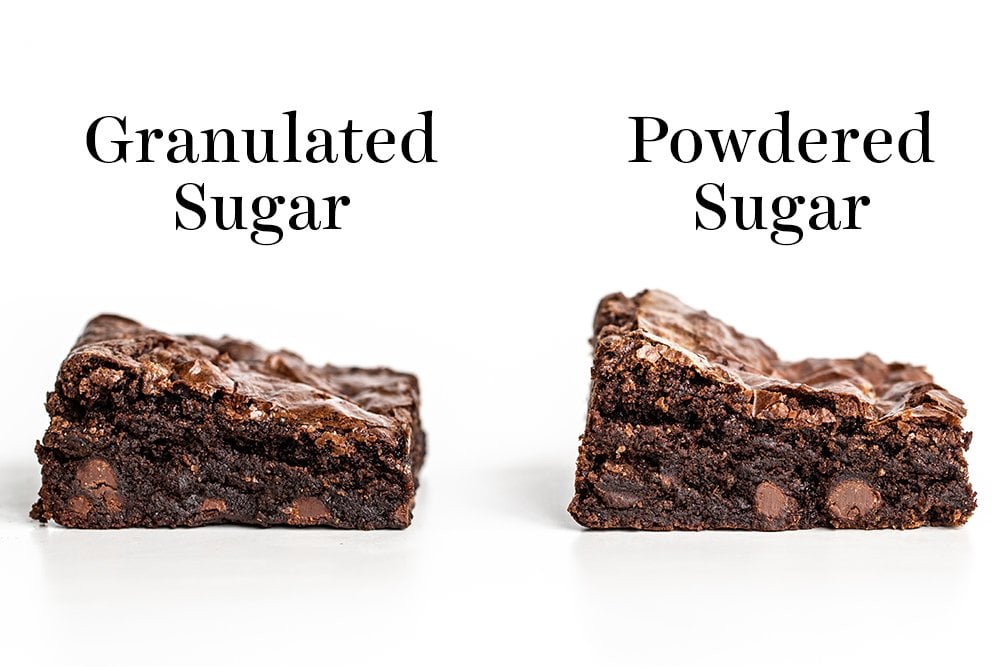
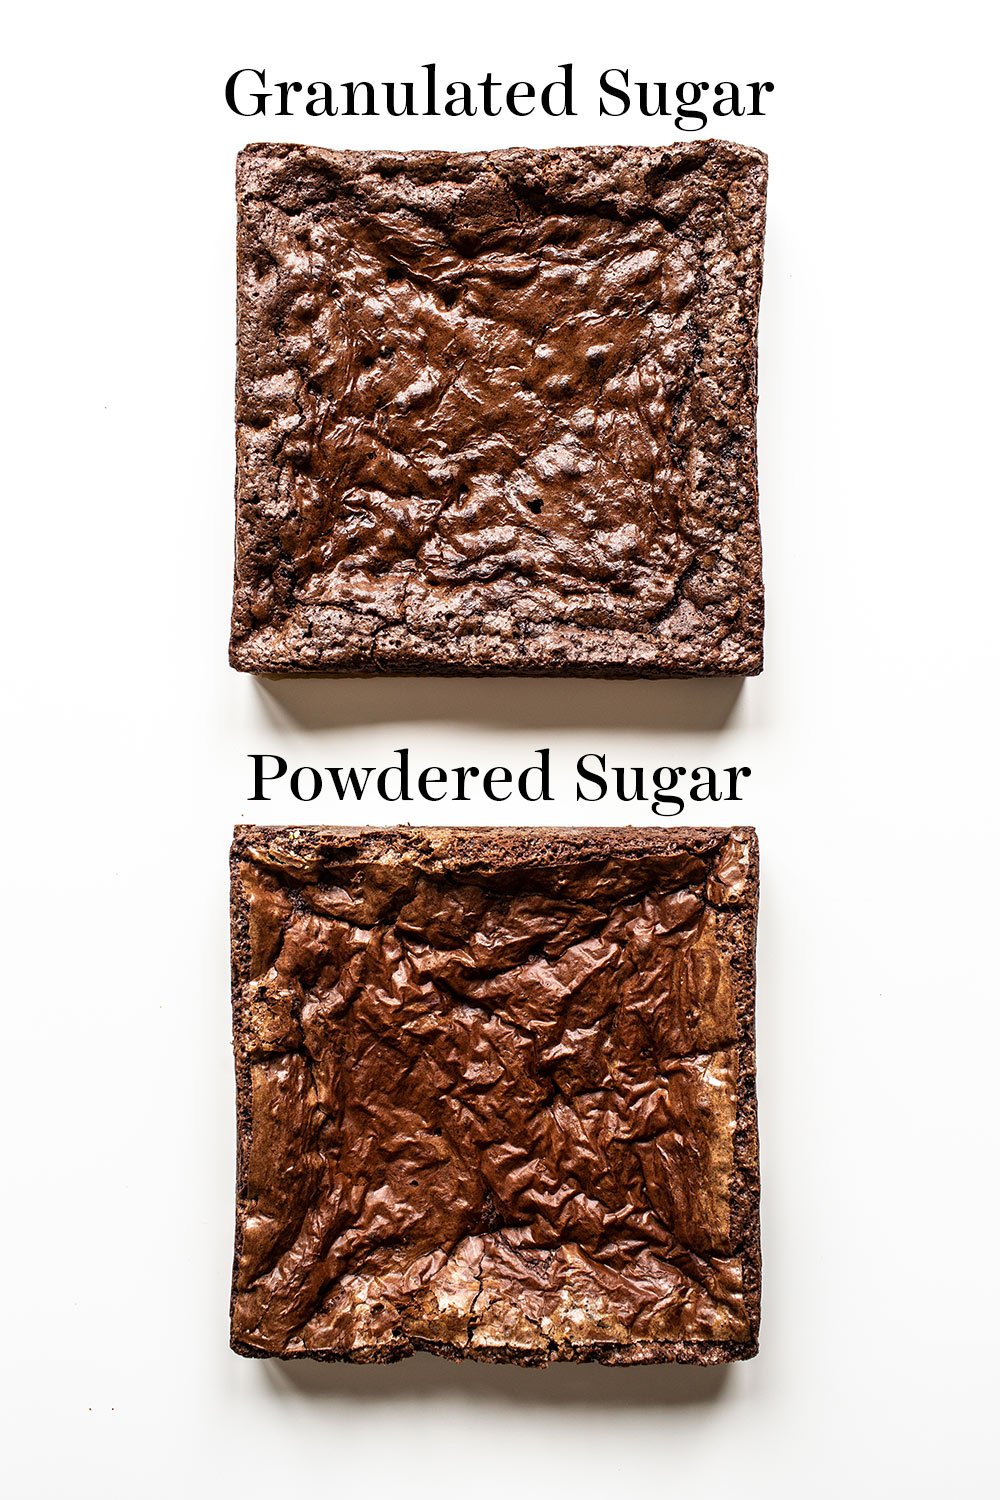
Powdered sugar is finely ground and will dissolve into the batter’s water content much more quickly and easily.
Swap in powdered sugar for granulated sugar using the following conversion:
1 cup granulated sugar = 1 ½ cups plus 2 tablespoons powdered sugar
Or, better yet, use a kitchen scale and just measure the same weight of total sugar.
Important sugar consideration: Your recipe must have ENOUGH sugar to develop a tissue thin crust. The sugar creates viscosity which is required to develop that crust. Well balanced brownie recipes have enough sugar to be fudgy and moist with the crust on top without becoming cloyingly sweet.
How MOISTURE Affects Brownies in Crazy Ways!
When it comes to dissolving sugar into brownie batter, it’s helpful to note there’s a small amount of water content in egg whites. There’s no real water content in melted chocolate. So basically, there’s not a lot of places the sugar can dissolve in a low moisture recipe like brownies! This is good, because as you’ll read below, too much water kills that shiny crust.
I know this seems counterintuitive since we need some water content for the sugar to dissolve into, but too much will create a looser consistency (instead of that thicker viscosity we need). This prevents the surface of the brownies from drying out enough to form that ‘skin.’
That’s why you’ll see me use whole eggs + egg yolks in my recipes. Too many egg whites adds too much water which creates brownies that have lots of holes on top instead of a nice crust.
This is also why my Browned Butter Brownie recipe has such a brilliant crust – the butter’s twenty percent water content has been evaporated in the browning process. Same goes with my Chewy Brownie recipe, which uses part butter, part oil. Oil contains no water.
The moisture conundrum is also why using brown sugar in a brownie recipe can negatively impact that glossy skin.
If you live in a very humid climate, it can be extremely difficult to achieve the brownie crust. Just like it’s difficult to create meringue-based desserts in humid climates, the moisture prevents the top of the brownie batter from drying out enough to create that skin.
Method 4: Use chocolate chips
Most brownie recipes that yield that crinkly crust involve solid chocolate in one form or another. Either you’re melting chocolate into your batter and/or adding chocolate chips.
One thought is that the melted chocolate contains more fat and less moisture than butter. So if a large portion of the fat in the recipe comes from chocolate, there will be less water to prevent that crust from forming.
My Best Chewy Brownie recipe contradicts this as it’s made with only cocoa powder and almost always yields a shiny crust. So I decided to do some testing.
What I discovered was that the chocolate chips can make a significant contribution to the development of that brownie skin. When I’ve made the same brownie recipes with and without chocolate chips, the chips enhance the shiny crust on brownies:
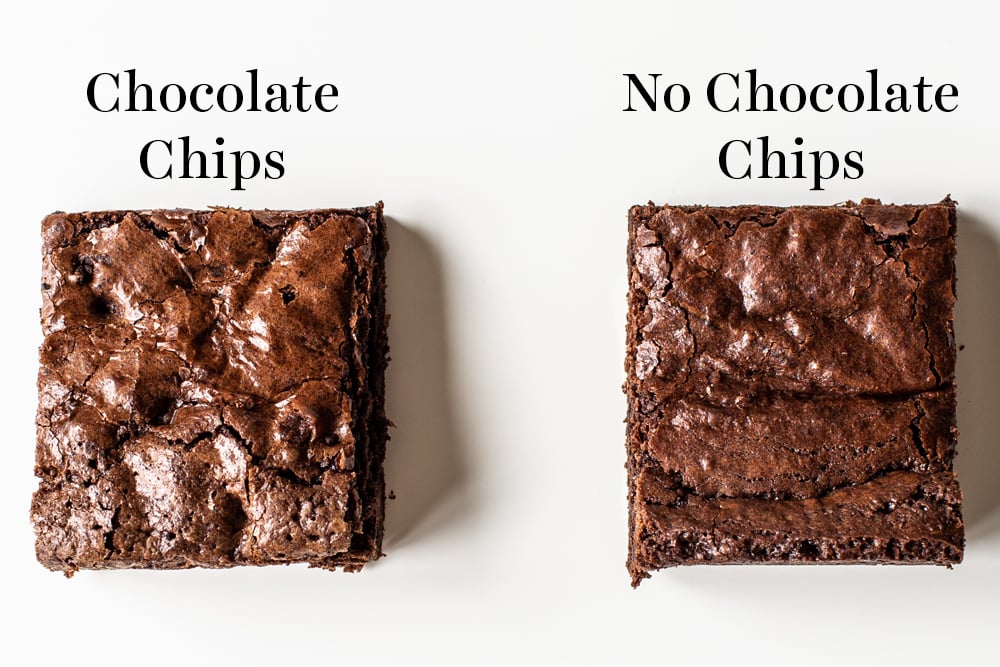
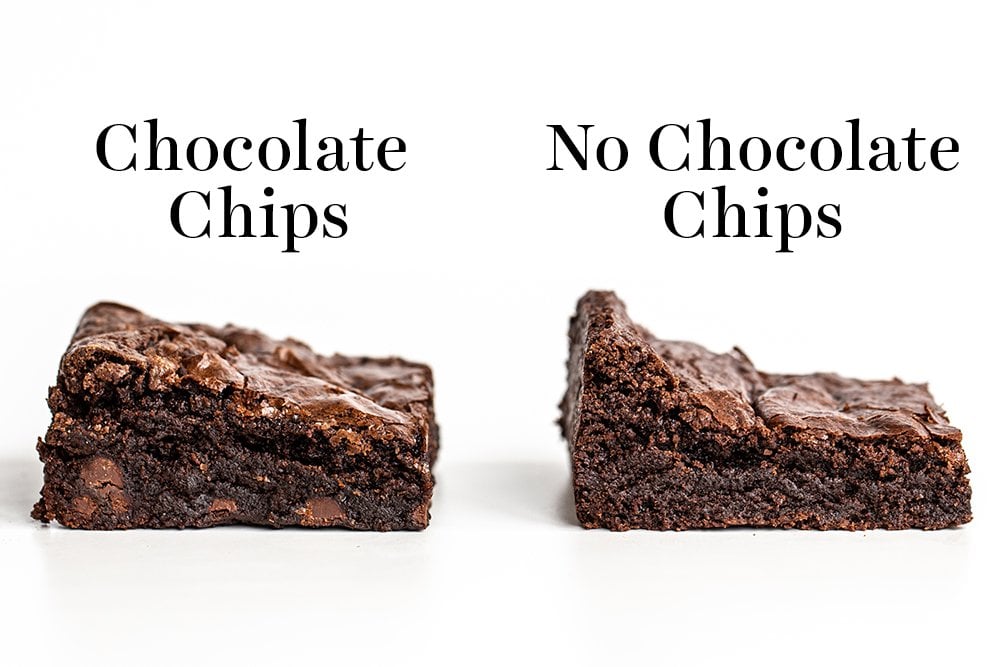
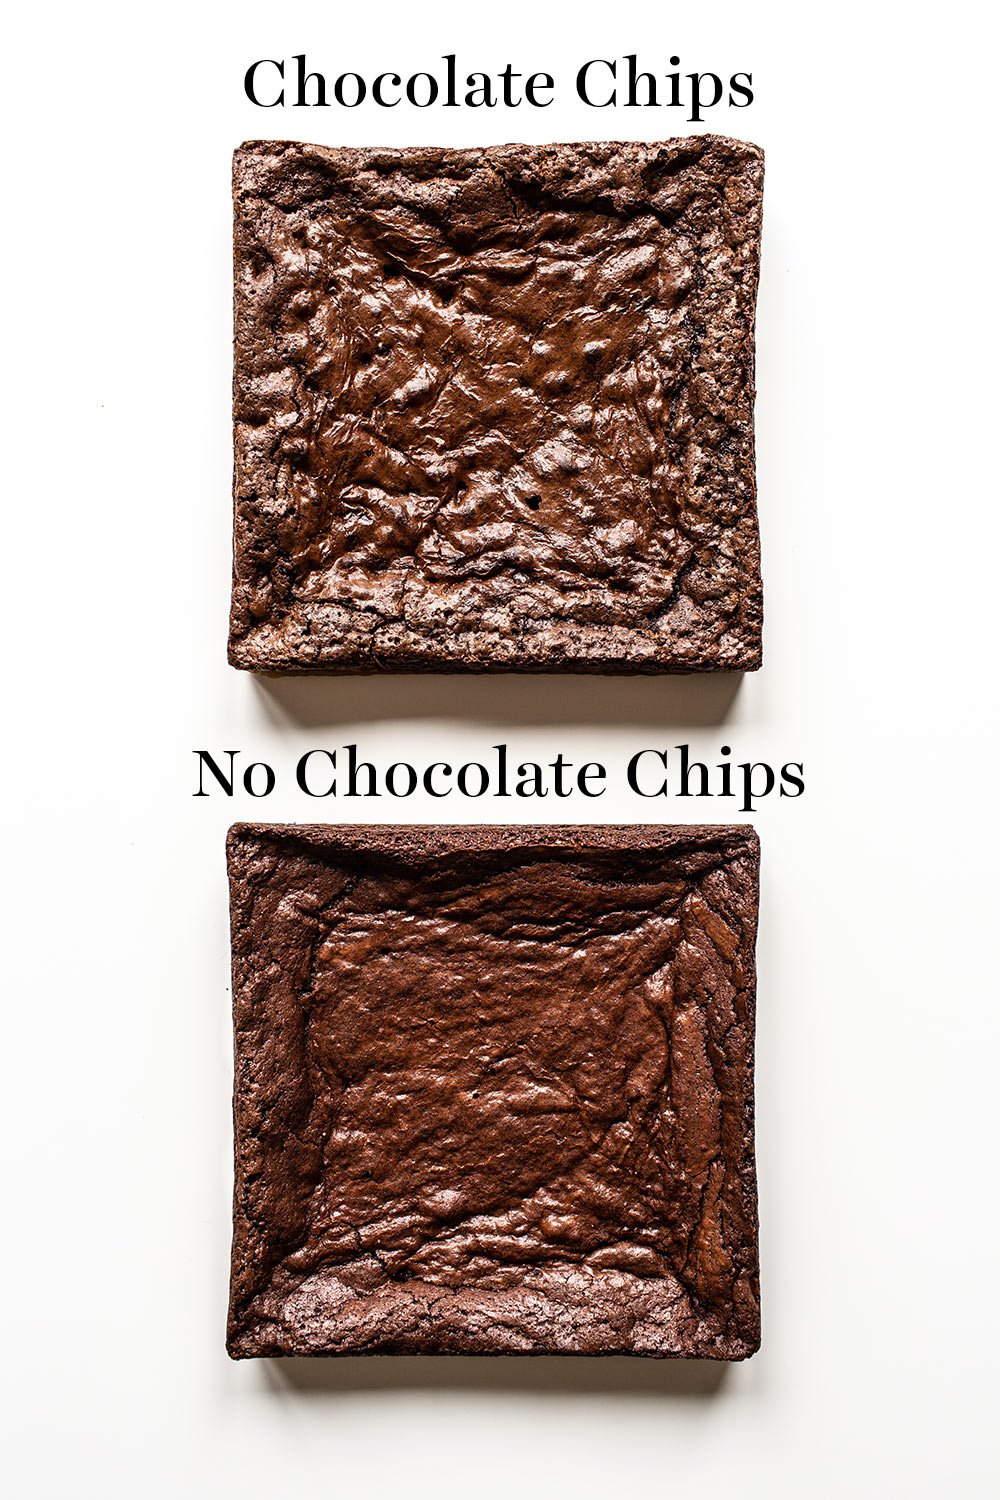
I’m not 100% sure why, but I have two thoughts on this. One is that the soy lecithin and milk solids in chocolate chips aid in the development of that crust. It could also be that chocolate chips include dissolved sugar already, and that’s what helps the crust to develop.
How to Add Chocolate Chips to Brownies:
For an 8 by 8-inch pan of brownies, add around ¾ cup (128 grams) chocolate chips. For a 9 by 13-inch pan of brownies, add 1 ½ cups (256 grams) of chocolate chips. Gently fold the chips in to the brownie batter as the final ingredient.
Bonus Tip: Chill Your Brownie Batter Overnight!
Allowing the brownie batter to sit for an extended period gives the sugar time to dissolve into the water content of the batter. This also thickens the batter.
Alice Medrich, author of Seriously Bitter Sweet: The Ultimate Dessert Maker’s Guide to Chocolate, writes that “refrigerating the brownie batter in the pan for several hours, or as long as two days before baking, wreaks enormous transformations: it improves the top gloss and crustiness, and it also blends the flavors so that the brownies taste much richer — and the texture is chewier too.”
Here are some final side-by-side looks at the SHOCKING differences between all these brownie made from the SAME recipe!!
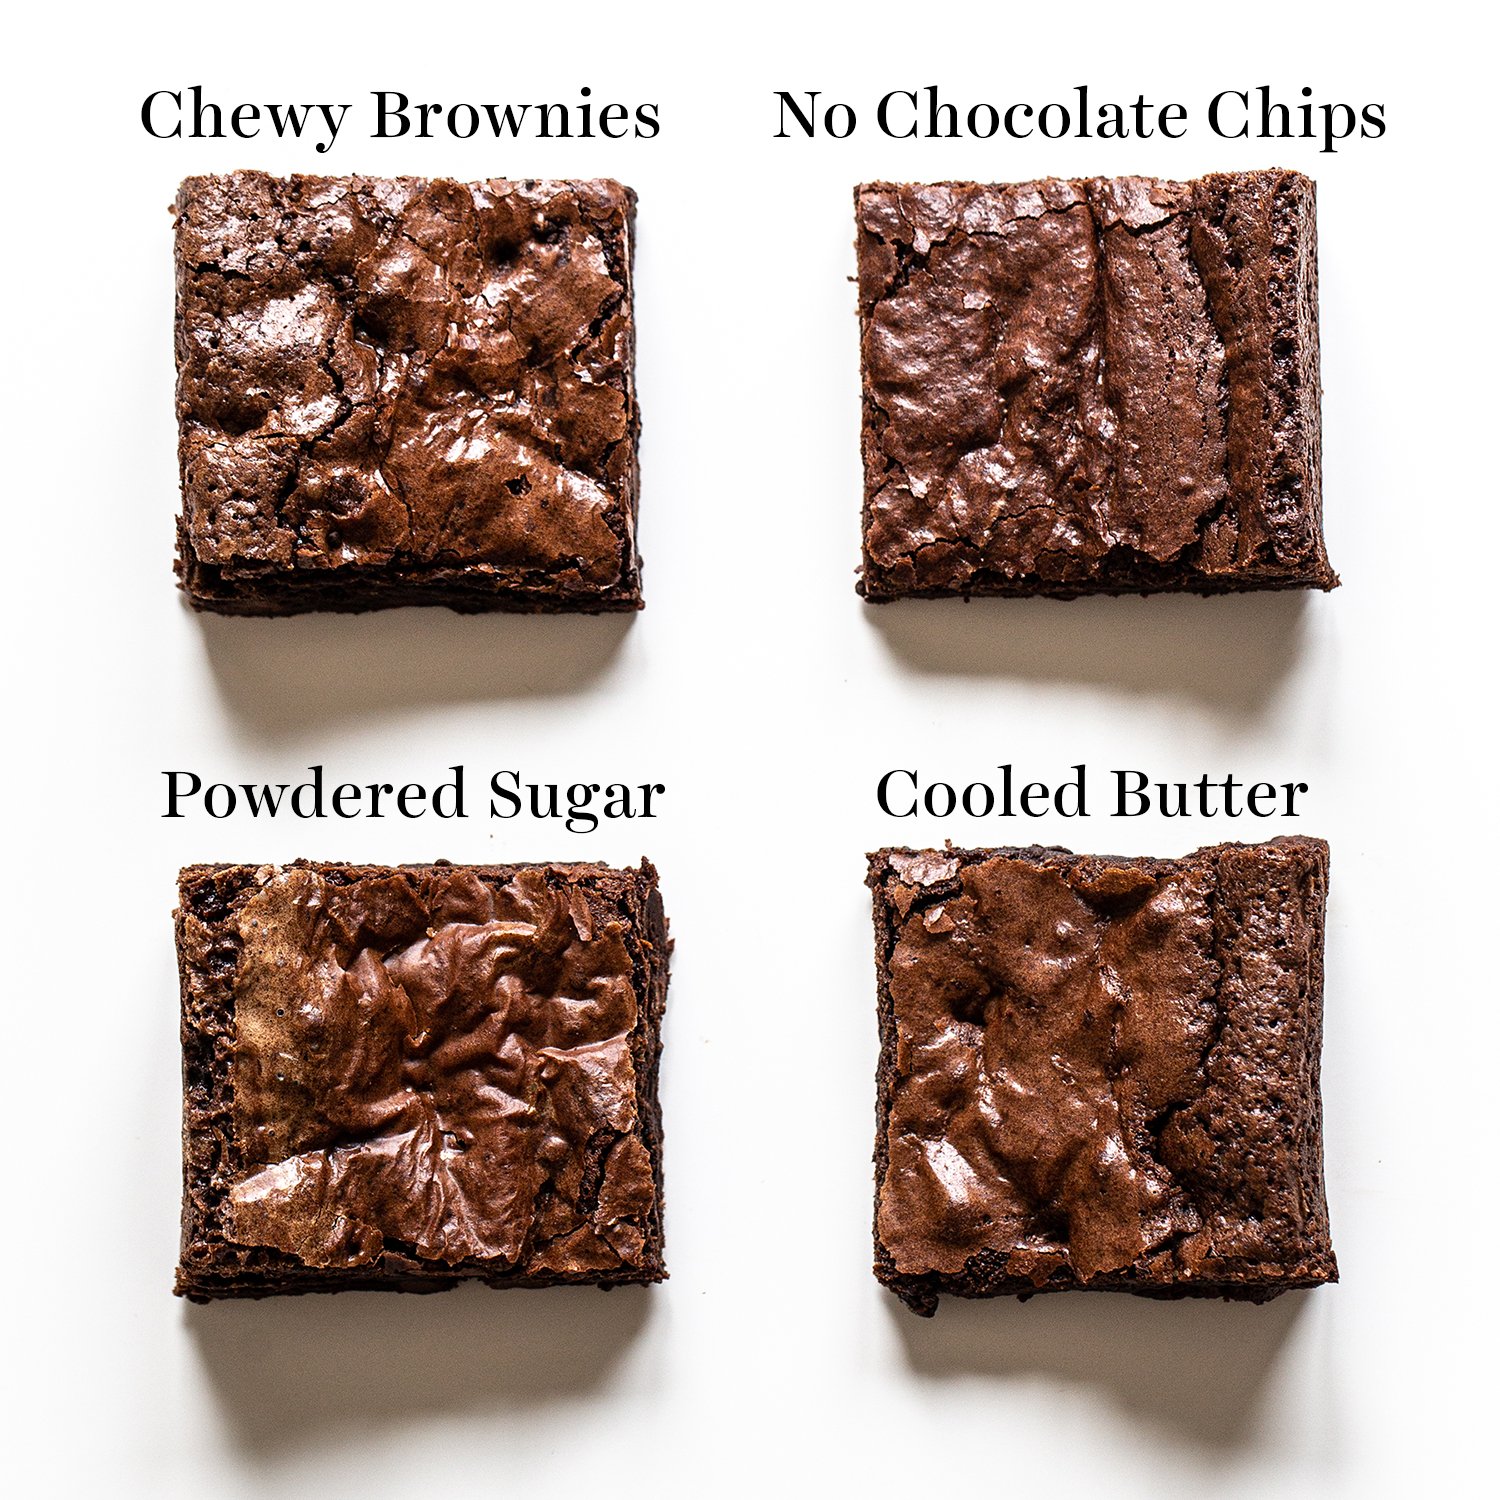
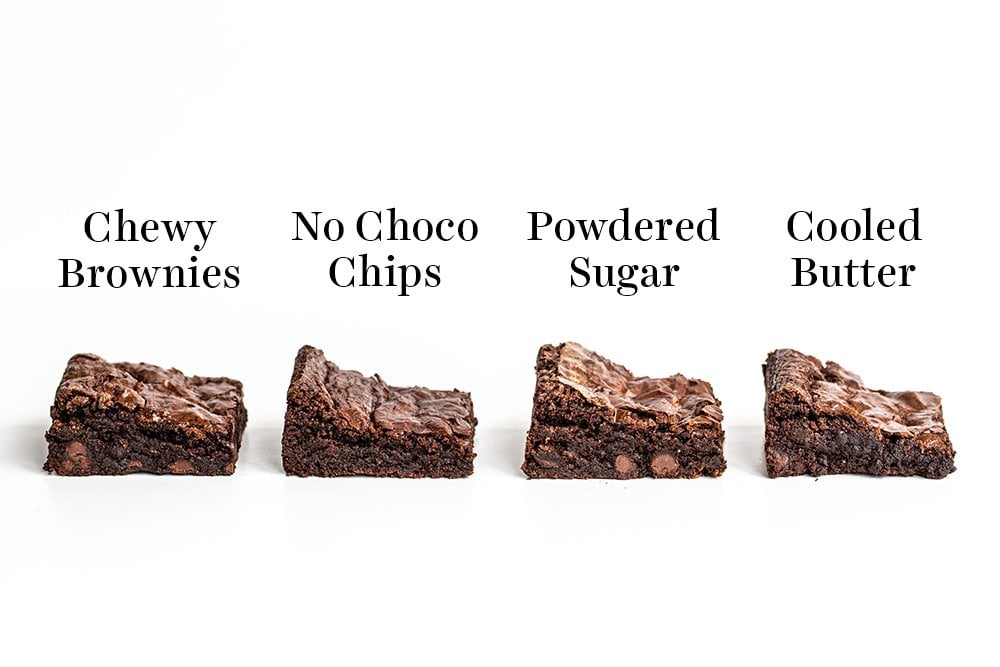
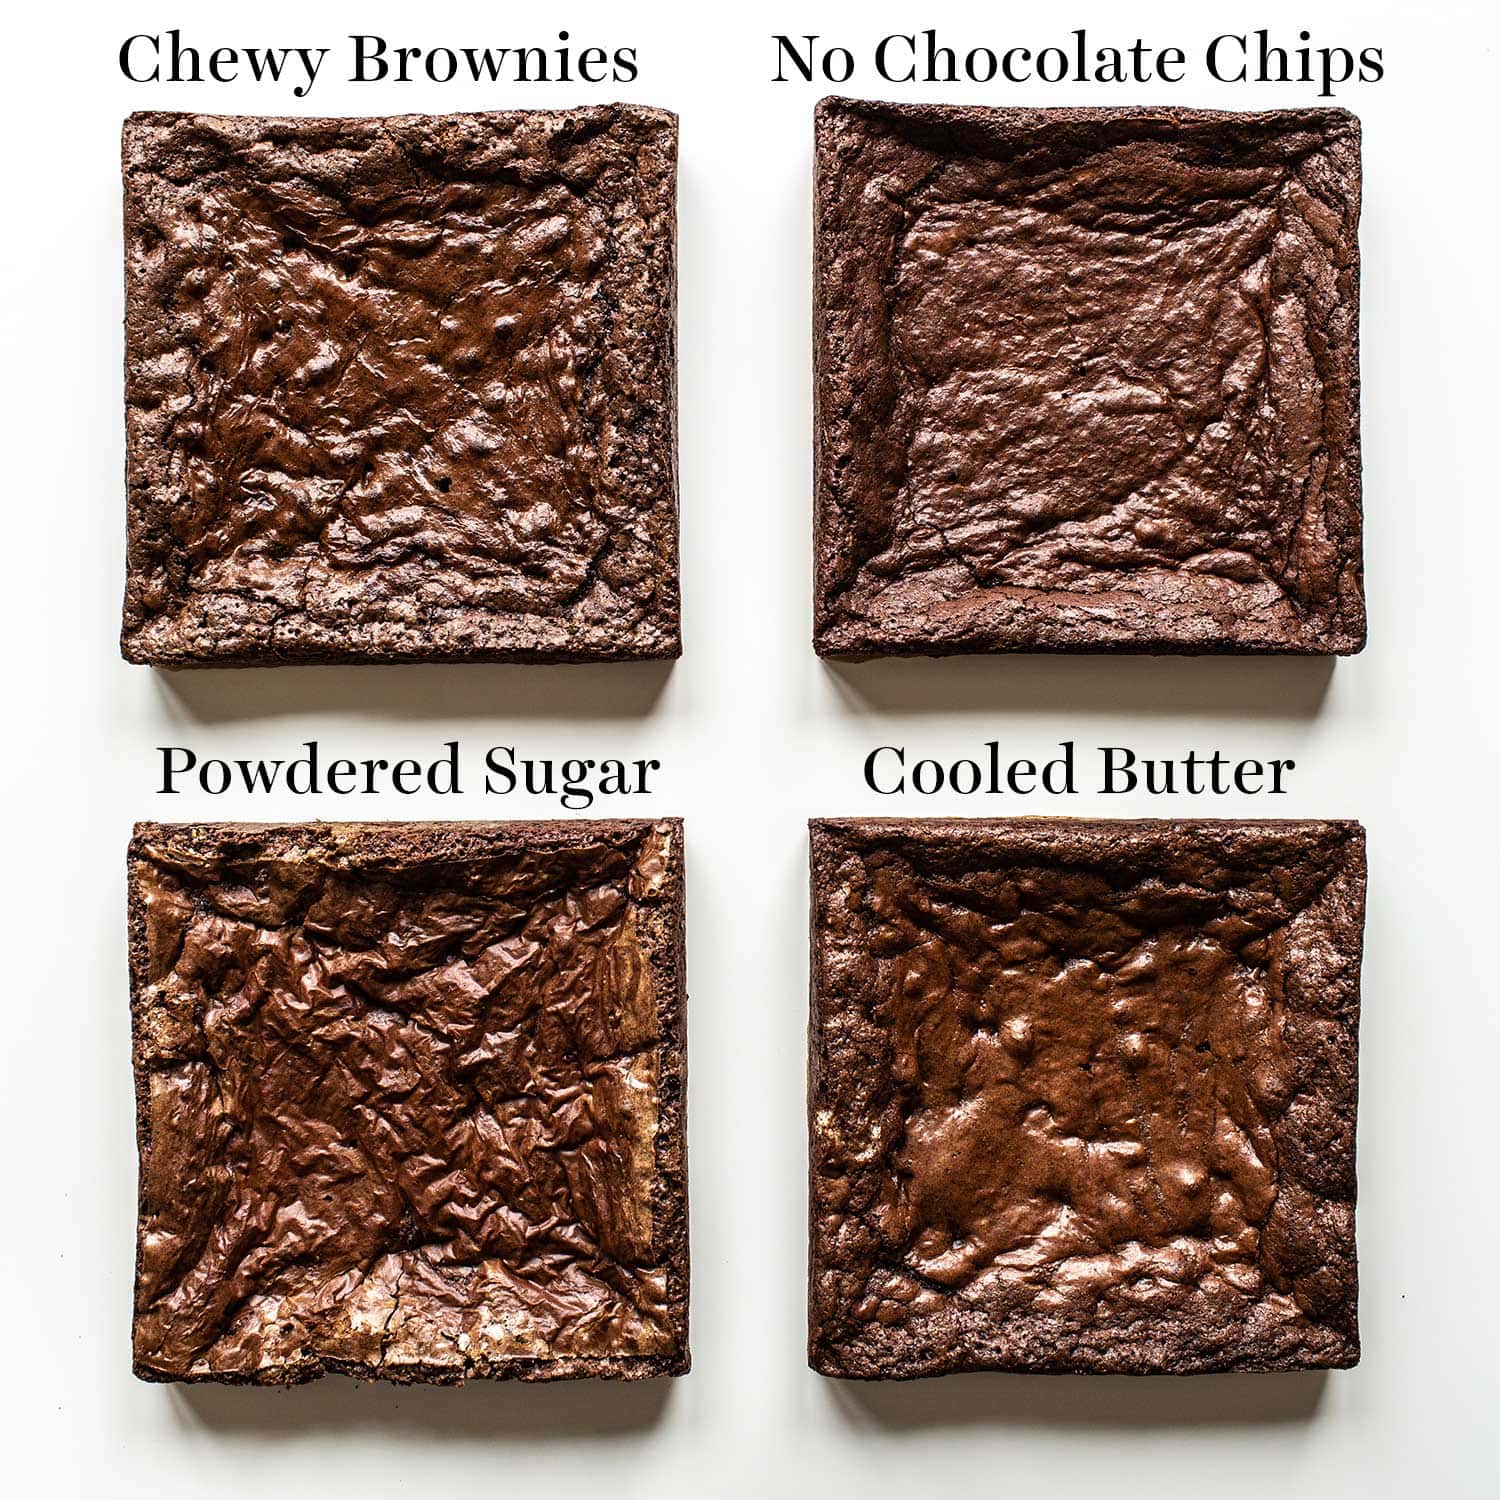
Photos by Ashley McLaughlin.






Great information! I have a baking business based off of my great-aunt’s original brownie recipe, which I love! But, I have always wished that I could produce a crinkly top on my brownies, but have never tried revising her recipe or trying anything different. Your research has really helped.
Hi, from Indonesia🇲🇨
Thank you in advance for details explanation, will try to testing. It’s so helpful😍
Thank you very much for your detailed explanations, i was searching this issue for a while, and your work is really very helpful 🙏
So glad this article was helpful, Asli!
Seriously awesome article. Thanks for photos and doing this research. I took several notes and learned a lot. Can’t wait to try it out! Kindly, Gloria
Hello, I’m a foreign friend. You may not reply to me. I don’t speak English, so I use a translation software. I want to ask why there are many dense pores on the surface of the brownie cookie I made. There are no smooth skin and no cracking. I have made it many times but failed. This problem has bothered me for a long time. If you have any contact, please let me know. Thank you
Hi there, we’re unable to assist with recipes that aren’t our own; however, I’d recommend making sure that you’re using a digital scale to measure your ingredients (especially the flour), not substituting ingredients or reducing the amount of any ingredients, and making sure that you’re using the correct baking pan. I encourage you to check out our Chewy Brownies recipe and read through the Baking Science Tips above the recipe. With over 1000 5-star reviews, this is our most popular brownie recipe, and our readers have success with a smooth, shiny thin crust on those! Let us know how it goes. Good luck!
Thank you for answering a lot of the questions I had in mind. I love baking and the science of what works. I made the brownies that I have always made. They have a great crust, but it isn’t shiny at all. The rest is always so sticky. But, dang is it good! I will try using powdered sugar next time with butter hot….and more mix time with the eggs.
I love how you dive into the science of baking. Thank you
So glad this was helpful, Kelly! 🙂
This is really helpful information for us brownie fanatics out here. I am so impressed with the way you actually performed prospective experiments to demonstrate a difference in outcome with different techniques. Thank you for this.
So glad this was helpful and interesting, Mike!!