


Tessa’s Recipe Rundown
Taste: So rich and wonderful. Although the chicken doesn’t have any really strong flavors, it has a perfect balance nonetheless. Totally crave-worthy!
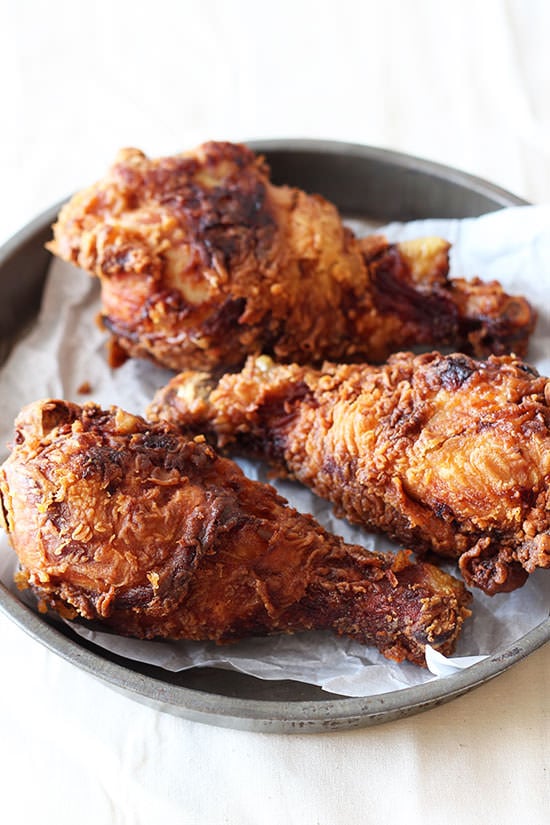
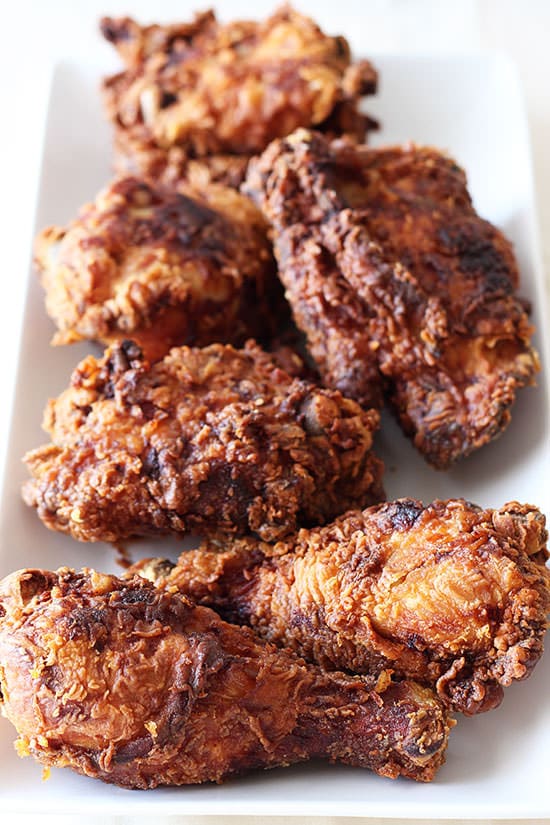
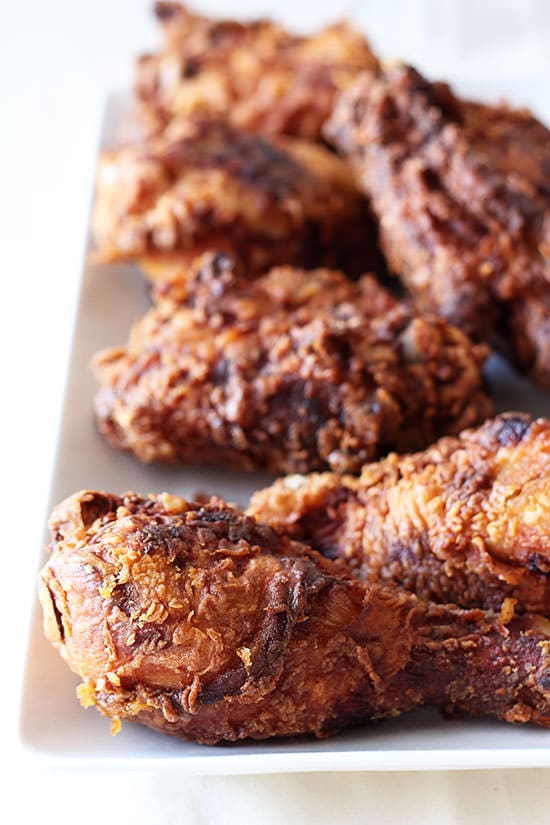
Texture: The best freakin’ part. Ahhhh. The meat is perfectly moist, juicy, and tender while the coating is outrageously rich, crispy, and crunchy. There’s nothing better.
Ease: Fried chicken does take a little bit of work and makes a mess, but it’s such a special treat when it’s done.
Appearance: Fried chicken is kind of funky looking but just seeing a picture and envisioning a bite is enough to make your stomach growl.
Pros: Perfect fried chicken.
Cons: Not healthy in any shape or form, but if you only eat fried chicken when you’re willing to take on the effort of making it, I’d say that’s pretty great moderation!
Would I make this again? Absolutely. Just not super often.
This post may contain affiliate links. Read our disclosure policy.


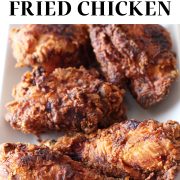
How to Make Fried Chicken with a step-by-step video. This fried chicken is perfectly moist and juicy inside and ultra crisp and crunchy on the outside. Perfection!
Oh, you guys. I cannot contain my excitement for today’s recipe and video post. I’m sharing one of my all-time favorite indulgences today: FRIED CHICKEN! I’ve finally figured out how to make perfect buttermilk fried chicken. This chicken has those two very different textures, juicy and tender vs. crisp and crunchy, that come together to make for absolute heaven in your mouth with every bite. Now, don’t get me wrong. Fried chicken is definitely not something I make on the reg. It’s absolutely a special occasion food because not only is it rich, but it also takes a bit of time to complete. I try to keep it in moderation, only indulging in fried chicken when I’m willing to make it from scratch.
What is your absolute favorite indulgence? What just screams comfort food to you?
Recipe Notes:
Watch the video above to see exactly how this Fried Chicken is made. Here are a few more tidbits for perfecting your chicken.
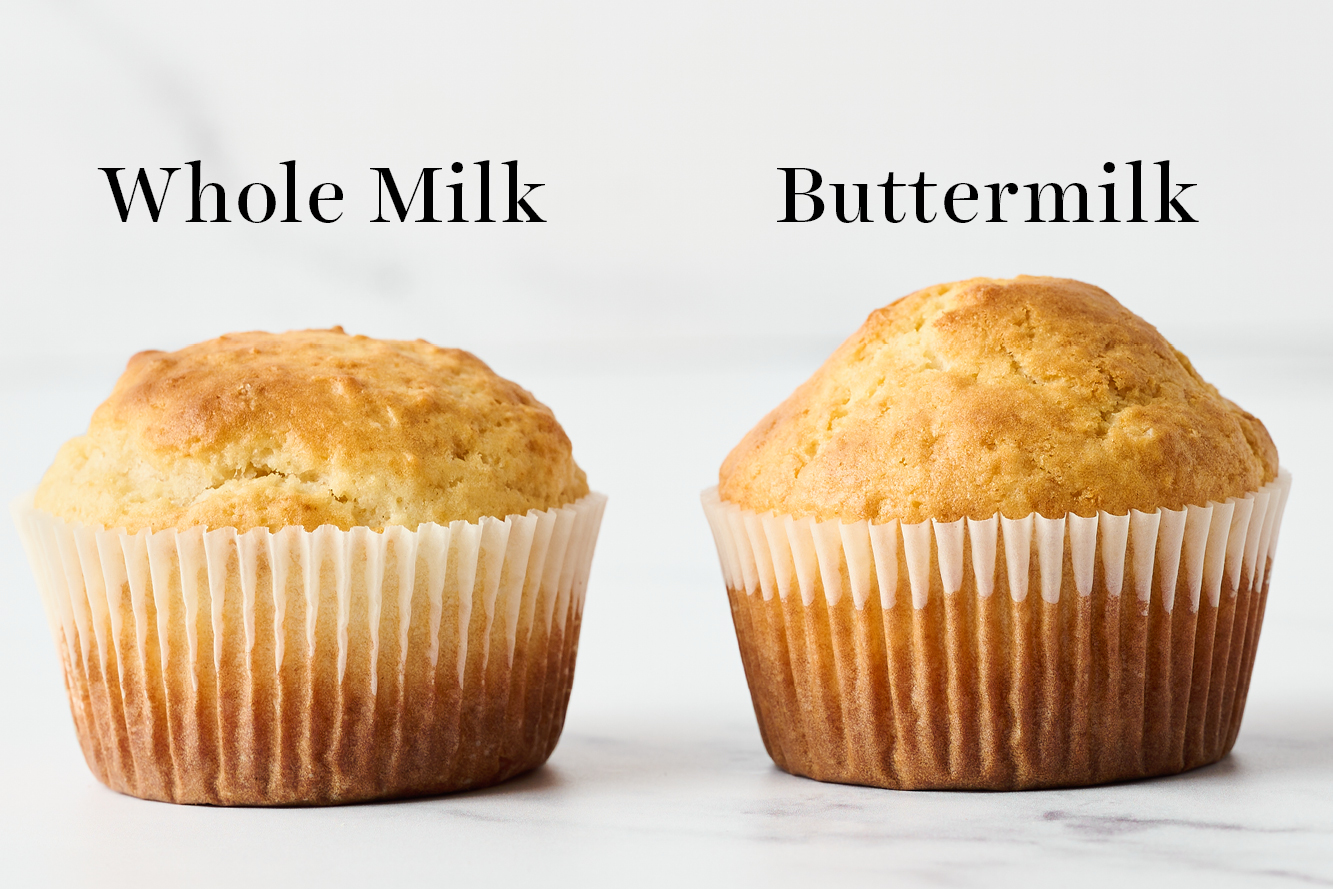
Buttermilk marinade/brine
If you look at the ingredient list you may think I’ve gone crazy with the amount of table salt and sugar in the marinade. It is not a typo! What we’re doing is basically making a buttermilk brine. Using this amount of salt and sugar helps the chicken meat absorb the moisture of the marinade and keep that moisture in while cooking. You can read more about how brining keeps meat moist here. Don’t worry, your chicken won’t taste salty or sugary in the slightest! Also, be sure to note that brining only requires 2 to 3 hours for the chicken to become seasoned. Avoid letting the chicken sit in the mixture for any longer than that. Also, don’t use anything besides table salt.
Air drying
If you have time following your 2 to 3 hour buttermilk marinade period, remove the chicken from the marinade, place on a wire rack over a rimmed baking sheet, and let sit in the fridge uncovered for 2 hours. Air drying the chicken after marinating but before coating helps make the chicken’s crust more light, crispy, and shattery once fried. If you don’t have time, no worries. This is just an extra step to really ensure the best fried chicken you can make at home!
Coating
We’re using a very straight-forward flour coating for this recipe. I like to place the flour coating in a double-lined brown paper bag and drop each piece of chicken individually inside to shake and coat. I find this coats the chicken the best, but you can also use a bowl. If possible, coat the chicken within 5 minutes of frying.
Frying oil
I use peanut oil in this recipe because it’s my favorite oil for deep-frying, mostly because it has a high smoke point. You can read more about why peanut oil is great for frying here. It’s also a little more healthy than shortening or lard. If you don’t have peanut oil, you can also use vegetable oil or shortening. I will usually strain out my oil with a very fine mesh strainer, funnel it back into its original container, and reuse 3-4 times or toss in the trash. Don’t pour the oil down the drain!
Frying method
Let the chicken sit at room temperature for at least 30 minutes before frying. If the chicken is very cold, it will bring down the temperature of the oil significantly. I find a large cast-iron Dutch oven works the best for frying, I like an enameled one. Also use a deep fry thermometer to keep track of your oil’s temperature to make sure you don’t wind up with burned chicken or greasy chicken.
If you make this Fried Chicken recipe, be sure to take a picture and tag it #handletheheat on Instagram. I LOVE seeing your photos!
*This post contains affiliate links.
Email This Recipe
Enter your email, and we’ll send it to your inbox.
Ingredients
For the marinade:
- 12 chicken parts (I use drumsticks and thighs)
- 1/4 cup table salt (NOT kosher salt)
- 2 tablespoons granulated sugar
- 2 tablespoons paprika
- 1 teaspoon freshly ground black pepper
- 3 garlic cloves, peeled
- 2 bay leaves, crumbled
- 1 quart buttermilk
- Tabasco sauce
For coating and frying:
- 4 cups all-purpose flour
- 3/4 teaspoon cayenne pepper
- 3/4 teaspoon onion powder
- 4 cups peanut oil for frying
Instructions
- Place the chicken in a large non-reactive bowl. Sprinkle with the salt, sugar, paprika, and pepper and toss to coat. Add in the garlic cloves, crumbled bay leaves, buttermilk, and a few splashes of Tabasco sauce (just enough to color the buttermilk). Stir, making sure the chicken is immersed, and cover with plastic wrap. Refrigerate until fully seasoned, about 2 to 3 hours. If time permits, remove the chicken from the brine, shaking off any excess, and place it in a single layer on a large wire rack set over a rimmed baking sheet. Refrigerate uncovered for 2 hours to help make the crust more crisp, flaky, and shattery. The chicken can be covered with plastic wrap and refrigerated for up to 6 hours longer. Bring to room temperature before coating and frying.
- Heat the oil in a large cast-iron Dutch oven (should be about 3 inches deep) to 350°F. While the oil heats, reheat the oven to 200°F. Place a second wire rack over a second rimmed baking sheet and place it inside the oven. Line a large plate with a double layer of paper towels.
- In a bowl, mix together the flour, cayenne, and onion powder. Place a paper bag inside another paper bag and transfer the flour mixture into it. Shake each chicken piece, one at a time, in the paper bag until completely coated in flour. Return the chicken to the wire rack.
- Place half of the chicken pieces, skin side down, in the oil and cover. Fry until deep golden brown, about 6 to 8 minutes. The oil should drop down to 325°F, adjust the burner if necessary to maintain that temperature. Turn the chicken pieces over and continue to fry, uncovered, until deep golden brown on the other side, 6 to 8 minutes longer. Using tongs, transfer the chicken to the paper towel-lined plate. Let stand for 2 minutes to drain then transfer to the rack in the warm oven.
- Return the oil to 375°F and place new paper towels on the plate and repeat the procedure with the remaining chicken.


I loved the recipe! The peanut oil actually made it so much better. The second time I made it I used sesame oil to give it some Asian inspiration!
Thanks for the really well-written guide, super easy to follow.
I’ve only ever made fried chicken once before and it did not turn out as good as this. I definitely need to try out this recipe!
Looks a little overcooked and burnt to me. A better option might be to heat oil to 300 degrees and fry for five minutes, then let it sit a moment and fry again for 5 minutes at 350. If you don’t fully submerge the chicken it won’t blacken or overcook as quickly too. If still not quite there, finish it in the oven, but the carry over cooking will help, just remember to flip it to cook both sides and don’t crowd the pan. Also, if you let it sit in buttermilk overnight, your meat will be more tender. Cheers.
Is there a recipe adjustment for using either sea salt or pickling salt instead of table salt?
I have no experience with pickling salt. If you’re using fine sea salt, the conversion would be 1/4 cup + 1 teaspoon. Coarse sea salt should be the same (1/4 cup). However, not every salt is made the same so I can’t guarantee the conversion is completely accurate with whatever you use.
Looking forward to making the recipe. Love seeing a video of how it is done.
A couple of questions: While I love dark meat chicken, my wife really prefers white meat chicken (breasts or wings). So, how do you recommend that I do that? Should I use whole chicken breasts or cut them in half? I have seen some fried chicken recipes recommend cutting breasts in half to maintain uniformity of size with the dark meat pieces. Regarding wings, should I remove the wing tips and just fry the two main sections of each wing? Also, should I fry dark meat in one batch and the white meat in a separate batch since they seem to have different cooking rates?
Thanks (in advance) for your response. Greg
Hi Greg! Yes I would cut the breasts in half and remove the wing tips. You can fry the dark and white meat together or in separate batches, just remove each pice once it’s dark golden. Good luck!
This chicken looks perfect. I’ve had trouble making the perfect crust, but will try this recipe and report back. Great, helpful video, too 🙂
Now I am craving fried chicken! This looks amazing!
Hi Tessa, I plan to cook the chicken for lunch tomorrow. Do you think it will be okay to let the chicken marinate overnight?
No, please refer to the post: “Also, be sure to note that brining only requires 2 to 3 hours for the chicken to become seasoned. Avoid letting the chicken sit in the mixture for any longer than that.”
Holy sweet chickens…that looks perfect!
You are seriously the cutest! I love your videos and you do a great job on them. My hubby’s favorite thing is fried chicken, but I don’t make it too often. But next time I do, this is the recipe I will use! Great tutorial and pictures Tessa!
Awh thanks so much Chelsea!!
Tessa, that chicken look INCREDIBLE!! Wow, I cannot wait to try your tips and tricks!
Thanks Tieghan!!
I grew up in Canada, and fried chicken isn’t really a “thing” there. But, upon moving here and marring my American hubster, he is always asking for it..and I have yet to find the perfect recipe. Until now! Pinned!
Canada is missing out! 😉