Tessa’s Recipe Rundown
Taste: Like a chocolate hazelnut dream!
Texture: The cake itself is ultra rich, moist, and fudgy while the frosting is thick and creamy.
Ease: I think this is among the easiest homemade cakes, it just takes some time! The good news is both the cake layers and the buttercream can be made in advance.
Pros: Beautiful decadent cake worthy of any special celebration.
Cons: So much butter… but hey. It’s cake!
Would I make this again? I’ve made this recipe three times already!
This post may contain affiliate links. Read our disclosure policy.
Today is my 26th birthday and I couldn’t think of a better way to celebrate than by sharing this beautiful and decadent Nutella Cake recipe.
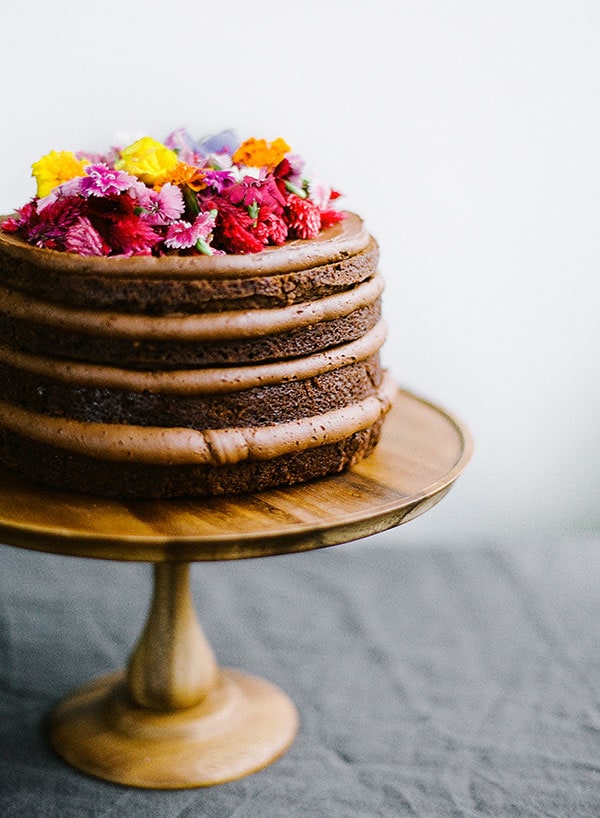
Since chocolate and Nutella are two of my favorite things in the world, this seemed only fitting.
Actually, when I first developed this recipe, I topped it with Ferrero Rocher candies and brought it to my dad’s birthday party. Everyone raved about it, but I knew it needed a few more tweaks to get it just right.
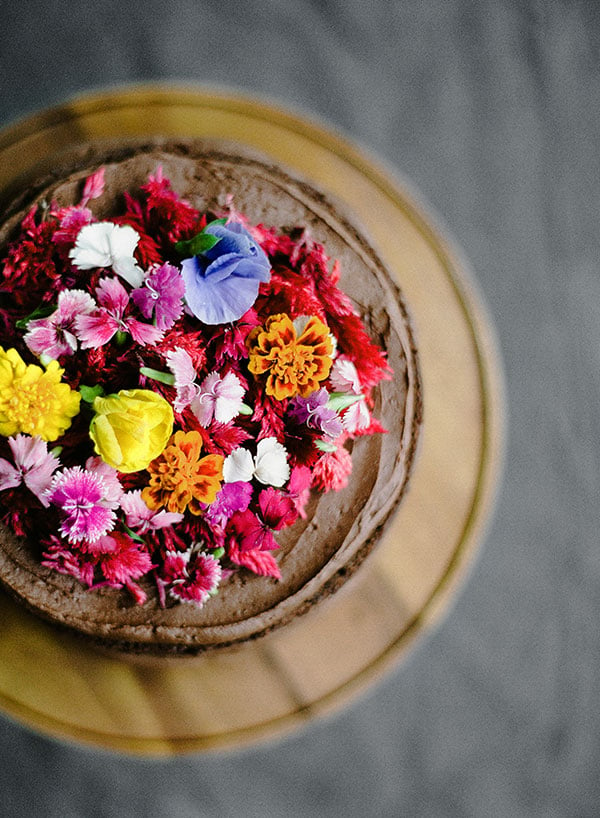
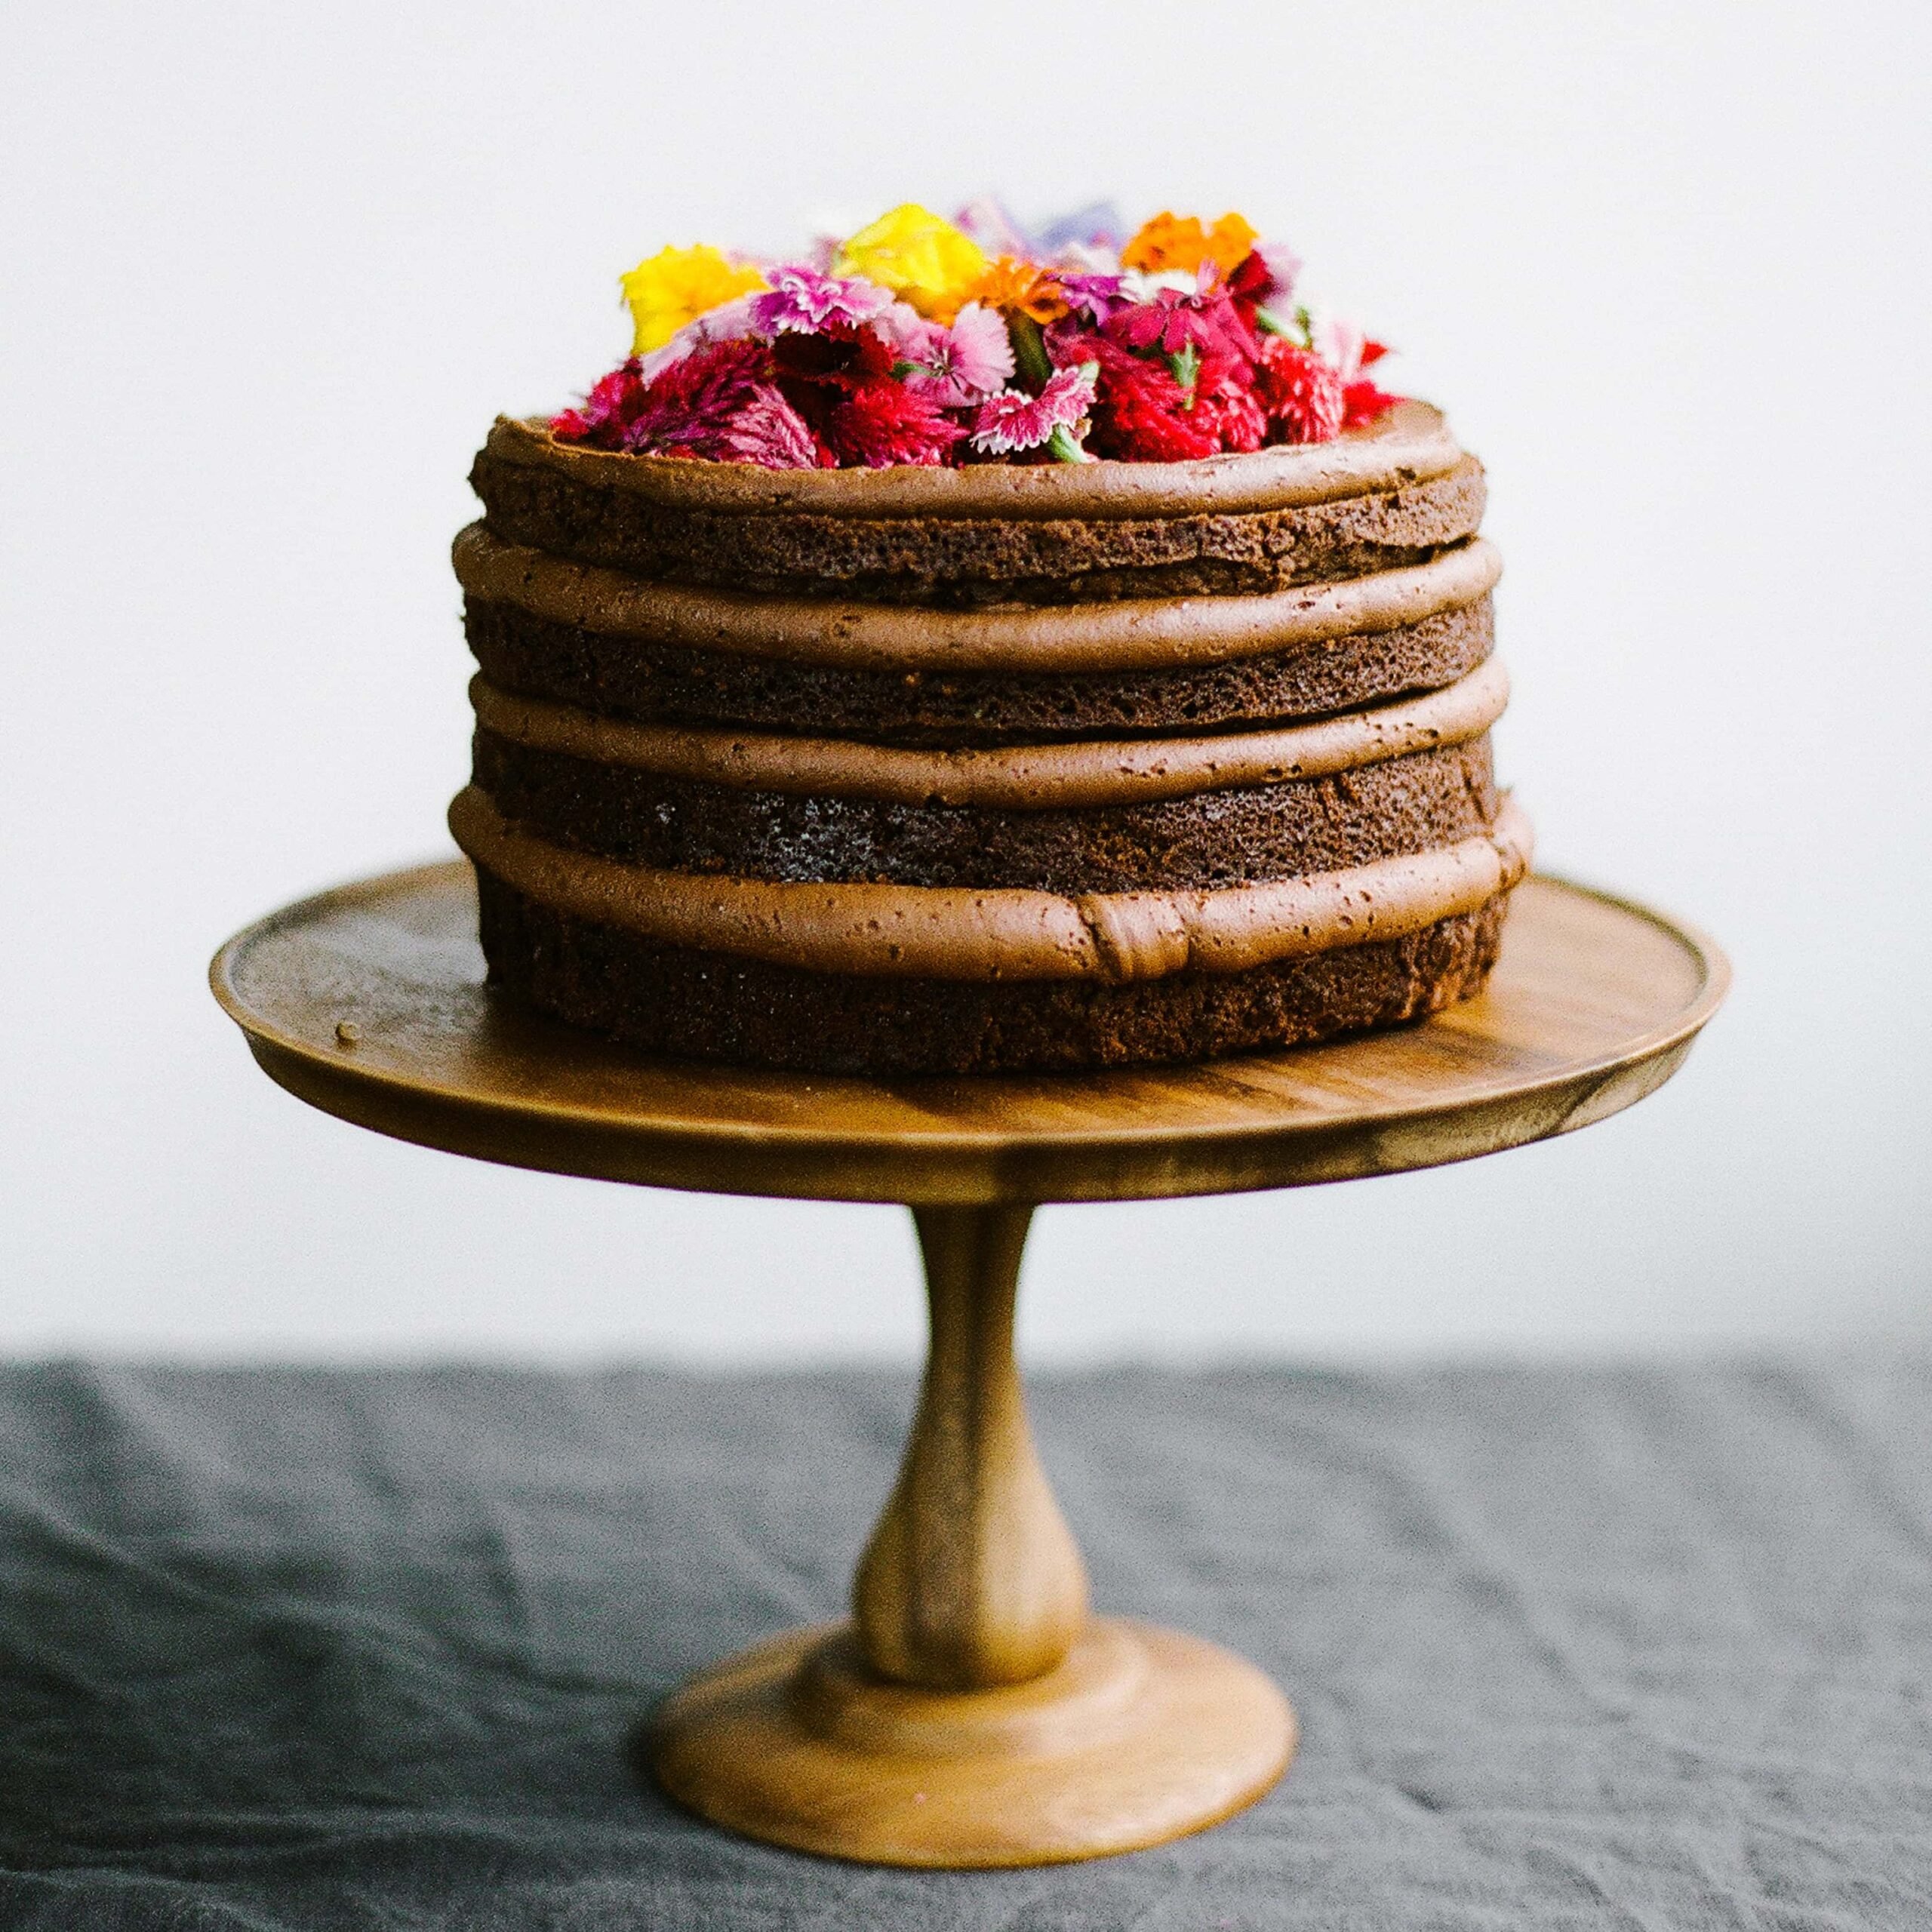
I then thought this would be the absolute perfect cake for Easter for anyone like me who’s a total chocoholic. It became a part of an Easter dinner shoot we did last weekend and I just can’t wait to show you those photos! We scored some beautiful edible flowers and they really took this cake to a whole new level, without requiring any special decorating equipment or skills.
I’m just in love with this cake, so I hope you find a reason to make it for your friends and family soon. If you do, be sure to snap a photo and tag me on Instagram with #handletheheat.
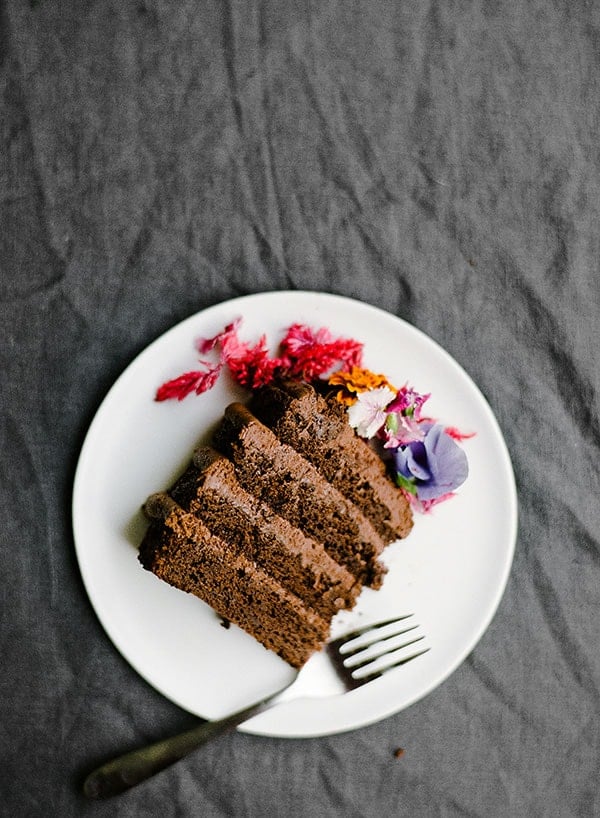
How to Make Nutella Cake
How to Make Nutella Cake
- Prepare the cake batter: In a large saucepan, stir together the sugar, chocolate, butter, cocoa powder, Nutella, espresso powder, baking soda, and water. Heat over medium heat for 3 minutes. Bring to a boil. Remove from heat.
- Allow to cool: Pour into a large heatproof mixing bowl and set aside to cool for about 20 minutes
- Add remaining ingredients: Once cool, stir in the eggs one at a time. Fold in remaining dry ingredients. Divide the batter between the prepared pans.
- Bake: Bake for 40 minutes at 350°F or until a toothpick or cake tester inserted comes out clean. Cool for 10 minutes then flip the cakes out onto wire racks to finish cooling.
- Make the Nutella Buttercream: In the bowl of a stand mixer fitted with the paddle attachment, cream the sugar and butter. Add the cocoa powder, Nutella, and salt and beat on medium for 1 minute, or until smooth.
- Assemble: Level and cut the cakes (further info on this below). Place the first cake layer on a cake platter or turntable. Spread with a fourth of the buttercream and top with the second cake layer. Repeat with all four cake layers. Spread the remaining frosting evenly over the top of the cake. Decoration suggestions below.
Can I Use a Nutella Substitute in This Nutella Cake?
I have not tested this Nutella Cake recipe using any natural or store-brand chocolate hazelnut spread, so I can’t say for sure how well those alternatives will work, both in taste and texture of the final product. I recommend sticking with the real thing, but if you do experiment with substitutions, let me know in the comments below!
Nutella Cake Layers
This chocolate cake recipe isn’t your typical one. It doesn’t involve any beating of room temperature butter and sugar. Instead, we actually boil half of the ingredients together much like you would for a sheet cake. It makes this recipe super simple and practically foolproof. However, you do have to wait for that mixture to cool off so it takes a little extra (hands-off) time.
This mixing method, coupled with some of the ingredients (like the brown sugar) creates a very rich, moist and fudgy chocolate cake. The texture reminds me a bit of a brownie. This is perfect for when you need sturdiness to build a tall cake or to use a lot of buttercream!
I love my Fat Daddio’s anodized aluminum cake pans for this recipe (or any cake recipe!)
Can I Make This Nutella Cake Ahead?
The cake layers can be made a day ahead of time before you assemble the cake. Cover each entire layer (don’t cut them yet) with foil or plastic wrap and let them sit at a cool room temperature until you’re ready to assemble. Whatever you do, don’t refrigerate unfrosted cake layers. This will dry them out. You can also wrap each layer well in plastic wrap and pop them in freezer bags and freeze for up to 1 month.
The buttercream can also be made, transferred to an airtight container, and refrigerated for up to 3 days or frozen for up to 1 month. If frozen, defrost in the fridge overnight. Let come to room temperature then re-whip for a couple of minutes before using.
Leveling & Cutting Chocolate Cake Layers
To make this recipe the way you see it in these photos, we simply take each cake layer, level off the top, then cut in half horizontally for a total of 4 even layers. I’d highly recommend a cake leveler like this one to make easy, quick, and precise work of leveling and cutting your layers. If you don’t have one, a serrated knife will work – it’s just harder to maintain an even cut.
By the way, if you’d rather keep it a 2 layer cake, feel free to do that! You can also frost the sides of the cake if you’d prefer to as well. I would just increase the buttercream recipe by 1 1/2 and follow my cake assembly and decorating instructions from this video post.
Nutella Buttercream Frosting
Yes, there is a lot of butter involved in this recipe. It’s cake! But anytime we have more layers, that means more buttercream. Yay! A stand mixer makes easy work of powering through this much buttercream, but if you must use a hand mixer, just be sure to use a deep mixing bowl. Do not skip sifting the sugar and cocoa, it’s essential for a smooth frosting!
If you have more questions or frustrations with buttercream, there’s a link to a free buttercream guide here or at the bottom of this post.
Decorating This Nutella Cake
This cake is ridiculously easy to decorate once you’ve cut your four layers. I simply scooped my buttercream into a piping bag fitted with a large plain decorating tip and piped an even layer of frosting on each piece of cake. Using a plain tip instead of just a spatula creates those clean-looking frosting layers. Then we just went to town with edible flowers on top.
Edible flowers are such a fun, beautiful, and easy way to decorate any cake for spring. This look made it perfect for Easter, Mother’s Day, or even a birthday party. You can find edible flowers during the spring season at your local farmer’s market or some specialty, gourmet, or bakery supply stores.
You could also decorate with seasonal chocolates, like Easter eggs or Valentine’s Day hearts. Ferrero Rocher chocolate candies are another fun decoration on top – they even make Easter eggs! I like to pile these on and scatter some lightly toasted whole and chopped hazelnuts, for added crunch and hazelnutty flavor.
Serving This Nutella Cake
This Nutella cake can be held in a cake carrier or lidded cake stand for up to 8 hours at a cool room temperature. After that, it should be refrigerated. Though I doubt it will last very long! If you plan on serving this at an outdoor party or gathering where it will sit outside for a few hours, refrigerate to chill well beforehand. That way it’ll slowly come up in temperature and hopefully be perfect by the time you want to serve it. No melting cakes here!
More Cake Recipes You’ll Love:

Become a Baking Genius!
Sign up for our free email newsletter for NEW recipes & baking science secrets.
Nutella Cake
Ingredients
For the cake:
- 2 1/2 cups (500 grams) light brown sugar
- 8 ounces (227 grams) unsweetened chocolate, chopped
- 2 sticks (227 grams) unsalted butter
- 1/3 cup (33 grams) unsweetened cocoa powder
- 1/2 cup (137 grams) Nutella
- 2 teaspoons instant espresso powder (optional)
- 1 teaspoon baking soda
- 4 large eggs, at room temperature
- 3 cups (381 grams) all-purpose flour
- 1/4 teaspoon fine salt
For the buttercream:
- 16 ounces (454 grams) unsalted butter, at a cool room temperature
- 4 cups (500 grams) powdered sugar, sifted
- 1 cup (100 grams) unsweetened cocoa powder, sifted
- 1 cup (275 grams) Nutella
- 1/2 teaspoon fine salt
- Edible flowers, for decorating
Instructions
Make the cake:
- In a large saucepan, stir together the sugar, chocolate, butter, cocoa powder, Nutella, espresso powder, baking soda, and 2 cups (500ml) water. Heat over medium heat for 3 minutes and stir until the sugar dissolves. Increase heat to high, bring to a boil, then remove from heat. Pour mixture into a large heatproof mixing bowl and set aside to cool for about 20 minutes.
- Preheat the oven to 350°F. Generously grease and line two 8-inch cake pans with parchment paper rounds.
- Once cool, stir in the eggs one at a time. Gently stir in the flour and salt. Divide the batter between the prepared pans. Bake for 40 minutes, or until a cake tester inserted to the center comes out clean. Cool for 10 minutes then flip the cakes out onto cooling racks to finish cooling.
Make the buttercream:
- In the bowl of a stand mixer fitted with the paddle attachment, mix together the sugar and butter. Mix on low speed until well blended and then increase the speed to medium and beat for another 3 minutes. Scrape down the sides and bottom of the bowl. Add the cocoa powder, Nutella, and salt and beat on medium for 1 minute, or until smooth.
Assemble the cake:
- Use a large serrated knife or cake leveler to level the top of each cake, then cut each cake layer in half horizontally, to make 4 cake layers. Place the first cake layer on a cake platter or turntable. Spread with a fourth of the buttercream and top with another cake layer. Repeat with all four cake layers. Spread the remaining frosting evenly over the top of the cake. Decorate with edible flowers, seasonal candy, Ferrero Rocher, or whatever your heart desires.
Photos by Constance Higley.






The cake itself didnt really taste like nutella and it had a little weird taste too it, maybe a little bitter. The frosting was really good though it was a little different than you would think, not that nutellaey but you could add more nutella
Thanks for the feedback, Valerie!
You cake looks very nice and i am sure its taste too. Thanks for sharing.
Made this today, eating it now! Had never made a cake before by boiling any ingredients, but it cooked up beautifully tall and moist! The frosting is beyond creamy into ethereal. Thank you!
Wonderful! I’m so happy you loved this cake!
Could itbe done under fondant and for 2 tiers? Thank you
I haven’t tried that, but I believe it should work!
Can i use it under fondant and for stacking cakes?
I haven’t tried that, but I think it should work out! Enjoy!
Ap. Setup is an offline website that you will be able to use only when you are connected to your Wavlink Extender Setup page. So, it doesn’t matter if you have a repeater, a modem, an outdoor access point, and so on, all you have to do is connect to the network and then access the login tab.
this will be the first and last time you catch me boiling my cake
thsnkyou for the precious advice
What if I want to make this cake in gluten free flour then how much quantity do I have to take and what should I add or subtract in the original recipe
Linksys Extender Setup allows you to repeat the wireless signal of any access point or router to provide Internet connectivity. For Linksys Wifi Extender Setup, go to 192.168.1.1 or extender.linksys.com.