Tessa’s Recipe Rundown
Taste: Like fall perfection! Much more flavorful than pumpkin pie.
Texture: The crunchy buttery crust is the perfect contrast to the ultra-thick, rich, and luscious cheesecake filling.
Ease: Totally doable, just requires some patience while you wait for the cheesecake to chill.
Pros: Crowd-pleasing fall dessert.
Cons: None really!
Would I make this again? Absolutely.
This post may contain affiliate links. Read our disclosure policy.
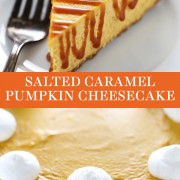
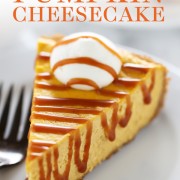
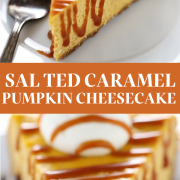
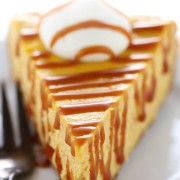
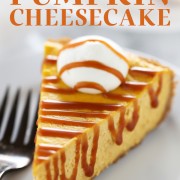
Salted Caramel Pumpkin Cheesecake is about to replace pumpkin pie as your go-to Thanksgiving dessert!
In my family, we’ll take this cheesecake over pumpkin pie ANY day. It’s always a hit.
This cheesecake is easy to make, and such a pretty centerpiece for dessert after a big meal.
And, bonus: preparing this cheesecake takes no time at all since the food processor does all the hard work for you.
Perfect to make a day or two ahead of time, this delicious Salted Caramel Pumpkin Cheesecake is the perfect dessert after Thanksgiving dinner, or any time you want to make something special.
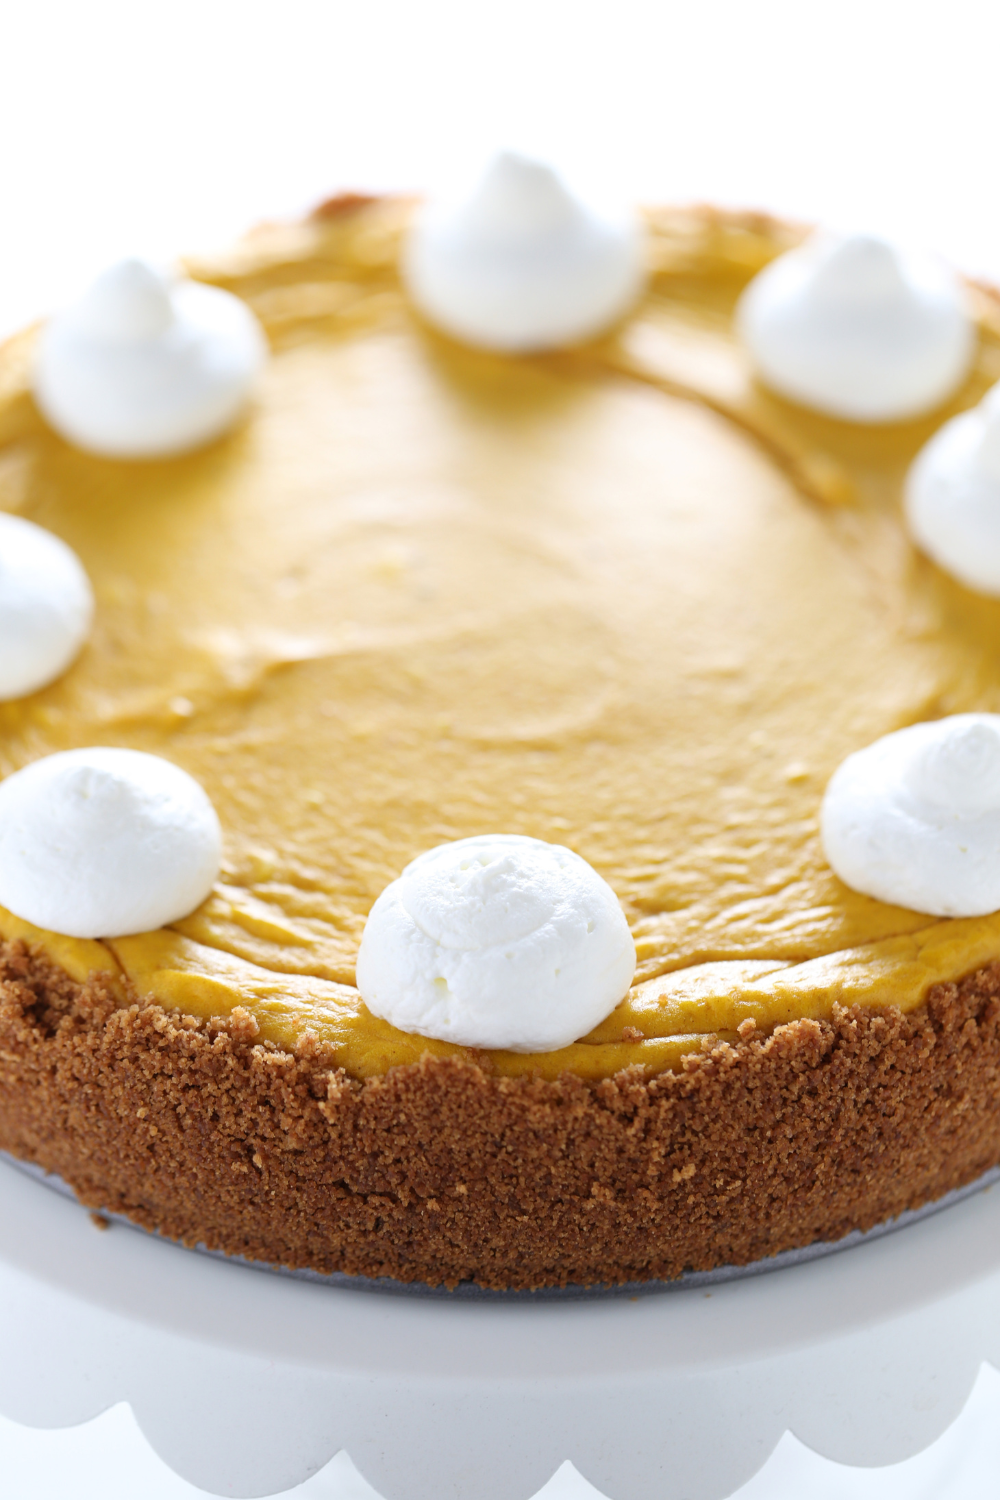
How to Make Salted Caramel Pumpkin Cheesecake
What Type of Caramel is Best for Salted Caramel Pumpkin Cheesecake?
- I love to use my homemade caramel sauce recipe here.
- If you want to make things quicker and easier, you can totally use store-bought salted caramel sauce.
- My favorite is the one from Trader Joe’s!
What Type of Cream Cheese for Salted Caramel Pumpkin Cheesecake?
Be sure to use full-fat bricks of cream cheese, not the spreadable type of cream cheese in tubs meant for spreading on bagels. I like Philadelphia cream cheese, but any high-quality brand will work. Some generic grocery store brands are watery and rubbery, so just be aware of that.
The MOST IMPORTANT thing is to ensure your cream cheese is completely and totally softened to room temperature. If it’s too cold, you’ll end up with a lumpy cheesecake batter.
What Type of Pumpkin Should I Use for Salted Caramel Pumpkin Cheesecake?
- I used store-bought canned pumpkin puree for this Salted Caramel Pumpkin Cheesecake recipe.
- Homemade pumpkin puree may work in this recipe, but I don’t necessarily recommend it because it can add excess liquid.
- Note: Be sure NOT to use canned pumpkin pie filling for this recipe – it is not the same thing as pumpkin puree.
- Check out my Fresh vs. Canned Pumpkin article for the differences between using fresh pumpkin puree, regular canned pumpkin, and organic canned pumpkin, and learn how to make your own pumpkin puree!

Cheesecake Crust Variations
For a fun twist, feel free to use Speculoos or Gingersnap cookies in place of the graham crackers! You’ll need 1 3/4 cups (230 grams) of crumbs.
What’s the Best Pan for Salted Caramel Pumpkin Cheesecake?
- I used this 10-cup, 9-inch diameter springform pan when testing this recipe.
- Not all springform pans are made equally, so look for one that’s both heavy-duty and sturdy.
- Avoid putting your pan in the dishwasher as hand washing will extend the life of a springform pan.
- Just because your pan is 9-inches in diameter doesn’t necessarily mean it has a 10-cup batter volume capacity.
- Every brand may vary slightly, so be careful not to overfill your pan if yours has a smaller capacity!
Do I Have to Use a Water Bath for This Cheesecake Recipe?
- I typically recommend baking a cheesecake in a water bath, but I have found that this method of baking ‘low and slow’ will produce a cheesecake with a great texture. You may still end up with a crack in your cheesecake, depending on your oven.
- Be sure to allow the cheesecake to cool in the oven with the heat turned off for 15 minutes before removing it. Then, let it cool completely to room temperature before refrigerating it.
- Being gentle with temperature changes helps avoid large cracks.
- Luckily, since this one is getting covered in caramel sauce and whipped cream, it won’t matter too much!
How to Store Salted Caramel Pumpkin Cheesecake
Store Salted Caramel Pumpkin Cheesecake covered in the refrigerator for up to three days. Top with salted caramel sauce and fresh whipped cream shortly before serving, for best results.
How to Freeze Salted Caramel Pumpkin Cheesecake
Cheesecake freezes wonderfully! Place whole, untopped Salted Caramel Pumpkin Cheesecake, or individual slices, on a baking sheet inside the freezer until firm. Wrap the cheesecake or each individual slice in plastic wrap and place in a freezer bag. Freeze for up to 2 months.
To serve, defrost a whole cheesecake in the fridge overnight. You can also defrost individual slices in the fridge overnight, or at room temperature for about 30 minutes. Top with caramel sauce and whipped cream and serve.
More Fall Recipes You’ll Love:
- Pumpkin Spice Coffee Cake
- Pumpkin Scones
- Salted Caramel Apple Sheet Cake
- Apple Crisp
- Pumpkin Muffins
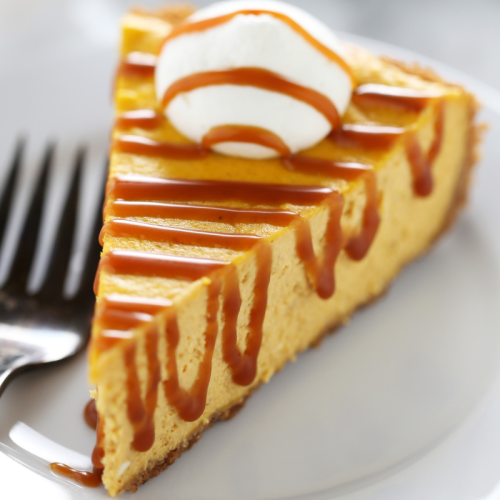
Salted Caramel Pumpkin Cheesecake
Ingredients
For the crust:
- 15 whole graham crackers (230 grams)
- 1/2 teaspoon ground cinnamon
- 6 tablespoons (85 grams) unsalted butter, melted
For the filling:
- 24 ounces (680 grams) cream cheese, completely softened to room temperature
- 1 1/2 cups (300 grams) granulated sugar
- 15 ounces (425 grams) pureed pumpkin
- 1/4 cup (77 grams) salted caramel sauce, homemade or store-bought
- 1/4 cup (57 grams) sour cream
- 3 large eggs plus 1 egg yolk, at room temperature
- 1 teaspoon ground cinnamon
- 1/2 teaspoon fresh ground nutmeg
- 1/4 teaspoon ground cloves
- 2 tablespoons all-purpose flour
- 1 teaspoon vanilla extract
For the topping:
- Whipped cream
- Salted caramel sauce, homemade or store-bought
Instructions
- Preheat the oven to 325°F. Spray a 9-inch springform pan with nonstick cooking spray.
Make the crust:
- In the bowl of a food processor, combine the graham crackers and cinnamon. Pulse until finely ground. You should have 1 3/4 cups (230 grams) graham cracker crumbs. Add the butter and pulse until moistened. Press into the bottom and halfway up the sides of the pan. Bake for 10 minutes. Place on a wire rack to cool. Maintain oven at 325°F.
Make the cheesecake:
- In the bowl of a food processor or electric mixer, beat the cream cheese, sugar, pumpkin puree, caramel, and sour cream until smooth.
- Add the eggs and yolk, cinnamon, nutmeg, cloves, flour, and vanilla, and puree until just combined. Pour over crust and spread evenly. Bake for 1 hour, or until set and dry at the edges but slightly jiggly in the center.
- Turn off the oven and allow to cool inside for 15 minutes before removing to a cooling rack to cool to room temperature (this helps prevent cracks). Refrigerate for at least 6 hours, or overnight.
- The cheesecake can be refrigerated for up to 3 days. Top with whipped cream and caramel sauce before serving.
This post was originally published in 2016 and has been updated with additional recipe tips and information.








Delicious cheesecake that never fails to impress. I was actually introduced to this recipe by a family member who made 3 of these for Thanksgiving last year. I had one bite and I was hooked. I’ve made it multiple times since and always receive rave reviews. My mother-in-law requested the recipe as well and now it’s become a family fave. I also use the homemade caramel sauce recipe – super easy and super delicious. Love it!!
Amazing! Please thank your family member for sharing our recipe, and thanks so much for the rave review! I’ll be sure to pass this along to Tessa, it’ll make her day! So glad to hear how much you love this recipe 🙂
Which pumpkin puree brand do you recommend?? Or how do you prepare it? I am truly sad because I really want to buy your book but there are not shipments to Mexico, why is that? Where else can I buy it?
Hi Lucy! We typically use the brand Libby’s if we’re using canned; however, check out this article here detailing the differences between fresh and canned pumpkin. There’s a recipe included for homemade pumpkin puree as well 🙂 https://handletheheat.com/fresh-vs-canned-pumpkin/ As for our cookbook, we’ve unfortunately had issues in the past with shipments to Mexico and had to remove it as an option to ship to. We self published everything, so we’re currently only selling on our site; however, if you’re interested in a digital copy, please email me at support@handletheheat.com, and I’d be happy to send you more details 🙂
Amazing. Not too much pumpkin and not too much like cheesecake!
So glad you love this cheesecake recipe!
I have light sour cream in my fridge. I’d it okay to use that for the recipe?
I would recommend regular sour cream if you can get it, but that should work!
Super light and totally delicious! I made it exactly as written with the minor change to ginger snaps for the crust and I poured salted caramel into the well in the middle where is sank slightly and then chilled. Oh, and I garnsished with sugared pecans. But all that was incidental to the basic recipe which is just perfect. Beat cream cheese well and add ingredients slowly and there are no lumps. I think the vigorous beating is one reason why it is so light. Perfect. Thanks!
A gingersnap crust sounds delicious! I’m so glad you tried this recipe out.
Excellent creamy texture, pumpkinny but not excessively so for those who are moderate on pumpkin spice. A huge hit at my 14-person thankgiving dinner last night. I couldn’t find speculoos cookies, so I crushed up some maple sandwich cookies in the crust, and decorated the top with Stroopwaffels (a dutch wafer cookie) I definitely recommend using the linked recipe for homemade caramel – You’ll hve some left over to drizzle over your cappuccino or dip appples in!!
This was insanely delicious, fluffy, light but also rich, perfectly sweet, and just perfect for Thanksgiving. I guess it’s been months since I made it, but I just remembered I never gave you the review you deserve! I can’t say enough good things about this dessert. My dad is normally a vegan and makes an exception for my holiday desserts. He devoured this and said “This is GOOD. I can’t believe how light and fluffy this is!”. It was the favorite dessert of the party (and one of the other desserts was made by a professional chef!). The hosts of the party wouldn’t even let me bring the leftovers home, saying “we are eating that tomorrow! It was too good to give it back!”. Thanks for letting me be the star of the show with this amazing recipe!