Tessa’s Recipe Rundown
Taste: The cream cheese frosting is sweet, tangy, and packed with vanilla flavor without any cloying sweetness.
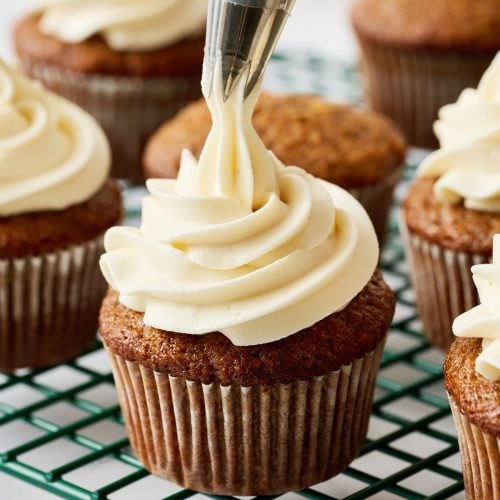
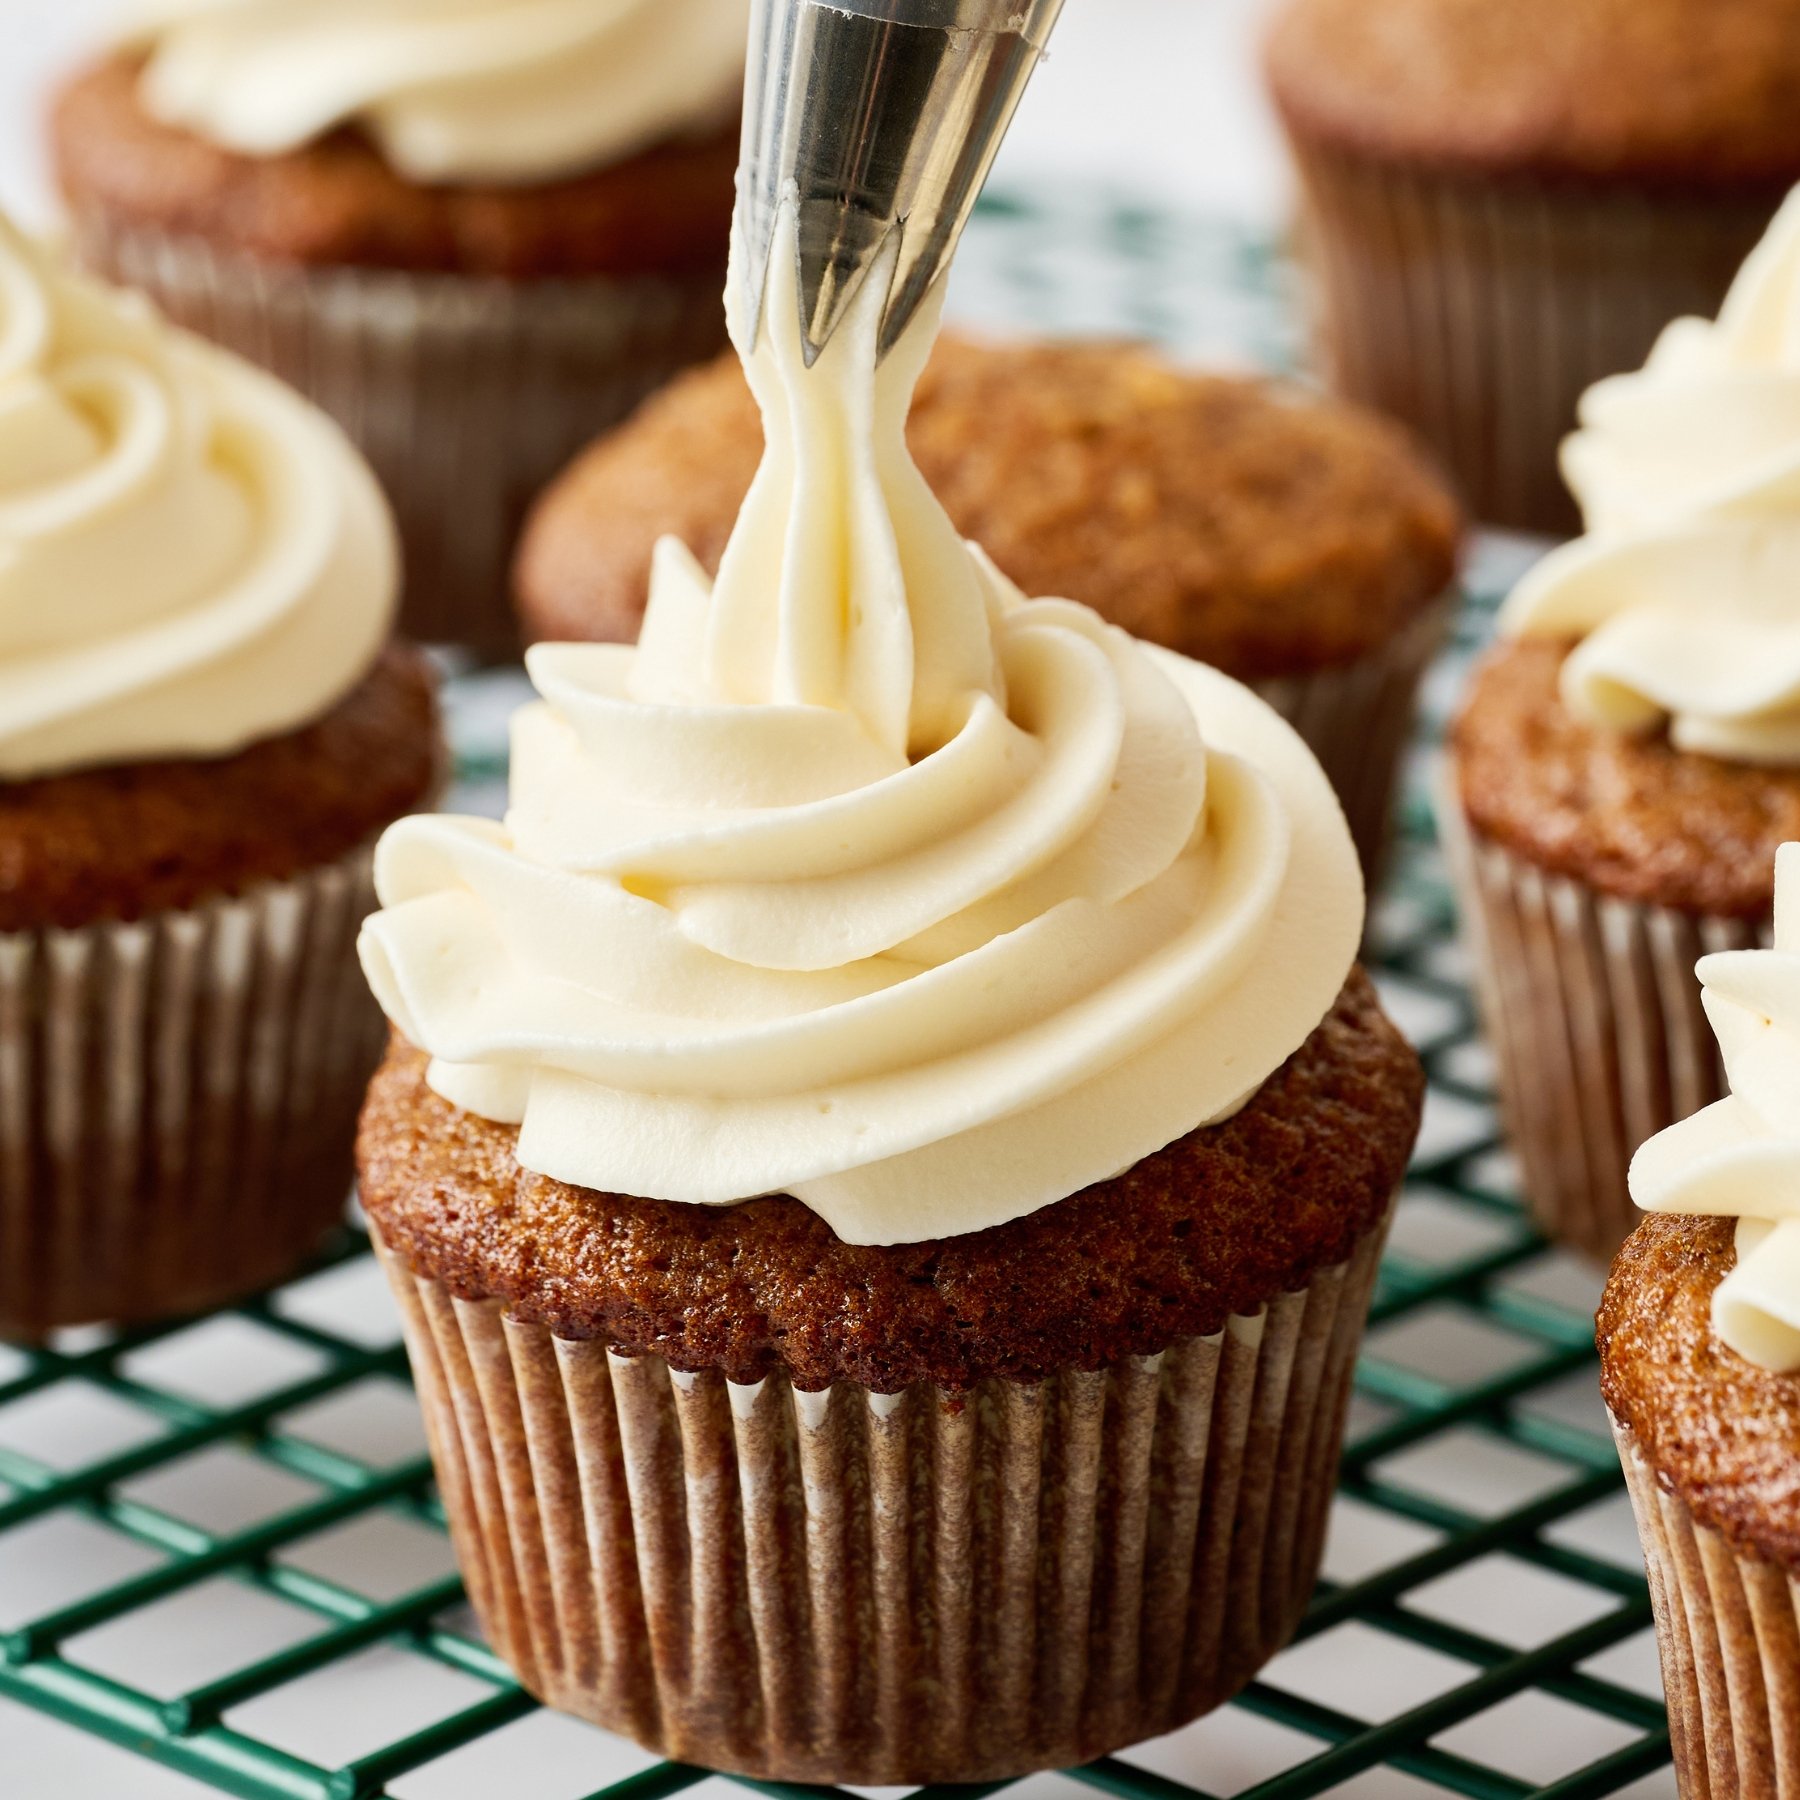
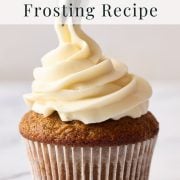
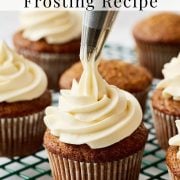
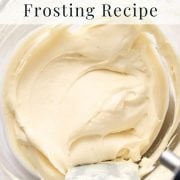
Texture: I tested this cream cheese recipe to keep it delicious and ultra-smooth. It works great for piping cupcakes!
Ease: It doesn’t get much easier than just 4 ingredients with make-ahead potential.
Why You’ll Love This Recipe: This 7-minute recipe instantly elevates your cakes, cupcakes, and favorite desserts!
This post may contain affiliate links. Read our disclosure policy.
Some frostings are just a finishing touch, but my recipe for cream cheese frosting is the main event!
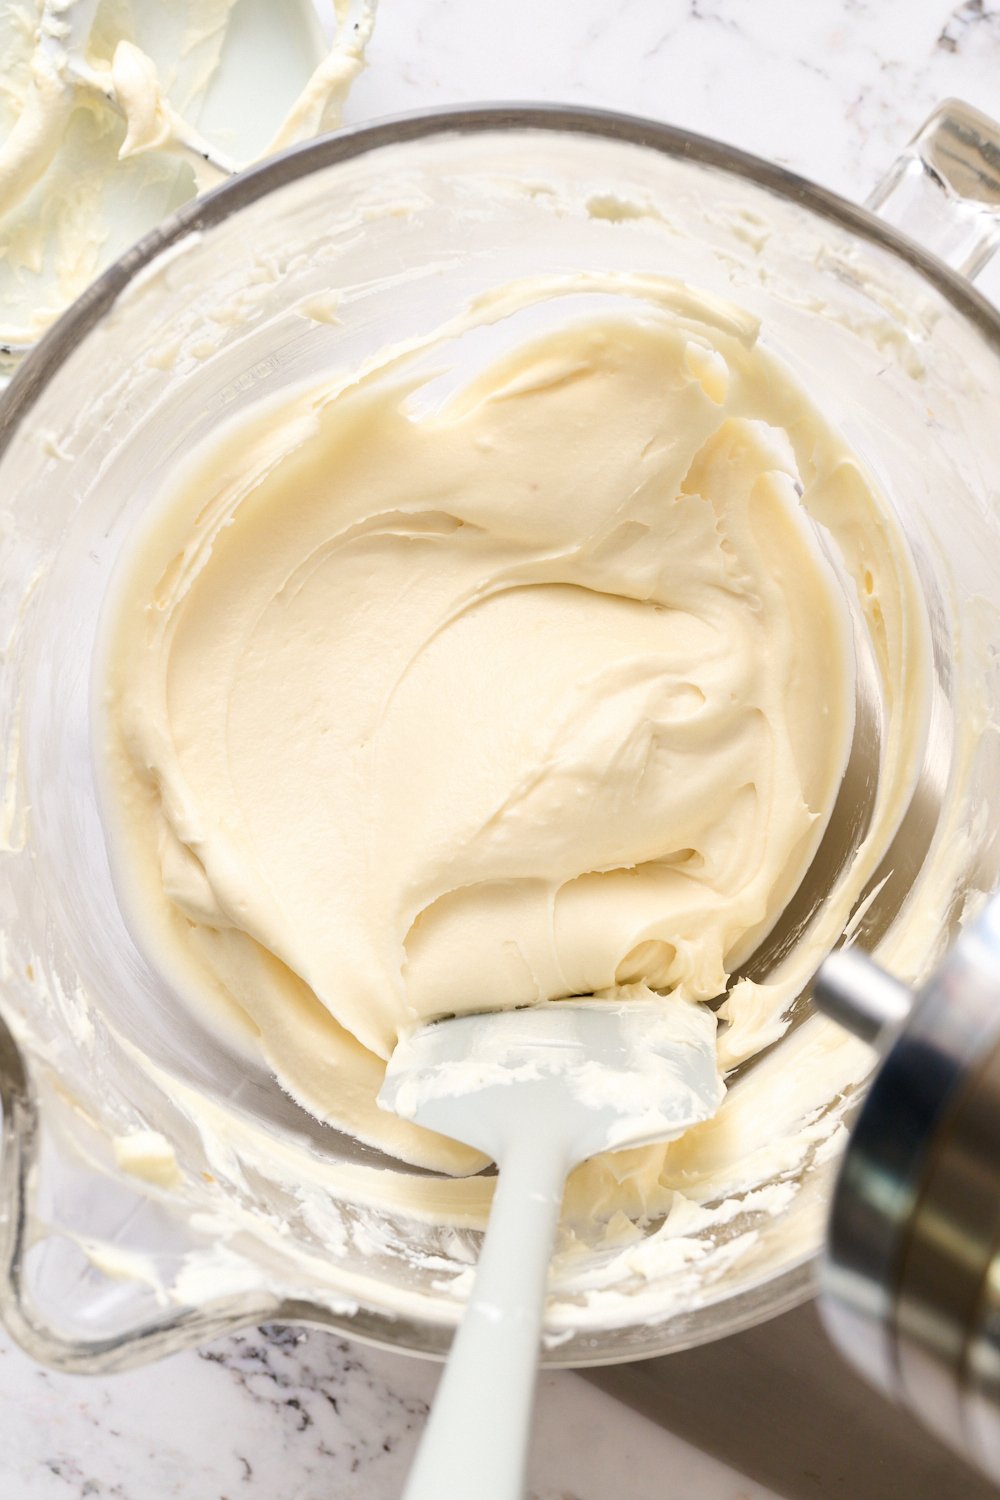
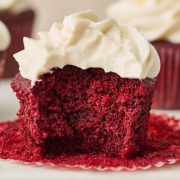
Since I first shared this recipe back in 2017, it’s become one of the most popular recipes on my site. Honestly, I get why. It’s my go-to for anything red velvet, my ultra-moist banana cake, and topping carrot cake cupcakes.
Over the years, I’ve continued to go back into the kitchen and experiment, tweaking the mixing method to make it sturdier without adding more sugar.
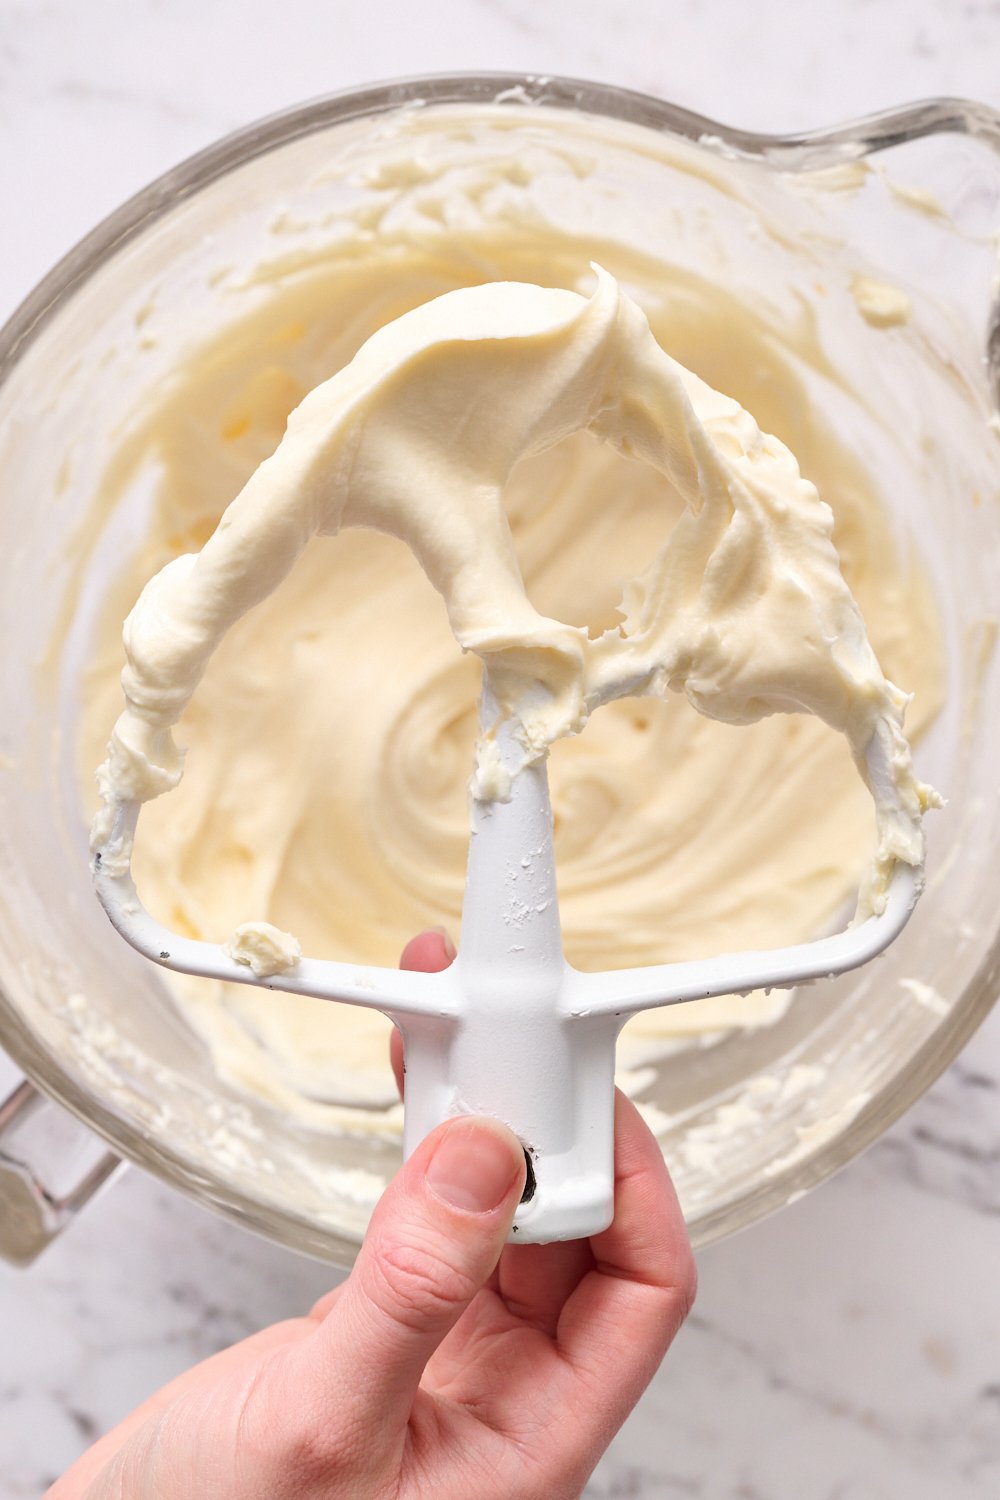
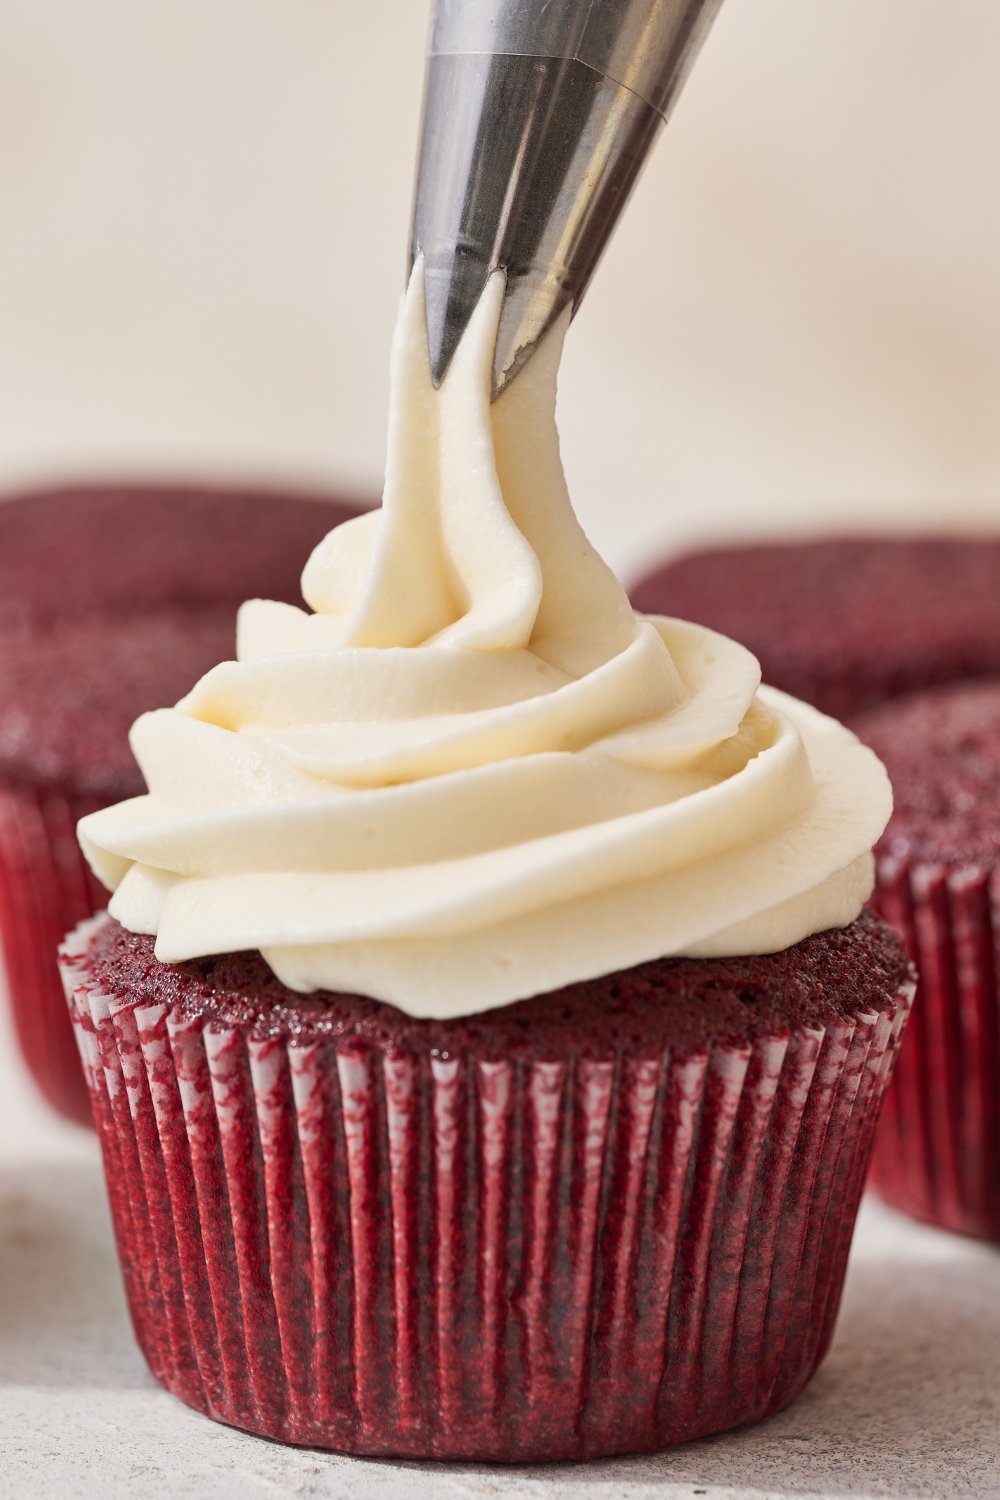
My cream cheese frosting recipe pipes perfectly, holds its shape, and still delivers that silky texture and tangy flavor, giving your favorite treats an instant upgrade.
Reader Love
This frosting was awesome! First time I’ve tried it, but won’t be the last. Directions were easy to follow, hints helpful, and only 4 ingredients. The result was a silky smooth, delicious but not sickly sweet, frosting that everyone loved.
–

Sprinkle of Science
Tips for Best Results
I’ve tweaked this cream cheese buttercream frosting recipe to help it hold its shape. It’s delicious, ultra-smooth, and works great for piping cupcakes!
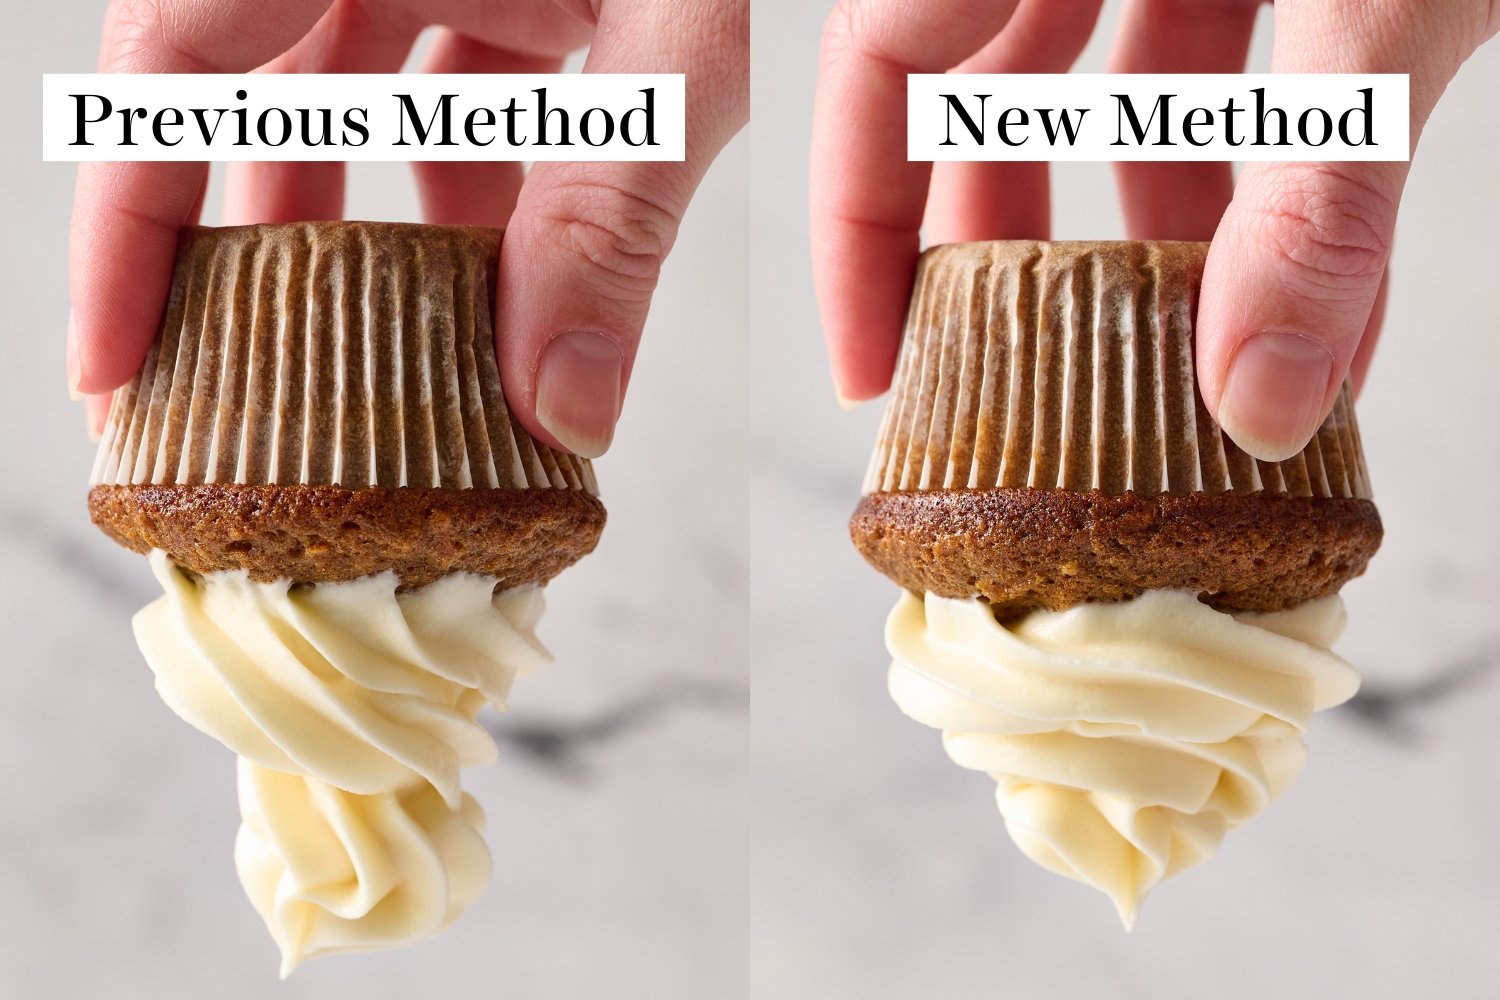
Instead of adding the 1 ½ cups of powdered sugar last, I beat the butter and sugar first, much like a buttercream recipe. Then I add the cream cheese. That one little detail makes a HUGE difference! See the difference in sturdiness above.
On the left, the frosting is smooth but a bit too soft. It starts to slide off the cupcake when flipped upside down! By following my method above, which can be seen on the right, the frosting pipes beautifully and stays put. This makes it sturdier for hot days, BBQs, picnics, and transporting.
Here’s the science: When you cream butter and sugar together, air becomes trapped, resulting in a fluffier texture and more stable structure. The powdered sugar also acts as a slight barrier, coating the fat in the butter to prevent the extra moisture in the cream cheese from absorbing.
Here are a few more tips for the best melt-in-your-mouth texture:
- Butter temperature matters. Butter even a few degrees too warm can lead to runny frosting. Adding more powdered sugar can help, but it makes the frosting sweeter. Instead, chill the frosting for 30 minutes to firm it up, then whip it again before using.
- Cream cheese temperature matters. Your cream cheese should be at room temperature. (This is true for your cheesecakes, too.) If it’s too warm, it can make your frosting turn runny. Cold cream cheese doesn’t blend smoothly, which could mean a grainy texture.
- Your mixer matters less. A stand mixer or a hand-held electric mixer with a large bowl works perfectly here.
- Sift your powdered sugar. To keep your frosting lump-free, sift the powdered sugar after measuring. This is a good piping tip, as lumps can clog your piping tips and bag.
- Balance texture and sweetness. Feel free to add an additional 2 tablespoons of sifted powdered sugar at a time until you reach your desired consistency. Just note that this will result in a sweeter frosting.
- Try it on cinnamon rolls. Swap the icing in my cinnamon rolls recipe for this frosting using my original method! Beat the cream cheese, butter, and vanilla at medium to high speed first. Then, gradually mix in the powdered sugar on low speed and beat until fluffy.
Delicious Ways to Use This Frosting
- Banana Cupcakes With Chocolate Cream Cheese Frosting
- Brown Butter Carrot Cake
- Carrot Walnut Loaf
- Easy Funfetti Cupcakes
- Gingerbread Sheet Cake
- Red Velvet Cupcakes
Storage Instructions
Since the sugar acts as a preservative, this frosting can sit at a cool room temperature for up to 8 hours before it needs to be refrigerated. That includes on its own or frosted onto your favorite baked goods, like these gingerbread cookie bars or a chocolate cake.
You can also make your homemade cream cheese frosting ahead of time. Once it’s prepped, place it inside an airtight container and store it in the fridge for up to 3 days or in the freezer for up to a month. Bring it to room temperature and re-whip with an electric hand mixer before using.
More Frosting Recipes You’ll Love
- The Best Buttercream Frosting
- Best Ever Chocolate Buttercream Frosting
- Dark Chocolate Buttercream
- Peanut Butter Buttercream Frosting
- Swiss Meringue Buttercream
FAQs
What’s the difference between cream cheese frosting and icing?
People often use “frosting” and “icing” interchangeably, but there are some key differences. Cream cheese frosting is thick and holds its shape. It’s the kind of thing you frost cakes with and pipe onto cupcakes. I like to spread it generously on red velvet cakes or red velvet cookies!
Making homemade icing is even simpler. It’s just powdered sugar and a splash of liquid and meant to be thin enough to drizzle or pour. It sets into a shiny glaze on cookies or cinnamon rolls, but it’s not something you’d pile high on a cake. (Cream cheese icing is technically the wrong term for both!)
What is the texture of cream cheese frosting, and does it set hard?
Cream cheese frosting is smooth, thick, and creamy. It’s soft and spreadable, perfect for layer cake recipes, indulgent banana breads, sugar cookies, and cupcakes. It’s especially ideal for red velvet cupcakes! Unlike an icing or glaze, it doesn’t set hard. It stays fluffy, even after chilling, but gets softer at room temperature.
Can I add food coloring to cream cheese frosting?
You can add food coloring to cream cheese frosting. Gel or powder colors work best over liquid food dyes because they won’t thin out the frosting. Mix in a little at a time until you reach your desired shade.
Cream Cheese Frosting
Email This Recipe
Enter your email, and we’ll send it to your inbox.
Ingredients
- ¾ stick (85 grams) unsalted butter, at cool room temperature (67°F)
- 1 ½ cups (188 grams) powdered sugar, sifted (Don't skip sifting!)
- 6 ounces (170 grams) cream cheese, completely softened to room temperature (brick-style, not spreadable)
- 1 ½ teaspoons
vanilla paste or vanilla extract
Instructions
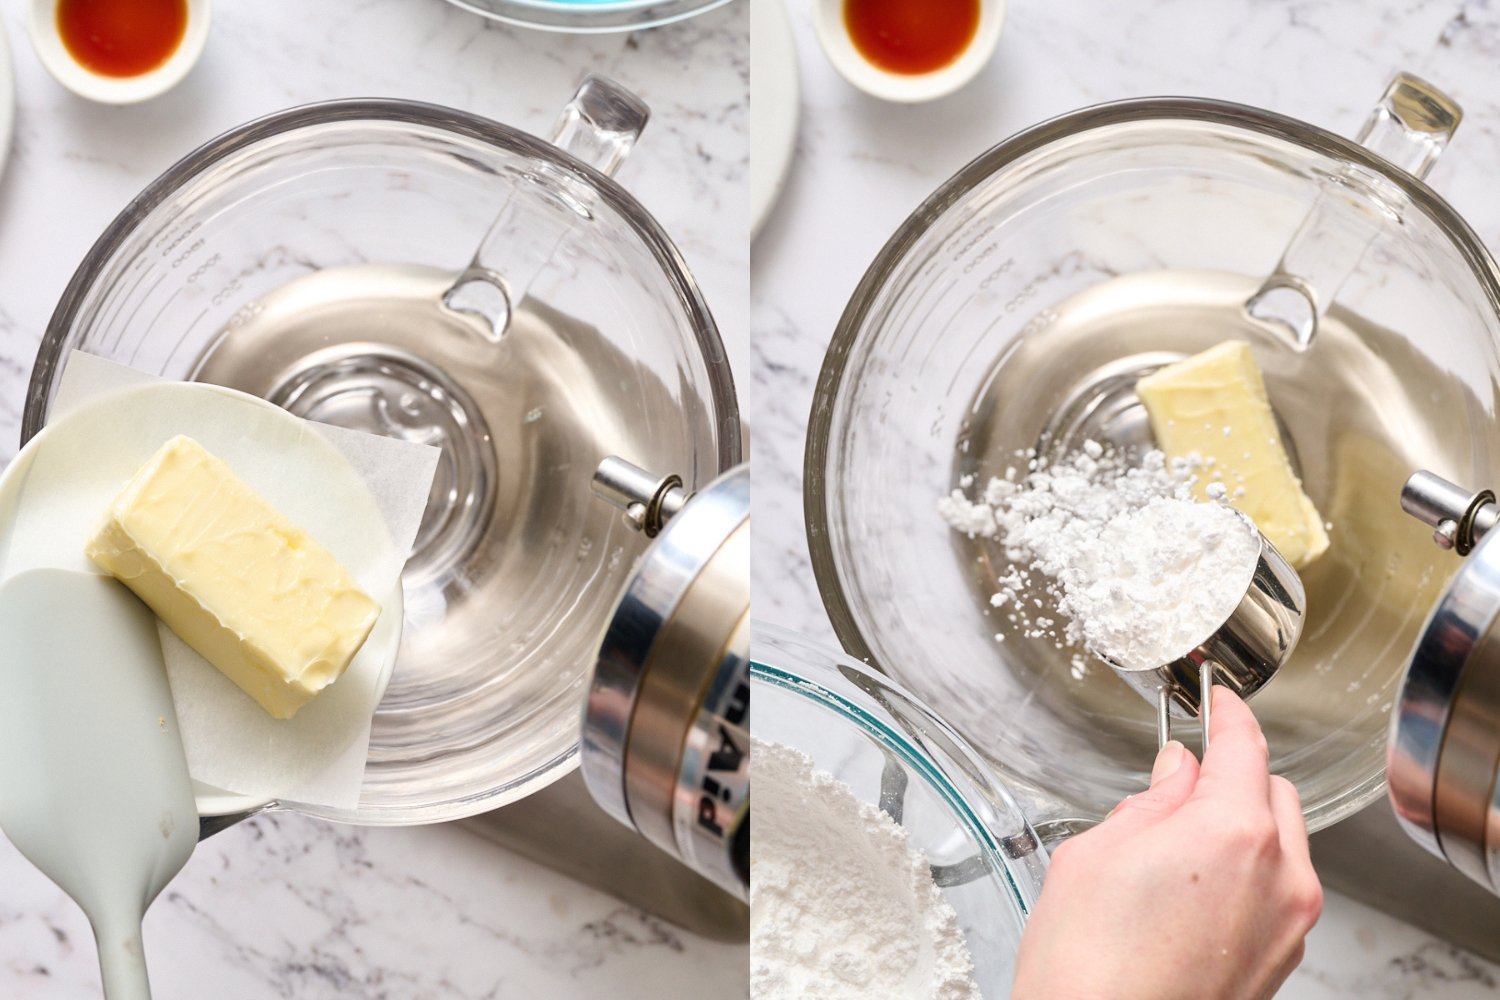
- In the bowl of a stand mixer fitted with the paddle attachment, beat the softened butter and sifted powdered sugar on low. Gradually increase to medium-high to prevent a sugar cloud.
- Beat for 3 minutes until smooth. (It may look dry at first, but it will come together like magic!)
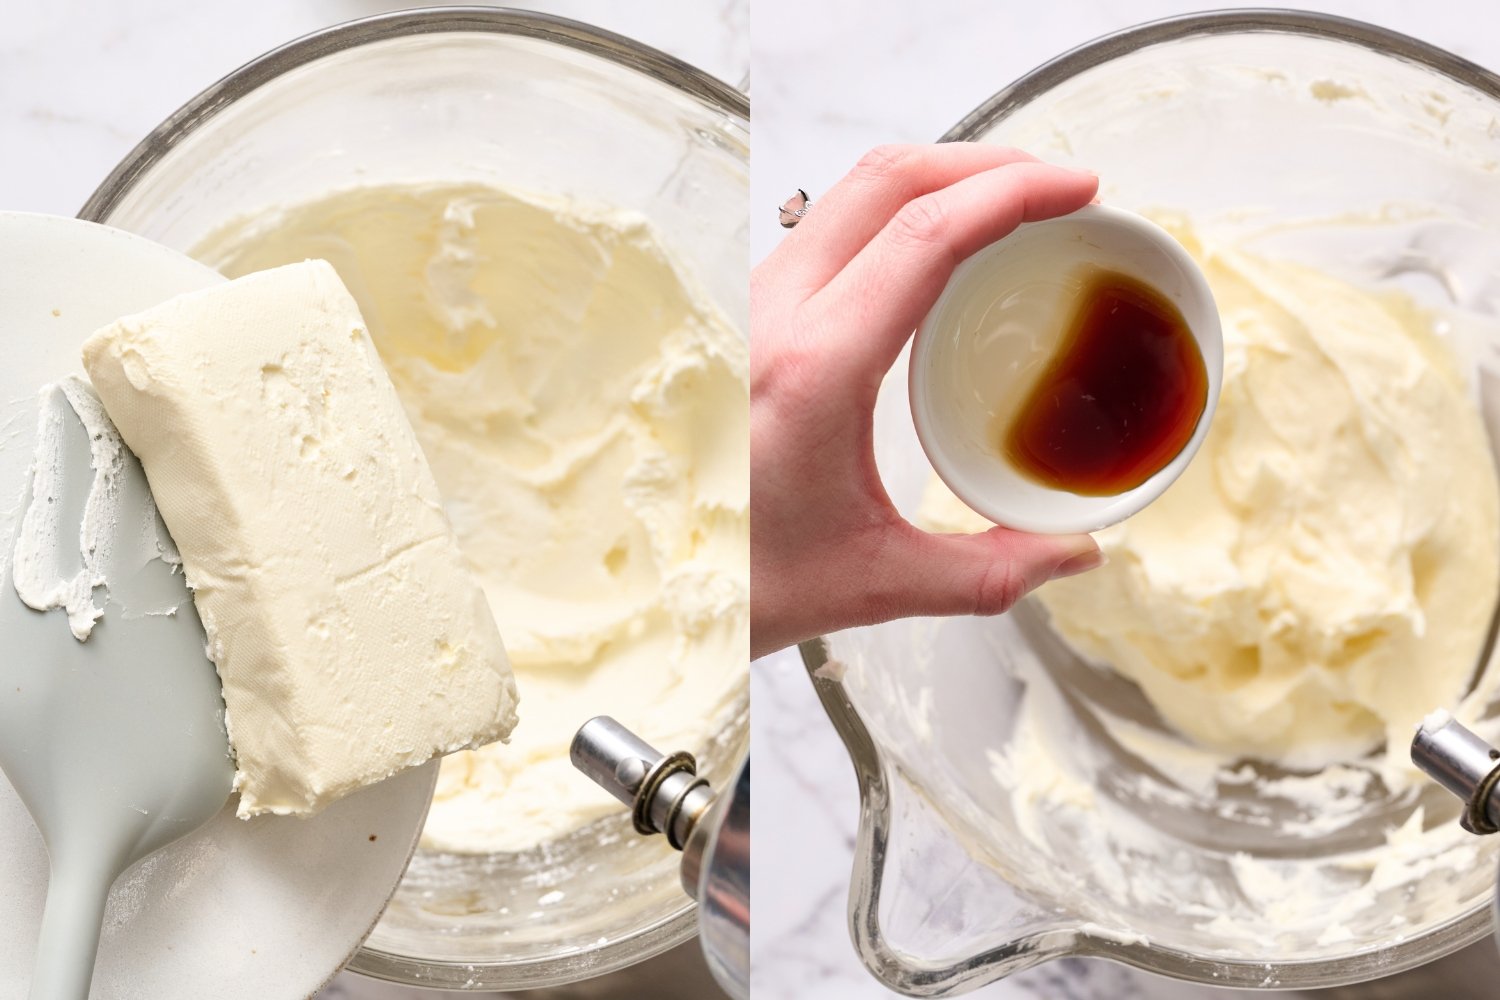
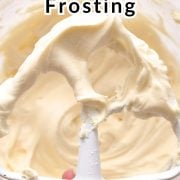
- Scrape down the bottom and sides of the bowl and paddle, then add the cream cheese and beat on medium-high for 1 minute until fluffy.
- Add the vanilla and beat for 30 seconds until fully incorporated. Scrape down the bowl again as needed.
Recipe Notes
This post was originally published in 2017 and updated in 2025 with recipe improvements and new photos. Photos by Joanie Simon.









Could I add cocoa powder or melted chocolate?
We haven’t tried that, but I don’t see why not! Just be sure the melted chocolate has come to room temperature before mixing it in. If the frosting is too soft afterward, chill it in the fridge for a bit to firm up, then rewhip it before using. Let us know how it goes!
Hi Tessa! This frosting was exactly as you described it — creamy, smooth and steady. It was the perfect frosting for my red velvet cake. Thank you so much for sharing this. Just wondering: if I brown the butter and chill it until it solidifies and use the same recipe for a browned butter cream cheese frosting, do you think it will work?
I’m so glad! Hmm, I haven’t tried that but I think it could work, though the frosting would likely be a bit looser. Let me know how it turns out if you experiment!
What if I do not have a beater?
Thank you
EJ
Hi EJ! This cream cheese frosting really needs a stand or hand mixer to get that light, fluffy texture. Beating by hand with a spoon or whisk unfortunately won’t give the same results — the frosting may end up dense or lumpy. If you have access to even a small hand mixer, that should work!