


Tessa’s Recipe Rundown
Taste: The perfect balance of salty-sweet goodness in each bite.
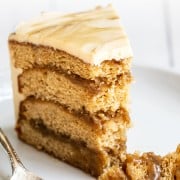
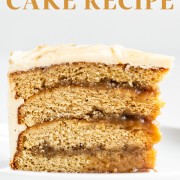
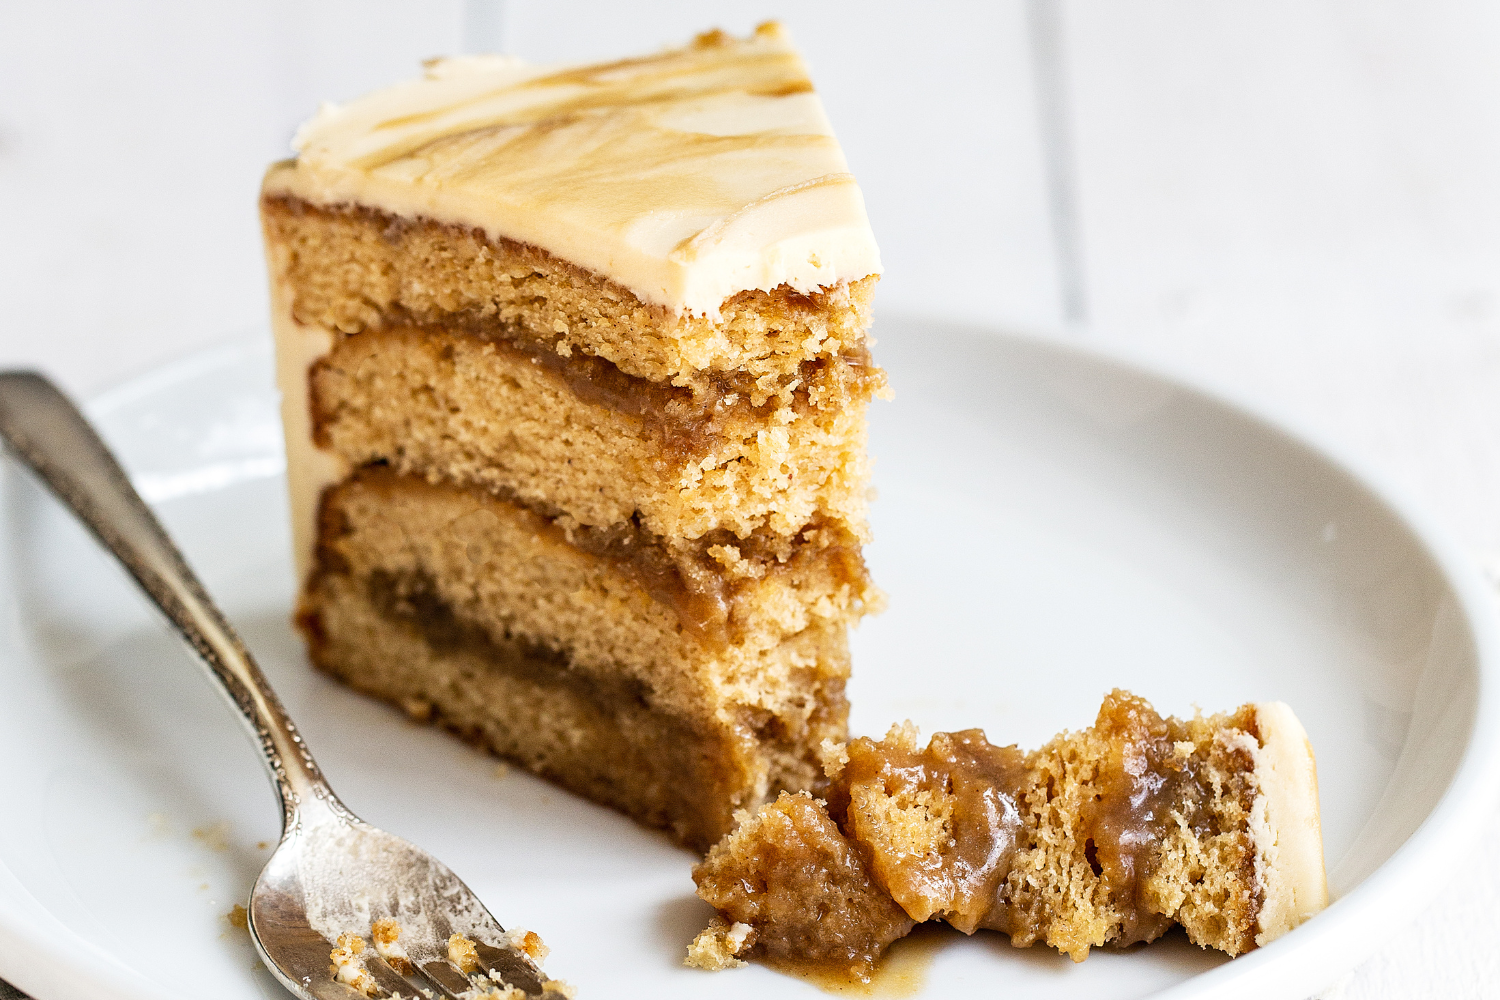
Texture: The cake is ultra tender and moist, with gooey butterscotch sauce and creamy icing!
Ease: A little more involved and time-consuming but totally worth it.
Pros: Amazingly delicious cake everyone will love.
Cons: None!
Would I make this again? 100%
This post may contain affiliate links. Read our disclosure policy.
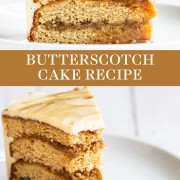


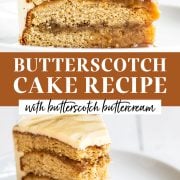
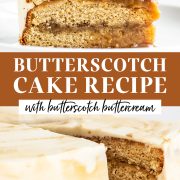
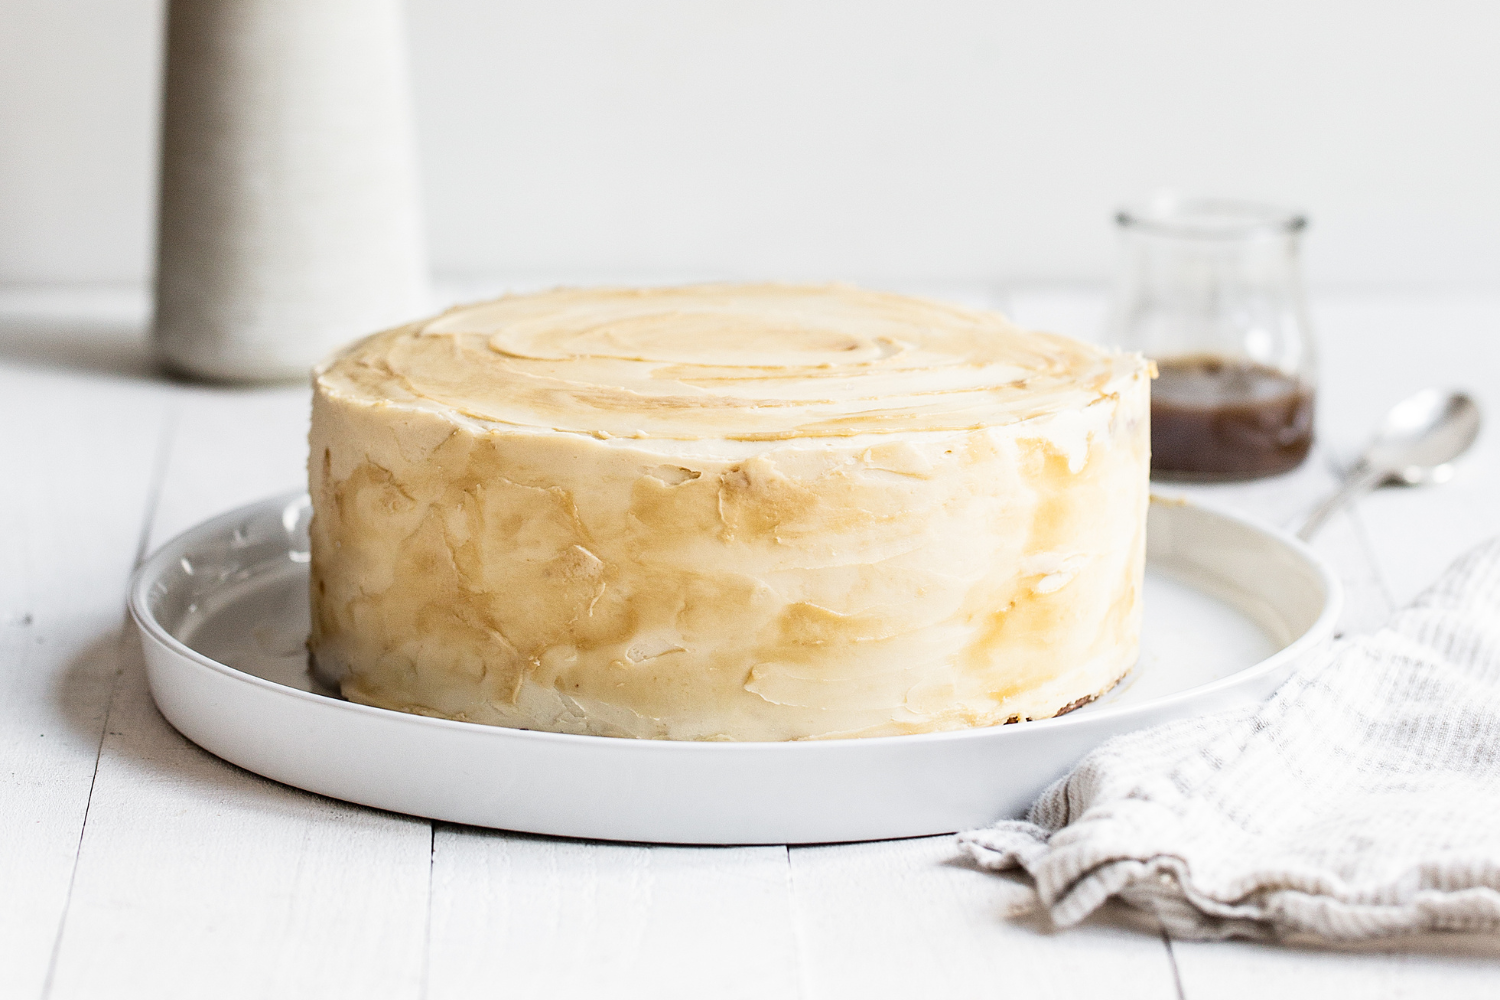
This Butterscotch Cake is the beautiful dessert embodiment of the most delightful fall flavors.
I’ve said it before and I’ll say it again: butterscotch is absolutely underrated!
It’s one of my favorite flavors for fall because it just feels like warm sweetness that pairs so well with other autumn fruits and spices.
However, in this recipe, the butterscotch is the STAR. There’s a hint of cinnamon in the cake but it’s just there to round out the flavors and balance the sweetness.
The cake layers are made with brown sugar, which is the primary ingredient of butterscotch, for even more depth of flavor.
Then there’s butterscotch sauce in between every layer of cake. This provides a moist, rich, and gooey texture in every bite. THEN there’s even more butterscotch in the buttercream icing.
Can you say HEAVEN?!
How to Make MOIST Butterscotch Cake
- Don’t overbake! Start checking the doneness with a toothpick or cake tester at 30 minutes. Also, avoid using dark-colored cake pans which will dry out the edges.
- Measure your flour correctly. Compacting too much flour in your measuring cup is shockingly easy to accidentally do, and can easily create a dense or dry cake. Read my article on how to measure flour the right way here.
- Moist ingredients. Brown sugar and sour cream both help to add moisture, as well as a beautiful flavor. You can use plain unsweetened yogurt if you don’t have sour cream.
The Butterscotch Sauce
Butterscotch sauce is our filling for this Butterscotch Cake. I LOVE to use homemade butterscotch here because it really makes a difference in the taste. This will make your cake sweet, but not cloying. Plus, making butterscotch sauce from scratch is surprisingly easy. Check my homemade butterscotch recipe here.
How to Make Perfect Buttercream
The butterscotch buttercream in this recipe is very straightforward, but I have a few tips to ensure smooth, sweet perfection.
- Make sure your butter is at a cool room temperature. If it’s too cold, it won’t get light, fluffy, and creamy. If it’s too warm (if it looks greasy or barely holds its shape) then it will melt into your cake and be difficult to frost.
- Be sure to use finely ground powdered sugar. Some brands are 5x ground and some are 10x ground, you want the latter for a silky smooth texture.
- SIFT YOUR POWDERED SUGAR! Don’t skip this step, or your frosting will be lumpy.
- Add salt to taste. I love the salty-sweet invitation butterscotch provides so give your frosting a taste and adjust as needed.
How to Assemble and Frost a Layer Cake
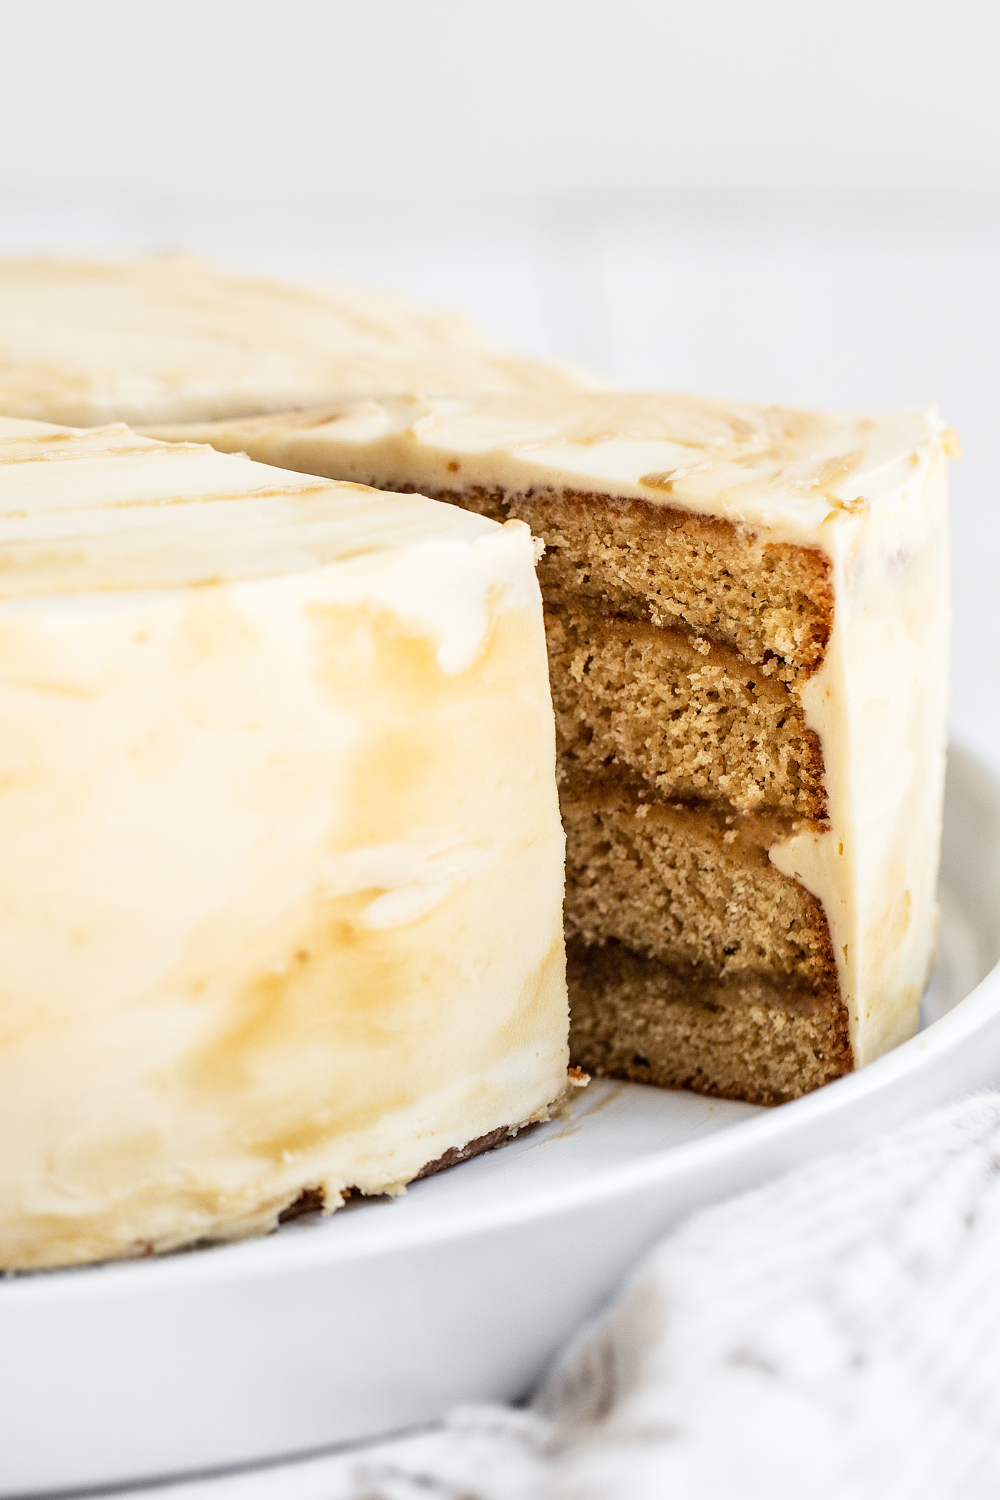
For this recipe, we bake two cake layers and cut each in half for a total of 4 cake layers.
- Cut each cake layer in half using a wire cake leveler or a sharp serrated knife. Cake layers are easier to work with if they’re slightly chilled.
- Place one cake layer on a cake turntable or cake stand. Spread about 1/3 cup of butterscotch sauce all over the cake layer, leaving a 1/2-inch border at the edges so it won’t spill over. Repeat with the remaining cake layers.
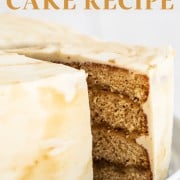
- Place the last cake layer upside-down onto the frosting so that the top of the cake is nice and flat and even.
- With an offset spatula, crumb coat the assembled cake by spreading a thin layer of frosting evenly all over the cake, scraping off any excess like spackle. When crumb coating, never dip your spatula back into your bowl of frosting. This helps avoid getting crumbs in the frosting.
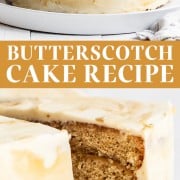
- Refrigerate for 30 minutes or freeze for 15 minutes until the crumb coat frosting layer is firm to the touch. Smooth on the remaining frosting and decorate as desired!
Which Cake Pans Should I Use for Butterscotch Cake?
I love using Fat Daddio’s pans because they’re high-quality, and their light color means they won’t overbake the edges. This recipe was written to use two 8-inch round cake pans.
Make ahead & Storage
Make Ahead: Bake the cake layers, cool them completely, and then wrap them well in plastic wrap. Place inside a freezer bag. Store at room temperature for up to 4 days, in the fridge for a week, or in the freezer for up to 2 months.
Tip: slightly cold cake layers are easier to frost! Less crumbs to catch.
The butterscotch buttercream can be stored in an airtight container in the fridge for up to 1 week or in the freezer for up to 3 months. Let come to room temperature and re-whip in the stand mixer until light and fluffy again.
Room Temperature Storage: Since frosting acts as a protective seal that keeps the cake moist and fresh, frosted cakes can be stored at a cool and dry room temperature for 2 to 3 days. Cover with a cake keeper to keep the frosting intact.
Fridge Storage: You can also store in the fridge. Let come to room temperature before serving. Don’t use plastic wrap, as this can ruin your frosting application and also create condensation that can cause the frosting to separate.
More Butterscotch Recipes:
Email This Recipe
Enter your email, and we’ll send it to your inbox.
Ingredients
For the cake:
- 2 1/2 cups (318 grams) all-purpose flour
- 2 1/2 teaspoons baking powder
- 1/2 teaspoon fine sea salt
- 1/2 teaspoon ground cinnamon
- 2 sticks (227 grams) unsalted butter, at room temperature
- 1 1/2 cups (300 grams) packed light brown sugar
- 1/2 cup (100 grams) granulated sugar
- 2 teaspoons vanilla extract
- 3 large eggs, at room temperature
- 1 cup (227 grams) sour cream or plain yogurt, at room temperature


For the frosting:
- 2 cups (250 grams) powdered sugar, sifted
- 2 sticks (227 grams) unsalted butter, at room temperature
- 1/4 teaspoon fine sea salt (use more or less depending on how salty your butterscotch is)
- 2 teaspoons vanilla extract
- 1 1/3 cups
homemade butterscotch sauce , or storebought, divided
Instructions
Make the cake layers:
- Preheat the oven to 350°F. Generously butter, flour, and line two 8-inch cake pans with parchment paper circles.
- In a medium bowl whisk together the flour, baking powder, salt, and cinnamon.
- In a large bowl with an electric mixer, beat the butter on high speed until smooth and creamy, about 1 minute. Add the sugars and beat on high speed for 3 to 4 minutes, until light and fluffy. Add vanilla and eggs and beat on medium-high speed until combined.
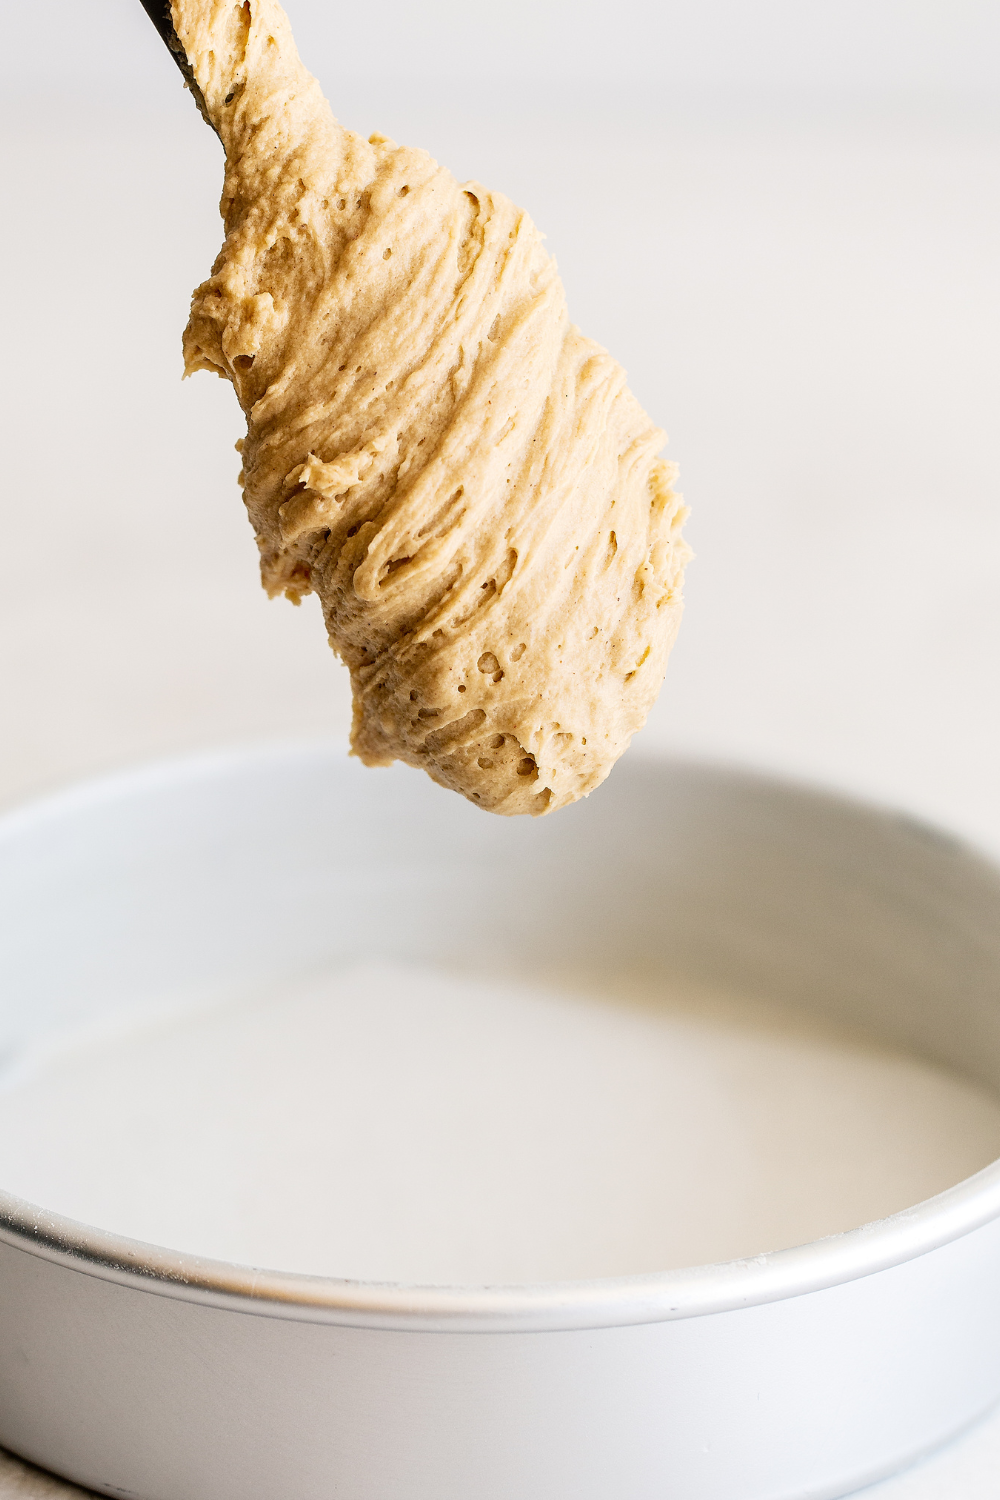
- With the mixer on low speed, add the flour mixture in three additions alternating with the sour cream, beginning and ending with the flour, mixing just until combined. Do not overmix. Batter will be thick.
- Pour into prepared pans and bake for 35 minutes, or until golden brown and a toothpick comes out clean. Let cool for 20 minutes in pans before turning out onto a cooling rack. For easier frosting, freeze the cake layers until firm.
Make the frosting:
- In the bowl of a stand mixer fitted with the paddle attachment, mix together the sugar and butter. Mix on low speed until well blended and then increase the speed to medium and beat for another 2 minutes. Add the salt, vanilla, and 1/3 cup of the butterscotch and beat on medium for 2 minutes, or until thoroughly combined.
Assemble the cake:
- Cut each cake layer in half using a wire cake leveler or a sharp serrated knife.
- Place one cake layer on a cake turntable or cake stand. Spread about 1/3 cup of butterscotch sauce all over cake layer, leaving a 1/2-inch border at the edges. Repeat with the remaining cake layers.
- Place the last cake layer upside-down onto the frosting so that the top of the cake is nice and flat. With an offset spatula, crumb coat the assembled cake by spreading a thin layer of frosting evenly all over the cake, scraping off any excess like spackle. Refrigerate for 30 minutes or freeze for 15 minutes until the crumb coat frosting layer is firm. Smooth on the remaining frosting and decorate as desired.
- Serve or cover and store in the fridge for up to 2 days. Let come to room temperature for an hour before serving.
This recipe was originally published in 2019 and has been updated with additional recipe tips. Photos by Ashley McLaughlin.


The homemade butterscotch sauce recipe when I clicked on it to me to a page saying it could not be reached. I typed it in the search box and it could not be found here at the site. Please help I want to make it. Thank you
Thanks for letting us know! I’ve updated the link within the recipe, but here is a direct link to our Homemade Butterscotch Sauce recipe as well. Enjoy! 🙂