Tessa’s Recipe Rundown
Taste: So full of flavor! Butterscotch, caramel, browned butter, chocolate – it’s a party in your mouth.
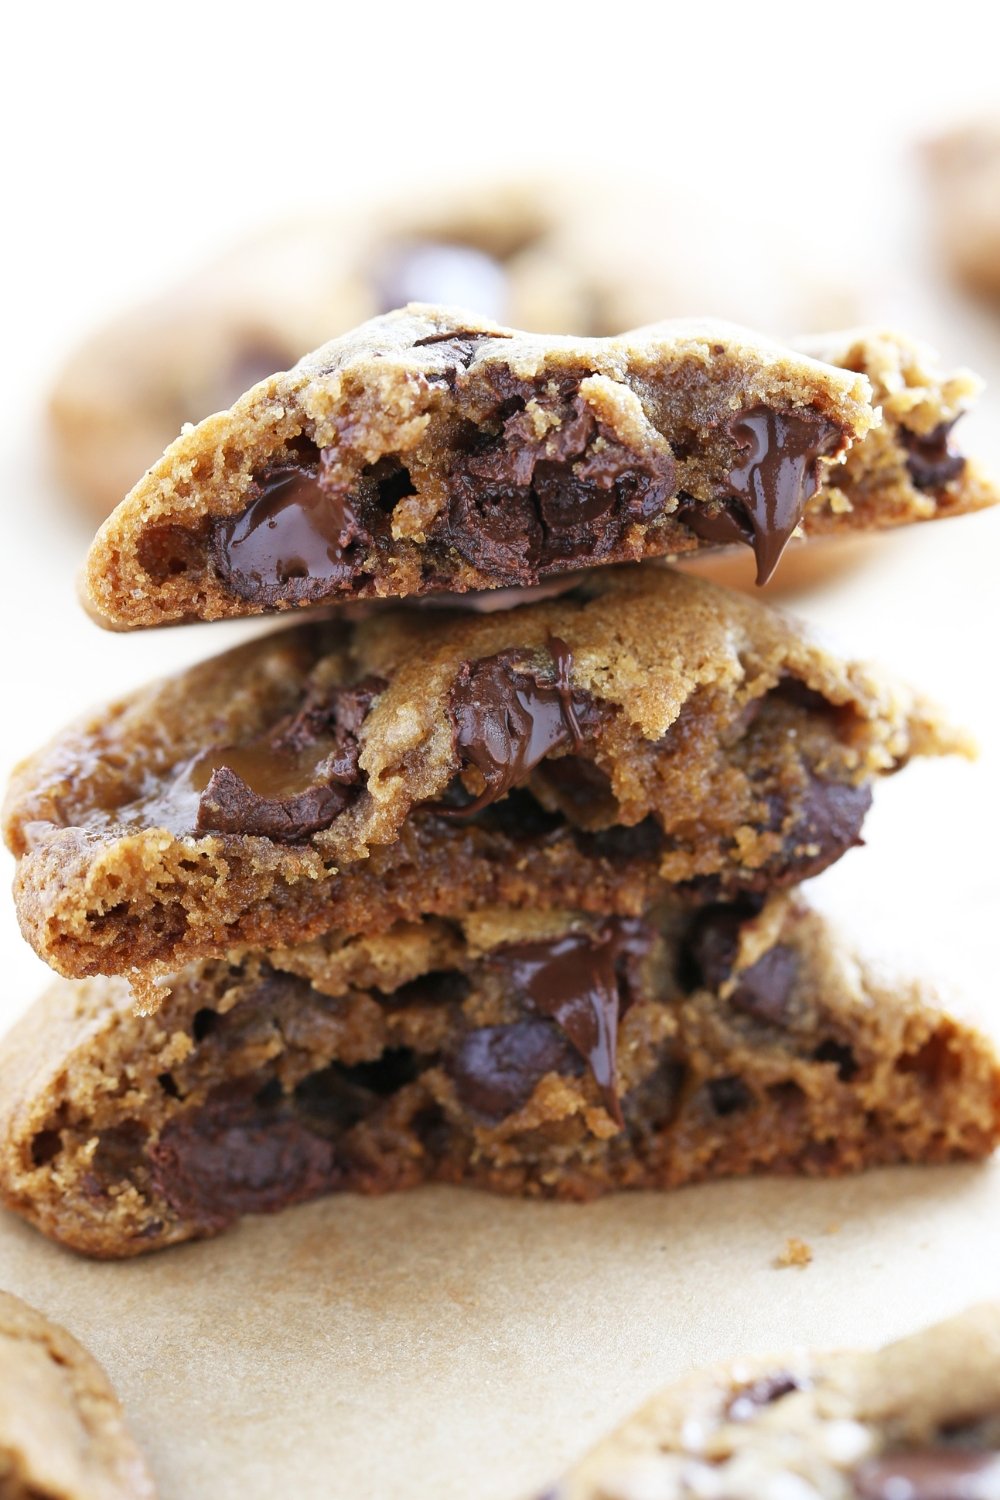
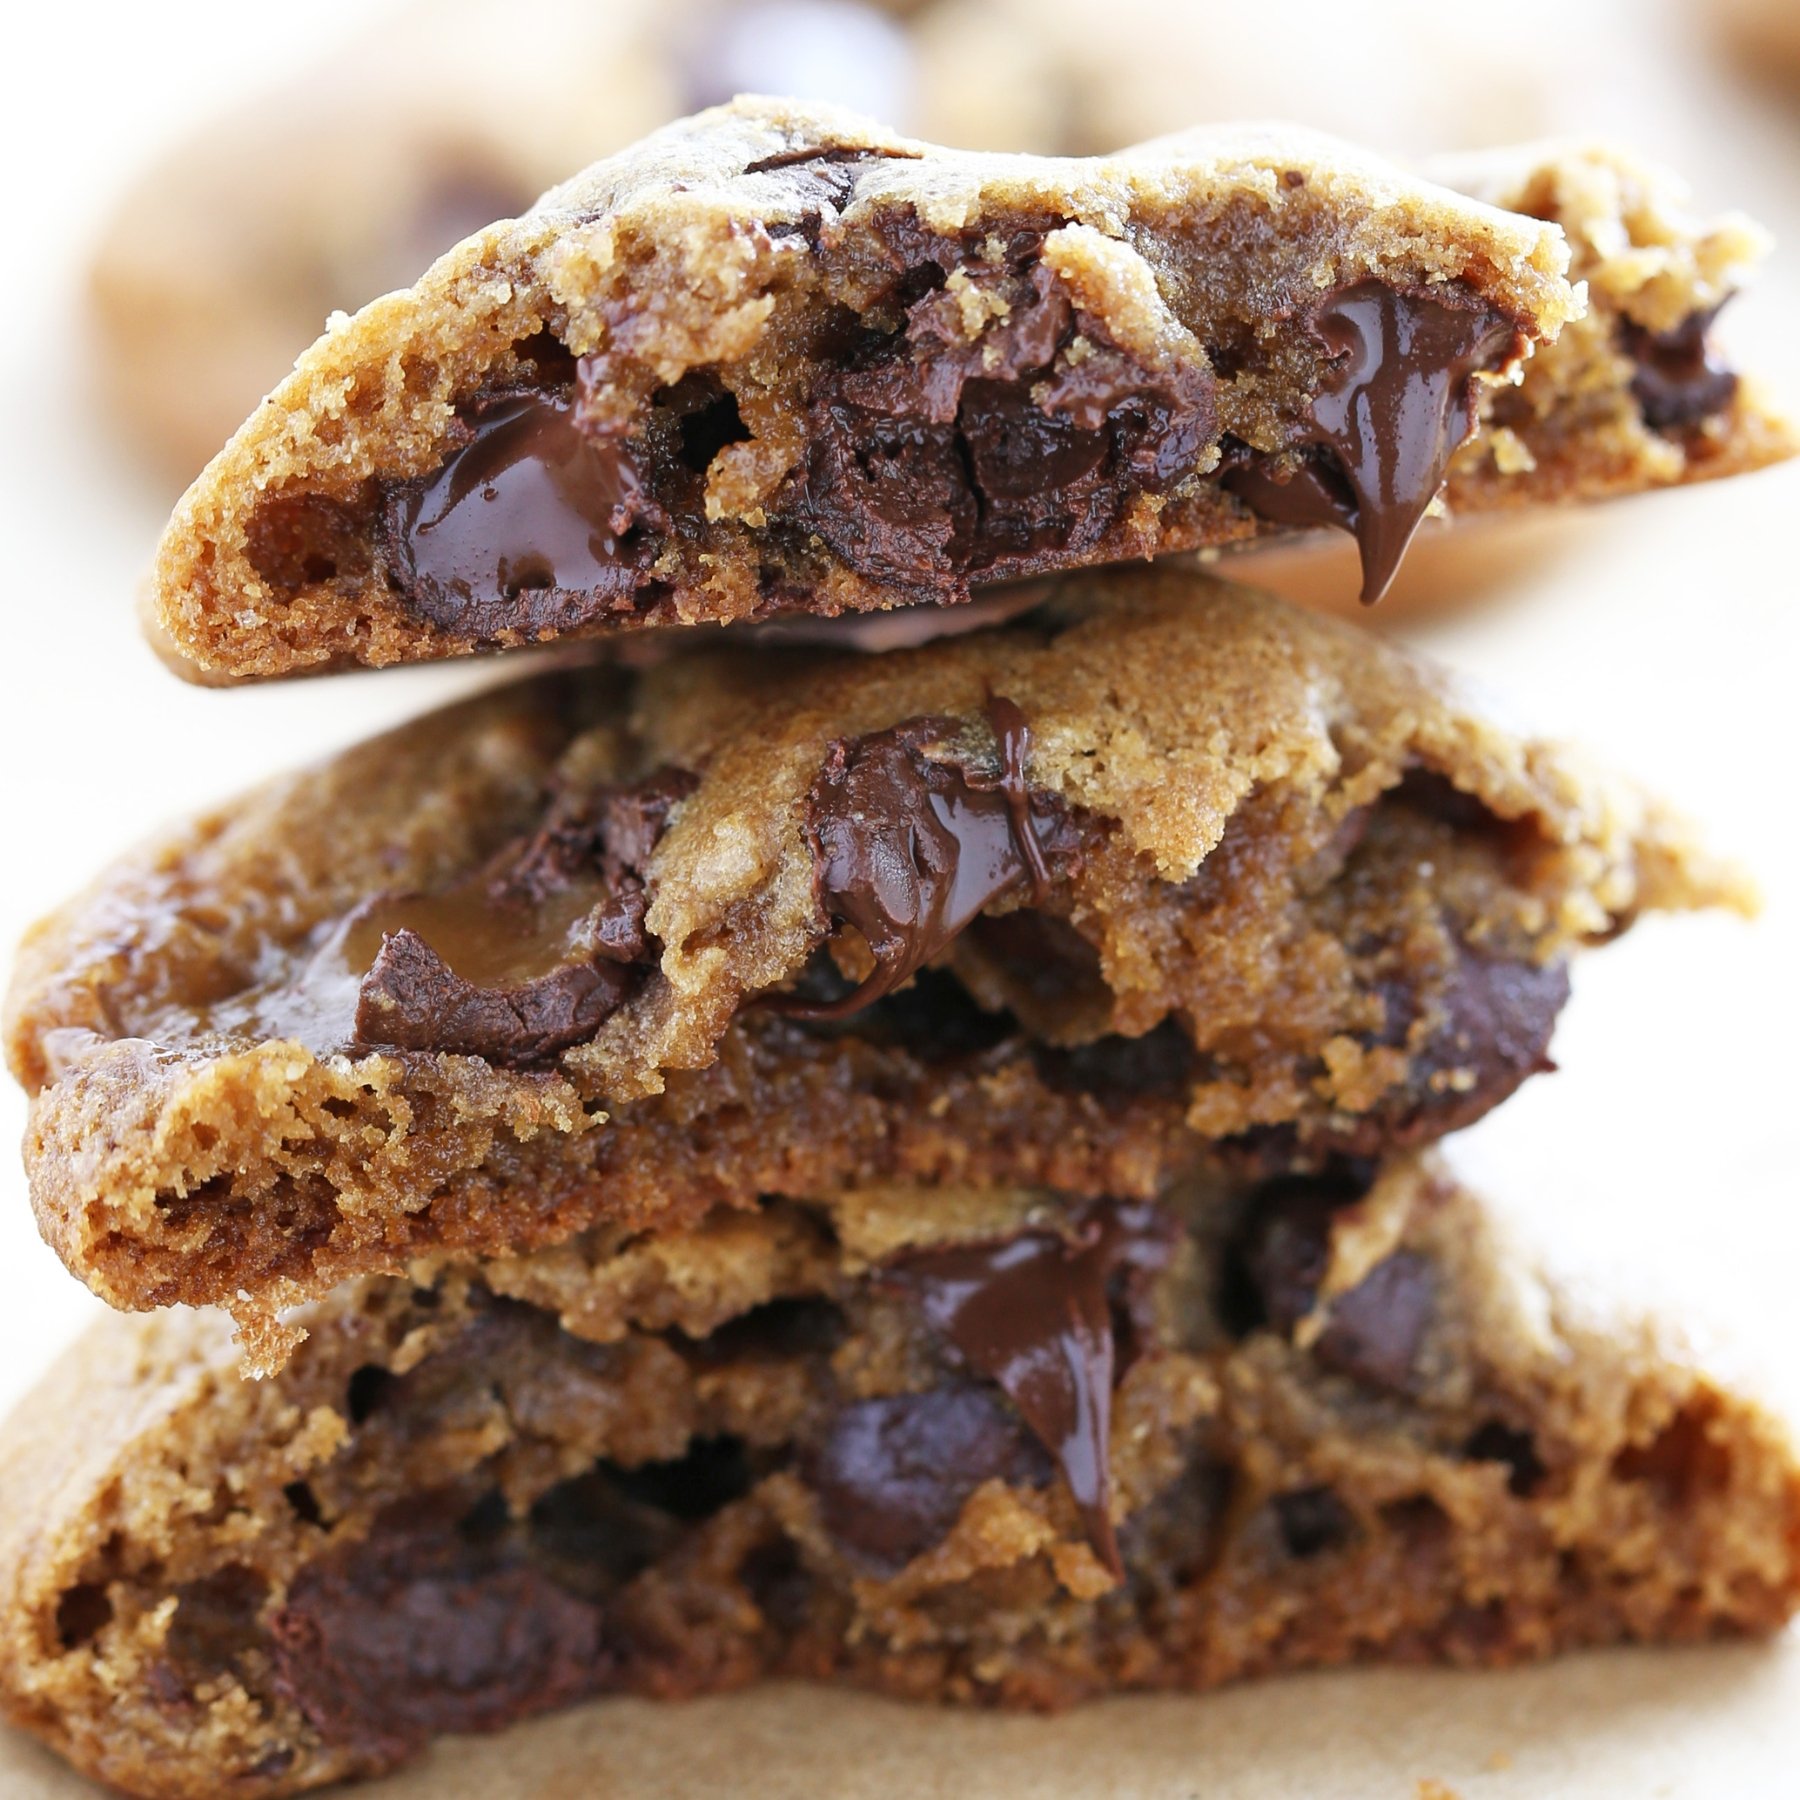
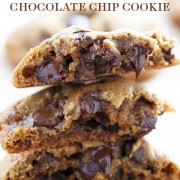
Texture: Ultra chewy with crispy edges and a gooey center. Like every chocolate chip cookie should be in my book!
Ease: A little more involved than your typical cookie recipe, but well worth the effort.
Pros: Possibly the most flavorful cookies ever.
Cons: The 24-hour chill period requires patience – but these babies are worth it, promise.
Would I make this again? Absolutely.
This post may contain affiliate links. Read our disclosure policy.
Butterscotch Browned Butter Chocolate Chip Cookies are the most flavor-packed, chewy, gooey, salty-sweet sweet treats you’ll ever try!
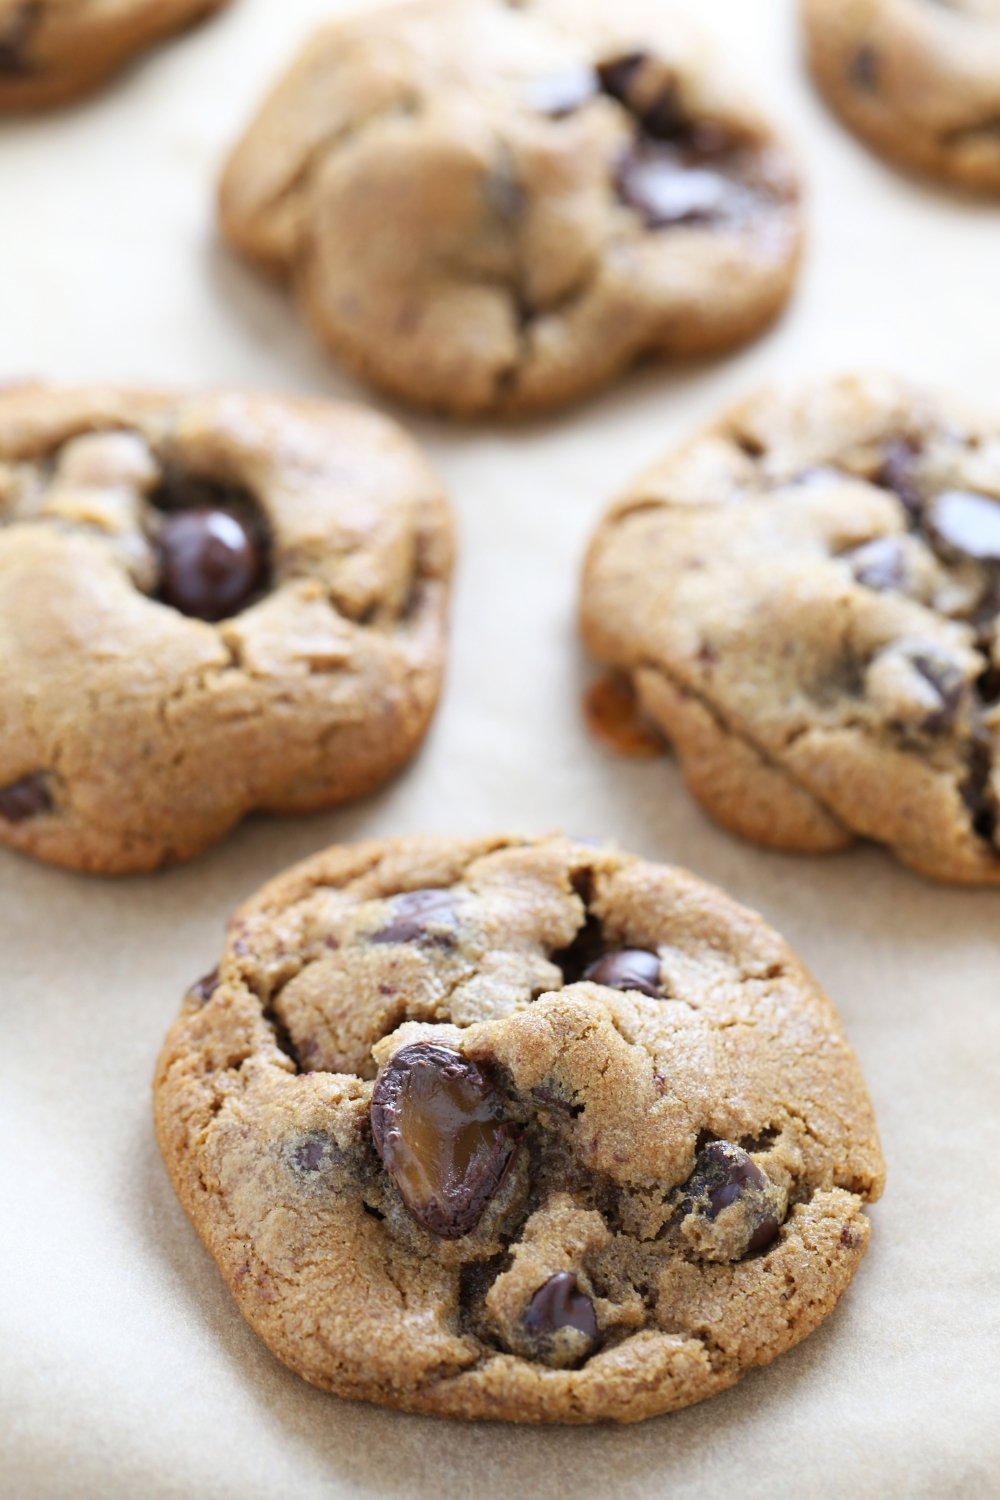
I’ve taken every step to 10x the flavor of Chocolate Chip Cookies – so much that I think these are on a whole new level.
Jam-packed full of brown butter, gooey chocolate chips, and a decadent secret ingredient, these cookies are the perfect crowd-pleasing dessert for any occasion.

Free Cookie Customization Guide!
The science-based guide so you can bake perfect cookies every time!
I hope you give this recipe a try, and be sure to let me know what you think in the comments below!

Sprinkle of Science
How to Make Butterscotch Browned Butter Chocolate Chip Cookies
The Secret Ingredient
The secret ingredient to these Butterscotch Browned Butter Chocolate Chip Cookies is Trader Joe’s Chocolate Covered Sea Salt Butterscotch Caramels. They are absolute perfection! I was first turned onto them by Gaby of What’s Gaby Cooking and have been in love ever since.
The complex salty-sweet flavor they add to an already flavorful cookie dough is beyond wonderful.
If you can’t get these specific candies, you can also use Rolo candies. If using Rolos, I recommend adding a sprinkling of flaked sea salt to the top of each cookie just after baking, so you can still enjoy that salty-sweet perfection.
The Brown Butter
Browning the butter adds so much rich, toasted, nutty flavor to these cookies. If you’ve never browned butter before, don’t worry – just follow the recipe instructions and don’t walk away from the pan. The butter can go from perfectly brown to burnt quickly.
Learn all my tips and tricks for browning butter in my How to Brown Butter article here.
Do I Have to Use Bread Flour?
Bread flour has a higher percentage of protein, which helps create a chewier texture in cookies. It’s definitely worth picking up a bag at the store if you don’t have any on hand. However, if you don’t have any, you can use only all-purpose flour – just note that your cookies won’t be as chewy.
How to Avoid Dry Cookies:
- Measure your flour correctly: Use a digital kitchen scale to ensure precision. When using measuring cups, it’s so easy to unintentionally compact ingredients (especially flour) and add too much. Too much flour creates tough, dry, or cakey cookies that don’t spread. If you don’t have a scale, use the spoon-and-level method.
- Do not reduce the sugar: Sugar does so much more than providing sweetness. It plays a big part in a cookie’s texture, among other things. Learn more about what sugar does in baking here.
- Avoid overbaking: Pull these cookies from the oven when they’re just set at the edges for perfectly soft cookies. Using a high-quality baking pan helps too – learn more about the best (and worst!) baking pans here.
Why is There an Extra Egg Yolk?
The additional egg yolk in this recipe adds chewiness and richness to the cookies, so I don’t recommend skipping this.
Do I Need to Chill the Dough?
The chill period is absolutely worth the wait, I promise. Chill the dough for a minimum of 24 hours or up to 72 hours. Think of this chilling period like marinating meats – all the flavors intensify! The flour also absorbs moisture from the dough during this time, so the texture of the cookies becomes thicker and chewier. Learn more about Why You Should Chill Your Cookie Dough here.
After the dough is chilled, just let it sit at room temperature until it’s warm enough to scoop. Alternatively, you can portion the dough into balls prior to the chill period – just be sure to keep them inside an airtight container, to prevent them from drying out in the fridge.
Can’t wait that long? Just bake off a few cookies right away, to satisfy the craving, and chill the rest of the dough for 24-72 hours. Plus, it’s a fun experiment to see the difference the chill period makes in your cookies!
How to Shape Butterscotch Chocolate Chip Cookies
I typically find that large cookies achieve a much better texture than smaller cookies. I use my large 3-tablespoon cookie scoop to do this.
You can use a medium 1 1/2-tablespoon scoop instead if you prefer – just shave off about 3 minutes from the baking time.
Why Use a Cookie Scoop?
Using a stainless steel spring-loaded cookie scoop when portioning out cookie dough ensures uniform, evenly-shaped and evenly-baked cookies. My cookie scoop is one of my most frequently used kitchen gadgets – it saves you *so much time* in shaping cookie dough. Learn more about Cookie Scoops and how to use them here!
Can I Halve This Recipe? Can I Double This Recipe?
Yes! Simply divide all ingredients in half to yield about 12-13 large cookies, or double all ingredients to yield about 50 large cookies. No other modifications needed.
How to Make Butterscotch Browned Butter Chocolate Chip Cookies Ahead of Time
You have three options for making these cookies ahead of time:
- The cookie dough can be stored inside an airtight container in the fridge for up to 3 days.
- Once shaped, the balls of cookie dough can be placed on a parchment-lined baking tray in the freezer until solid. Transfer to an airtight container and store in the freezer for up to 2 months. Let sit at room temperature for 15 minutes before baking as directed. Learn more about freezing cookie dough here.
- Store the baked cookies inside an airtight container for up to 3 days. Store with a tortilla to keep them soft longer!

More Recipes You’ll Love:

Butterscotch Browned Butter Chocolate Chip Cookies
Email This Recipe
Enter your email, and we’ll send it to your inbox.
Ingredients
- 2 sticks (227 grams) unsalted butter
- 1 1/2 cups (187 grams) all-purpose flour,
measured correctly - 1 cup (127 grams) bread flour, measured correctly
- 1 teaspoon baking soda
- 1 teaspoon baking powder
- 1 teaspoon fine sea salt
- 1/4 cup (50 grams) granulated sugar
- 1 1/2 cups (300 grams) packed dark brown sugar
- 2 large eggs plus 1 egg yolk, at room temperature
- 2 teaspoons vanilla
- 2 cups (198 grams)
chocolate covered butterscotch caramels (or Rolo candies)* - 1 cup (170 grams) semisweet chocolate chips
Instructions
- In a small saucepan set over medium heat, melt the butter. Swirling the pan occasionally, continue to cook the butter. It should become foamy with audible cracking and popping noises. Once the crackling stops, continue to swirl the pan until the butter develops a nutty aroma and brown bits start to form at the bottom. Once the bits are amber in color, about 2 to 3 minutes after the popping stops, remove from heat and pour into a mixing bowl. Stir in the granulated sugar and dark brown sugar. Allow to cool for about 20 minutes to room temperature.
- In a medium bowl, combine the all-purpose flour, bread flour, baking soda, baking powder, and salt. Set aside.
- With an electric mixer, beat the cooled butter, granulated sugar, and brown sugar until well combined, about 1 to 2 minutes. Add the eggs, yolk, and vanilla, beating until combined. On low speed, gradually beat in the flour mixture. Stir in the chocolate chips and butterscotch caramels. Wrap dough in plastic wrap and refrigerate for at least 24 hours but no more than 72 hours.
- Preheat the oven to 350ºF. Line baking sheets with nonstick baking mats or parchment paper.
- Let dough sit at room temperature just until it is soft enough to scoop. Using a large spring-loaded cookie scoop, divide the dough into 3-tablespoon sized balls and place on prepared baking sheets.**
- Bake for 12-15 minutes, or until golden brown. Remove from oven and let cool for 2 minutes before removing to wire racks to cool completely. Serve or store in an airtight container for 3 days.
Recipe Notes
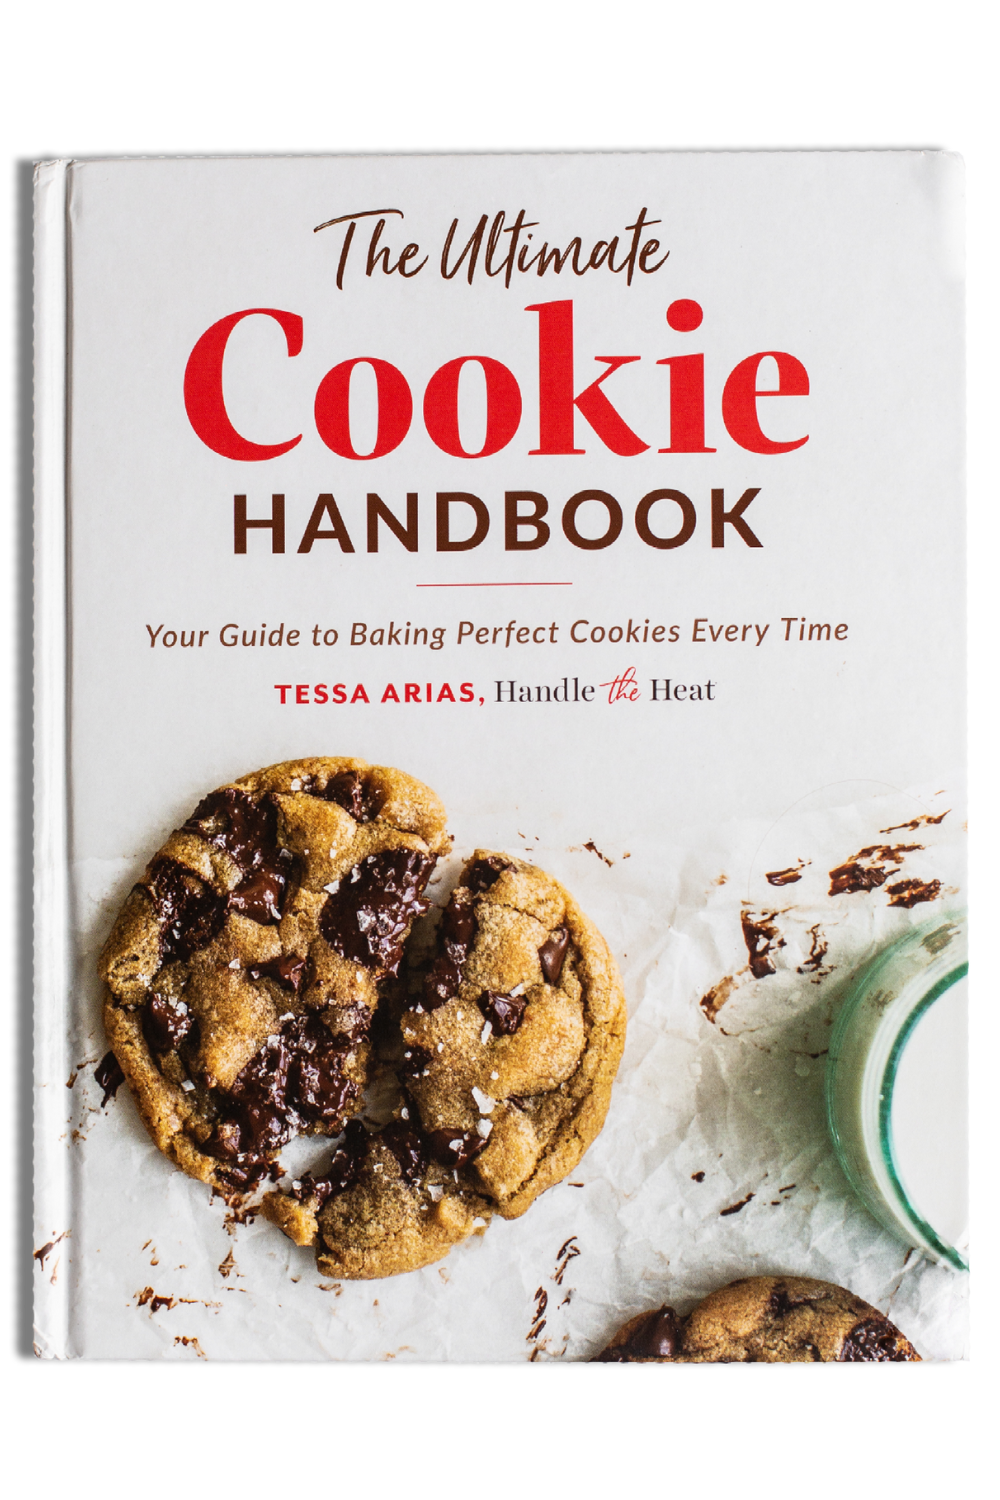
The Ultimate Cookie Handbook
Learn the sweet SCIENCE of cookie baking in a fun, visual way to customize your own recipes frustration-free. Plus, my best 50+ homemade cookies!
This post was originally published in 2016 and has been updated with additional baking tips and metric measurements.







Can’t wait to bake these! I’ve never had a “ bad” bake from your recipes…always delish!!! Question tho before I try this one…are the butterscotch candies “ salt” forward? I’m not a fan of “ salted” caramels so just wondering before I purchase. Thanks!
Hi Teresa! There will be a slightly salty note to the cookies if you use the recommended Trader Joe’s Chocolate Covered Sea Salt Butterscotch Caramels. However, feel free to experiment with Rollos or your favorite chocolate-covered caramels instead, if you prefer. Hope this helps, and let us know how it goes!
sooo delicious! added 2 eggs instead of 2 +1. not sure if it made a difference but didnt want to waste the rest of the other egg haha. in any case the cookies turned out GREAT
Hi Sophie! So glad to hear that you enjoyed these cookies! The additional egg yolk in this recipe adds chewiness and richness, so I recommend giving it a try next time 🙂 You can always freeze the egg white for a later use. While egg yolks don’t freeze well, egg whites freeze wonderfully! I always have a freezer bag in my freezer, labelled ‘Egg Whites’, and I add to it whenever I make a recipe like this, and eventually use all those egg whites for making Swiss Meringue Buttercream, French macarons, meringues, or an egg white omelet! I hope that helps! Happy baking!
I am planning a deep dive in this 3T chocolate chip + melting wafers or toffee or butterscotch + hold dough in fridge for 2-3 days category over the next few weeks. I have two process related questions: 1. You always call for wrapping the dough in plastic wrap before placing in the fridge. Would a plastic bowl with a tight-fitting lid work as well? The dough ball weighs a tad over three pounds. I have a collection of 6.2 cup Rubbermaid bowls I use to fridge ferment pizza dough that look like they would do nicely. 2. How big will these things be when baked? My guess is 4¼” in diameter. If that is right, I can only bake 6 at a time on a half pan ot 8 if I don’t mind some Siamese cookies.
Hi Frank! Yes, an airtight container or plastic wrap sealing the top of your bowl tightly will work just fine. We’re just trying to prevent the dry fridge air from drying out your cookies as they hang out in the fridge for a few days! All cookies will differ in size, but most using 3 Tablespoons of dough will spread to about 3.5-4 inches in diameter. Give one tray a try with the cookies spaced out a few inches apart, and you can always add a couple more to the next tray if they didn’t spread too much. I hope that helps! Happy baking 🙂
I have made these cookies several times now, and every single time, they’re perfect. I use the dark chocolate Rolos instead of the butterscotch as we don’t have those anywhere locally. Everyone who has tried them can’t get enough! Thanks for this delicious recipe 🙂 definitely the new chocolate chip cookie in this household!
Can I scoop the cookies before chilling so they are ready to go the next day?
Hi Justyna! Yes, absolutely! Let us know what you think of these cookies once you’ve given them a try 🙂
Sorry, the website keeps truncating my post and cutting everything off:
I have no idea if u got it, cuz it had only 3 lines. Again!
https://imgur.com/a/VkDGC7m the PICS!
Here is Mk.18 of my cookie! This is a GIANT Brown-Butter, Butterscotch Sea Salt caramel Chocolate chunk cookie! 113 Gram and extra chewy
I did a lot of things differently and more accurately than last time. This cookie is a Frankenstein hybrid of 3 Handle the Heat recipes and a twist.
Here’s a short list of problems I had to solve first:
1. NEW OVEN. The last one busted, a big reason why I couldn’t get a cookie right, it was on its way to meet its maker, too hot, too cold, then too hot in BURSTS!
2. Scooping out egg because all my eggs are XL and recipes are calling for L eggs. I tested this independently on a box mix and indeed its a HUGE.
3. NEW baking soda. Mine still worked, but the box says to use no older than 30 days. So yea that also get much better browning.
4. A very powerful, HAND Mixer! Another issue here was all recipes and the bakers were telling me I can’t do it by hand cuz it has to be 3 min of creaming. U can’t time it the same if by hand, doh! HUGE difference in texture.
5. Pulling my cookie parchment with the cookies to the cold tile after 5 minutes so it stops cooking and prevents some areas to get hard.
Extras:
I browned and then re-chilled my brown butter and added 2 tbsp water that was lost, for a super huge taste enhancement!
I also marinated my cookies for 3 full days!
These are the best cookies I’ve ever put out and will continually experiment for even better.
So excited your experiments were so successful in perfecting these cookies, Danny! So happy to hear you nailed it 🙂
about your brown butter tip. I have a question. I usually brown my butter then store them in the fridge to use in other recipes that call for unsalted butter. is that bad? so would I need to add water to the brown butter after melting it to get a full stick like the regular butter? I want to use brown butter in recipes that call for regular butter but I’m afraid it won’t come out right.
Follow-up Question
You state to use 2 cups of the butterscotch caramels and equate that to 200g. However, the TJ bag has 7 oz./298 grams. Do you mean ~1 cup of caramels @ ~ 200g or do you mean 2 cups/400g instead?
Thanks,
Anita
Hi Anita! The TJ’s bag is 7 ounces, which is actually ~198 grams. You’ll want to use the entire bag 🙂 I hope that helps!
Most delicious and requested. Still making after all the years.
I’m in agreement with another reader… You state to use 2 cups of the butterscotch caramels and equate that to 200g. However, when I weigh it out, 1 cup of caramels equals roughly 200g. So do you mean 2 cups/400g instead?
Beautiful, thick cookies with so much flavour! I live in Canada and since we don’t have Trader Joe’s here I used Rolo candies as per Tessa’s recommended substitution. The caramel melted and caused a bit of spread but that also added to the rustic look of the cookies. The chilling time and browned butter are worth the effort! Would definitely make these again!