


Tessa's Recipe Rundown
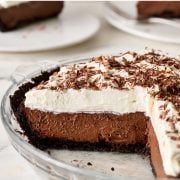
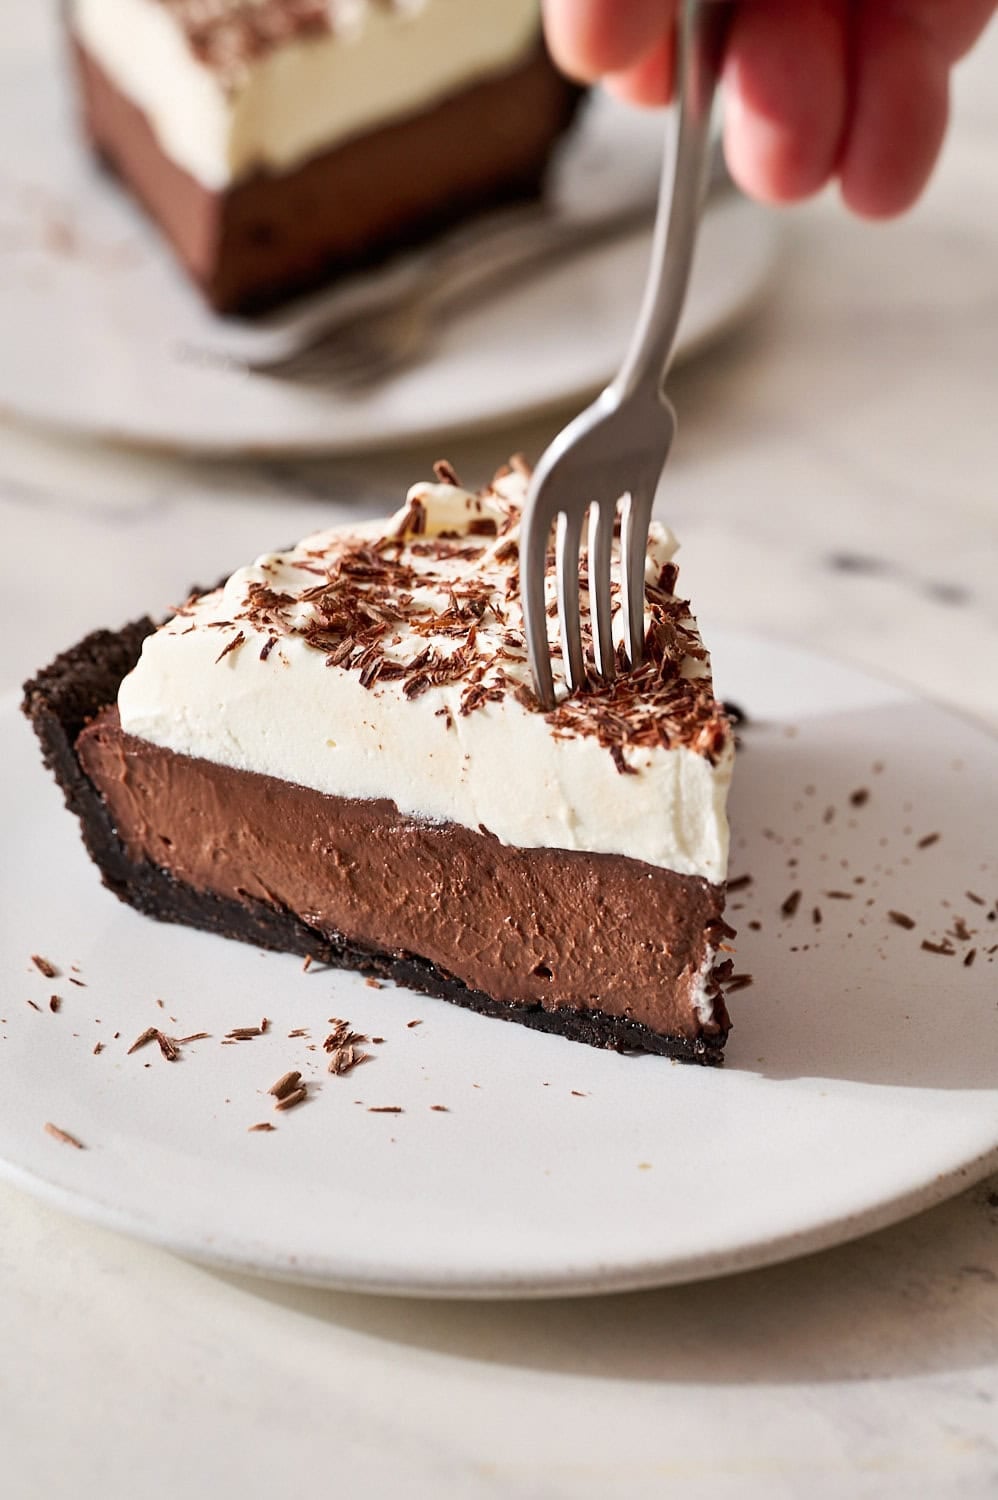
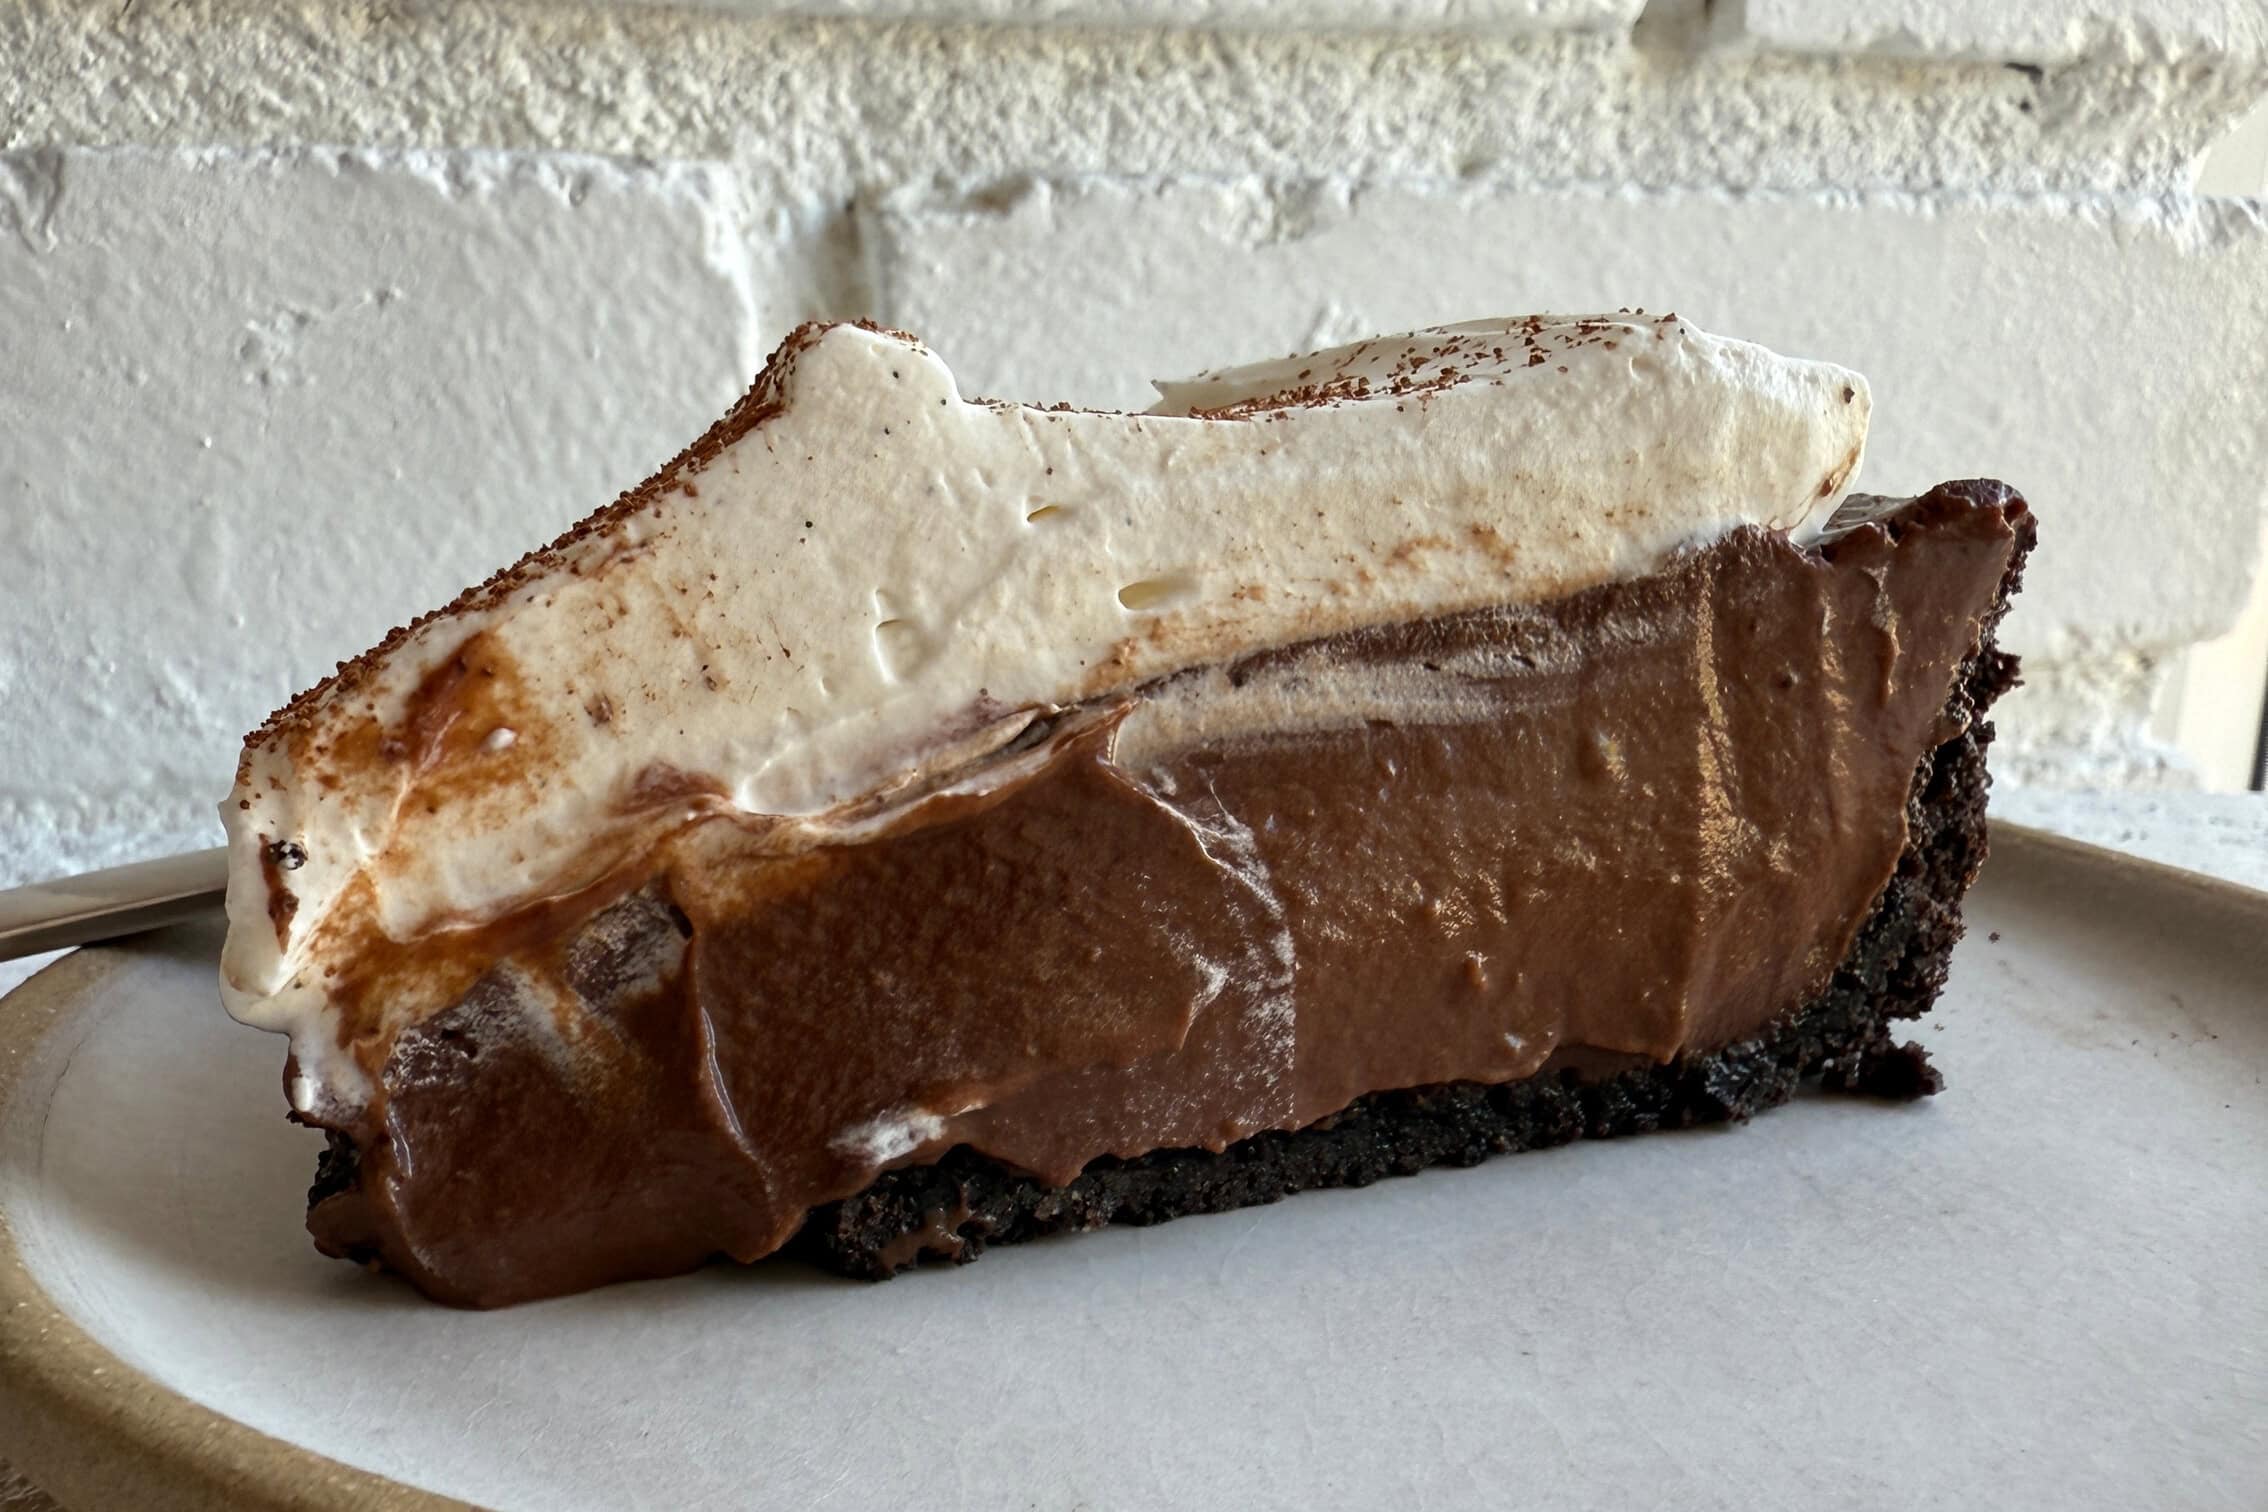
Taste: The ideal balance of chocolate, sweetness, and richness!
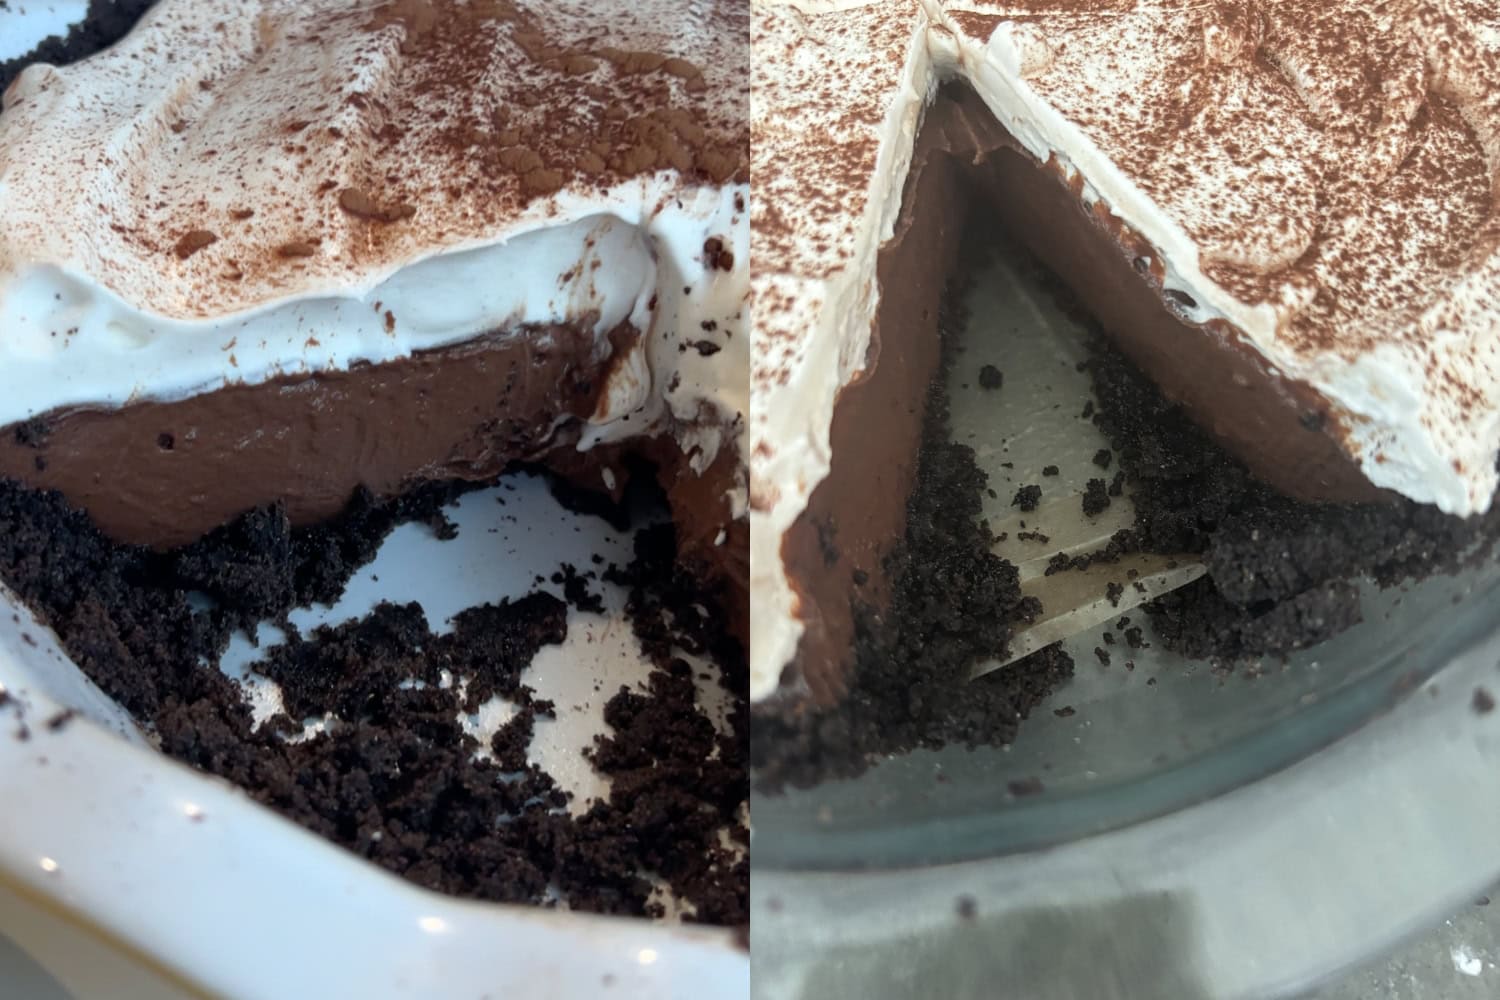
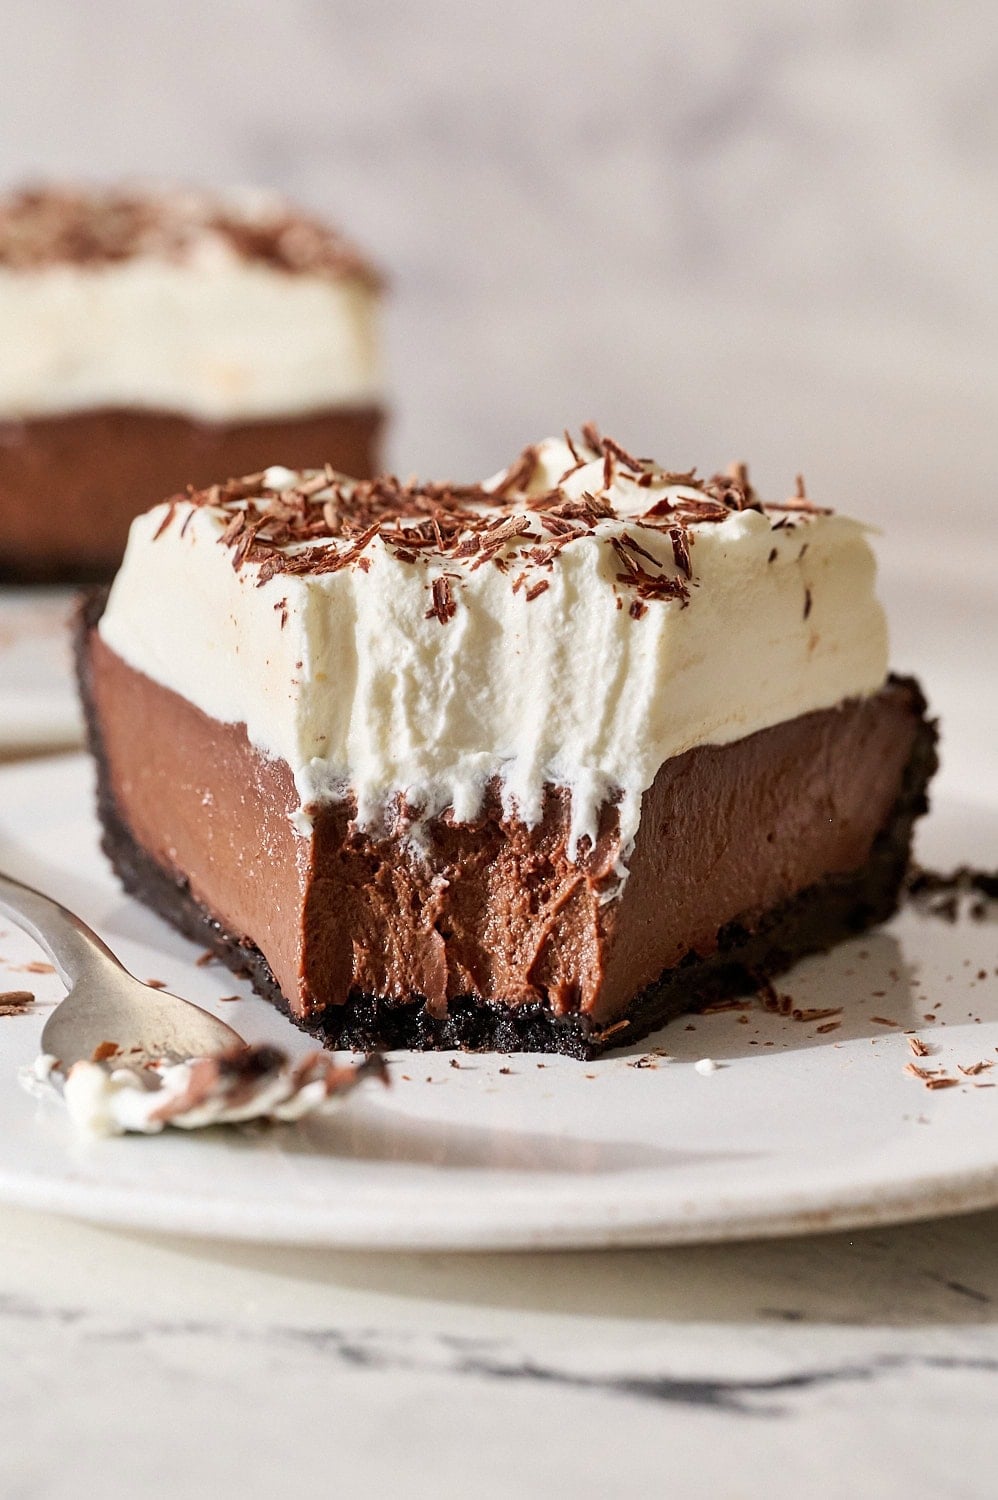
Texture: The crust is buttery and crunchy while the filling is velvety yet sliceable.
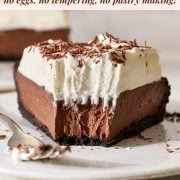
Ease: No separating eggs, no tempering, and no pastry making.
Why You’ll Love This Recipe: Approachable, foolproof dessert that’s still special enough for occasions like Easter, Thanksgiving, and Christmas!
This post may contain affiliate links. Read our disclosure policy.


In developing this Chocolate Cream Pie recipe, my primary goal was to create a showstopper pie with minimal effort required.
Most recipes require you to separate a bunch of eggs, temper or carefully cook those eggs to avoid scrambling them, or are so extremely rich you can only enjoy a few bites.
Not my recipe. There’s not a single egg involved! You can consider this a far easier and lighter version of my French Silk Pie.
Recipe Ingredients

Oreo Cookies
Use regular-stuff Oreos and keep the filling intact! This helps bind together the crust and adds extra delicious flavor. If you prefer, you can make my pie dough recipe and follow the instructions for blind baking.
Granulated Sugar
Just enough to sweeten and balance the bitterness of the cocoa and dark chocolate.
Cocoa Powder
Both natural and Dutch process cocoa work here. Dutch-process gives a darker color and smoother chocolate flavor, while natural cocoa tastes slightly sharper and more classic. Learn more about cocoa powder here.
Cornstarch
This is the primary thickener and cannot be skipped. Under-cooking it leads to a loose filling, so timing matters (more on that below).
Whole Milk
Lower-fat milk won’t set as firmly. I don’t recommend substitutes here.
Semisweet + Bittersweet Chocolate
Using two chocolates creates depth without excessive sweetness. Finely chop so they melt instantly into the hot base.
Heavy Cream (for topping)
Must be cold in order to whip properly. Use a product that contains at least 30% milkfat.
How to Make Chocolate Cream Pie
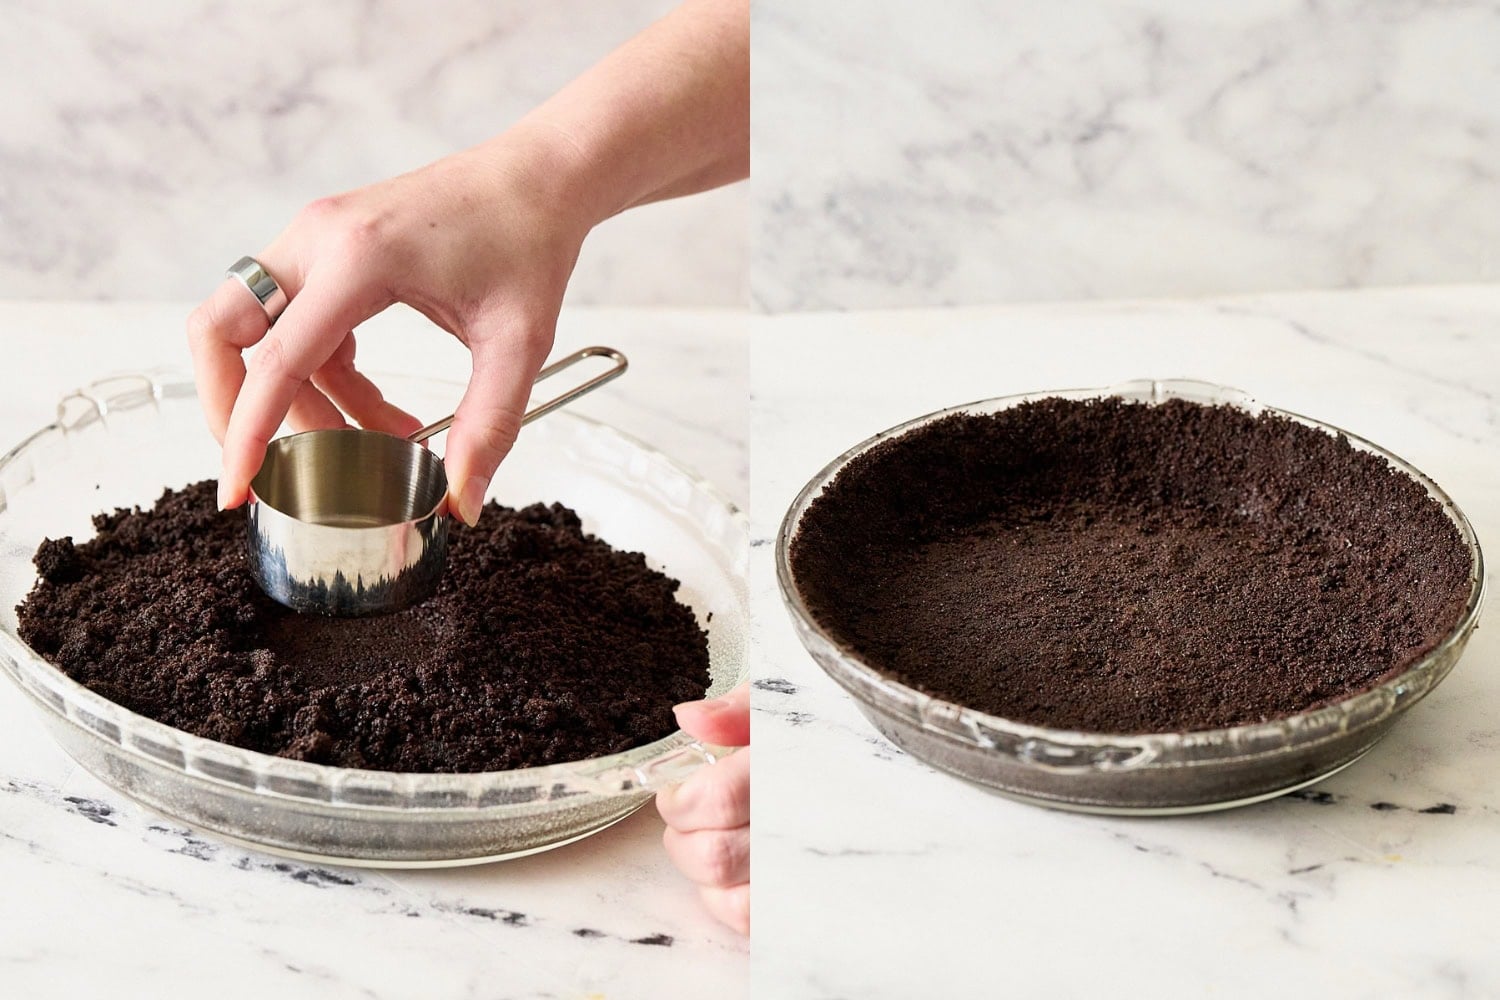
Make the crust. Pulse the Oreos in a food processor until very finely ground. Add melted butter until moistened. Press firmly into the pie pan. I like to use the bottom of a measuring cup. Bake for 11-12 minutes.
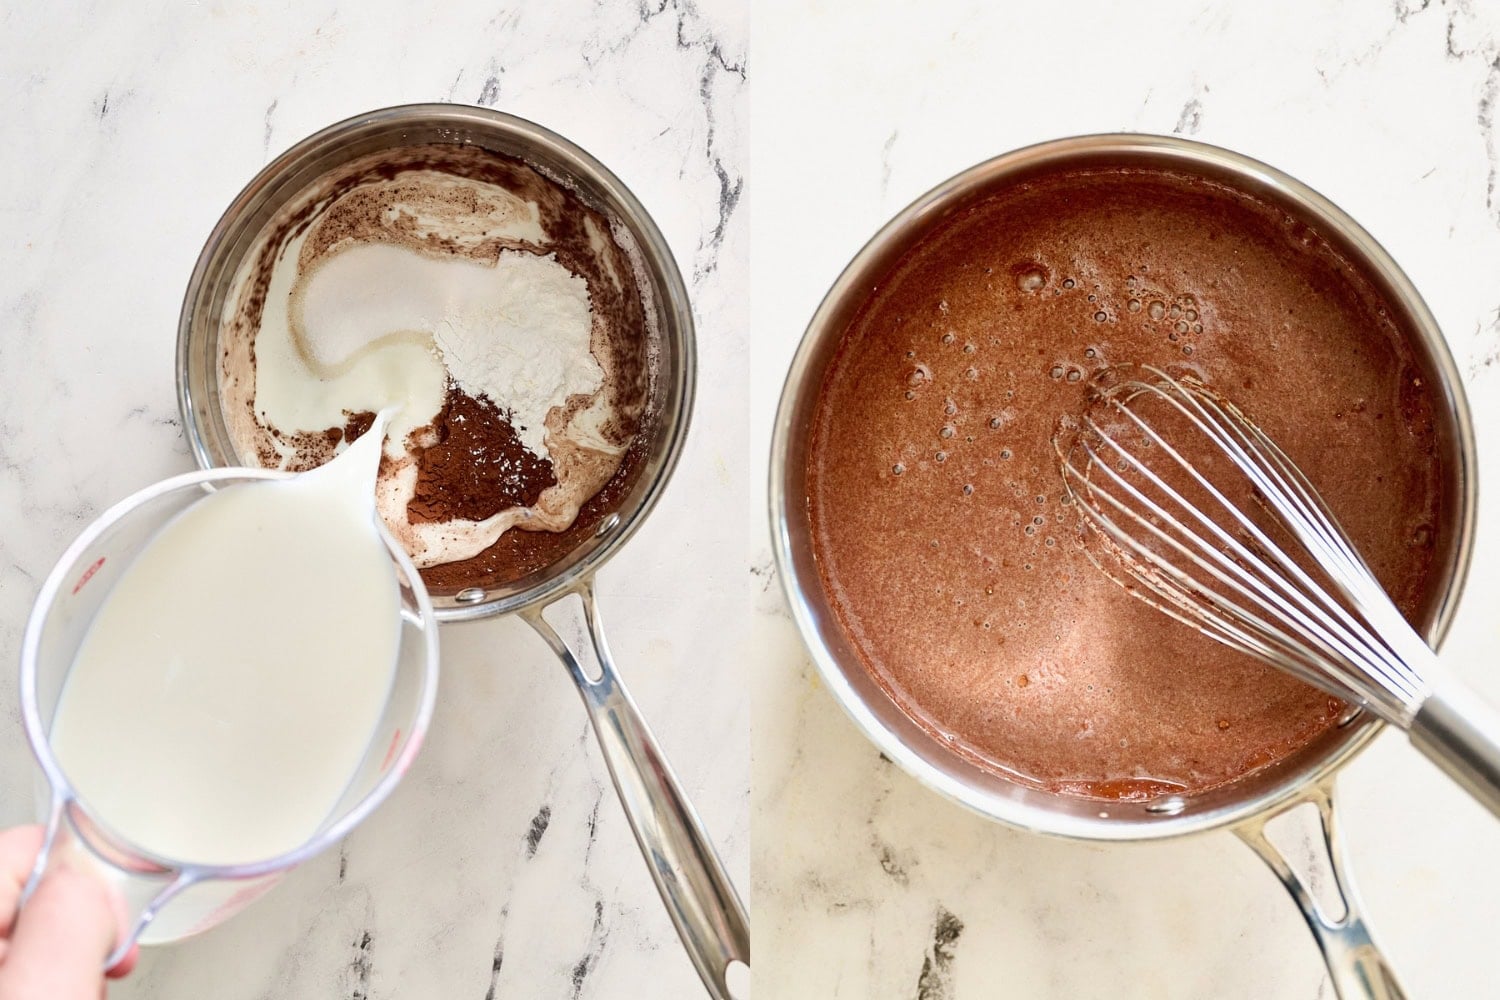
Cook the filling. In a medium saucepan, whisk the sugar, cocoa, cornstarch, and salt. Gradually whisk in the milk. Cook, whisking constantly, until the mixture comes to a lazy boil, about 7-9 minutes. Boil for another 45 seconds. It should look like pudding.
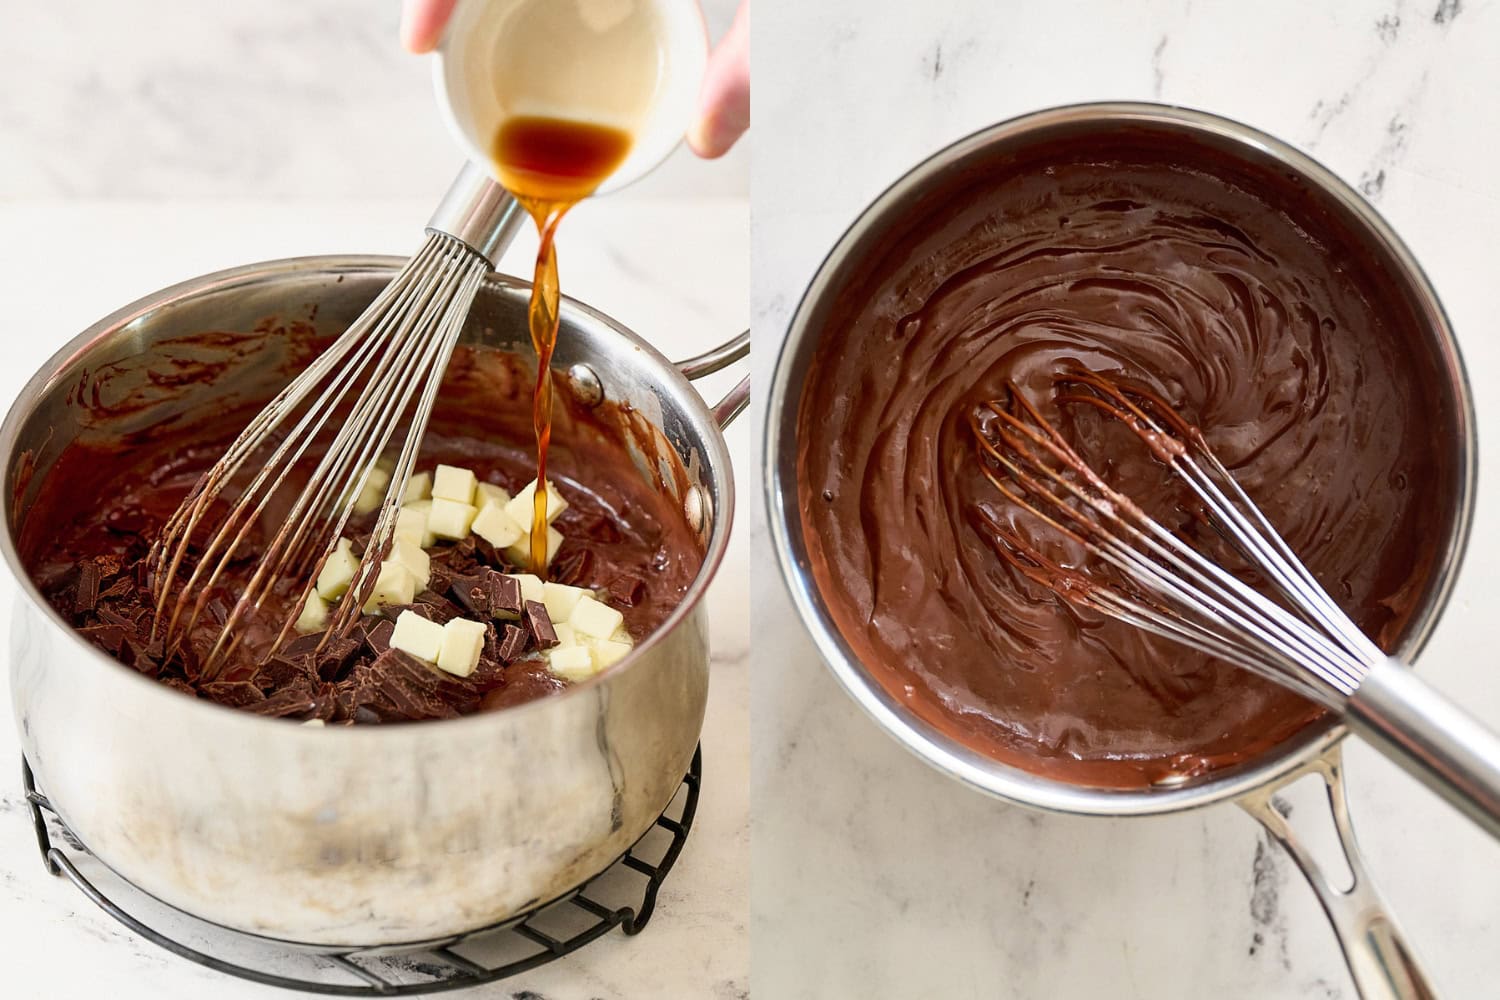
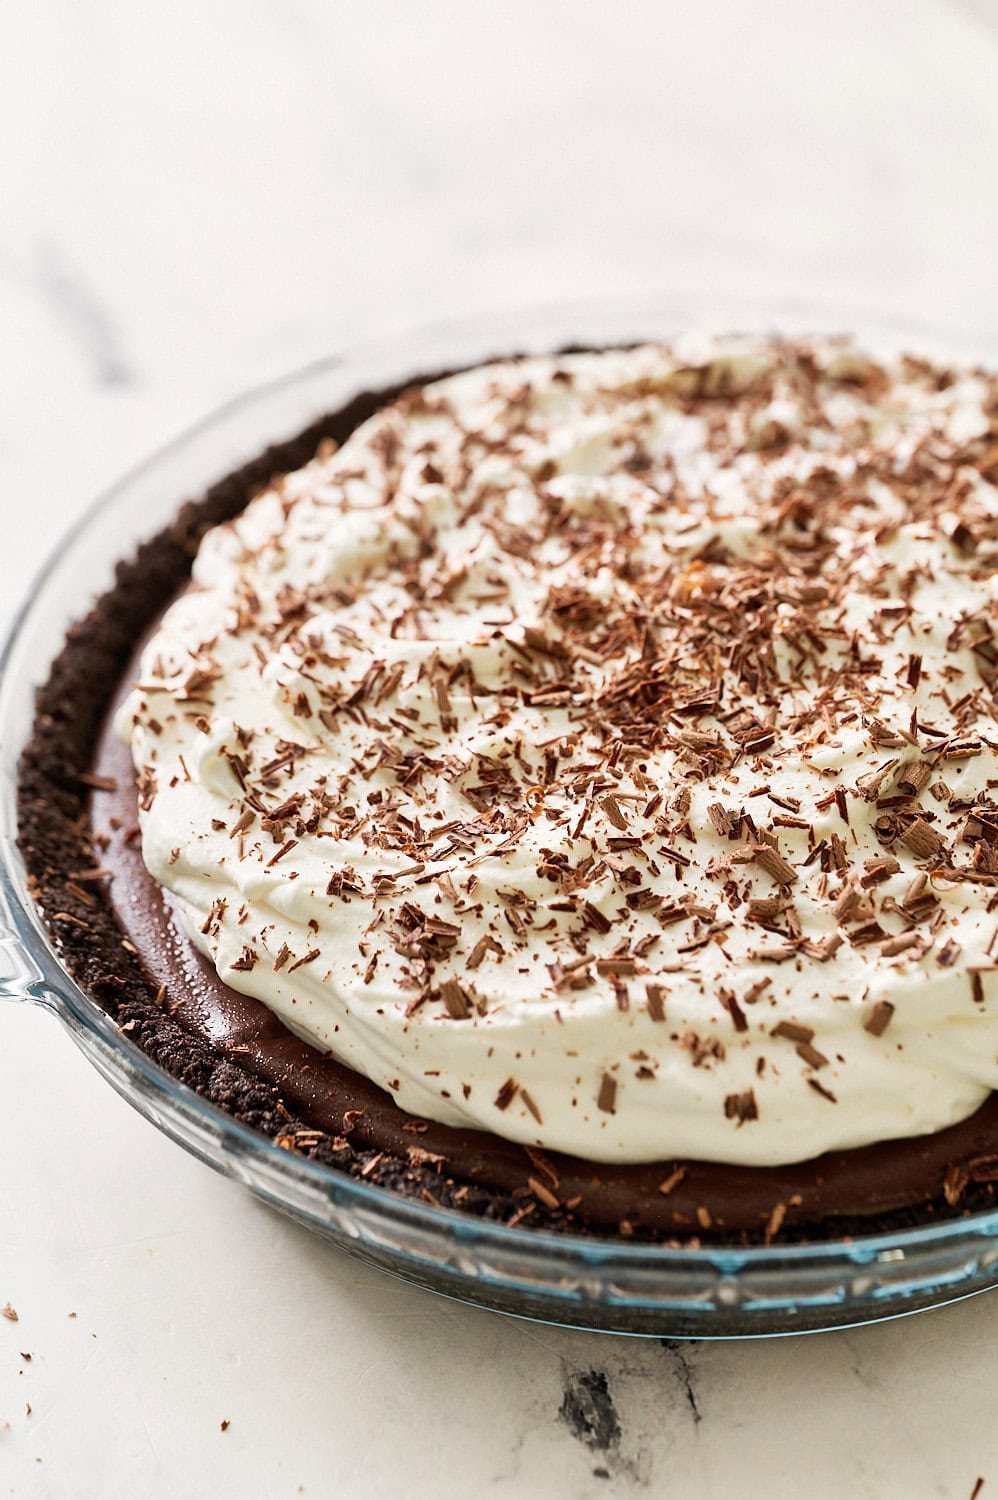
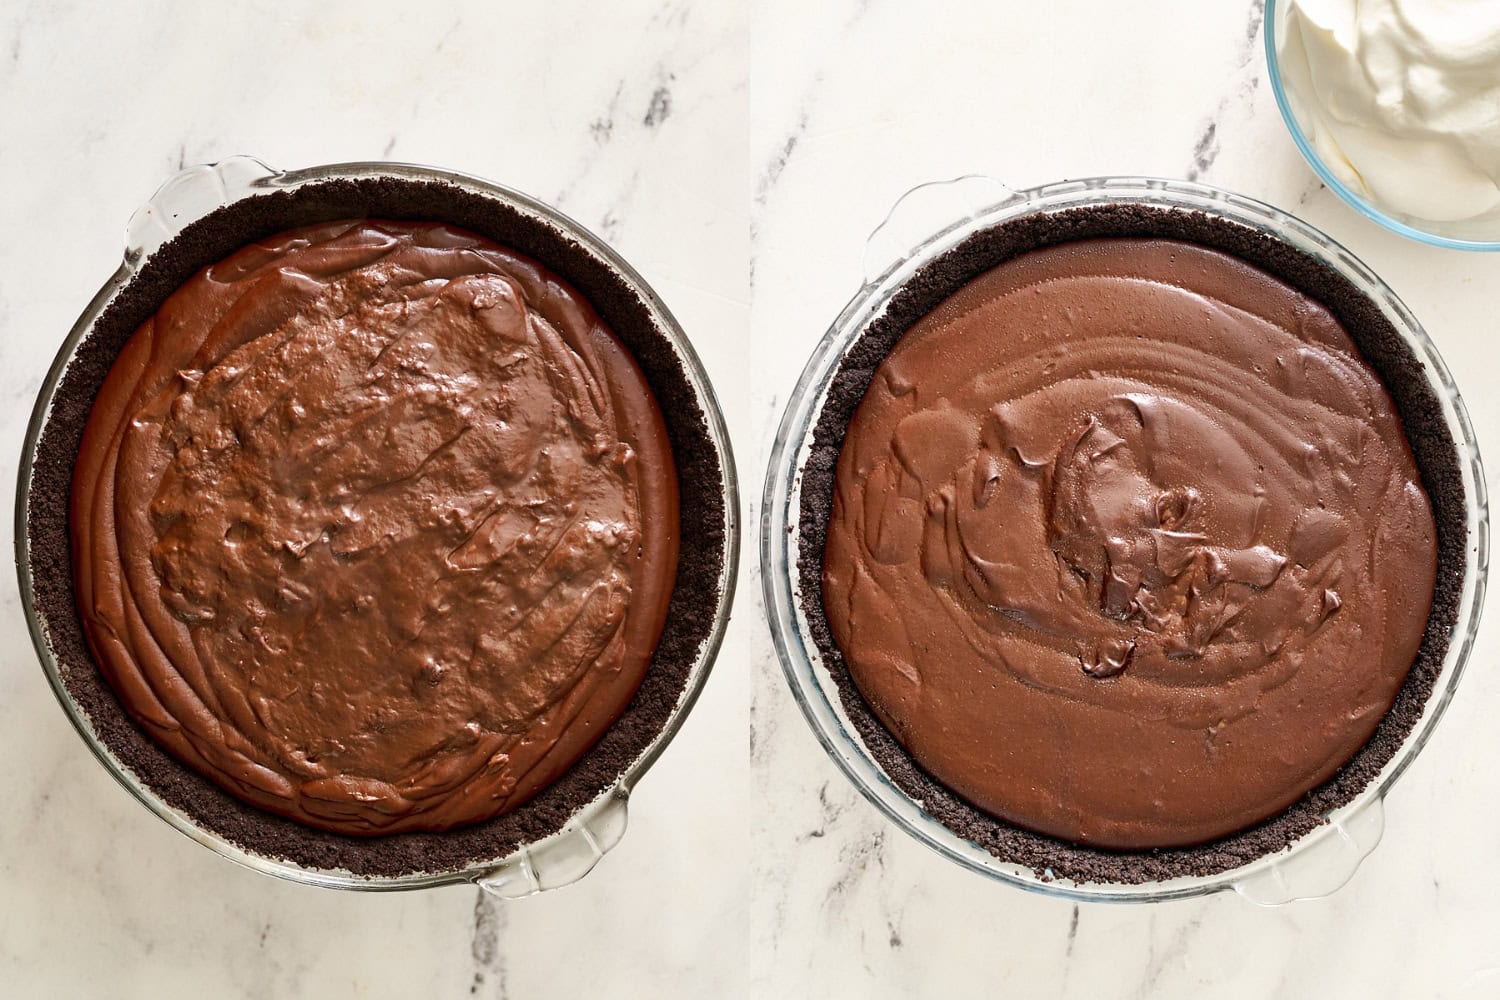
Remove from heat. Stir in the chopped chocolates, butter, and vanilla until smooth. Pour into the cooled crust. Avoid smoothing with a spatula which will create uneven lines. Let cool completely.
Chill at least 6 hours. Preferably overnight for easier slicing.
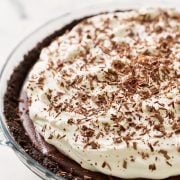
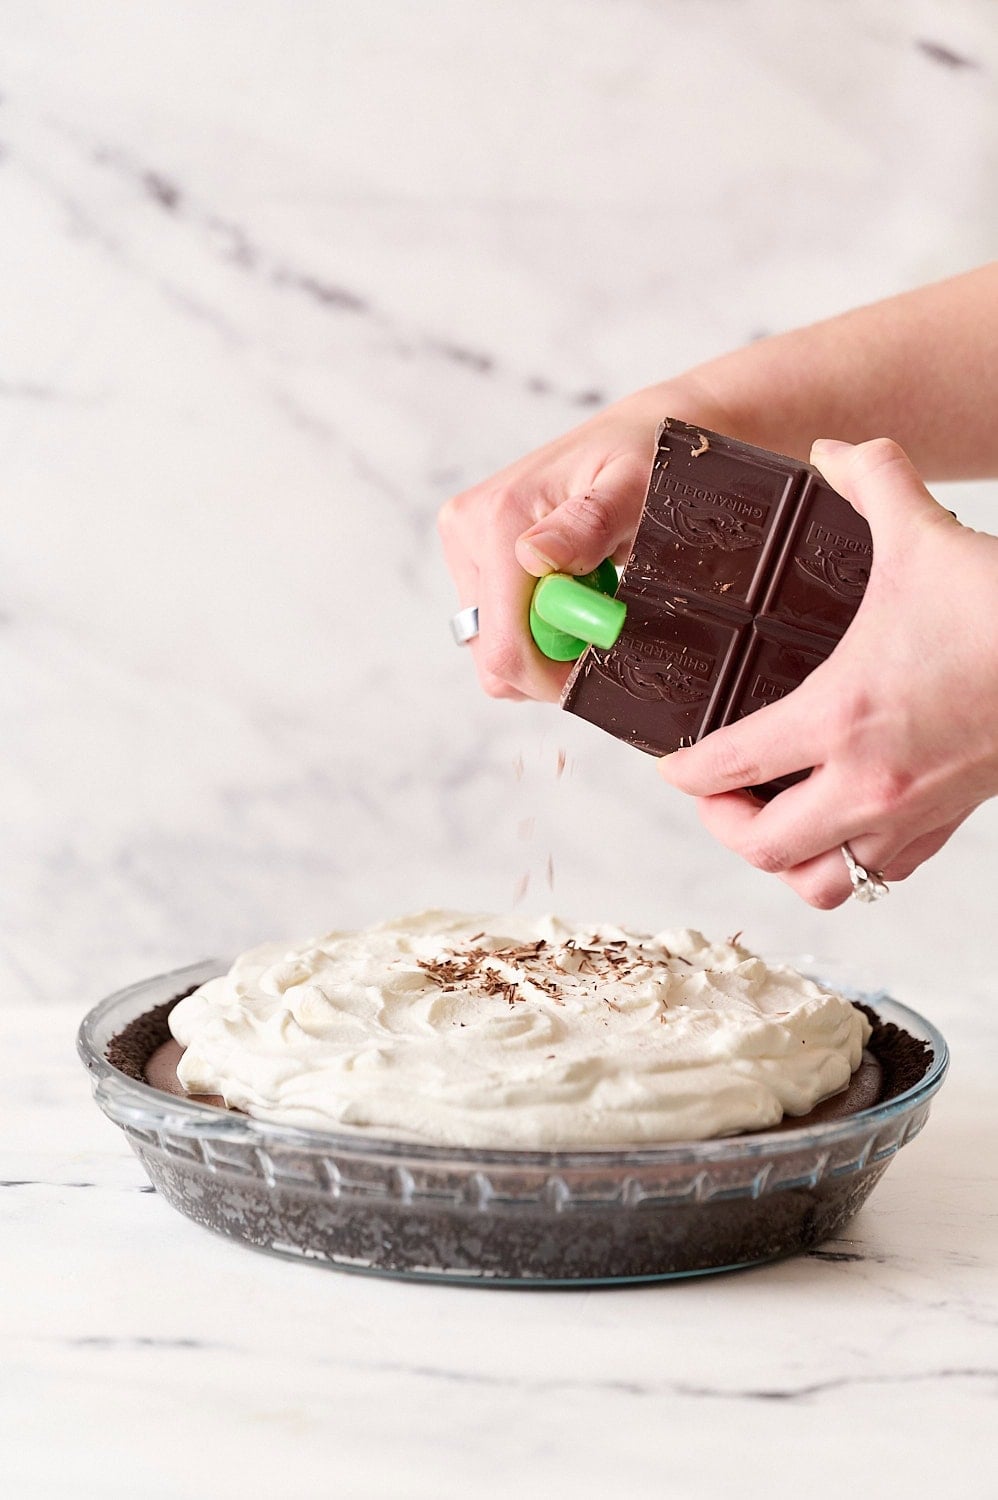
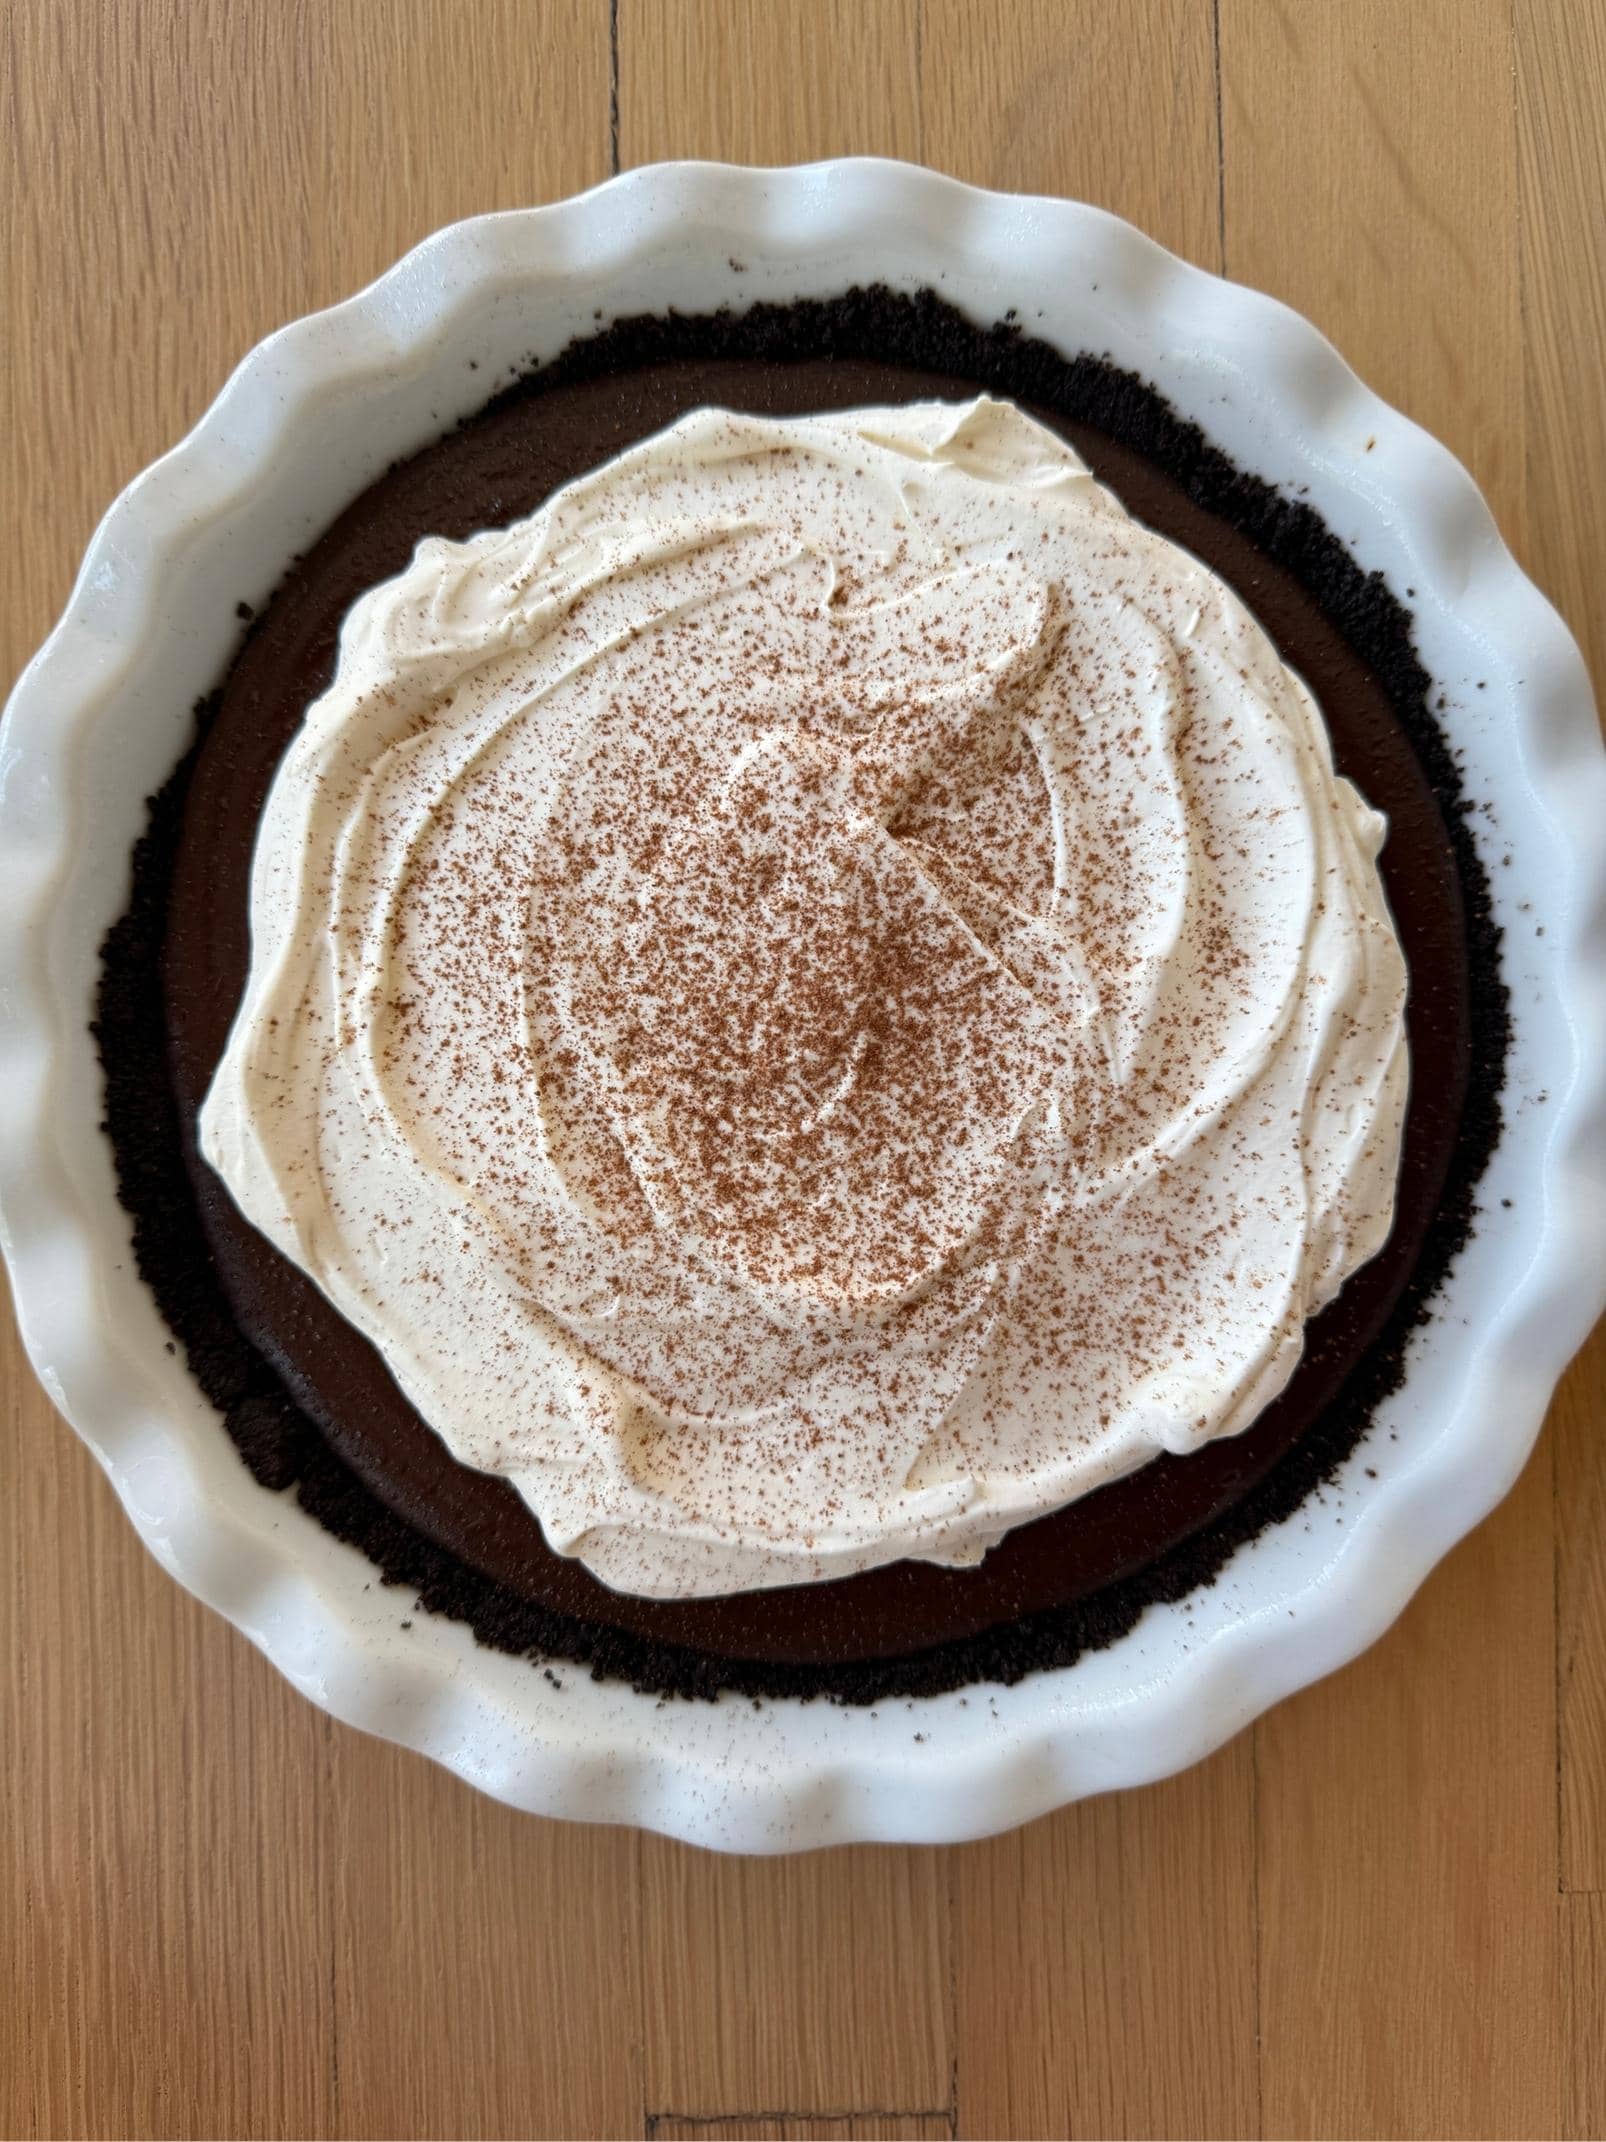
Whip the cream. You can use a stand mixer, hand mixer, or even an immersion blender with the whisk attachment. Spread over the chilled pie. Garnish with chocolate shavings or cocoa powder.
Storage & Make ahead
The untopped pie can be made up to 2 days in advance. If storing longer than overnight, cover with plastic wrap to protect from fridge odors.
The finished pie can be stored in the fridge for up to 1 day. After that, the whipped topping will begin weeping and the Oreo crust will become more soggy, but will still be safe to eat.
Sprinkle of Science
Cornstarch begins to gelatinize in liquid around 144–162°F. Because this is the primary structure ingredient, it’s key to cook the filling long enough so it will set once cool. If your filling seems loose after chilling, it likely wasn’t cooked enough. Wait for it to come to a boil, then cook for another 45 seconds while whisking.
Test Kitchen Notes
Phew, this pie was a bit of a challenge to perfect! Between myself and two recipe testers, it took several iterations to get this recipe just right.
1. Runny Filling
Luckily, this was easily fixed by extending the cooking time and giving clearer indicators to tell when it’s done cooking (it should be thick like pudding!).
2. Sticking Crust
During testing, my first tester’s crust stuck to the pan. The winning solution was to spray with nonstick spray and slightly adjust the crust ingredient ratio.
3. Storage Testing
The last big question was whether this pie would freeze well. Unfortunately, it became very soggy after defrosting, so I wouldn’t necessarily recommend it.
FAQs
Chocolate cream pie uses a cooked custard thickened with cornstarch, while French Silk relies on whipped eggs, butter, and whipped cream. This makes chocolate cream pie easier and less rich.
Most often, the filling wasn’t cooked long enough after boiling. Cornstarch needs sustained heat to fully thicken.
Yes. This recipe works with either since there’s no leavening involved. Dutch-process tastes smoother and richer; natural cocoa is sharper.
You can, but baking chocolate works best. Chips contain stabilizers that help them hold their shape, so they don’t melt as smoothly which can impact the final texture. If you do use chips, choose a high-quality brand (like Ghirardelli or Guittard) for better results.
Yes—this pie is best made the day before serving. Add the whipped topping shortly before serving for best results.
You can, but keep in mind the texture will change. The crust will soften, and the filling may be a bit watery. If you do freeze it, thaw overnight in the fridge. I don’t recommend freezing the entire pie ahead of time or with the whipped topping.
Cool at room temperature first, chill uncovered, and avoid smoothing the filling. If condensation forms, gently blot with clean toilet paper right before topping (paper towel will not work as well).
Absolutely. Feel free to use chocolate graham or plain graham cracker crust instead:
* 14 whole (196 grams) chocolate graham crackers
* 1 tablespoon light brown sugar
* 7 tablespoons (99 grams) unsalted butter, melted
In the bowl of a food processor, process the crackers and sugar until finely ground. Add the butter and pulse until moistened. Use the bottom of a measuring cup, glass, or ramekin to press the crust mixture into the bottom and up the sides of a 9-inch pie plate. Bake at 350°F until fragrant, about 10 minutes. Cool completely on a wire rack.
You can also use my pie dough recipe to make one ball of dough and follow the instructions to fully blind-bake it.

Email This Recipe
Enter your email, and we’ll send it to your inbox.
Ingredients
For the crust:
- 24 (277 grams) Oreo cookies, regular-stuffed, keep filling intact
- 5 tablespoons (71 grams) unsalted butter, melted
For the filling:
- 2/3 cup (133 grams) granulated sugar
- 1/3 cup (28 grams) Dutch-process cocoa powder*
- 1/4 cup (35 grams) cornstarch
- 1/4 teaspoon fine sea salt
- 3 cups (720 grams) whole milk
- 4 ounces (113 grams) semisweet chocolate, finely chopped
- 4 ounces (113 grams) bittersweet chocolate finely chopped
- 3 tablespoons (42 grams) unsalted butter, cubed
- 2 teaspoons vanilla extract


For the topping:
- 1 cup (240 grams) chilled heavy cream
- 2 tablespoons (15 grams) powdered sugar
- 1 teaspoon vanilla bean paste or vanilla extract
- Cocoa powder or chocolate curls**, for garnish
Instructions
Make the crust:
- Preheat the oven to 350°F. Generously spray a 9-inch pie dish with cooking spray and set aside.
- In the bowl of a food processor, place the Oreo cookies and pulse until finely ground. Add the melted butter and pulse until moistened. Press the mixture into the bottom and up the sides of the prepared pie dish. Bake for 11 to 12 minutes, or until fragrant and set. Let cool completely on a wire rack.
Make the filling:
- In a medium saucepan, mix the granulated sugar, cocoa, cornstarch, and salt.
- Gradually add about ½ cup (120 grams) of the milk, whisking the mixture until combined. Don’t worry if there are clumps. Whisk in the rest of the milk. Place over medium-high heat and cook, whisking constantly, until the mixture comes to a boil, about 7 to 9 minutes. Once boiling, continue to cook and whisk for about 45 seconds more. The mixture should be thick like pudding in order to set properly when chilled.
- Immediately remove from the heat and stir in both chopped chocolates, butter, and vanilla extract until smooth. Carefully pour the hot filling into the center of the cooled crust. Avoid smoothing with a spatula which creates lines on the pie.
- Cool on a wire rack until just warm, about 90 minutes.
- Refrigerate, uncovered, until very cold and solid, at least 6 hours, preferably overnight.***
- The untopped pie can be made up to 2 days in advance. If storing longer than overnight, cover with plastic wrap to protect from fridge odors.
Make the topping:
- In a medium bowl, use an electric mixer fitted with the whisk attachment to beat the cream on medium speed until it starts to thicken, about 1 minute. Add in the sugar and vanilla and continue whipping until stiff peaks form, about 1 more minute.
- Spread the whipped cream over the chilled pie. Garnish with cocoa or chocolate curls. Use a sharp knife to slice and a pie server to serve.
- The finished pie can be stored in the fridge for up to 1 day. After that, the whipped topping will begin weeping and the Oreo crust will become more soggy, but will still be safe to eat.
Notes
More Recipes You’ll Love:
Photos by Joanie Simon.


I just made this pie, and it was decadently delicious. Will definitely be going into the rotation. l did not have enough dark chocolate (keep sneaking pieces of it), so l added more cocoa, like 3 tablespoons. Ooohhh, rich dark luscious goodness!! Thank you Tessa for working out this recipe for us!! Did not take a picture, as it was a hot mess (like me), but tastes wonderful!!
How can I add Irish Cream to this for St. Patricks Day? Do I replace some of the milk? How much do you suggest I use? Thanks for the great recipes. I made the version with eggs (and a GF crust) for Christmas and it was a big hit.
Hi Tessa,
Would this crust work with gluten free Oreos?
We haven’t tested a gluten-free version, but if you try it, let us know how it turns out!
Yes! I have made this crust with the GF Oreos and it came out great.
Thank you!!
Can this be made using dairy-free Milk? (Oat milk)
Or will the texture be all wrong?
We haven’t tested that, so I can’t say for sure! Let us know if you try it out.
Yes I just made it with Oatly oat milk and it came out creamy and delicious!
Thank you, I appreciate the response. Now I will definitely try this.