


Tessa’s Recipe Rundown
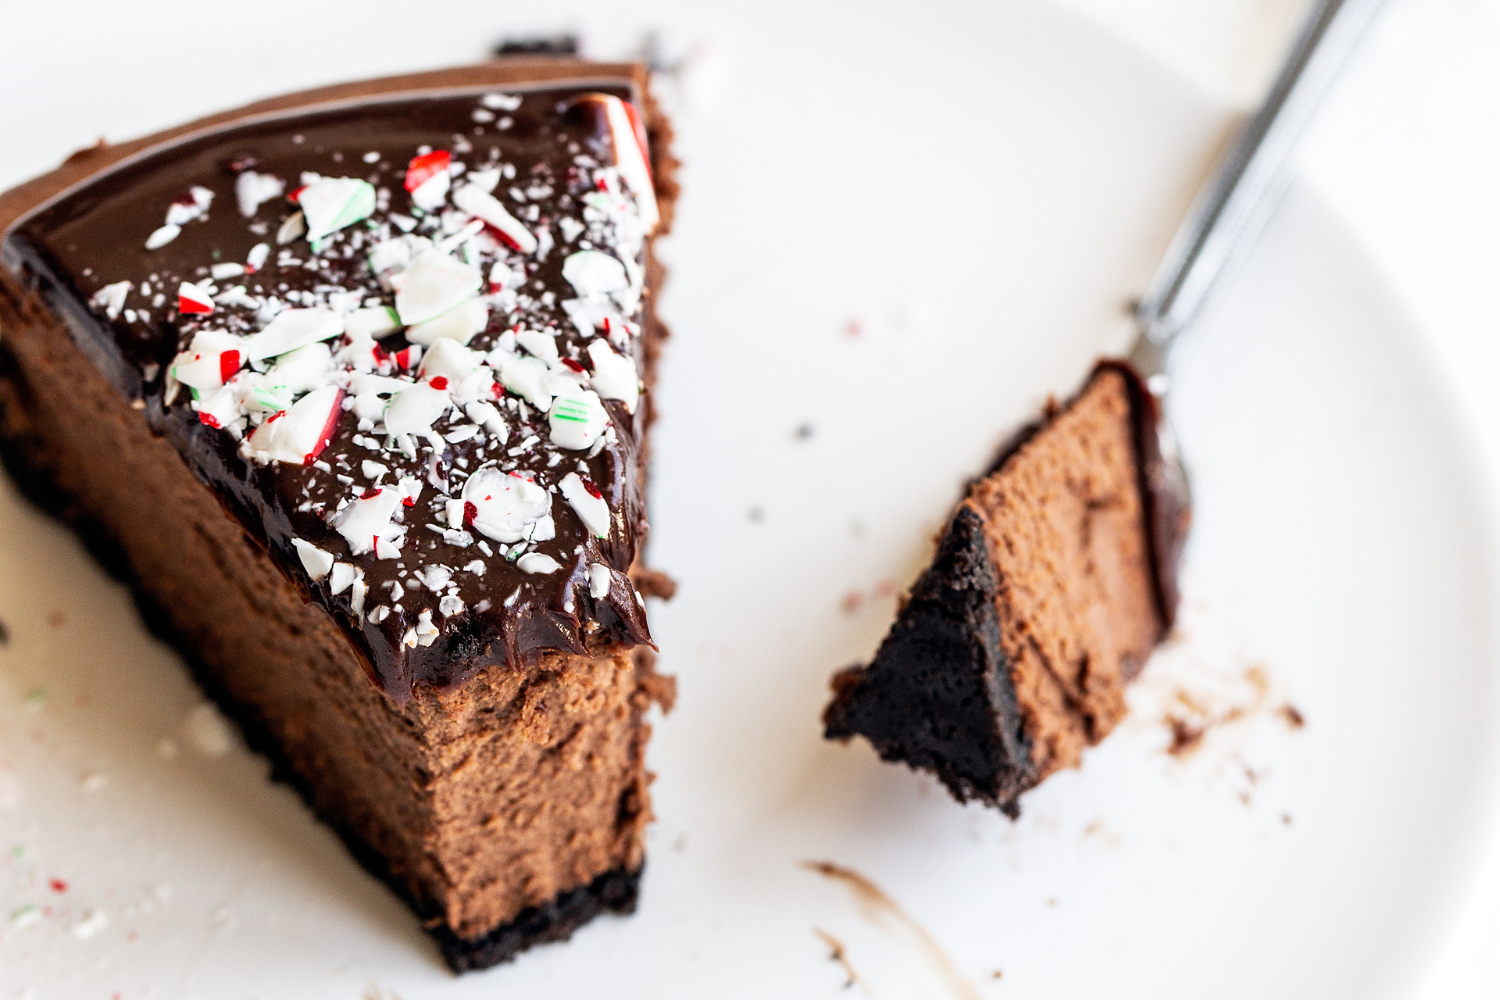
TASTE: The perfect peppermint chocolate flavor!
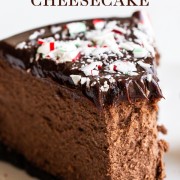
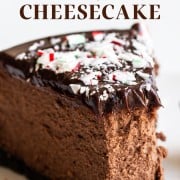
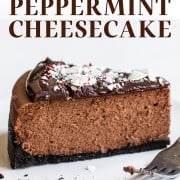
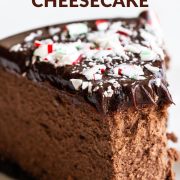
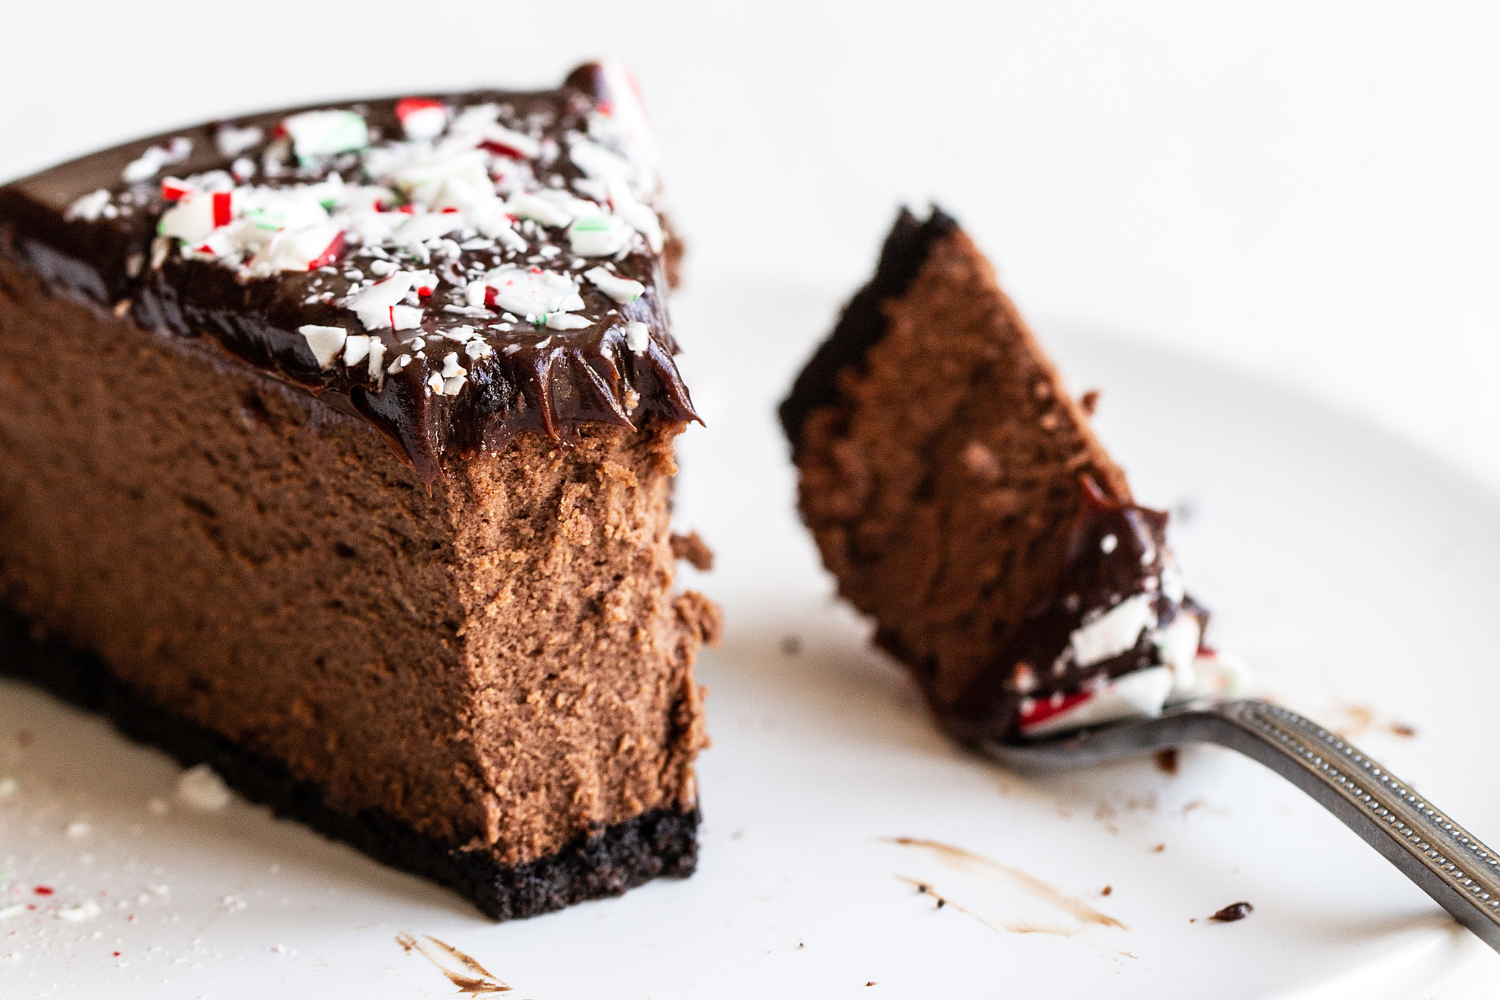
TEXTURE: Rich, creamy, smooth, and fudgy with a hint of crunch from the crust.
EASE: Easier than you might think – just be sure to read through all my tips and you’ll be good to go!
PROS: Can be made ahead of time, and is sure to be the most decadent dessert on any table.
CONS: Cheesecakes aren’t the fastest dessert to make – but I promise it’s worth it!
WOULD I MAKE THIS AGAIN? This is my go-to Christmas dessert recipe!
This post may contain affiliate links. Read our disclosure policy.
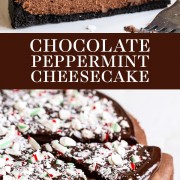
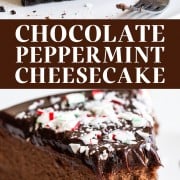
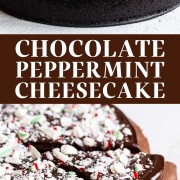
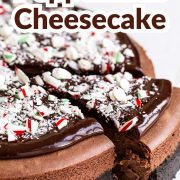


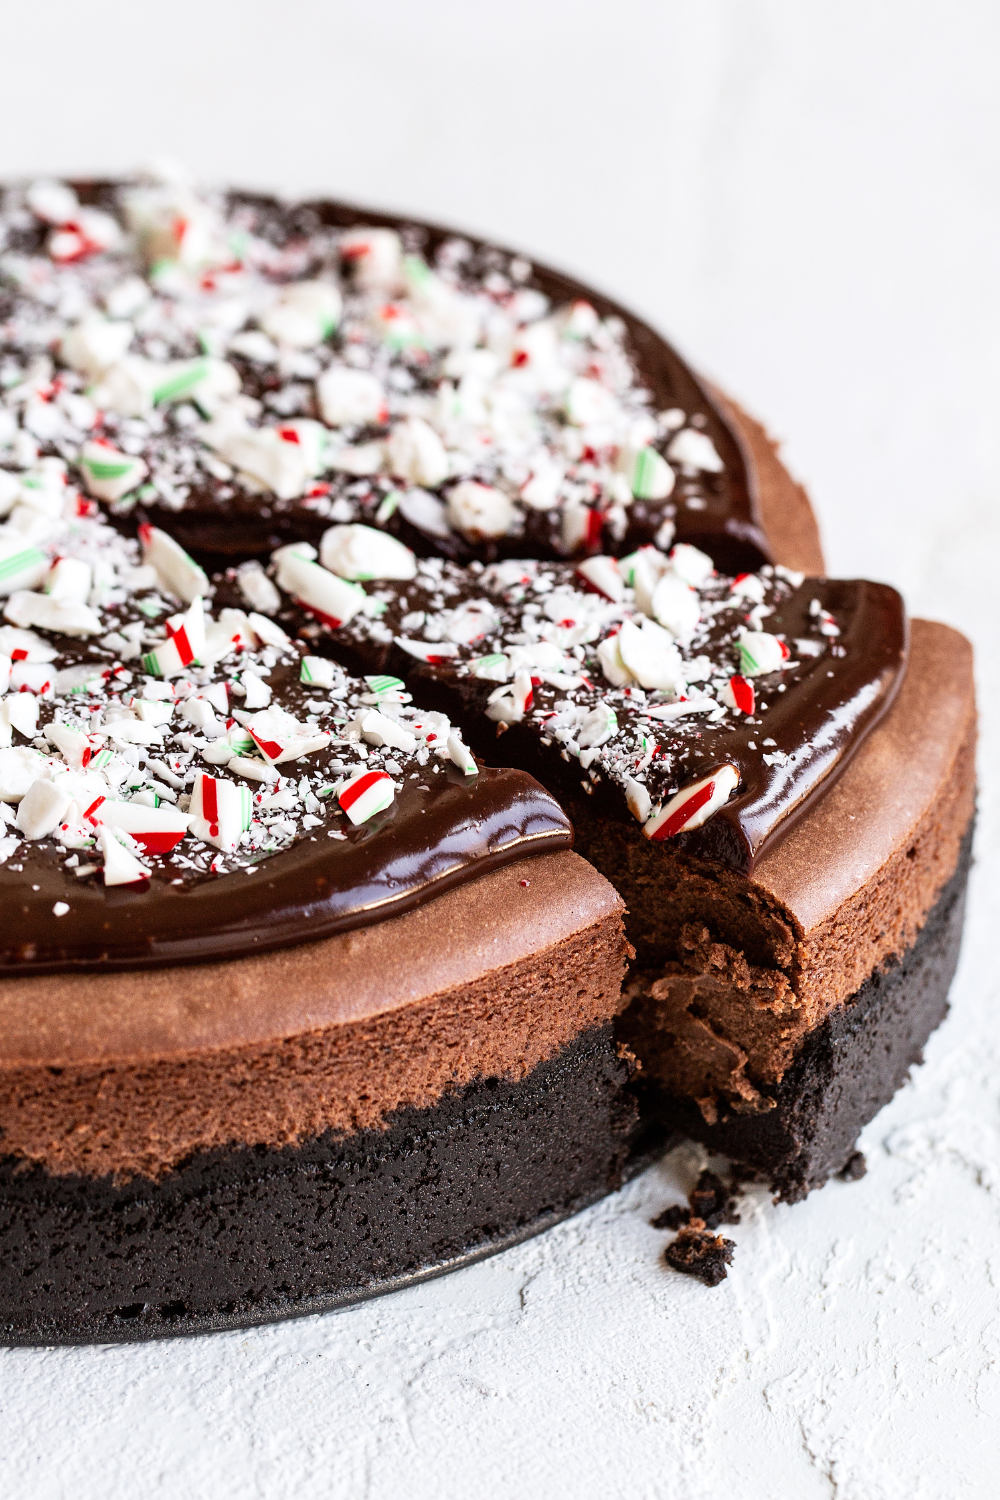
If you love the flavor combination of chocolate + peppermint as much as I do, then this Chocolate Peppermint Cheesecake is for you!
There’s something about the combination of chocolate + peppermint + Oreos that I absolutely adore.
I don’t know what it is about the combination. Maybe it’s the way the peppermint cuts the sweetness of the Oreo and complements the chocolate so beautifully.
Working with peppermint used to scare me. I’d always fear my desserts would just taste like mouthwash. But this recipe is everything right about holiday baking and entertaining!
If you really want to take the decadence level over the top, try topping this cheesecake with my Peppermint Oreo Truffles!
This has become one of the most popular Christmas dessert recipes on my site! Just check out the sweet comment from reader Lauren below:
Reader Love
This is truly the most decadent cheesecake ever!! It is so deliciously rich and such a crowd pleaser!! The combination of peppermint and chocolate is one of my all time favorites, and it is so well represented in this dessert. I made this for a gathering, and there wasn’t a crumb left! Seriously, these are the greatest, and using the water bath makes all the difference.
–
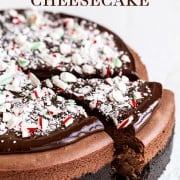
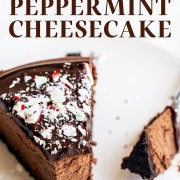
This Chocolate Peppermint Cheesecake is the perfect dessert to make in advance of your holiday party or to bring to a potluck!

Sprinkle of Science
How to Make Chocolate Peppermint Cheesecake
What’s the Best Springform Pan for Cheesecake?
- Springform pans have deep sides and a removable bottom, making easy work of removing the cheesecake from the pan and cutting beautiful slices.
- I like this Nordic Ware 10-cup springform pan.
- Be sure to hand wash springform pans to preserve their nonstick surface and spring mechanism.
- Even if your pan claims to be “leakproof,” almost no pan in existence actually is – see my water bath tips to prevent leakage below.
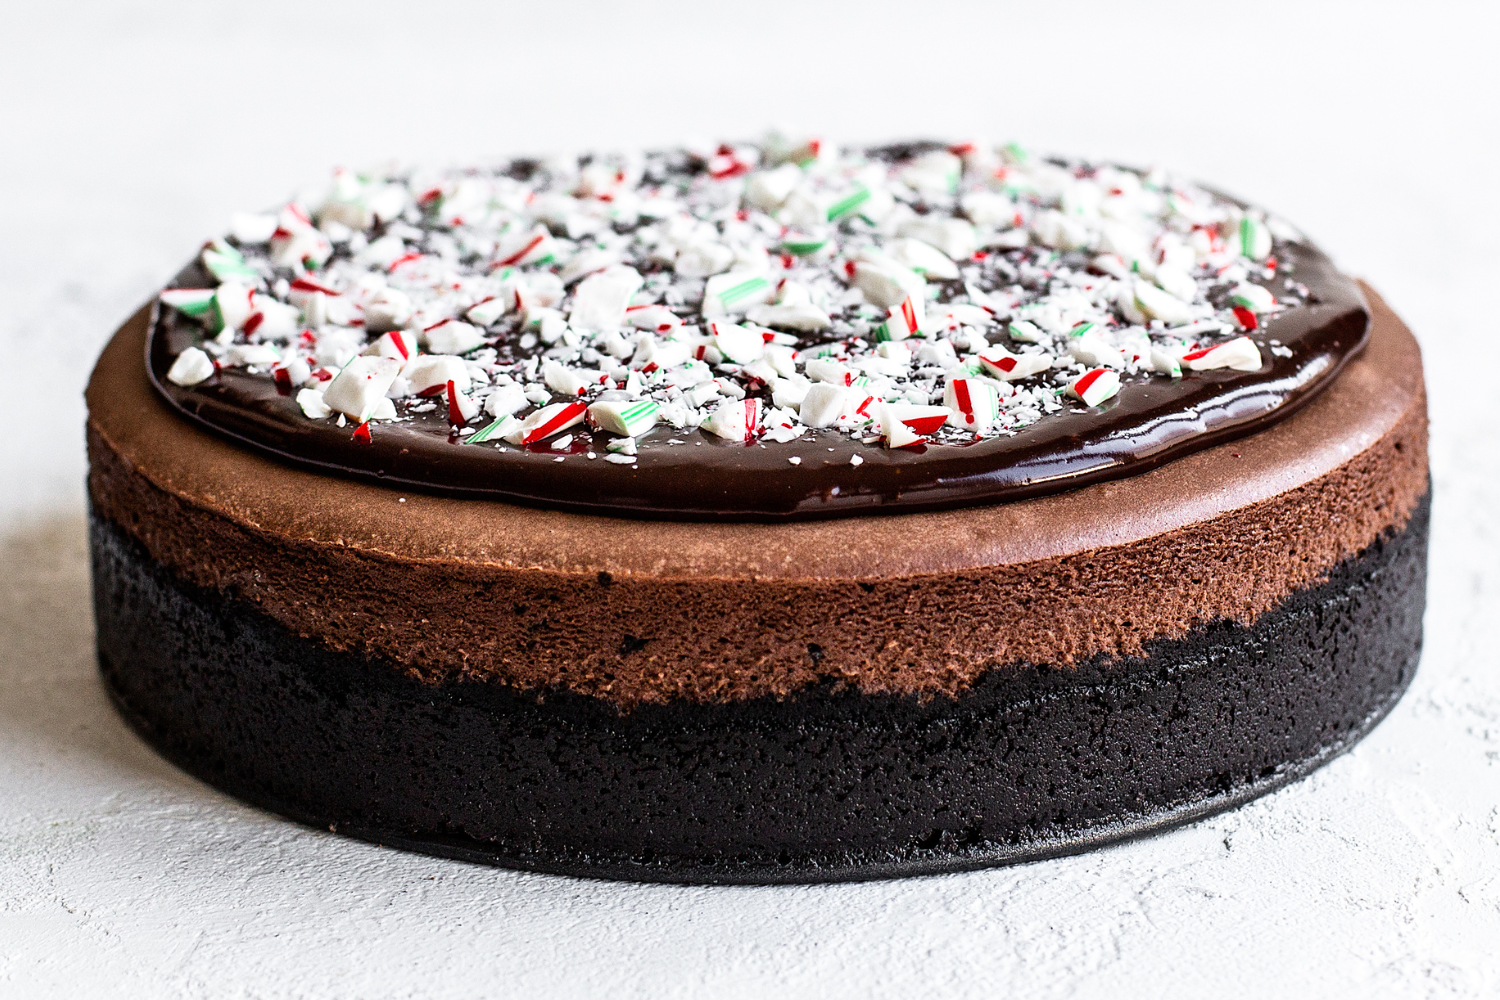
The Oreo Crust
Don’t remove the creme filling from your Oreos! A food processor makes quick and easy work of grinding the cookies into fine crumbs. The finer the crust is ground, the more solid it’ll be, for a nice, neat slice of cheesecake.
The Cream Cheese
- Be sure to use high-quality full-fat bricks of cream cheese.
- Some ‘generic’ brands are too watery. I like Philadelphia brand (not sponsored, just a genuine fan!).
- The cream cheese should be completely softened to room temperature. If it’s too cold, it won’t mix thoroughly and you’ll end up with little bits and pockets of unblended cream cheese, which is extra obvious in a chocolate cheesecake.
- Whatever you do, don’t use the cream cheese in tubs meant for spreading on bagels.
The Peppermint Extract
Be sure to use peppermint extract here. Don’t use mint or spearmint extract, which can make your cookies taste like toothpaste.
Do I Have to Use Peppermint Extract?
No – feel free to use vanilla extract instead and skip the crushed candy canes on top, for a delicious chocolate cheesecake. Alternatively, check out my Triple Chocolate Cheesecake recipe here.
The Candy Cane Topping
- For an extra festive cheesecake, and to add another dose of minty goodness, top this cheesecake with candy canes crushed up into small pieces after adding the ganache.
- To crush, place unwrapped candy canes inside a ziptop bag and hit with a rolling pin or mallet.
- Alternatively, use these crushed peppermint candies.
- Don’t like candy canes? Feel free to use chopped peppermint bark instead.
- If desired, sprinkle with cute holiday sprinkles instead – or skip the topping entirely.
How to Prevent Cheesecake Cracks
Even if a crack forms here, it’s no big deal since the cheesecake will be topped with thick Chocolate Ganache – but here are my top tips for perfectly smooth cheesecake with zero cracks:
1. Avoid Overbeating Cheesecake Filling!
Blend the cream cheese and sugar extremely well – but as soon as the eggs are added, only beat until they’re just incorporated. If you overbeat the batter once the eggs are added, you run the risk of causing all sorts of problems, like large cracks on the cheesecake surface, sinkage, and more.
2. No Quick Temperature Changes
Cheesecake is delicate and finicky. Quick temperature changes cause cracks. You want gentle, slow heat, and then slow cooling. Baking the cheesecake in a water bath ensures gentle baking.
To gently cool, turn off the oven heat once the cheesecake is done baking, crack open the oven door (a wooden spoon is handy here!), and allow the cheesecake to slowly and gently cool for another 45 minutes inside the oven.
To prevent the cheesecake from cracking as it cools to room temperature out of the oven, run a thin knife around the edge of the cheesecake as soon as it comes out of the oven. Only after the cheesecake has thoroughly chilled in the fridge should you remove the springform ring.
3. Do Not Overbake Cheesecake
Cheesecake is done baking before it looks done. The residual heat of the oven will continue to cook the cheesecake. You want the center of the cheesecake to look slightly wobbly or jiggly like Jell-O when the baking time has ended. It should look dry on the surface.
How to Prepare a Cheesecake Water Bath
Follow my tips and instructions here to avoid water bath leakage:
- Make sure you have a baking pan that’s deep enough and wide enough for the springform pan to fit inside. A roasting pan is usually ideal, but I’ve even used an extra-large cake pan or a large skillet. Get creative if you need to!
- Make sure the springform pan is protected from the water. You don’t want any water to seep through the cracks of the pan and make a mushy, soggy crust.
- To seal the pan, place a large square of heavy-duty aluminum foil underneath the pan. You want the heavy-duty stuff that creates bigger sheets of foil to completely encompass the base of the pan. Gently fold the edges up and around the pan. Repeat twice so there are three sheets of foil, to ensure a waterproof seal. Gently fold the top of the foil around the edge of the pan. I’ve even used duct tape to seal the foil to prevent water from leaking through!
- Handle the Heat reader Holly shared a wonderful tip for keeping the water out: “I use a turkey roasting bag, then put a layer of foil around the bottom and sides of the pan to hold it in place. I don’t close the bag over the top. Keeps the water out and the crust dry.”
- For more tips and a step-by-step video, check out my How to Make A Water Bath for Cheesecake post here.
How to Serve Chocolate Peppermint Cheesecake
This part requires the most patience! You must let it chill in the fridge for at least 4 hours before serving. I usually like to let it chill overnight, just to make sure it’s completely set and I’m able to cut clean pretty slices. To serve:
- Remove the cheesecake from the springform pan. You can leave it on the removable bottom or move it to a serving platter.
- If time permits, let the cheesecake sit at room temperature for 30 minutes before serving for best taste and texture.
- Use a fairly big sharp knife like this one to cut slices.
- Run the knife under hot water and wipe off the blade between each slice so they’re clean and pretty.
- Then slide a metal server underneath the crust to ensure it doesn’t crumble.
How to Store Chocolate Peppermint Cheesecake
Store Chocolate Peppermint Cheesecake in the fridge for up to 5 days after you top it with the ganache. If you need to store the cheesecake longer than that, see the freezing instructions just below.
How to Freeze Chocolate Peppermint Cheesecake
I recommend freezing the Chocolate Peppermint Cheesecake without the ganache and candy cane topping:
- Place the whole cheesecake or individual slices on a baking sheet inside the freezer until firm.
- Wrap the cheesecake or each individual slice in plastic wrap and place in an airtight container. Freeze for up to 2 months.
- To serve, defrost a whole cheesecake in the fridge overnight. You can also defrost individual slices in the fridge overnight, or at room temperature for about 30 minutes.
- Add the ganache and candy cane topping and serve!
More Delicious Cheesecake Recipes:

Email This Recipe
Enter your email, and we’ll send it to your inbox.
Ingredients
For the crust:
- 24 (278 grams) Oreo cookies, filling intact
- 4 tablespoons (57 grams) unsalted butter, melted
For the filling:
- 8 ounces (227 grams) semisweet chocolate, chopped
- 24 ounces (680 grams) full fat cream cheese, completely softened to room temperature
- 1 cup (200 grams) granulated sugar
- 1/2 cup heavy cream, at room temperature
- 1/4 cup (21 grams) unsweetened cocoa powder
- 4 large eggs plus 1 egg yolk, at room temperature
- 1 teaspoon peppermint extract
For the topping:
- 1 cup (170 grams) semisweet chocolate chips
- 1/2 cup heavy cream
- Crushed candy canes
Instructions
- Preheat the oven to 325°F.
- Prepare a 9-inch springform pan for a water bath*. Place a large square of heavy-duty aluminum foil underneath the pan. Gently fold the edges up and around the pan. Repeat twice so there are three sheets of foil to ensure a waterproof seal. Gently fold the top of the foil around the edge of the pan. Spray pan with nonstick cooking spray.
Make the crust:
- In the bowl of a food processor, process the cookies until you have 1 cup finely ground crumbs. Add the butter and pulse until moistened. Press into the bottom and halfway up the sides of the pan.
- Bake for 10 minutes, or until fragrant. Let cool slightly and maintain oven temperature while making the filling.
Make the filling:
- In a microwave-safe bowl, microwave the chopped chocolate in 30-second bursts, stirring between bursts, until melted and smooth. Let cool.
- In a large bowl, use an electric mixer to beat the cream cheese on medium speed until completely smooth and free of lumps, scraping down the bowl as needed. Add the sugar, cream, and cocoa powder and beat until well combined. Scrape down the sides and bottom of the bowl to make sure all cream cheese is being incorporated. Add the eggs and yolk, one at a time, beating just until smooth. Gradually beat in the peppermint extract and melted chocolate until just combined. Be careful not to overbeat.
- Pour the batter into the cooled crust. Tap the pan against the counter to release any air bubbles. Place the pan in a larger roasting pan. Pour boiling water into the roasting pan until the water is about halfway up the sides of the cheesecake pan. Bake at 325°F for 1 hour to 1 hour 15 minutes, or until the top looks slightly dry but the middle is still wobbly like Jell-O. Err on the side of underbaking rather than overbaking.
- Turn off the oven, crack the oven door open, and allow to cool for 45 minutes. This will help prevent cracks.
- Remove the cheesecake from the oven to a wire rack to cool to room temperature.
- Refrigerate until completely chilled, at least 4 hours. Release the cheesecake from the pan onto a cake stand or serving plate.
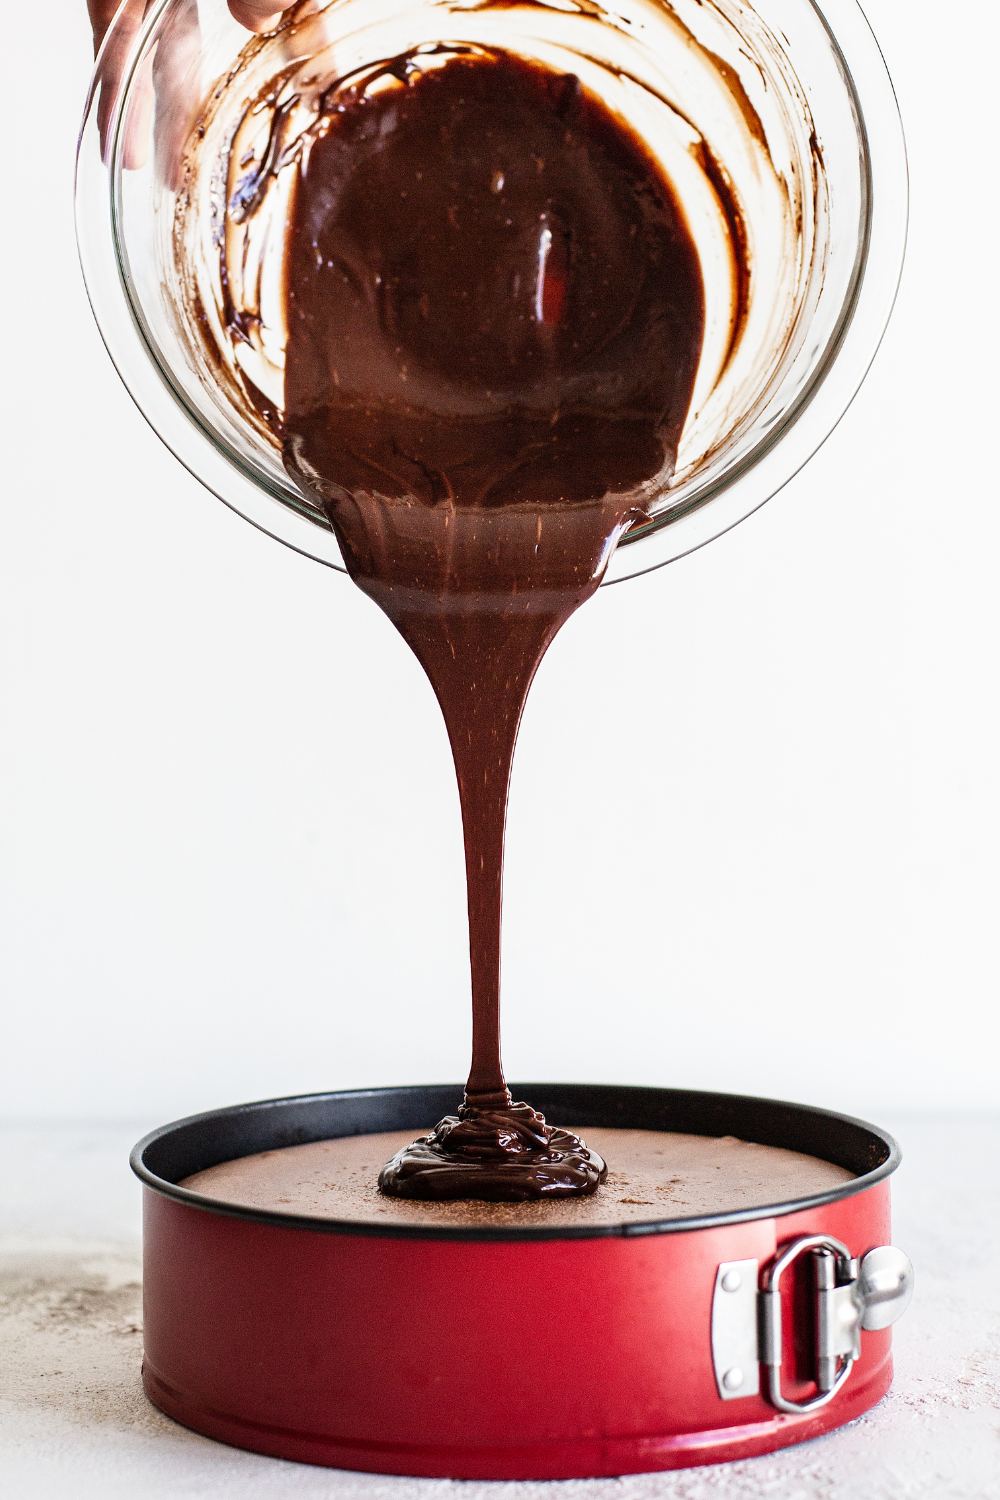
Make the topping:
- Place the chocolate chips in a medium heatproof bowl. In a small saucepan, heat the cream just until simmering. Pour over the chocolate chips. Let sit for 3 minutes, then stir until the mixture is melted and smooth. If needed, allow to cool slightly to thicken. Pour over the cheesecake.
- Sprinkle with crushed candy canes. Serve or store in the fridge for up to 5 days.
Notes
This post was originally published in 2019 and has been updated with additional recipe tips. Photos by Ashley McLaughlin.


Absolutely THE BEST cheesecake recipe. It’s smooth, rich, and chocolatey with just enough peppermint. It’s not too dense, and the extra chocolate layer on top is the perfect amount of decadence. I make a cheesecake almost every Christmas and this beats all of them.
And the water bath! I’m never going back to baking cheesecakes without a water bath. Not a single crack and the middle didn’t sink!! This was my first time trying a water bath because they’ve always intimidated me, but it was so easy. The cheesecake baked perfectly even though it was twice as thick as I usually make them.
I did a half recipe in a six-inch springform for just me and my husband. I also made the crust from chocolate grahams instead of Oreos, with some added cocoa.
I made this cheesecake as a surprise for a friend. But I forgot to pick up peppermint extract. Luckily, Hershey’s white chocolate peppermint kisses are my favorite Christmas candy, so I had a bag of them. I substituted 8 oz of kisses for the semi-sweet chocolate chips, and added 1/2 a tablespoon of cocoa powder. Then I used whole kisses and candy cane pieces for the garnish. I didn’t have any of it, but my friend and her mother-in-law raved over it.
That sounds like such a lovely substitute, Dona. Way to think on the fly! And I bet so pretty too.
I made this for a friend for Thanksgiving. But I forgot to buy peppermint flavoring. Luckily, I had a bag of Hershey’s white chocolate peppermint kisses. I added a teaspoon more cocoa powder and weighed out an equal amount of kisses to replace the chocolate chips. I decorated the top with more whole kisses and broken up candy canes. Her family LOVED it!
I’m making this cheesecake right now and I’m at the point were I’m waiting the 45 minutes with the oven cracked. My question is when do you add the ganache and crushed candy canes? Do you add it while it’s cooling to room temperature, after it has been in the refrigerator for at least 4 hours or when you take it out of the refrigerator and are waiting the 30 minutes before you serve? Oh, and I can’t rate a five yet because I haven’t tasted it and am unclear on when to add the ganache, but it looks great so far.
Hi! We love making your cheesecake bars in my house- wondering if there’s a way to alter this recipe to do a 9×13 batch of bars? Thanks in advance!!
Hi Kristine! Without having tested that, I can’t give advice on what adjustments need to be made, but you’re welcome to experiment! I’ll keep your request in mind and share it with Tessa – we definitely need a festive chocolate cheesecake bar recipe on our site!
I loved this holiday cheesecake version. I made it for a lifelong friend of the family for her 80th bd celebration on Christmas Eve. I changed the ganache to incorporate white chocolate chips with the cream the peppermint topped! Quite sensational! Thanks for your labors to produce such a fine, easy to follow recipe! I do have some nice photos but not sure how to post.