Tessa’s Recipe Rundown
Taste: Buttery, rich, and perfectly sweet. The funfetti cake paired with the cream cheese frosting is flavor heaven.
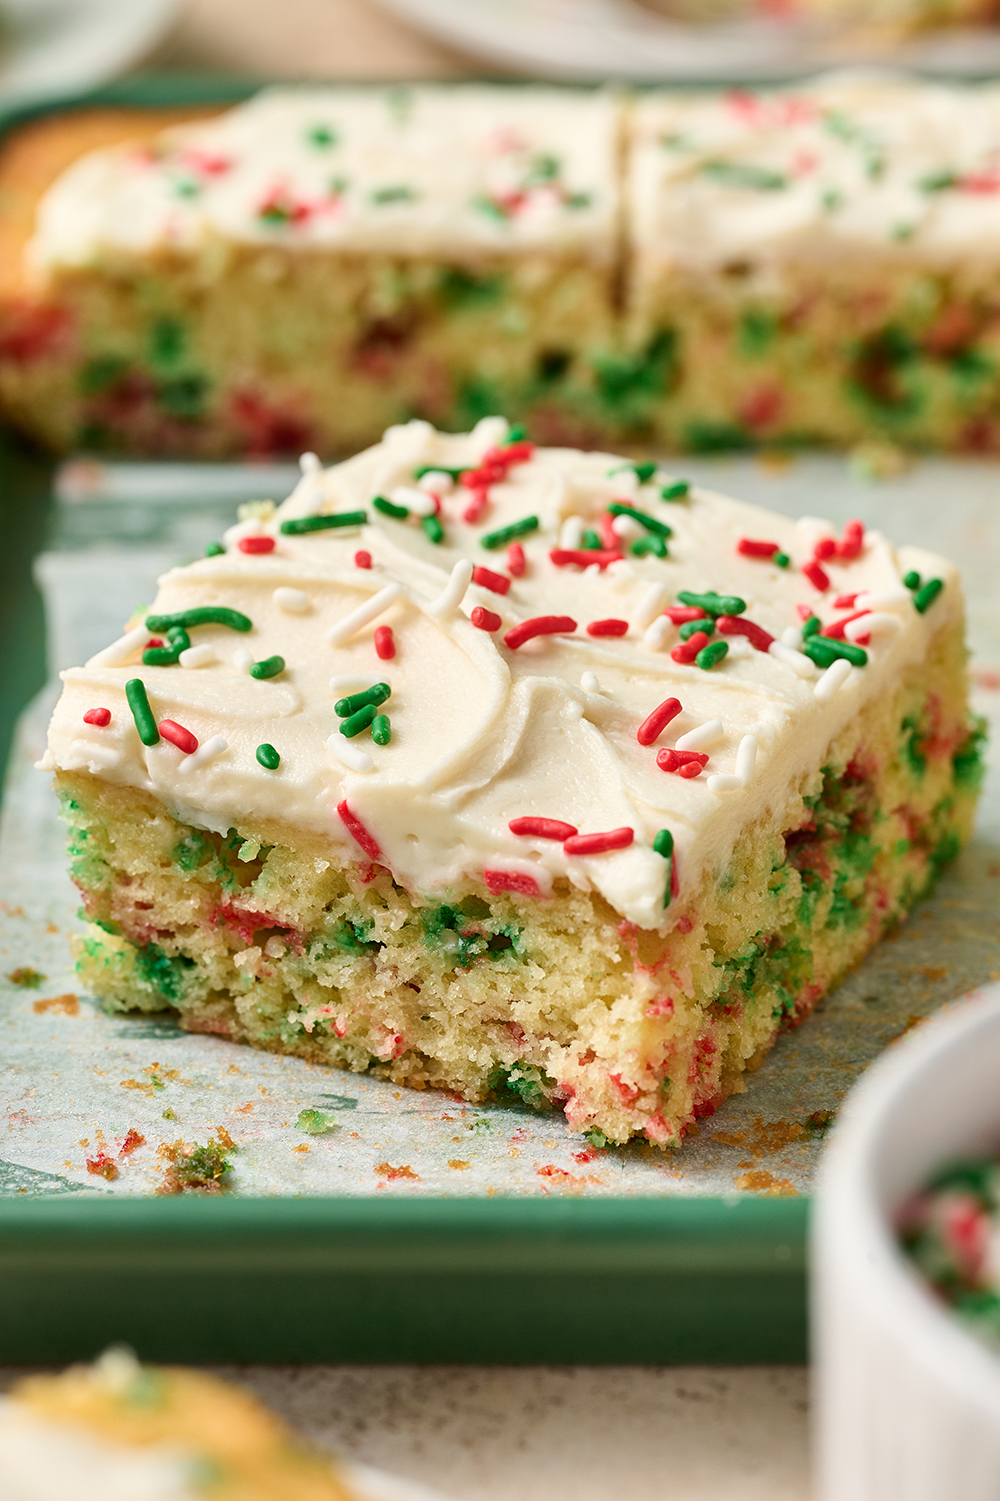
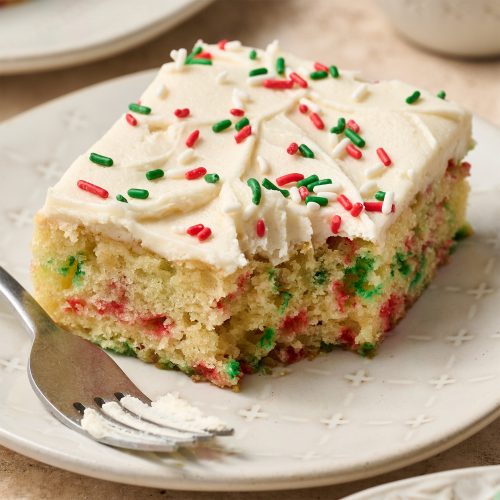
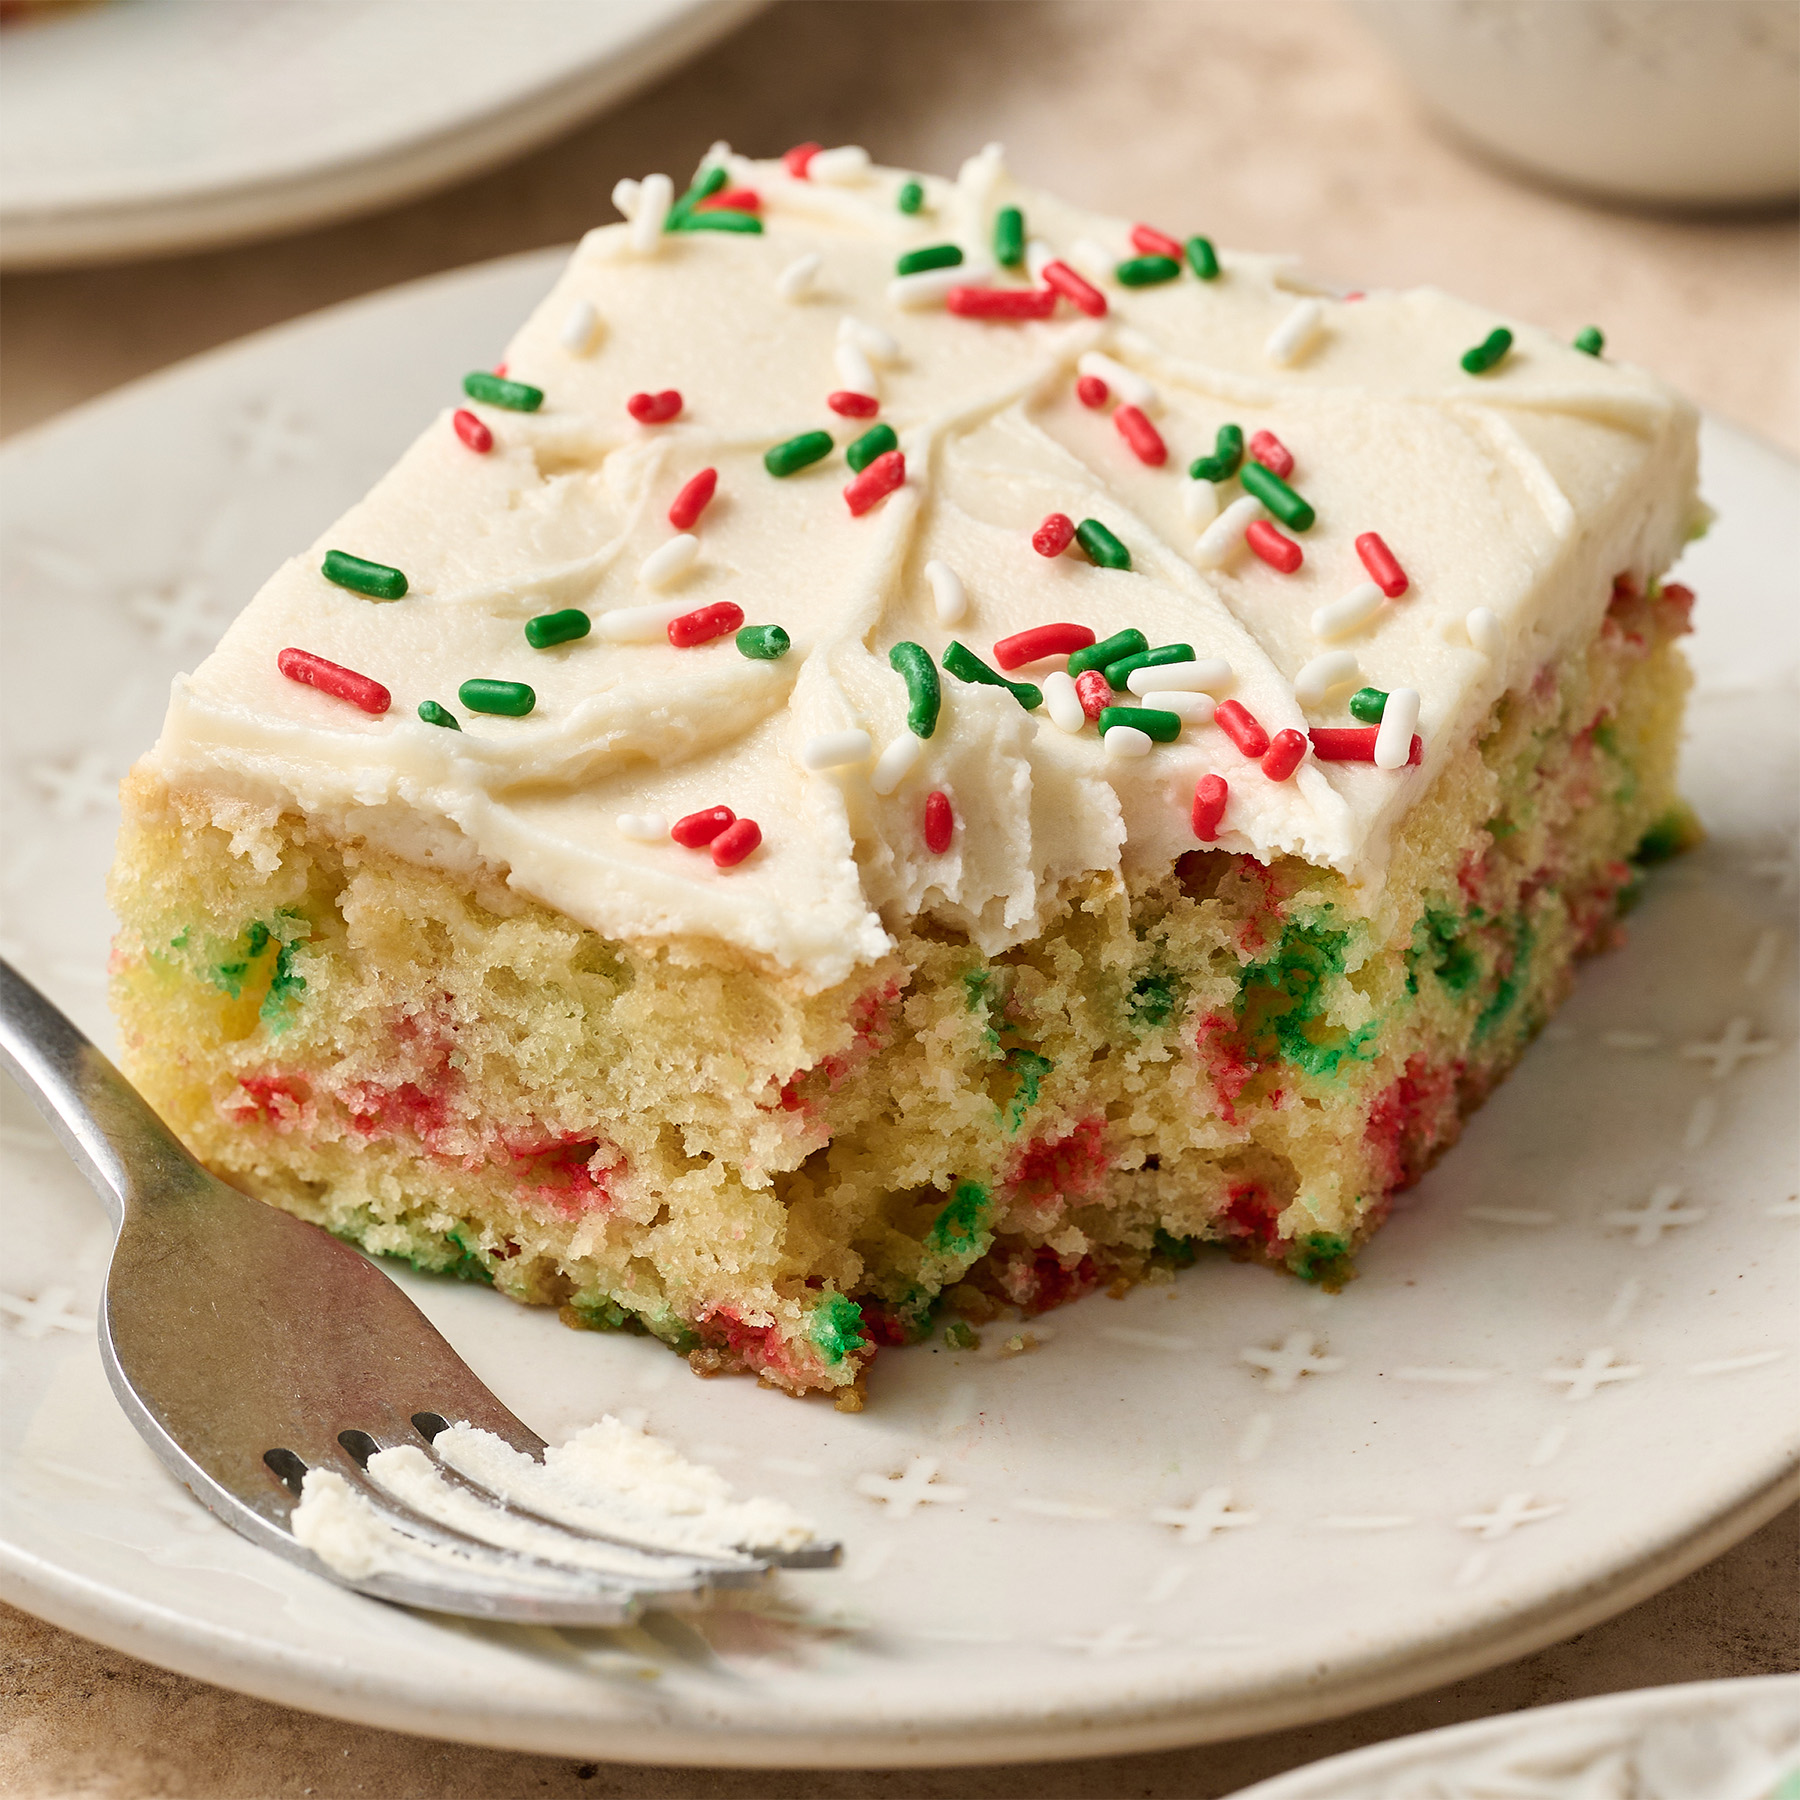
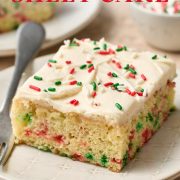
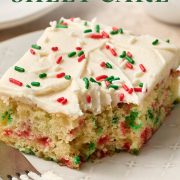
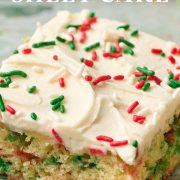
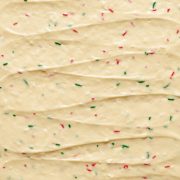
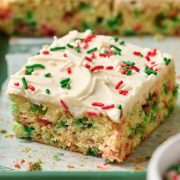
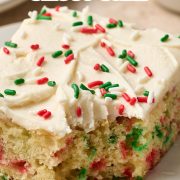
Texture: The cake is ultra moist and fluffy with a subtle crunch from the funfetti sprinkles. The cream cheese frosting is thick and smooth.
Ease: Ridiculously easy. The cake batter comes together super quickly, and it’s also an easy holiday dessert to transport.
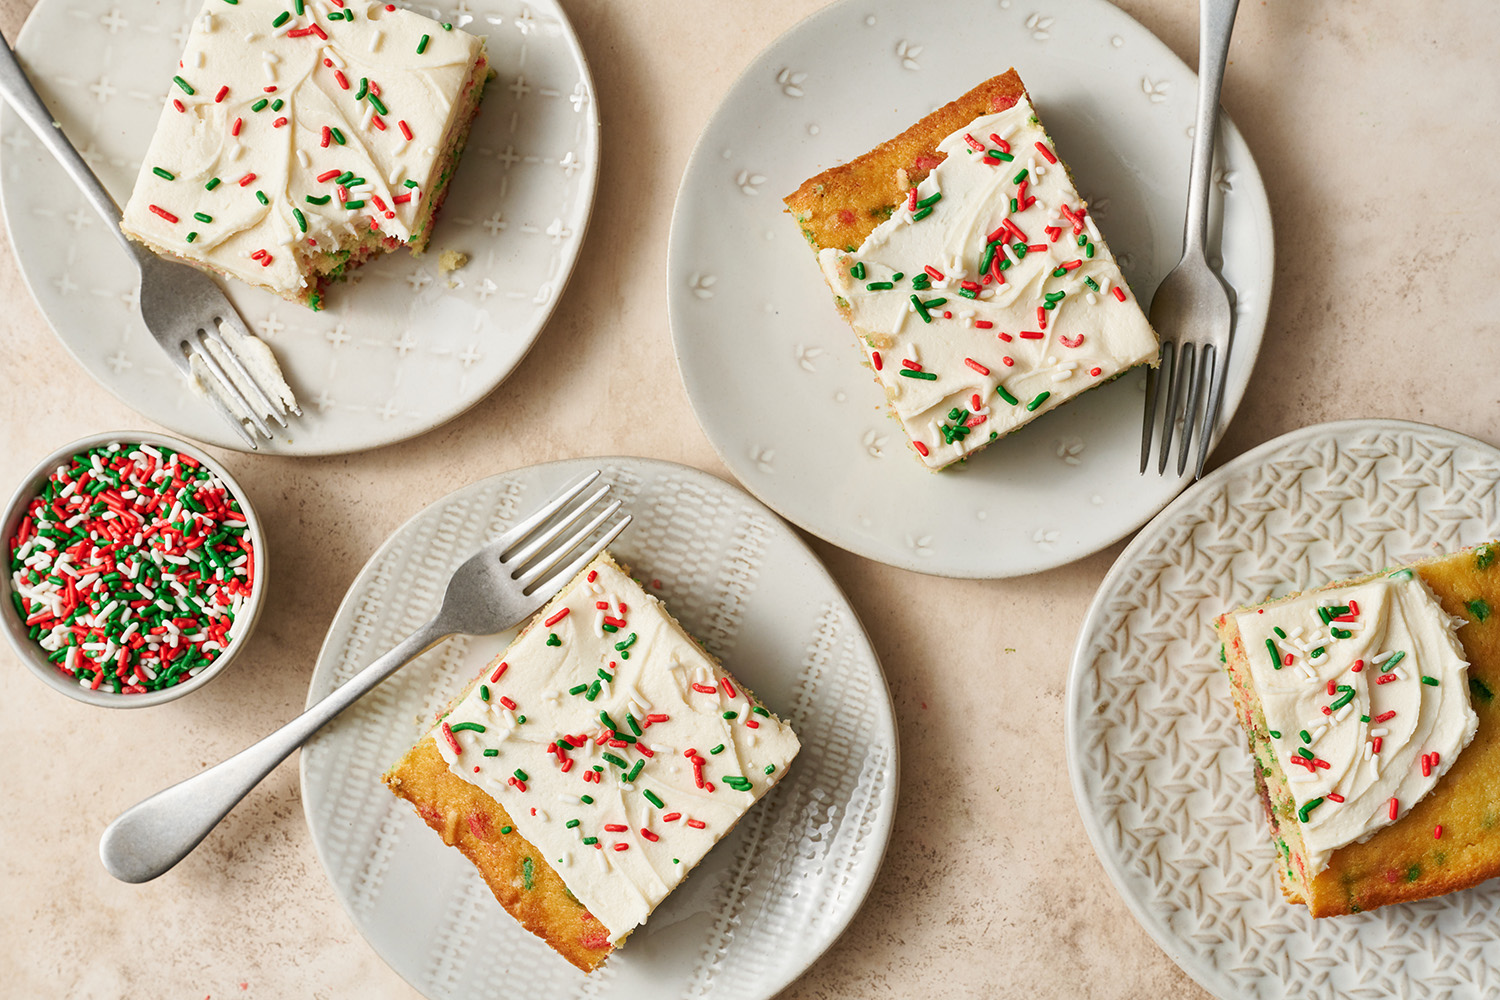
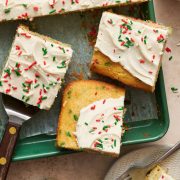
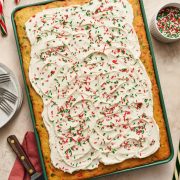
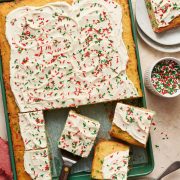
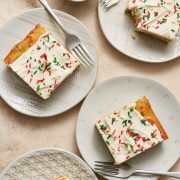
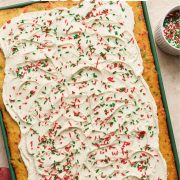
Appearance: I mean, just take a look for yourself. This cake looks straight out of a Hallmark movie!
Pros: Perfect for serving a crowd during the holidays.
Cons: None.
Would I make this again? Yes!
This post may contain affiliate links. Read our disclosure policy.
It’s the most wonderful time of the year… to bake Christmas Funfetti Sheet Cake with Cream Cheese Frosting and festive sprinkles!
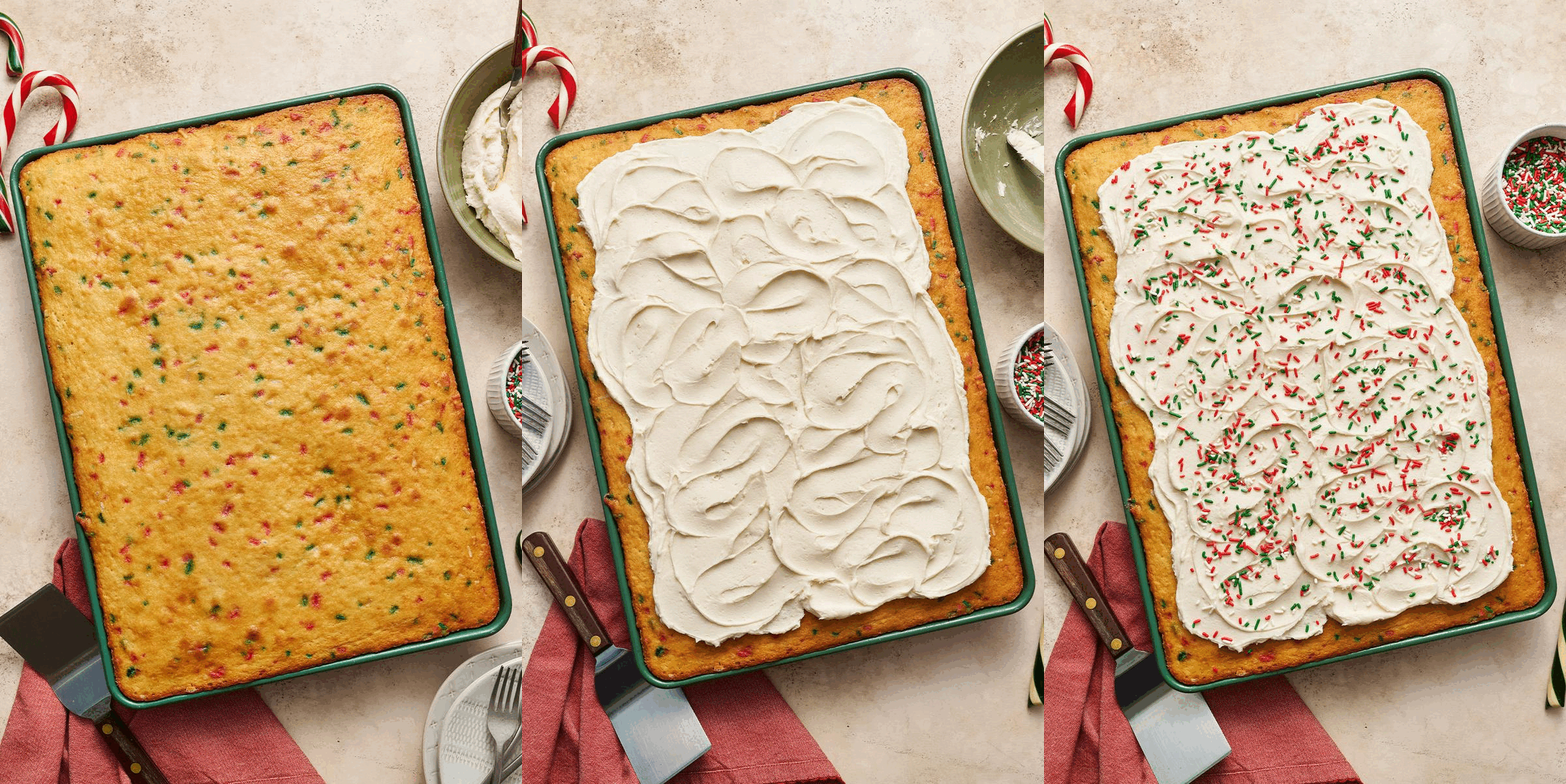
Have you ever seen a more festive and jolly dessert recipe?! I think your whole family will love this Christmas cake recipe.
This cake is not only super duper easy to make (way simpler than a layer cake), but it’s absolutely delicious and so nostalgic. It tastes similar to those cake mixes you see in the baking aisles every holiday season but 100x better in flavor, taste, and texture.
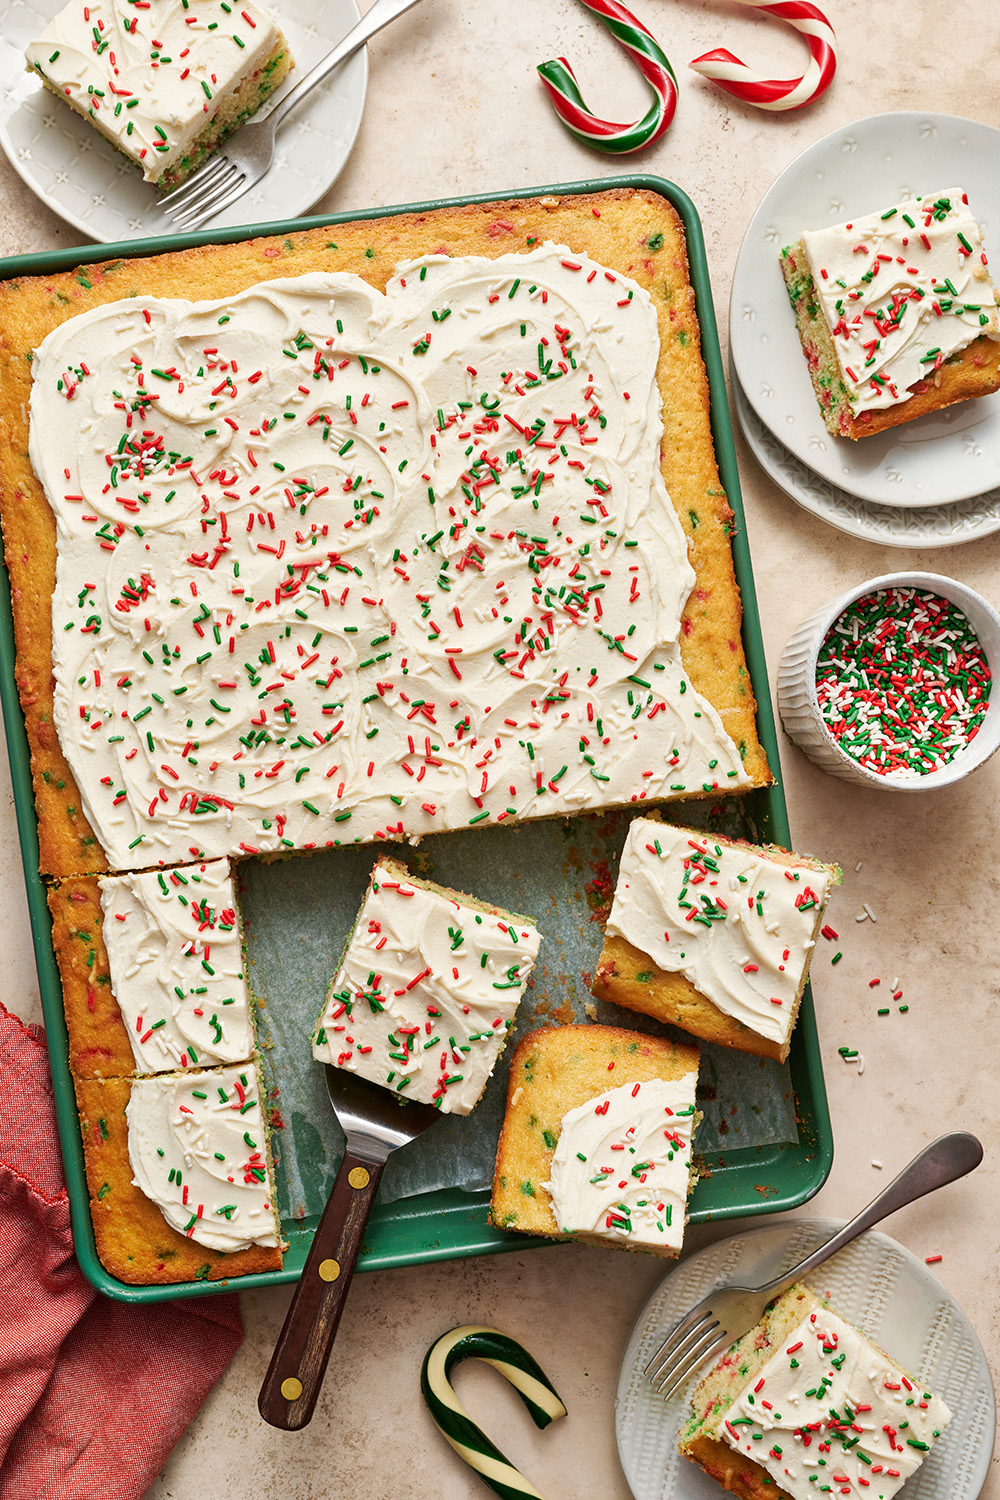
This Christmas Funfetti Cake is also so easy to transport and slice, so it’s perfect for serving friends and family at any potlucks or holiday parties.
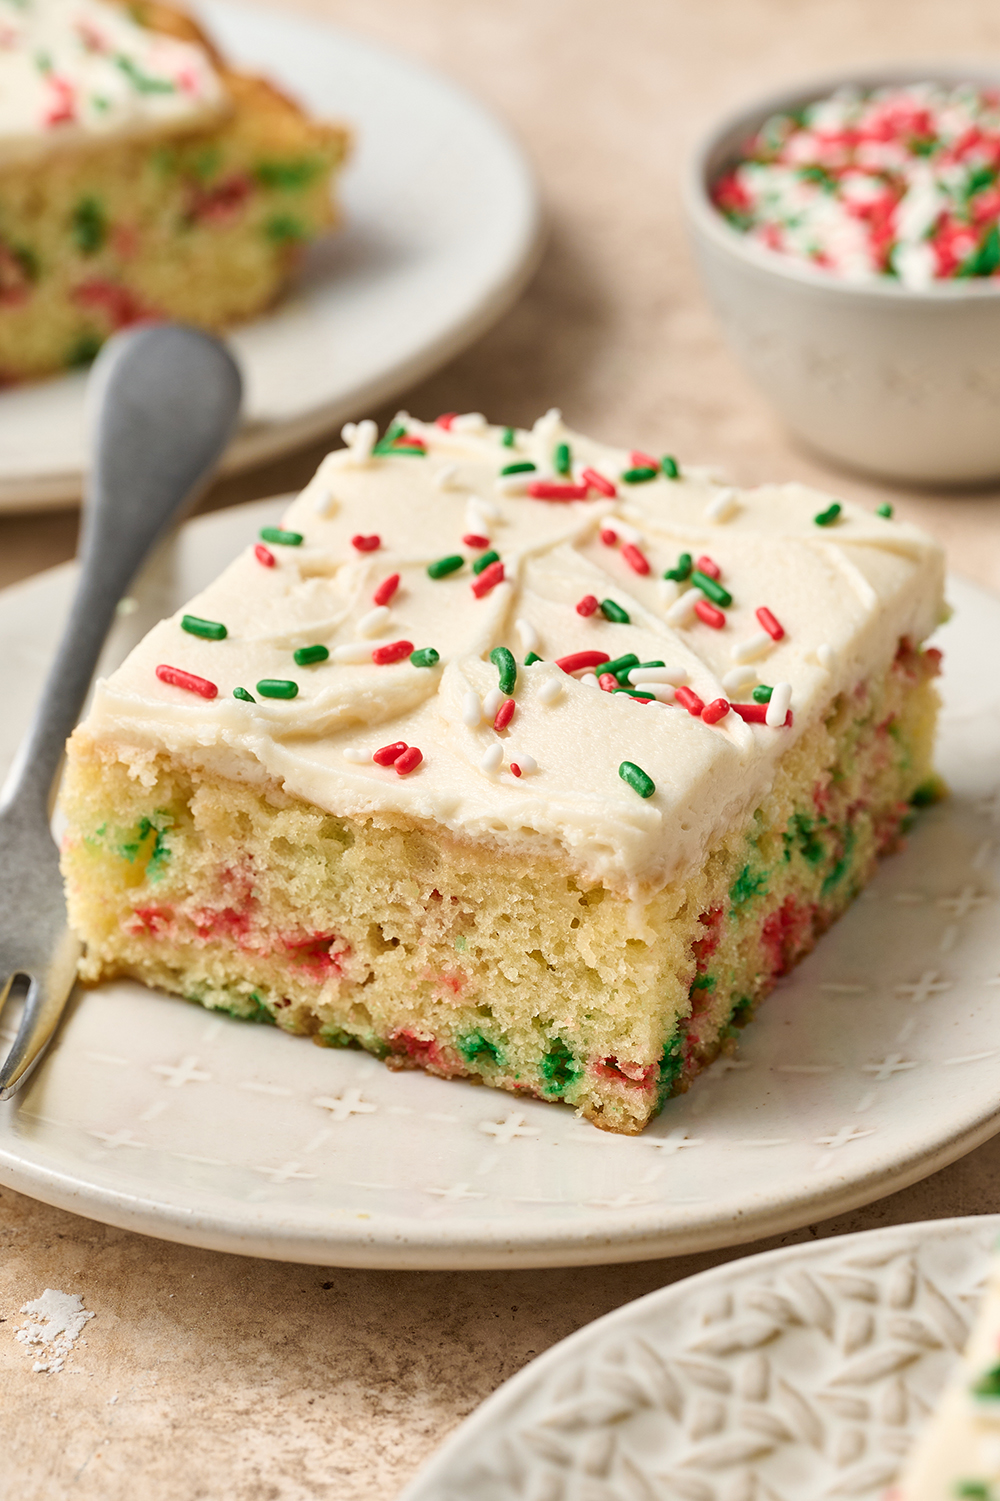
I can’t think of anything more relaxing than enjoying a slice of this homemade funfetti cake with cream cheese buttercream frosting while sitting next to the Christmas tree.
How to Make Christmas Funfetti Sheet Cake
What is a Funfetti Cake?
Also sometimes called a Confetti Cake, Funfetti is a soft vanilla-flavored cake with sprinkles mixed into the batter. It’s a super fun cake reminiscent of childhood birthday parties – but this one is homemade! It’s SO much more flavorful than a box mix – and we’re using Christmas-colored sprinkles in the batter and on top to decorate to make this a super festive cake, perfect for the holidays.
How to Make MOIST Funfetti Cake
- Correctly measure your flour. Be sure to measure your flour correctly by weighing it with a digital scale. If you don’t have one, use the spoon and level method (learn more about that here) to avoid a dry, dense cake.
- Don’t lower the sugar. Sugar does so much more than just sweetening – learn more about sugar’s role in baking here.
- Use the correct flours. We are using a combination of all-purpose flour and cake flour to ensure our cake is light and fluffy. More on this below.
- Use real buttermilk. Your cake won’t be the same if you use a buttermilk substitution. More on buttermilk just below.
What if I Don’t Have Buttermilk?
Buttermilk works best in this recipe to provide a rich and tender cake. You can learn more about the science of buttermilk in my Buttermilk 101 article here. I would not recommend using a buttermilk substitute. Buttermilk is thinner than yogurt, less fatty than cream, and more acidic than milk. If you must, use whole milk instead but note the cake’s final taste and texture will be different.
Why Use Sour Cream in Cake? Can I Substitute the Sour Cream?
This also adds such a lovely richness and balance of flavor to the Christmas Funfetti Sheet Cake. The combination of buttermilk and sour cream is the best of both worlds! They both help make the cake ultra moist and tender. Be sure to use full-fat sour cream that’s at room temperature. Full-fat plain Greek yogurt also makes a fine substitute if you don’t have sour cream. I haven’t tested any dairy-free substitutes.
Do I Have to Use Half Cake Flour? Can I Use all All-Purpose Flour Instead?
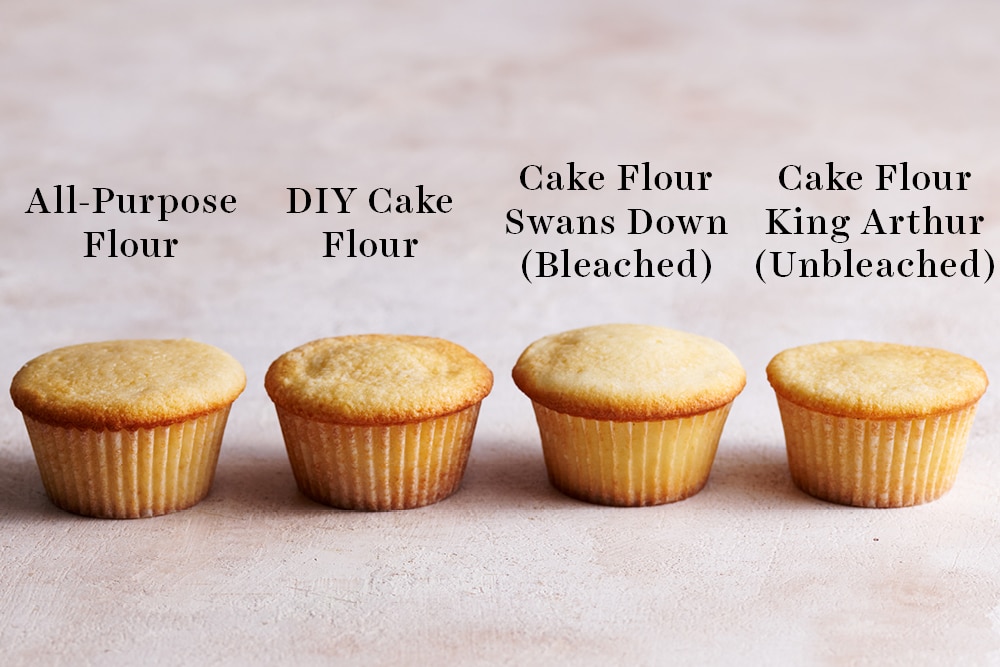
I wanted this cake to have a very soft texture, but still give it some structure and avoid any sponginess – so I went with a mix of cake flour and all-purpose flour. I really recommend sticking with this combination for this recipe. If you don’t have access to cake flour, or want to avoid purchasing it, this cake will probably still work with all-purpose flour only; just know that we haven’t tested this, and the cake will not be as light and fluffy as a result.
Avoid using DIY cake flour substitutions, as they simply don’t work as well. Just take a look at the differences between the cupcakes in the image below. Check out my Cake Flour 101 article here to understand why.
What Type of Cream Cheese is Best for Frosting?
Use a regular full-fat cream cheese brick at room temperature. Do NOT use whipped or spreadable cream cheese made for bagels. I’ve found that some off-brand cream cheese bricks have an unappealing, almost watery texture. Go with a quality brand when possible, such as Philadelphia cream cheese.
Why I Prefer Organic Powdered Sugar for My Frostings
For the absolute smoothest frosting, I recommend investing in organic powdered sugar that contains tapioca starch instead of cornstarch because it dissolves much more readily – so no grittiness! It’s still necessary to sift the powdered sugar after measuring it, and before adding it into the mixing bowl. This will ensure no pesky lumps and clumps ruin the smoothness of your frosting. This is the brand of organic powdered sugar I usually use.
What Type of Sprinkles Should I Use?
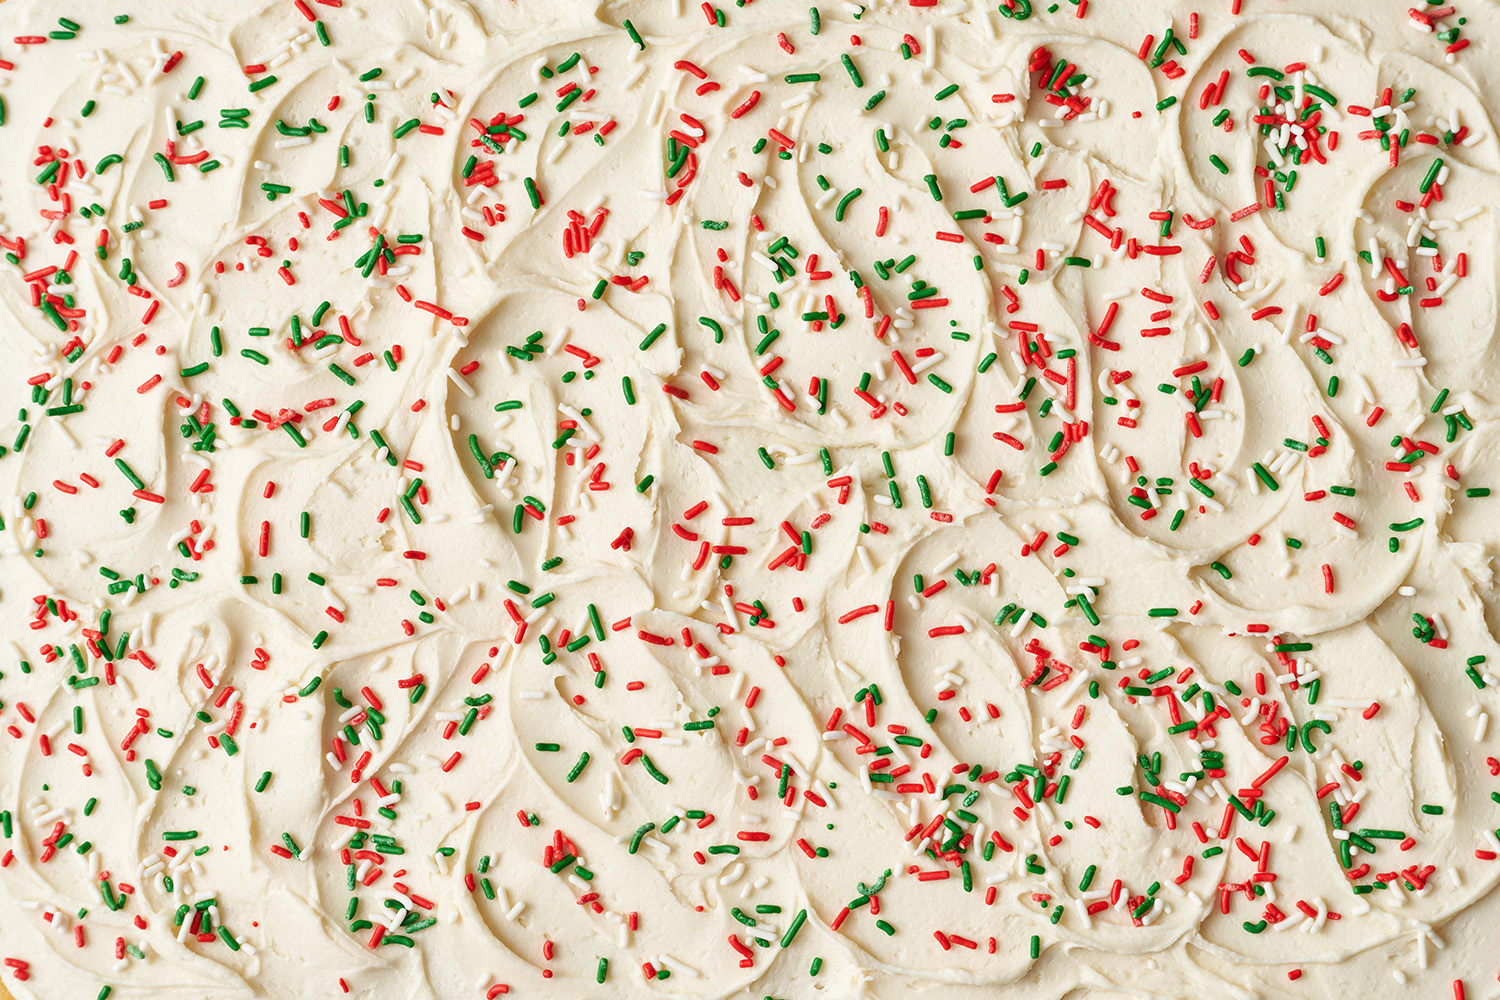
- I used red, green, and white jimmies
- Feel free to use whatever sprinkles you prefer – just keep in mind that nonpareils (the tiny round sprinkles) will remain hard and super crunchy in the cake, even once baked, and they often also bleed into the batter – so I recommend avoiding those.
- Make sure to smell and taste your sprinkles if they’ve been in your cupboard for a while before adding them to the batter to ensure they’re not expired!
- Please also note that some sprinkles will bleed a little when mixed into the batter, or even as they bake. That’s okay – it will still taste great, but I like these Wilton brand jimmies because they won’t bleed when mixed or baked.
What Kind of Pan Should I Use?
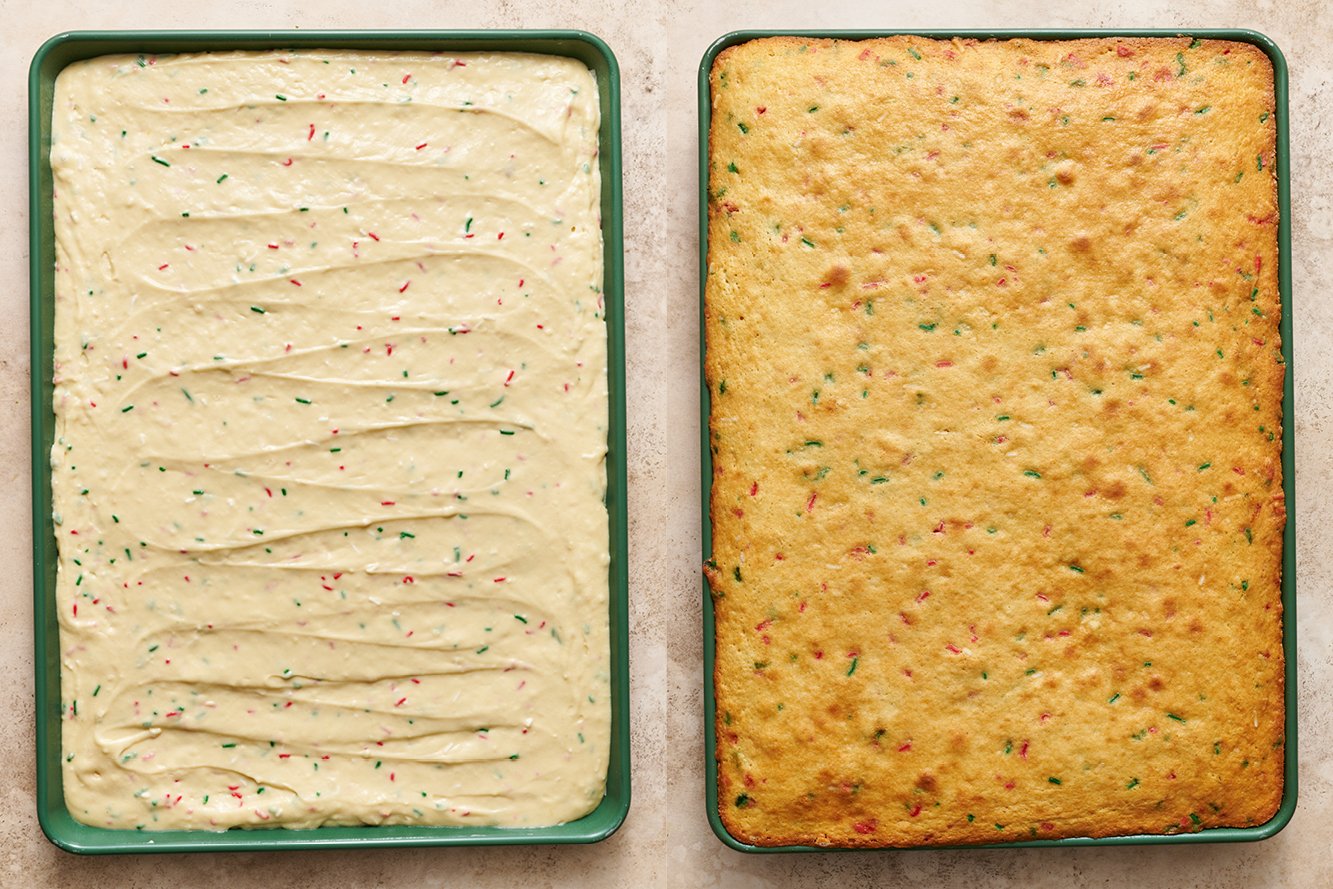
This recipe was written for a 12×17-inch half-sheet metal pan. This is my go-to pan I recommend (it even comes with a lid for super easy transporting – or it’s also available without). However, if you want something more festive, this is the pan (in the shade ‘broccoli’) used in these photographs!
Can I Bake this in a 9×13 Cake Pan?
Yes, this recipe has been tested in a 9×13-inch metal pan too (not glass). After 25 minutes of baking at 350°F, tent the cake with foil to prevent over-browning on the top and sides. If your oven has hot spots, rotate your pan at this point. Bake for an additional 10 minutes longer, or until the cake is slightly pulling away from the edges, the top is lightly golden brown, the center is set, and a toothpick inserted in the center comes out clean. If the center of your cake still appears a little greasy and doesn’t spring back up when pressed, that’s normal! The residual heat from the pan will continue to bake your cake after removing from the oven. If you wait until the center of your cake springs back when pressed, your cake will be overbaked and dry.
Can I Use a Glass Pan for This Cake?
I really recommend using a metal pan such as this one for this cake. Glass is not a great conductor of heat, so the edges of the cake will become overcooked and dry before the center can cook through. Aluminum baking pans conduct heat faster and more evenly, and will give your cake a nice even bake, without drying it out. If you absolutely must use a glass pan, drop the temperature to 325°F and increase the bake time by 5 to 10 minutes, baking until a toothpick inserted in the center comes out clean.
Can I Halve This Recipe?
Yes! Bake in a quarter sheet metal pan for 18-20 minutes, or until the top is lightly golden brown and a toothpick inserted in the center comes out clean.
How to Store this Christmas Funfetti Cake
Store the cake tightly wrapped in plastic wrap or placed inside an airtight container in the fridge for up to 3 days. This cake must stay refrigerated, as the cream cheese frosting contains dairy and it will spoil if stored at room temperature.
If you’ve already sliced the cake into individual portions, exposed cake dries out much quicker than if it’s stored unsliced. Place each slice in to-go containers (like these) or an airtight container with a piece of wax paper or parchment under each slice to come up the sides.
Can I Make This Christmas Funfetti Sheet Cake Ahead of Time?
Yes! After the cake has cooled, cover the unfrosted top with parchment, then wrap the entire pan with plastic wrap before refrigerating, up to 3 days ahead of time. While best enjoyed on the day of frosting the cake, this cake can also be baked and frosted up to 2 days ahead of time – just be sure to store the cake inside an airtight container or wrapped well in plastic wrap to avoid it drying out.
The frosting can also be made ahead of time, transferred to an airtight container, and stored in the fridge for up to 3 days. Bring to room temperature and re-whip with an electric mixer before using.
Can You Freeze This Christmas Funfetti Sheet Cake?
We haven’t tried that, but I don’t see why not! Wrap slices of Christmas Funfetti Sheet Cake well in plastic wrap and store inside a ziptop bag or an airtight container for up to a month. I recommend freezing without the frosting, and frosting once the cake is thawed, for best results. Thaw the cake overnight in the fridge before decorating.
More Christmas Dessert Recipes:
- Christmas Brownies
- Loaded Peanut Butter Christmas Cookie Bars
- Crispy Gingersnaps
- Christmas M&M Cookies
- Gingerbread Sheet Cake
- Soft & Chewy Sugar Cookies
Check out ALL my Christmas desserts here!
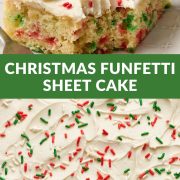
Christmas Funfetti Sheet Cake
Ingredients
For the cake:
- 2 sticks (226 grams) unsalted butter
- 2 cups (254 grams) all-purpose flour
- 2 cups (226 grams) cake flour, sifted
- 1 teaspoon baking soda
- 1 ½ teaspoons baking powder
- 1 ½ teaspoons fine sea salt
- 1 cup (240 grams) sour cream, at room temperature
- 1 cup (237 grams) buttermilk, at room temperature
- 2 cups (400 grams) granulated sugar
- ¼ cup + 1 tablespoon (63 grams) lightly packed light brown sugar
- 4 large eggs, at room temperature
- 1 tablespoon vanilla
- 1 teaspoon almond extract (optional – if not using, add 1 additional teaspoon of vanilla)
- ¾ cup (144 grams) festive sprinkles, plus more for decoration*
For the frosting:
- 1 stick (113 grams) unsalted butter, at cool room temperature
- 1/2 cup (4 ounces or 113 grams) cream cheese, at room temperature
- 1 ½ teaspoons vanilla
- ½ teaspoon fine sea salt
- 4 cups (500 grams) powdered sugar, sifted
- 1-2 tablespoons heavy cream or full-fat milk, as needed
Instructions
Make the cake:
- Preheat the oven to 350°F. Line a 12×17-inch metal half sheet pan** with parchment paper and generously spray with nonstick cooking spray, making sure to spray the edges of the pan. Set aside.
- In a microwave-safe bowl, heat butter in 30-second increments until melted. Set aside, cooling until just warm.
- In a medium-sized bowl, whisk together all-purpose flour, sifted cake flour, baking soda, baking powder and salt. Set aside.
- In a 2-cup measuring glass or medium-sized bowl, gently whisk together the sour cream and buttermilk. Set aside.
- In the bowl of an electric stand mixer fitted with the paddle attachment, add the melted butter and both sugars. Cream together on medium speed for 2 minutes, until light and creamy. Add eggs one at a time, blending on medium-low speed after each addition until just combined, then scrape down the sides of the bowl. Add the vanilla and almond extract (if using), and mix on medium-high speed until light and fluffy, about 3 minutes.
- Alternating between wet and dry ingredients, add half of the sour cream/buttermilk mixture and half of the flour mixture to the mixer, mixing on medium-low speed after each addition until just combined. Repeat this step twice. Be careful not to overmix. Scrape down the sides and bottom of the bowl.
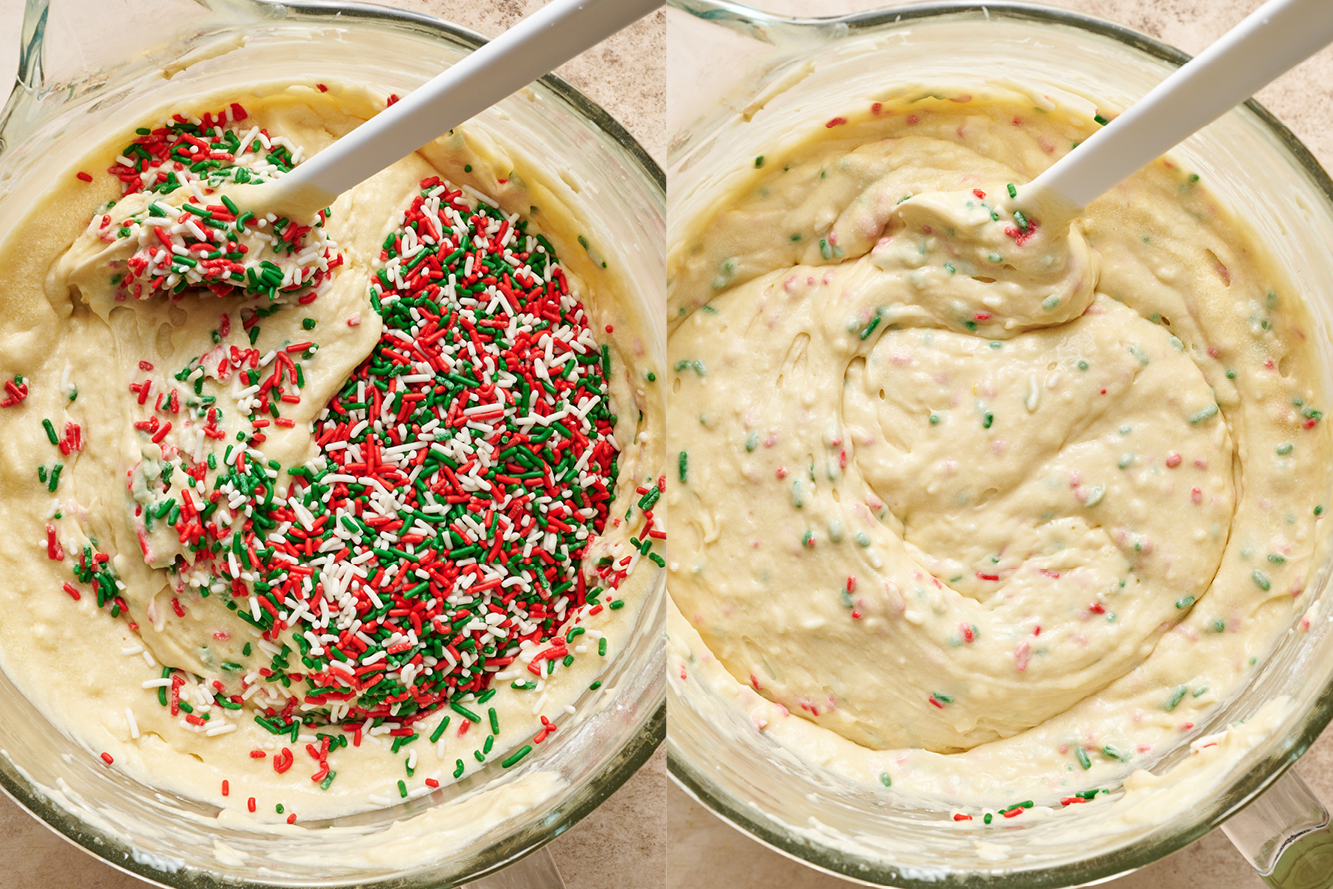
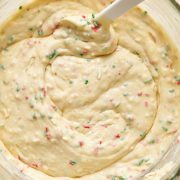
- Using a spatula, gently fold in the sprinkles. Pour the batter onto the prepared baking sheet and smooth out evenly. Bake the cake for 20-22 minutes, or until the top is lightly golden brown and a toothpick inserted in the center comes out clean. Place the pan on a cooling rack and let the cake come to room temperature before frosting.
Make the frosting:
- While the cake is baking, in the bowl of a stand mixer fitted with the paddle attachment, add the butter and cream cheese. Mix together on medium-high speed until light, creamy and smooth, about 3 minutes. Scrape down the bowl, then add in the vanilla and salt and mix until just combined. Add in the sifted powdered sugar one cup at a time, scraping down the sides of the bowl to prevent any clumps. Beat on medium-high speed for about 1 minute, until light and fluffy. If your frosting is too thick to spread easily, add 1-2 tablespoons of heavy cream or milk and mix on medium-high speed until combined.
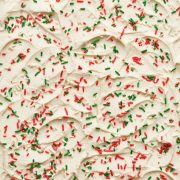
- Spread frosting evenly over the cooled cake with an offset spatula, then top with festive sprinkles.
- Store the cake wrapped in plastic wrap or placed in an airtight container in the fridge for up to 5 days.
Recipe Notes
Photos by Joanie Simon.






This looks so fun and festive. I have yet to try a sheet cake recipe because I worry that the batter will puff up and spill out the sides of the pan during baking and make a big mess of my oven. How do you ensure this doesn’t happen? Are there only certain recipes you’ll bake in a sheet pan or can most cake recipes be baked in a sheet pan? Another question I have is regarding buttermilk. What type of buttermilk do you recommend for baking, low-fat, full-fat? Does it make a difference? Thanks for sharing your recipe.
Hi Erin! While I can’t speak to how other recipe developers test their recipes, Handle the Heat’s recipes go through many rounds of testing in various climates across the US before being published. We do this to ensure that the recipe turns out perfectly, so you don’t have to worry about things like your cake spilling over, etc. Sheet cakes generally contain a slightly different amount of leavening agent, as compared to regular cake layers, so that’s why you can’t necessarily just bake any cake recipe in a sheet pan. This recipe was tested using low-fat buttermilk, as that’s the most easily-accessible to most people (full-fat can be tricky to find), but either should work just fine to make a moist, delicious cake! I hope that helps! Let us know how it goes 🙂
great, thanks!
Made this yesterday for my Superbowl party (I used multi-color jimmies) and it was a hit!! My cake didn’t rise much and was a bit dense, any idea of what caused it?
Still loved the cake though and will definitely be baking again.
Hi Dina! I’m so glad to hear that this cake was such a hit for your Super Bowl party! There are a couple reasons why your cake may not have risen:
– How do you measure your ingredients? By volume (using cups), or by weight (using a digital kitchen scale)? When measuring by volume, it’s so easy to mis-measure ingredients (particularly flour) and throw off the entire chemistry of a recipe – and wind up with a heavier, dense cake in this case. Check out Tessa’s article here, where she talks about how to best measure ingredients to ensure accuracy every time.
– How old are your leavening agents? If your baking soda/powder are not fresh, they won’t do their jobs and your baked goods can not rise properly, fall after baking, and much more. Tessa talks about the science behind leavening agents, and how to test for leavener freshness, in this article here!
– Did you substitute any ingredients, like a DIY buttermilk? Tessa performed some experiments on buttermilks vs substitutes recently – check out that article here.
I hope something here helps, Dina! Let us know if you have any further questions – we’re always more than happy to help 🙂
Made this last night and it was delicious fresh the first day, but even storing it airtight the next day it dried out a bit. The flavor is still good, reminds me of a boxed cake mix. Not that it’s a bad thing, I love boxed cake mixes, it’s just that this was not as fluffy and moist as I would like. The frosting is very sweet, but goes good with the cake. It was really thick to mix and spread and not as creamy as I would like. Thought about adding a bit of heavy whipping cream to it to make it whipped, or add more butter. I decided not to add it and just make everything as is following the recipe to the T. My family liked it and we love the colors of funfetti, so I would make this again and bake a few mins less.
I want to make a funfetti birthday cake using your recipe. Can I use a round silicon cake mold (about 6 inch) and if so what is the approx. baking time? love your recipes and guidance!
Hi Patricia! I’m sorry, but we haven’t tested this recipe as anything but a sheet cake, so I can’t tell you how that will go. This recipe makes a lot of batter (designed for a half sheet pan) so you would need to cut the recipe down to make this work. This cake sizing guide from Wilton may help you there. We also don’t typically recommend using silicone for baking – much like glass and ceramic, it doesn’t conduct heat well. Check out Tessa’s article on Glass vs Metal pans for more information about the best types of pans. Sorry we couldn’t help more, Patricia!
thank you so much for your reply! will dive into the articles for sure (I only recently discovered you!). I might do some experimenting and will let you know how it went 🙂
Can you share baking instructions to make these as cupcakes? Thank you!!
Never mind I see you already answered this question, I’ll give it a try!!
This looks wonderful! Do you think it would work as cupcakes? If so, any recommendations?
Hi Yolanda! We haven’t tried that with this recipe yet, but if you follow the recommendations in Tessa’s How to Convert Cake into Cupcakes article, you should be good to go! Let us know how it goes if you give this a try! 🙂
Hi,
Can I make my own cake flour and use that instead of having to buy it?
Thank you so much! The cake looks delicious!
Hi Victoria! We haven’t tried anything but real cake flour with this recipe, but if you’re interested, Tessa has a whole article devoted to experimenting with cake flour and cake flour substitutes. Let us know how it goes if you use a DIY cake flour instead!
This festive cake comes together quickly and is delicious! My students loved it and were asking for more. Definitely make this cake!
So excited to hear that, Tomma! Thanks so much for the comment 🙂
Hi! can you make cupcakes with this recipe? thanks!
Hi Heidi! We haven’t tried that, but if you follow the recommendations in Tessa’s How to Convert Cake into Cupcakes article, you should be good to go! Be sure to read all the tips and info in both tip boxes for SO much info, before starting. Let us know how it goes! 🙂