


Tessa’s Recipe Rundown
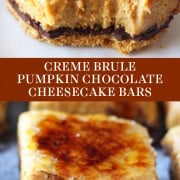
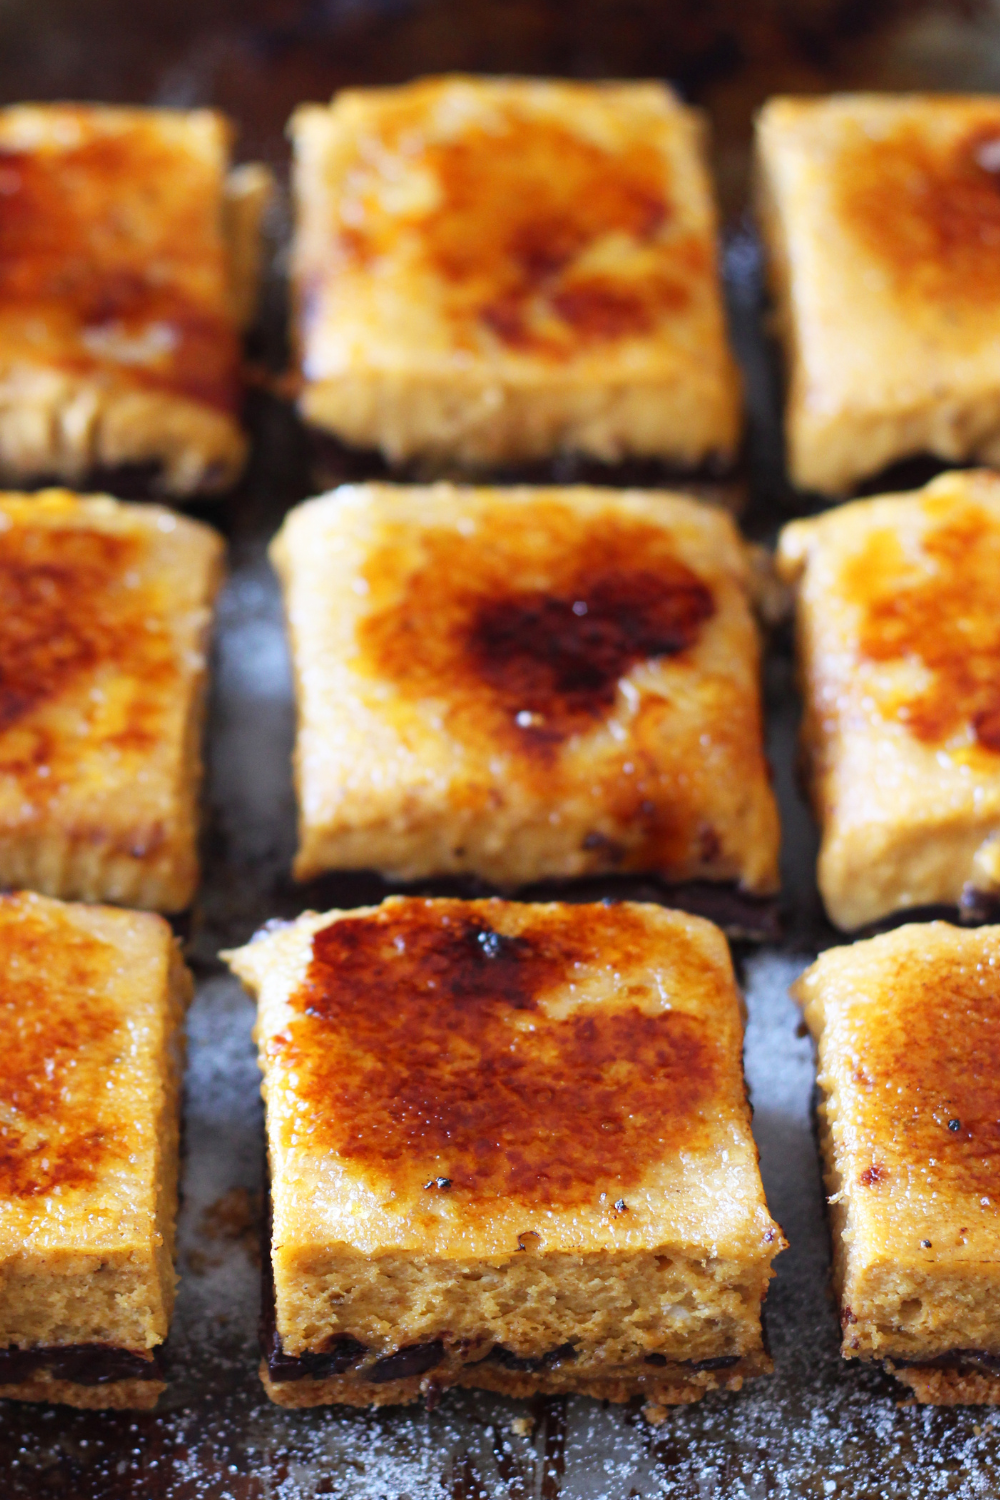
Taste: The pumpkin flavor is perfect and I just LOVE it partnered with a generous layer of chocolate. Plus the caramelized sugar on top really takes these over the top!
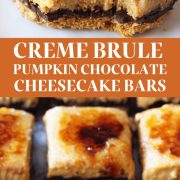
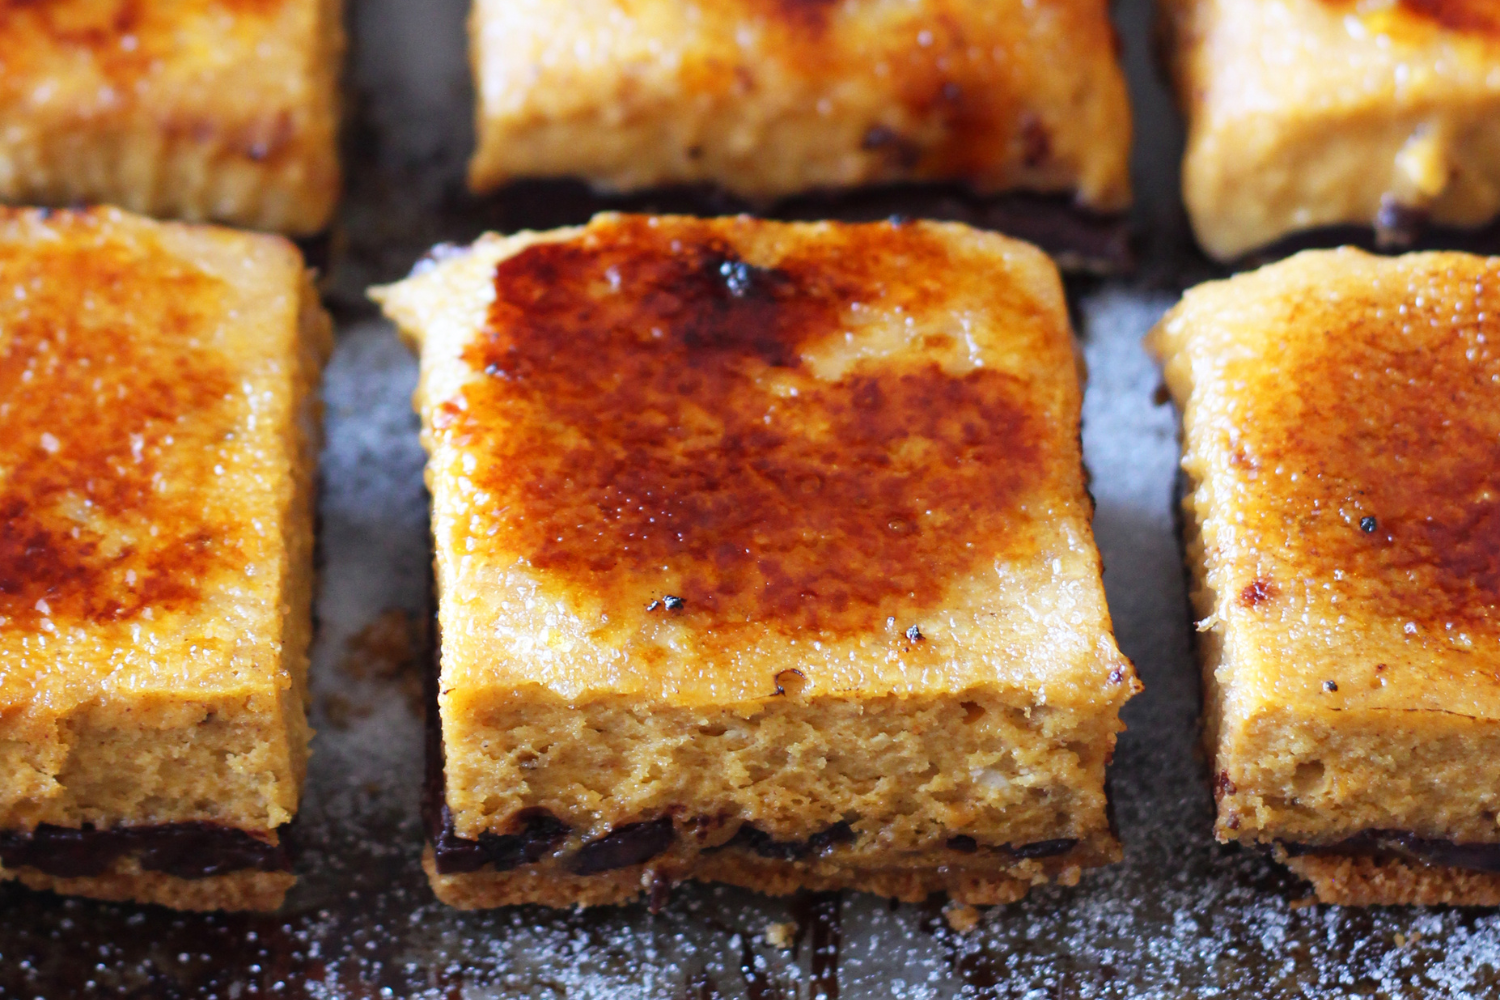
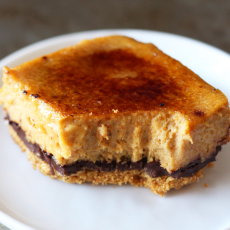
Texture: Texture heaven! The crust is buttery and crunchy, the chocolate layer is thick, firm, and rich, the pumpkin cheesecake is luscious and creamy, and the brûléed sugar on top is thin, shattering, and crisp. Ahhh.
Ease: Really pretty easy considering how impressive it looks and tastes! If you don’t have a kitchen torch you can always use your oven’s broiler, just keep an eye on it the entire time.
Pros: A fun twist on the traditional pumpkin pie!
Cons: These are a little messy to eat but as long as you don’t mind getting a few crumbs on you, it’s wonderful.
Would I make this again? Absolutely yes – every pumpkin season!
This post may contain affiliate links. Read our disclosure policy.
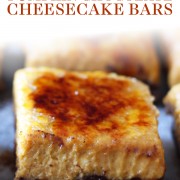
Just knowing that these Crème Brûlée Pumpkin Chocolate Cheesecake Bars are sitting in the fridge, waiting to be enjoyed, will put you in a good mood.
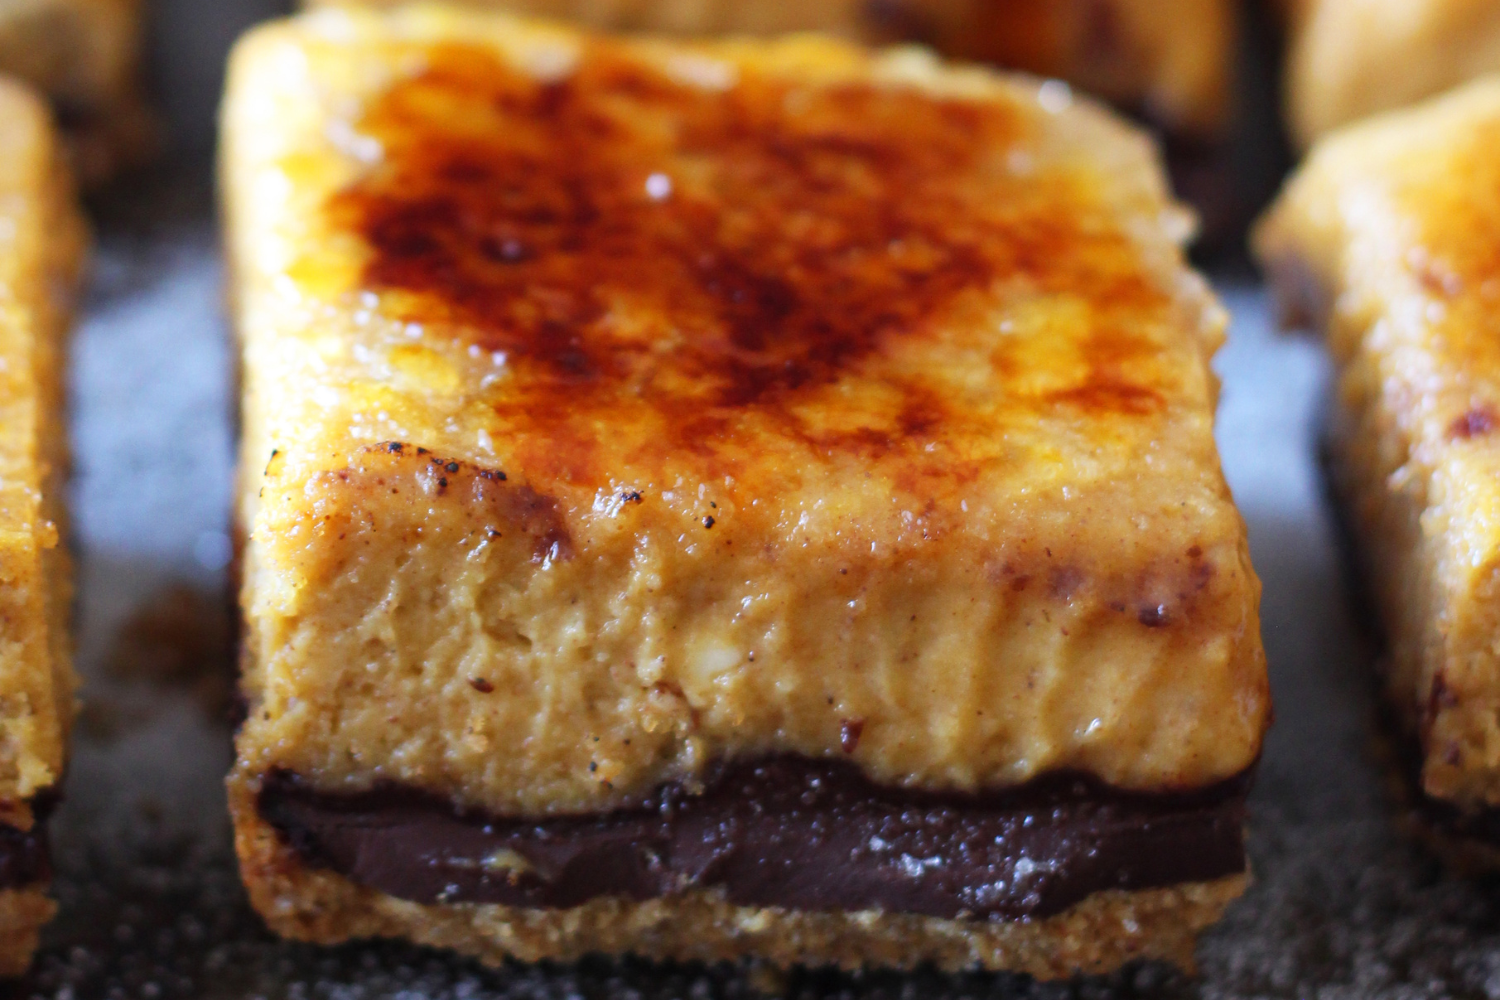
These cheesecake bars are so full of fall flavors and topped with that quintessential Crème Brûlée crunch I just adore.
Crème Brûlée is so delicious, and I honestly love any excuse to use my kitchen torch.
So I decided to combine that tasty, sugary crunch with some fall flavors, plus cheesecake … and add chocolate, just for good measure!
These cheesecake bars are perfect for any fall festivity and are the unexpected treat people will be raving about for years.
I hope you enjoy them as much as I do!

Sprinkle of Science
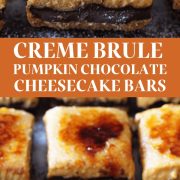
How to Make Crème Brûlée Pumpkin Chocolate Cheesecake Bars
What Type of Pumpkin for Cheesecake Bars?
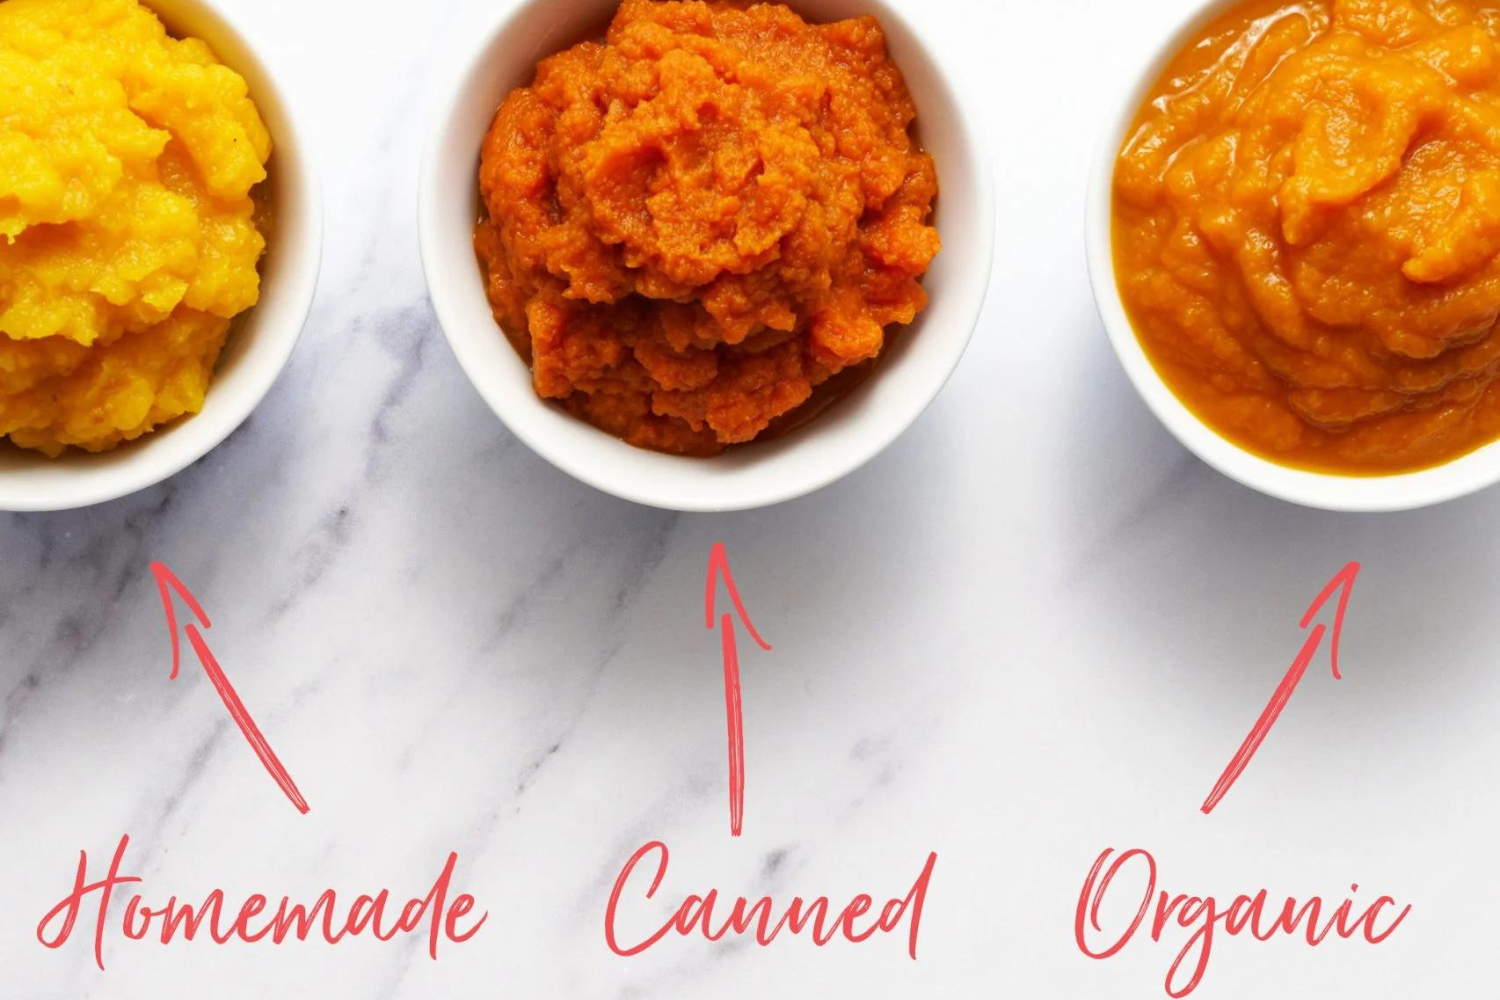
- I used store-bought canned pumpkin puree.
- Homemade pumpkin puree may work in this recipe, but I don’t necessarily recommend it because it can add excess liquid.
- Note: Be sure NOT to use canned pumpkin pie filling for this recipe – it is not the same thing as pumpkin puree.
- Check out my Fresh vs. Canned Pumpkin article for the differences between using fresh pumpkin puree, regular canned pumpkin, and organic canned pumpkin, and learn how to make your own pumpkin puree!
How to Get Smooth Cheesecake Filling
- Make sure your cream cheese is completely softened to room temperature.
- Pulse or beat the softened cream cheese until totally smooth. This may take several minutes.
- Be sure to scrape down all the nooks and crannies of your food processor or mixer bowl and paddle attachment when mixing the filling at each step.
What Can I Use Instead of Graham Crackers?
I love the flavor graham crackers bring to these Crème Brûlée Pumpkin Chocolate Cheesecake Bars, but you can use the same amount by weight of digestive biscuits, vanilla wafers, Biscoff cookies, or any crunchy cookie you’d like! Please note that Biscoff cookies are a little richer than graham crackers (which are drier), so add just enough butter until it holds together when pressed.
The Best Pan for Cheesecake Bars
- I highly recommend using a light-colored 8×8-inch metal pan like this.
- Avoid using a glass or ceramic pan for baking cheesecake bars.
- Learn more about this in my Glass vs. Metal Baking Pans article here.
How to Serve
Allow Crème Brûlée Pumpkin Chocolate Cheesecake Bars to sit at room temperature for about 20 minutes before serving, to allow the chocolate layer to soften slightly.
How to Make Cheesecake Bars Ahead of Time
The cheesecake bars can be made ahead of time and stored in the fridge. Do not top the bars with sugar and brulee until shortly before serving. The longer the brûléed sugar sits, the more the sugar will begin to re-liquify and no longer be crisp.
How to Store & Freeze Crème Brûlée Pumpkin Chocolate Cheesecake Bars
Store the untopped (non-brûléed) cheesecake bars in an airtight container in the fridge for up to 3 days. You can also freeze the untapped bars. Wrap the whole slab or each slice in plastic wrap and store inside an airtight container or freezer bag for up to one month. Defrost overnight in the fridge before topping with sugar, torching, and serving.
Email This Recipe
Enter your email, and we’ll send it to your inbox.
Ingredients
For the crust:
- 9 (135 grams) whole graham crackers
- 5 tablespoons (71 grams) unsalted butter, melted
- 2 cups (340 grams) semisweet chocolate chips
For the filling:
- 2 (8 ounce) packages cream cheese, completely softened to room temperature
- 1 cup (200 grams) granulated sugar
- 1 cup (244 grams) pure pumpkin puree
- 2 large eggs plus 1 egg yolk
- 1 teaspoon vanilla extract
- 2 tablespoons all purpose flour
- 1/2 teaspoon fine sea salt
- 1 teaspoon cinnamon
- 1/4 teaspoon nutmeg
- 1/8 teaspoon ginger
- 1/8 teaspoon cloves

For the brulee topping:
- 1/4 cup (50 grams) granulated sugar
Instructions
For the crust:
- Preheat the oven to 350°F. Line an 8-inch square baking dish with foil, leaving an overhang.
- In the bowl of a food processor, pulse the graham crackers until finely ground. Add the butter and pulse until moistened. Press into the bottom of the prepared pan. Bake until lightly browned and set, about 8 minutes. Remove from oven and sprinkle with the chocolate chips. Bake for another 2 minutes. Remove from oven and smooth the melted chocolate chips with an offset spatula. Let cool and reduce the oven temperature to 300°F.
For the filling:
- Place the cream cheese in a clean food processor bowl and pulse until smooth (you can also use an electric mixer). Add the sugar, pumpkin, eggs, egg yolk, vanilla, flour, salt, and spices and pulse until combined and smooth. Do not overmix.
- Pour the mixture into the prepared pan. Bake until the cheesecake is set but still slightly jiggly in the center, about 45 minutes. Do not overbake.
- Place the cheesecake on a cooling rack to cool completely in the pan. Cover and chill until firm, at least 2 hours. Using the foil overhang, transfer the cheesecake to a work surface and use a big sharp knife to cut into squares.
For the brulee topping:
- On a heat-safe work surface, sprinkle the tops of each square with sugar and torch the tops with a kitchen torch until it turns a deep amber color. Alternatively, use a broiler to brown the sugar, watching very carefully to avoid burning. Refrigerate until ready to serve. Note that the chocolate layer does get a bit hard if these bars are very cold, so you may want to let them sit at room temperature for about 20 minutes before serving.
This post was originally published in 2014 and has since been updated with additional recipe tips and Baking Science information.


Hi Tessa. First and foremost, thank you for being you….kind, sweet and a bad-ass baker. I am wicked picky with my baking. I have gotten kinda good at it over the years and have a mini fan base. I have tried a handful of your recipes and have gotten rave reviews. Seriously amazing recipes. Thank you for sharing with all of us. I know I can get your recipes online, but where can I find a hard copy of tour cookbook? I would be honored to own one 🙂 thank you!!!
Hi there, I’m really impressed by this recipe and plan on making it this Thanksgiving. I was a little confused about the brûlée topping. I don’t have a kitchen torch so I will use my oven’s broiler. Do I put the sugar on top of the bars and put everything in the oven together? Do you know how long and at what temperature? Do I risk baking more of the cheesecake when I do this?
Something tells me I should just buy a kitchen torch! lol!
How would a glass dish same size work with this recipe?
My mouth is watering! Cheesecake (baked) is my absolute favorite! Add a brûlée topping…overload yumminess:) I am thinking, vanilla wafers and gram crackers combo!
Would gingersnap crust work well?
Would gingersnap work well for the crust?
I’m curious, what if this recipe was done using a waterbath? Would that affect it in any way since it is like a cheesecake but in a square pan?
Made these last night and these totally blew my mind and my families! I loved it!
Thank you for your reply! I used a tart pan with removable bottom and it worked beautifully…was the perfect Thanksgiving dessert. (though there was about a cup too much of the filling that I couldn’t use so the next time I will try a springform pan with removable bottom to get every delicious bit…fabulous recipe!)
If i am baking this in the ninebythirteen pan do you suggest i increase the time?
I would estimate a 9×13 pan would need another 10-15 minutes, though I can’t be sure as I’ve never done so. Bake until it’s set but still slightly jiggly in the middle, it’s better to err on the side of underbaking than overbaking.
Would this work as a a 9″ pie or in a tart pan as well?
I would use a tart pan with a removable bottom because I think it would be much easier to cut into slices outside of the pan (if baking in a pie shape, the brulee topping and chocolate layer make this recipe a bit more difficult to cut than a regular pie).
thanks for the incredible recipe. Just wondering if the 9×13 is the way to go when doubling the recipe. I Want to make these for thanksgiving and don’t want to mess them up!
Yep – that pan is double the capacity so it should work fine. Since you’re cutting so many more bars, I would definitely follow the tip about letting the bars sit at room temperature until the chocolate layer softens slightly so they’re easier to cut. You might just want to cut them before Thanksgiving dinner 🙂