


Tessa’s Recipe Rundown
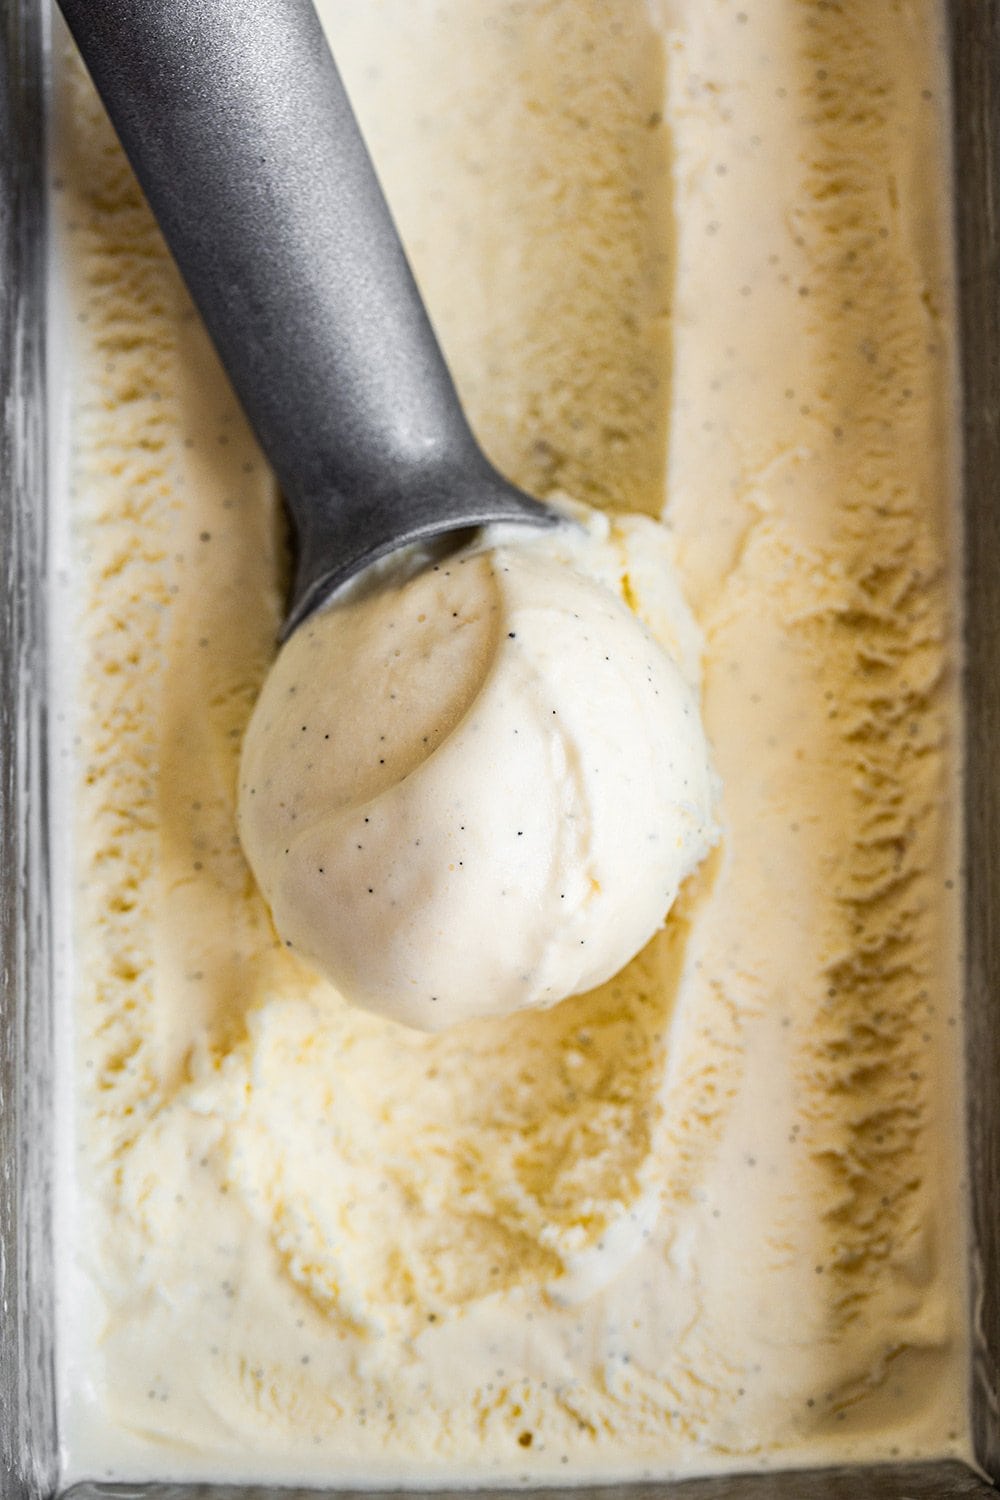
Taste: Loaded with vanilla flavor – and totally customizable, so you can make whatever flavor your heart desires!
Texture: Rich, creamy, silky, and velvety.
Ease: So much easier than you might think, and each main step can be done ahead of time.
Why You’ll Love This Recipe: Better than any store-bought ice cream!
This post may contain affiliate links. Read our disclosure policy.

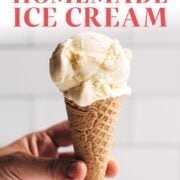
There is nothing quite like the creamy indulgence of homemade ice cream.
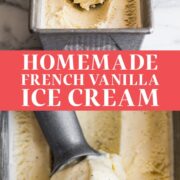
The rich, silky-smooth texture and incredible flavor of homemade ice cream is so much better than anything storebought.
I LOVE ice cream – and I’m kind of an expert on the topic. I wrote a whole cookbook on ice cream sandwiches!
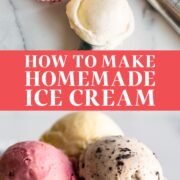
Below, I’ll walk you through the simple steps for making your own ice cream right at home. I’ve even listed out 10 delicious flavor variations!
Step-By-Step How to Make French Custard Vanilla Ice Cream
1. Prepare an Ice Bath
Fill a large bowl with ice cubes and a cup or two of water. Place a medium bowl fitted with a fine strainer inside the ice bath. Set aside.
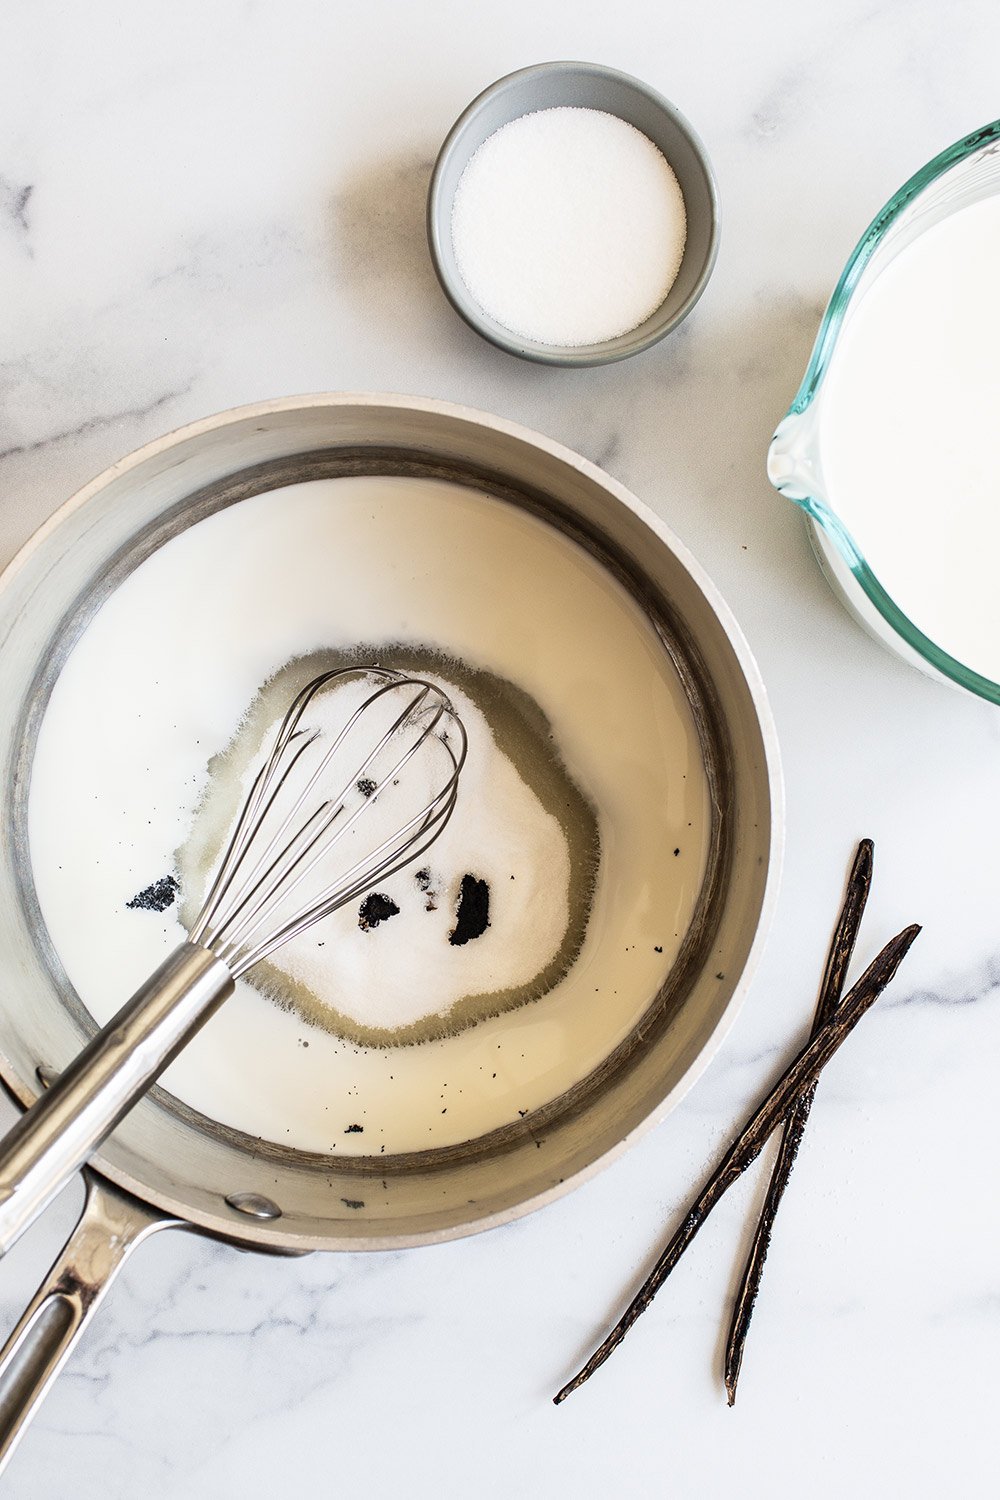
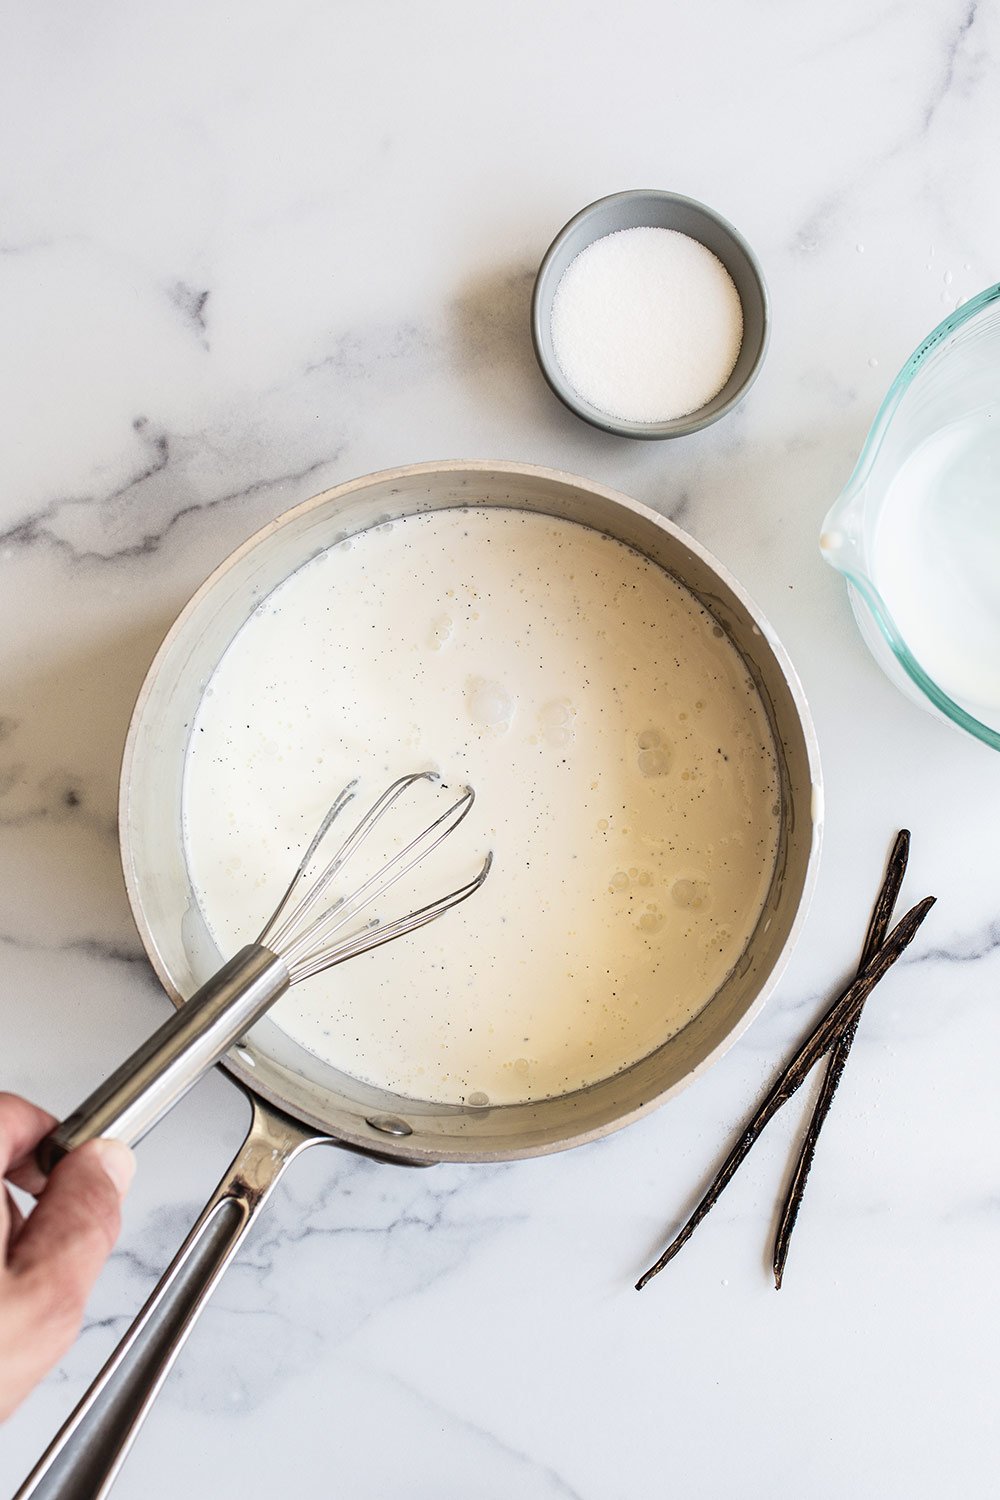
2. Begin the Custard Base
In a medium saucepan, combine the milk, cream, 1/2 cup of sugar, salt, vanilla seeds, and vanilla bean. Set over medium heat, stirring occasionally, until the mixture is warm and begins to steam, about 5 minutes.
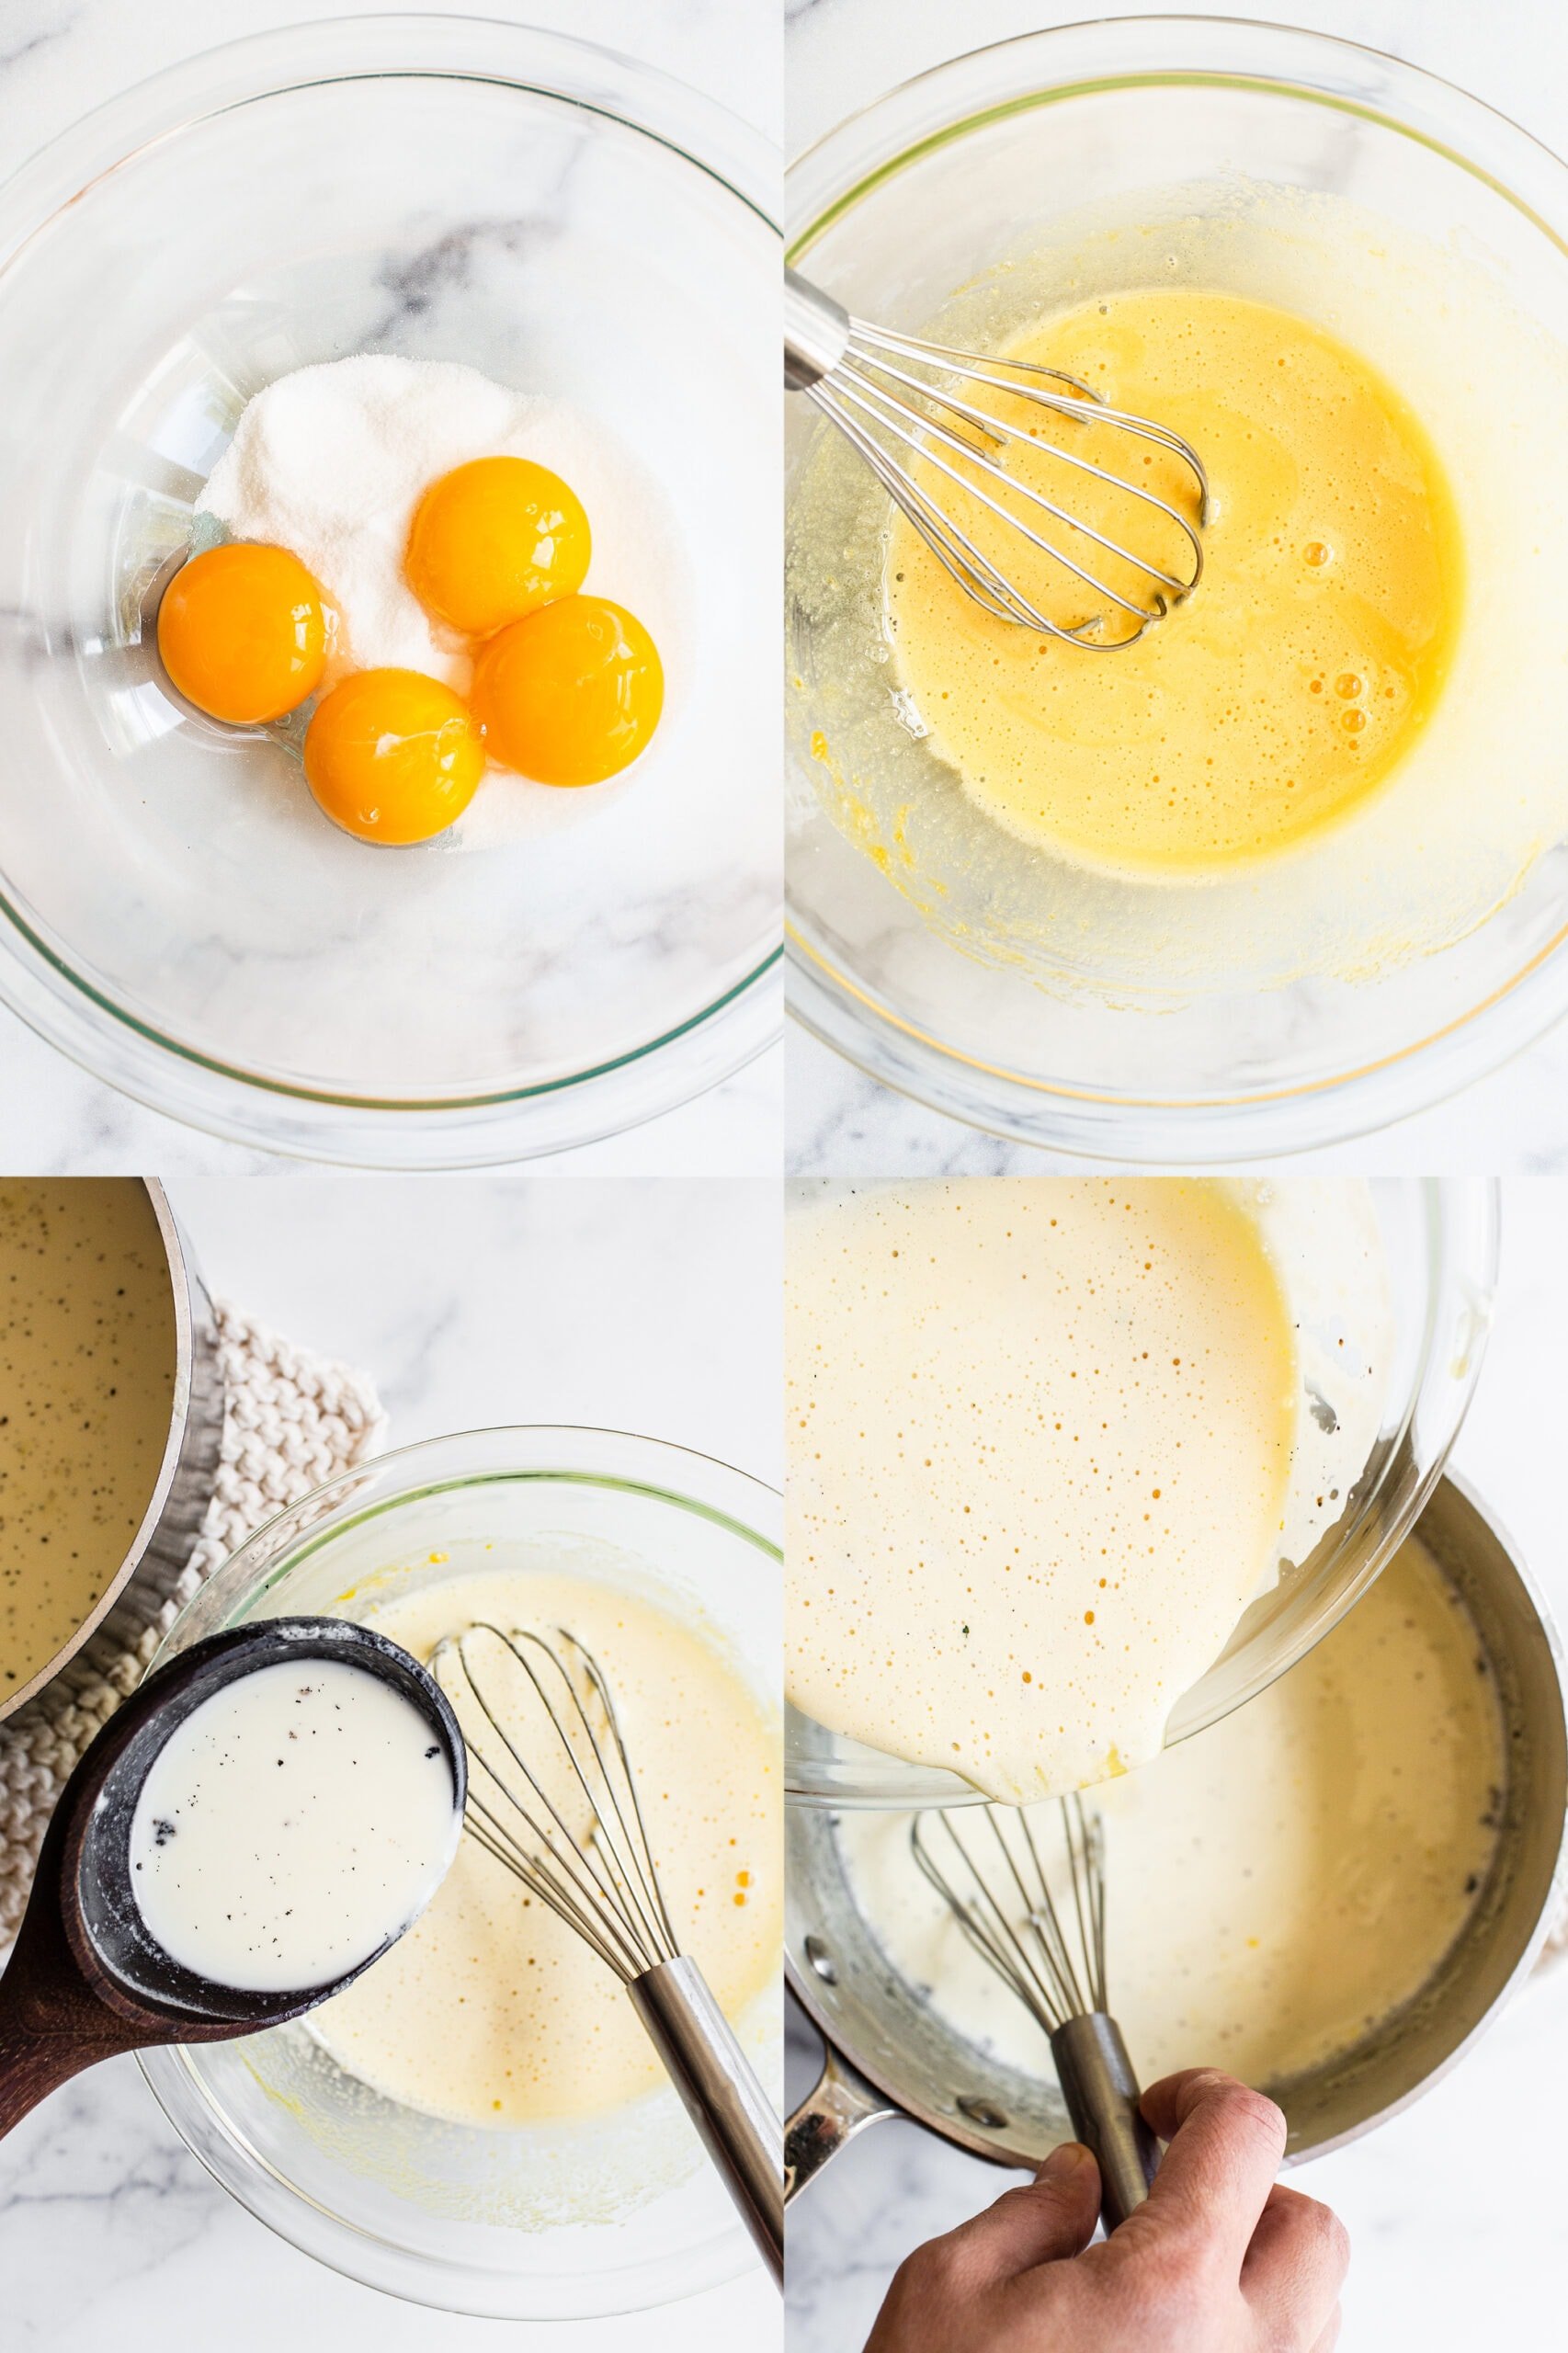
3. Temper the Eggs for Ice Cream
This process allows you to gently heat the yolks so you don’t scramble them and end up with (unintentionally) chunky ice cream.
- In a medium bowl, whisk together the egg yolks and the remaining 1/4 cup of sugar until very well combined and lightened in color.
- Carefully and slowly ladle half of the warm milk mixture into the egg yolks, whisking constantly, until the egg mixture is gently warmed.
- Slowly whisk the egg-milk mixture back into the saucepan.
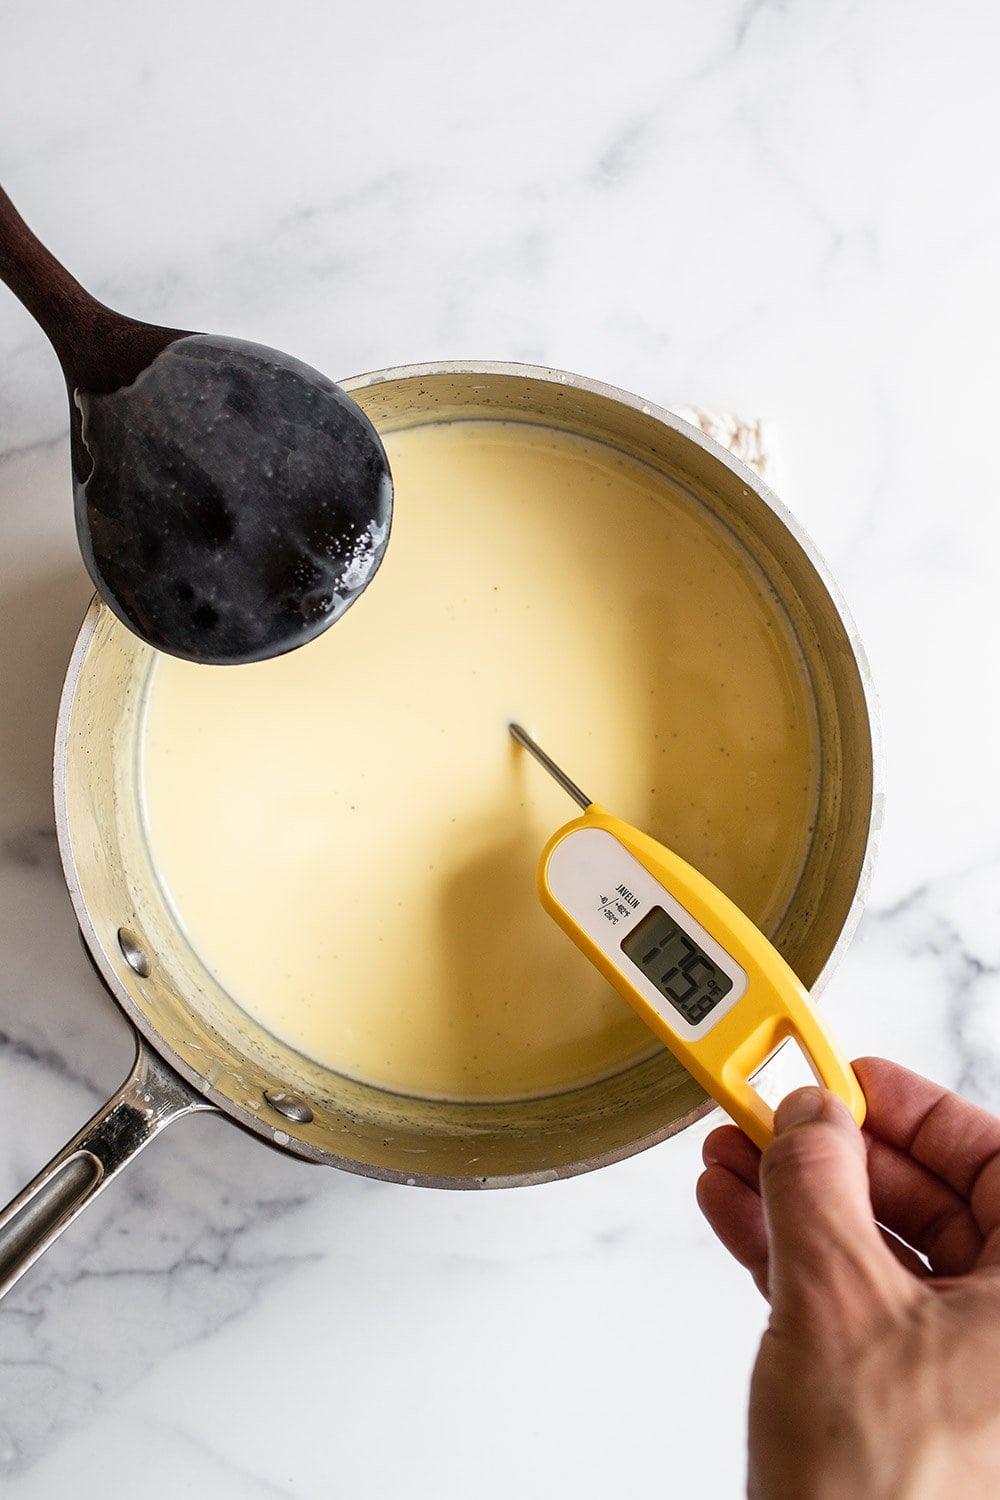
4. Cook the Custard
- Cook over medium heat, stirring constantly with a wooden spoon, until thick enough to coat the back of the spoon and registering around 175°F on an instant-read thermometer, about 5 to 7 minutes.
- Be careful not to boil the mixture to avoid scrambled eggs.
- Make sure your thermometer isn’t touching the bottom of the pan when you take the temperature.
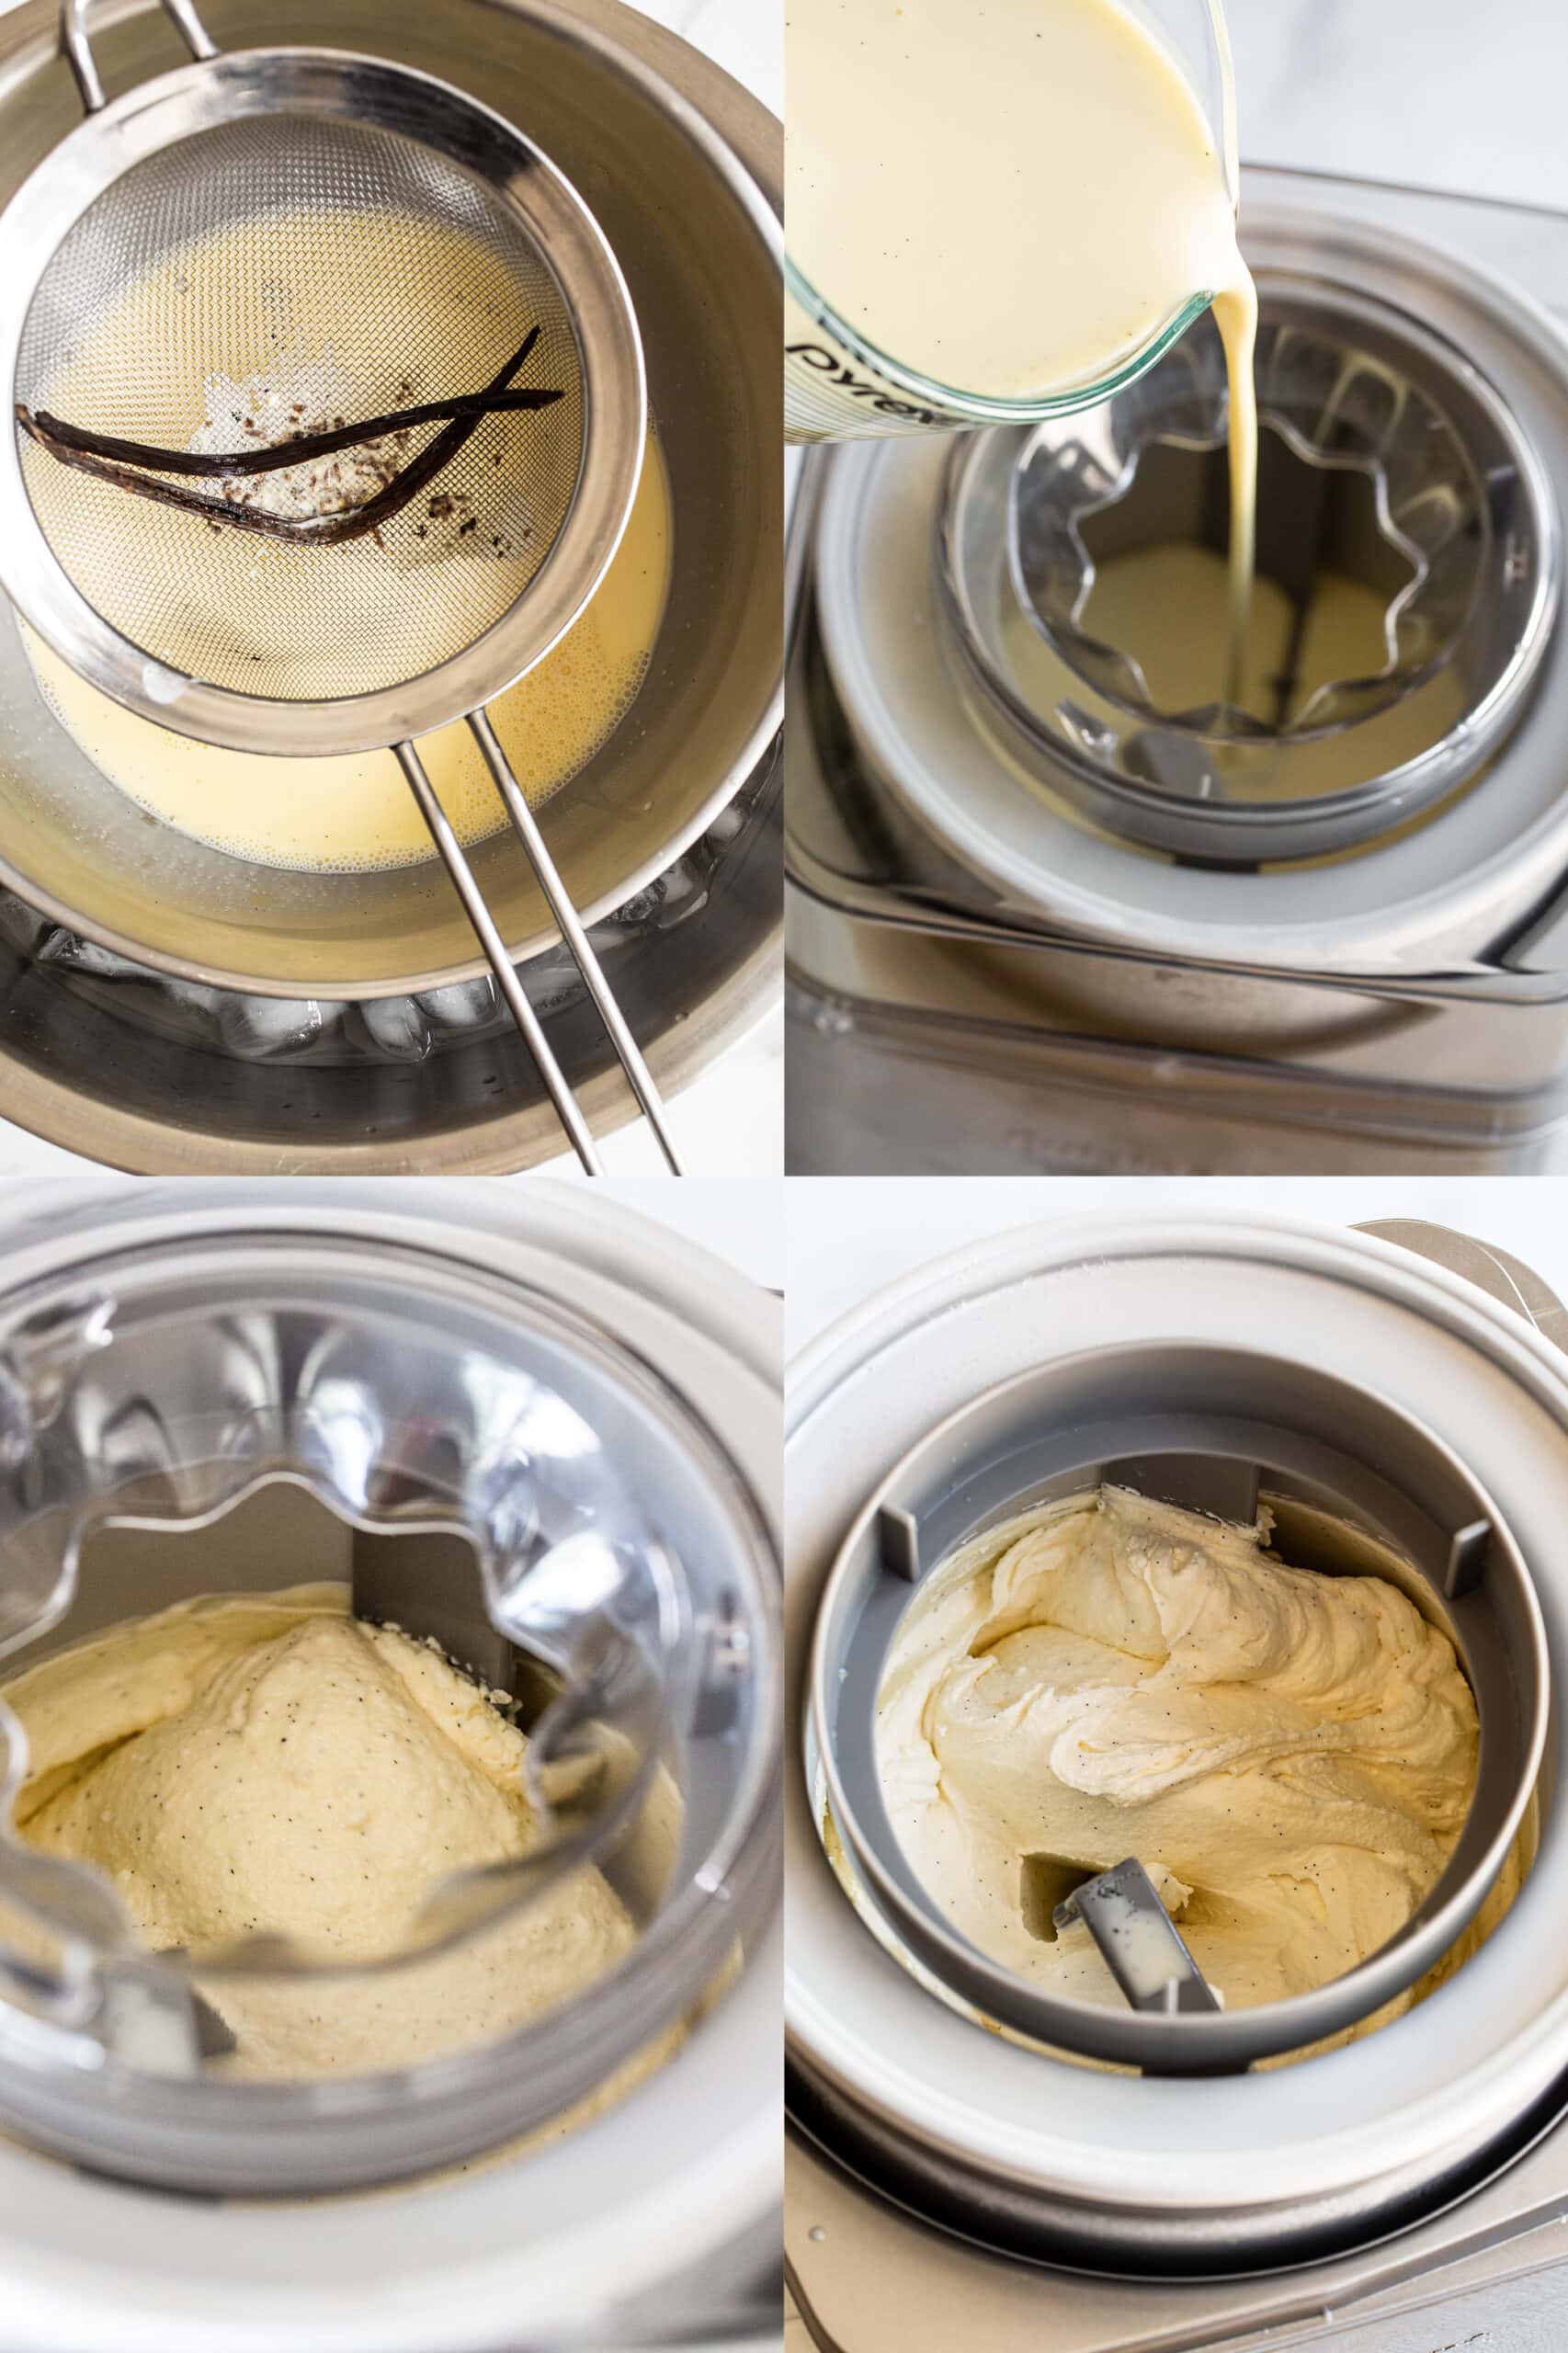
5. Chill the Custard
- Immediately strain the mixture through the fine strainer into the prepared ice bath. This prevents overcooking.
- Discard the vanilla bean pod.
- Cool the custard in the ice bath until it’s at room temperature, stirring often.
- Press plastic wrap against the surface of the custard and refrigerate until chilled, about 4 hours or up to 1 day.
- Overnight is best for maximum flavor development.
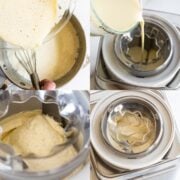
6. Churn the Custard
- Pour the chilled mixture into an ice cream maker and freeze according to the manufacturer’s directions.
- Place inside an airtight container.
- Cover the ice cream surface with plastic wrap pressed against the surface before placing the lid on.
- Freeze until the ice cream is firm and the flavor is ripened, at least 2 hours.

Sprinkle of Science
Tips for How to Make Homemade Ice Cream
What is the Difference Between French vs. Philadelphia-Style Ice Cream?
French-style ice cream:
- Custard based.
- Ice cream made with an egg custard that’s cooked and then completely chilled before churning.
- It takes more time and effort, but the results are ultra-rich, creamy, and delicious.
- Since homemade ice cream is made without stabilizers and gums to keep it soft when frozen, going through the effort of making a custard base helps to create that velvety texture, instead of something that turns into a big ice cube in the freezer.
Philadelphia-style ice cream:
- Typically made by directly mixing together cream, milk, sugar, and flavorings, then churning it.
- Definitely faster, but far less rich in taste and texture.
- This style tends to harden more quickly in the freezer.
What Does Churning Mean? How to Churn French-Style Custard Ice Cream
Churning ice cream is simply the process of incorporating air into the custard while it’s being frozen. Ice Cream machines make easy work of this. Simply chill the cooked mixture, then the machine does the rest of the work!
You’ll notice some brands of ice cream contain much more air than others. Some cheaper manufacturers intentionally ‘overchurn’ to yield more – with a less satisfying outcome.
The wonderful thing about making homemade ice cream is you get to decide how much air you want to incorporate!
How to Make Ice Cream Without a Machine
No ice cream maker? No problem! Check out my article with 4 methods for How to Make Ice Cream Without a Machine (I’d recommend the food processor method for this recipe!).
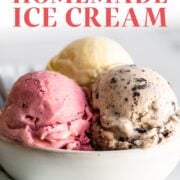
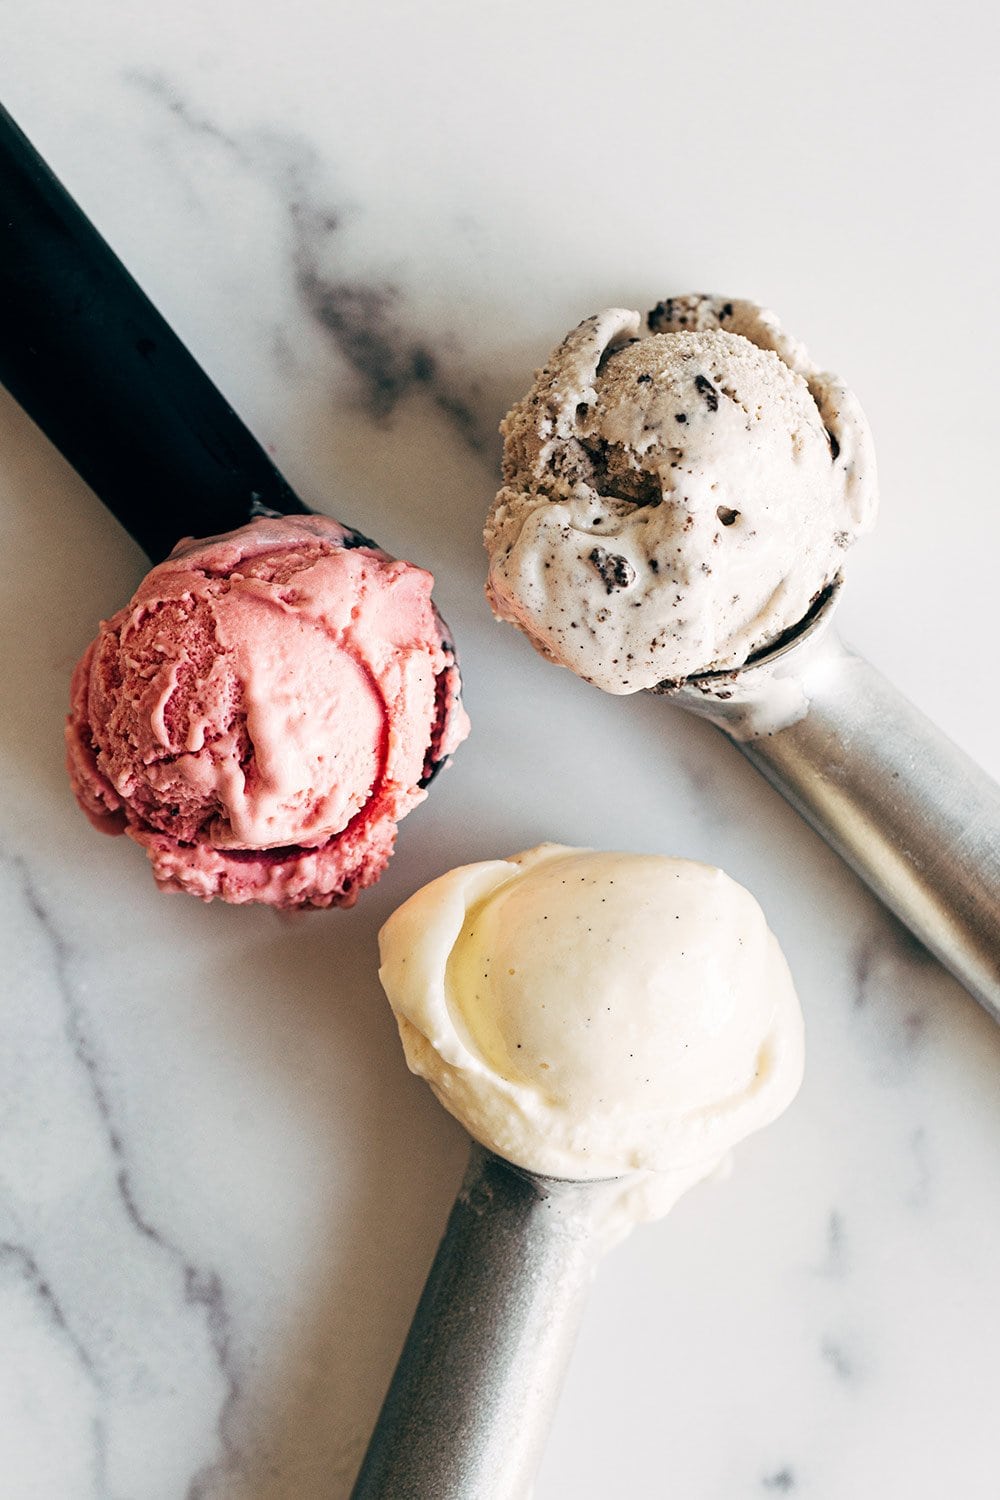
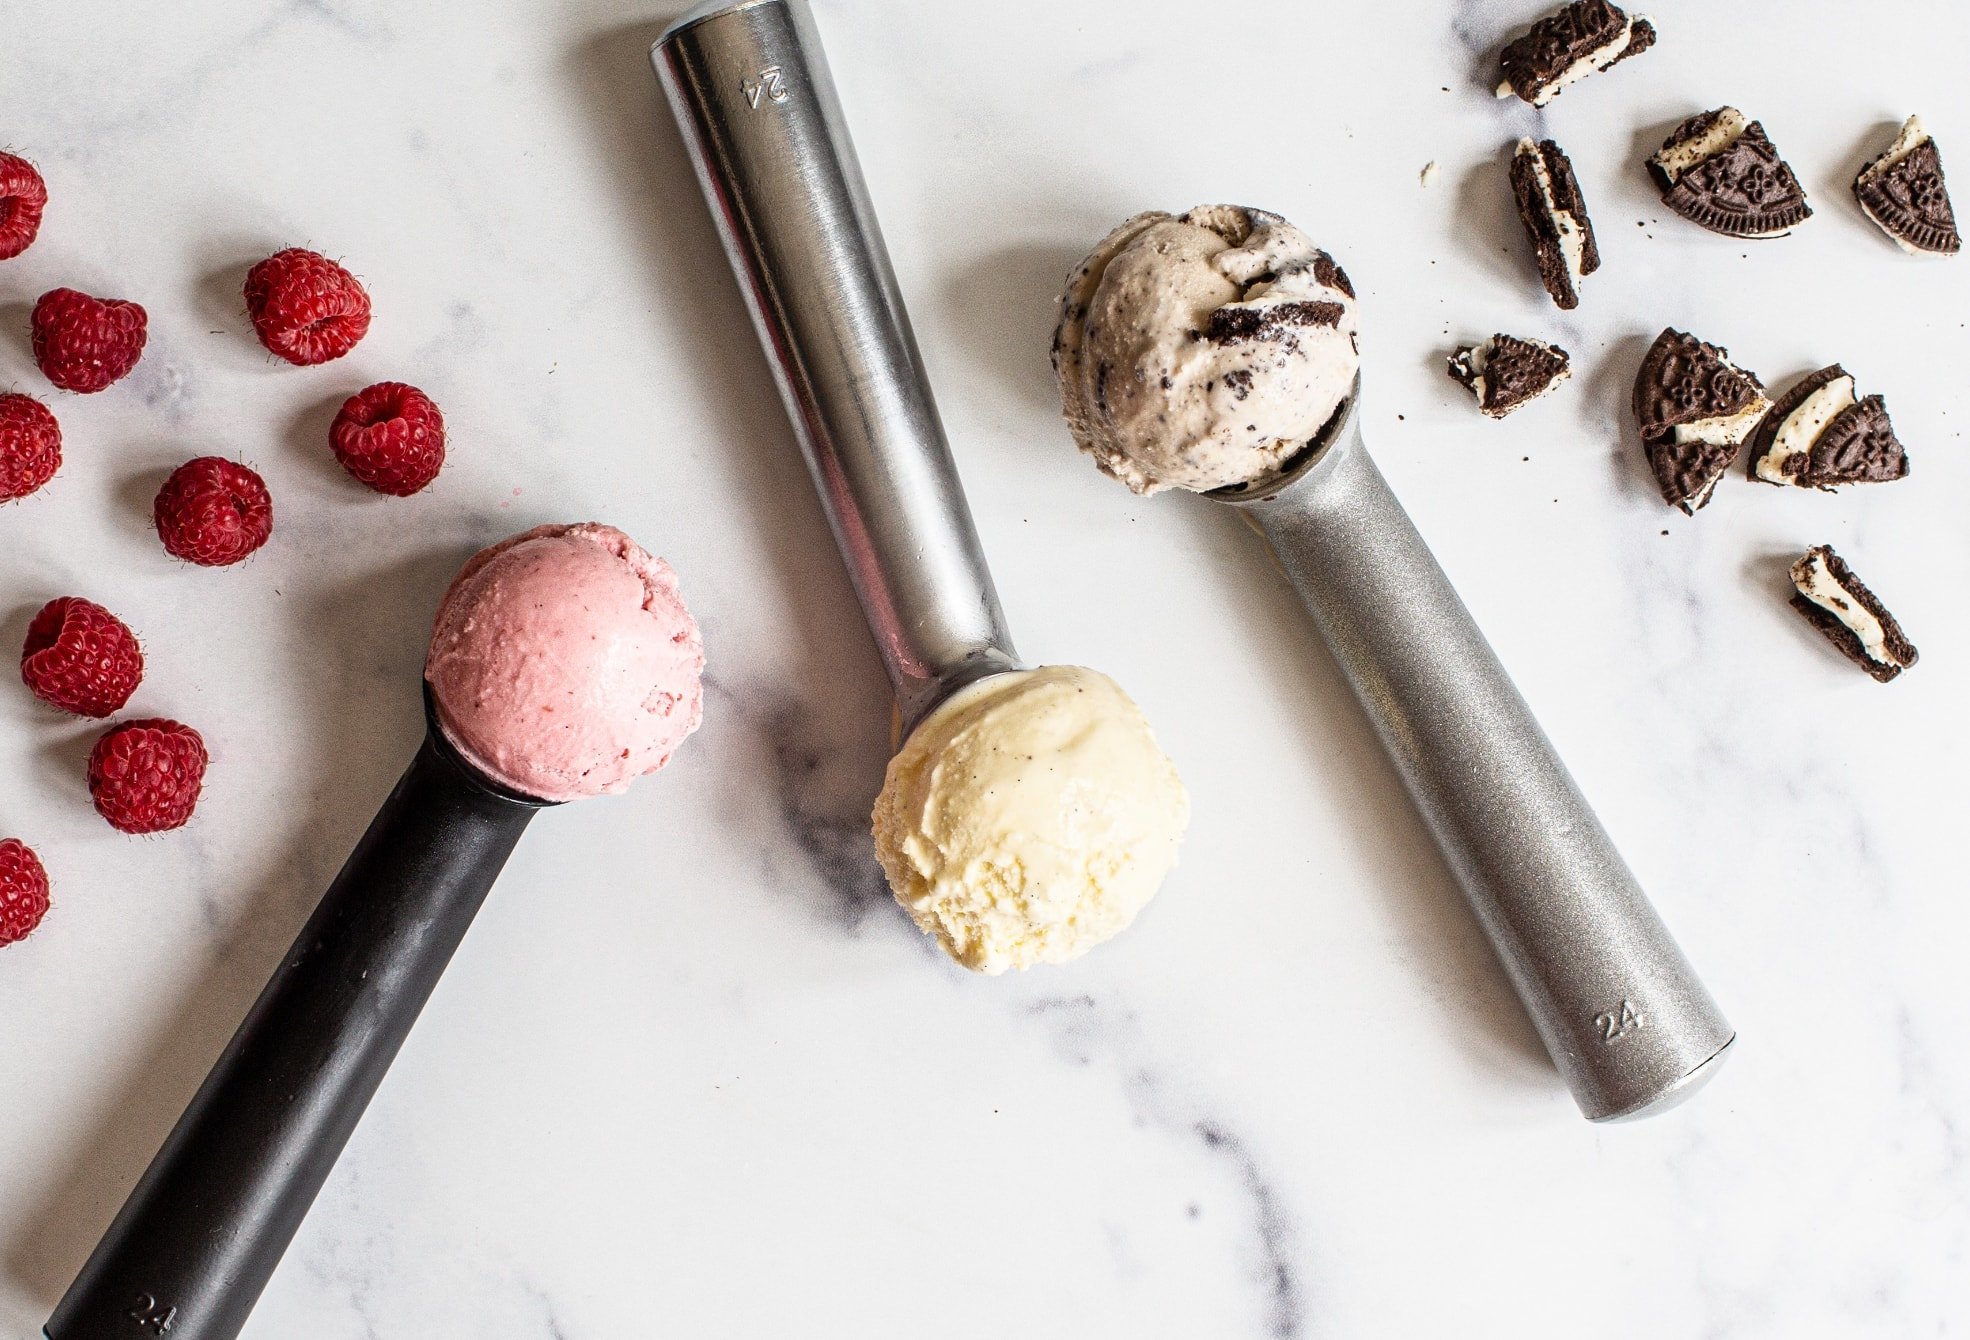
Homemade Ice Cream Flavor Variations
- Chocolate Ice Cream: I have a delicious Chocolate Ice Cream recipe here!
- White Chocolate Ice Cream: Add 6 ounces (170 grams) of melted and cooled white chocolate to the warmed milk mixture before adding the eggs. After cooking and straining the custard mixture, add an optional 1/2 teaspoon orange zest.
- Cookies & Cream: During the last 5 minutes of the churning process, pour in just over 1 1/2 cups coarsely chopped Oreo cookies (filling intact; about 15 Oreos).
- Mint Chocolate Chip: Add 1 teaspoon peppermint extract and 4 to 5 drops of optional green food coloring after straining the cooked custard into the ice bath. During the last 5 minutes of churning, add 1 cup (170 grams) mini semisweet chocolate chips or chopped Andes mints.
- Malted Vanilla: Add 1/2 cup plain malted milk powder along with the milk and cream.
- Cherry: Increase the egg yolks to 5 total. After cooking the custard, stir in 1 1/2 cups fresh pitted sweet dark cherries. Let cool in an ice bath then transfer to a food processor or blender to puree. Strain as you transfer to an airtight container.
- Nutella: Add 1 cup (270 grams) Nutella after straining the cooked custard mixture into the ice bath, stirring to combine. Don’t worry if it doesn’t dissolve completely. It’ll mix in during the churning process.
- Peanut Butter: In a medium saucepan over medium heat, add 1 cup (270 grams) of peanut butter and stir constantly until melted and smooth. Add the milk, cream, 1/2 cup sugar, salt, and vanilla and continue with the recipe as written. During the last 5 minutes of churning, add 1/2 to 1 cup of chopped peanut butter cups if desired.
- Mocha: Add 3 tablespoons cocoa powder, preferably Dutch-processed, and 2 tablespoons instant espresso powder along with the salt.
- Raspberry: In a food processor or blender, 2 1/2 cups of fresh or thawed frozen raspberries. Strain into a mixing bowl, discarding seeds and pulp. Refrigerate while you prepare the vanilla ice cream base. Once in the ice bath, stir the raspberry puree into the custard mixture. During the last minute of churning, add 1 tablespoon of raspberry liqueur such as Chambord.
Check out all the answers to your FAQ just under the recipe!
Email This Recipe
Enter your email, and we’ll send it to your inbox.
Ingredients
- 1 1/2 cups whole milk
- 1 1/2 cups heavy cream
- 3/4 cup (150 grams) granulated sugar, divided
- 1/4 teaspoon fine sea salt
- 1 vanilla bean, split in half lengthwise and seeded
- 4 large egg yolks

Instructions
Prepare the ice bath:
- Fill a large bowl with ice cubes and a cup or two of water. Place a medium bowl fitted with a fine strainer inside ice bath. Set aside.
Begin the custard base:
- In a medium saucepan combine the milk, cream, 1/2 cup (100 grams) of the sugar, salt, vanilla seeds and vanilla pod. Set over medium heat, stirring occasionally, until the mixture is warm and begins to steam, about 5 minutes.
Temper the eggs:
- In a medium bowl, whisk together the egg yolks and the remaining 1/4 cup (50 grams) of sugar until very well combined and lightened in color. Carefully and slowly ladle half of the warm milk mixture into the egg yolks, whisking constantly, until the egg mixture is gently warmed. Slowly whisk the egg-milk mixture back into the saucepan.
Cook the custard:
- Cook over medium heat, stirring constantly with a wooden spoon, until thick enough to coat the back of the spoon and registers around 175°F on an instant-read thermometer, about 5 to 7 minutes. Be careful not to boil the mixture.
Chill the custard:
- Immediately strain the mixture through the fine strainer into the prepared ice bath. Discard the vanilla bean pod. Cool the custard in the ice bath until it’s at room temperature, stirring often. Press plastic wrap against the surface of the custard and refrigerate until chilled, about 4 hours or up to 1 day.
Churn the custard:
- Pour the chilled mixture into an ice cream maker and freeze according to the manufacturer’s directions. Place in an airtight container. Cover the ice cream surface with plastic wrap before placing the lid on. Freeze until the ice cream is firm and flavor is ripened, at least 2 hours.
- If the ice cream has been in the freezer for more than a couple days, it’ll need to soften before scooping and serving. Allow it to sit in the fridge for 30 minutes before scooping for best results.
Photos by Ashley McLaughlin.
Homemade Ice Cream FAQs
If you accidentally heat your custard over too high a temperature or cook for too long, there is one option to salvage it:
1. While it’s still warm, blend the mixture with an immersion blender or carefully ladle it into a standard blender (don’t fill more than half full).
2. Blend until smooth.
3. Once smooth, strain into the ice bath as described in the recipe.
The Cuisinart ICE-21 1.5 Quart Machine is my favorite Ice Cream Maker. I’ve had mine for over 10 years and used it to test all the recipes in my ice cream sandwich cookbook.
Unless you have a self-freezing ice cream machine, make sure your ice cream machine’s freezer bowl is thoroughly chilled according to the manufacturer’s directions. If it’s not cold enough, you may end up with liquid even after 30 minutes of churning.
Check out my article How to Use an Ice Cream Maker here for more tips.
I recommend using a whole vanilla bean pod. In the recipe, you’ll notice I scrape out the seeds and steep the milk and cream mixture with the vanilla pod to ensure maximum flavor.
If you don’t have a vanilla bean pod, the next best thing is vanilla bean paste so you still get those flecks of vanilla seeds. I recommend using about 2 teaspoons.
If you’re flavoring your ice cream with another bold flavor (like many of the customization ideas listed above the recipe) feel free to simply use vanilla extract. This is an easier and more economical option since the other ingredient will likely overpower the vanilla flavor anyway.
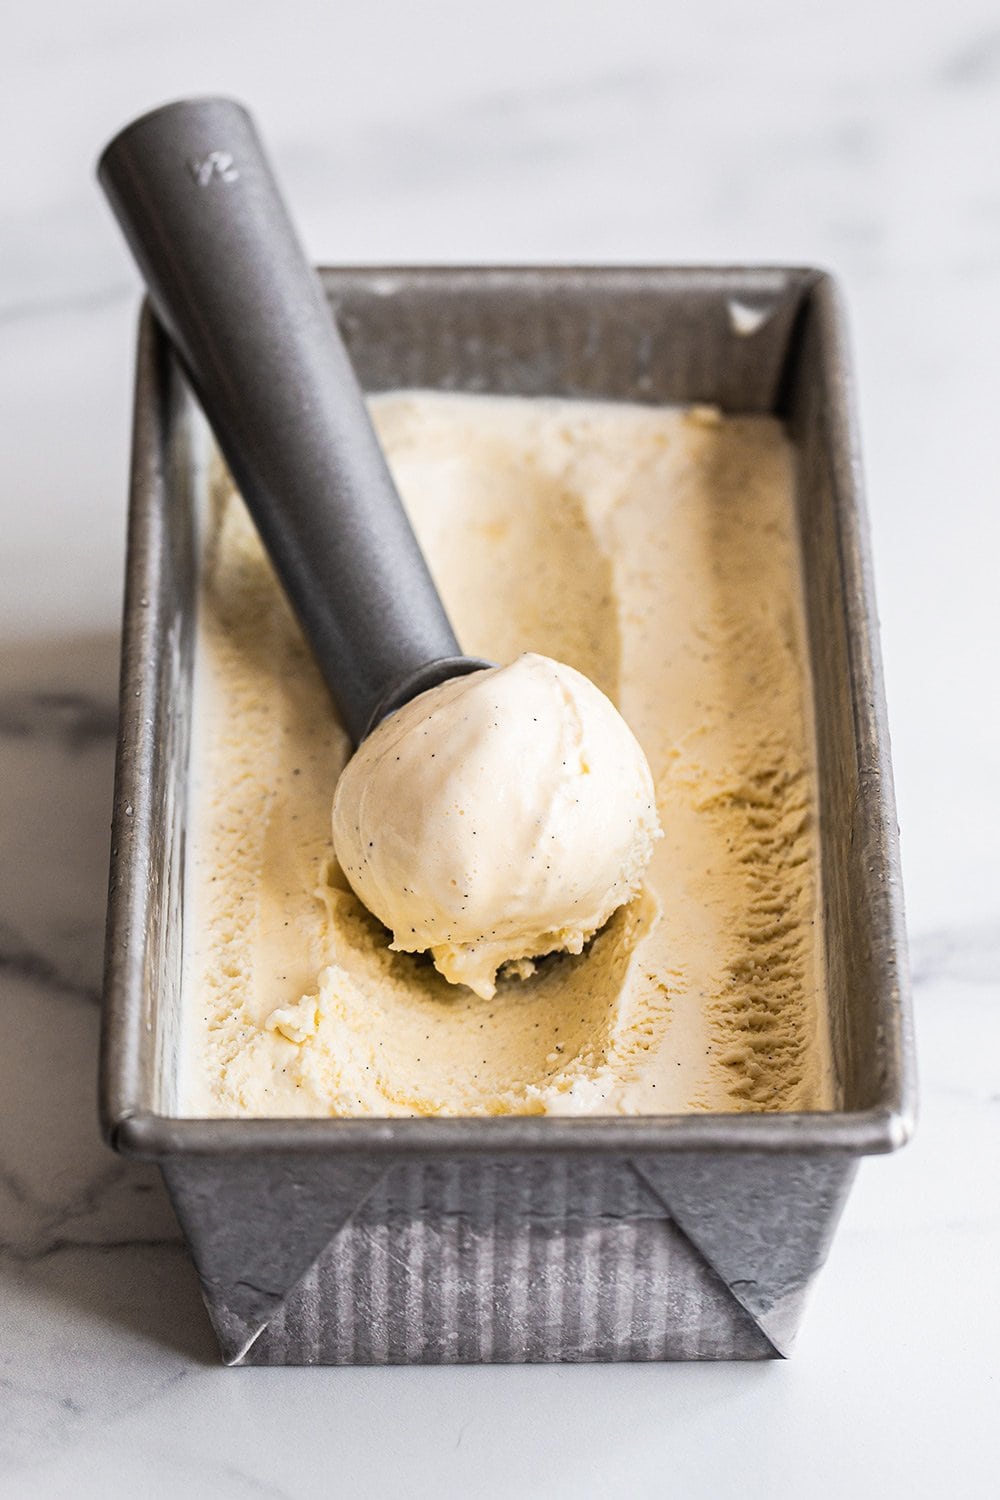
Allow the ice cream to soften by placing it in the fridge for 30 minutes before serving. This allows it to soften evenly, as opposed to letting it sit at room temperature where it’ll soften most at the edges and remain hard at the center of the container.
Next, get a good quality ice cream scoop like this OXO one or this Zeroll one. It makes a huge difference! Make sure it’s totally dry before using.
If you have issues with ice cream hardening, try adding up to 3 tablespoons of alcohol during the last few minutes of churning. This helps since alcohol doesn’t freeze.
Vodka works well for vanilla ice cream, and for other ice cream flavors, liqueur products like kirsch not only enhance taste but also maintain that creamy texture.
If you prefer not to use alcohol, adding a tablespoon of corn syrup can also help to prevent the ice cream from crystallizing.
Also, correct storage is important in keeping your ice cream smooth and creamy. See just below for tips on storage.
Once the ice cream is churned, place it in an airtight container (I love this 1-quart ice cream tub or this 1.5-quart ice cream tub), pressing plastic wrap against the surface to avoid ice crystals forming.
For best results, freeze until firm, at least 2 hours. The longer you freeze, the more time the flavors will have to ripen.


It was nice to go through your post. Thanks for sharing the recipe here. Keep up the good work.
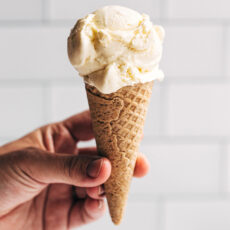
First time I made this i wasn’t quite sure if it was gonna work out! But thanks to all the directions details and tips which really came in handy it came out so beautifully! I shocked myself couldn’t believe I made this! Whole family loved it so very much! I bought waffle cones and stuffed the ice cream in them it paired so nicely with the ice cream. The only mistake I made was the ice bath I put too much ice in the bowl and when ice started to melt I had water go all over the counters and floor lesson learned when doing ice baths, do it in the sink so any and all spillage can go right down the drain. The most important tip was the temp needed when incorporating the egg mixture back into pot which is 175 I kept it at 172 173 cause I didn’t want scrambled eggs instead of ice cream. This was the very best recipe I’ve come across that covers everything thank you for all the great details and tips as they are very necessary and come in handy at least for me. Again thank u for sharing and posting it felt good to make something so yummy.
I think I used a tiny bit more vanilla than I should of. That being written, I was wondering if I double the ingredients, for 2qts. I should do 3qts, so I can get full 11/2qts for each freeze.
My question is do I cut down the amount of eggs or add more vanilla bean.
What positions would I use
Hi Frank! I would recommend maintaining the same ratio of eggs as in the original recipe – or feel free to experiment by reducing the eggs slightly, which will give you a softer ice cream. Regarding the vanilla bean, since you mentioned using a bit more vanilla than intended, you might not need to add extra vanilla bean if you’re doubling the recipe. However, if you enjoy a strong vanilla flavor, adding more vanilla beans could enhance the taste. Ultimately, it’s up to your personal taste preferences. Try experimenting and see what works best for you. I hope that helps 🙂
Hi! 👋
I have an excess of maple syrup that I’m trying to use up. Do u know how much to substitute for sugar? Will the consistency be affected?
Hi Jean! Unfortunately, maple syrup and sugar are not interchangeable, so using maple syrup will likely not work in this recipe. Of course, you’re more than welcome to experiment if you like, though! I would otherwise recommend trying Tessa’s delicious Maple Walnut Coffee Cake or Browned Butter Maple Pecan Pie. I hope that helps! Happy baking 🙂
I really wanted to love this recipe. Unfortunately for me, the icecream, for the first time, remained liquid in the icecream machine and never even gained volume.
Oh no, it sounds like your ice cream canister may not have been completely frozen! We recommend placing it at the very back of your freezer for maximum chill. If there’s even the slightest bit of “slushy” sound coming from the canister when you shake it, continue freezing until completely frozen. If your canister has even the slightest bit to it that’s not frozen, the custard will unfortunately not fully freeze. I hope you give this recipe another try!
I just made this ice cream for the first time. I used Madagascar bourbon vanilla extract instead of the bean but it still turned out fantastic. My family loved it and I am totally going to make this again. Thank you for sharing.
I would love to make other flavors like strawberry,mint chocolate chip , and butter pecan. Do you have any suggestions on how to do that? I was thinking I could use the same base just substitute vanilla for strawberries or chocolate chips or pecans. Would that work?
Any advice you can give would be greatly appreciated. 🙂
Hi Tamara! So glad to hear that you enjoyed this ice cream recipe! Yes, you can absolutely use this ice cream as a base for other flavors – Tessa even has some tips and recipes a the bottom of the Tip Box, just above the recipe. I hope that helps! 🙂
where is the video???????????????????
Hi Ashley! Scroll to the bottom of the recipe card (just below the last couple instructions). You’ll see the video there 🙂
best ever!
Such a fun treat to make! Thank you for sharing it. I will say we were probably a little messier than we could have been with it…Might have been a little too much for my 3-year-old to handle as I found little ice cream stain hand prints all over our white carpet haha Luckily, it was nothing a good carpet cleaner can’t handle but just a reminder to all the moms of littles out there to keep an eye out when making ice cream with your kids.
What can I do if I don’t have a vanilla bean ? Can I use regular vanilla extract?
Hi Bia! If you don’t have a vanilla bean, the next best thing is vanilla bean paste so you still get those flecks of vanilla seeds. Tessa recommends using about 2 teaspoons. If needed, you can use regular vanilla extract, but we do recommend using high-quality vanilla extract here, as the vanilla flavor is the star of the show here, and you want to ensure a really great vanilla flavor. Of course, if you’re planning to use a different flavor additionally, feel free to just use a little vanilla extract along with the other flavors you’re adding, as the vanilla will no longer be the star of the show! I hope that helps 🙂
The recipe doesn’t state what temperature the egg yolks should be – room or chilled?
I have made and followed some lovely home made ice cream recipes, one in particular is lemon curd ice cream, no eggs, just using home made lemon curd, double cream and low fat plain Greek yoghurt. Excellent taste and consistency throughout.
Hi Barbara! That lemon ice cream sounds terrific! The egg yolks here can be cold or at room temp – because they’re going to be tempered in the process of making the ice cream, the temperature doesn’t really matter. Just be sure to separate the eggs when they’re cold, as warm eggs tend to be trickier to separate and will break more easily. I hope that helps, and I hope you enjoy this ice cream! 🙂
Thank you for the helpful tips! I find after storing separated egg yolks they have a tendency to gel together – as so often happens after making meringue. One solution might be to layer each yolk with cling.
Before investing in an ice cream maker, I used to make a no churn key lime pie ice cream that used cream cheese if you can believe it. 10/10
Therefore, Barbara, I would love to have the lemon curd ice cream recipe you are speaking of. I am big on citrusy flavors and this one sounds delightful!
The best ice cream on planet earth!