


Tessa’s Recipe Rundown
Taste: This recipe is perfectly balanced with warm pumpkin spice, a hint of tang from the cream cheese filling, and just the right sweetness.
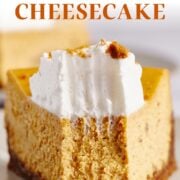
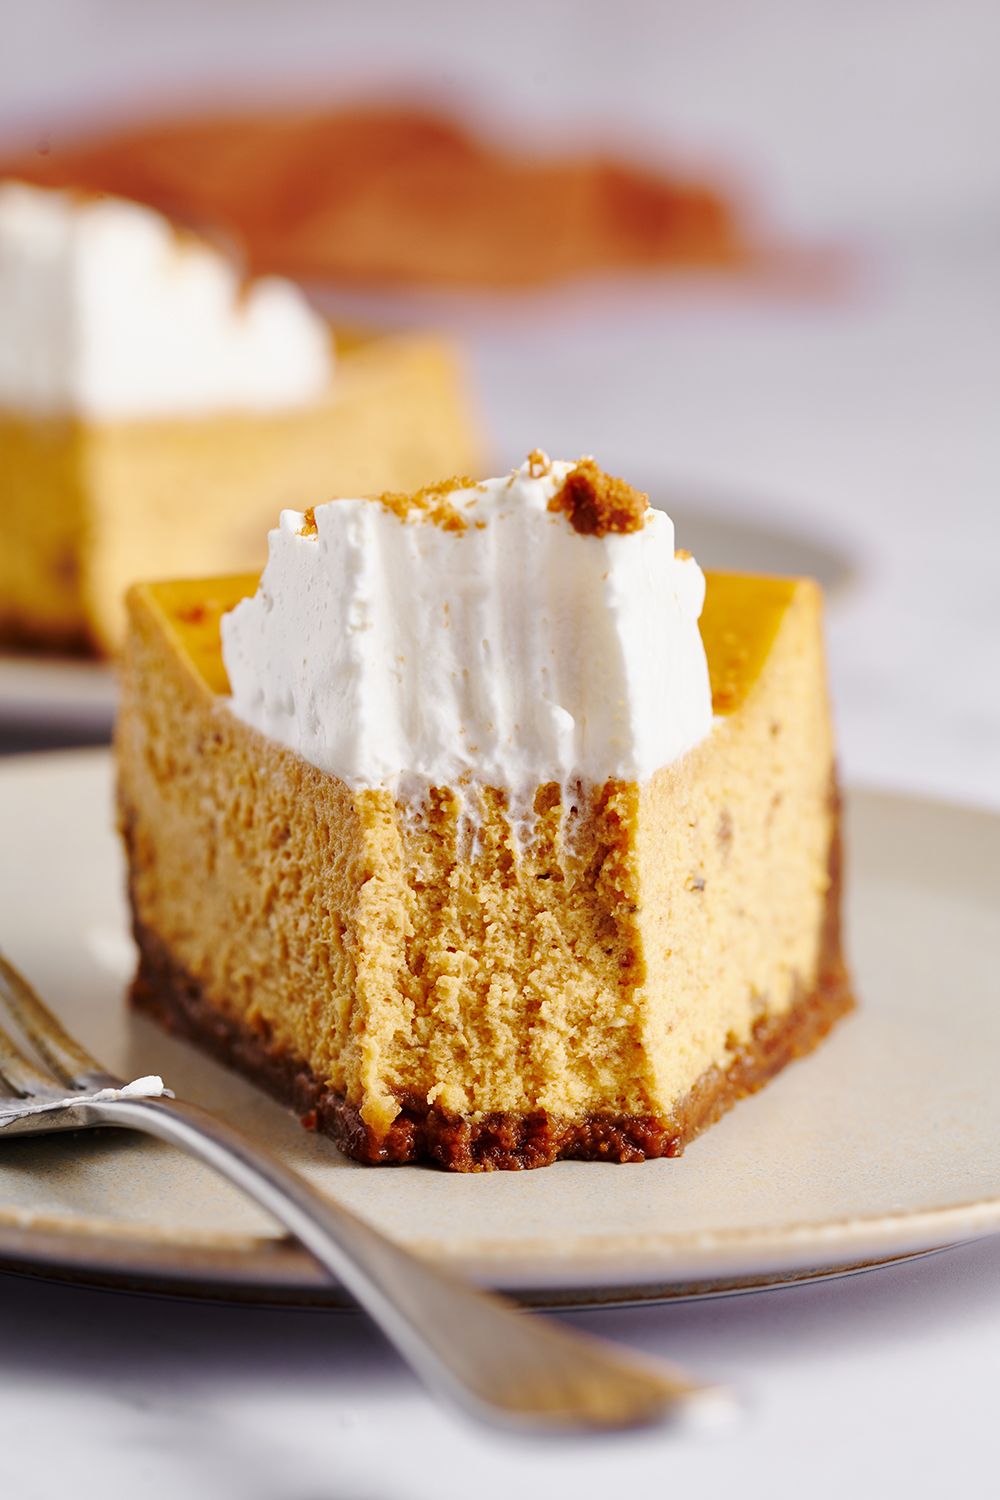
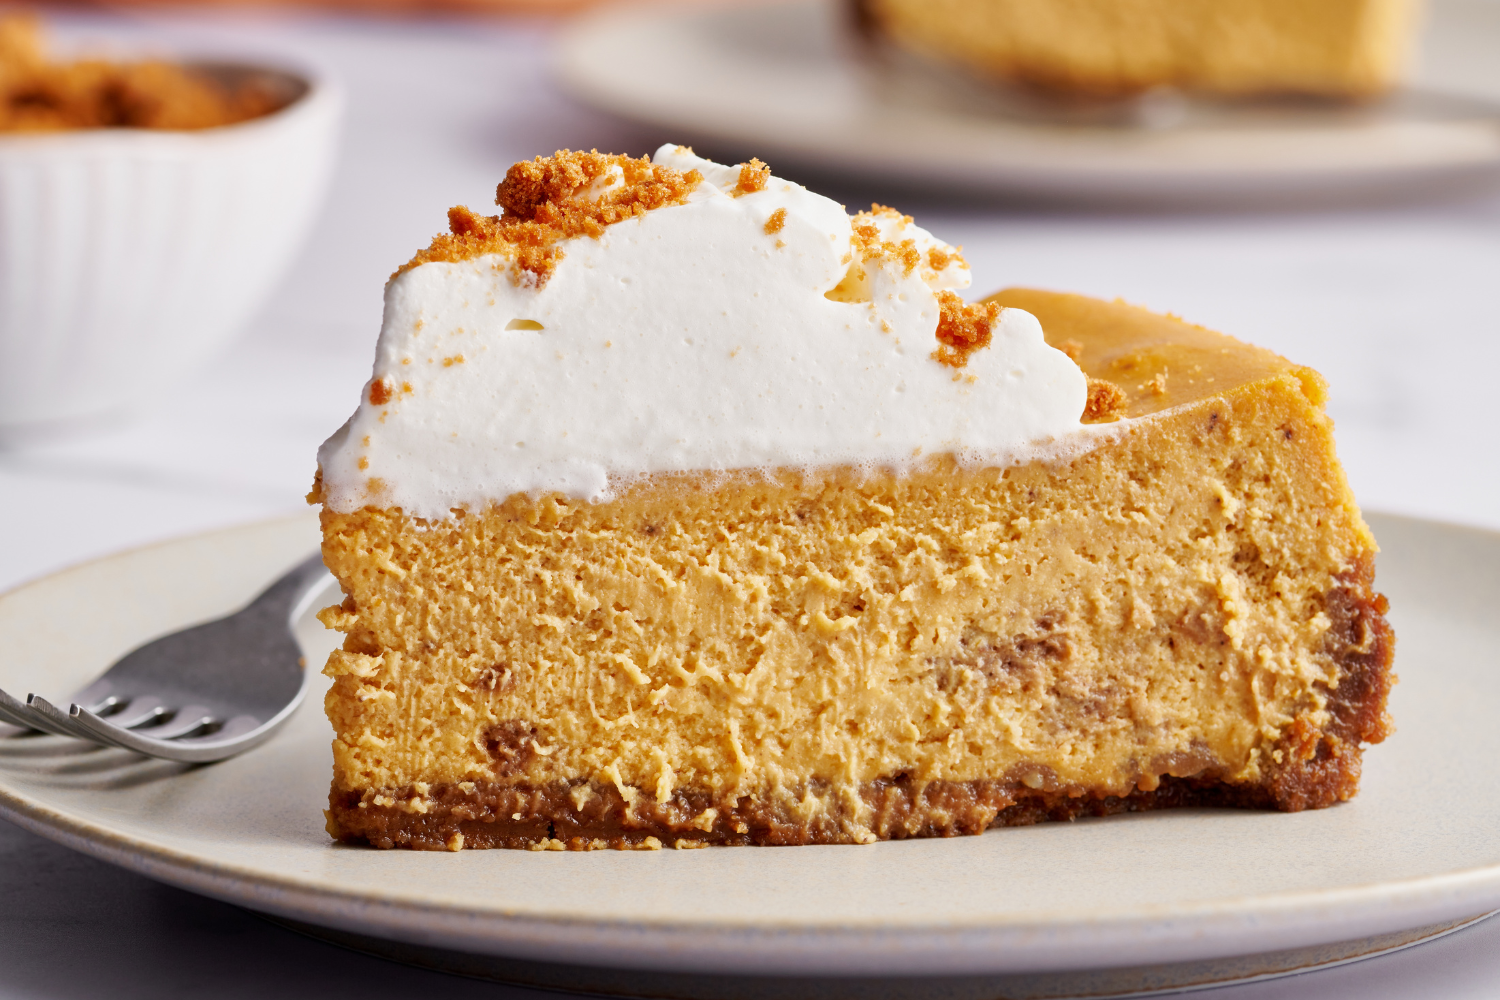
Texture: Buttery, crunchy cookie crust + silky smooth filling + fluffy whipped topping = pure texture heaven.
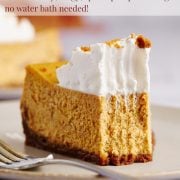
Ease: You’ll be surprised how simple this recipe is (no water bath required)!
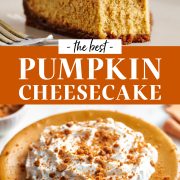
Why You’ll Love This Recipe: It looks impressive but comes together easily, offers generous servings, and delivers bakery-quality flavor!
This post may contain affiliate links. Read our disclosure policy.


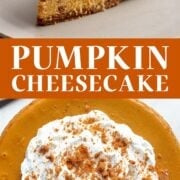

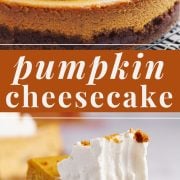
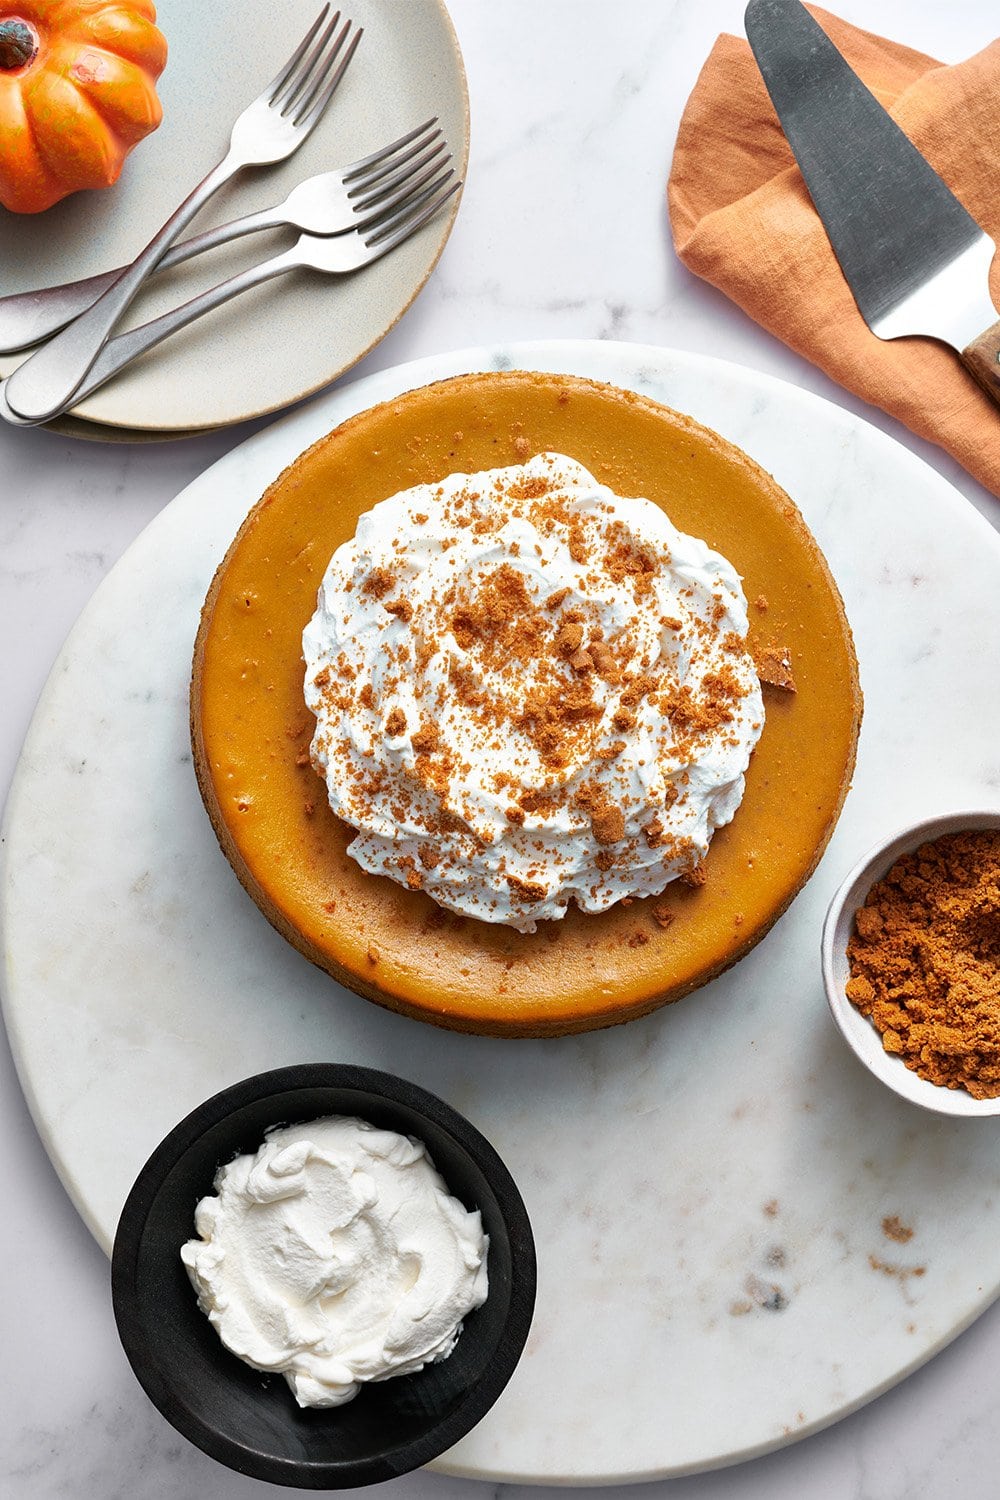
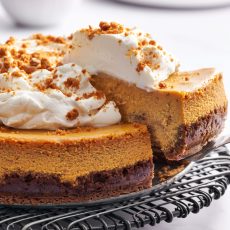
This velvety, spiced pumpkin cheesecake features a crumbly Biscoff cookie crust and homemade whipped cream topping. It’s a surprisingly easy recipe that will have guests requesting it year after year.
Over the years, I’ve shared plenty of cheesecake, fall, pumpkin dessert, and Thanksgiving recipes, but this is a family favorite! Our family makes it every year, and I can promise it’ll be a hit at your dessert table, too.
Reader Love
I was worried while I was making it that I wasn’t doing it correctly but it is so crazy delicious! My grown daughter, who doesn’t like anything pumpkin, took some home with her after Thanksgiving dinner.
This recipe got the ultimate designation at our house called “OMG Excellent!” There are only a few recipes that have received that designation.
Thank you for sharing it!
–
Key Ingredient Notes
This recipe has a few different components: a cookie crust, a creamy pumpkin filling, and a fluffy whipped topping. Most of the ingredients are familiar baking staples, but here’s what really makes this the best pumpkin cheesecake:
- Cream cheese: Always go for full-fat, brick-style cream cheese (not the kind in tubs). The extra fat gives it that ultra-creamy texture. I recommend the Philadelphia brand for a smooth, rich, consistent result.
- Pumpkin puree: Use store-bought canned pumpkin puree, not pumpkin pie filling. The two aren’t the same, as pie filling already contains sugar and spices that can affect the flavor. Homemade puree can also add too much moisture, so canned is my go-to for perfectly silky cheesecake.
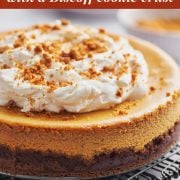
- Biscoff cookies: These spiced, caramelized cookies add a warm, buttery depth to the crust. If you can’t find them, swap in gingersnap cookies for a gingersnap crust or graham crackers for a graham cracker crust. Digestive biscuits (in the U.K.) or Amaretti cookies also work beautifully. Use a 1:1 ratio for any substitution.
- Spices: Fresh, high-quality spices are a must. Instead of using pre-made pumpkin pie spice, combine cinnamon, nutmeg, ginger, and cloves for that perfectly balanced, cozy fall flavor.
Check out my Fresh vs. Canned Pumpkin article for more pumpkin baking tips. Or try more of my favorite pumpkin desserts: no-bake pumpkin mousse pie, salted caramel pumpkin cheesecake, or pumpkin chocolate cheesecake bars!
Recommended Equipment
Before getting started, I like to have a few tools on hand! Having the proper equipment makes the process easier and helps achieve that perfectly creamy, crack-free cheesecake.
- Sturdy springform pan: I use a 9-inch heavy-duty springform pan with a 10-cup capacity. If your pan holds less, be careful not to overfill.
- Digital thermometer: A digital thermometer is optional but works great for checking doneness. The cheesecake should register between 140°F and 150°F in the center.
- Mixer: A hand mixer with flat beaters or a stand mixer with the paddle attachment works great for mixing this cheesecake batter.
- Food processor: You’ll need this to pulse the Biscoff cookies into fine crumbs for the crust.

Sprinkle of Science
How to Make Pumpkin Cheesecake
1. Make the Crust
Pulse Biscoff cookies in a food processor until finely ground, then add butter and pulse until the mixture looks like wet sand. Press it firmly into the bottom and halfway up the sides of a 9-inch springform pan (a shot glass or tamper works great). Bake for 10 minutes at 350°F, and let cool on a wire rack. Reduce the oven temperature to 275°F for the cheesecake.
2. Mix the Filling
Beat the softened cream cheese until completely smooth and lump-free. Add both sugars and beat again until well combined, scraping down the bowl as needed. Mix in the pumpkin puree and sour cream until silky, then add the eggs one at a time. Finish with the flour, spices, and vanilla — mixing until just combined. Pour the batter over the cooled crust and smooth the top.
3. Bake Low & Slow
Bake at 275°F for about 1 hour and 45 minutes, until the edges look set but the center still jiggles slightly (like Jell-O). If you’re using a digital thermometer, the internal temperature should be between 140°F and 150°F.
Be careful not to overbake! The oven’s residual heat will continue baking the cheesecake, even after it’s turned off.
4. Cool Gradually
Turn off the oven and crack open the door, letting the cheesecake rest inside for 30 minutes. Then move it to a rack to cool completely. Refrigerate uncovered for at least 6 hours, or overnight, to let the texture set and flavor develop fully.
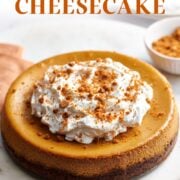
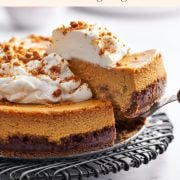
The result is a smooth, creamy pumpkin cheesecake with a delicious, spiced Biscoff crust — perfect for any fall dessert table!
Troubleshooting Tips
Some of the most common cheesecake mistakes to look out for are cracked tops, runny centers, soggy crusts, and grainy textures. Following the recipe precisely will help prevent these, but just keep the following in mind:
- Use room-temperature ingredients. Cold cream cheese won’t blend smoothly and may cause lumps. Set everything out ahead of time so the batter can mix evenly.
- Don’t over-mix. Beat the cream cheese until completely smooth before adding the eggs. Once the eggs are in, mix only until combined! Over-mixing adds air to the mixture and causes the cheesecake to crack.
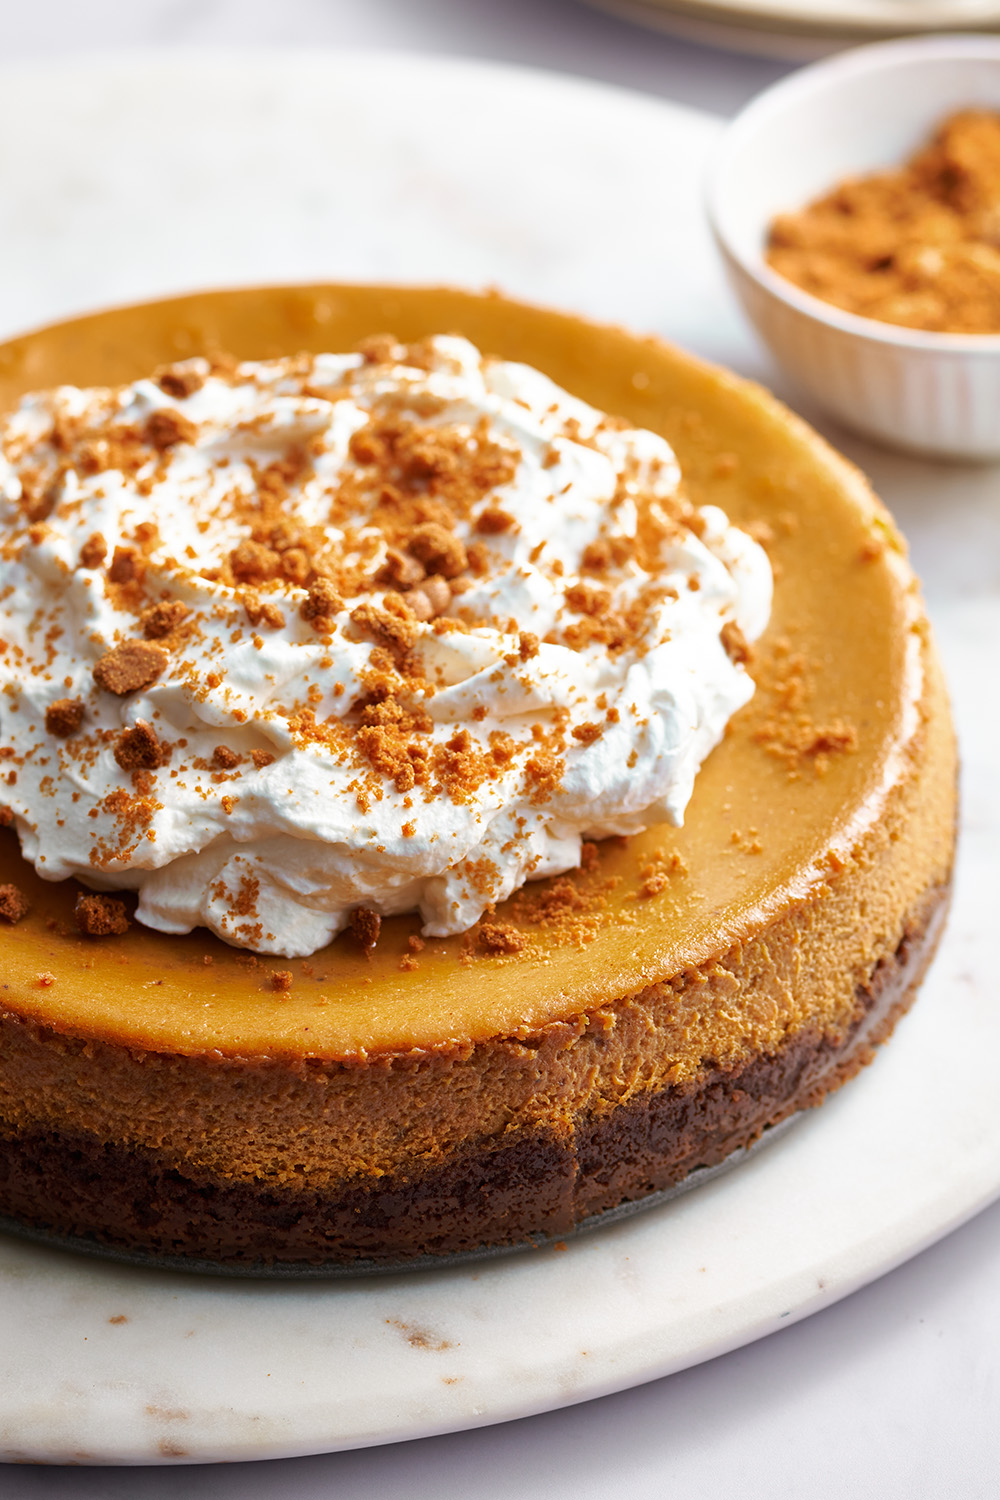
- Skip the water bath. This recipe uses the “Low & Slow” method instead of a traditional water bath. It bakes gently at a lower temperature to create a creamy, custard-like texture without the fuss. If your oven runs hot or uneven, you may still have some cracks — and that’s totally normal! I top my recipe with a dollop of tasty whipped cream that will hide any cracks in the surface.
- Chill uncovered. Once you’ve let your cheesecake cool, refrigerate it uncovered for at least 6 hours. This helps firm up the texture and keeps condensation from creating a soggy crust.
Serving and Topping Ideas
This pumpkin cheesecake is already incredible with its homemade whipped cream topping, but don’t be afraid to try other tasty variations! A drizzle of salted caramel sauce or homemade chocolate sauce adds a decadent twist that’s perfect for the holidays.
Because this cheesecake is so rich and creamy, a small slice goes a long way. My family always raves about this impressive centerpiece at our Thanksgiving dessert table!
Read Next: Homemade Cranberry Sauce (Bright, Fresh, & Easy)
Storage and Freezing
Store this pumpkin cheesecake in the refrigerator for up to 3 days. Allow it to cool to room temperature completely, then wrap tightly in plastic wrap or place in an airtight container. You can also add a layer of aluminum foil for extra protection. This cheesecake can be stored frozen for up to 2 months. Place the entire cheesecake or individual slices on a baking sheet and freeze until firm. Then wrap it in plastic wrap and place it in a freezer bag or an airtight container. To serve from frozen, thaw the cheesecake overnight in the fridge or individual slices at room temperature for around 30 minutes!
More Holiday Desserts to Try
- Easy Peanut Butter Pie
- French Silk Pie
- Browned Butter Maple Pecan Pie
- Ultimate Classic Cheesecake
- Easy Pumpkin Pie
FAQs
New York-style cheesecake is denser and cooked at a higher temperature. It also often has extra egg yolks. Classic cheesecake is less dense, sometimes almost mousse-like. It’s often baked at a lower temperature than New York-style cheesecake and typically uses a water bath.
If the goal is to complement the pumpkin’s flavor, spices like cinnamon, nutmeg, ginger, and cloves will do just that! You can also enhance with vanilla extract or maple syrup.
Email This Recipe
Enter your email, and we’ll send it to your inbox.
Ingredients
For the crust:
- 1 (8.8 ounce or 250 gram) package Biscoff / Speculoos cookies
- 7 tablespoons (99 grams) unsalted butter, melted
For the filling:
- 24 ounces (680 grams) cream cheese, completely softened to room temperature
- ¾ cup (150 grams) granulated sugar
- ¾ cup (150 grams) light brown sugar
- 15 ounces (425 grams) pureed pumpkin
- ¼ cup (57 grams) sour cream or plain full-fat yogurt, at room temperature
- 3 large eggs plus 1 egg yolk, at room temperature
- 2 tablespoons all-purpose flour
- 1 teaspoon ground cinnamon
- ½ teaspoon fresh ground nutmeg
- ¼ teaspoon ground cloves
- ¼ teaspoon ground ginger
- 1 teaspoon vanilla extract
For the topping:
- 1 cup (237 grams) heavy cream, chilled
- ¼ cup (25 grams) powdered sugar
- 1 teaspoon vanilla extract
Instructions
- Preheat the oven to 350°F.
Make the crust:
- Place the cookies in the bowl of a food processor and pulse until finely ground.
- Add the melted butter and pulse until moistened.
- Press into the bottom and halfway up the sides of a 9-inch springform pan (use a shot glass or tamper to assist with this).
- Place the pan on a rimmed baking tray to catch any butter and bake for 10 minutes.
- Place on a wire rack to cool and reduce oven temperature to 275°F.
Make the cheesecake filling:
- In the bowl of an electric mixer fitted with a paddle attachment, beat the cream cheese on medium-high speed until completely smooth and free of clumps, scraping down the bowl and attachment as needed.
- Add the granulated and brown sugars and beat until well combined.
- Scrape down the bowl, then add in the pumpkin puree and sour cream and beat until smooth.
- Add the eggs and yolk, one at a time, then the flour, cinnamon, nutmeg, cloves, ginger, and vanilla, and beat until just combined, being careful not to overmix.
- Pour over baked crust and spread evenly. Tap the pan against the counter a few times to release any bubbles. Tap a spatula against the top of the batter to pop those bubbles. Place the pan on a rimmed baking sheet.
- Bake at 275°F for 1 hour and 45 minutes, or until set and dry at the edges but slightly jiggly and wobbly like Jello in the center with an internal temperature of 140°F-150°F.
- Turn off the oven, crack open the oven door, and allow to cool inside the oven for 30 minutes before removing to a cooling rack to cool completely to room temperature.
- Refrigerate in springform pan for at least 6 hours (preferably overnight but up to 3 days) to allow the texture to firm and the pumpkin spice flavor to develop. Store the cheesecake uncovered to avoid creating condensation, which will create a mushy texture.
Make the topping:
- Whip the heavy cream, powdered sugar, and vanilla extract with an electric mixer for a few minutes until medium peaks form.
- Release the cheesecake from the pan onto a cake stand or serving plate and top with whipped cream. Slice using a big, sharp knife, running it under running hot water, and wiping it off carefully in between cuts. Serve.
Notes
This post was originally published in 2009 and has been updated with recipe improvements, additional baking tips, and new photos. Photos by Joanie Simon | The Bite Shot


I’m making this tomorrow. I’ll post reels to mighty.smart.mom! on.iG. (Real butter sold me on this recipe.)
No way to print
Hi Sheila! I’m sorry to hear that you’re having trouble printing this recipe. Up the very top, right below the recipe name and little short explanation about the recipe, you should see a printer icon. Simply click that to bring up a printer-friendly version of the recipe, and print from there! For your convenience, I have also included a direct link to this printable version here 🙂 Happy baking!
Do the oven temperature & bake time stay the same if I decide to use a water bath for this recipe?
Hi Dina! We have not tried this cheesecake with a water bath because the “low and slow” method works so well for this recipe. That being said, generally speaking, you can bake any cheesecake at 325°F for about 1 hour 15 minutes, depending on the volume of cheesecake batter. You can check out all of Tessa’s incredible tips for using a water bath here! I hope that helps 🙂 Let us know what you think of this cheesecake once you have given it a try!
Made this for a Friendsgiving and it was a hit!
I’ll probably do a water bath next time because it still breaks my heart to see a crack in my cheesecake, even though it’s getting covered with the homemade whip cream (I’m a perfectionist) LOL
It tasted just as good as it looked and I will definitely be made every fall from now on!
Yay! So happy to hear that, Dina!!
Thanks for this amazing recipe! It came together quickly and was fun to make with my kids. I put a casserole dish filled with water on the oven rack below the cheesecake and mine did not crack. Not sure if this actually helped it not to crack or I just got lucky but I’ll take it.
Great recipe! The fantastic pumpkin flavor and the tangy goodness of cream cheese was delicious! It was a hit on Thanksgiving! I used a Graham cracker crust this time, but next time I will use the Biscoff cookies. Thank you, Tessa!
So happy you loved it, Bruce!
Made this for Thanksgiving and this was phenomenal!! Thank you!
I was asked if I could make this in a muffin tin to have smaller portions and I wonder what your thoughts are in regards to temperature and time to pull this off??
Hi Amanda! So happy you enjoyed this recipe! We haven’t tried making this cheesecake into smaller size, so I can’t say for sure how it would turn out! You could try experimenting by basing the time off of one of our baked mini cheesecake recipes, but make sure to keep an eye on them while they bake. Please let us know how it goes if you give it a try!
Update…I made 24 mini cheesecakes with this recipe and even though I used the full crust recipe, I could have cut the batter recipe in half (just means though I have frozen batter for future use!!). In regards to time and temp, I put them in for 15 min at 300° and they turned out perfect!!
Yay!! Wonderful, so happy they turned out perfectly 🙂 Thanks so much for taking the time to comment back and let us know!
Excellent recipe! We had 5-6 ounces of pumpkin leftover raw from another pie. (I was hoping for more, but it was a small pumpkin.) I know I could have used canned, but also knew that many of our eaters would prefer the gluten- and sugar-free desserts (so-called!). So I divided everything by 3 and calculated a corresponding size for a springform pan (as 5-6 inches). We have a 7-inch, and that allowed a depth of about 1 1/4 inches. Then, I found our graham crackers for an alternate crust were chocolate! And the local resort-town grocery was out of heavy cream!
But it all turned out well! The flavors were a good match; it even won over one of the gluten-free fans. Photos on Instagram.
I ran out of crust before I ran out of pan, but I took Stephanie’s suggestion (in the comments) and baked the extra batter in a couple of ramekins so we could snack before Thanksgiving.
Now, of course, I want to bake this again properly and with a better cookie crust and real whipped cream. If the recipe could stand up to my abuse of it, think how it will do when I do it right!
Perfect! I’m so happy to hear this recipe worked well, even after the changes 🙂 Thanks so much for the comment!
This is the perfect recipe for if you want to make something really easy but still impress EVERYONE. I made it for Thanksgiving and my whole family was absolutely astonished that I made a cheesecake. Little did they know, it was insanely easy! The presentation was gorgeous and it tasted absolutely amazing. So creamy and perfectly pumpkin-y and spiced. I’ve made a lot of HTH recipes and they’ve all been wonderful but this has been the best. Thank you, Tessa!!!
Wonderful! We definitely love easy recipes during the holidays, so happy to hear this was such a hit with your family! 🙂
Hi! It doesn’t say in the instructions but I’m assuming we add the ginger in at the same time with all the other spices, correct?
Sorry about that! Just updated the recipe, yes, you are correct!
Made this as a test for Thanksgiving and the flavors were delicious! One question – when I cut out a piece, it didn’t hold its form very well. The tip of the piece didn’t come out with the slice and when I forked into the slice, it just kind of all collapsed. Does this mean I likely took it out too soon?
Hi Jaimie! That does sound like your cheesecake didn’t fully set. While you definitely don’t want to overbake your cheesecake, the edges shouldn’t move at all when slightly shaking your pan in the oven to check for doneness, but the very center should be the consistency of Jello, just slightly wiggly. You can also check the internal temperature if you’ve got a thermometer, and it should be between 140°F-150°F. How long was your cheesecake in the fridge for?
Hey Emily! Thanks for the response! I left it in the fridge overnight. It was *pretty* jiggly when I pulled I pulled it from the oven…I was so concerned about over baking that I did the opposite!
I completely understand, I’ve actually done the opposite and overbaked quite a few cheesecakes myself because I was worried they weren’t done! As long as you leave your cheesecake in just a bit longer or follow the internal temperature listed, your next attempt should go perfectly. Let me know!
How long is the whipped cream good once made? Should I wait a few hours before serving or even closer to serving?
Hi Breanna! Feel free to top the pie with whipped cream the morning of when you plan to eat the cheesecake. After about a day, the whipped cream will start to deflate and weep onto the surface of the cheesecake. Still tasty but maybe not so pretty 🙂 Let us know what you think of this recipe!
I want to make a gluten-free version of this cheesecake. Will 2 TB of gluten-free flour give me the same results or do you have another suggestion for substituting the AP flour?
Hi Jamie! We don’t bake gluten free, so I can’t say for sure! Please let us know how it goes if you give it a try!