


This post may contain affiliate links. Read our disclosure policy.


Tessa’s Recipe Rundown
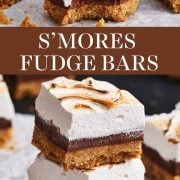
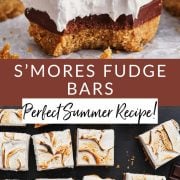
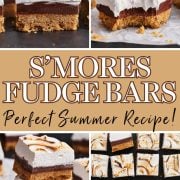
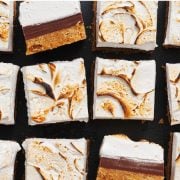
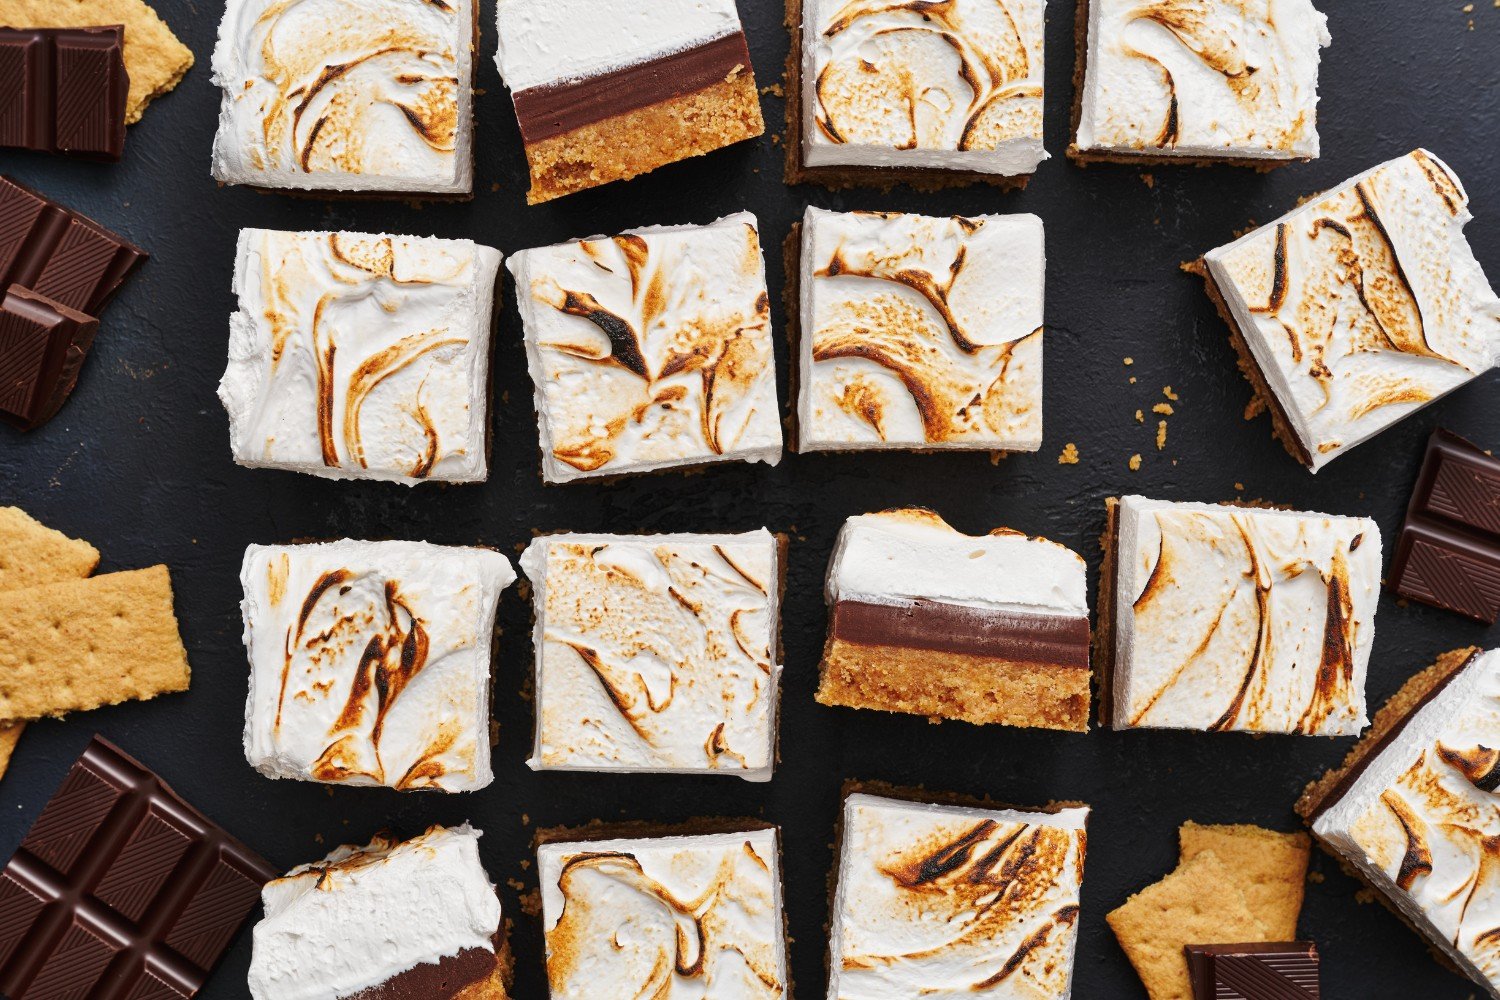
Taste: All your favorite nostalgic s’mores flavors, no campfire needed.
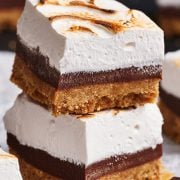
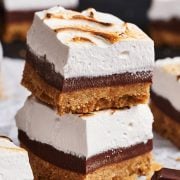
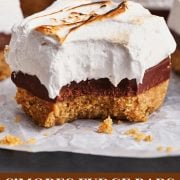
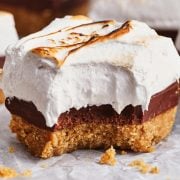
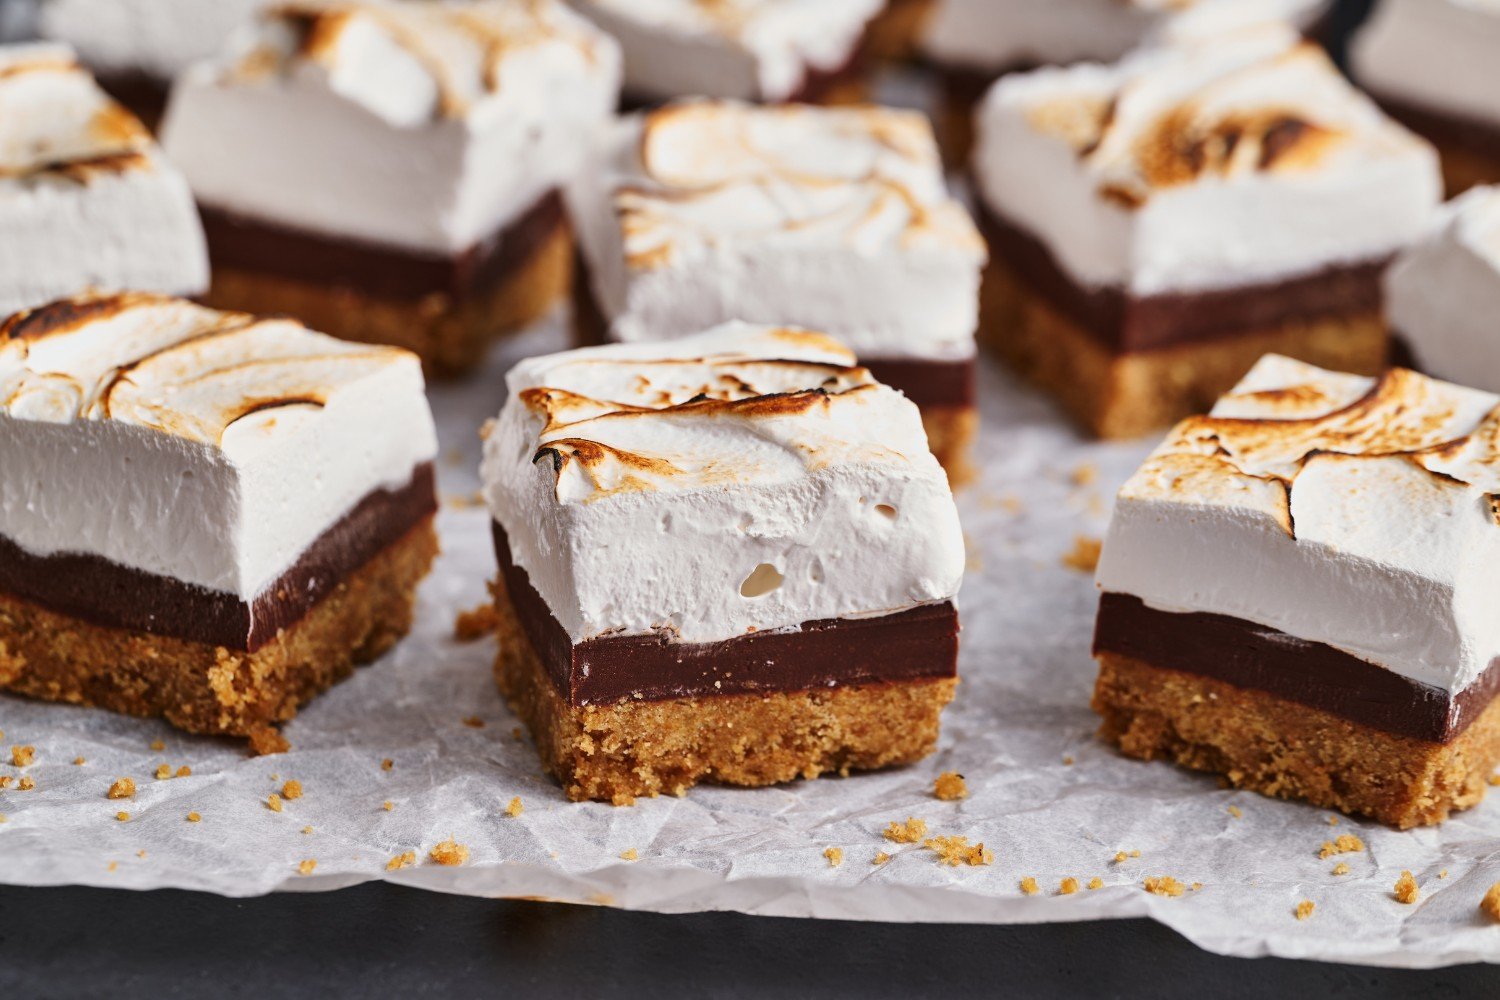
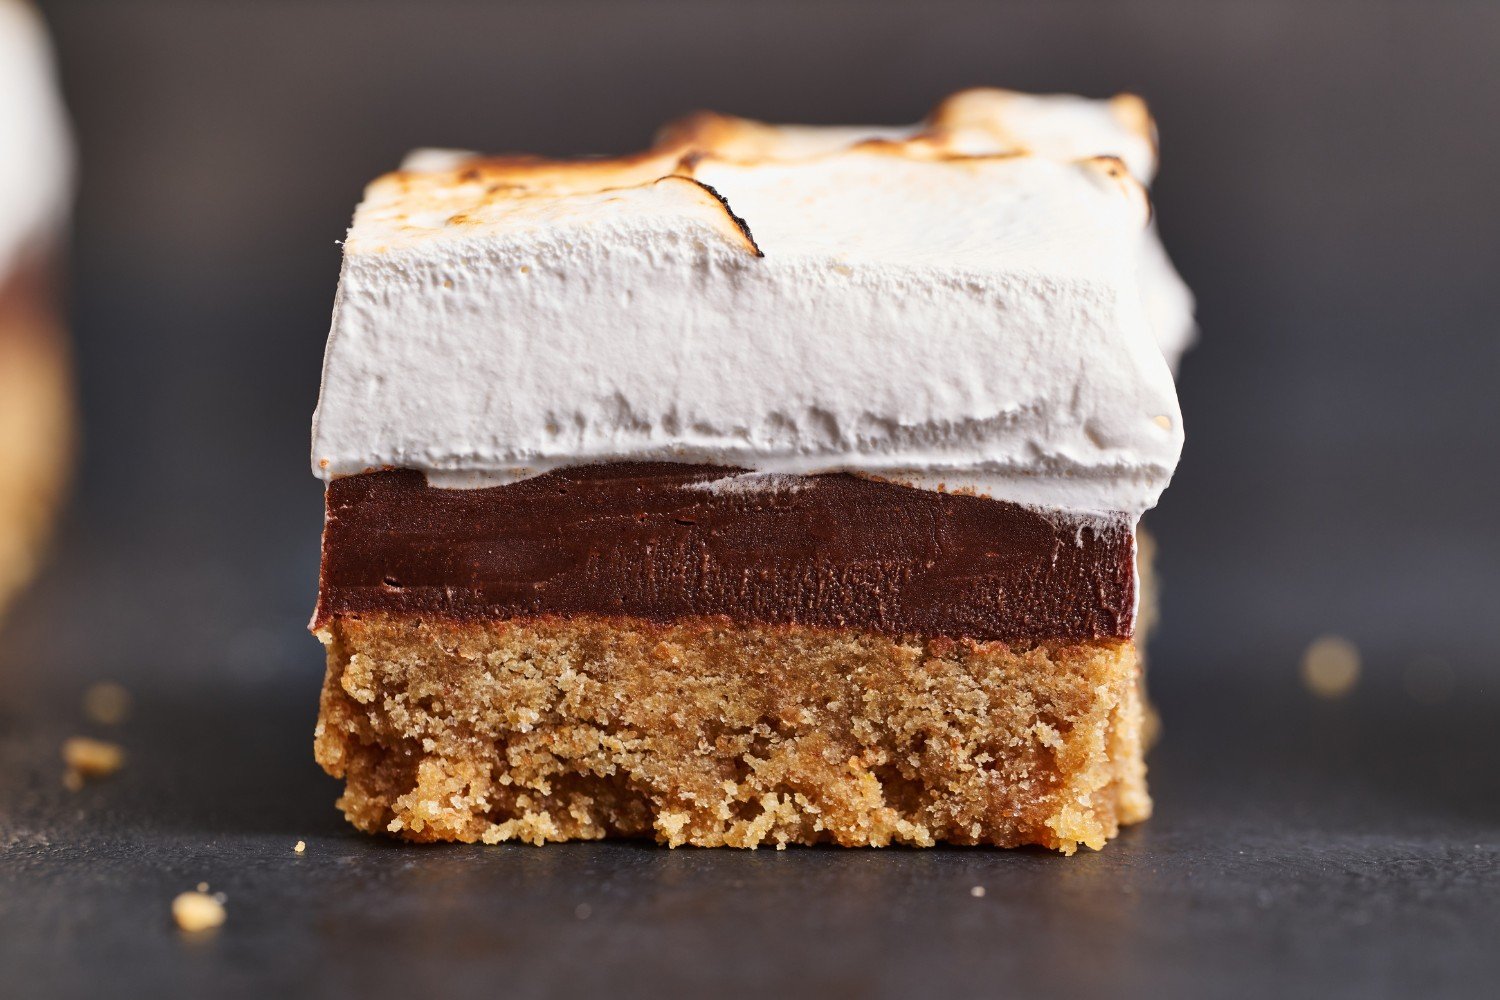
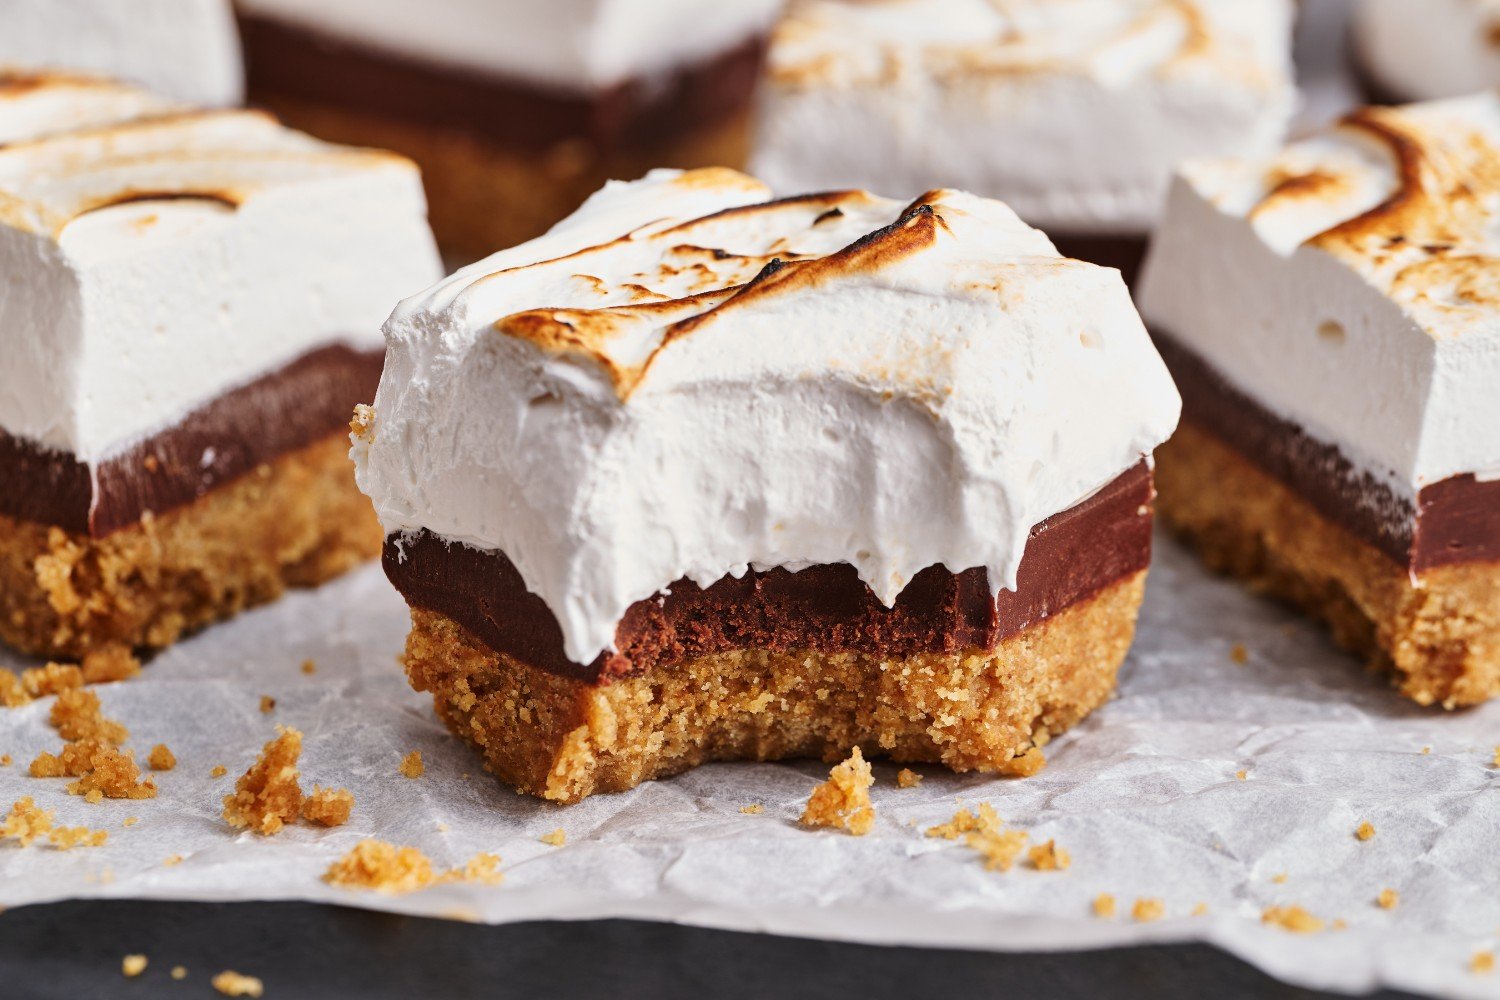
Texture: So dreamy! The crust is thick and buttery, the filling is fudgy, and the topping is perfectly gooey.
Ease: The marshmallow topping might seem intimidating, but I promise it’s easier than you think.
Why you’ll love this recipe: My husband says this recipe is “hall of fame” and I must agree!
Is there anything more quintessentially ‘summery’ than a s’more?
Some of my fondest food memories involve s’mores. So much so that I’ve created many s’mores recipes, like my S’mores Cookies and No-Bake S’mores Mini Cheesecakes.
This recipe takes that classic campfire treat and pack it all into a convenient, easily transportable, easy-to-serve bar you can enjoy year-round.
I hope you give this recipe a try for your next BBQ, cookout, or potluck!
Reader Love
This recipe is literally AMAZING! Everyone who’s tried it has asked for the recipe. I want to gatekeep so badly but I didn’t and turned them this way. Every step is worth it, it’s amazing
I made this yesterday and it got 5 stars from everyone at the table! Both teen boys sitting at the table pretty much inhaled their first piece and went back for seconds…and thirds. lol It is incredibly easy to make. The instructions are clear and fool proof, which is standard for Handle the Heat, imo. I had never made marshmallow before and really enjoyed learning how to make it for this recipe!
Crust Tips
Ensure your crust is firmly packed into your pan. The tighter the crust, the less likely it is to crumble. The bottom of a measuring cup or a tart tamper makes easy work of this.
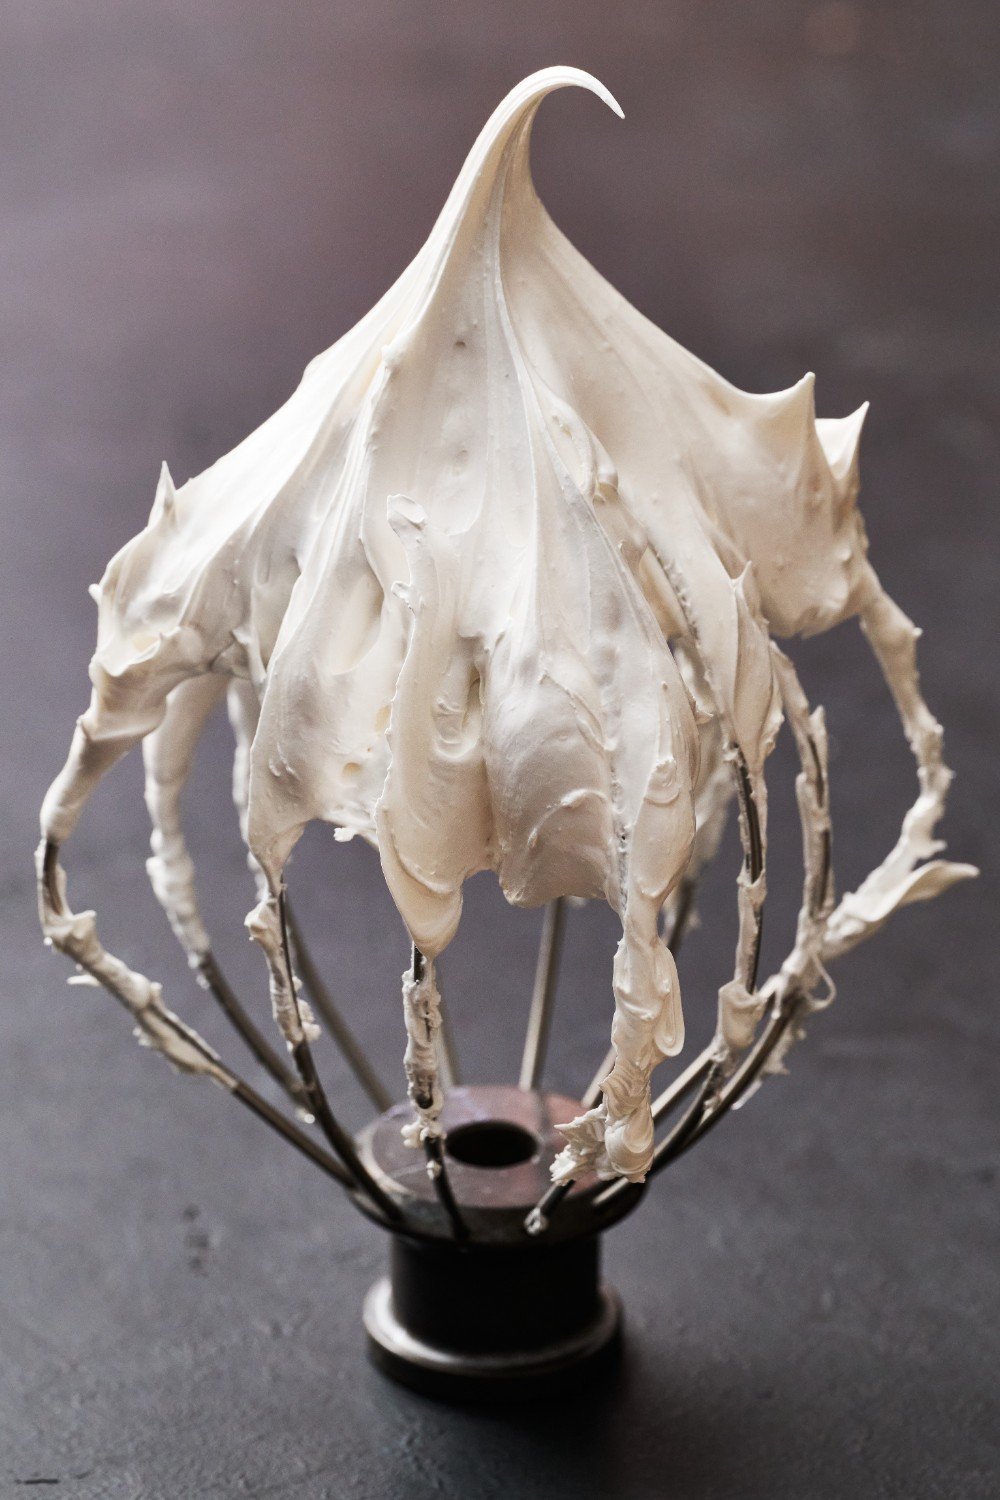
Homemade Marshmallow
The finishing touch for our S’mores Fudge Bars! Making marshmallow may seem intimidating, but I promise it’s surprisingly easy. Here are a few tips for homemade marshmallow:
- Be sure to use a candy thermometer to bring the sugar mixture to exactly 240°F, then slowly and cautiously drizzle the mixture in with your soft peak egg whites while your mixer runs on low (to avoid scrambling your egg whites).
- Don’t skip the cream of tartar – this helps stabilize the marshmallow.
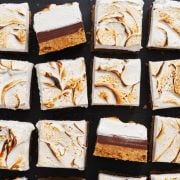
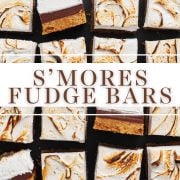
Tips for Torching or Broiling Your S’mores Bars
- I adore any excuse to break out my kitchen torch because it’s so FUN to use!
- If you don’t have a kitchen torch, you can pop the s’mores bars under the broiler – just watch them super carefully as they can burn in a matter of seconds. If possible, use a Low broil setting and keep the oven door cracked open to observe progress to avoid burning.
- Be sure to use aluminum foil and not parchment paper to line your pan. Parchment paper will catch fire when torching or broiling!
What’s the Best Pan for S’mores Fudge Bars?
This S’mores Fudge Bar recipe uses an 8 by 8-inch pan. This is my favorite pan for these bars, as well as brownies, blondies, and practically everything else! Do not use a glass pan if broiling the marshmallows; the direct heat can cause the glass to shatter.
Tips for Clean Slices
Allow the S’mores Bars to chill fully. Use a sharp knife and run it under hot water, carefully wiping it dry between each cut.
Storage & Make ahead
Fridge: Store in an airtight container in the refrigerator for up to 5 days.
Freeze: These freeze well! Store them in an airtight container for up to one month. Thaw overnight in the fridge before serving. I recommend gently re-torching the top of the bars before serving, to slightly re-crisp the marshmallow.
FAQs
If you really don’t want to make homemade marshmallow fluff, you can use marshmallow fluff instead; however, it will be much sweeter and won’t look as pretty or slice as nicely. I also haven’t tried torching or broiling store-bought fluff, so I can’t say how well that works.
Graham crackers are the classic s’mores cookie of choice, but if needed, use the same amount by weight of digestive biscuits, shortbread, gingersnaps, Biscoff cookies, or any crunchy cookie you like! Biscoff cookies are a little richer than graham crackers (which are drier), so add just enough melted butter until it holds together when pressed.
If you can find it, grab a pouch of sweetened condensed milk instead of a can – they’re perfect for recipes like this! I found mine at Fry’s / Kroger, but they’re also available at Walmart, or easily available online here.
If you buy a can of sweetened condensed milk, you will have about ⅓ of the can left over.
You can freeze it for another use by placing it in an airtight container for up to 3 months.
Alternatively, use the leftovers to try making Thai Iced Tea or Vietnamese Iced Coffee.
Corn syrup is an invert sugar, which means it is liquid at room temperature, preventing grains of sugar from recrystallizing as the marshmallow cools.
Golden syrup should work as a substitute. You can use honey, but the flavor will become very dominant.
Sure! Use a 9 by 13-inch pan and simply double all ingredients. Note the chocolate filling and marshmallow mixture will both take longer to cook.
I highly recommend using a stand mixer for the marshmallow portion of these S’mores Fudge Bars. Using a handheld electric mixer is possible, but it will be tricky to carefully drizzle the hot sugar mixture into the egg whites while you continue to beat the egg whites on low to avoid scrambling them. If this is your only option, it’s best to ask someone to assist you with this part.
This marshmallow method cooks the sugar first, so when we add this hot syrup to the eggs, it raises the temperature to the point where they are safe to consume.
If you or someone you’re serving is immune-compromised or pregnant, use a digital instant-read thermometer to verify that your egg mixture has reached 160°F.

Email This Recipe
Enter your email, and we’ll send it to your inbox.
Ingredients
For the Crust:
- 20 (308 grams) full graham crackers
- 1/4 cup (50 grams) granulated sugar
- 1/2 teaspoon fine sea salt
- 12 tablespoons (170 grams) unsalted butter, melted

For the Fudge Filling:
- 1 ⅓ cups (226 grams) semisweet chocolate chips
- 3/4 cup + 1 ½ tablespoons (265 grams) sweetened condensed milk
For the Marshmallow Topping:
- 2 large egg whites
- 1/4 teaspoon cream of tartar
- 1/4 cup + 2 tablespoons (75 grams) granulated sugar
- 1/2 cup (168 grams) light corn syrup
- 1/4 cup (60 grams) water
- 1/4 teaspoon fine sea salt
- 1 1/2 teaspoons vanilla extract
Instructions
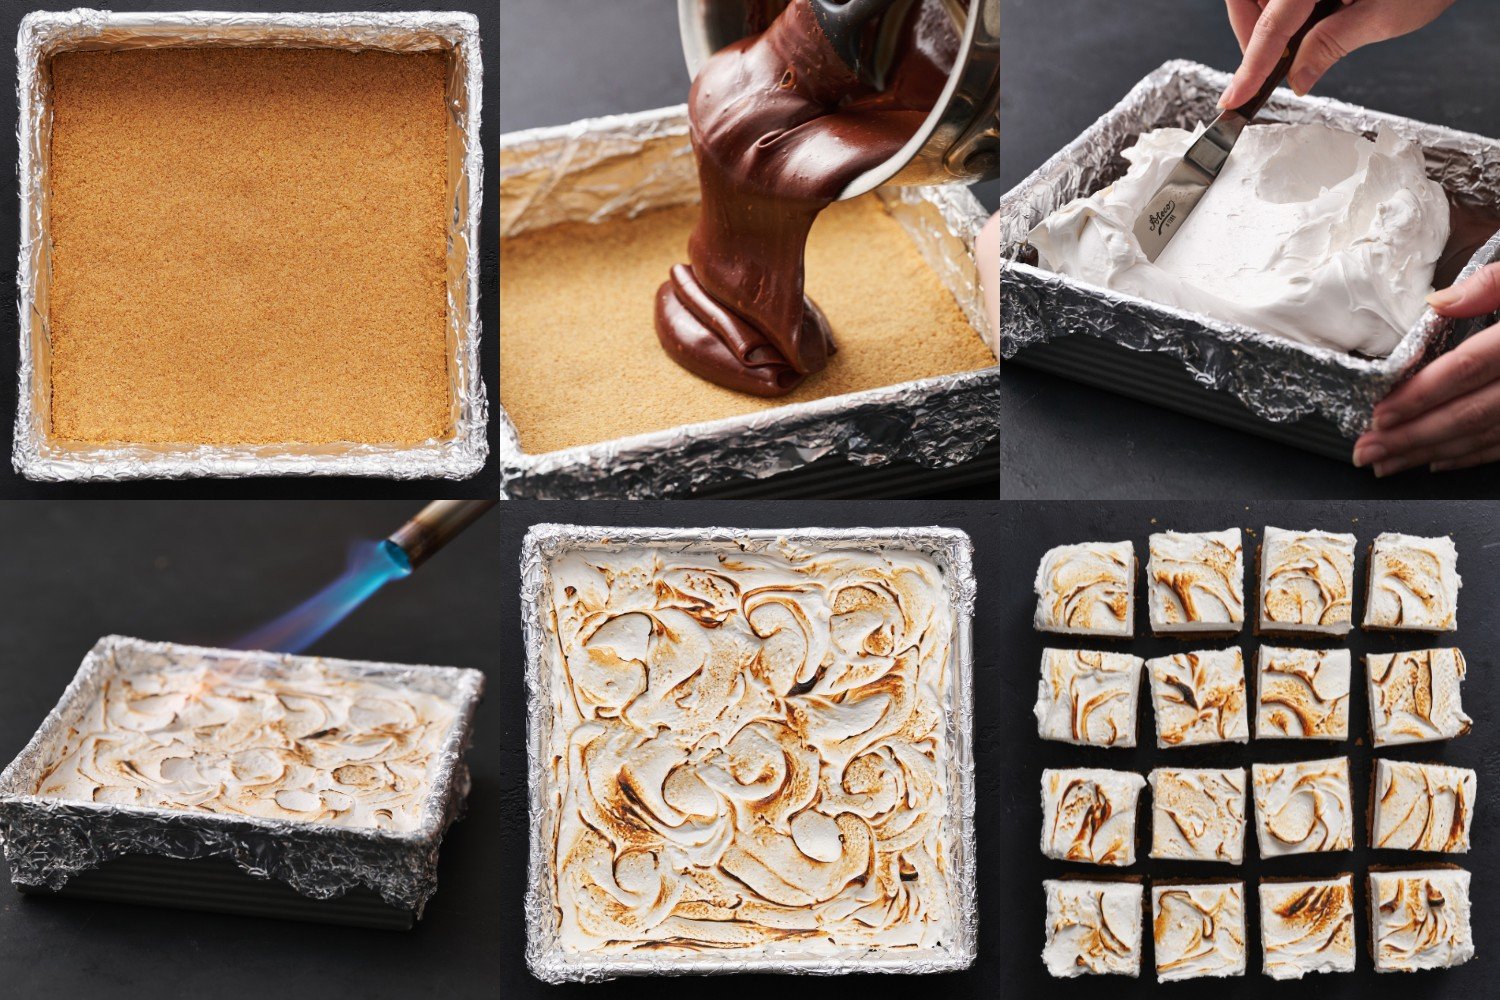
Make the crust:
- Preheat the oven to 350°F. Line an 8×8-inch baking pan with foil*.
- Place the graham crackers, sugar, and salt in the bowl of a food processor and pulse until finely ground. Add the melted butter and pulse until the mixture is moistened. Press the mixture into the bottom of the prepared baking pan. Bake for 10 minutes. Place the pan on a hot pad or pot holder in the fridge to cool while you prepare the filling.
Make the filling:
- In a small heavy-bottomed saucepan set over medium-low heat, combine the chocolate chips and condensed milk. Stirring constantly, heat until the mixture is melted, thick, and smooth. Don’t walk away from it, as it can burn on the bottom quickly. Pour over graham cracker crust. Place in the refrigerator while making the marshmallow topping.
Make the marshmallow topping:
- In the bowl of an electric mixer fitted with the whisk attachment, beat the egg whites and cream of tartar until soft peaks form, about 7 minutes.
- Meanwhile, in a small saucepan set over medium-high heat, combine the sugar, corn syrup, water, and salt. Bring the mixture to a boil and continue to cook until a candy thermometer registers exactly 240°F, about 8 minutes. Immediately remove from heat.
- Turn the mixer on low speed and slowly but continuously add the syrup, pouring it between the side of the bowl and whisk. Increase speed to medium-high and beat until the mixture is very thick and looks like marshmallow fluff, about 6-7 minutes longer. Add vanilla and beat until combined.
Assemble:
- Spread the marshmallow topping evenly over the chocolate fudge layer. Use a kitchen torch to gently torch the marshmallow layer until lightly golden. Alternatively, place the pan under the broiler and broil for about 30 seconds, or until lightly golden, checking on it every few seconds (it can burn quickly!).
- Refrigerate the pan for at least 1 hour before cutting into squares and serving. The squares can be stored in an airtight container in the refrigerator for up to 5 days.


This is late…but a great painting tip for the future! After taping, (and if you have a can of BOTH colors of paint), to a quick 1″ wide strip of paint of the color that is UNDER the paint. Not the new color you are painting, but the color that you’re taping off. That way, when the paint seeps underneath, it’s the color that is supposed to be there! It seals off the tape so that the new color on the next coat won’t seep under. Magic!
That’s exactly what we did!! I’m so happy we found that painting tip before we repainted, it produced PERFECT transitions!
I too, had the same issue with the crust as Brooke. So disappointed! It seemed like a lot of graham as I was blending them, and I should have trusted my gut as it seemed really crumbly when I was trying to press them into the pan. I would put at least 1 1/2 sticks of butter next time, or maybe just use 10 full sheets of grahams. That crust is pretty thick anyway. Other than that, the fudge and marshmallow topping was tasty!
Thanks for your note! I didn’t have this problem when making the crust but since several people have had this problem I have increased the butter.
These look incredible! I can’t wait to make!
Oooooh I would love to try these. I don’t usually take shortcuts, but any chance I could use pre-made marshmallow fluff the first time? I actually have some in the house for another recipe but this looks better 🙂 Also, my daughter is a Tessa too! Love the name… and it totally suits her!
These look uh-mazing! I love smores flavors together but never liked how hard the chocolate was. Do you think it would turn out if I left out the corn syrup? Or with what I can replace it? There are a couple of kids in my life that are allergic to corn syrup.
Thanks! I’ve never made the marshmallow fluff without corn syrup but you could definitely try golden syrup (such as Lyle’s) or honey.
These look so good! I think I’m going to try doubling and using a jelly roll pan, so they’ll be thinner and will feed a crowd. Does that sound like it would work?
I’ve never tried that but I think it should work… these are very rich too so you can serve small squares.
WOW these look amazing! I just shared a link on my FB page for these, yum! https://www.facebook.com/photo.php?fbid=10151836534108070&set=a.174654903069.124188.163690253069&type=1
Found these via pinterest and made them today. They are amazing. YUM! Thanks for sharing the recipe!
I’m so happy you liked the recipe!
I just made these last night! They tasted delicious, but the crust was SUPER crumbly & didn’t stick to the fudge layer AT ALL! Any suggestions on how to fix this? I want to make these for a shower in a couple of weeks and want them to look as perfect as yours do.
Thanks!
You could increase the amount of melted butter to add more moisture. Also make sure you are grinding the graham crackers very fine and really pressing the crust mixture firmly into the pan before baking.
These look amazing! I can only imagine sinking my teeth into that thick fudge filling and fluffy marshmallow topping… I’ll bet it’s incredible!
Hi there! My name is Jessica, and I run a food blog called Floptimism where, every Saturday, I write a Weekend Wrap-Up post to share all of my favorite internet finds from the past week. I wanted to let you know that I absolutely loved this post — those s’mores bars, oh my goodness, they look unbelievable! — so much so that I included it in my blog’s Weekend Wrap-Up. I’ve included the link to the post in case you’re interested. Thanks for such a fabulous recipe, and seriously drool-worthy pictures!
http://www.floptimism.com/2013/09/weekend-wrap-up-highlight-reel.html
I only have a hand mixer not a stand mixer, is that an issue?