Tessa’s Recipe Rundown
Taste: Sweet without being cloying. I love the natural flavor of the sweet potatoes, especially when combined with the sweet marshmallow topping.
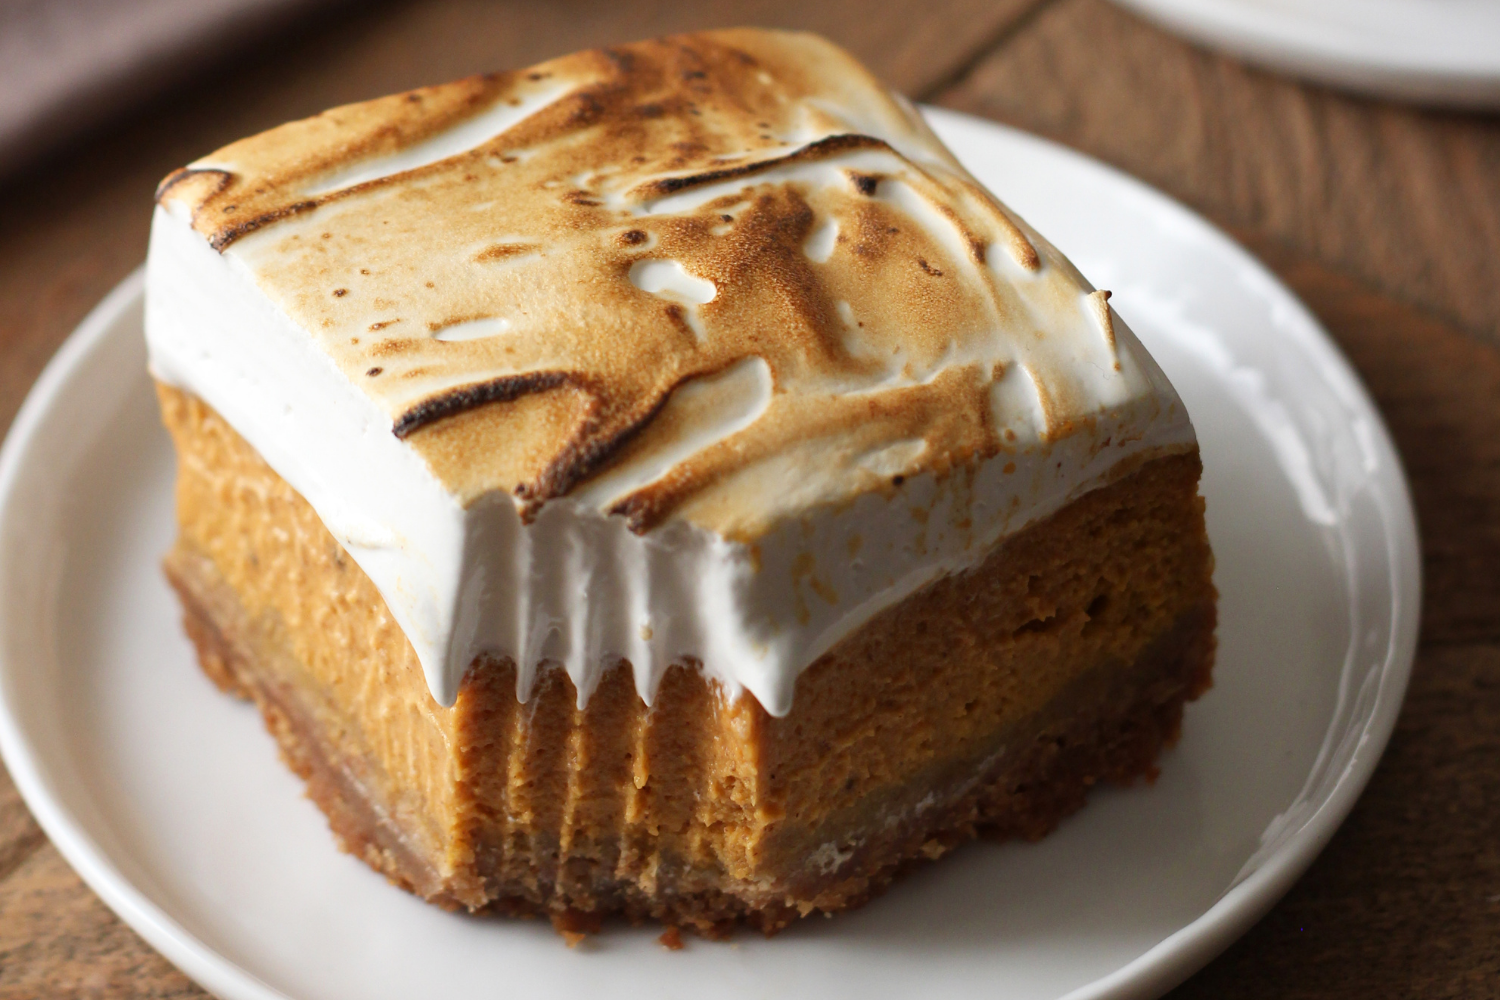
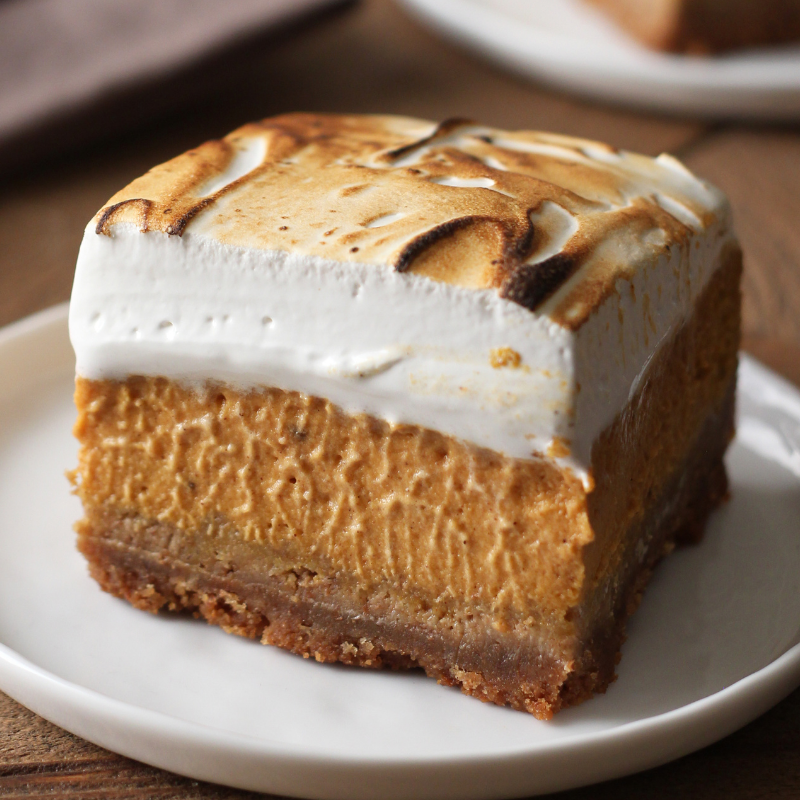
Texture: My favorite part! The crust is buttery and thick (nobody wants a measly thin crust!), the filling is ultra smooth and creamy, and the marshmallow topping is sticky yet light as a cloud. SO good!
Ease: Follow the directions closely and this recipe will be a breeze.
Pros: Fun twist on a classic sweet potato pie / casserole.
Cons: None.
Would I make this again? 100% yes. Sweet potatoes + marshmallow = ideal comfort food.
This post may contain affiliate links. Read our disclosure policy.
Sweet Potato Pie Bars are sure to be a new hit on your Thanksgiving or Friendsgiving table!
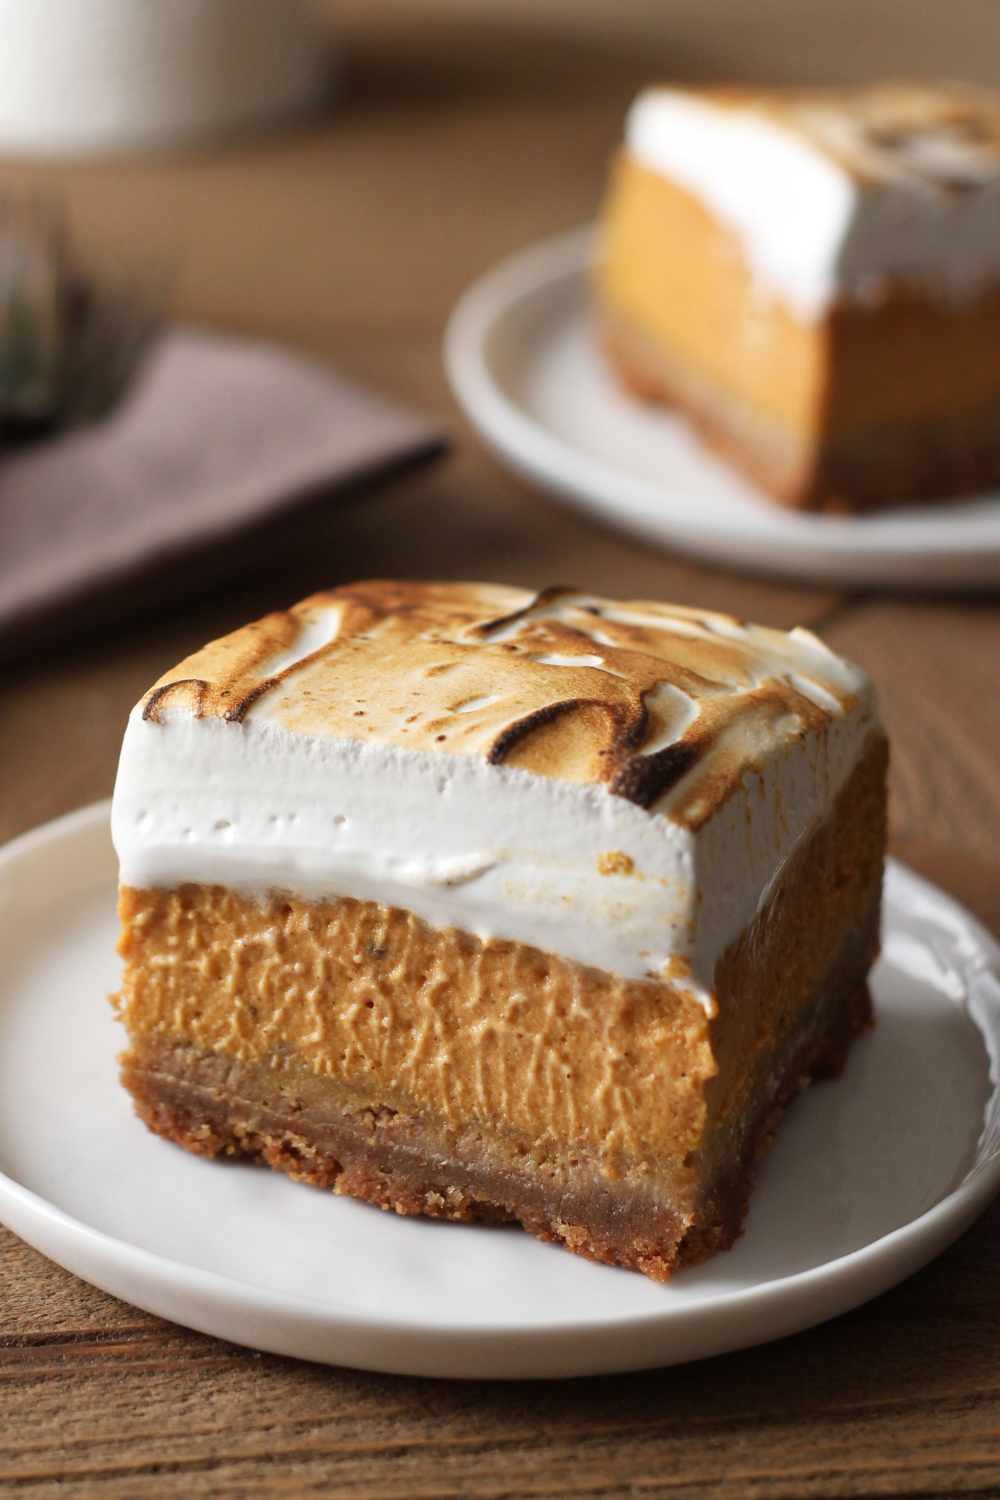
Growing up, the sweet potatoes on our Thanksgiving table always had brown sugar pecan topping (which I would gladly eat by itself!). It always seemed strange to me to go the marshmallow route, because marshmallows seem so dessert-y to me.
So when I was coming up with this Sweet Potato Pie Bar recipe, I knew I could happily incorporate homemade marshmallow topping here. It seems more natural to top a dessert bar with marshmallow, after all.

Free Cookie Customization Guide!
The science-based guide so you can bake perfect cookies every time!
These Sweet Potato Pie Bars are deliciously sweet potato-forward, without being super sweet.
And, bonus: no pie crust to mess around with! This simple graham cracker crust is super easy and quick.
These bars are perfect to take to Thanksgiving, Friendsgiving, or any gathering throughout the Fall. I hope you’ll give them a try!

Sprinkle of Science
How to Make Sweet Potato Pie Bars
Should I Use Canned or Fresh Sweet Potatoes?
I used fresh sweet potatoes for these bars. Canned sweet potato puree has more water content and will take much much longer to cook. Fresh sweet potato puree is firmer and starchier so it makes for a much better filling. Not to mention the taste is 100x better!
How to Make Sweet Potato Puree
- Take 3 large sweet potatoes, place on a foil or parchment lined rimmed baking sheet, and bake at 425°F for 45 to 60 minutes, or until completely fork tender.
- Let cool then peel off the skin.
- Mash the flesh with a potato masher or blend in a food processor or blender.
- Store in an airtight container in the fridge for up to 5 days or in the freezer for up to 2 months. Let come to room temperature before using in this recipe.
- Do not boil the sweet potatoes to make the puree! We don’t want any additional water in the mix. You can microwave, but the cooking will be less even. Additionally, microwaves vary so much so timing will be varied.
Make Sure Your Spices are Fresh
This recipe is pretty spice-forward, for a beautiful fall flavor that balances the sweetness of the marshmallow topping nicely. Feel free to adjust the spices a little if you prefer less spice, or add a little more if your spices are old, as older spices carry less flavor. Check your spices to ensure they’re not expired. If they are expired, toss them and purchase new ones – otherwise, your bars may be bland.
Crust Variations
Feel free to switch up the graham cracker crust and use the same amount by weight of digestive biscuits, gingersnaps, vanilla wafers, Biscoff cookies, or any other crunchy cookie you’d like.
Some cookies such as Biscoff cookies are a little richer than graham crackers (which are drier), so only add just enough butter until it holds together when pressed.
Crust Tips
Ensure your crust is firmly packed into your pan. The tighter the crust, the less likely it is to crumble. The bottom of a measuring cup or a tart tamper makes easy work of this.
Homemade Marshmallow
Making marshmallow may seem intimidating, but I promise it’s surprisingly easy. Here are a few tips for homemade marshmallow:
- Be sure to use a candy thermometer to bring the sugar mixture to exactly 240°F, then slowly and cautiously drizzle the mixture in with your soft peak egg whites while your mixer runs on low (to avoid scrambling your egg whites).
- Don’t skip the cream of tartar – this helps stabilize the marshmallow.
- I highly recommend using a stand mixer for this. Using a handheld electric mixer is possible, but it will be tricky to carefully drizzle the hot sugar mixture into the egg whites while you continue to beat the egg whites on low to avoid scrambling them. If this is your only option, ask someone to assist you with this part.
Can I Skip the Corn Syrup?
Don’t skip the corn syrup here. Corn syrup is an invert sugar, which means it is liquid at room temperature, preventing grains of sugar from recrystallizing as the marshmallow cools. I haven’t tested any corn syrup substitutes in this recipe, but feel free to experiment with using golden syrup if needed.
Can I Use Marshmallow Fluff Instead?
If you really don’t want to make homemade marshmallow, you can use marshmallow fluff instead; however, it will be much sweeter and won’t look as pretty or slice as nicely. I also haven’t tried torching or broiling store-bought fluff, so I can’t say how well that works.
What Pan Should I Use for Sweet Potato Pie Bars?
I recommend using a light-colored 8×8-inch metal baking pan for this recipe. Using ceramic will take longer to bake and the edges may dry out and overbake before the center is done. Do not use a glass pan if broiling the marshmallow as the direct heat can cause the glass to shatter. Learn more about Glass vs. Metal Baking Pans in this post here.
Tips for Torching or Broiling Your Sweet Potato Pie Bars
- I love any excuse to break out my kitchen torch because it’s so much FUN to use!
- If you don’t have a kitchen torch, you use your broiler – just watch them super carefully as they can burn in seconds.
- If possible, use the Low broil setting and keep the oven door cracked open to watch its progress to avoid burning.
- Be sure to line your pan with aluminum foil and not parchment paper, as parchment can catch fire when torching or broiling!
Can I Double This Recipe?
Sure! Use a 9 by 13-inch pan and simply double all ingredients, adding a few minutes to the bake time.
How to Store Sweet Potato Pie Bars
These Sweet Potato Pie Bars are best enjoyed the day they’re made, but they will keep inside an airtight container for up to 5 days. The crust will soft and the marshmallow topping may begin to weep the longer they sit. I have not tried freezing these bars, but I don’t recommend it.
More Fall Recipes You’ll Love:
Sweet Potato Pie Bars
Email This Recipe
Enter your email, and we’ll send it to your inbox.
Ingredients
Crust:
- 18 (270 grams) full graham crackers
- 1/4 cup (50 grams) granulated sugar
- 1/2 teaspoon salt
- 12 tablespoons (169 grams) unsalted butter, melted
Filling:
- 2 cups (16 ounces or 454 grams) fresh sweet potato puree (not canned)
- 1/4 cup (50 grams) granulated sugar*
- 3 large eggs
- 1 1/2 cups (356 grams) whole milk
- 1/2 cup (119 grams) heavy cream
- 1 tablespoon bourbon (or 1 teaspoon vanilla)
- 1 teaspoon fine salt
- 1 1/2 teaspoons ground cinnamon
- 1/2 teaspoon ground ginger
- 1/4 teaspoon ground cloves
Topping:
- 2 large egg whites
- 1/4 teaspoon cream of tartar
- 3/4 cup (150 grams) granulated sugar
- 1/2 cup (120 grams) light corn syrup
- 1/4 cup water
- 1/4 teaspoon salt
- 1 1/2 teaspoons vanilla extract
Instructions
For the crust:
- Preheat the oven to 350°F. Line an 8×8-inch metal baking pan with foil, leaving an overhang.
- Place the graham crackers, sugar, and salt in the bowl of a food processor and pulse until finely ground. Add the melted butter and pulse until moistened. Press the mixture into the bottom of the prepared baking pan. Bake for 10 minutes. Place on a cooling rack and let cool completely. Maintain oven temperature.
For the filling:
- In a large bowl, use an electric mixer to beat all the sweet potato filling ingredients until well combined. Pour over the graham cracker crust and bake for 40 minutes, or until set but still slightly wobbly in the middle. Let cool to room temperature.
For the marshmallow topping:
- In the bowl of an electric mixer fitted with the whisk attachment, beat the egg whites and cream of tartar until soft peaks form.
- Meanwhile, in a small heavy-bottomed saucepan** set over medium-high heat, combine the sugar, corn syrup, water, and salt. Bring the mixture to a boil and continue to cook until a candy thermometer registers exactly 240°F. Immediately remove from heat. Turn the egg white mixture on low speed and carefully and gradually drizzle the syrup into the egg whites. Increase speed to medium-high and beat until the mixture is thick and glossy and looks like marshmallow fluff, about 7 minutes longer. Add in the vanilla and beat until combined.
- Spread the marshmallow topping evenly over the sweet potato layer. Use a kitchen torch to gently torch the marshmallow layer until lightly golden. Alternatively, place the pan under the broiler and broil for about 1 minute, or until lightly golden. Don't step away – the broiler can go from toasted to burnt FAST!
- Refrigerate the pan for at least 1 hour before cutting into squares and serving. The bars can be stored in an airtight container in the refrigerator for up to 5 days, though they are best served soon after the marshmallow is made.
Recipe Notes

The Ultimate Cookie Handbook
Learn the sweet SCIENCE of cookie baking in a fun, visual way to customize your own recipes frustration-free. Plus, my best 50+ homemade cookies!
This post was originally published in 2015 and has been updated with additional recipe tips.








I made this today for Thanksgiving. The marshmallow fluff is perfection!
Now my biggest tip is read the website for tips and tricks vs just printing the recipe. I just printed the recipe and used canned sweet potato. The filling was runny (like the website said) and it took longer to bake (also like the website said).
But it looks amazing and I can not wait to eat it!!
Delicious…. And the Marshmallow fluff.. perfection!
Could you use marshmallow fluff on top?
That should work!
Just made these and they are amazing! Not too sweet and a fairly easy recipe. I got rave reviews from the coworkers & will be bringing them to a small family gathering. Thanks for the recipe!