


Tessa’s Recipe Rundown
TASTE: The deep, caramelized flavor of the browned butter is so perfect with the sweet, spiced sweet potatoes.
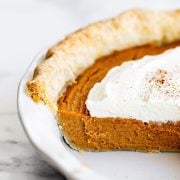
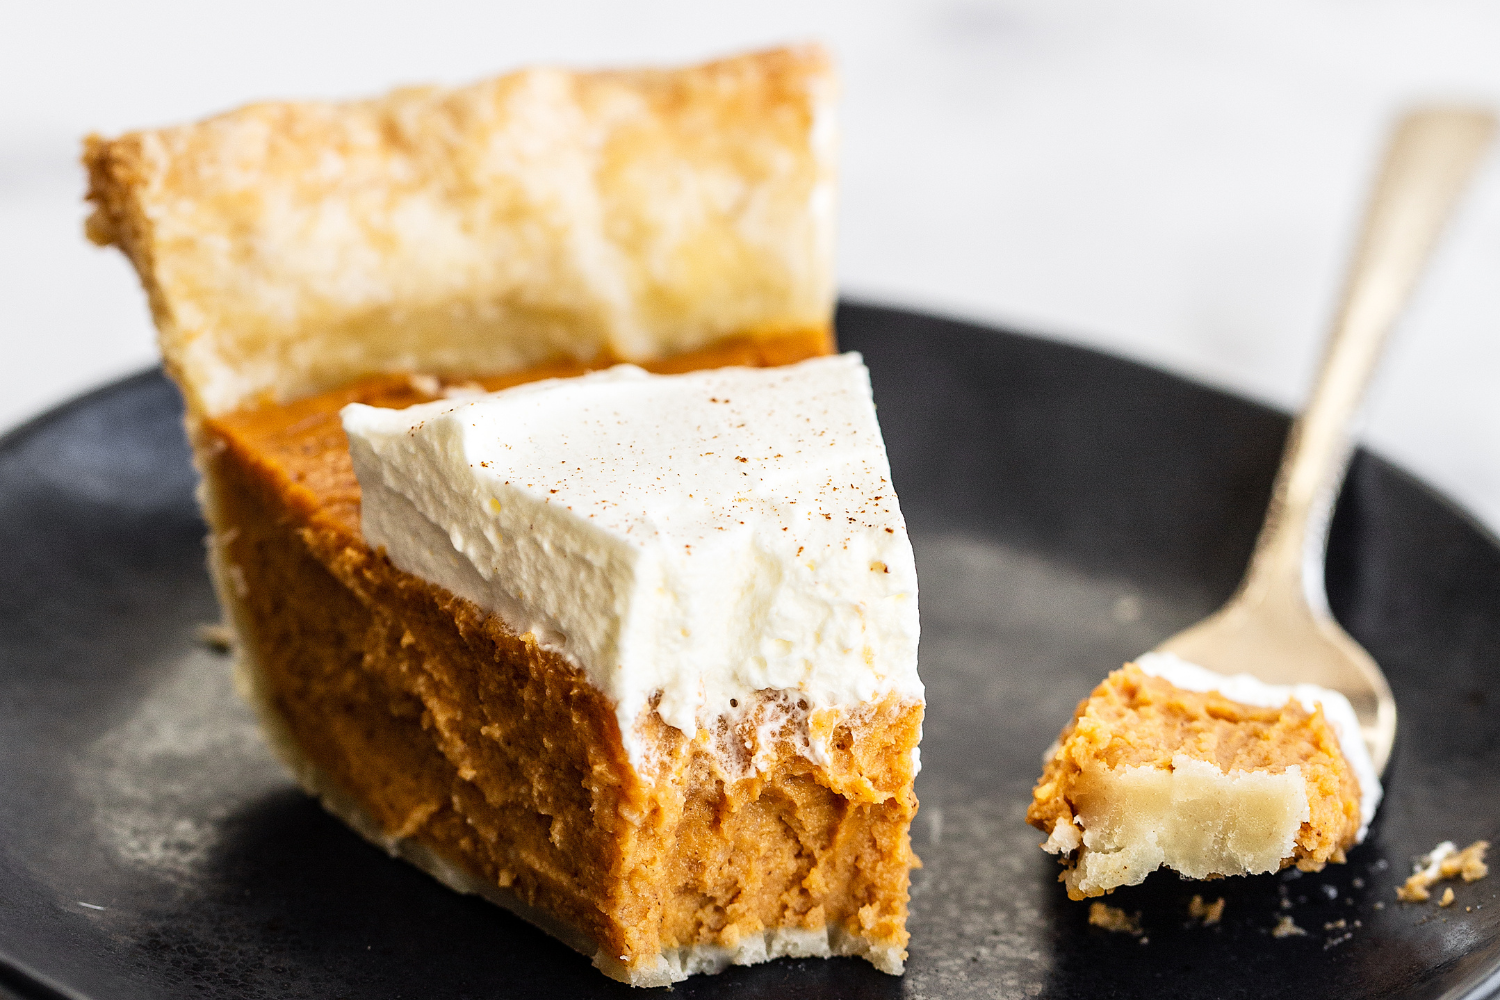
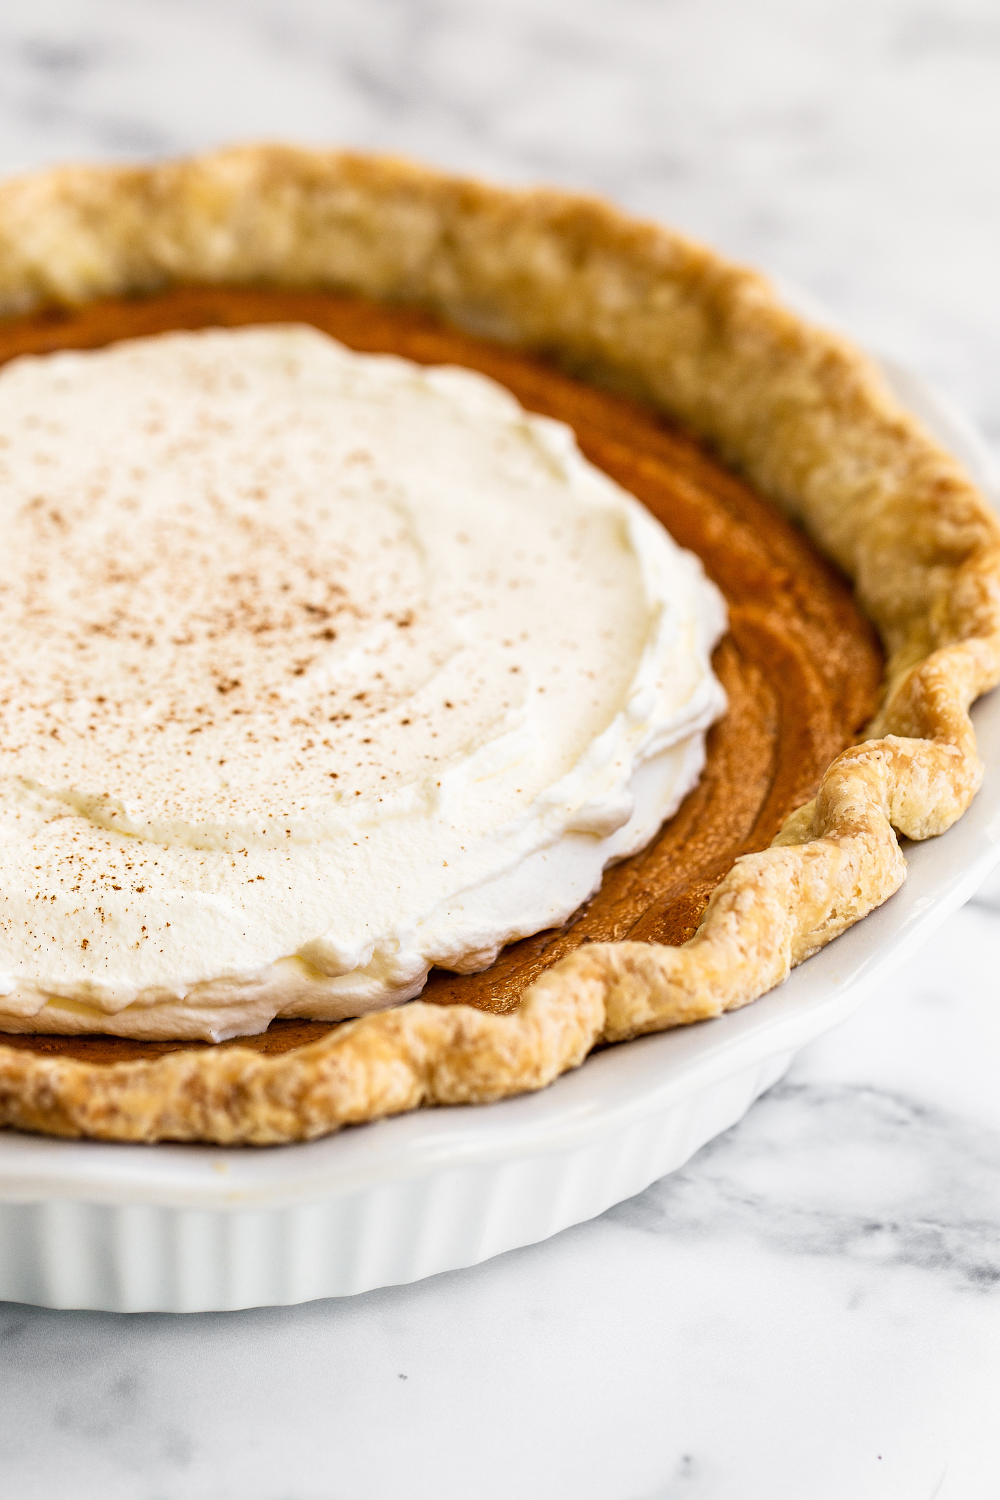
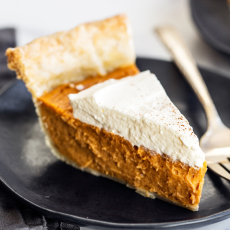
TEXTURE: The pie crust is flaky and buttery while the filling is rich and ultra-creamy.
EASE: Super easy filling, and the homemade pie crust is totally doable, promise.
PROS: Fun twist on a classic Thanksgiving pie.
CONS: Not the fastest dessert in the world, but it’s worth the extra work for the holidays.
WOULD I MAKE THIS AGAIN? Absolutely!
This post may contain affiliate links. Read our disclosure policy.


Brown Butter Sweet Potato Pie is the perfect unique dessert you’ve been searching for this Thanksgiving!
While you can’t beat a traditional Double Crust Apple Pie or Pecan Pie for Thanksgiving, sometimes, you just want to mix it up a bit. This pie is a fun twist on classic fall flavors.
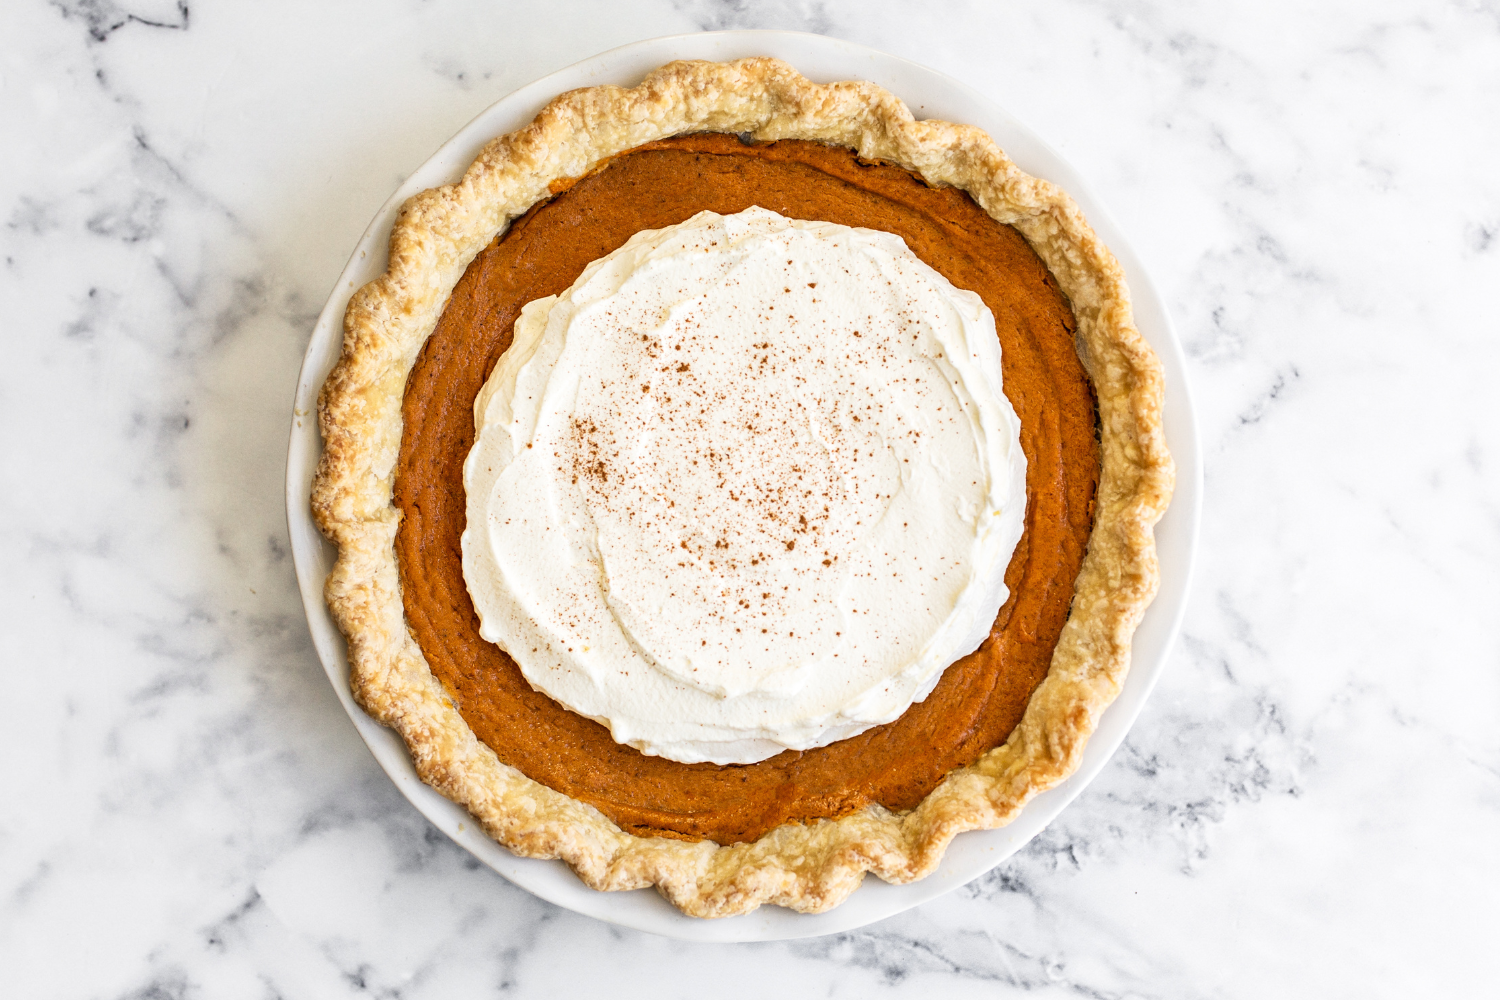
This pie is nutty and toasty thanks to the brown butter. It’s creamy and slightly tangy thanks to the sour cream. And the buttery, flaky homemade pie crust brings it all together perfectly.
I served it with freshly whipped cream on top, but vanilla ice cream would also be amazing.
This pie would be particularly perfect at a Friendsgiving celebration. I hope your family and friends enjoy this Brown Butter Sweet Potato Pie as much as we do!

Sprinkle of Science
How to Make Homemade Sweet Potato Pie

How is Sweet Potato Pie Different than Pumpkin Pie?
They look very similar, but the tastes and textures are quite different. Sweet potato pie is, well, sweeter! Where pumpkin pie filling feels more like custard, sweet potato pie is firmer, sturdier, and more velvety thanks to the extra starches in the potatoes.
If you have pumpkin pie haters in the family, then this sweet potato pie is sure to impress them.
Do I Have to Use Fresh Sweet Potatoes?
Yes. Canned sweet potato puree has more water content and will take much, much longer to cook. Fresh sweet potato puree is firmer and starchier so it makes for a much better filling. Not to mention the taste is 100x better!
How to Make Sweet Potato Puree
- Place 3 large sweet potatoes on a foil or parchment-lined rimmed baking sheet, and bake at 425°F for 45 to 60 minutes, or until completely fork tender.
- Allow the sweet potatoes to cool, then peel off the skin.
- Mash the flesh with a potato masher or blend in a food processor or blender.
- Store in an airtight container in the fridge for up to 5 days or in the freezer for up to 2 months. Let come to room temperature before using in this pie recipe.
- Do not boil the sweet potatoes to make the puree! We don’t want to add any additional water to the pie. You can microwave them, but the cooking will be less even. Additionally, microwaves vary so much that timing can be tricky to estimate.
The Sugar in the Filling
Give your freshly pureed sweet potato a taste before proceeding with the recipe. If your potatoes aren’t very sweet, feel free to add a little additional sugar to the recipe.
No Evaporated Milk
This Sweet Potato Pie contains NO evaporated or canned milk products, for the freshest and richest flavor possible. We’re using heavy cream and sour cream instead, to get an amazing taste, as well as a rich, creamy texture.
You can use plain full-fat yogurt if you don’t have sour cream.
Tips for Making Brown Butter
- Use a stainless steel sauté pan for best results. Nonstick prevents the butter from browning completely – and it also prevents you from being able to visually see how browned the butter is getting. Same with the dark color of cast iron. Something with a wider surface area, like a sauté pan rather than a saucepan, encourages browning faster and more evenly.
- Don’t step away from butter that’s browning after it’s melted! It can go from browned to burnt very quickly.
- At the same time, don’t be afraid of letting that color develop. It should become rich amber in color and nicely fragrant.
- Be sure to scrape all the brown bits into the mixing bowl – that’s where the flavor lives!
- Learn all my tips and tricks for browning butter in my How to Brown Butter article here.
Tips for a Flaky, Crispy Pie Crust
- Do not skip par-baking the crust. Skipping this step will cause a soggy pie crust.
- If soggy pie bottoms are a common problem for you, try baking your pie on the bottom rack of the oven. Or better yet, on top of a baking stone!
- Check out my Best Ever Pie Crust post for more tips on making the perfect pie crust.
How to Tell When Sweet Potato Pie is Done Cooking?
- Baking Sweet Potato Pie correctly is key. Underbake and your filling won’t set up and hold its shape. Overbaking will lead to cracks.
- Your pie is done baking when it’s set at the edges but still wobbly in the center. The residual heat will continue to cook the center.
- A knife inserted into the edge of the filling should come out moist but clean.
- The best way to tell when a pie is done is to use an instant-read thermometer and insert it into the center (but don’t allow it to touch the crust and pan). It should read 165-175°F when the pie is done.
What Type of Pie Pan is Best?
Use a 9-inch pie plate for this pie. If you’re using a metal pie pan, that will cook faster. Glass and ceramic pie plates will cook slower. Check out my Best Pie Pan article here for all my pie pan experiments and recommendations.
How to Cut Perfect Slices
For perfect slices, make sure the pie is completely cooled. This can take a few hours at room temperature. For really easy clean slices, refrigerate the pie. Use a sharp knife and run the blade under hot water, carefully wiping off between slices. For the first piece of pie, make three slices. This will give you some wiggle room and leverage to remove that tricky first slice.
How to Store and Make Sweet Potato Pie Ahead of Time
- This pie will become more flavorful as it sits, but the crust will lose some of its crispiness.
- I’m comfortable leaving the pie out for up to 6 hours at room temperature, but if this makes you nervous, feel free to refrigerate as soon as it’s cooled.
- Store covered in the fridge (without the whipped cream for best results) for up to 2 days.
- Only add the whipped cream when serving, if possible, as it will deflate more the longer it sits.
Can I Freeze Sweet Potato Pie?
Yes! Wrap the baked and cooled Brown Butter Sweet Potato Pie tightly in foil. Place in an airtight container and freeze for up to 3 months. To serve, thaw overnight in the refrigerator and allow to come to room temperature before slicing.
Email This Recipe
Enter your email, and we’ll send it to your inbox.
Ingredients
For the crust:
- 1 (single crust)
Best Ever Pie Crust , chilled overnight
For the filling:
- 4 tablespoons (57 grams) unsalted butter
- 2 cups (545 grams) sweet potato puree*
- ¼ cup (50 grams) granulated sugar
- 3 large eggs, at room temperature and beaten
- 2 tablespoons all-purpose flour
- 1 teaspoon fine sea salt
- 1 ½ teaspoons ground cinnamon
- ½ teaspoon ground ginger
- ¼ teaspoon ground cloves
- ½ cup sour cream or plain yogurt, at room temperature
- ½ cup heavy cream, at room temperature

For the whipped cream:
- 1 cup heavy cream, cold
- 3 tablespoons powdered sugar
- 1 teaspoon vanilla extract
- 1/4 teaspoon ground cinnamon
Instructions
Blind bake the crust:
- Remove the pie crust from the fridge. Let sit at room temperature for about 5 minutes, until slightly pliable.
- Roll the dough out on a generously floured work surface. Keep turning the dough after every roll to ensure it doesn’t stick to the counter and is of even thickness and to avoid overworking the dough. Add additional flour to the dough, the counter, and your rolling pin as needed. Roll out into a 13-inch circle about 1/8-inch thick.
- Gently roll the dough up and around the rolling pin then unroll and drape over a 9-inch pie pan. Gently press into the pie pan, being careful to avoid stretching it to fit. Use scissors or a knife to trim the excess dough, leaving a 1-inch overhang. Fold the overhang under itself and crimp or flute. Avoid making the flute so heavy that it slumps over. Pierce the base of the dough with a fork.
- Cover the dough in plastic wrap and refrigerate for at least 2 hours, or overnight.
- Preheat the oven to 400°F. Line the chilled crust with foil pressed gently into the bottom and sides, leaving an overhang to protect the edges.
- Fill the crust completely to the top with pie weights, rice, granulated sugar, or dried beans. Place on a rimmed baking sheet. Bake until just barely beginning to brown and no longer raw, about 15 to 18 minutes. Remove from oven, and carefully remove the foil and pie weights.
- Let cool on a cooling rack and reduce oven temperature to 350°F.
Make the filling:
- In a medium stainless steel sauté pan set over medium heat, melt the butter. Swirling the pan occasionally, continue to cook the butter. It should become foamy with audible cracking and popping noises. Once the crackling stops, continue to swirl the pan until the butter develops a nutty aroma and brown bits start to form at the bottom. Once the bits are amber in color, about 2 to 3 minutes after the popping stops, remove from heat. Let cool until just warm.
- In a large mixing bowl, combine all of the filling ingredients except the brown butter. Once smooth, slowly pour the butter into the mixture, stirring until it’s completely combined. Pour the mixture into the prepared pie shell.
- Bake on a rimmed baking sheet at 350°F for about 50 minutes, or until the pie is set and the internal temperature is 165-175°F. If the crust begins to brown too much, carefully place a pie shield on it then return to the oven. Cool on a wire rack for at least 2 hours before serving.
Make the whipped cream:
- In a large bowl, use an electric mixer fitted with the whisk attachment to beat the cream until it begins to thicken. Add in the powdered sugar, vanilla, and cinnamon and continue to whip until medium-stiff peaks form.
- Just before serving, spread the whipped cream over the pie.
Notes
- Take 3 large sweet potatoes, place on a foil or parchment-lined rimmed baking sheet, and bake at 425°F for 45 to 60 minutes, or until completely fork tender.
- Let cool then peel off the skin.
- Mash the flesh with a potato masher or blend in a food processor or blender.
- Store in an airtight container in the fridge for up to 5 days or in the freezer for up to 2 months. Let come to room temperature before using in this pie recipe.
- Do not boil the sweet potatoes, to avoid adding any excess water. You can microwave, but the cooking will be less even.
This post was originally published in 2019 and has been updated with additional recipe tips. Photos by Ashley McLaughlin.


I am so happy I made this pie, it’s wonderful. Thank you for the recipe, a new family favorite. I did add the zest of 1 orange, and we love this pie!!!
Ooooo delicious! So happy your pie was a hit!
Delicious cake! Thank you so much for I Will try to make this Yeah!
This looks and sounds delicious. I have to try this before the holiday can introduce it!