Tessa’s Recipe Rundown
Taste: Big butterscotch flavor without being too sweet. These cookies taste how you imagine a Chocolate Chip Cookie should taste!
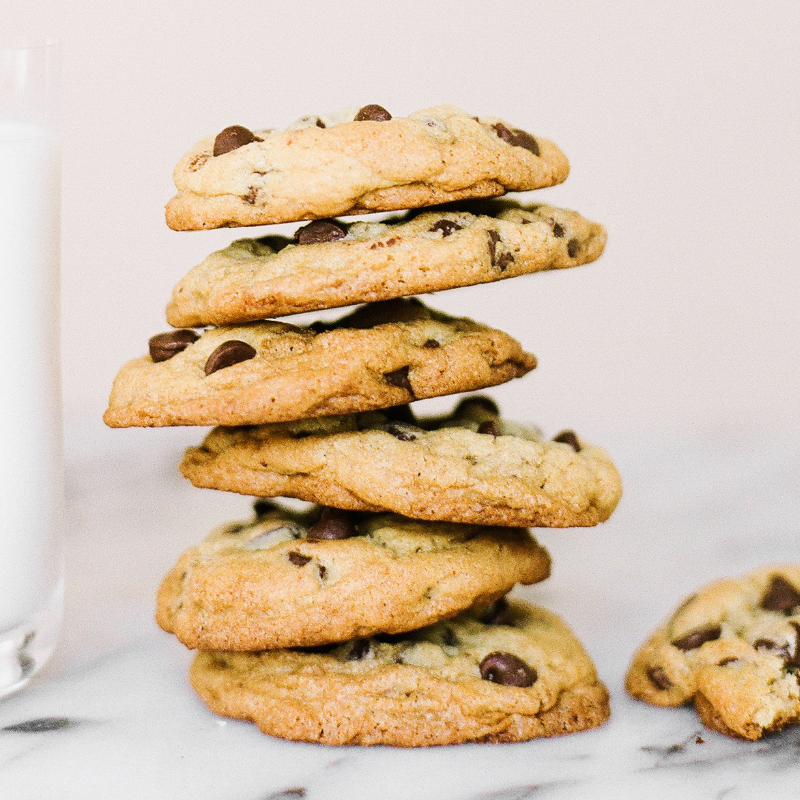
Texture: The best part! Big, thick, super chewy yet soft on the inside, and crisp at the edges. Perfection.
Ease: Very easy, though I do use two different flours, and there is a chilling period, so some patience is needed – but I promise, they’re worth the wait!
Why You’ll Love This Recipe: My all-time favorite cookie recipe. I have extra dough stashed in the freezer at all times.
This post may contain affiliate links. Read our disclosure policy.
I’m super excited to share with you my Ultimate Chewy Chocolate Chip Cookies. They’re my version of the perfect Chocolate Chip Cookie!
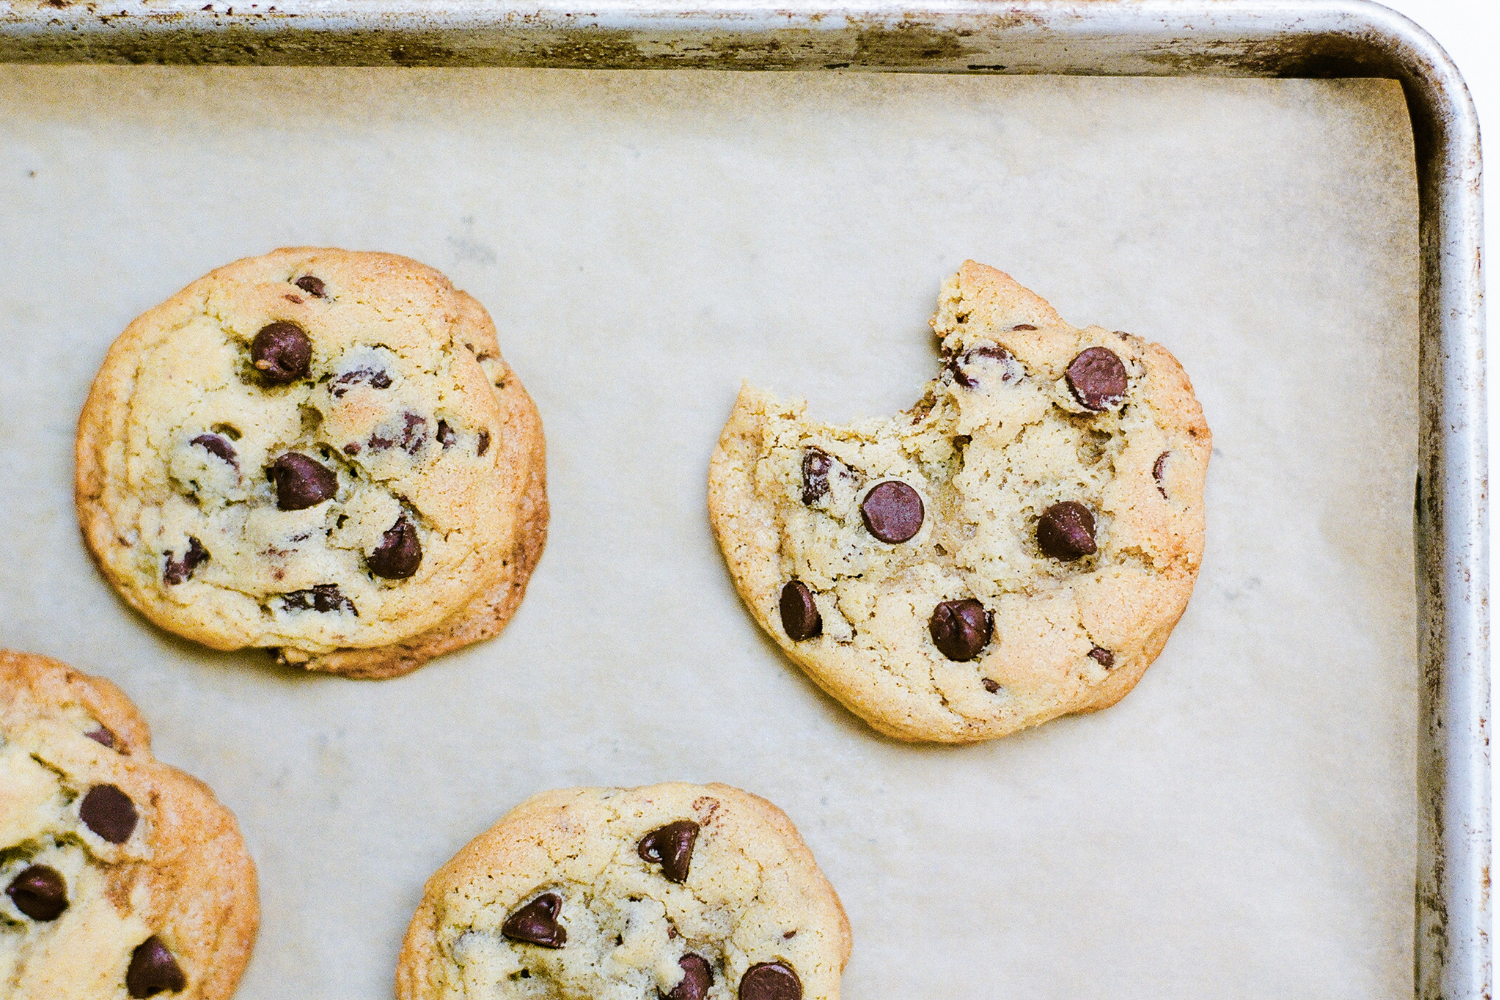
If you’re anything like the hundreds of people who have taste-tested and tried this recipe, you’re going to love it! (Just read some of the comments below!)
You may be asking yourself what makes this recipe “ultimate?” Well, these cookies have HUGE butterscotch flavor, which is exactly what I adore in a Chocolate Chip Cookie. Beyond the flavor is the texture, which is nothing short of incredible.
These cookies have my version of the ultimate texture combination: thick, super chewy, soft, and a little gooey in the middle, crisp and slightly crunchy at the edges, with gooey chocolate chips throughout. Does anything get better than that? I don’t think so.
I would want these cookies to be a part of my last meal on earth, that’s how much I love them!
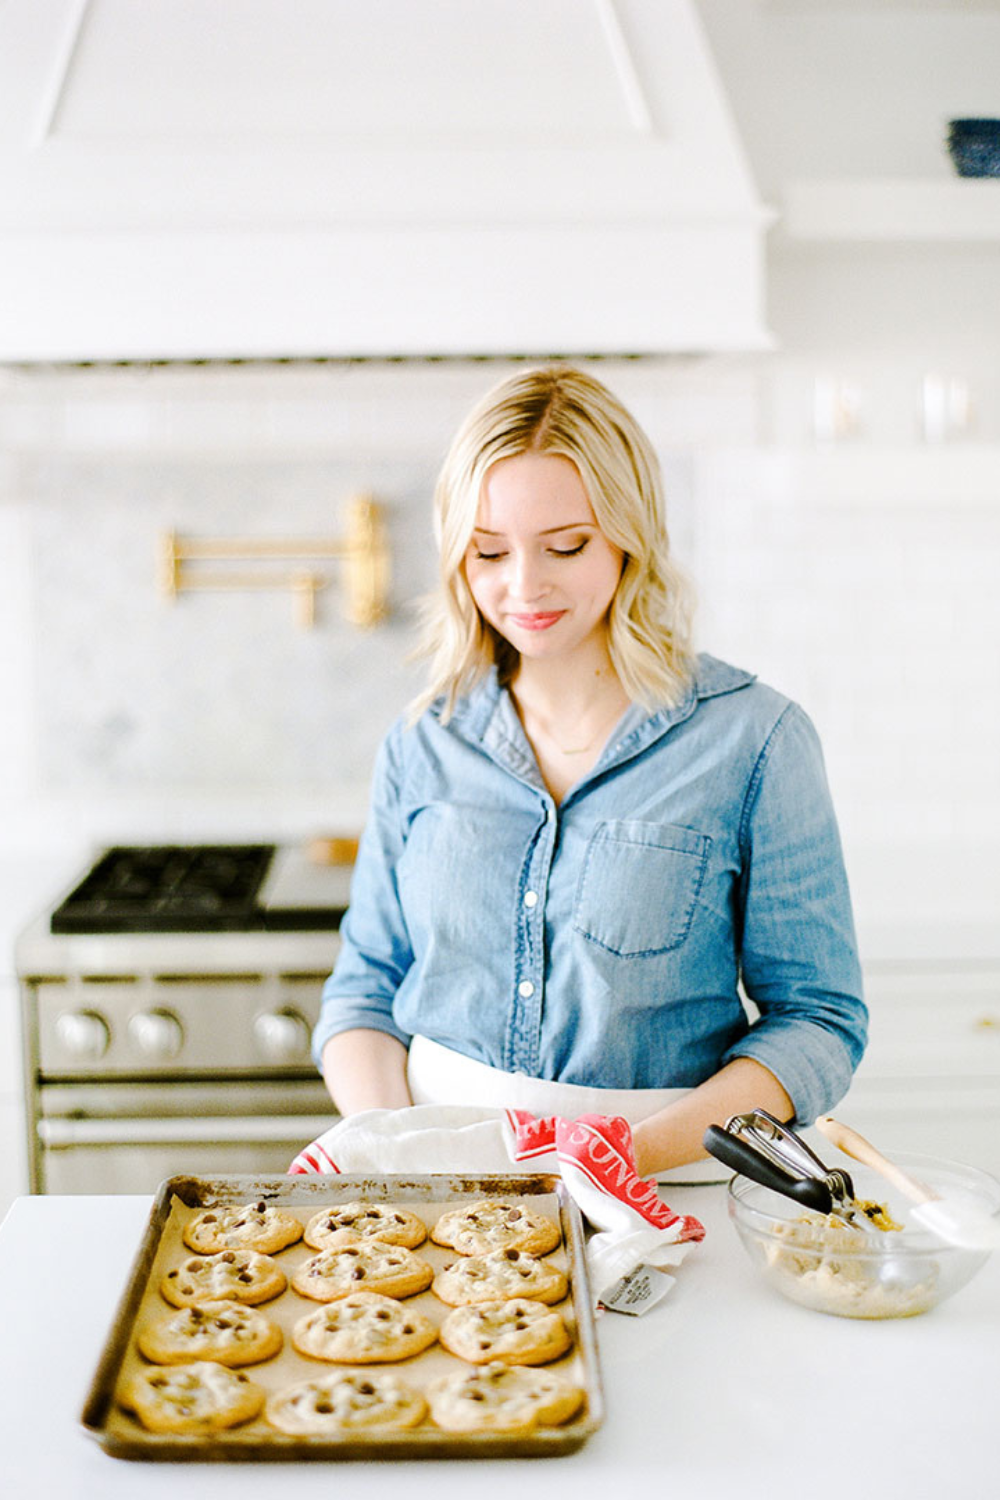
This is a perfect recipe to learn some of the basics of the science of baking, because with cookies, it’s so easy to see how different tweaks impact the final result! Learn more about that just below.

Sprinkle of Science
How to Make Chewy Chocolate Chip Cookies
Why This is the Ultimate Chocolate Chip Cookie Recipe
- This recipe utilizes half bread flour, which lends chewiness to the cookies.
- It also uses a good amount of brown sugar, which lends that butterscotch flavor and a thick, soft texture.
- The extra egg yolk in this recipe also helps keep these cookies soft yet chewy and adds richness in flavor.
- You can think of the 24 – 72 hour chilling period as a “marinating” period. The flavors intensify and the texture will become thicker and chewier. It’s pretty amazing and I promise it’s worth the wait.
Do I Really Need to Use Bread Flour?
You don’t absolutely HAVE to use bread flour, but it adds a ton of chewy texture to these cookies that’s worth the extra trip to the store. If you can’t get bread flour, then use all AP flour in its place.
Do I Really Need to Chill the Dough?
The last key element is the 24 to 72 hour chilling period which is a huge pain in the butt, I know, but it is so completely worth it.
Why? The flavor and texture improve SO much as the dough chills!
If you’re absolutely strapped for time, you can bake off some cookies right away – but I’d definitely encourage you to try chilling and see all the wonders it works on your dough.
How to Chill the Dough
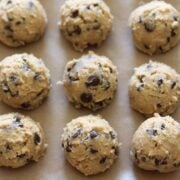
Make the dough and scoop into balls using a cookie scoop. Place in an airtight container and place in the fridge for 24-72 hours. Bake straight from the fridge when ready. Learn more about chilling cookie dough here. The colder the dough, the thicker the cookies!
Can You Freeze Chocolate Chip Cookies?
I love cookies straight from the oven, so I always keep pre-scooped balls of Chocolate Chip Cookie dough in a resealable bag in my freezer so I can bake cookies off and have them warm from the oven in a matter of minutes whenever I want. Here are more tips for freezing cookie dough.
How to Store Cookies & Keep Them Soft
The cookies can be stored in an airtight container at room temp for up to 3 days. Be sure they are completely cooled before storing.
To keep your baked Chocolate Chip Cookies soft, you can add a tortilla on the top and bottom of the cookies to the container a day or two after baking them, or whenever you find the texture starting to harden. The moisture will migrate to your cookies, making them soft and chewy again.
How to Refresh Stored Cookies
If desired, reheat and refresh the cookies in a 350°F oven for 3-5 minutes. Your toaster oven should work just fine. This improves the texture, and there’s nothing like a warm Chocolate Chip Cookie!
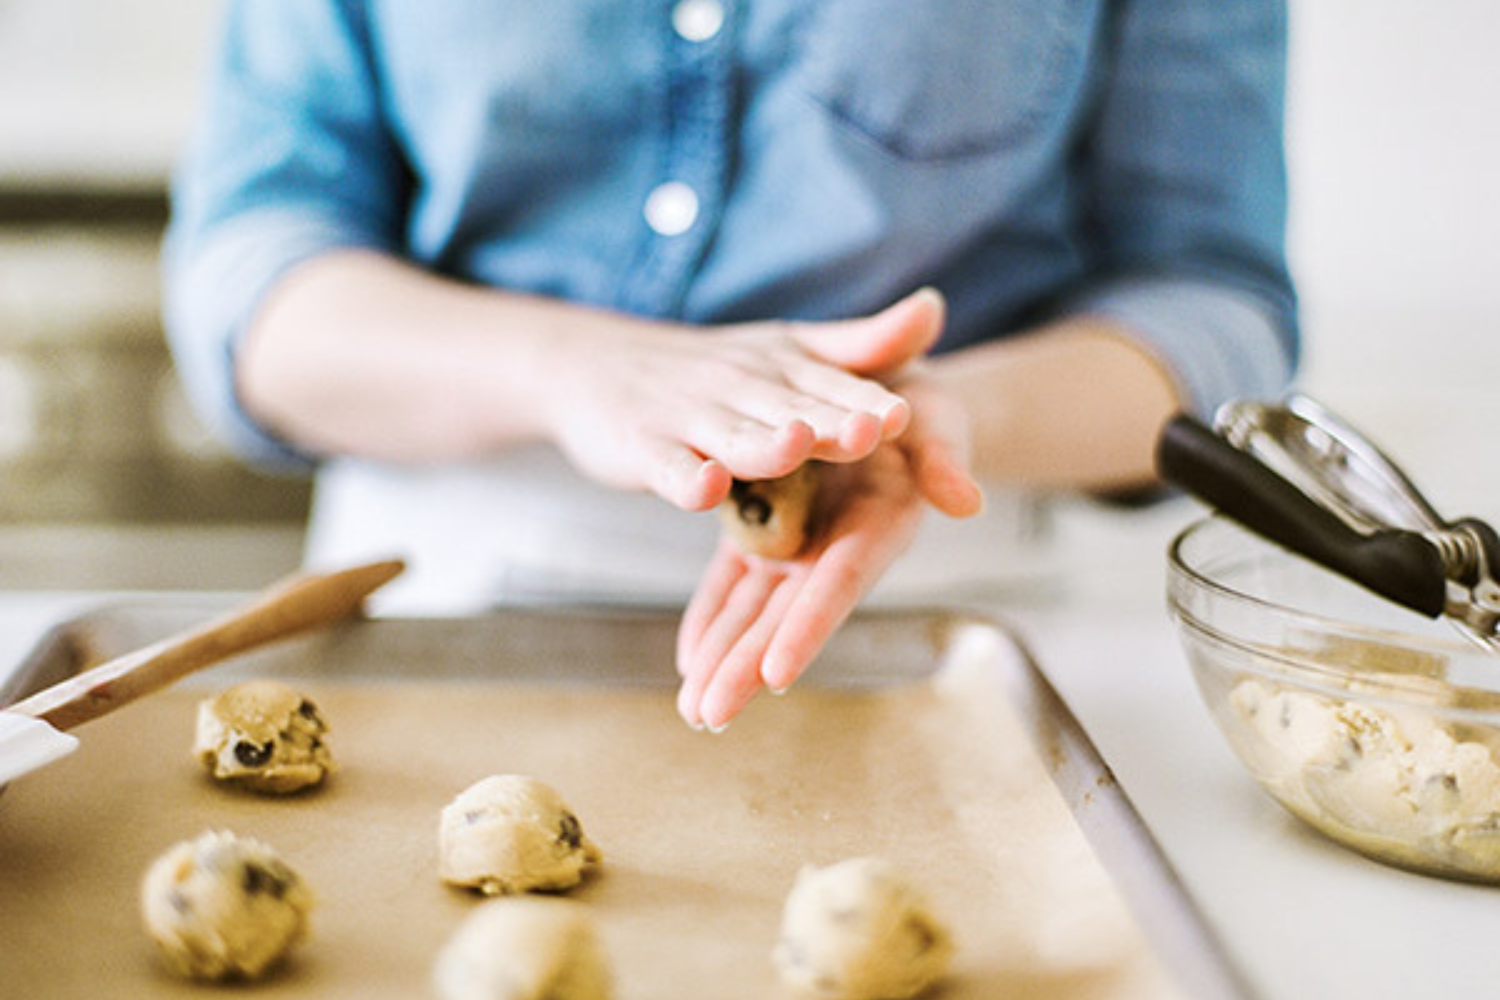
Step-by-Step Video
If you want to watch me demonstrate how to make this recipe LIVE, with all of my scientific explanations, tips, and tricks, check out this live Facebook video I did a while back!
More Chocolate Chip Cookie Recipes:
- Bakery Style Chocolate Chip Cookies – my most popular recipe!
- Oatmeal Chocolate Chip Cookies
- Chocolate Chip Cookie Cake
- Soft Double Chocolate Chip Cookies
- Giant Reese’s Pieces Peanut Butter Cookies
- Oatmeal Chocolate Chip Cookies
- See ALL of my cookie recipes + tips on the SCIENCE of cookie baking here!
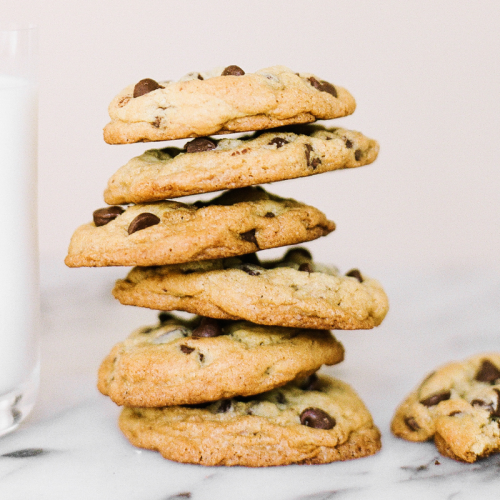
Ultimate Chocolate Chip Cookies
Email This Recipe
Enter your email, and we’ll send it to your inbox.
Ingredients
- 1 1/2 cups (191 grams) all-purpose flour*
- 1 1/4 cups (159 grams) bread flour*
- 1 teaspoon baking soda
- 1 teaspoon baking powder
- 1 teaspoon fine sea salt
- 2 sticks (227 grams) unsalted butter, at cool room temperature
- 1/2 cup (100 grams) granulated sugar
- 1 1/4 cups (250 grams) lightly packed brown sugar
- 2 teaspoons vanilla extract
- 2 large eggs plus 1 egg yolk, at cool room temperature
- 2 cups (340 grams) semisweet chocolate chips
Instructions
- If baking right away, preheat oven to 350ºF. Line baking sheets with parchment paper.
- In a medium bowl, whisk together the flours, baking soda, baking powder, and salt.
- In the bowl of an electric mixer, beat the butter, granulated sugar, and brown sugar on medium-high speed until light and fluffy, about 2-3 minutes. Add the eggs and yolk, one at a time, beating well after each addition. Add the vanilla. Slowly beat in the flour mixture. Stir in the chocolate chips.
- Using a large spring-loaded cookie scoop, divide the dough into 3-tablespoon sized balls.
- If time permits, wrap dough balls in plastic wrap and refrigerate for at least 24 hours but no more than 72 hours. This allows the dough to “marinate” and makes the cookies thicker, chewier, and more flavorful.
- When ready to bake, place dough balls on prepared baking sheets, at least 2 inches apart.
- Bake for 12-15 minutes, or until golden brown. Cool for 5 minutes before removing to wire racks to cool completely.
- Although I prefer cookies fresh from the oven, these can be stored in an airtight container for up to 3 days. See pink tip box above the recipe for storage tips.
Recipe Notes
This recipe was originally published in October 2013 and has been updated with more baking tips and new photos. Photos by Constance Higley.





Thanks for the amazing recipe! Can’t wait to try this. Just wanted to check if you recommend Light or Dark brown sugar or a certain brand.
Thank you!
Linked to this article on our site, classesncamps.com We are definitely going to play with this during break. What yummy experimentation!
these are hands down the BEST cookies i’ve ever made. my goodness. i usually tweak recipes (in fact i find it hard not to) but these were just absolutely perfect.
thank you!
Hello Tessa.
I’m sorry I thought I read a response to this question earlier but I couldn’t find it now that I am “in process”. I would like to make medium vs large cookies. So maybe 2-tbs balls, and approx 36 cookies….what do I need to do for baking time and/or oven temp accordingly? Thanks so much!!
Quick question: do you flatten the dough when putting it on the tray or will they just flatten by themselves in the oven? Because whenever I don’t flatten them in other recipes, they get too fat and take a longer time to cook inside so the outside becomes too hard. Please answer as soon as possible! Thank you 😀
Nope I don’t flatten, they should spread on their own. If they don’t spread you could be over-measuring the flour. I would also suggest following the baking time recommended by the recipes, cookies may LOOK undercooked in the middle when you take them out of the oven but will continue to cook from the residual heat of the pan. This way the middle is perfect, slightly gooey, and the outside is crisp but not hard. Happy baking!
Oh I forgot to mention that I didn’t have bread flour on hand and instead used whole wheat pastry as the protein contents are quite similar. Could that contribute to the darker colour? Does bread flour absorb more of the fat from the butter and that’s why I find them to be kinda greasy?
They still turned out lovely anyways with the whole wheat pastry flour.
Hey Tessa!
I just made these cookies and they are absolutely divine!! I had to bake them longer at 20 mins at they were still very delicate to lift at 15. I also noticed that my cookies have a much more golden brown colour to then. They’re not burnt in any way but just look a lot more golden. I also noticed that they’re really quite greasy. I put 2 sticks as listed but maybe the sticks here (canada) are a bit different than American ones? What could I do next time to make them less greasy and maybe less golden looking?
Thanks!!!
Hi Gilian! Glad you enjoyed the cookies. 2 sticks of American butter = 8 ounces or 227 grams. Not sure how that compares to Canadian butter sticks but I’ve edited the recipe to include this for non-US bakers. I would try lowering the baking time to what the recipe states if you give the recipe another go, they will continue to cook with the residual heat and by the time they are more cooled they should be solid enough and not too browned.
you’ve done it. finally i have found the recipe for chocolate chip cookies that i have been searching for pretty much my entire life. These are perfect. i just cannot thank you enough – my pintrest is filled with pinned recipes claiming to be the perfect cookies, to no avail. here you were this whole time! thank you thank you thank you!! i only adjusted slightly for the ingredients I had on hand , and they were perfection to a T.
What an incredible comment Danielle! Thank you SO much I am so thrilled you love the recipe.
Wow what an incredible comment!! Thank you so much!!
My comment cut short maybe because of the emoticons that I put. Anyway, I baked this yesterday and my family loved it! Thank you for sharing your blessings, which is your talent in baking, to us! And oh, I would like to ask how many days can I store the cookies in an airtight container? Happy Holidays! 🙂
Hi Tessa! I’m from the Philippines. I know that info is not too important but I would like you to know that your Ultimate CCC reached the SE side of Asia. That’s how good it is!
Hi Teresa,
Thanks so much for sharing your love for baking with all the cookie lovers in the world!! Your knowledge and level of care is truly appreciated! I always come back to this amazing chocolate chip recipe!!
Happy holidays!
Hi Tessa!!
Thank you for all of your wonderful tips and recipes! I really enjoyed them and learned a great deal by reading your posts 🙂
I know you hate raisins 😛 but cause my family loves raisin so i substituted the chocolate chips with raisins and oatmeals. I also didnt mix the bread flour in and i baked it without refrigerating it ( i know i skipped some steps the same some time ><) So my question is not about the taste, is more about the texture. I've attached my pictures at the URL. So my cookies turned out a little bit cakey or puffed up. I read it somewhere that you said it might be cause of the overbeating of the butter…but i did time it 2 mins though. My cookies ALWAYS turn out this way no matter which recipe i used…
Do you have any suggestions as to why else it might be?