


Tessa’s Recipe Rundown
Taste: Big butterscotch flavor without being too sweet. These cookies taste how you imagine a Chocolate Chip Cookie should taste!
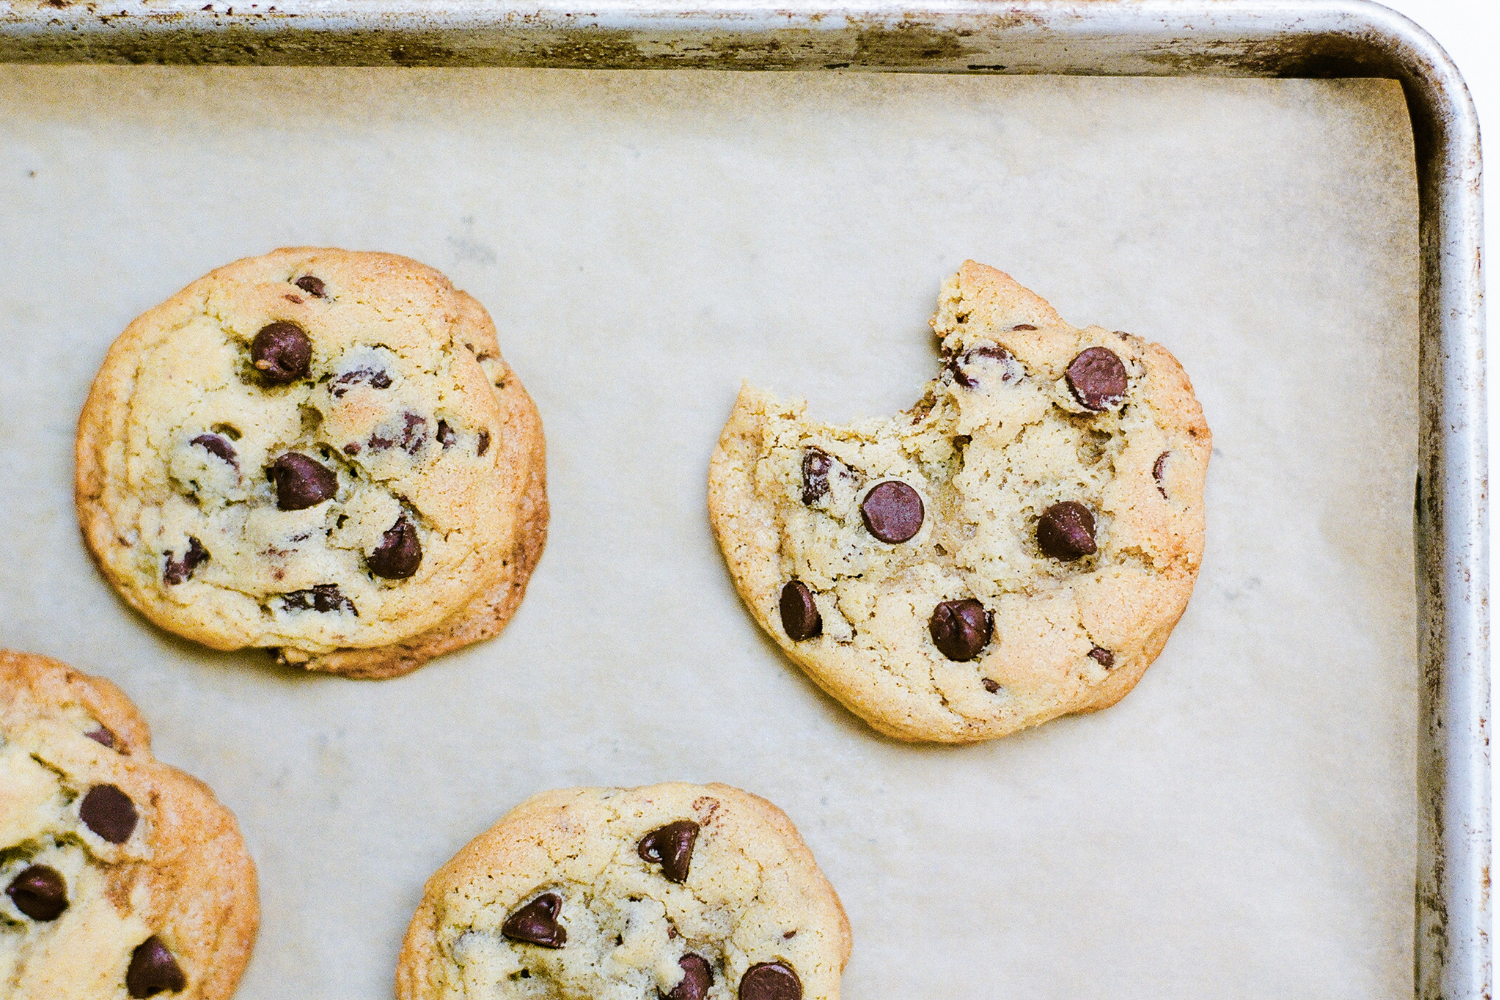
Texture: The best part! Big, thick, super chewy yet soft on the inside, and crisp at the edges. Perfection.
Ease: Very easy, though I do use two different flours, and there is a chilling period, so some patience is needed – but I promise, they’re worth the wait!
Why You’ll Love This Recipe: My all-time favorite cookie recipe. I have extra dough stashed in the freezer at all times.
This post may contain affiliate links. Read our disclosure policy.
I’m super excited to share with you my Ultimate Chewy Chocolate Chip Cookies. They’re my version of the perfect Chocolate Chip Cookie!
If you’re anything like the hundreds of people who have taste-tested and tried this recipe, you’re going to love it! (Just read some of the comments below!)
You may be asking yourself what makes this recipe “ultimate?” Well, these cookies have HUGE butterscotch flavor, which is exactly what I adore in a Chocolate Chip Cookie. Beyond the flavor is the texture, which is nothing short of incredible.
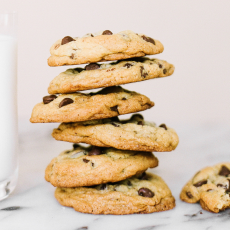
These cookies have my version of the ultimate texture combination: thick, super chewy, soft, and a little gooey in the middle, crisp and slightly crunchy at the edges, with gooey chocolate chips throughout. Does anything get better than that? I don’t think so.
I would want these cookies to be a part of my last meal on earth, that’s how much I love them!
This is a perfect recipe to learn some of the basics of the science of baking, because with cookies, it’s so easy to see how different tweaks impact the final result! Learn more about that just below.

Sprinkle of Science
How to Make Chewy Chocolate Chip Cookies
Why This is the Ultimate Chocolate Chip Cookie Recipe
- This recipe utilizes half bread flour, which lends chewiness to the cookies.
- It also uses a good amount of brown sugar, which lends that butterscotch flavor and a thick, soft texture.
- The extra egg yolk in this recipe also helps keep these cookies soft yet chewy and adds richness in flavor.
- You can think of the 24 – 72 hour chilling period as a “marinating” period. The flavors intensify and the texture will become thicker and chewier. It’s pretty amazing and I promise it’s worth the wait.
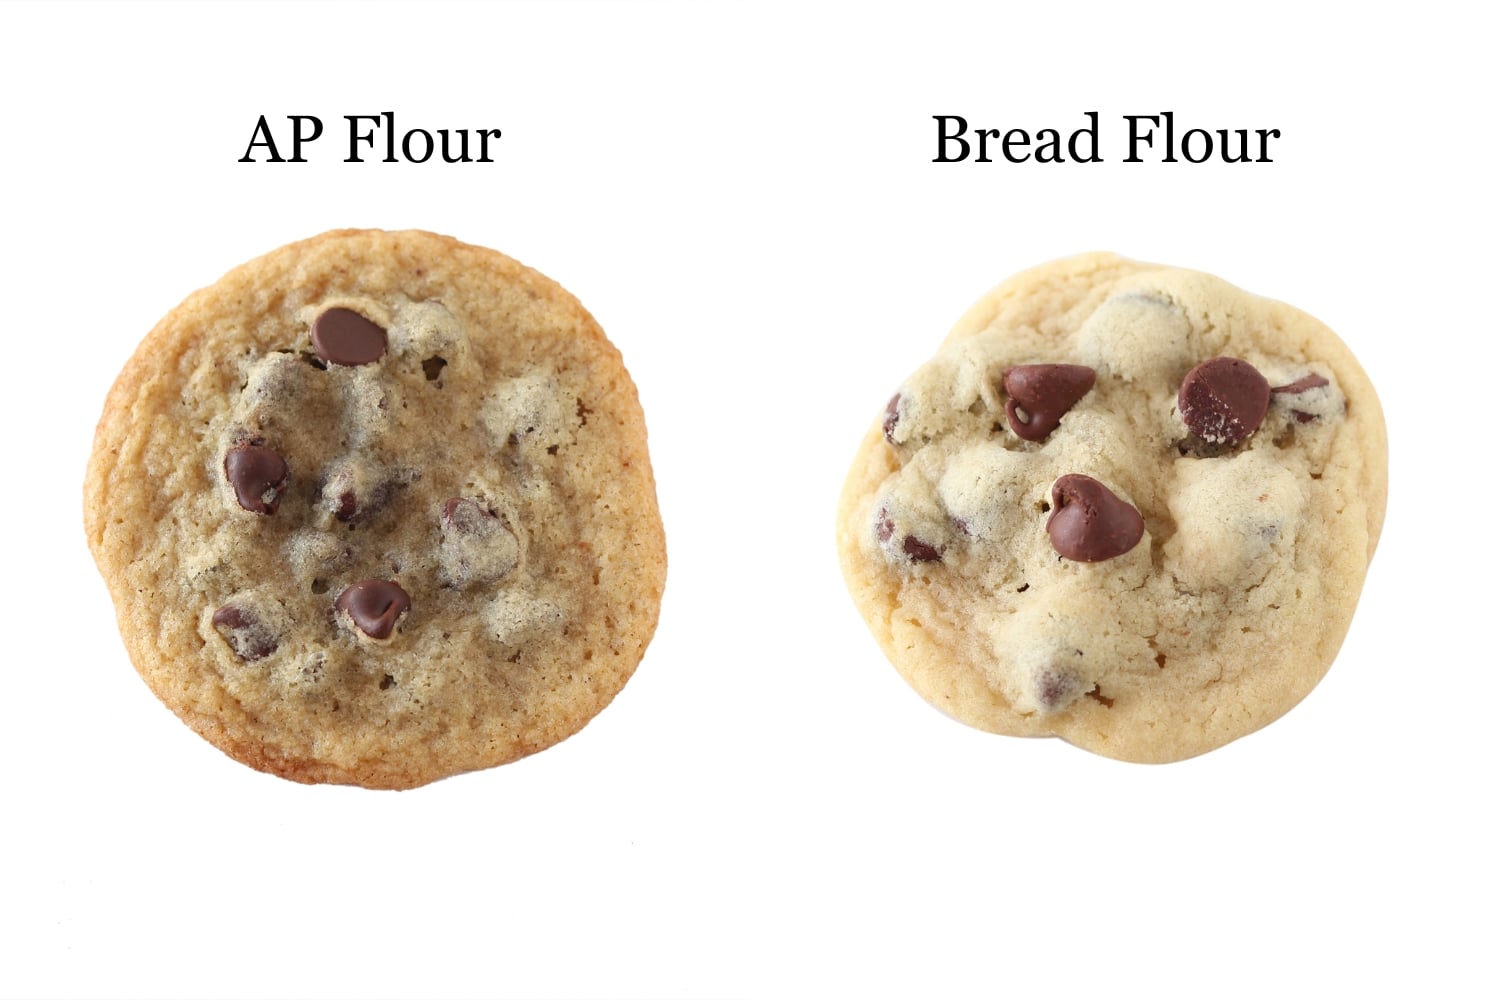
Do I Really Need to Use Bread Flour?
You don’t absolutely HAVE to use bread flour, but it adds a ton of chewy texture to these cookies that’s worth the extra trip to the store. If you can’t get bread flour, then use all AP flour in its place.
Do I Really Need to Chill the Dough?
The last key element is the 24 to 72 hour chilling period which is a huge pain in the butt, I know, but it is so completely worth it.
Why? The flavor and texture improve SO much as the dough chills!
If you’re absolutely strapped for time, you can bake off some cookies right away – but I’d definitely encourage you to try chilling and see all the wonders it works on your dough.
How to Chill the Dough
Make the dough and scoop into balls using a cookie scoop. Place in an airtight container and place in the fridge for 24-72 hours. Bake straight from the fridge when ready. Learn more about chilling cookie dough here. The colder the dough, the thicker the cookies!
Can You Freeze Chocolate Chip Cookies?
I love cookies straight from the oven, so I always keep pre-scooped balls of Chocolate Chip Cookie dough in a resealable bag in my freezer so I can bake cookies off and have them warm from the oven in a matter of minutes whenever I want. Here are more tips for freezing cookie dough.
How to Store Cookies & Keep Them Soft
The cookies can be stored in an airtight container at room temp for up to 3 days. Be sure they are completely cooled before storing.
To keep your baked Chocolate Chip Cookies soft, you can add a tortilla on the top and bottom of the cookies to the container a day or two after baking them, or whenever you find the texture starting to harden. The moisture will migrate to your cookies, making them soft and chewy again.
How to Refresh Stored Cookies
If desired, reheat and refresh the cookies in a 350°F oven for 3-5 minutes. Your toaster oven should work just fine. This improves the texture, and there’s nothing like a warm Chocolate Chip Cookie!

Step-by-Step Video
If you want to watch me demonstrate how to make this recipe LIVE, with all of my scientific explanations, tips, and tricks, check out this live Facebook video I did a while back!
More Chocolate Chip Cookie Recipes:
- Bakery Style Chocolate Chip Cookies – my most popular recipe!
- Oatmeal Chocolate Chip Cookies
- Chocolate Chip Cookie Cake
- Soft Double Chocolate Chip Cookies
- Giant Reese’s Pieces Peanut Butter Cookies
- Oatmeal Chocolate Chip Cookies
- See ALL of my cookie recipes + tips on the SCIENCE of cookie baking here!
Email This Recipe
Enter your email, and we’ll send it to your inbox.
Ingredients
- 1 1/2 cups (191 grams) all-purpose flour*
- 1 1/4 cups (159 grams) bread flour*
- 1 teaspoon baking soda
- 1 teaspoon baking powder
- 1 teaspoon fine sea salt
- 2 sticks (227 grams) unsalted butter, at cool room temperature
- 1/2 cup (100 grams) granulated sugar
- 1 1/4 cups (250 grams) lightly packed brown sugar
- 2 teaspoons vanilla extract
- 2 large eggs plus 1 egg yolk, at cool room temperature
- 2 cups (340 grams) semisweet chocolate chips


Instructions
- If baking right away, preheat oven to 350ºF. Line baking sheets with parchment paper.
- In a medium bowl, whisk together the flours, baking soda, baking powder, and salt.
- In the bowl of an electric mixer, beat the butter, granulated sugar, and brown sugar on medium-high speed until light and fluffy, about 2-3 minutes. Add the eggs and yolk, one at a time, beating well after each addition. Add the vanilla. Slowly beat in the flour mixture. Stir in the chocolate chips.
- Using a large spring-loaded cookie scoop, divide the dough into 3-tablespoon sized balls.
- If time permits, wrap dough balls in plastic wrap and refrigerate for at least 24 hours but no more than 72 hours. This allows the dough to “marinate” and makes the cookies thicker, chewier, and more flavorful.
- When ready to bake, place dough balls on prepared baking sheets, at least 2 inches apart.
- Bake for 12-15 minutes, or until golden brown. Cool for 5 minutes before removing to wire racks to cool completely.
- Although I prefer cookies fresh from the oven, these can be stored in an airtight container for up to 3 days. See pink tip box above the recipe for storage tips.
Notes
This recipe was originally published in October 2013 and has been updated with more baking tips and new photos. Photos by Constance Higley.


Any idea why my cookies aren’t cooking evenly? The outside seems to be browning but the inside is raw. The dough has been chilled. I even tried lowering the ovens temp. Seems like this happens with all my chocolate chip cookies! :-/ they taste really good though!
Are you using a nonstick pan? Sometimes the dark coating can cause the bottoms and edges to cook quicker and even burn.
Chocolate chip cookies are my weakness! Cannot wait to try these : ) Thanks for the recipe!
They’re gorgeous, Tessa! So many choc chip cookie recipes I want to try and this one is now one of them! Pinned!
I noticed you provided weight for some of your ingredients. I love in Australia and our cup measurements are different. I’d love to get the recipe exactly right cause it looks so fantastic. Would you be able to supply the weights of the ingredients?
Hi Kikeena! I think beyond the flour weights which are already provided, you would only need to know that the recipe calls for 8 ounces or 227 grams of butter. I believe Australian and U.S. cup volume measurements are basically the same, perhaps a negligible difference.
I want these so badly I could cry.
Love loved your cookie experiment testing flour, egg(s), etc. and this one is a winner! My new go to. While my logical side can understand the refridge time, honestly, my taste buds didn’t notice enough of a difference to offset the mild inconvience-I had baked a couple out of the batch before putting them in the refridge. Has anyone mentioned a couple of the ingredient omissions in the instructions? A novice may have a challenge and not notice. Keep up the good work and love the test experiment postings!
Thank you! I think that I have used recipes that said melted butter and not room temperature. Maybe that was it. I really appreciate your help and am anxious to try these over the weekend.!
Love love love! I can never resist a chocolate chip cookie and these look a-maz-ing. Soft and chewy are my fav. 🙂
I am wondering about the butter. Every time I try to make cookies with butter, they end up flat and too crispy no matter how awesome they look on the recipe photo. Yours don’t look flat at all either. This recipe sounds great but I am worried about the butter. Could I be doing something wrong? Can shortening be sub’d?
Hmm it sounds like your butter may be too warm. The butter should be at a COOL room temperature. It should give slightly when you press your thumb into the stick of butter but not be super greasy and your finger shouldn’t be able to easily slide through the entire stick. If you follow this recipe, your dough should be relatively cold when it goes into the oven because it’s been chilled for a long period of time, this will help make the cookies thick. If you’d like, you can use half shortening half butter. Also avoid using cooking spray, that can cause the cookies to spread.
Yummy! I love how you experimented with all the different factors to come up with the ultimate chocolate cookie. I will be making these very soon! Thanks for sharing your recipe 😀
24 hours in the frig sounds so difficult! How bad would it be to skip that step?
I know it requires a lot of willpower but it really does improve the taste and texture!! You can skip it, the cookies will still be delicious. I would suggest you make the dough, bake off enough cookies to satisfy your craving, chill the remaining dough, then bake off the chilled dough to see if it makes enough of a difference for you to be willing to wait!
These look AAAAMAZING! But here’s my question….. will they be as good if made in smaller size? (I don’t like to give kids such giant cookies.) And how do they taste a day (or two) after baking? See, I have found the NYT CCC to be fabulous – on baking day- but not so good a day later.
You could definitely do a smaller size, just shave the baking time by a minute or two. They remain soft and chewy even days after baking, however I prefer freshly baked cookies still warm from the oven so I just freeze the balls of dough and bake them off as I want.