


This post may contain affiliate links. Read our disclosure policy.

I have been counting down the days until I could share this recipe with you. It’s one of those recipes that I think will become such a staple part of your repertoire you might even memorize it!
I actually reached out to my favorite brand of baker’s yeast, Red Star Yeast, to see if they’d like to partner with me to bring you today’s recipe, challenge, and giveaway. There’s so much fun inside this one post so be sure to read through it all so you don’t miss a thing.

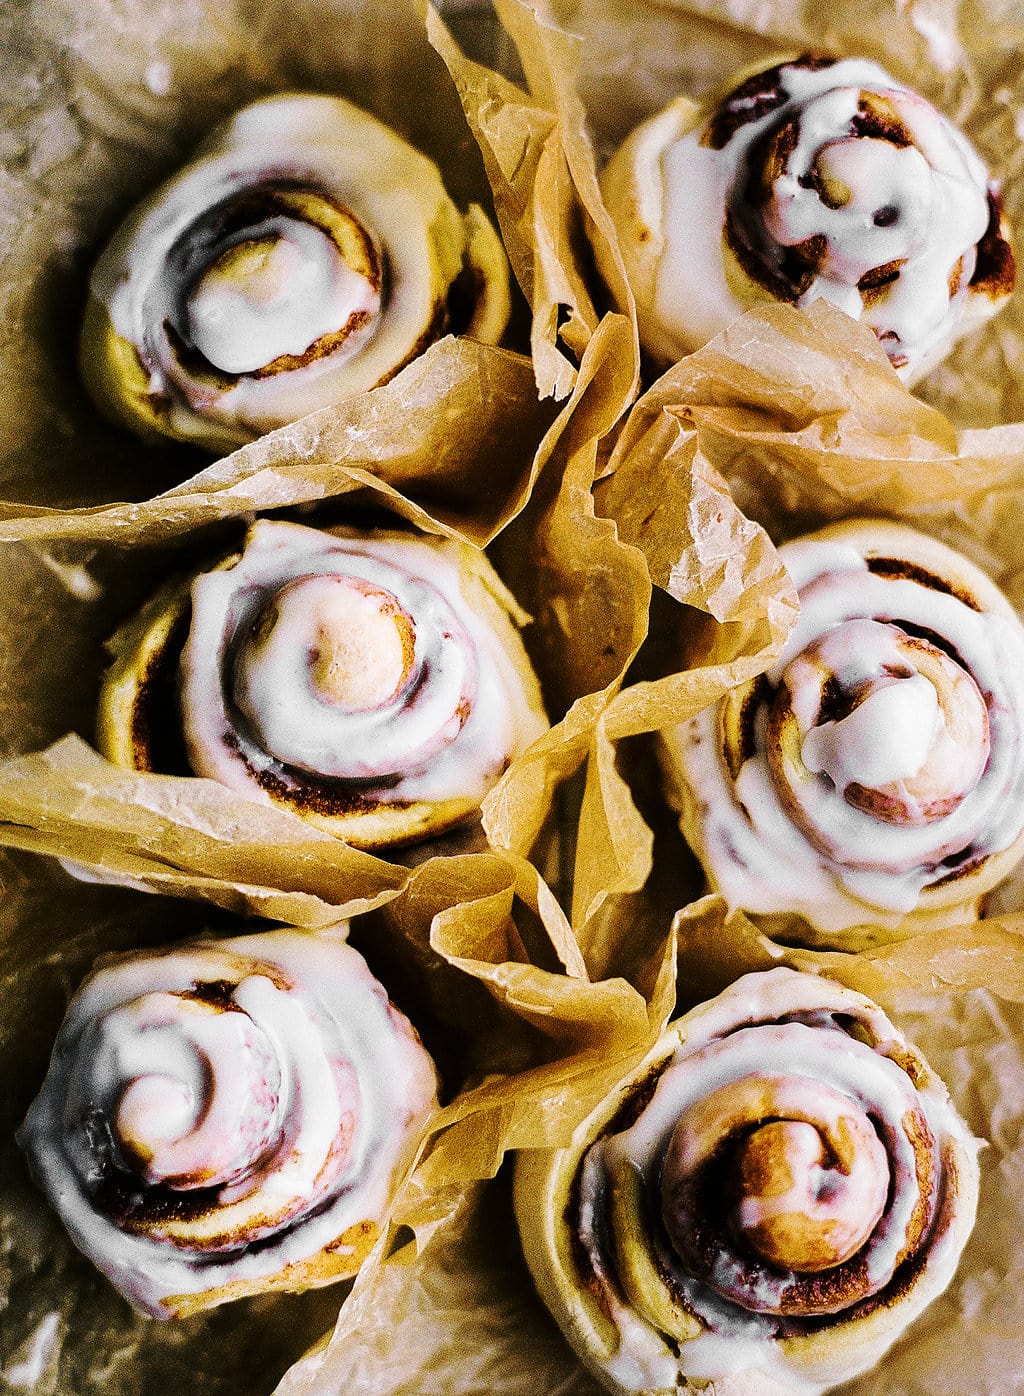
Baking with yeast can be intimidating and confusing, which is I am obsessed with Red Star’s Platinum Yeast. Just take a look at these photos. Look how beautifully tall, fluffy, and wonderful everything looks! This yeast takes the worry out of baking homemade bread.
It’s made with dough enhancers that strengthen and improve your dough, and even increase oven spring (hello, cinnamon rolls that look like they’re from a professional bakery!). I find this gives you a little room to learn, experiment, and explore working with yeast without worrying about messing anything up.
There are a TON of tips, tricks, directions, and useful bread baking information in this post. But before we get to that I wanted to share the best part about this partnership with Red Star Yeast.
We’re challenging you to get into the kitchen and whip up a batch of this dough to make whatever your heart desires (instructions for various ways to use this dough are below). Even if you’ve never made bread before, or have only worked with yeast a few times, this recipe is basically foolproof! Promise.
Yeast Tips
Working with Dough
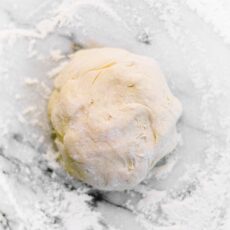
Tip #1: Don’t add too much extra flour. The amount of flour you need to bring the dough together into a smooth, elastic, and cohesive ball will depend on your kitchen environment. If the dough is tacky, or even a little sticky, don’t worry. It will absorb moisture as it rests and rises.
It’s better for the dough to be a little sticky at the beginning than it is to add so much extra flour you create dense and unappealing bread. If your dough is impossibly sticky and not coming together, add additional flour just 1 tablespoon at a time.
Tip #2: Dough is like a living organism and the conditions in your kitchen (such as the humidity and temperature) can affect how it grows. Every dough recipe is basically a set of guidelines. Follow the sensory indications provided to make the dough work in your environment. It may require slightly more or less flour than the recipe states, and more or less time to rise or bake.
Tip #3: The dough is done rising when it passes the ripe test. After the first rise, it should be about doubled in size. Use a clear bowl or container to more easily gauge how much the dough has grown. To see if it’s raised enough to proceed, insert two fingers about a knuckle into the dough. If indentations remain once you remove your fingers, it’s ready to go. If not, it needs to rise longer until the indentations remain.
After the second rise, gently press one finger into the dough. If the indentation remains, it’s ready to be baked!
What if I don’t have a stand mixer, can I make this by hand?
Of course! Simple combine all of the ingredients in a large mixing bowl until a shaggy mass forms then move to a work surface to knead by hand. It may take a few minutes longer by hand to get the dough smooth and elastic, depending on your size and strength. You can learn how to knead dough by hand completely here.
I can’t find Red Star Platinum Yeast!
Click here to see where Red Star Platinum Yeast is sold near you. Because this yeast basically makes this recipe “foolproof,” I highly recommend seeking it out. If you can’t locate it, you can also use the same amount of quick rise yeast or active dry yeast, though that may take longer to rise.
Why didn’t my yeast proof?
Your yeast may be old, and has become dead/inactive. For steps for testing if your yeast is fresh, check out my free Beginner’s Quick Guide to Bread.
Can I use a bread machine to mix and rise the dough?
That should work just fine!
How To Use This Recipe
Below I’ve outlined some basic and fun uses for this dough. The basic printable recipe is at the bottom of this post. It’s so incredibly versatile, so feel free to get creative!
That’s why I’m hosting a challenge to encourage you to have fun with this ultimate simple dough recipe!
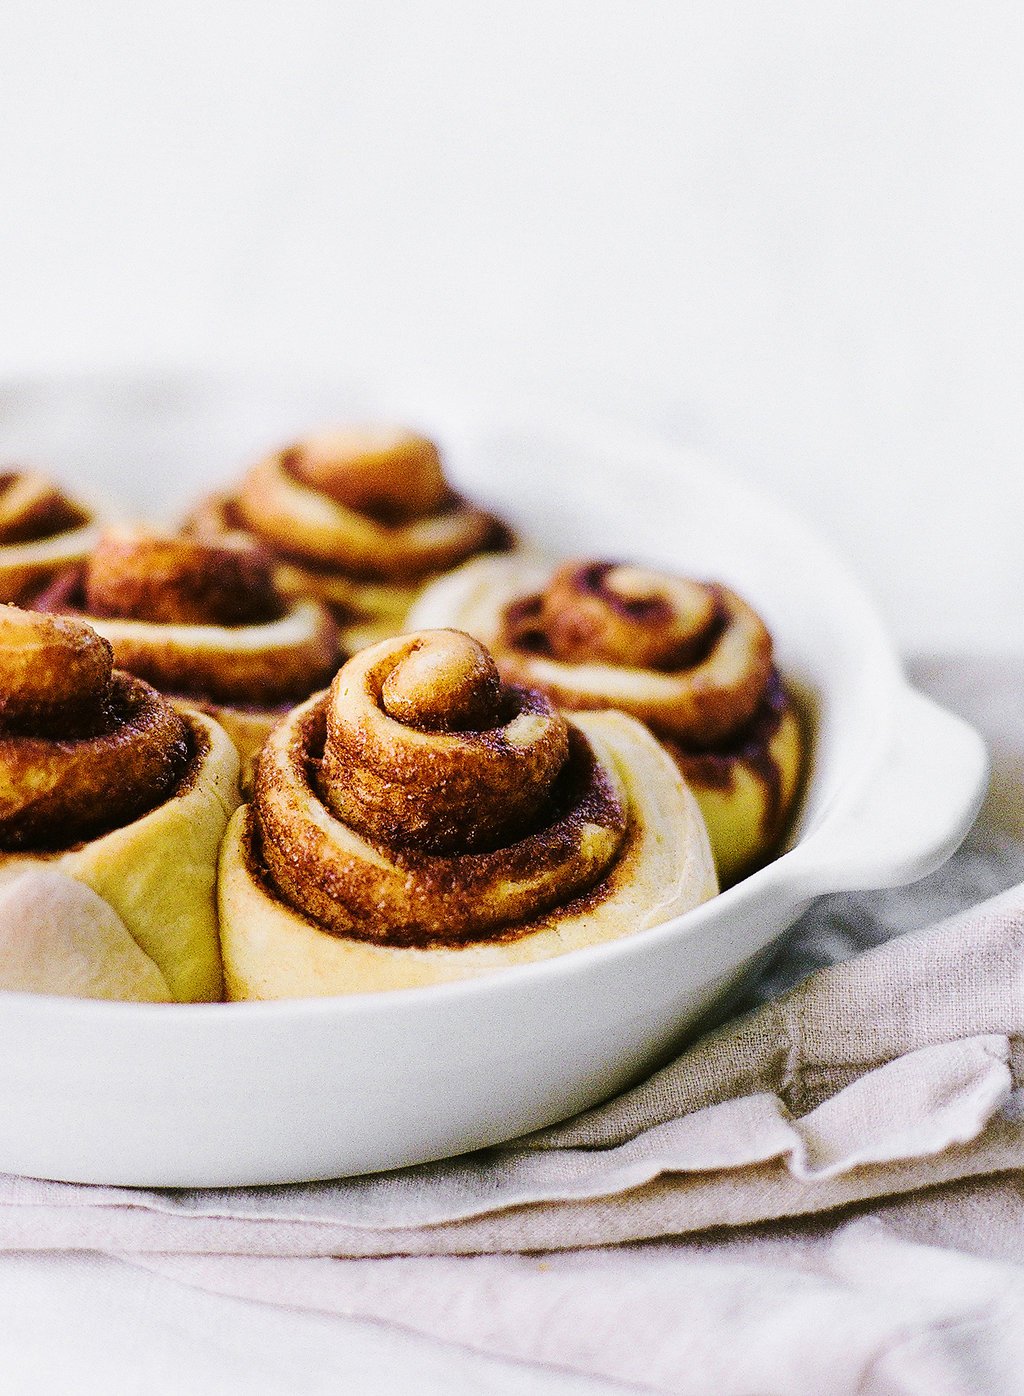
Cinnamon Rolls
Make the dough through the first rise as stated in the recipe below.
Combine the following for the filling:
- 3/4 cup packed light brown sugar
- 2 tablespoons ground cinnamon
- 1/8 teaspoon fine salt
- 4 tablespoons unsalted butter, melted and cooled
Roll the dough out into a 9 by 15-inch rectangle. Spread the filling mixture all over, leaving a ½-inch border at the far edge. Roll the dough up tightly then press the seam to seal. Use a sharp serrated knife to cut the ends off, and then slice 11 to 12 equal pieces. Place in two greased pie pans or a rectangular baking dish.
Loosely cover and allow to rise for 30 minutes to 1 hour, or until puffy. Bake at 350°F for 25 minutes, or until golden brown.
Combine 3 tablespoons heavy cream with 1 cup powdered sugar the drizzle all over the warm rolls. Serve!
Note: You could even use the same technique for the cinnamon rolls above, but with a savory filling of cream cheese, bacon, and green onions.
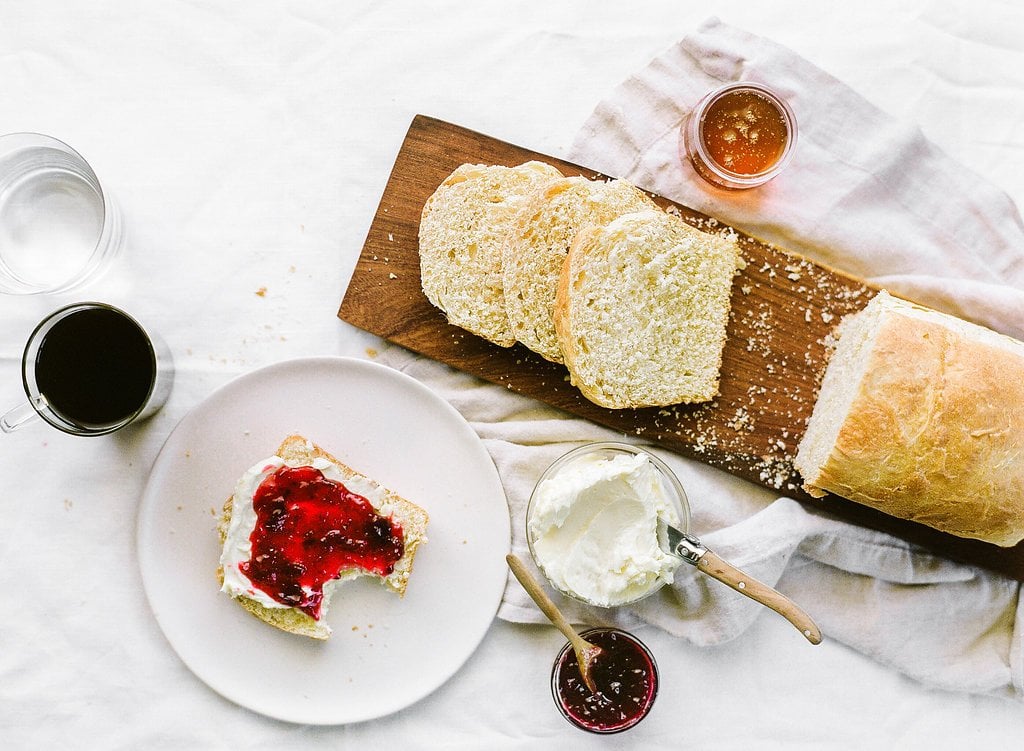
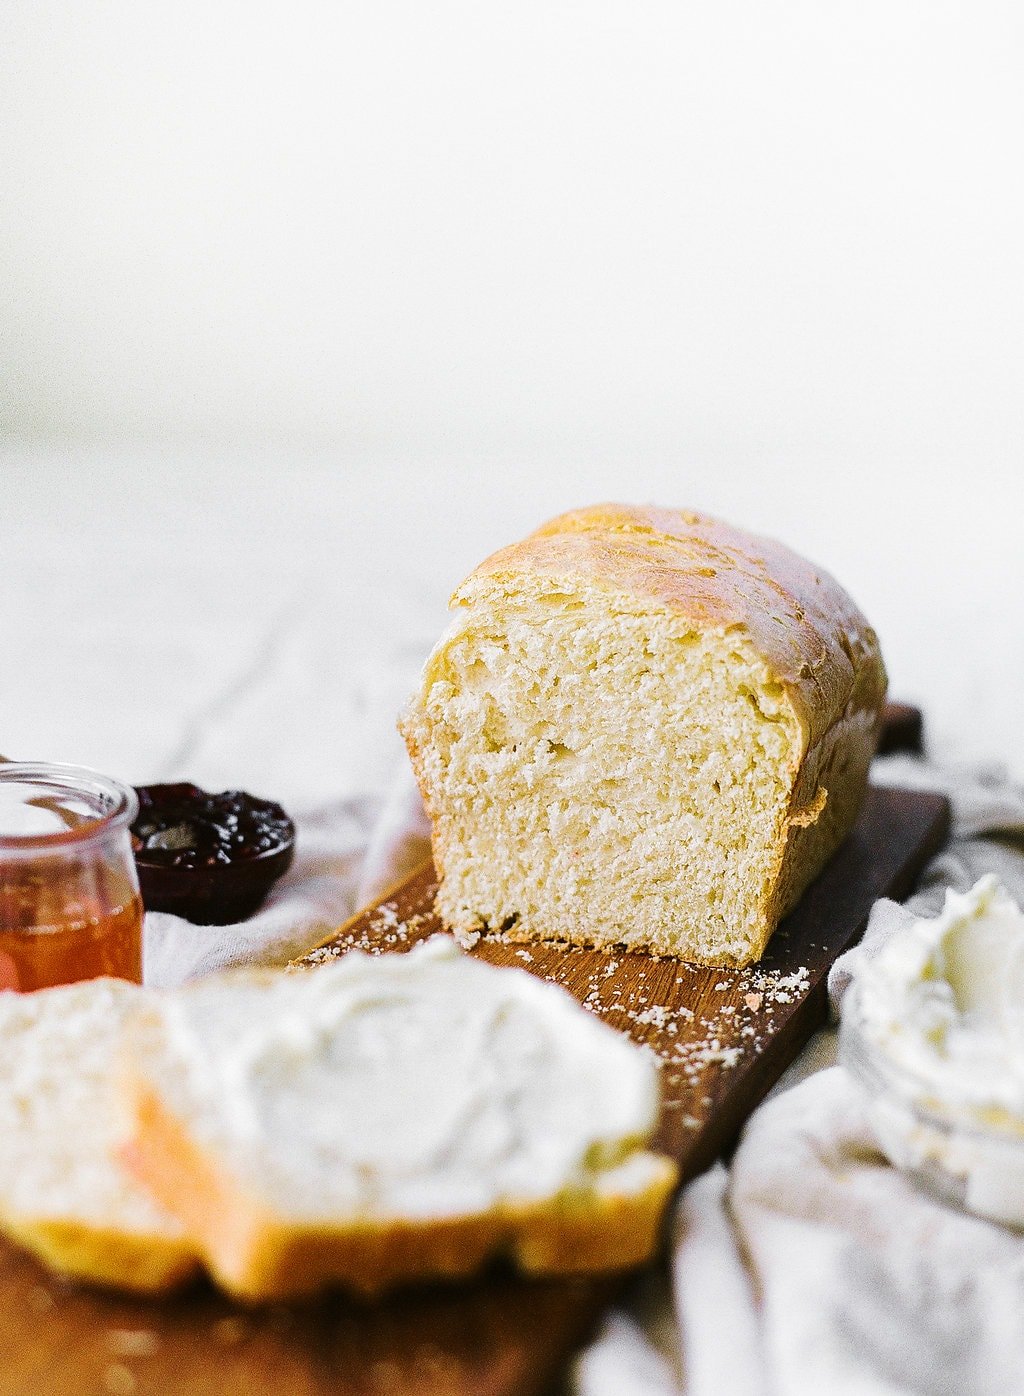
Sandwich Bread
After the dough has doubled in size for the first rise, turn it out onto a lightly floured work surface. Shape into an 8-inch log and place into a lightly greased 8 1/2 x 4 ½-inch loaf pan. Cover loosely with lightly greased plastic wrap, and allow the bread to rise for about 1 hour, until it’s domed about 1 inch above the edge of the pan.
Bake the bread in a 350°F oven for 30 to 35 minutes, or until it’s light golden brown. Allow to cool completely.
Pizza
After the dough has doubled in size for the first rise, roll it out into about a 12-inch round on a lightly floured surface. Brush with olive oil before adding your sauce, cheese, and desired toppings. Bake on a preheated pizza stone, or on a flat baking tray, at 450°F for about 10 minutes, or until golden and bubbling.
Dinner Rolls
Spray a 9 by 13-inch baking pan with nonstick cooking spray. After the dough has risen for the first time, punch down. Divide the dough into 15 equal pieces. Shape each piece into a tight ball and place in the prepared pan. Brush with 1 tablespoon melted butter and sprinkle with flaky sea salt. Lightly cover and let rise until puffy and doubled in size, about 30 minutes.
Bake in a 375°F oven for 20 minutes, or until golden brown. Brush with more melted butter, if desired. Serve warm. If you’d like to make beautifully shaped rolls, check out my post on 5 Ways to Shape Bread Rolls.
Note: I love to throw in shredded cheese, garlic, or herbs to the dough for extra flavor.
Make Ahead Options
Fridge
Option 1
Refrigerate the dough after kneading in a container wrapped in plastic wrap or in a ziptop bag. Leave room for the dough to rise (it will still happen even in the colder environment).
In this case, the overnight refrigeration is the first rise so once you’re ready to proceed with the recipe remove the dough from the fridge, punch it down, and allow it to rest and warm to room temperature before shaping, about 30 minutes. The final rise after shaping may be longer because the dough is still cool.
Option 2
Refrigerate the dough after it has risen for the first time and been shaped. Cover the loaves or rolls tightly with plastic wrap and refrigerate for up to 24 hours. Loosen the plastic wrap and let rise at room temperature until an indentation made with your finger into the dough remains. Proceed with the recipe.
Freezer
Option 1 (Unbaked)
Wrap and freeze the dough after it has risen for the first time for up to 2 months.
Loosen the plastic wrap and defrost at room temperature before shaping.
Option 2 (Parbake)
Bake for half the specified baking time, or until the bread begins to hold its own shape. Remove from the oven, cool completely, then wrap well in plastic wrap and tin foil. Refrigerate overnight or store in the freezer for up to 1 month. Bring to room temperature then bake for the remaining time from the recipe in the oven (label the time and temperature on the bread before storing). Feel free to wrap and freeze bread rolls individually to bake off as many as needed.
Option 3 (Already baked)
Completely baked and cooled whole loaves or rolls can be frozen in airtight containers for up to 3 months. Defrost at room temperature, then refresh in a 350°F oven for 5 to 10 minutes.
Email This Recipe
Enter your email, and we’ll send it to your inbox.
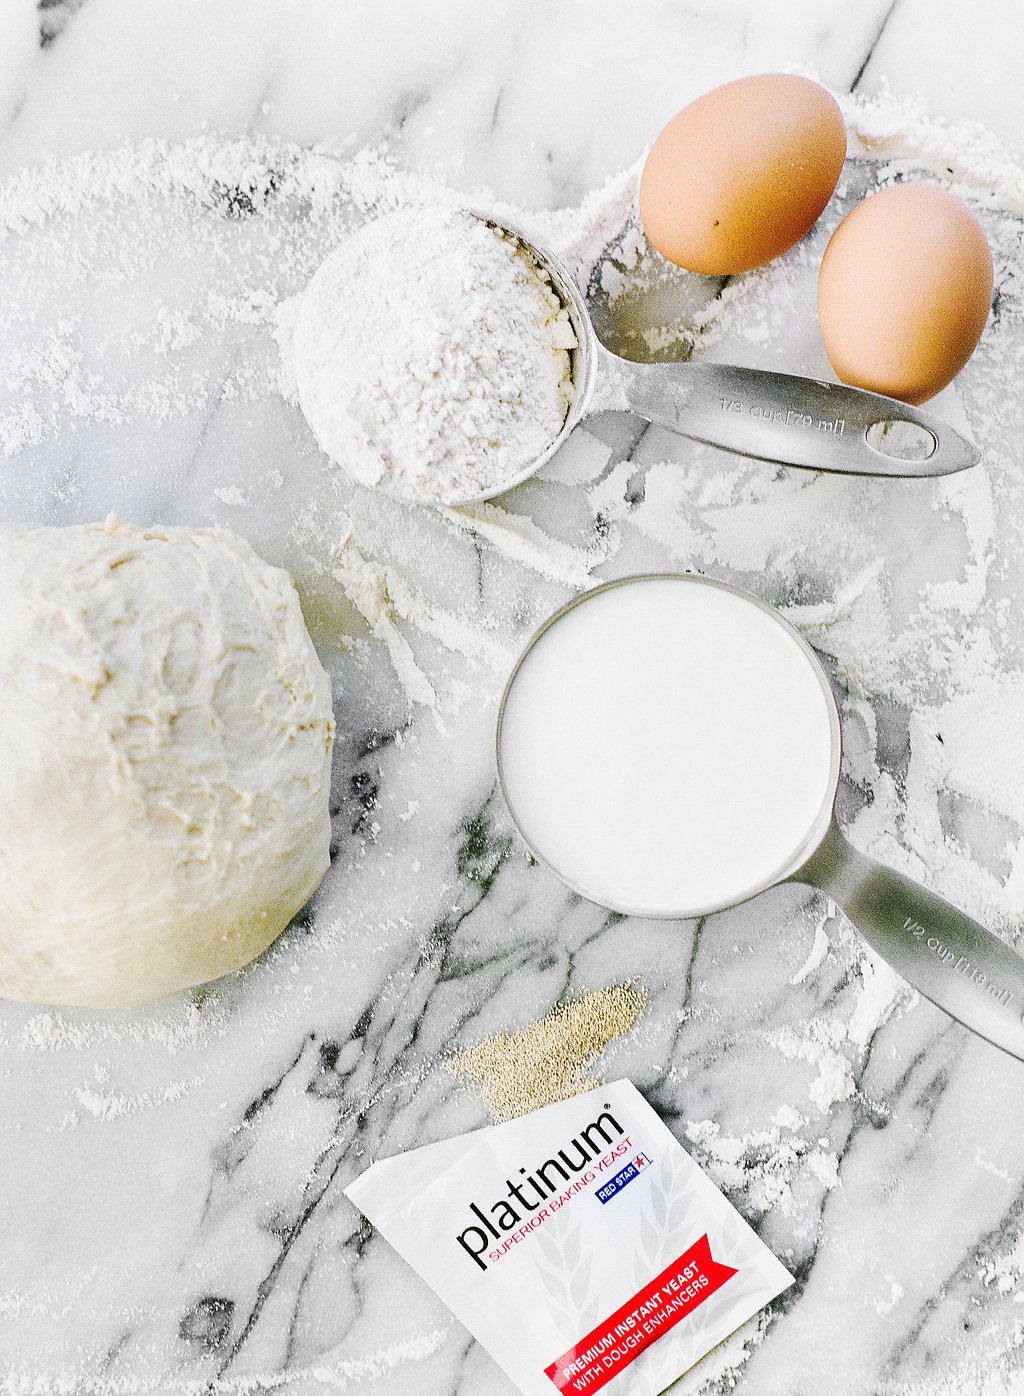
Ingredients
- 1 cup lukewarm milk
- 1/3 cup lukewarm water
- 1 package (2 1/4 teaspoons) RED STAR Platinum yeast
- 1 large egg, beaten
- 2 teaspoons granulated sugar OR honey
- 3 3/4 cups (476 grams) all-purpose flour
- 1 teaspoon fine sea salt

Instructions
- In the bowl of a stand mixer fitted with the dough hook, stir together the milk, water, and yeast. Let stand for 5 minutes, or until the yeast is foamy and dissolved. Add in the egg and sugar, stirring to combine.
- Add in half the flour, stirring until absorbed. Add in the salt. With the mixer on low speed, gradually add in the remaining flour until combined. Increase speed to medium low and knead until the dough is smooth and elastic, about 7 minutes.
- Shape the dough into a ball and place inside a greased mixing bowl. Turn to coat. Cover with plastic wrap and allow to rise until doubled in size, about 1 to 1 1/2 hours.
- Punch the dough down. Now the dough is ready to be shaped and used as you wish. If making any rolls or loaves, allow the dough to rise again after being shaped until it’s puffy, about 30 minutes to 1 hour, before baking.
Photos by Constance Higley.


I love every recipe of yours I try! I have yet to have a failure.
Your recipe layouts are so easy to follow,
You give us so much to learn it’s delightful!
I hope you do a bread dough book just like your cookie book which is my go to everytime I want to bake!
I have been following you for a long time and so look forward to new posts.
It has been several years since I made cinnamon rolls. The dough was a little sticky. I added a little flour on the counter when I rolled them out. My adult kids said they were the best cinnamon rolls they had ever had! I’ll definitely be making them again and trying the variations with the dough.
I couldn’t get the Platinum yeast so used what I have – saf instant – and was afraid I wouldn’t get the results others experienced but wow was I wrong. My dough doubled in size in an hour when most of the time it takes two or even three at my house and with other recipes. I don’t know why that is but I went on to make cinnamon rolls that were fantastic. This will be my go-to dough recipe from now on. Thank you so much!
This bread bowl recipe looks incredible—crispy outside, soft inside, just the way I love it! 🍞 I’ve been exploring all kinds of homemade dough recipes lately, especially ones perfect for soups and stews. I even started sharing some of my favorites over on my site Dough Recipes. Thanks for the inspiration—can’t wait to try this one at home! https://doughrecipes.net/
I can’t believe how fantastic this recipe is! Too easy 👍! It is the ultimate dough 😁
Is there any possibility your Ultimate Simple Dough Recipe could be converted to gluten free? I have Celiac Disease and cannot consume gluten.
Thank you!
We don’t bake gluten-free, so I can’t say for certain! Please let us know how it goes if you give it a try.
Wow it’s great
Love this dough recipe! I have made bread 8 times and am on my 4rth time for buns. The dough is rising right now ! I also use your bagel recipe quite a bit. They turn out perfect to. Thankyou for sharing your great recipes! Happy New Year !
I have not used the recipe but I have used the shaped bread method and a lot of dough method as well
Mom, will you please make these again!
Made half the dough into braided rolls as seen on your youtube and the other half: I rolled out the dough between my hands like a play-dough worm. Next, I used a pastry brush to brush all over with melted butter, then tossed them in cinnamon sugar mix. Finallly, I twisted them like the braided rolls and placed in a butter dish. I covered with plastic and kept in the fridge overnight. I brought to room temperature before baking in 3 75% oven. They have continued to rise and are bursting with cinnamon buttery flavor!