


Tessa Arias, Chef and Cookbook Author
This post may contain affiliate links. Read our disclosure policy.
Clearly, I know a lot about kitchenware.
I worked at Sur la Table for years while going to university and culinary school.
10+ years of blogging, writing new recipes, and writing cookbooks has resulted in the use of a lot of kitchenware.
I’ve also been sent loads of kitchen products (awesome job perk!).
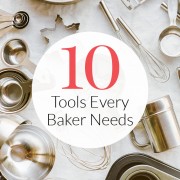
But I typically find myself using the same 10 tools most often. What I’ve listed below are the absolute essentials every baker should own.
Not just own, but optimize. There are a lot of crappy tools and equipment out there.
Some of them can actually ruin your baking which in the long run will only cost you money.
There’s technically more than 10 tools because I listed some sub-categories… but I figured you wouldn’t mind.
If you’re interested in my COMPLETE list of baking tools I use and love, I actually share that (and a whoooole lot more) in my online baking class The Magic of Baking.

(This post contains affiliate links.)
Scale
Using a digital kitchen scale to measure your baking ingredients will instantly and dramatically improve your baking. If everyone who makes my recipes used a scale, half of the potential things to go wrong would vanish! Get one. It’s quicker, easier, cleaner, and 100% accurate in comparison to dry measuring cups. Learn more about using a scale here.
This OXO scale is my go-to, it’s sleek and has a pull out display to accommodate larger bowls. If you’re looking for a cheaper or smaller option, I also like this Escali scale.
Oven Thermometer
The average home oven is slightly inaccurate, some by 20 even 50°F! At the least, most ovens will tell you they’re preheated before they actually are (liars!). This can negatively affect your baked goods in surprising ways.
Using an oven thermometer is the quickest & easiest way to get to know your oven, especially if you’ve moved or gotten a new one recently.
Measuring spoons
Always use stainless steel (more durable and won’t retain flavors) and opt for measuring spoons that are long and narrow so they fit in spice jars. I like to have two sets in my kitchen: one for sweet and one for savory.
The reason I don’t recommend weighing out ingredients in the amount of a tablespoon size or less is because most home scales aren’t sensitive enough to register such small amounts. Plus you need something to spoon out the amount anyways so you don’t accidentally add way too much to your mix.
Glass measuring cups
Always use glass because it’s heatproof and won’t retain odors or colors. I find the 2-cup size to be most versatile and have three of them in my kitchen. You want at least two for recipes with multiple liquid components and to avoid washing mid-preparation.
Unlined aluminum baking pans
Half Sheet Pans: for basically EVERYTHING, both sweet and savory. I use mine daily. See my side-by-side comparison on different brands here. Needless to say, I’ve linked to the winner in this article for you!
Quarter Sheet Pans: These are perfect for smaller scale baking & cooking and fit in my beloved Breville Smart Oven! I use these all the time to bake off just a couple balls of frozen cookie dough when the mood strikes.
Square Baking Pan: for brownies, blondies, cheesecake bars, and more. One of my most used pans. I love Fat Daddio’s or this USA Pan. I avoid most glass and ceramic pans because they tend to contribute too much to carryover cooking, leading to an overcooked result when the recipe is done cooling.
Cake Pans: Fat Daddio’s Brand is made from anodized aluminum and is my absolute favorite.
Spatulas
Mixing: silicone is heat resistant which is great for making candy, caramel, etc. and when the entire spatula is silicone you and throw it in the dishwasher safely.
Offset: for frosting cakes
Mini Offset: for frosting cookies or brownies or for prying a cake out of its pan
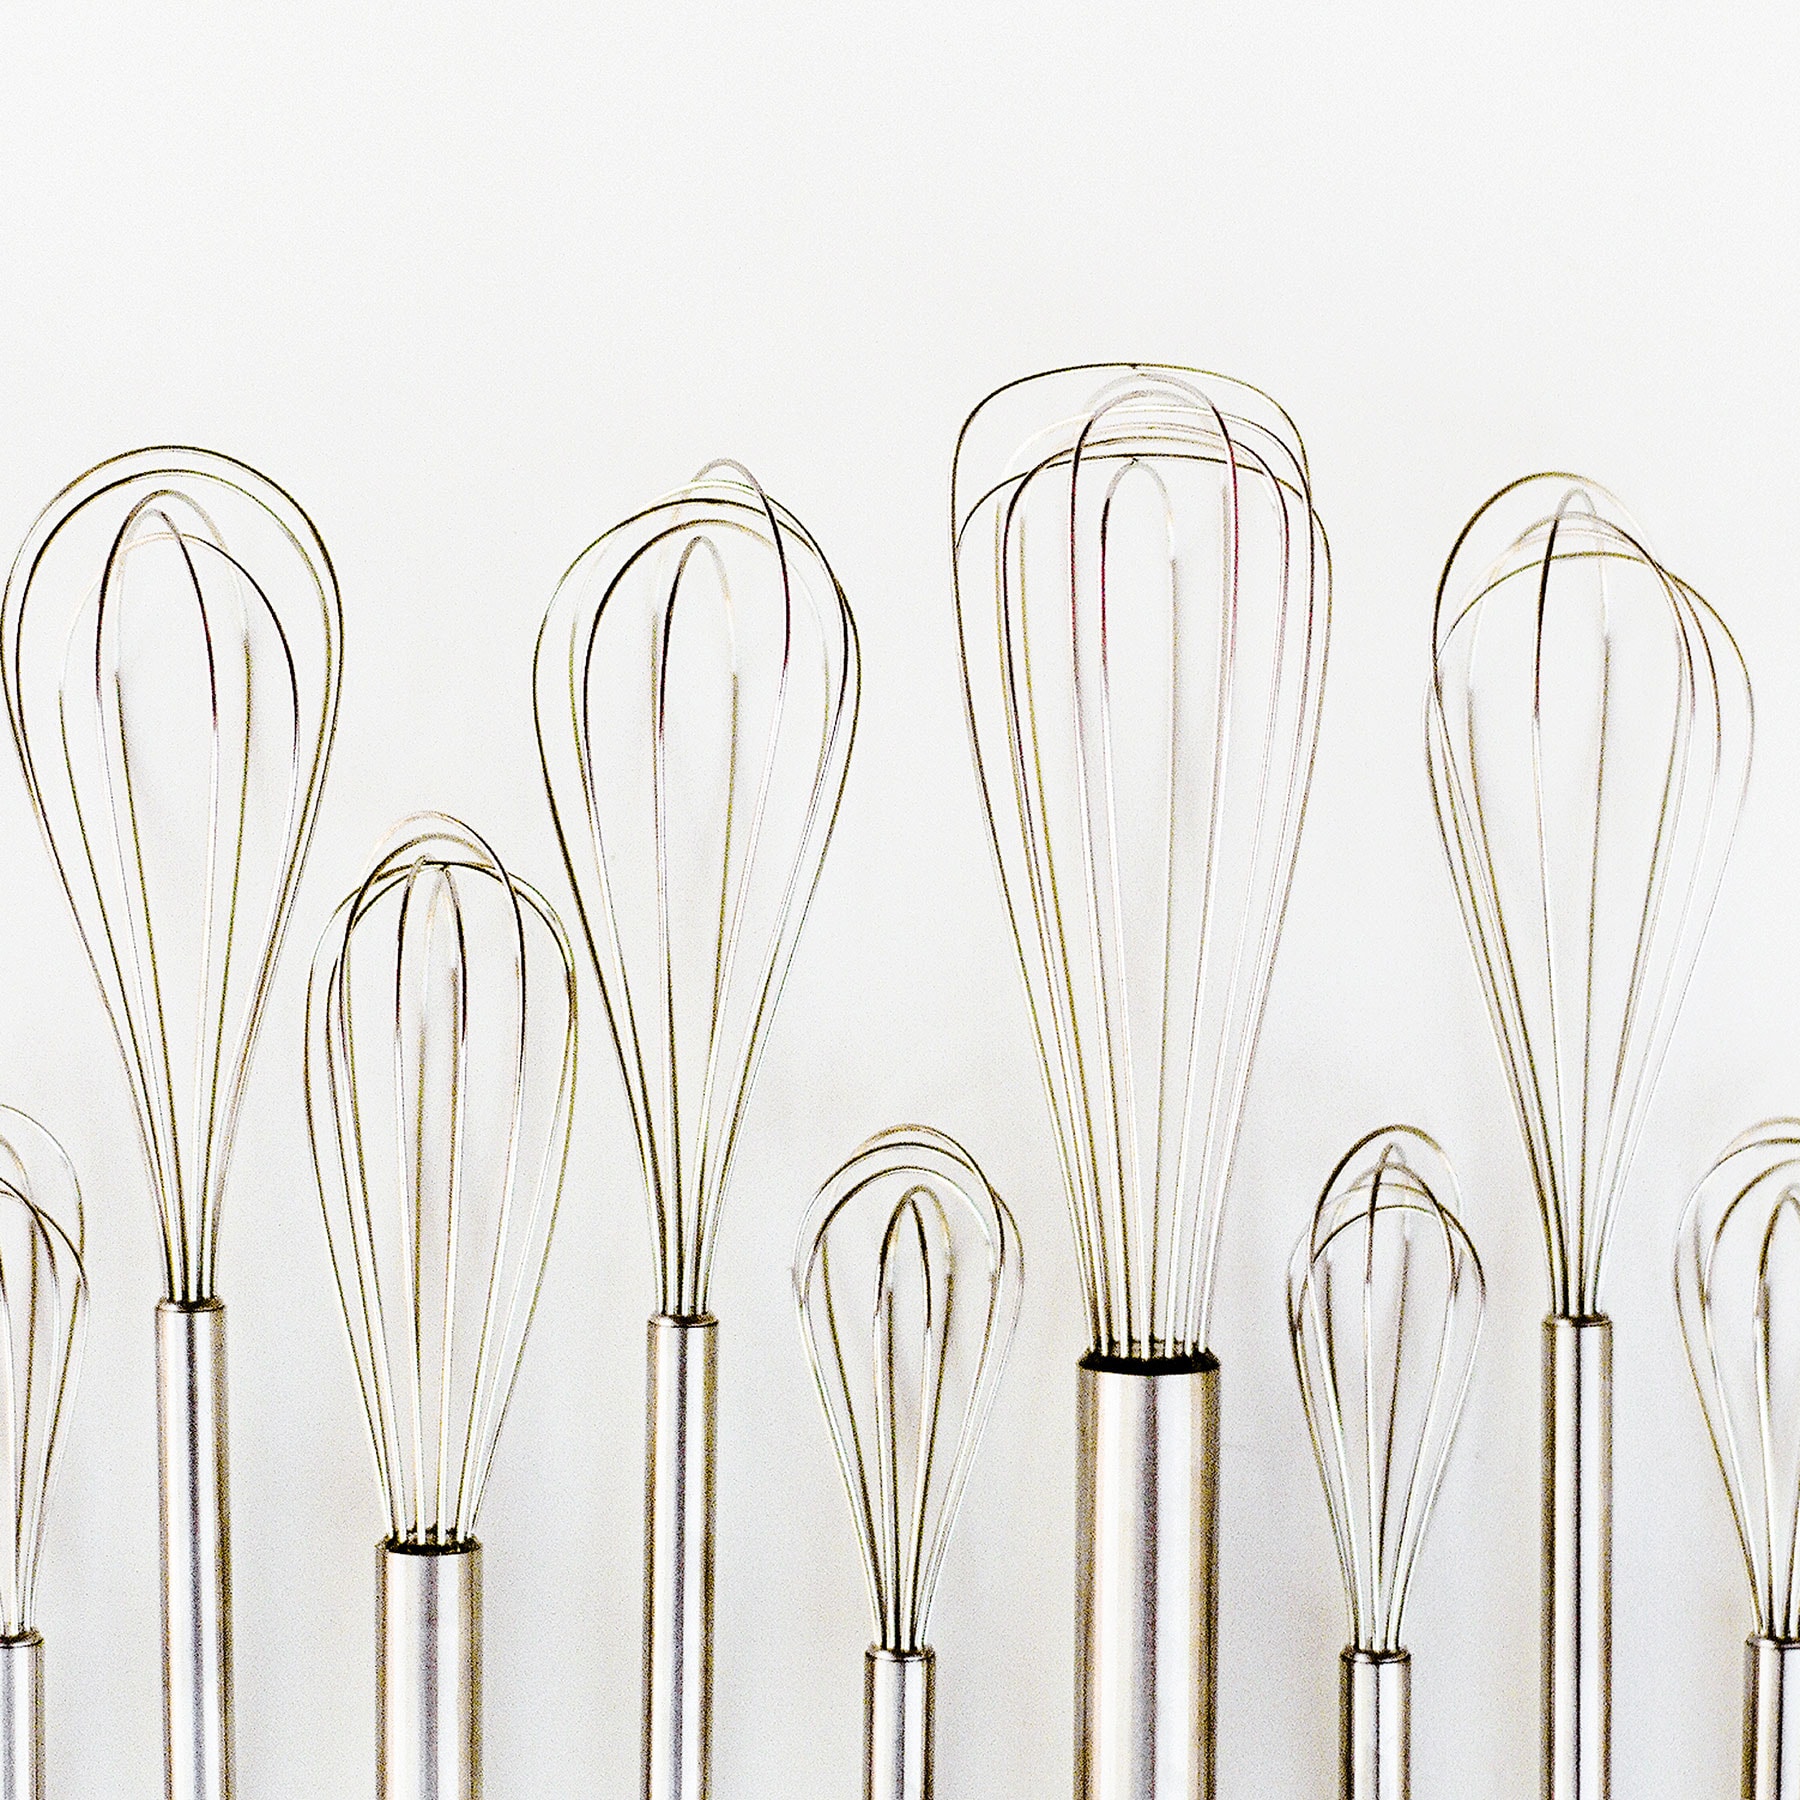
Whisks
Balloon Whisk: This is my favorite all-purpose whisk, from blending together dry ingredients to whisking eggs. For the latter I love that it’s dishwasher safe because a whisk is awkward to clean by hand!
Flat Whisk: great for when you’re whisking things on the stovetop, such as pudding or custard, and don’t want to miss a spot.
Electric mixer
Stand mixer
Personally, I find the 5-quart tilt head mixers will work 90% of the time for most home use. The larger professional sizes don’t fit as nicely under most cabinets on the counter, and can be difficult to move and store. If you have a large family or often bake for a crowd, though, you may prefer the larger size.
Hand Mixer
Although not quite as powerful or efficient as a stand mixer, this is still handy to have. If you can’t store your stand mixer on your counter, a hand mixer is especially helpful for smaller tasks and projects where you don’t want to lug out your stand mixer.
Mixing bowls
You can never have too many mixing bowls! I have two nesting sets for easier storage and organization. One that’s stainless steel with a rubberized bottom so it won’t slide around while you mix, and the other glass so it’s microwave-safe.
Parchment paper
Nearly every time I bake, I use parchment paper. I recently did a side-by-side test of it against silicone, and parchment paper won by a landslide.
I prefer to purchase precut sheets of unbleached parchment paper because they’re so convenient. They lay flat so you don’t get any edges rolling up.
I buy the half sheet pan size, the quarter sheet pan size, and the 8-inch cake pan size (with lift tabs so you can easily lift the cake layers out!). To line a square baking pan, I simply use two of the quarter sheet pan sheets criss crossed. Easy!
What are YOUR most used and loved baking tools?
First photo by Constance Higley. Second photo by Lauren Hansen.


Hi Tessa! You have made me Queen of bakers around here! Thank you! Unfortunately (and very sadly) my favorite large whisk broke this morning while making waffles. It was almost humorous how upset I got, but I realized that it was a good thing, it gave me a good whisking life. LOL. Anyway, what is your favorite brand and why? I prefer the larger ones over the little tight ones.
Hi Ann! We are so happy to hear that you enjoy Tessa’s recipes so much! I’m sorry to hear about your whisk, but here is a link to Tessa’s favorite whisk – I hope that helps mend your broken heart 🙂 Happy baking!
You mention using a spatula for removing your cookies from the sheet/parchment. Do you recommend a particular type and brand? I grew up using metal. But I read that they can gouge the pan which releases toxins.
Thank you, Tessa!
Hi Fay! This is Tessa’s favorite cookie spatula, for removing cookies from baking trays – it’s silicone, so no scratching the pan. That being said, we also highly recommend lining your baking trays with parchment paper for best results, so even your metal spatula won’t scratch the pan through the parchment 🙂 I hope that helps!
Thanks so much…BTW, Happy Thanksgiving was happier because I used the butter pie crust recipe with sour cream…YUMM! I have never had a from scratch look or taste so good. 5 out of 5*****
Yay!! So excited it was so delicious, Fay 🙂
Ha ha! Beware that cookie spatula if you are left-handed, as it doesn’t work well!
Will you be writing a new book anytime soon?
I love my book use it all the time, love your website too! I just ordered my kit and can’t wait yo get it! Following you had definitely made me a better baker!
Hi Beth! Wow, what an incredible compliment! Tessa and our team have been hard at work with other projects, but another book is definitely possible down the line a little! We are thrilled to hear that you love Tessa’s Ultimate Cookie Handbook and website so much, though! So excited for you to receive our Perfect Cookie Kit, too!! Thanks so much for your lovely comment 🙂
I have to comment on the extraordinary work you do. Your information is easy for ‘all’ levels of experience along with providing such an ‘open forum’ of discussion for everyone to connect. Your genuinity is infectious. Connection is the ultimate success of any business and you have hit a ‘home run’ in this area! The integrity alone speaks for itself in your videos and volumes of ‘key components’ of information that contribute to successful baking. Thank you for your passion and wishing you the absolute best…
Always great information!!! Tessa is the BEST!!
❤ Thank You
Just started my journey here, but, I already love it! especially the science part of it.
Thank You
I purchased a set of plastic type pantry storage bins that have been designed tailormade with particular ingredients in mind. One is for flour, another for confectioner’s sugar, another for brown sugar, another for granulated sugar. etc. They are squared off, lids snap-on tight to protect ingredients, they stack securely, they are see-through so I can quickly grab the one I need. I am space-challenged and this way of storing has really helped me!!! I now realize that the square shape is a lot better than round for my pantry.
Sounds like a perfect solution! I’ll bet your pantry looks amazing, thanks for sharing!
Where did you purchase them? Please share the link for your pantry bins.
Good, maintained knives.
Hey Tessa
Can we use silicon sheet for baking as well ?
Silicone sheets actually conduct heat poorly. They’re best used with doughs and batters that should be browned and baked slowly and gently or for candy and chocolate baking.
What size are the parchment sheets for whole, half and quarter?
Normally a quarter sheet is 12×8, half is 16 1/2×12 1/4, and a full sheet is 24×16.
For sure my kitchen aide mixer
My weighing scales
My sifter