


Tessa's Recipe Rundown
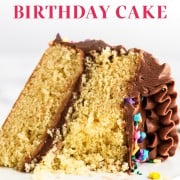
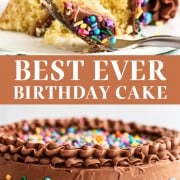
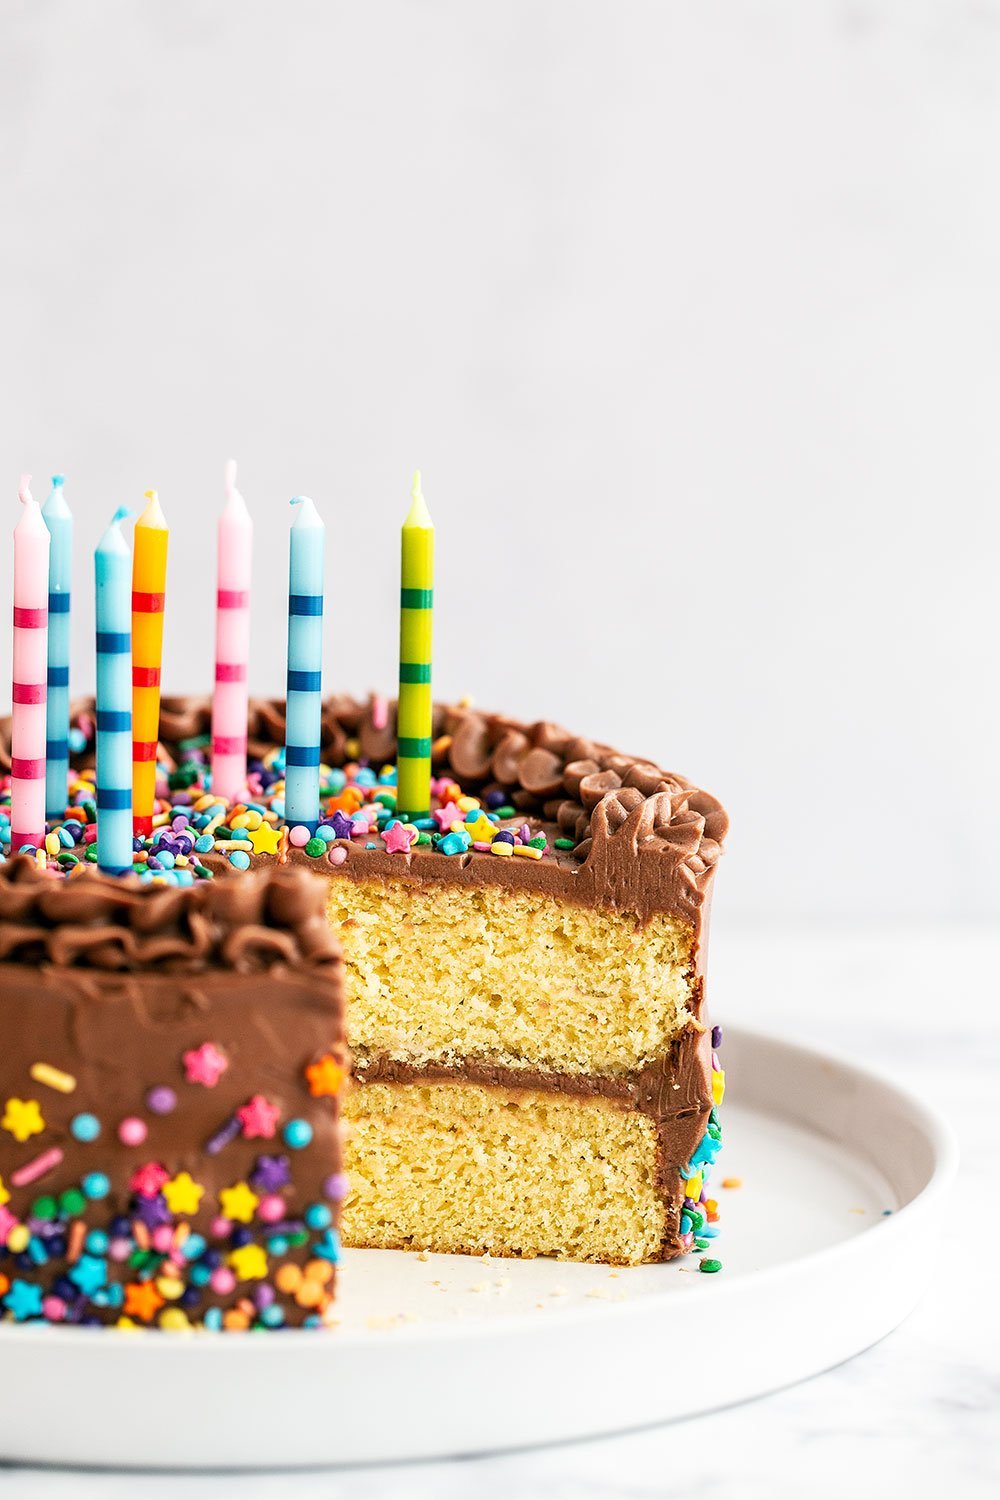
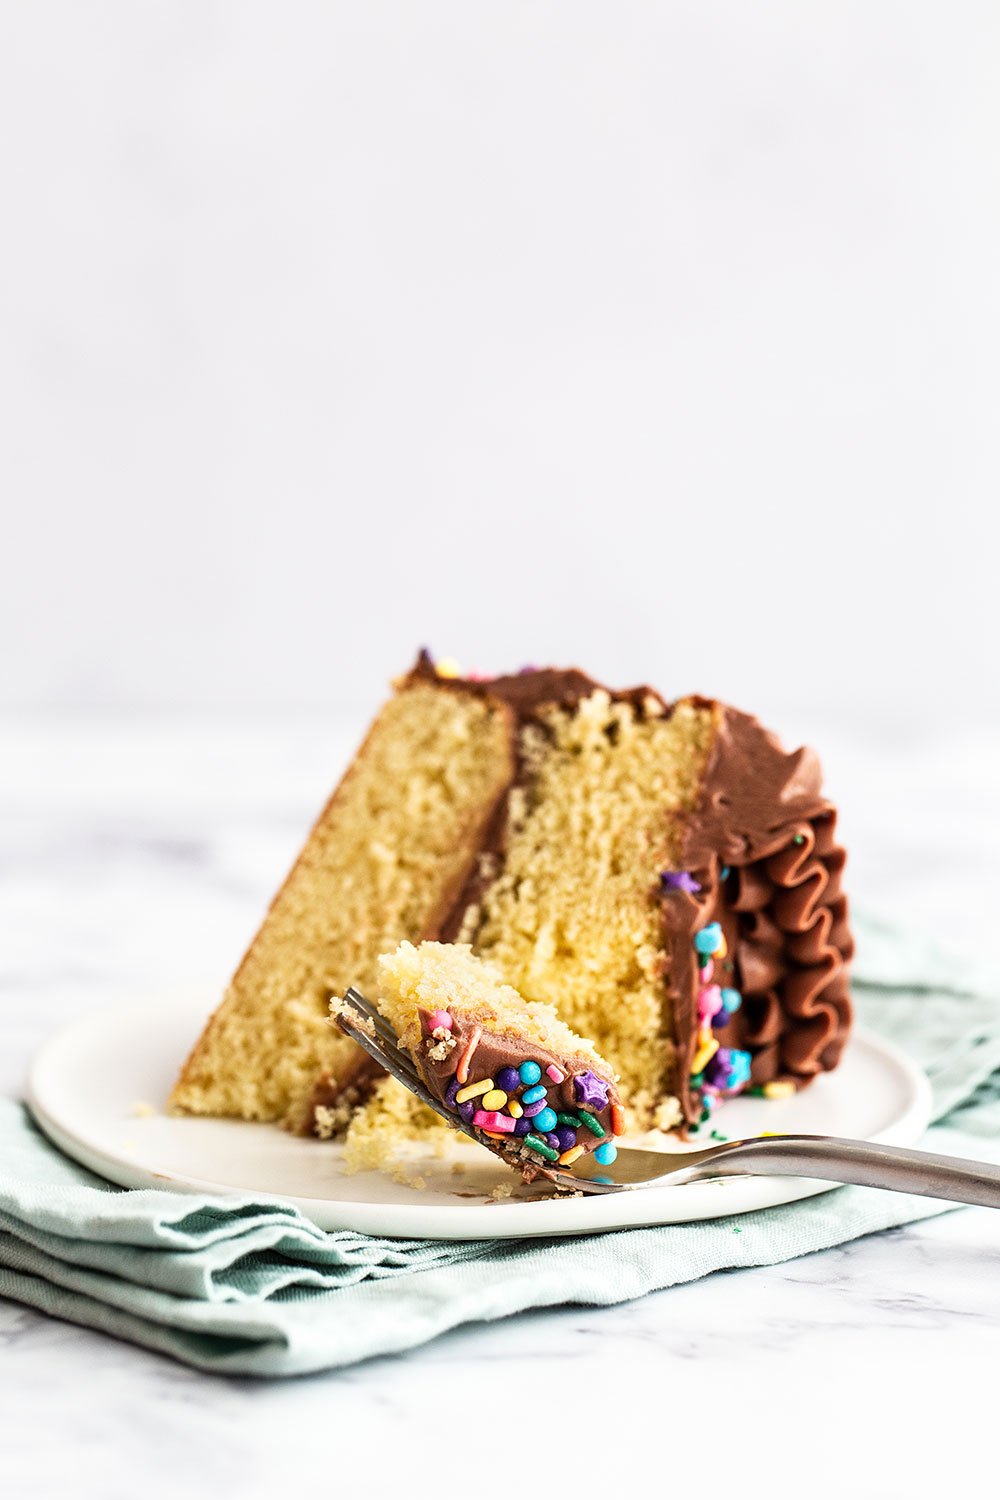
Taste: This cake just tastes like a celebration! Vanilla-scented yellow cake combined with perfectly sweet milk chocolate buttercream will have you wishing it was someone’s birthday every day.
Texture: The cake is light, moist, fluffy, and tender while the buttercream is ultra-rich, smooth, and creamy.
Ease: Easy! Just a bit messy and time-consuming.
Pros: A go-to birthday cake recipe.
Cons: Lots and lots of butter.
Would I make this again? Oh yes!
This post may contain affiliate links. Read our disclosure policy.
Let’s travel back in time to April 2009. I was graduating high school and looking nervously ahead at beginning college. I had no clue what I wanted to study or what I wanted to be when I “grew up.”
It was then that I started Handle the Heat on a whim.
I can’t believe how long it’s been since then. But most of all, I can’t believe how much that one decision has changed the course of my career and my life!
Thank you so much to everyone who has read, subscribed, followed, commented, and made my recipes over the years. I could’ve never dreamed all of this would be possible.
In fact, I recently found my journal from 2009. Here’s an except from an entry that made me both laugh out loud and feel awestruck with gratitude and appreciation for how far HTH has come since:
“I really want to get the ball rolling on my blog and my website idea. I think it could be really successful.”
Then there’s a list of “things to save money for” including:
- Camera
- Domain & WordPress blog
I truly started with nothing. And I ended up getting a neon blue point-and-shoot digital camera for my birthday from my grandparents that I used to take the first pictures published here.
I used to look back at those first photos with embarrassment but now I have pride for how far things have come.
It’s so funny how things can work out a thousand times better than you could’ve ever expected or planned for – IF you keep an open mind about the possibilities and let the adventure take you where it wants to.
I mean, take a peek at what handletheheat.com looked like in 2009 and then in 2011. Since then I’ve gotten to publish a cookbook, go to culinary school, and turn my passion into a full-time business that allows me to be financially independent. It’s pretty incredible.
If you’re hesitating to start something or take your life in a new direction, I want to say one thing: JUST DO IT. Cliche as it sounds, starting is the hardest part and you never know what amazing things will happen once you do.
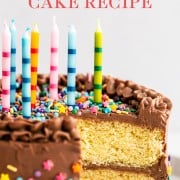
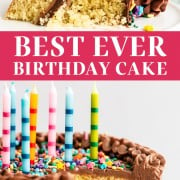
I wanted to create this cake to celebrate Handle the Heat’s birthday, and to give your own birthday celebration the most delicious classic birthday cake possible. I hope you enjoy it as much as I do!

Sprinkle of Science
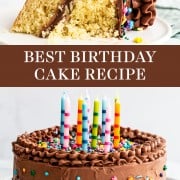
How to Make the BEST Birthday Cake
How do I Make MOIST Cake?
For this Best Birthday Cake (and all cakes, honestly), be sure not to over-measure your flour, which can lead to a dry or crumbly cake. I always use my digital kitchen scale to weigh flour, but if you don’t have one use the “spoon and level” method to measure with measuring cups. More on all that here in my Ultimate Guide to Measuring.
Also, be sure not to overmix your cake. This can create a rubbery, dense cake. In the final steps, mix JUST until combined.
Do I Have to Use Whole Milk?
Using whole milk will help to create a tender and moist cake. You can get away with using 2% if necessary, but don’t use skim milk. Whole milk really works best.
Baking the Cake
Keep a close eye on the cake as it bakes to avoid overbaking it. Don’t use dark-colored cake pans for this birthday cake recipe. They tend to overcook and dry out the edges and bottom.
How do I Prevent Cake Layers From Sinking?
To prevent your cake from sinking in the center, be sure to do the following things:
- Use an oven thermometer to ensure the accuracy of your oven. Cakes are delicate and need to be baked at the correct temperature. Bake only on the middle rack.
- Don’t open your oven door while baking. If you must open it, do so towards the end.
- Bake the cake through completely without overbaking it. A toothpick inserted in the center should come out clean. The tops should spring back with lightly pressed. A digital thermometer inserted into the center should be about 210°F.
- Use ingredients at a cool room temperature. This is especially important for butter – learn more about butter temperature here.
- Use fresh baking powder. If you live above 3,000 feet, you’ll likely need to reduce the baking powder.
- Beat the butter and sugar very well to incorporate enough air to get a good leavening effect. Make sure the eggs are very well incorporated too. Scrape down the bowl and blade often. Once the flour is added, mix until just barely combined. Overmixing at this stage will result in sunken layers and a dense texture.

Can I Use a 9-inch Pan Instead?
This birthday cake recipe calls for 8-inch baking pans, which is what will work best. You can also use 9-inch if that’s what you have – just note that your cake layers will be thinner, and shave about 5 minutes off the baking time.
Can I Make Cupcakes With This Recipe?
Yes, this recipe will make about 18 standard cupcakes. Bake in lined cupcake pans for about 20 minutes. Check out my full guide on how to convert a cake recipe into cupcakes (and vice versa!).
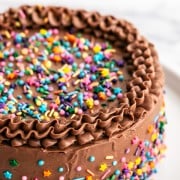
The Milk Chocolate Buttercream Frosting
This chocolate buttercream recipe is one of my all-time favorites. It’s unbelievably rich, creamy, luscious, smooth, and perfectly sweet. It complements the yellow cake perfectly! If you want more frosting to make decorations, double the recipe.
Why is There a Raw Egg Yolk in This Frosting?
The recipe contains a raw egg yolk, not unlike any recipe for homemade mayonnaise or Caesar salad dressing. The fat from the egg yolk not only lends richness and creaminess, it also helps to emulsify the buttercream to make it ultra smooth and silky with no extra work.
Simply make sure to use a very fresh quality egg. I like to use an egg from the farmer’s market.
If you feel too uncomfortable with this or if you plan to serve this cake to infants, anyone elderly, pregnant, or with a compromised immune system, you can use a pasteurized shell egg or just leave the egg yolk out entirely. You will lose some richness and smoothness, but your frosting will still be delicious.
Can I Use a Different Frosting Recipe?
You can also use my Best American Chocolate Buttercream Recipe to frost this cake instead, which doesn’t contain raw egg. If you’re looking for a vanilla buttercream, or a customizable base for a flavored buttercream, check out my Best Buttercream recipe post.
Help! I Suck at Decorating Cakes.
If you need help frosting and decorating a cake so it looks nice and pretty, check out my Easy Cake Decorating video in this post. The biggest tip I can give you is to freeze your cake layers before frosting so you can avoid crumbs or tears.
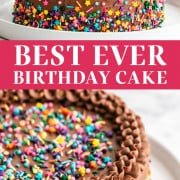
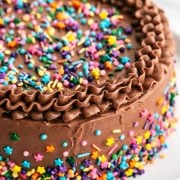
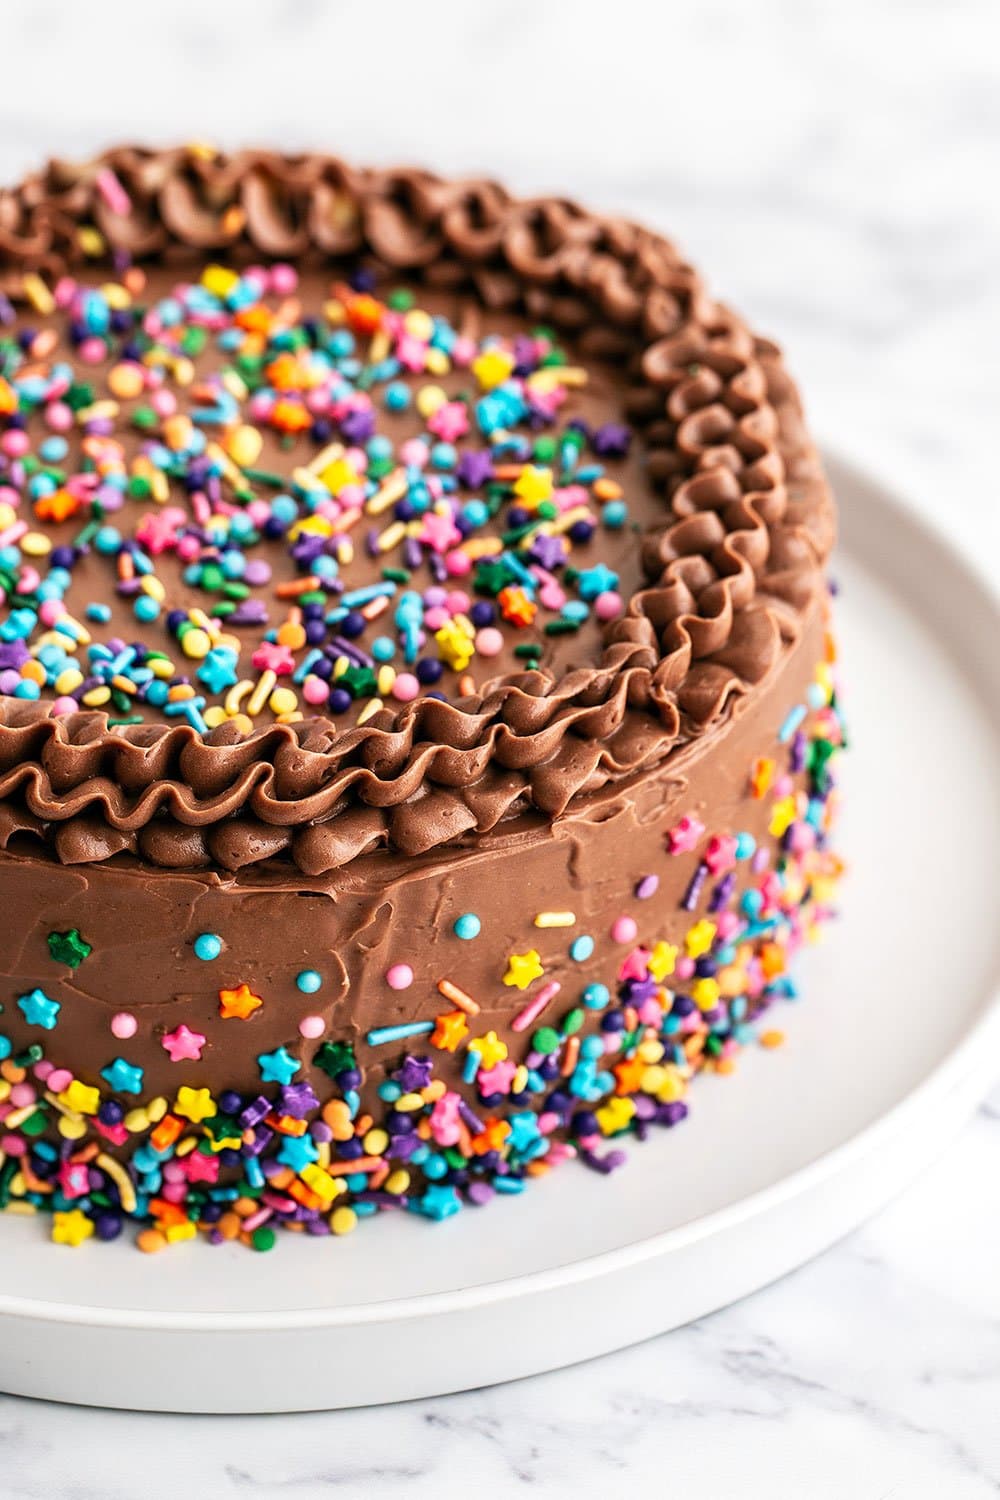
What Sprinkles Did You Use in These Photos?
We used Wilton Sprinkles in the “Rainbow Star Medley” design from Michael’s. If you can’t find those, check out Sweetapolita’s sprinkles here.
How Can I Make This Cake Ahead of Time?
Wrap unfrosted cooled birthday cake layers completely in several layers of plastic wrap. Place inside a freezer bag. Store at room temperature for up to 3 days or in the freezer for up to 2 months. Defrost overnight in the fridge (do not thaw at room temperature or you will end up with mushy cake).
The buttercream can be stored in an airtight container in the fridge for up to 1 week. Let come to room temperature and re-whip on the stand mixer until light and fluffy again.
How do I Store the Best Birthday Cake?
Cover with a cake keeper and store at room temperature for up to 8 hours, then refrigerate. Allow to come to room temperature before serving.
I Need to Serve This Outside. How Can I Prevent it From Melting?
Keep the cake refrigerated until your party starts or until you head to the park or outdoor location. This will allow the cake to come to room temperature gradually as it sits outside, but not get too warm that it begins to melt.
My Favorite Cake Tools:
- 8-inch cardboard cake cutouts – To sit your cake.
- Fat Daddio 8-inch round cake pans – My FAVORITE cake pans because they release easily and are quick to clean.
- Large offset spatula – Perfect for spreading frosting, for a beautiful cake.
- An oven thermometer and kitchen scale – The most important tools in any baker’s kitchen!
- 8-inch parchment paper circles with tabs – Makes removing the cake from the pan super easy!
- Cake turntable – Makes for easy decorating + frosting.

Email This Recipe
Enter your email, and we’ll send it to your inbox.
Ingredients
For the yellow cake:
- 2 1/3 cups (296 grams) bleached all-purpose flour, measured correctly (*1)
- 2 1/2 teaspoons baking powder (*2)
- 1/2 teaspoon fine sea salt
- 12 tablespoons (170 grams) unsalted butter, at cool room temperature
- 1 3/4 cups (350 grams) granulated sugar
- 2 large eggs, at cool room temperature and separated
- 1 tablespoon vanilla extract
- 1 cup whole milk

For the milk chocolate buttercream:
- 2 sticks (227 grams) unsalted butter, at room temperature
- 1 large very fresh egg yolk, at room temperature (*3)
- 1 teaspoon pure vanilla extract
- 1 1/4 cups (156 grams) powdered sugar, sifted
- 1/4 teaspoon fine sea salt
- 6 ounces (170 grams) milk chocolate, melted and cooled
Instructions
Make the cake:
- Preheat the oven to 350°F. Butter, flour, and line two 8-inch cake pans with parchment circles.
- In a medium bowl whisk together the flour, baking powder, and salt.
- In a large bowl with an electric mixer, beat the butter on high speed until smooth and creamy, about 1 minute. Add the sugar and beat on high speed for 3 to 4 minutes, until light and fluffy. Add two egg yolks and the vanilla and beat on medium-high speed until combined.
- With the mixer on low speed, add the flour mixture in three additions, alternating with the whole milk, beginning and ending with the flour, mixing just until combined. Do not overmix.
- In a separate clean bowl with an electric mixer fitted with a whisk attachment, beat the 2 egg whites until they hold soft peaks, about 3 minutes. Gently fold into the cake batter. Do not overmix.
- Divide the batter evenly among the prepared cake pans and bake for about 30 minutes, or until a toothpick comes out clean. Let cool for 20 minutes in pans before turning out onto a cooling rack. For easier frosting, freeze the cake layers until firm.
Make the buttercream:
- In a large bowl with an electric mixer, beat the butter on medium-high speed until light yellow and fluffy, about 3 minutes. Add the egg yolk and vanilla and continue beating for 3 minutes. Turn the mixer to low and gradually add the powdered sugar then salt. Increase speed to medium and beat until smooth and creamy.
- On low speed, add the melted cooled chocolate and mix until just combined. Don’t whip! Fill and spread immediately on the frozen cake. Serve or let stand covered at room temperature for up to 8 hours.
Notes
- Be sure to measure the flour correctly using a kitchen scale or spoon & level. Too much flour will make for a dry / dense cake. For best results, use bleached flour.
- If you live at a high altitude, you’ll likely need to reduce the baking powder by half or more.
- Use a very fresh egg yolk. If worried about food safety, use a pasteurized shell egg or omit the egg yolk completely.
This post was originally published in 2015 and updated in 2019 with new photos, recipe improvements, and more tips. Photos by Ashley McLaughlin.

Previous Baking Challenge
This recipe was one of our recent picks for the Handle the Heat Baking Challenge. Every month, we select a recipe, you make it, snap a photo, and enter to win PRIZES!


This was soooo delicious! turned out amazing!
Thrilled you loved this cake, Michael!
Perhaps a silly question….Do you butter and flour the pans then put in the parchment circles, or put the parchment in and then butter and flour?
The directions are to butter and flour, then line with parchment, but honestly, you’re welcome to do both! It won’t hurt, if anything, it’ll make it that much easier to come out! Make sure you do the sides as well 🙂 The parchment insures that your cake bottom is nice and even and flat, and the butter coats the pan, with the layer of flour adhering to the butter and the parchment. It just insures a nice release from the pan.
The layers came out flat – something I have never been able to accomplish! Yay! To cut calories in the frosting, I substituted yogurt cheese for the butter. It was too soft to pipe but otherwise delicious. Thanks for the great recipe.
YAY! I’m so happy your layers turned out perfectly!! Woohoo!
I am not a huge fan of cake in general, and it is rarely my first choice of dessert. However, as yellow cakes go, this one was light, fluffy, and buttery, and I did enjoy it. This is definitely a good choice for a party. I highly recommend refrigerating for an hour or so before serving – the frosting was quite wet when I initially made it and it was much tastier once it had set some. I did use 9″ cake pans but the cake still cooked beautifully.
And happy birthday to Handle the Heat! Congrats on your success!
Oh YAY! I’m so happy you made this birthday cake, Monica! And thank you so much!
Delicious moist flavorful cake yes there are extra steps but all easy to follow. Tessa might call herself a cookie queen but really she should be a frosting queen woah delicious buttercream and I don’t like buttercream frosting and this was so good! I did spoon the leftover frosting into my mouth. I didn’t use the raw egg yolk because I have an 11 month old and it was still creamy and dreamy. The smell of this cake baking was like heaven that alone should make you want to make it ASAP!
Awe, thank you SO much Mayline, for calling me a frosting queen haha! I am absolutely thrilled you love not only the cake but the frosting as well 🙂
Easy and super tasty! Definitely a great one!
This cake recipe yielded 21 cupcakes for me. They were unbelievably light, airy, fluffy and soft. I loved the texture of these cupcakes! I’ve never had any cake with this texture before. These were so delicious! Thank you Tessa for this wonderful recipe! 🙂
YAY! I’m so happy you loved this recipe, Esther!
For the frosting, do we need to use a milk chocolate baking bar or is it fine to use chocolate chips?
You can use chocolate chips; however, I don’t normally recommend chocolate chips in general because they have added ingredients that help them maintain their chip shape when exposed to heat, and they won’t melt down as smoothly as a chopped baking bar.
Such a good recipe! The cake was absolutely delicious and I noticed it didn’t dry out as fast as other cakes I have made have after you cut into them. Very happy with the results! The whipping of the eggs whites was an extra step but again, the cake didn’t dry out as fast and was nice and fluffy do it was all worth it!
Hooray! I’m so happy you had such wonderful success, Ella!
The flavor was great! I made the cake and chocolate buttercream frosting for my husband’s 39th birthday.
I think I may have over mixed a bit, as my cake didn’t turn out as fluffy or tall and I omitted the raw egg in the icing since I’m pregnant. My husband really enjoyed and I’d definitely make again!
Oh yay! I’m so happy you enjoyed this recipe! Make sure you enter our April baking challenge if you haven’t already!
Delicious
So delicious and moist!! Loved this for a birthday cake!