


Tessa's Recipe Rundown
Taste: Rich, sweet blondies with tons of butterscotch flavor, filled with the spiced decadence of cookie butter.
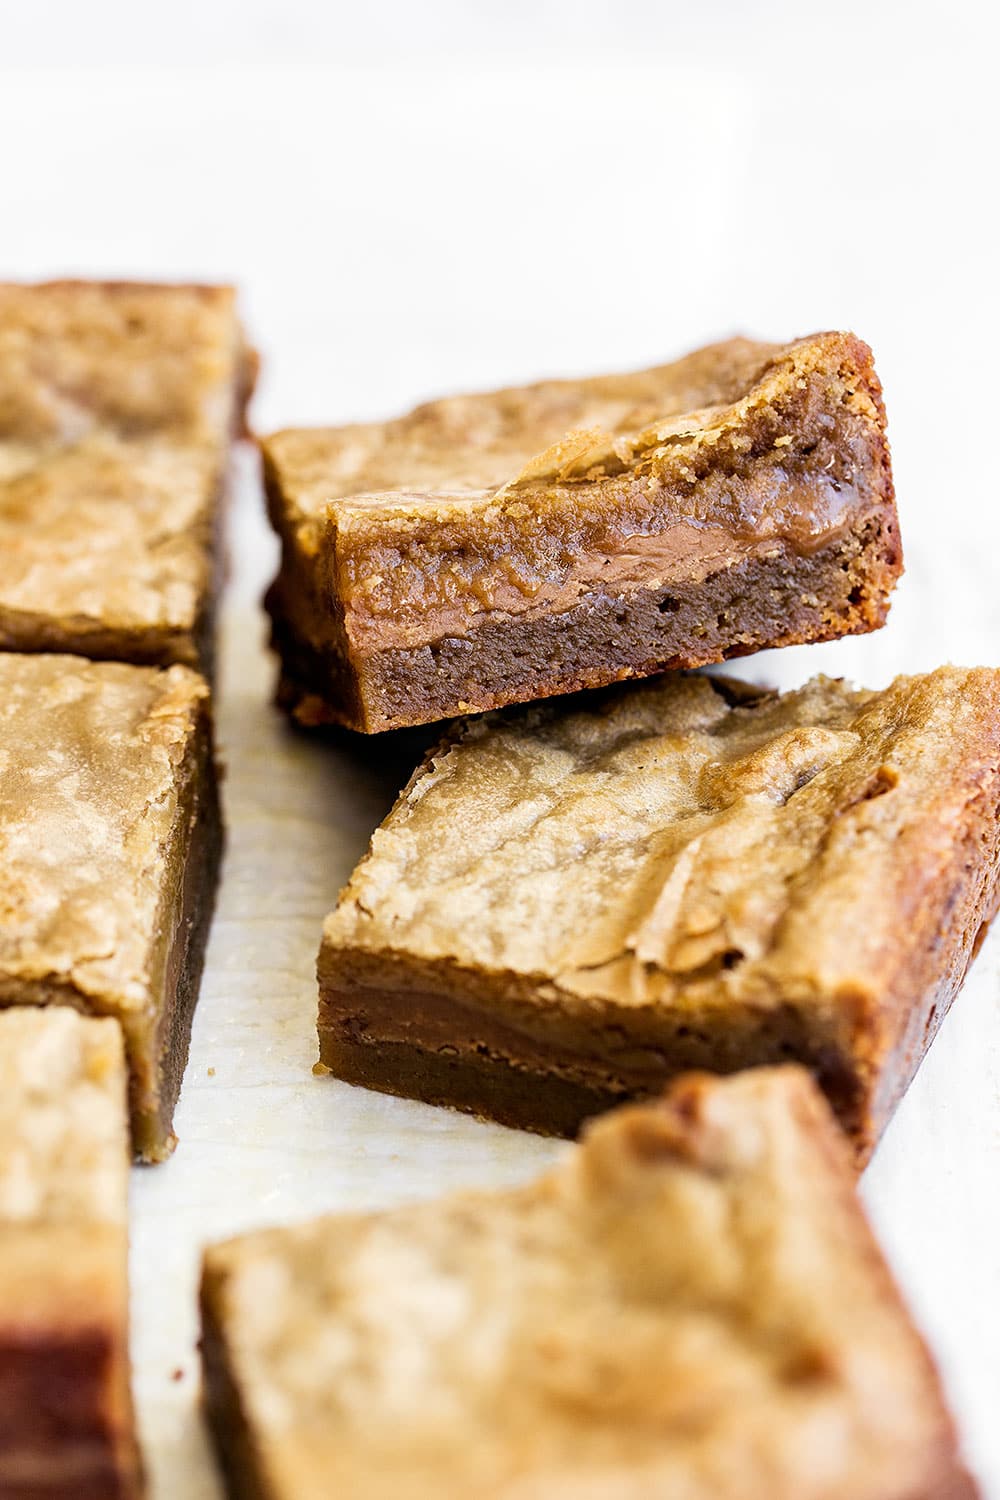
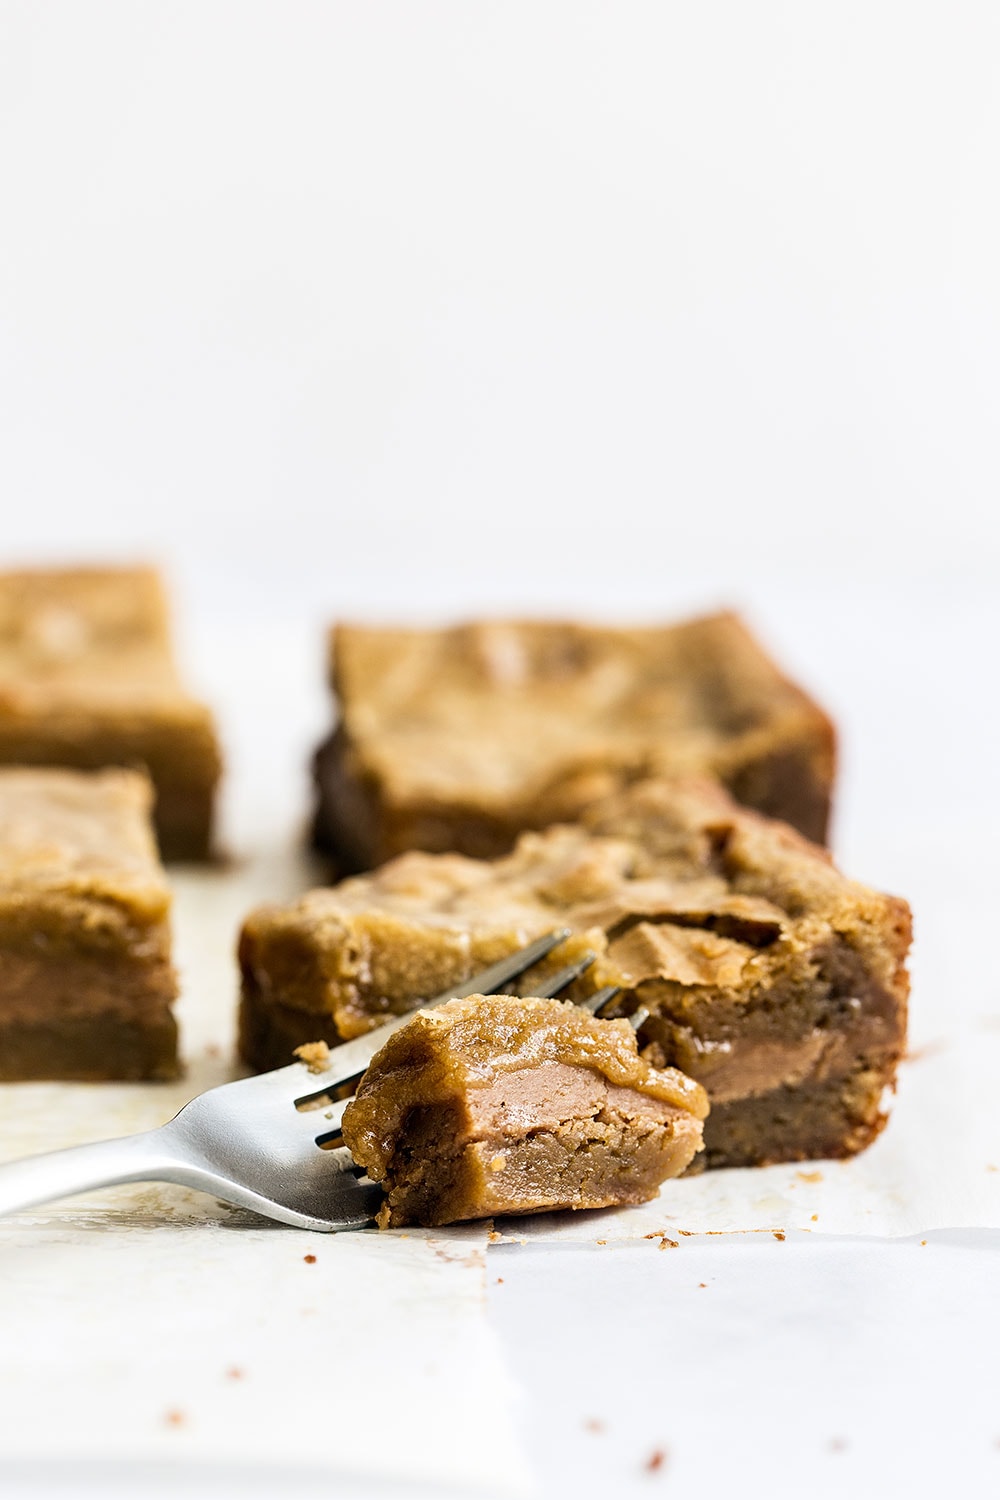
Texture: Ultra rich, fudgy, and ooey-gooey with slightly crispy edges.
Ease: Super quick and easy recipe that adults and kids will LOVE!
Why You’ll Love This Recipe: Super fun and flavorful twist on blondies.
This post may contain affiliate links. Read our disclosure policy.
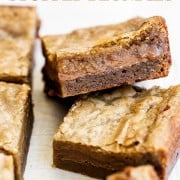
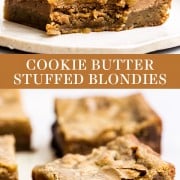

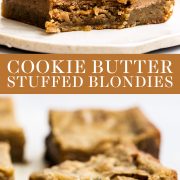
Cookie Butter Stuffed Blondies are next level. Indulgent, chewy, rich, and gooey – every bite is pure magic!
The blond sibling to brownies, Blondies are rich, brown sugar-forward, and butterscotchy. As a total chocoholic, it sometimes surprises people that I love Blondies so much – but there’s something so special about a really great Blondie.
This recipe is full of deep caramelized sweetness and a delightfully chewy texture. The Cookie Butter filling brings a level of coziness unlike any Blondie you’ve ever tried.
I hope you enjoy these Cookie Butter Stuffed Blondies as much as I do!

Sprinkle of Science
How to Make Cookie Butter Stuffed Blondies
The Pan
These Blondies are ultra-thick and rich, so it’s important to use a pan that conducts heat effectively. Why? Because we want to make sure the Blondies cook through completely but remain gooey in the center, without leaving the center completely underbaked.
For that reason, I highly recommend using a light-colored aluminum baking pan. Glass or ceramic pans will take longer to cook and may result in underbaked or gummy centers, and dark pans may overcook the Blondies, so avoid those types of pans if possible. Learn more about Glass vs. Metal Baking Pans here.
Why Use Dark Brown Sugar?
Dark brown sugar contains more molasses, so it provides a deeper, more complex, caramelized flavor, as well as providing more moisture.
If you don’t have dark brown sugar, you can also use light brown. Learn how to make your own brown sugar here.
The Cookie Butter
The delicious spiced flavor of Cookie Butter reminds me of gingerbread, but with the texture of peanut butter. You can buy the Biscoff brand online or in most grocery stores, and Trader Joe’s also makes their own version.
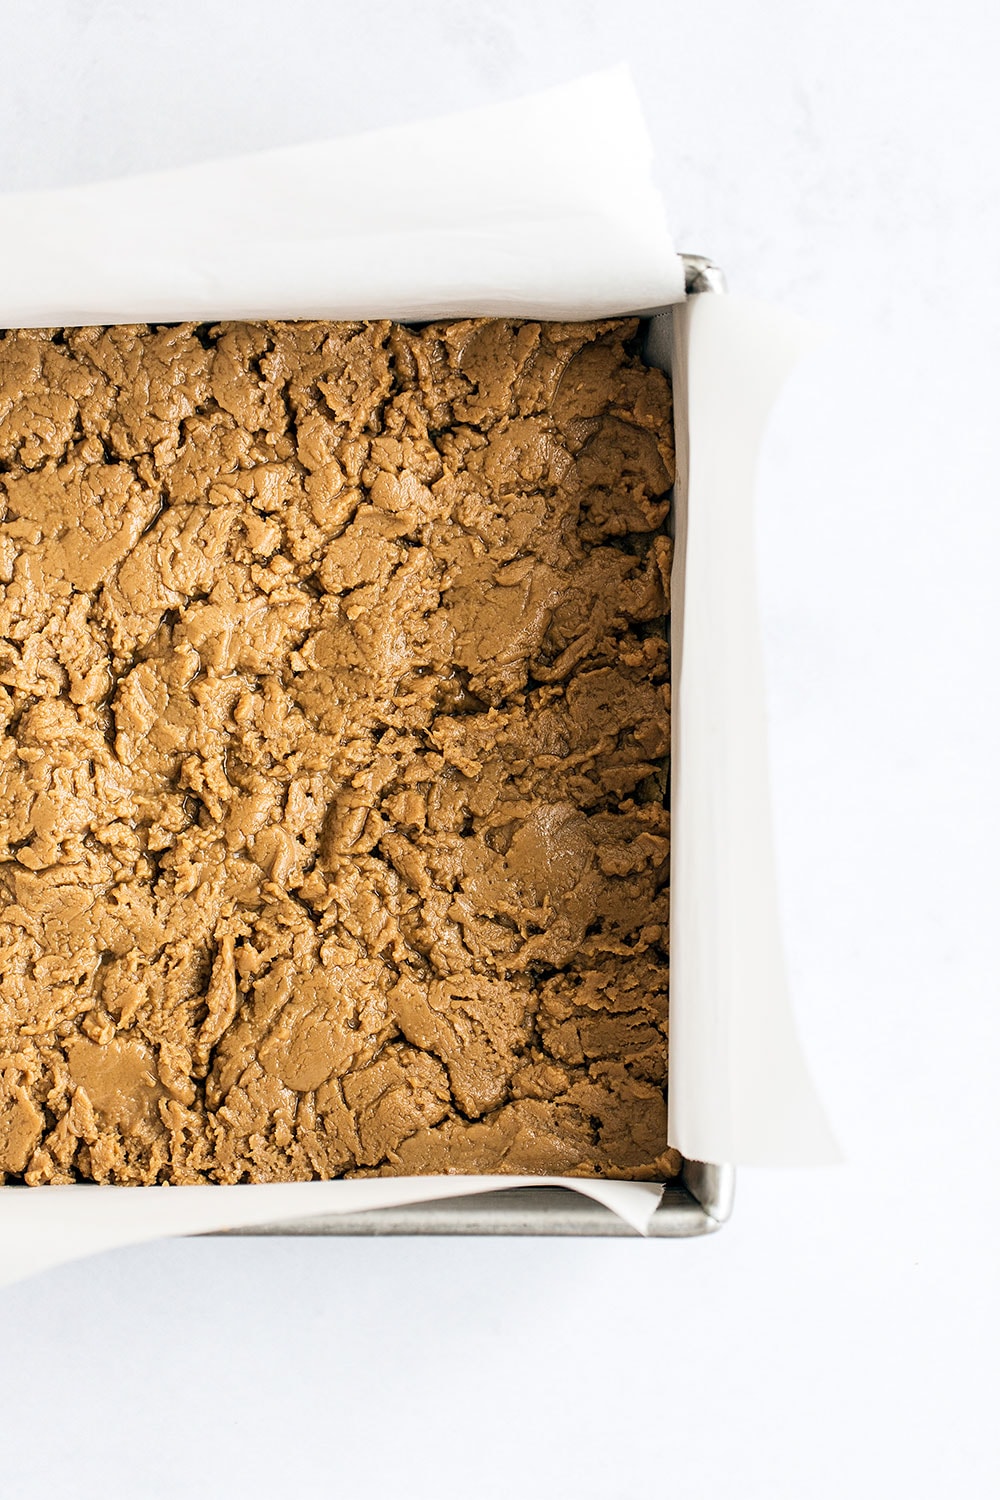
In these Blondies, the Cookie Butter layer is combined with sweetened condensed milk, creating a simple fudge. It becomes thick and dough-like, as you can see in the photo below.
Layering the Stuffed Blondies
We stuff these Blondies by spreading half the blondie batter in the pan and par-baking for 15 minutes. This allows that layer to semi-set. Then we use our palms to flatten pieces of the Cookie Butter fudge filling, layering pieces on the par-baked Blondie layer. Finally, we spread the remaining Blondie batter on top. Easy peasy!
How to Serve Blondies
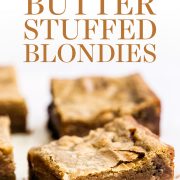
These Blondies are ultra-rich, so you can cut smaller squares than most Blondies or brownies. I get 16 slices here, but feel free to slice them even smaller if desired.
Run your knife under hot water and carefully wipe dry between slices, for perfect slices.
How to Store Cookie Butter Stuffed Blondies
Store leftover Blondies inside an airtight container at room temperature for up to 3 days. Re-warm slices in the microwave for 10-15 seconds before serving, for a more gooey texture, if desired.
More Blondie Recipes You’ll Love:
- Blondies Recipe – my go-to classic Blondie recipe
- Raspberry Dark Chocolate Blondies
- Brown Butter Triple Chocolate Blondies
- Gooey Chocolate Chunk Blondies
- Peanut Butter S’mores Blondies

Email This Recipe
Enter your email, and we’ll send it to your inbox.
Ingredients
- 2 sticks (227 grams) unsalted butter, melted
- 1 3/4 cups (350 grams) dark brown sugar
- 2 large eggs plus 1 egg yolk
- 1 teaspoon vanilla
- 1/4 teaspoon fine sea salt
- 2 cups (254 grams) all-purpose flour
- 1 cup (240 grams)
Cookie Butter - 2/3 cup (200 grams) sweetened condensed milk

Instructions
- Preheat the oven to 350°F. Line an 8 by 8-inch light-colored metal pan with foil or parchment paper. Spray with nonstick cooking spray.
- In a large bowl, combine the hot melted butter and sugar with a rubber spatula. Set aside to cool. Add the eggs, egg yolk, and vanilla and stir until combined. Stir in the salt and flour.
- Spread half the batter evenly into the prepared pan. Bake for 15 minutes, or until it just begins to set. Keep oven at 350°F.
- In a heatproof container, microwave the cookie butter and condensed milk in 20-second bursts, stirring between bursts, until warmed through and well combined.
- Using your hands, pick up portions of the Cookie Butter mixture and flatten with your palms. Place on top of the par-baked blondie layer in one even layer.
- Spread the remaining blondie batter over the Cookie Butter layer evenly.
- Return to the 350°F oven and bake for another 30 minutes, or until golden brown and set. Allow to cool in the pan completely. Cut into squares and serve.
Notes
This post was originally published in 2018 and has been updated with additional baking tips. Photos by Ashley McLaughlin.


Hi there,
Can I double this recipe in a 9×13 pan? Should I adjust the baking time?
Can you use a glass pan? How do you adjust temps and cooking times?
Hi Tina! We recommend using an aluminum baking pan, like THIS ONE from USA Pan. Glass pans will take longer, and the texture may become more gummy. If you must use glass, add about 10 to 15 minutes to the baking time. I hope that helps!
I followed the recipe exactly as stated and they turned out well! They were a hit at my husbands work! Next time I make these I might reduce the amount of filling made as it was just too much in the center that I threw away some of the filling spilling out. Wondering if I could do this with Nutella next
So happy they were such a hit, Sandy! Let us know how it goes with Nutella, we haven’t tried that! 🙂