


Tessa’s Recipe Rundown
TASTE: Sweet without being cloying, with tons of cinnamon goodness.
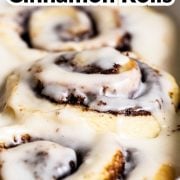
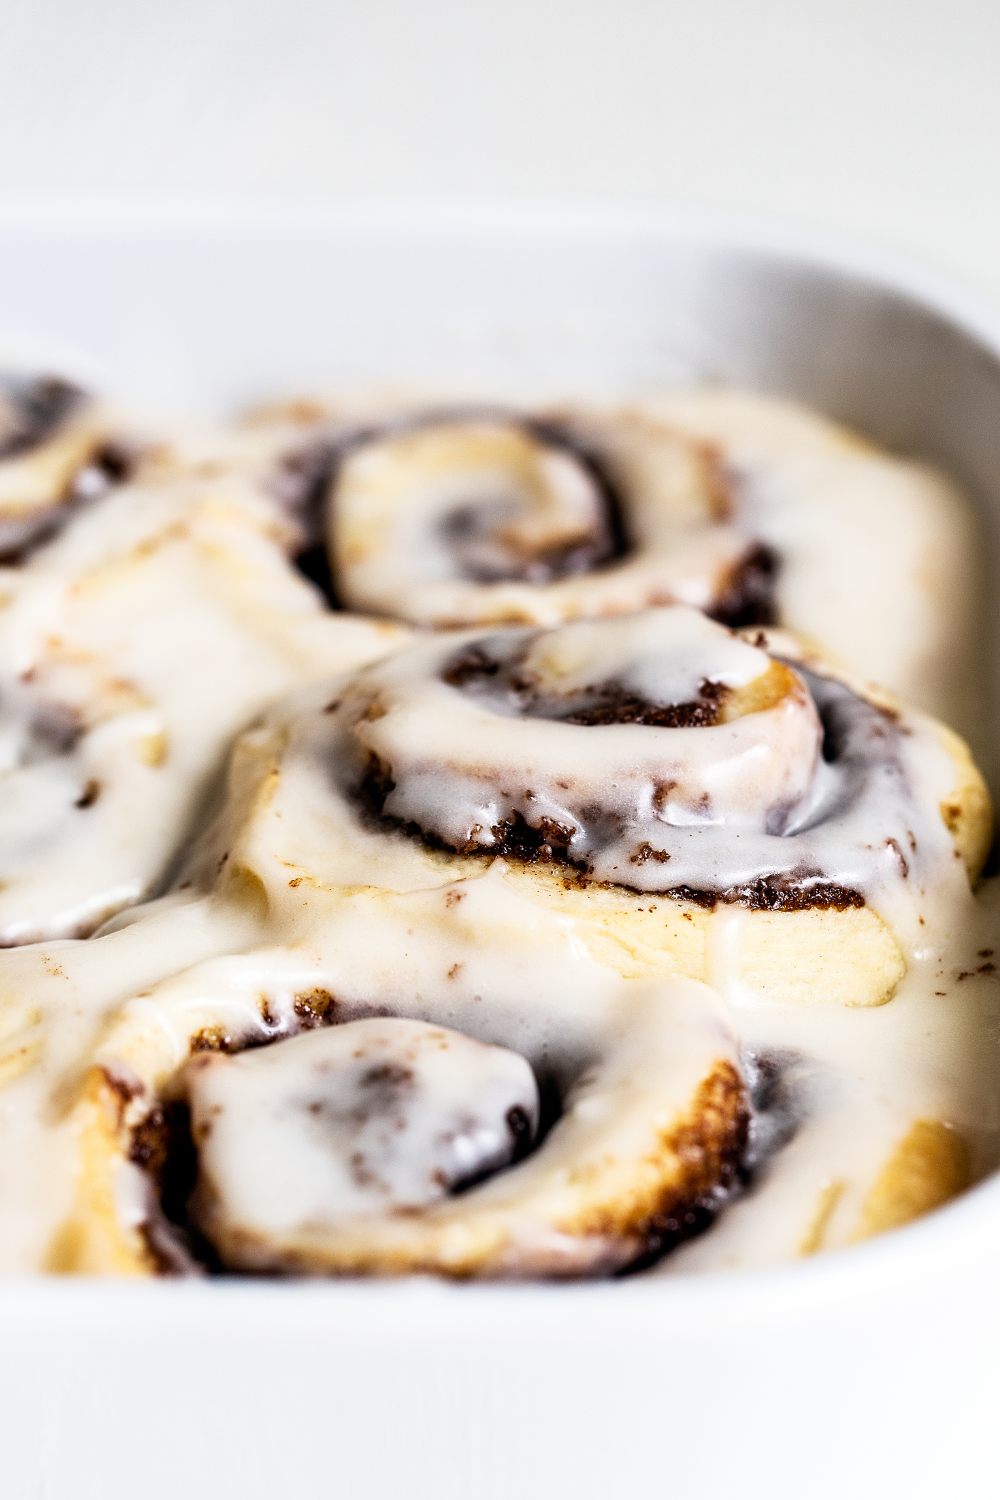
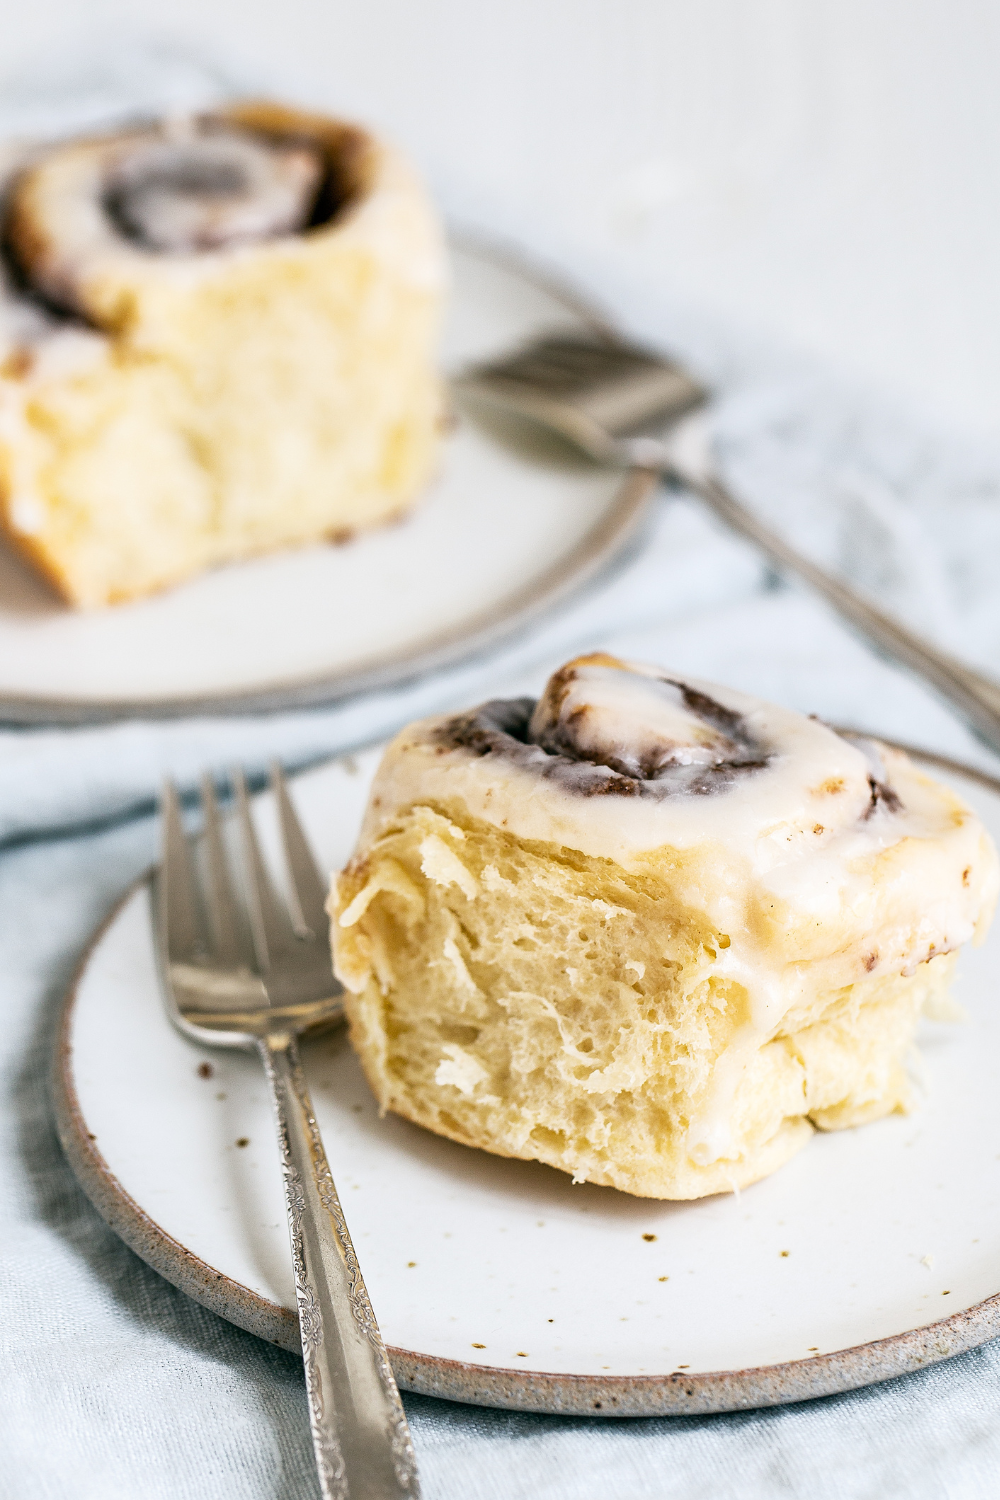
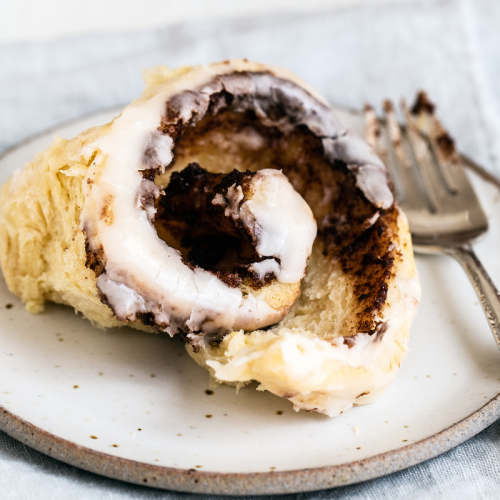
TEXTURE: The best part! The rolls are ultra-soft and pillowy, with an insanely gooey and buttery filling. The flooded icing on top melts into every part of the bun, resulting in so much soft gooiness.
EASE: Takes a few hours – but they can be prepped the night before.
PROS: My very favorite from-scratch cinnamon roll recipe.
CONS: NONE.
WOULD I MAKE THIS AGAIN? I make these cinnamon rolls for every special occasion or holiday spent with my family.
This post may contain affiliate links. Read our disclosure policy.
These Gooey Cinnamon Rolls are my all-time favorite breakfast.
In my family, special occasions were always marked with cinnamon rolls. But since neither of my parents are bakers, that usually meant prepared cinnamon roll dough from those crazy tubes at the grocery store.
My goal for this recipe was to get a similar ooey-gooey, doughy, and rich texture like the tubed cinnamon rolls. However, I aimed to do this with much better flavor and without the artificial ingredients and overwhelming sweetness.
I also wanted a flood of icing that melts into the rolls in the most mouthwatering way.
These cinnamon rolls nailed the brief.
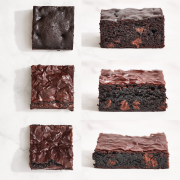
The best part of any cinnamon roll is the middle of the spiral, where it’s super soft and gooey – but these Gooey Cinnamon Rolls have that beautifully soft consistency throughout the whole roll. Every bite is like that middle piece!
This Gooey Cinnamon Rolls recipe is perfect for Christmas morning, or any time you want to celebrate with some cozy deliciousness that makes the whole house smell incredible. Plus, they can be made in advance!
After all, is there anything more delightful and comforting than homemade cinnamon rolls baking in the oven?
How to Make Gooey Cinnamon Rolls
Can I Knead Cinnamon Roll Dough by Hand?
Yes! You can knead this dough by hand without a stand mixer and dough hook – but it will take more time and some upper body strength! Check out my full tutorial on how to knead dough by hand here.
Tips for Kneading Cinnamon Rolls by Hand:
- This is a very rich dough, so it will take longer to knead than some yeasted doughs.
- ONLY add as much flour as needed to handle the dough. It’s better for the dough to be sticky at the start than to add too much flour and wind up with dense rolls, instead of light and fluffy ones.
Is Active Dry Yeast the Same as Instant Yeast?
Active Dry Yeast and Instant Yeast, also called ‘quick rising’ or ‘fast rising’ yeast, can be used interchangeably in most recipes. Active dry yeast simply works a little more slowly than instant yeast.
Here’s how to use active dry yeast in these cinnamon rolls:
- Use active dry yeast in place of instant yeast at a 1:1 ratio.
- To do so, add it to the warm (not hot!) milk and butter mixture with a teaspoon of the sugar.
- Allow it to proof for 5 to 10 minutes, or until foamy.
- Expect the rising time to be on the longer end.
- Learn more about the differences between different types of yeast here.
How Long Does Homemade Cinnamon Roll Dough Take to Rise?
This Gooey Cinnamon Roll recipe is an enriched dough, meaning it has ingredients like milk, butter, sour cream, sugar, and eggs to make it rich, super soft, and tender once baked. These ingredients can also slow down rising time. Rising times will depend on the warmth and humidity of your kitchen, so keep that in mind. Speed up rising by placing the dough in a warm place, such as near a warm oven or stove, near a sunny window, near a heater vent or radiator, or even inside your oven if it has a proofing setting. Don’t place it anywhere warmer than about 80°F.
How to Tell When the Cinnamon Roll Dough Has Risen Enough:
- Volume: The dough should double in volume for the first rise. I always like to use a glass mixing bowl to rise my dough in so I can see how much it’s risen more easily.
- Ripe Test: The best way to tell if the dough has risen enough to shape is to perform the ‘ripe test’. Press two fingers in the risen dough up to the second knuckle and then take them out. If the indentations remain, the dough is “ripe” and ready to punch down. If not, cover and let the dough rise until the indentations do remain.
- Shape and rise again: Now the dough is ready to be rolled out and shaped into rolls! Allow the shaped rolls to rise again until about doubled in size and a gentle indentation from your finger remains.
How to Shape Perfect Cinnamon Rolls Spirals
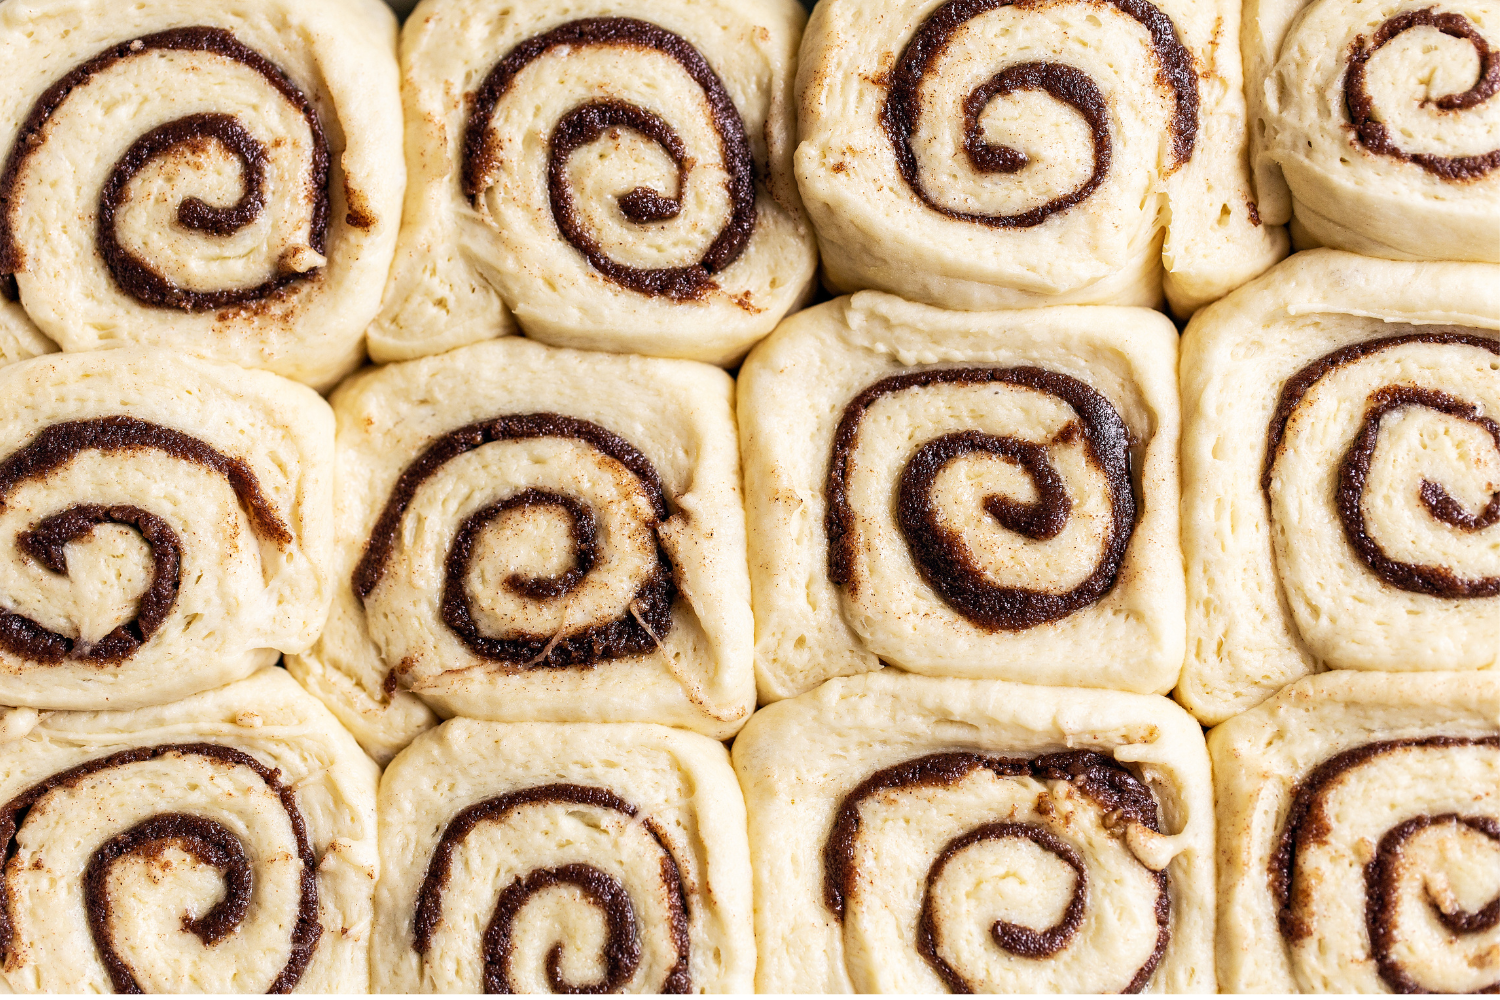
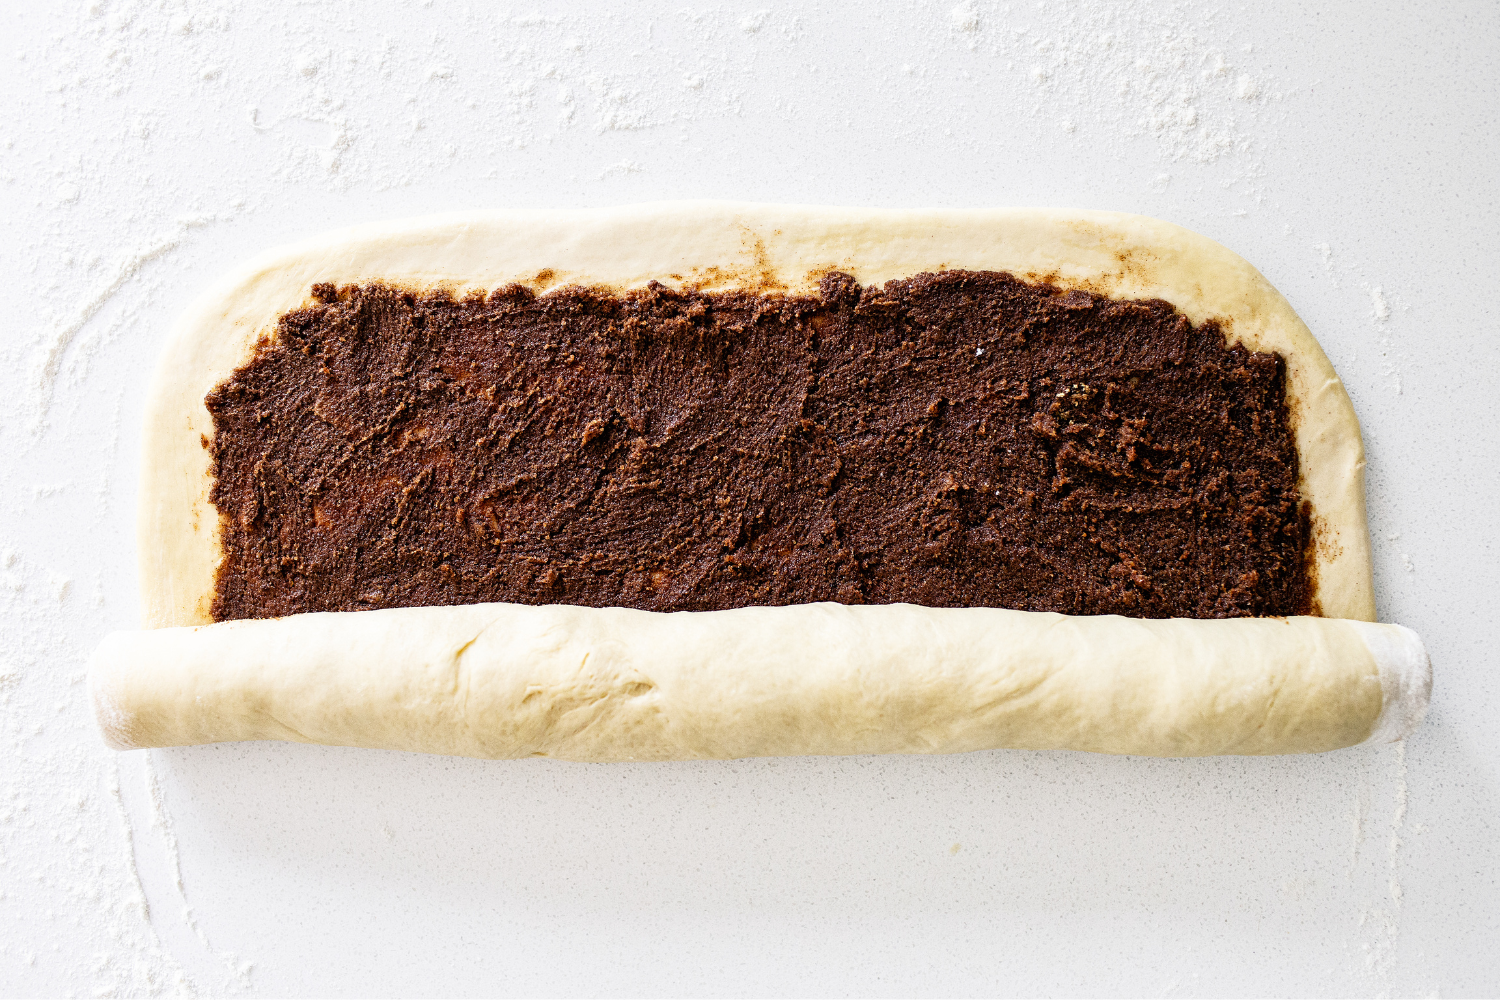
Rolling up your cinnamon roll dough nice and tight is the key to beautiful round rolls and visible spirals. Here’s how to achieve perfect cinnamon roll swirls:
- Make sure your work surface and log of dough are lightly dusted with flour.
- As you roll the dough up, stretch it towards you and then over, so it stays tight instead of floppy.
- Finish off the spiral with the seam side down, to seal in the filling.
- Push the ends into the center slightly with your palms to create an even log shape, then cut off the ends to even out.
How to Slice Cinnamon Roll Dough
To get picture-perfect cinnamon rolls and show off that perfect spiral, it’s important to slice the log of dough without squashing it. Here are some of my best tips to ensure perfect slices:
- The best tool for that is a very sharp chef’s knife and use sweeping motions, not sawing motions, to slice.
- If you don’t have a super sharp knife, you can also use a serrated knife and sweeping motions.
- Alternatively, you can use dental floss to slice the dough – but be sure it’s unflavored.
- To get evenly-sized pieces, cut the log exactly in half so you have two equal-sized logs. Then cut each log in half again so you have four equal-sized logs. Finally, cut each of the four logs into 3 pieces, for a total of 12 cinnamon rolls.
What Pan Should I Bake Cinnamon Rolls in?
While I usually prefer metal baking pans over glass or ceramic (metal conducts heat more efficiently – learn more about that here), I actually prefer the table presentation ceramic pans offer when making cinnamon rolls. Also, because ceramic (and glass) conduct heat more slowly than metal, it allows these rolls to stay slightly gooey in the centers. This is my go-to baking pan for this recipe.
Easy Cinnamon Rolls Icing
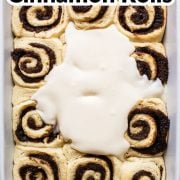
I opted for a simple powdered sugar icing for this recipe. I love the way the icing floods the warm cinnamon rolls and melts into them, for the ultimate gooey bite. You want the icing to have a pourable consistency – not too thick and not too watery. Adjust the powdered sugar-to-milk ratio if needed.

Can I Use Cream Cheese Frosting Instead?
Yes! Just combine the below ingredients in the bowl of an electric mixer on medium-high for 2 minutes, or until super smooth.
- 8 ounces (227 grams) cream cheese, at room temperature
- 2 tablespoons corn syrup
- 2 tablespoons heavy cream
- 1 cup (125 grams) powdered sugar, sifted
- 1 teaspoon vanilla extract
- Pinch salt
Check out the full Best Cream Cheese Icing recipe here.
How to Make Gooey Cinnamon Rolls Ahead of Time
- Refrigerate the shaped but unbaked cinnamon rolls in the pan you plan to bake them in. To give them a jump start on rising, I like to let them rise at room temperature for about 30 minutes before placing them in the refrigerator – especially in the winter when the cold air slows rise times.
- Cover the rolls tightly with plastic wrap and refrigerate for up to 24 hours. The dough should continue to rise slowly in the fridge.
- When getting ready to bake, remove the pan from the fridge and loosen the plastic wrap. Let the cinnamon rolls rise at room temperature until doubled in size. The time this takes will depend entirely on how much they rose in the fridge and how warm/humid your kitchen is. It may take just 20 to 30 minutes or it may take over an hour.
- Proceed with baking the recipe as written.
How to Store Gooey Cinnamon Rolls
Homemade cinnamon rolls are best served fresh and warm – right out of the oven if possible! You can store them in an airtight container at room temperature for a day. Rewarm in the oven or microwave before serving.
How to Freeze Cinnamon Rolls
You can also freeze the shaped but unbaked Gooey Cinnamon Rolls in the pan, tightly wrapped in plastic wrap, for up to 1 month. Defrost overnight in the fridge, then allow to rise again at room temperature. Once doubled in size, proceed with the recipe as written.
More Breakfast & Brunch Recipes:
- Old-Fashioned Sour Cream Doughnuts
- Quiche Lorraine
- How to Make Perfect Scones
- The Best Pancake Recipe
- How to Make French Toast
- Home Fries
Gooey Cinnamon Rolls
Ingredients
For the dough:
- 1 cup (227 grams) whole milk
- 1 stick (113 grams) unsalted butter
- 1/4 cup (57 grams) sour cream or plain yogurt, at room temperature
- 1 envelope (2 1/4 teaspoons) instant yeast*
- 1/4 cup (50 grams) granulated sugar
- 1 large egg, at room temperature
- 2 egg yolks, at room temperature
- 1/2 teaspoon vanilla extract
- 4 cup to 4 1/4 cups (508 to 540 grams) all-purpose flour, plus more for dusting
- 1 1/2 teaspoons fine salt
For the filling:
- 1 stick (113 grams) unsalted butter, completely softened to room temperature
- 3/4 cup (150 grams) packed light brown sugar
- 2 tablespoons ground cinnamon
- 1/8 teaspoon fine salt
For the icing:
- 2 cups (250 grams) powdered sugar
- 1/4 cup (57 grams) whole milk
- 2 tablespoons (28 grams) unsalted butter, melted
- 1 teaspoon vanilla extract
Instructions
Make the dough:
- In a small saucepan, heat the milk and butter until the butter is melted. Remove from heat and stir in the sour cream until smooth. Let cool until lukewarm** (about 110°F).
- In the bowl of an electric mixer, use a spatula to combine the milk mixture with the yeast, sugar, egg, egg yolks, and vanilla until well combined. Add in half of the flour and the salt and stir until combined. Place on a stand mixer fitted with a dough hook and gradually add the remaining flour until a dough begins to form. Only add as much flour as you need to form the dough. Knead at medium speed until the dough is very soft, smooth, pliable, elastic, and doesn’t stick to the sides of the bowl, about 8 to 10 minutes. If the dough is unbearably sticky, add more flour 1 tablespoon at a time. Only add as much flour as needed to create a smooth dough.
- Lightly grease a large bowl. Shape the dough into a ball and place in the greased bowl. Cover with plastic wrap and let rise in a warm place until doubled in size, 1 1/2 to 2 hours.
Make the filling:
- Once the dough has risen, add filling ingredients to a medium mixing bowl. Beat with a hand-held electric mixer on medium-high until well combined and fluffy, about 3 minutes.
To shape the dough:
- Punch down the risen dough and turn out onto a lightly floured work surface. Use a rolling pin to shape the dough into a 16×12-inch rectangle, long side facing you.
- Spread the filling mixture all over the dough, leaving a 1/2-inch border at the far edge. Brush the border with water to help seal. Roll the dough up, pulling with your hands to keep it tightly rolled until it’s an even log shape. Press the border to seal. Trim the edges. Lightly flour the roll.
- Grease a 13×9-inch baking dish or two 9-inch pie pans. Cut the roll into 12 equal pieces using a sharp knife or unflavored dental floss. Place the rolls cut side up in the prepared baking dish. Cover with plastic wrap and let rise in a warm place until doubled, about 1 1/2 to 2 hours.
- MAKE AHEAD: Allow the shaped rolls to rise until they’ve grown in size by about a quarter. Cover with plastic wrap and refrigerate for up to 24 hours. Allow to come completely to room temperature and continue to rise until doubled in size, about 2 hours, before baking as directed below.
- Meanwhile, preheat the oven to 350°F. Bake the rolls until lightly golden brown, 22 to 25 minutes.
For the icing:
- While the rolls bake, combine the icing ingredients in a small mixing bowl until a smooth pourable icing forms.
- Spread over hot rolls immediately after they come out of the oven. Serve warm the day they’re baked.
Recipe Notes
This recipe was written in 2019 and has been updated with additional recipe tips. Photos by Ashley McLaughlin.
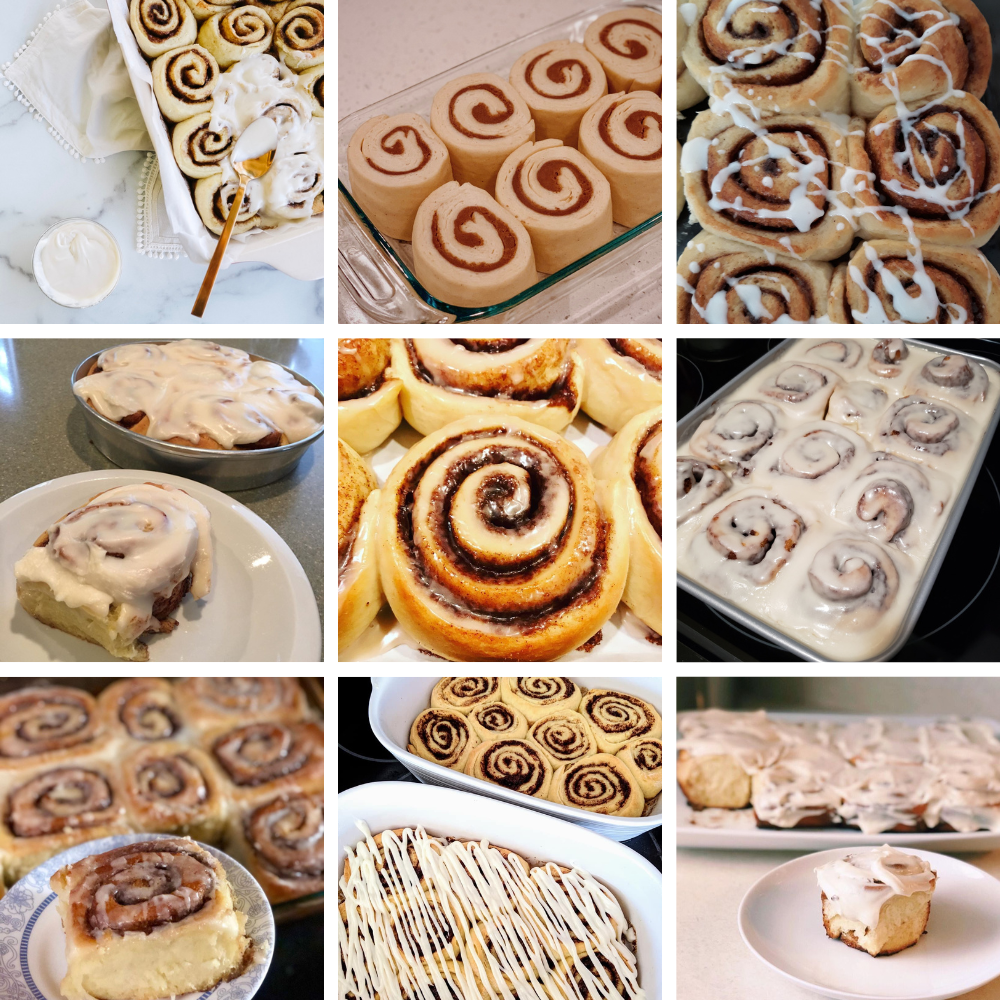
September Baking Challenge
These Gooey Cinnamon Rolls were the recipe selection for the September 2019 baking challenge! Learn more about my monthly baking challenges here. Check the entries below:


Made this again today. Labor of love for sure, but so worth it. My family will never be satisfied with cinnamon rolls from the grocery store again! Make sure to plan ahead and leave things out ahead of time for them to be room temp when you are ready to start. And start early!
So happy these cinnamon rolls are a hit! You can also make the rolls ahead of time as well! I talk about that in the pink box above the recipe 🙂
How many days at room temperature will the cinnamon rolls last? Best eaten first day or does it stay fresh 3-4 days?
Hi Kim, these are definitely best served warm, the day they’re made. You can store them covered at room temperature for a day, but I’d advise re-warming in the oven or microwave them before serving.
The cinnamon buns that were on the outside of the pan (like touching the pan on the sides) turned out soft and delicious, but the ones in the centre were not baked all the way through. Any advice on this? I used a ceramic pan because that’s what the picture is and the recipe didn’t specify, but I’m wondering if they’d come out more even in a metal pan.
Hi Karin, I’m sorry these didn’t turn out like they should! I’m not entirely sure what went wrong with your cinnamon rolls! I personally prefer glass or stoneware for a gentler heat with this recipe to keep the cinnamon rolls gooey (but cooked!) — metal may dry the edges more. Do you have an oven thermometer to make sure your temp is accurate? Or maybe perhaps there is an inconsistency in your oven being hotter in certain areas? I’m sorry I can’t help you more, I’ve never run into this issue before!
I made these in a metal baking pan and they were delicious! I used a digital thermometer to check for doneness. I made a point to place the smaller cut rolls in the middle and the larger ones on the outside thinking they would bake at the same time but nope. The larger rolls on the outside still cooked faster than the smaller ones in the middle. I took my rolls out of the oven when the internal temp reached 180 F. They bake a little faster in a metal pan. I think I baked mine for 20 min. The outside rolls were still soft and yummy.
This recipe definitely delivered and it is WAAAAAYYYY better than Cinnabon!
Outstanding! Definitely keeping this recipe on hand
Yay! So glad you enjoyed these cinnamon rolls.
Tessa;
hi there! I cannot rate because I was wanting a print out of the recipe! Could you tell me where to find the PRINT button? This has happened on other food sites, FB recipe sites, etc. I am so very frustrated that no one seems to want to make it easy to bake
sincerely
B Feller
Hi Betsy, you can click the red printer icon in the recipe section OR at the top of the page! Right below the title of the recipe you’ll see a Facebook icon, a Pinterest icon, and a printer icon. Let me know if you find it.
My daughter made these and they were so good so when she was leaving for college I made a batch and sent them with her for her friends as a kiss from home. They were a very big hit.
So happy to hear this!
Absolutely amazing! Better than any I have ever made!
So glad to hear this!
Made the cinnamon rolls today and they are so good !! This is by far the best!! I made the rolls last night and baked thus morning. Nothing better than having fresh out of oven cinnamon rolls on a snowy day!
Thank you so much for sharing the recipe!!
Amazing! Sooo soft and gooey and packed with cinnamon flavor and right amount of sweetness. Perfect!
I have never left a review before for a recipe, but like the other 150 people on here, these are the BEST cinnamon rolls ever. I have baked practically my whole life, but perfecting homemade cinnamon rolls took me several years. I finally nailed it with this recipe. Every single aspect of the rolls is perfect. The soft, pillowy texture, the amount of filling, the frosting – all of it. I have never seen a recipe use room temp butter and creaming it with the sugar – I’ve always seen to melt the butter, which I think made it a little harder to get all the butter to stay on the dough for the filling. I will always always use this recipe for cinnamon rolls from now on. Perfection.
Hi,Tessa!
If I use active dry yeast and I use that 🙂 which are the steps to follow ?First milk/yeast/sugar and then I sould add the rest of the ingredients?
Hi Totolan! Add it in with the warm (110°F) milk and butter mixture and a teaspoon of the sugar and allow it to proof for 5 to 10 minutes, or until foamy.