





This post may contain affiliate links. Read our disclosure policy.






Tessa’s Recipe Rundown
Taste: Just like the packaged ones but with a lighter sweetness.
Texture: Ultra chewy, fudgy, and soft. Perfect.
Ease: Very easy, you’ll just dirty a few dishes.
Why you’ll love this recipe: Improved from-scratch version of a favorite childhood treat.
As a kid, there were many packaged treats I loved. Cosmic Brownies. Nutter Butters. Little Debbie’s Fudge Rounds.
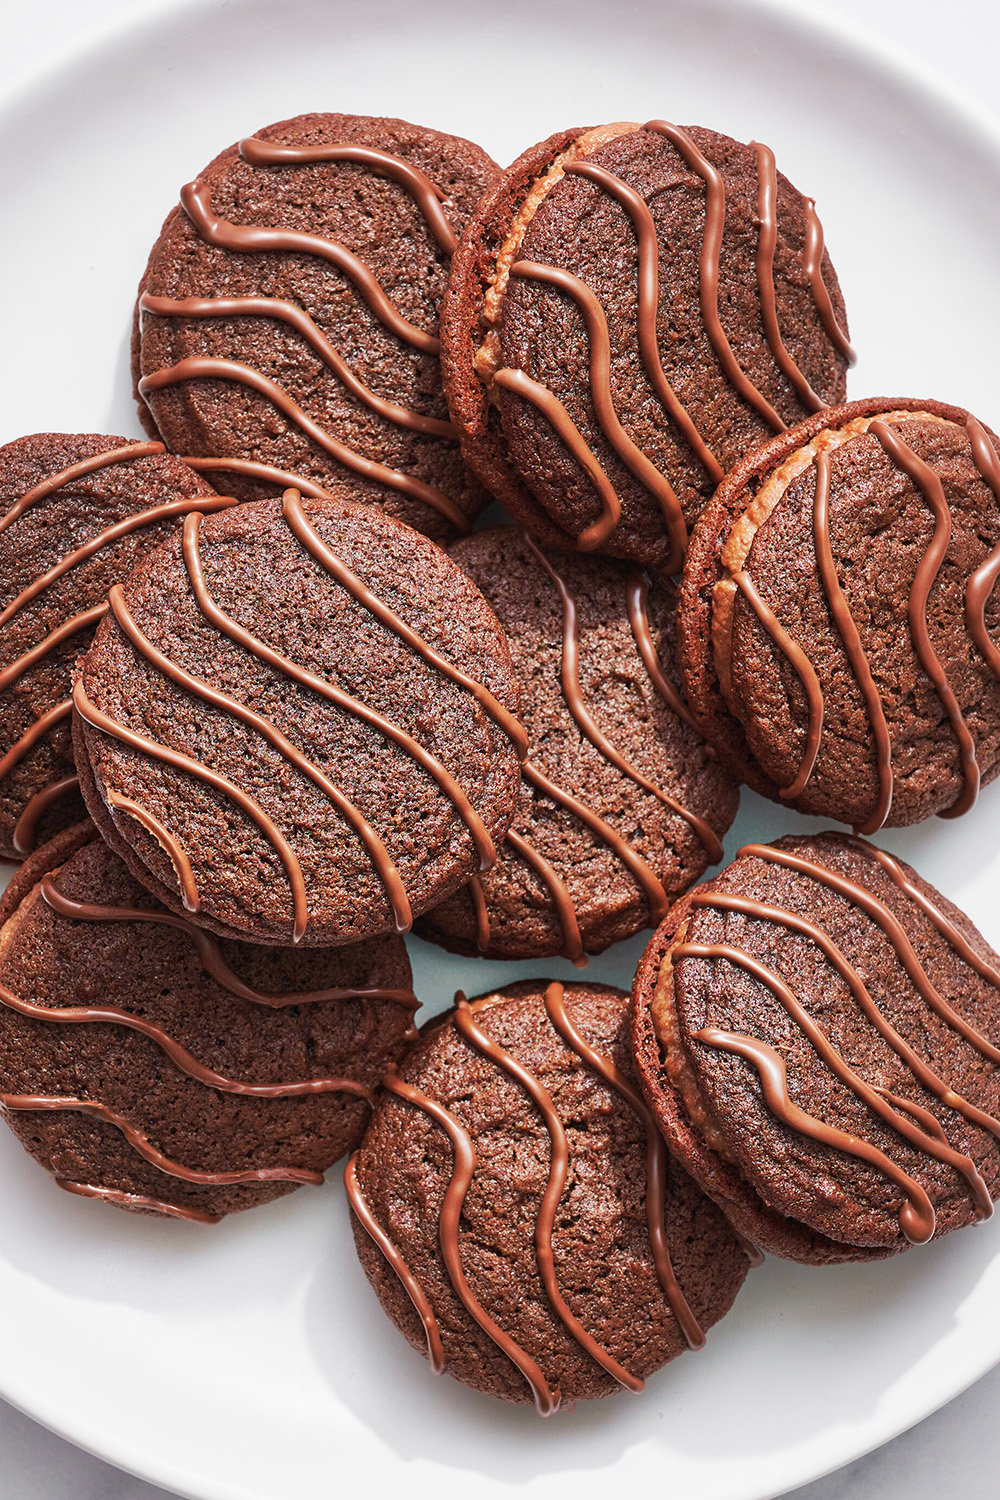
I’ve recreated the Cosmic Brownie recipe, Oreo Cookies recipe, and Homemade Pop Tarts, all with stellar results – so it seemed only fitting that I move on to Homemade Fudge Rounds!
Actually, I had all but forgotten that Fudge Rounds existed until shopping at Target during back-to-school season.
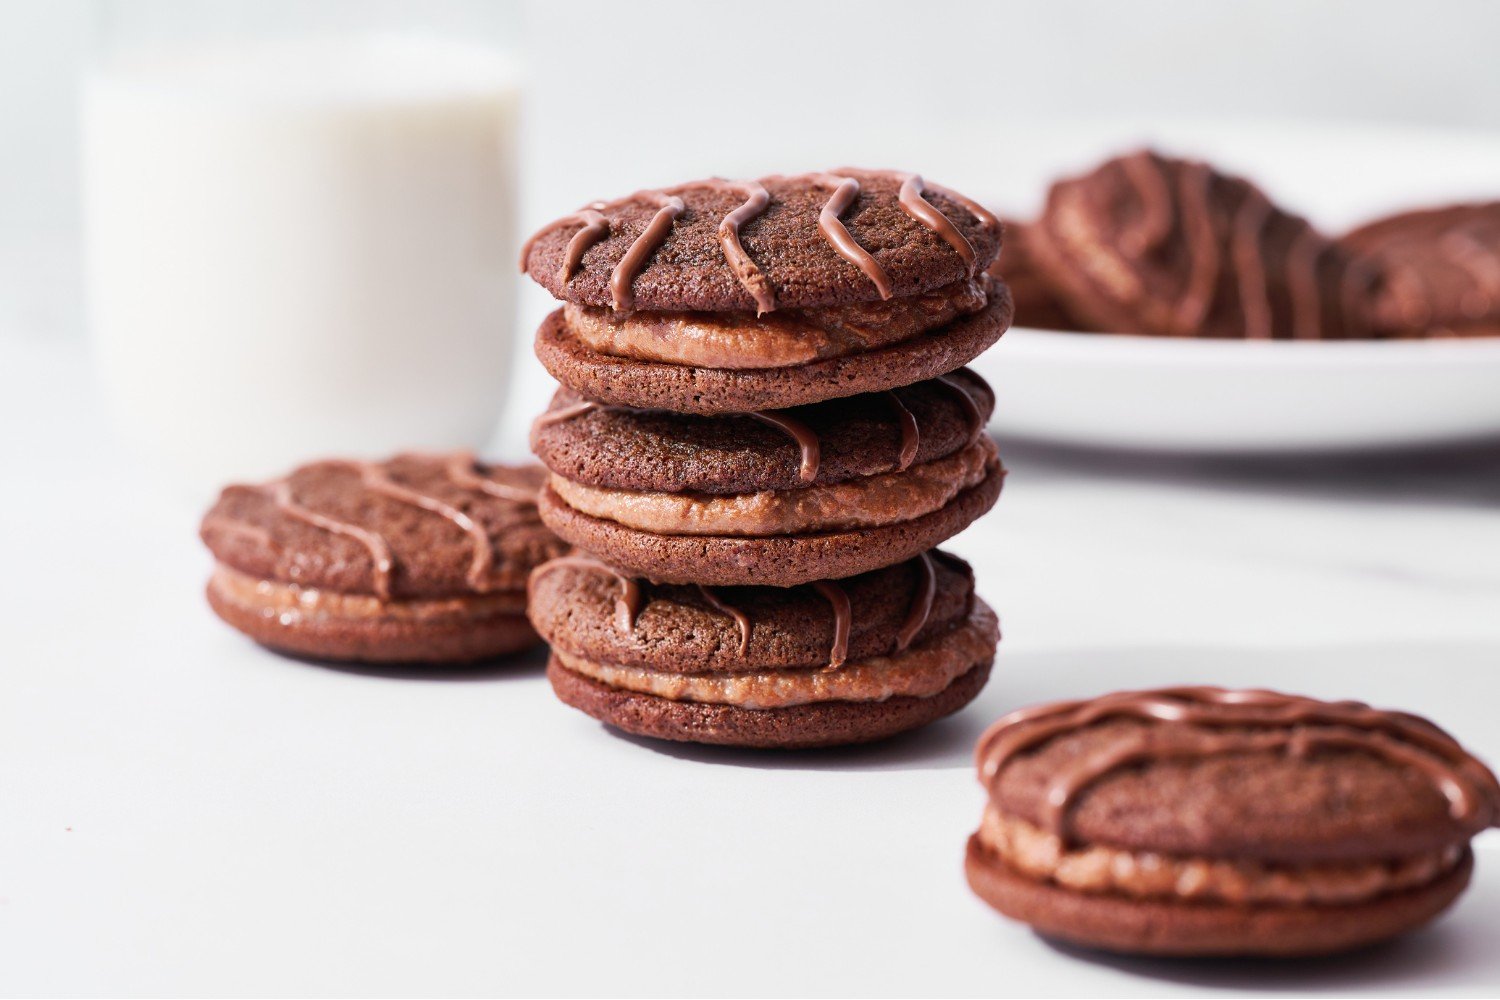
All the end caps were piled high with packaged treats for lunch boxes, and it inspired me to tackle a copycat version without any artificial ingredients.
Seriously decadent and chocolaty without being too rich, these Fudge Rounds will be a crowd-pleaser at any picnic or BBQ, or a hit with the kids after their first day back to school!
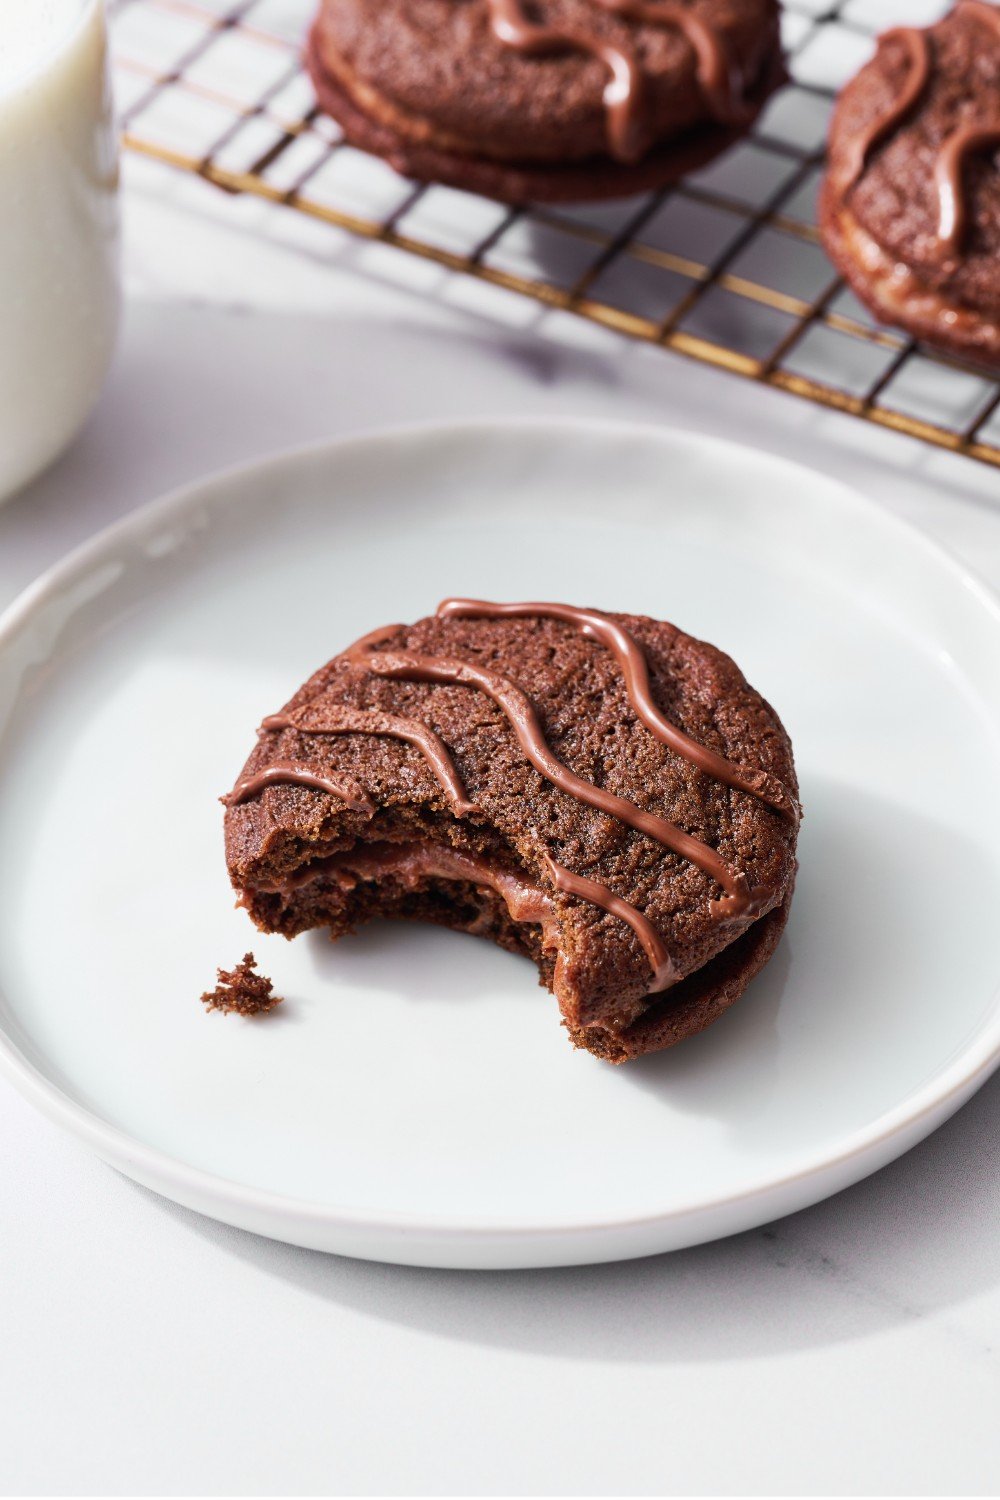
What are Fudge Rounds?
Little Debbie Fudge Rounds are fudgy round chocolate cookies, sandwiched together with chocolate buttercream. Think Whoopie Pies, but richer and fudgier! A box of these treats can be found at pretty much any American grocery or convenience store.
Store-Bought vs. Homemade Fudge Rounds
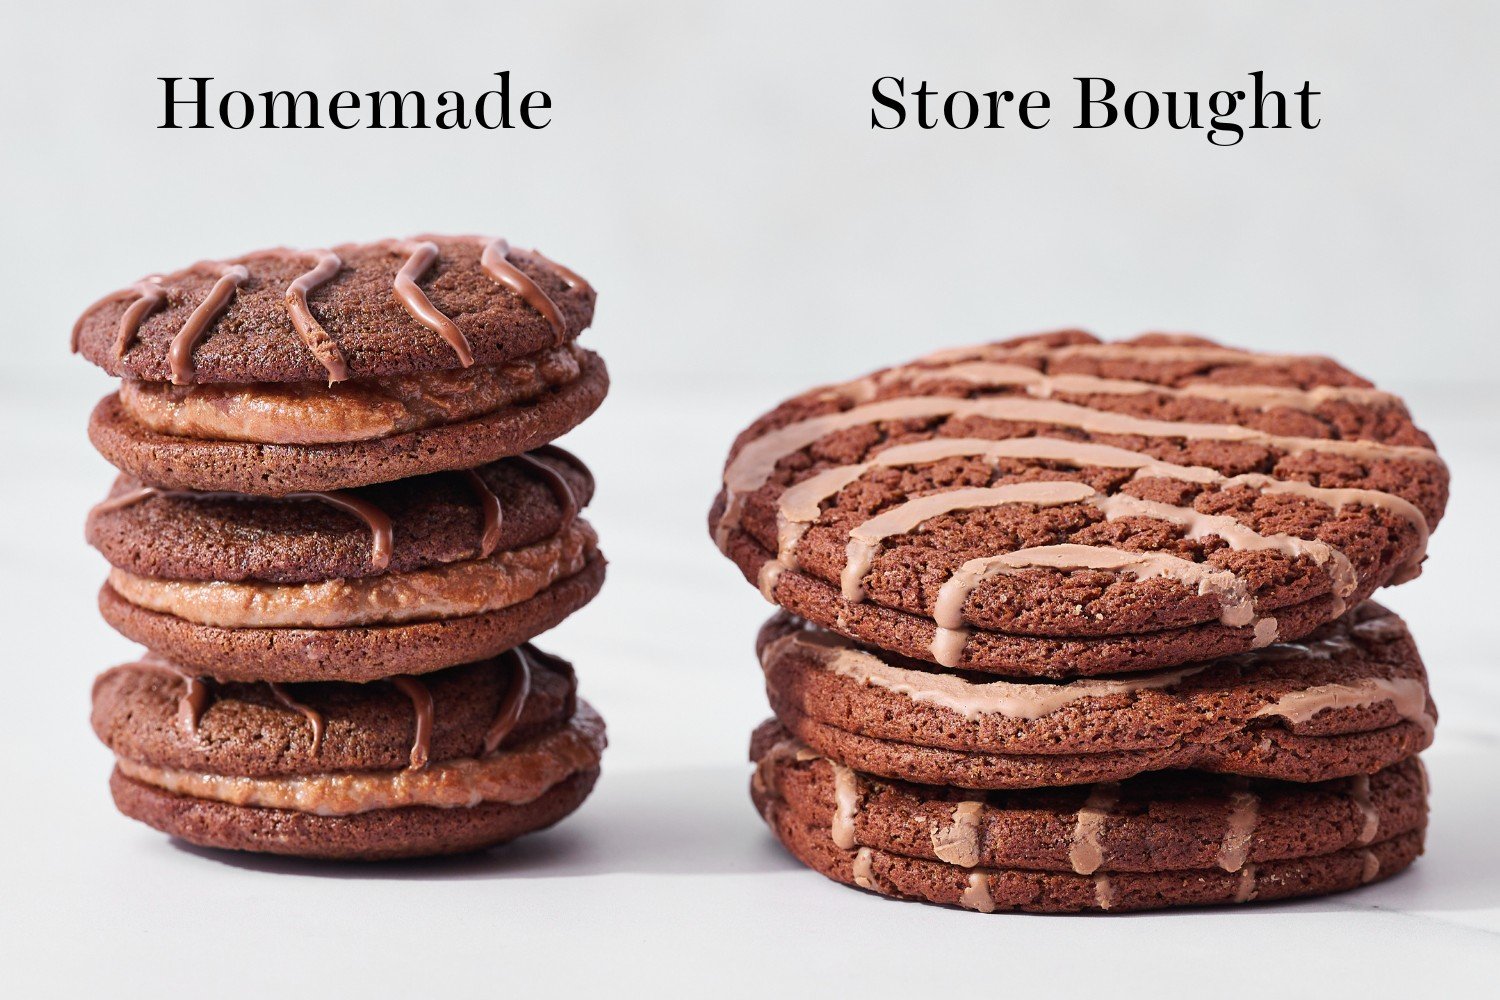
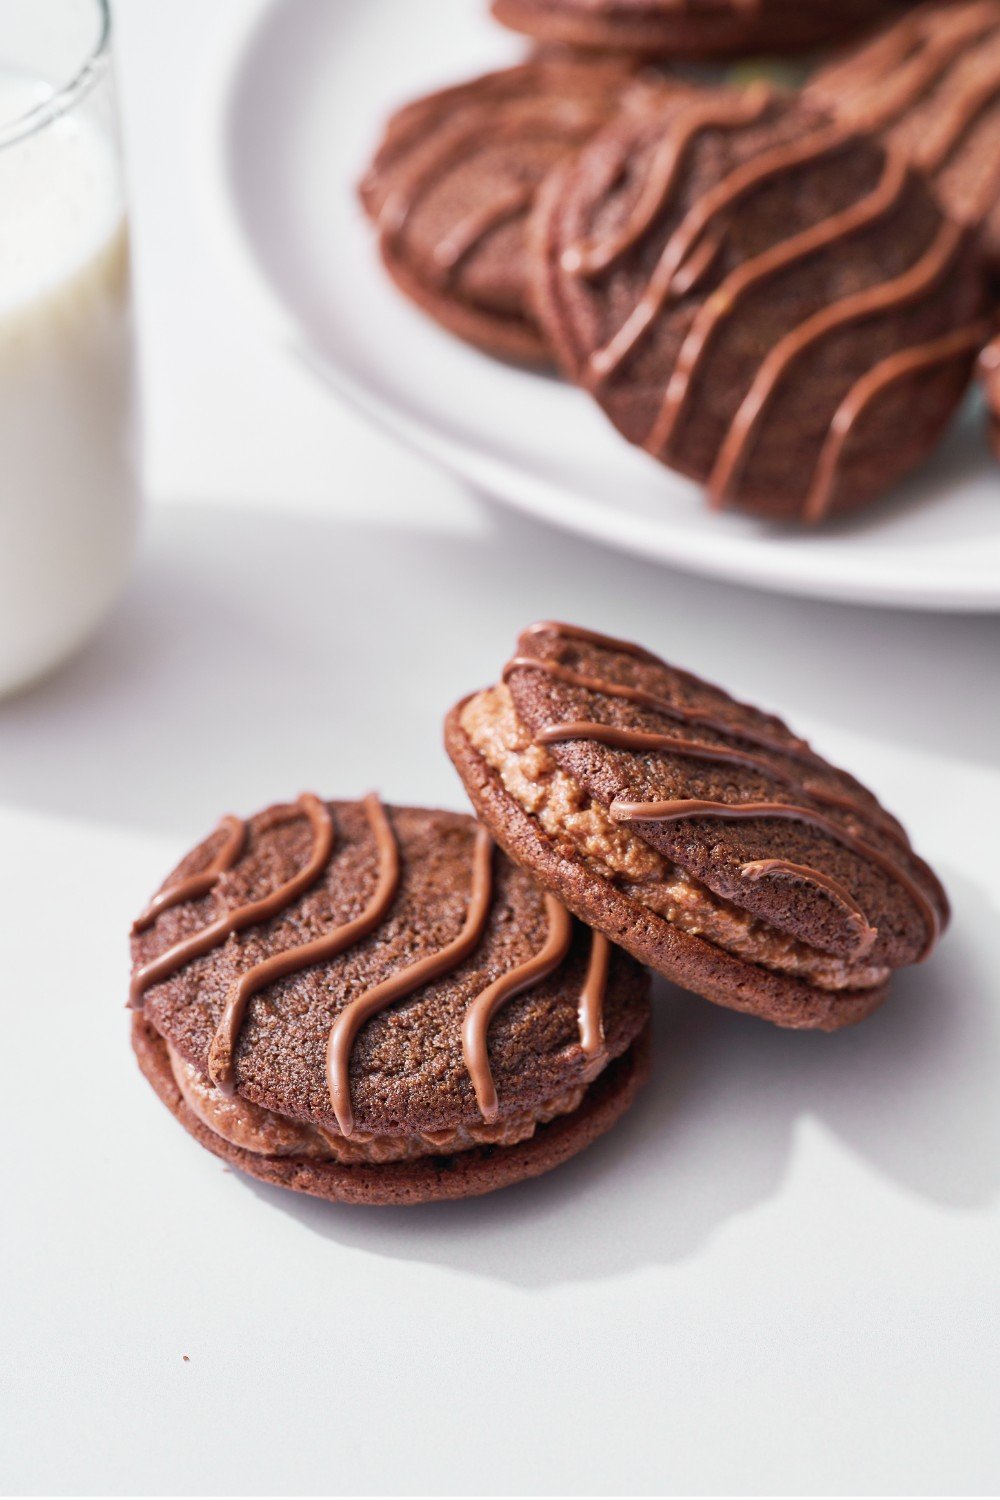
Nowadays, store-bought Fudge Rounds are much too sweet and artificial tasting for me. When you make them from scratch, you can get extra generous with the amount of filling. See what I mean in the photo below comparing the homemade vs. store-bought cookies:
Key Recipe Ingredients
Corn Syrup: Helps prevent sugar from recrystallizing, creating a texture that’s bendy, chewy, soft, and fudgy. Don’t skip it.
- Swap: Use an equal amount of golden syrup, if needed.
Natural Cocoa Powder: Use a high-fat, natural, unsweetened cocoa powder for the best chocolate flavor and texture. I recommend Ghirardelli unsweetened cocoa powder. Avoid Dutch process, since this recipe relies on natural cocoa and baking soda. Read more about the differences between Natural and Dutch-Process cocoa powders here.
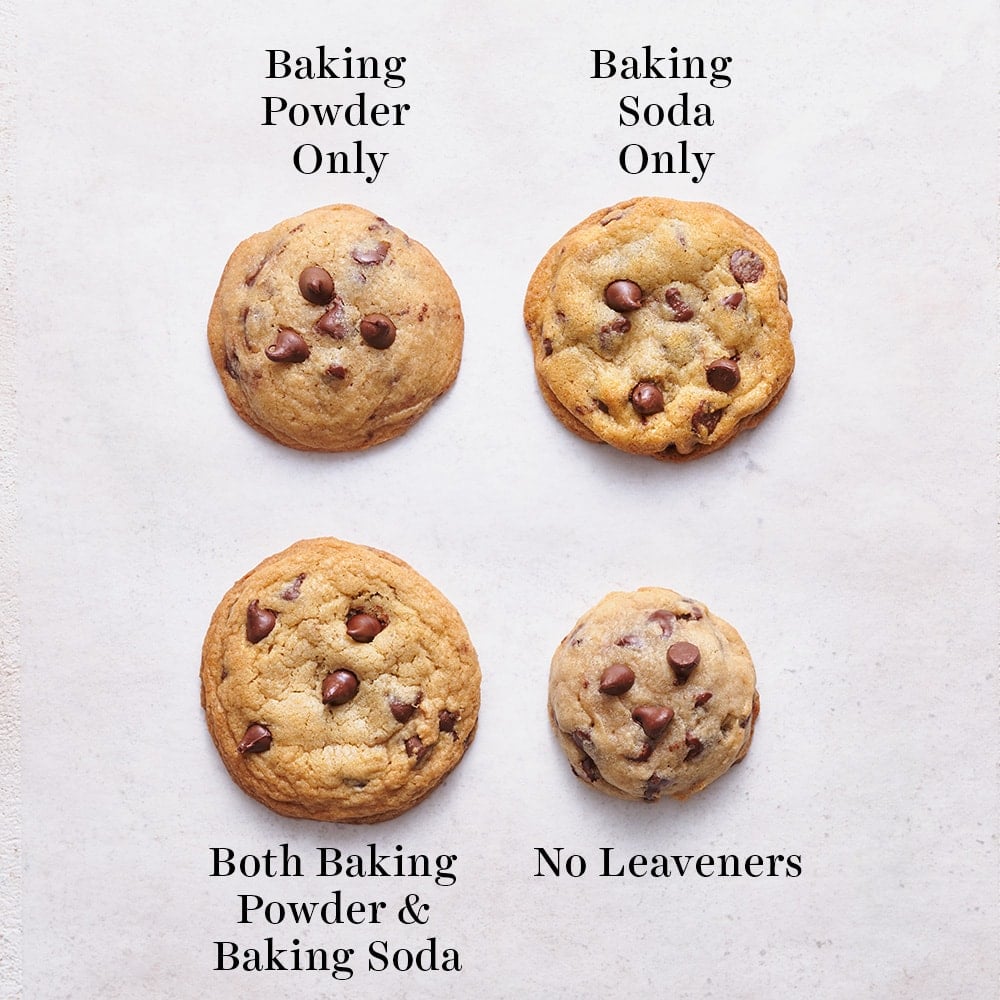
Cornstarch: Helps keep the cookies soft and tender without making them cakey. Don’t skip it.
How to Assemble Homemade Fudge Rounds
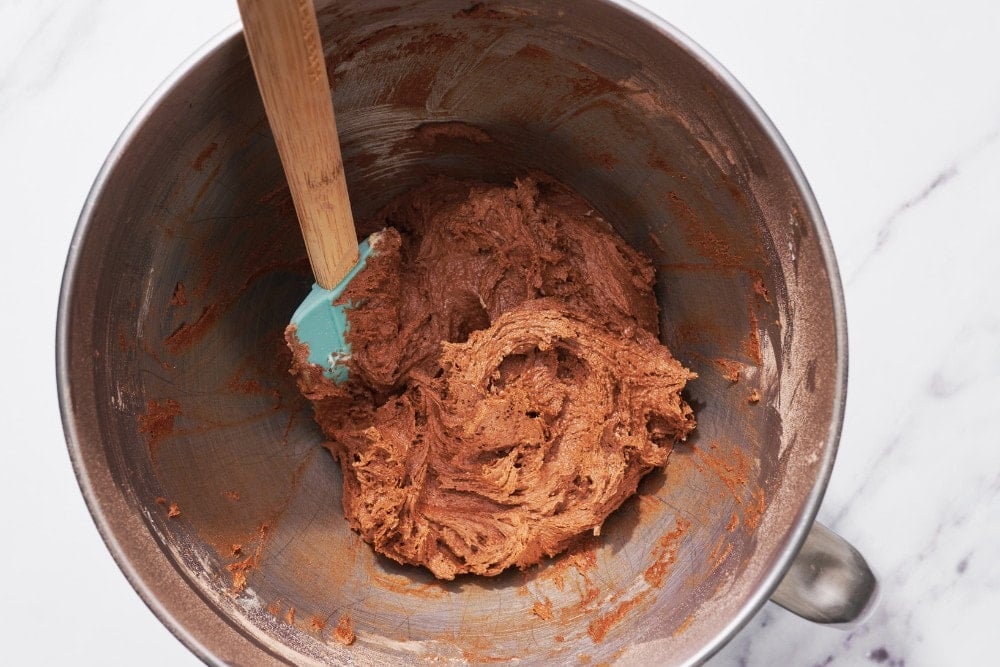
Make the cookies. Mix the ingredients and scoop the dough onto parchment-lined baking sheets.
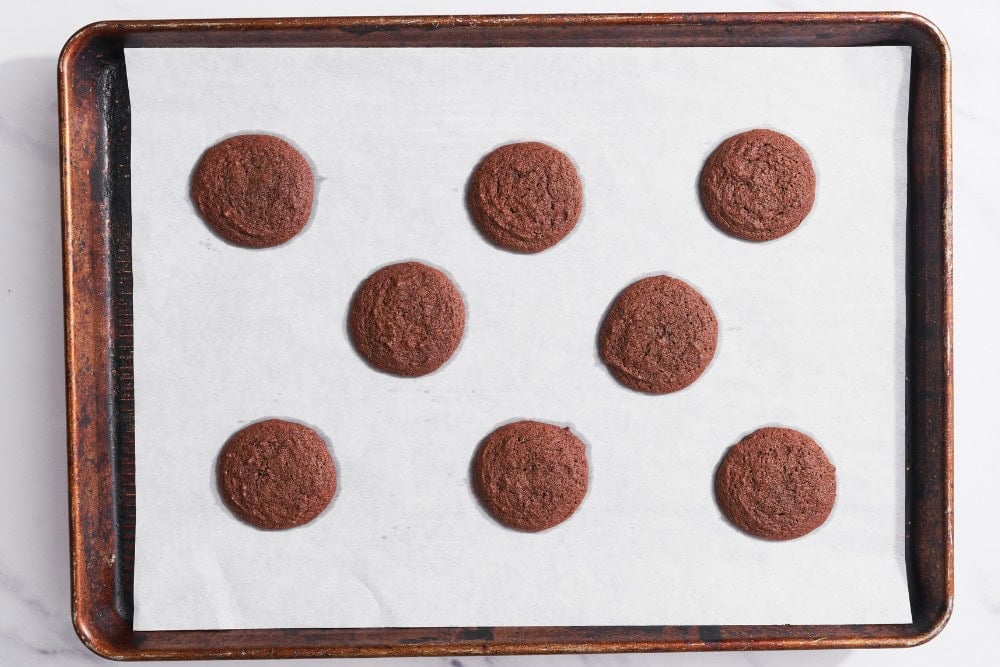
Bake the cookies. At 350°F for about 8 minutes, until they’re slightly puffy and set.
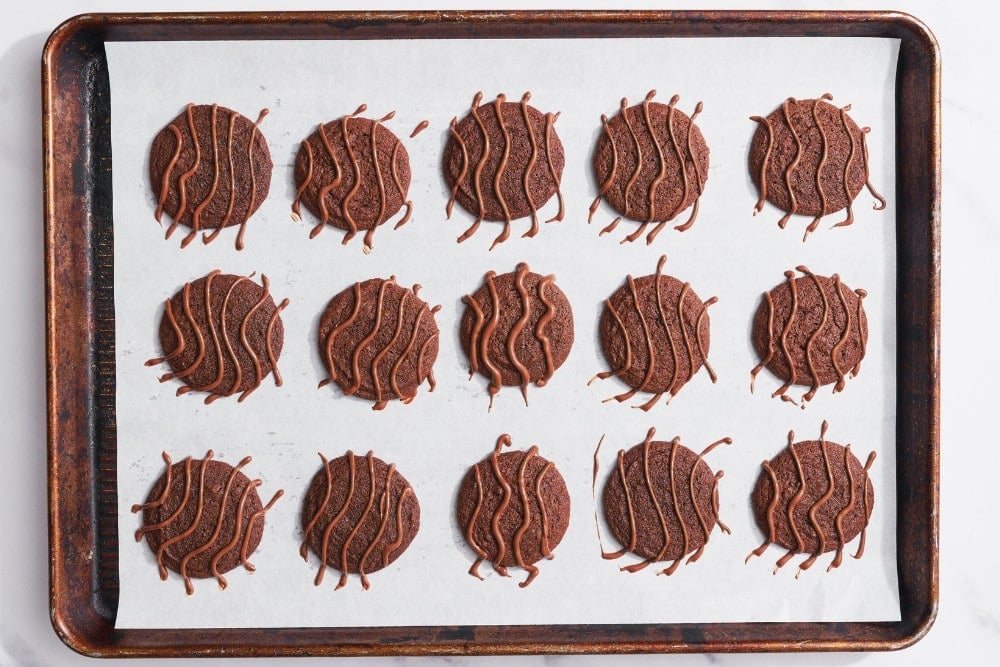
Decorate. Melt the chocolate chips with vegetable oil, then drizzle or pipe over the cooled cookies. Refrigerate until set.
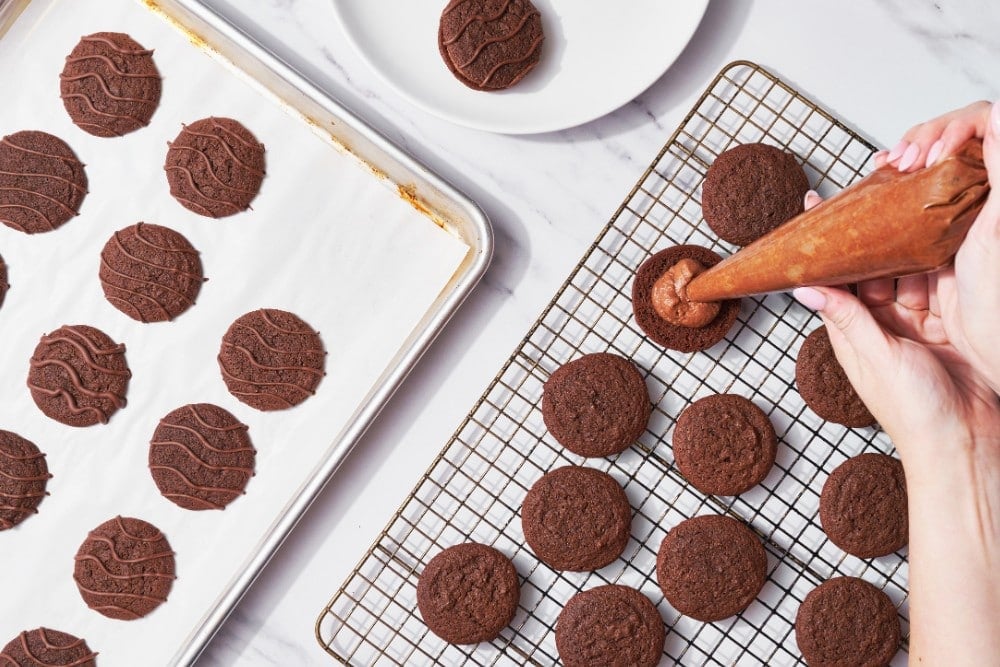
Make the filling & pipe. Pipe or spread the filling onto the flat side of half the cookies.
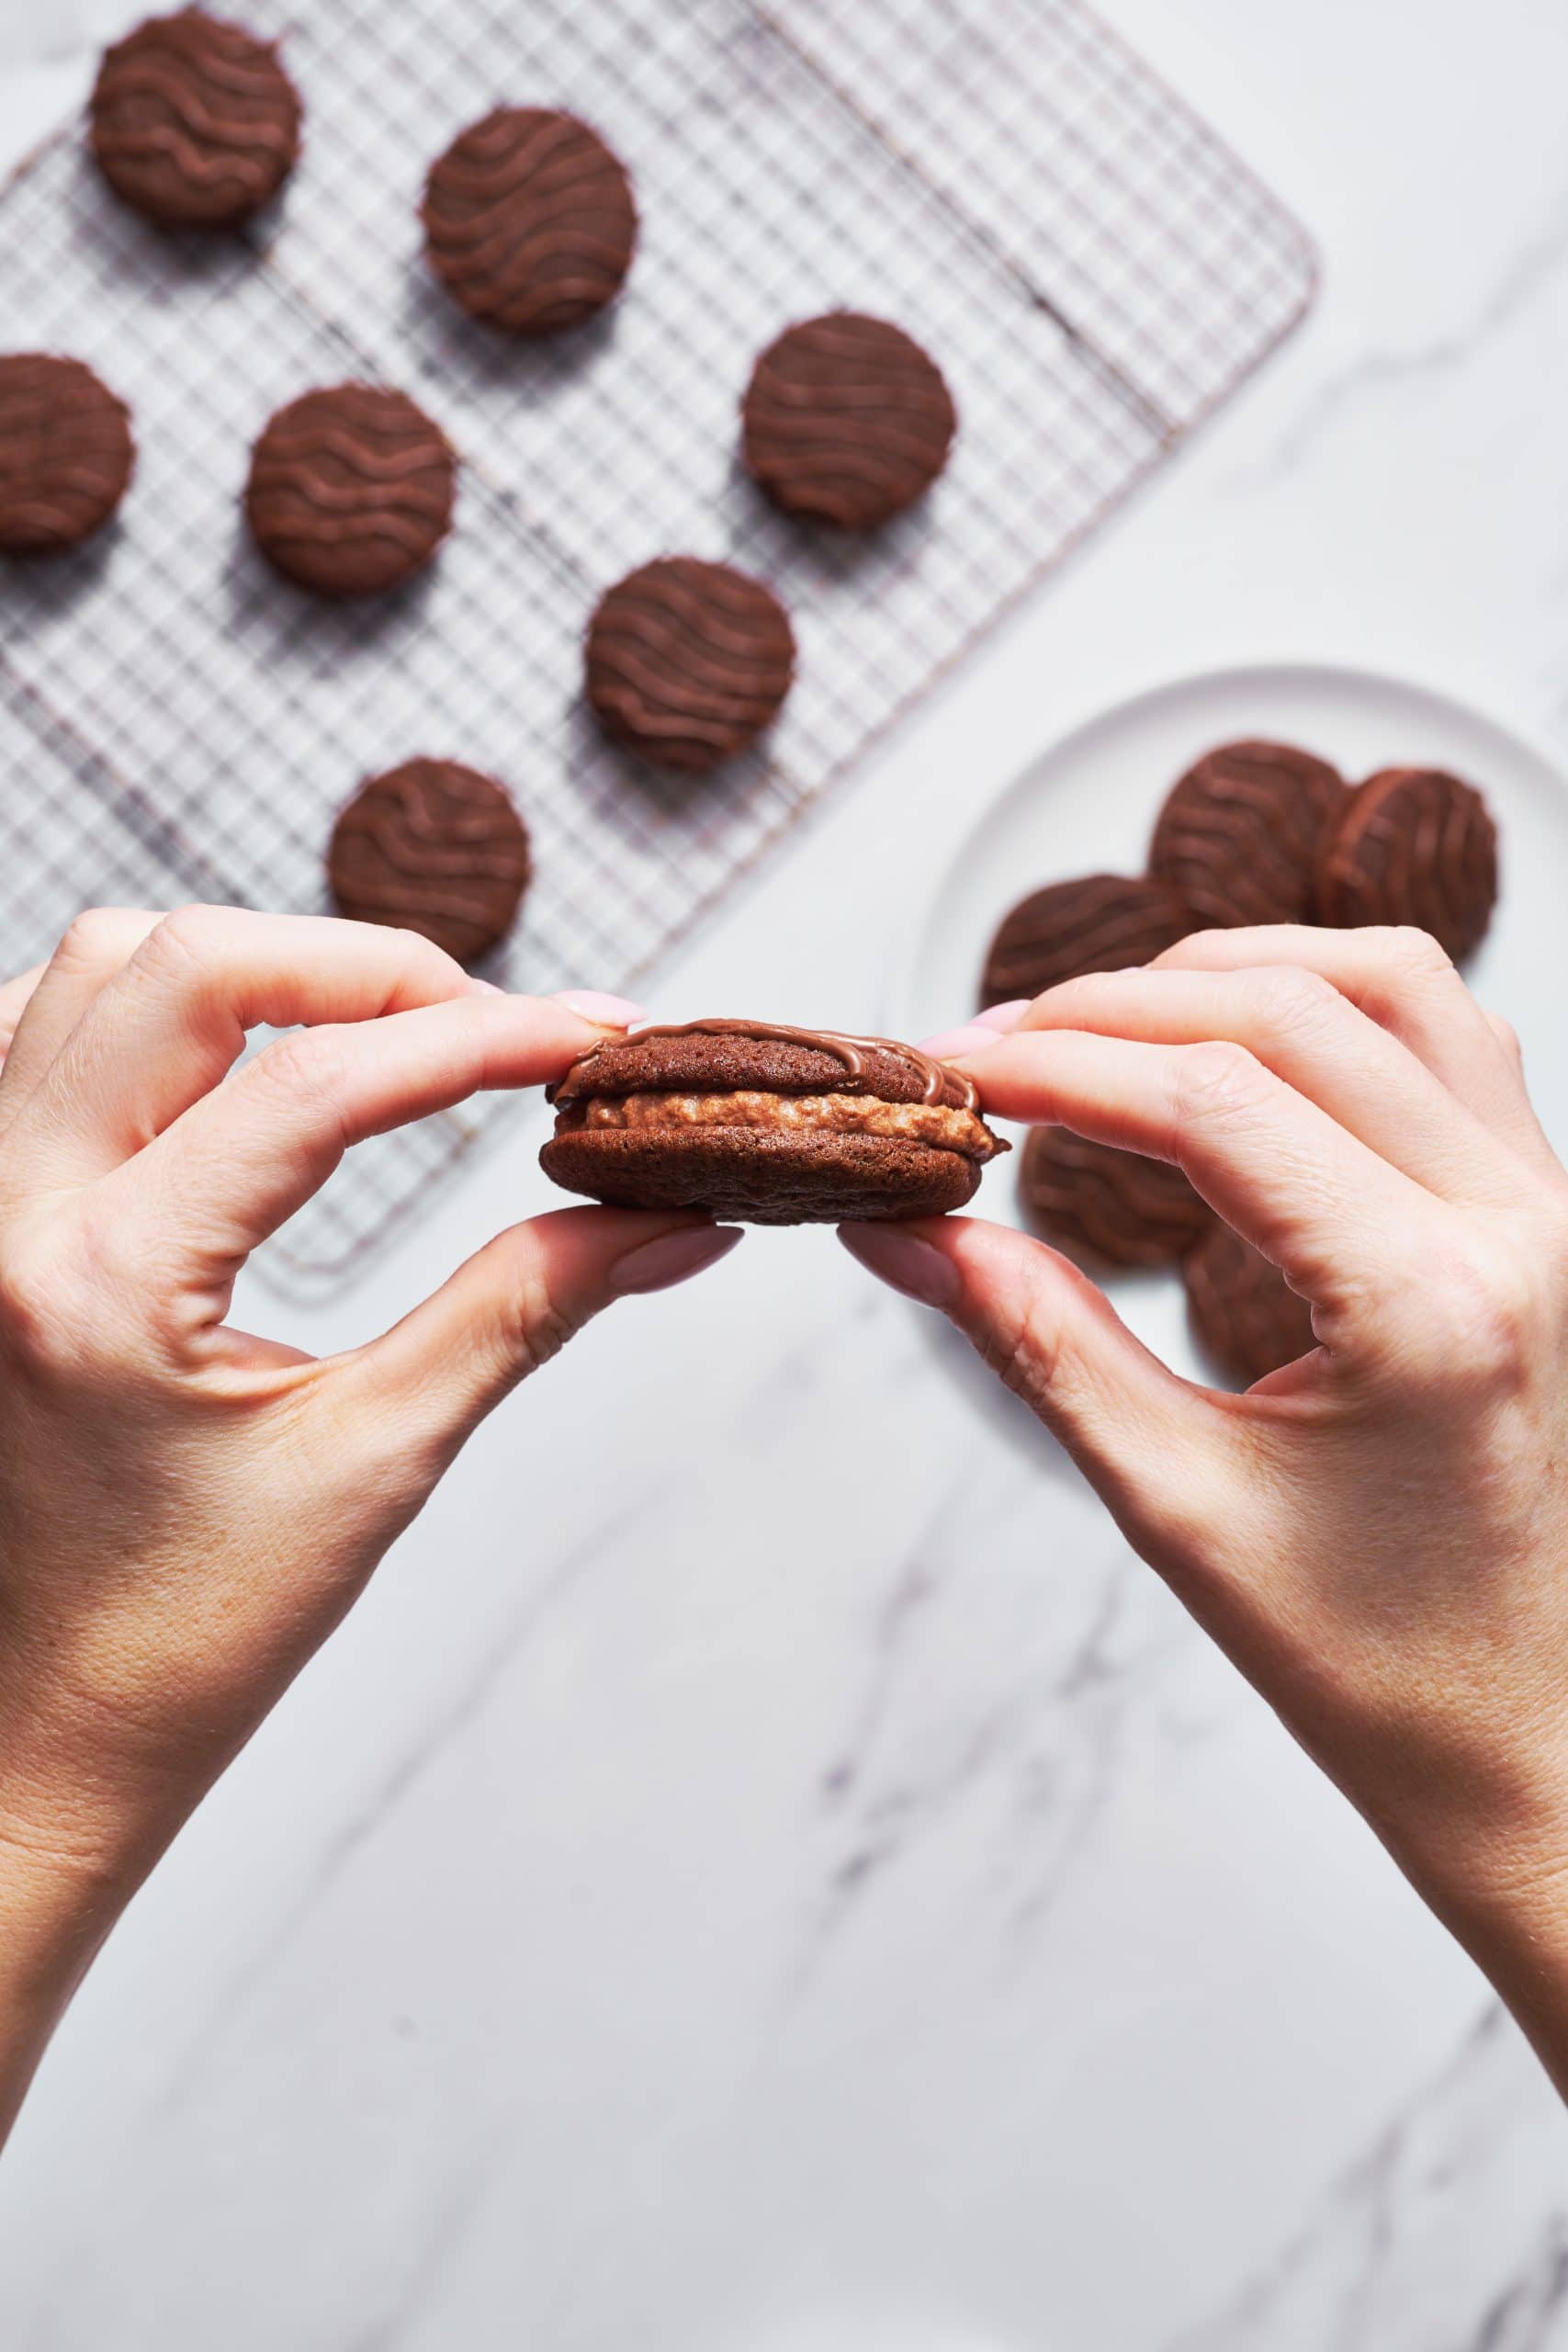
Finish assembling. Gently sandwich with the remaining cookies.
Storage & Make ahead
Make Ahead: Fudge Rounds can be assembled and stored in the fridge for up to 5 days before serving. They’re even fudgier when chilled!
Room Temperature: Store assembled cookies in an airtight container at room temperature for up to 1 day.
Freezer: Freeze assembled cookies in an airtight container, wrapped individually in plastic wrap, for up to 1 month. Enjoy frozen, or thaw overnight in the fridge before serving.


Email This Recipe
Enter your email, and we’ll send it to your inbox.
Ingredients
For the cookies:
- 10 tablespoons (142 grams) unsalted butter, at cool room temperature
- 3/4 cup (150 grams) granulated sugar
- 1 large egg, at cool room temperature
- 1 tablespoon light corn syrup*
- 1 teaspoon vanilla extract
- 1 1/4 cups (159 grams) all-purpose flour
- 6 tablespoons (32 grams) unsweetened natural cocoa powder
- 1 teaspoon cornstarch
- 1/2 teaspoon baking soda
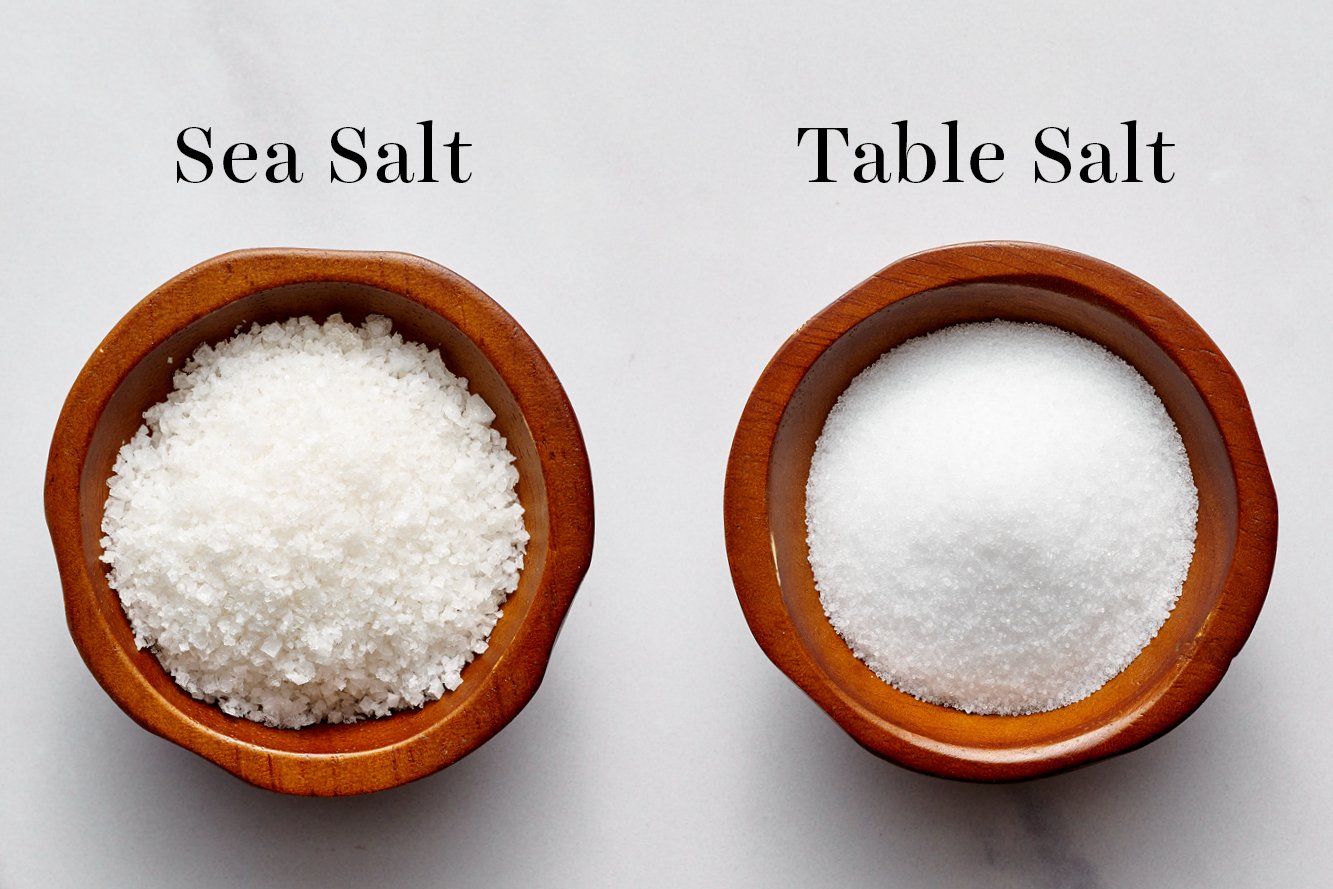
- 1/4 teaspoon fine sea salt
For the chocolate drizzle:
- 1/2 cup (85 grams) milk chocolate chips
- 1 teaspoon vegetable oil
For the filling:
- 1 stick (113 grams) unsalted butter, at cool room temperature
- 2 tablespoons (11 grams) unsweetened natural cocoa powder, sifted
- 1 1/2 cups (188 grams) powdered sugar, sifted
- 2 tablespoons warm water (about 100°F)
- 1/2 teaspoon vanilla
Instructions
Make the cookies:
- Preheat oven to 350°F. Line two baking sheets with parchment paper.
- In the bowl of a stand mixer fitted with the paddle attachment, beat the butter and sugar on medium-high speed, scraping down the sides of the bowl a couple times, until light and fluffy, about 2 to 3 minutes. Beat in the egg, corn syrup, and vanilla. Scrape down the bowl.
- In a medium bowl, whisk together the flour, cocoa, cornstarch, baking soda, and salt. With the mixer on low speed, gradually add the dry ingredients. Beat on low until combined. The dough will be soft and slightly sticky.
- Using a 1 ½-tablespoon spring-loaded scoop, drop balls of dough on baking sheets and bake until the cookies are slightly puffed up and the edges are set, about 8 to 9 minutes. Remove baking sheets to cooling racks and remove cookies after a few minutes to continue cooling. Cookies will flatten as they cool.
Decorate the cookies:
- For the chocolate drizzle, microwave milk chocolate chips and vegetable oil in a microwave-safe bowl, stirring every 15 seconds until smooth. Drizzle or pipe on top of each cookie. Refrigerate until chocolate is set, at least a half hour.
Make the filling:
- Meanwhile, in the bowl of a stand mixer fitted with the paddle attachment, beat the butter on medium speed until smooth. Add the sifted cocoa powder and powdered sugar and beat until light and fluffy, about 3 minutes, scraping down the sides of the bowl as needed. Add in the warm water and vanilla, and beat on medium-high speed for about 2 minutes or until light and fluffy.
- Pipe or spread filling on the flat side of half of the cookies. Gently press another cookie on top of the filling.
- Serve or store assembled Fudge Rounds in an airtight container at room temperature for up to 1 day, in the fridge for up to 5 days, or freeze for up to 1 month. The colder the Fudge Rounds are when serving, the more fudgy they’ll be!
Notes
More Copycat Recipes You’ll Love:
This post was originally published in 2015 and updated in 2022 with new photos and recipe improvements. Photos by Joanie Simon.


These seemed super sweet. If I try these again I’ll try half cup of sugar instead of 3/4 cup. Turned out pretty but I don’t know if anyone will eat them due to the sweetness.
I think it’s impossible to make a fudge round like the ones you buy in the grocery store without adding a bunch of artificial ingredients. That said, this is an excellent recipe. The cookies are really close to a fudge round cookie, just a bit less bendy (nicely soft with some bendability though) probably because of the lack of artificial ingredients. The filling… The filling y’all! My goodness. I’m already using it for other bake recipes. Thank you so much for this recipe, it’s great!
I was just wondering why they would only stay for one day on your counter, but, five days in your fridge? Will they go stale after a day? Is it the cream in the middle?
Thanks
Heidi
Hi Heidi! The one-day recommendation at room temperature is mainly because the assembled Fudge Rounds are best when they’re fresh. The cookies will start to lose some of their freshness after a day, and the butter-based filling is another reason we recommend refrigerating them for longer storage. They won’t suddenly go stale after one day, but for the best quality, we’d stick to the one-day room-temperature window or refrigerate them for up to 5 days. 🙂
Could I make these the night before; and sell them at my farm stand the next day? Or do they have to stay refrigerated?
Hi Brittany! These can stay at room temperature for up to 1 day, but if it’s hot outside, I’d recommend keeping them chilled so the drizzle doesn’t melt. They taste delicious both ways!
These were delicious! However, they were not flat and chewy and soft. They were thicker and not soft. I am not sure what I would have done wrong. Thanks!
Great recipe, and maybe the best buttercream I’ve ever tasted. I used a 50/50 blend of whole wheat AP and pastry flours and honey as the invert sugar. Looking forward to making this one again soon, maybe Tuesday. I weighed out the dough at 20oz so made 1oz cookies that became 2.25oz fully assembled. Perfect snack size.
When I do it again, I’ll try adding a bit of coffee powder or cinnamon just to see how that works. I do it a lot with brownies and chocolate cake and the coffee seems to deepen the flavor while the cinnamon adds some warmth.
I’d love to upload a picture, but the email system won’t take a file big enough. Maybe next time, as I’m better with an oven than a computer.
How would I go about making one big cookie/cake instead of individual cookies
We haven’t tried that so I can’t say for sure, but it sounds delicious! Let us know how it goes if you experiment 🙂
I tried this and I just doubled the recipe and pressed the dough into two 8 inch cake pans. Made it just like a cookie cake and then doubled the filling. It was a big hit!
I love this recipe! I make them all the time. The only thing is my cookies don’t spread as much as yours do. I wonder if I’m using a smaller scoop or if it has to do with something I’m doing wrong in the recipe. Please let me know what you think it is. I use many of your recipes weekly. Thank you for sharing them!
So happy you love this recipe! If your cookies aren’t spreading as much, the first thing I’d check is how you’re measuring the flour. It’s very easy to accidentally use too much if you’re not using a digital scale—even a little extra flour can keep cookies from spreading properly. This recipe calls for a 1 1/2-tablespoon cookie scoop. If you’re using something smaller, they should still bake up similarly but will need a shorter bake time. Without baking right alongside you, it’s tough to say exactly why they’re not spreading, but you can try gently flattening the dough balls with your palm before baking to see if that helps, too. Let us know how it goes when you try again!
My scale is probably off! I need a new one. Thank you for responding. One time I made them and they did spread more. I will try pressing them down also.
I can’t get any corn syrup or golden syrup rn, are there any other substitutions?
Really wanting to try out this recipe 😋
Hi Kenzie! Golden syrup is the only substitute we’ve successfully tried with this recipe, so I don’t have other suggestions at the moment. But feel free to experiment, and let us know if you discover something that works! 🙂
I used dark brown corn syrup and works just fine
I used maple syrup and it worked just as well
You can make your own golden syrup if you have the patience! It’s not hard, just time consuming.
You’ll need a candy thermometer, a medium sauce pan, and a quart size mason jar. Preheat the mason jar by letting it sit with hot tap water for a few minutes before filling with hot syrup to prevent temperature shock. This will reduce the chance of the jar breaking.
4 cups granulated sugar
1 ¼ cups water
1 – ¼” slice of lemon or 2 tsp lemon juice
Stir together all ingredients in sauce pan. Heat over medium until bubbling. Reduce heat to medium-low. Continue until the syrup is a golden color and reaches 240⁰-250⁰.
USE CAUTION AND DON’T GET IT ON YOUR SKIN AS THIS IS VERY HOT AND WILL BURN BADLY.
Remove from heat and let sit for 5-10 minutes without stirring.
Pour carefully into warm, clean qt size mason jar. This will be shelf stable for months or refrigerated for years.
Hello, is it okay to chill the dough first before baking the cookies? Is the dough suitable to make ahead, pop it in the fridge and thaw it out before baking? Thank you
Chilling the dough will result in a thicker cookie, but you’re welcome to! Or, if it’s more helpful for a busy schedule, you can also bake and assemble the cookies and freeze them. They taste amazing frozen, but you can also thaw them overnight in the fridge! I hope that helps 🙂
Thank you so much for the speedy reply! My family and I enjoyed them. I appreciate your recipe. Take care!