





This post may contain affiliate links. Read our disclosure policy.




Tessa’s Recipe Rundown
Taste: They taste like your childhood, but better! Not quite as sweet, with classic oatmeal cookie flavor, a hint of cinnamon, and vanilla filling.
Texture: My favorite part! Soft, chewy oatmeal cookies with a light, creamy filling.
Ease: So easy! Simple pantry ingredients, no chilling, and ready in about 35 minutes.
Why you’ll love this recipe: These are always a hit! Plus, filling the cookies and pressing them together is half the fun.
Move over, Little Debbie. These Homemade Oatmeal Cream Pies are about to become your new best friend.
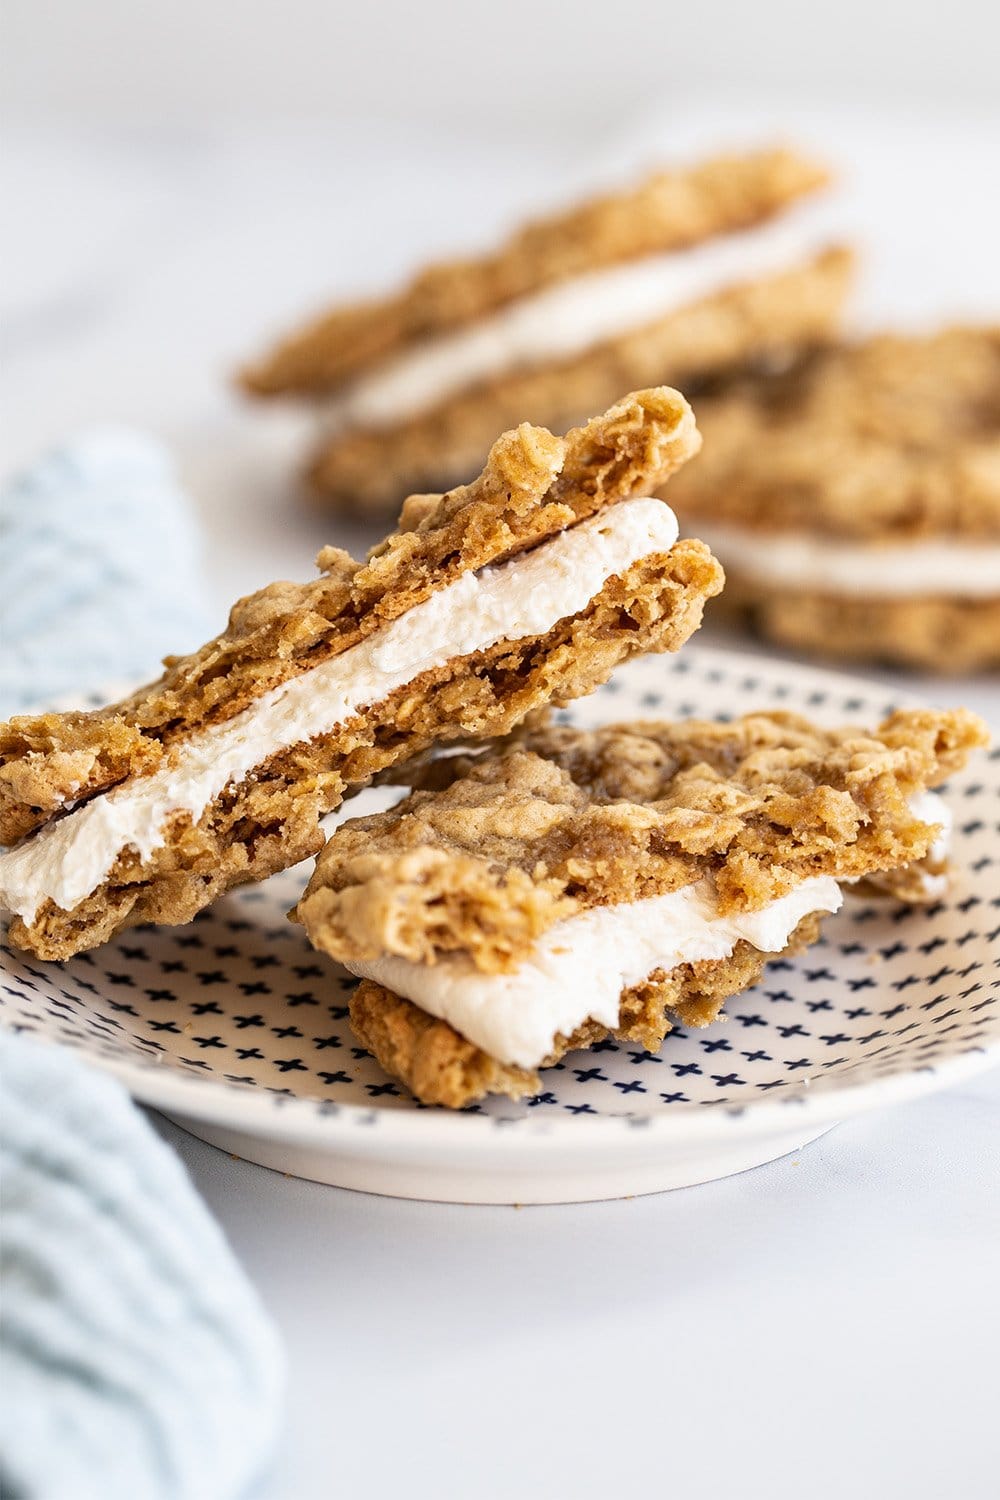
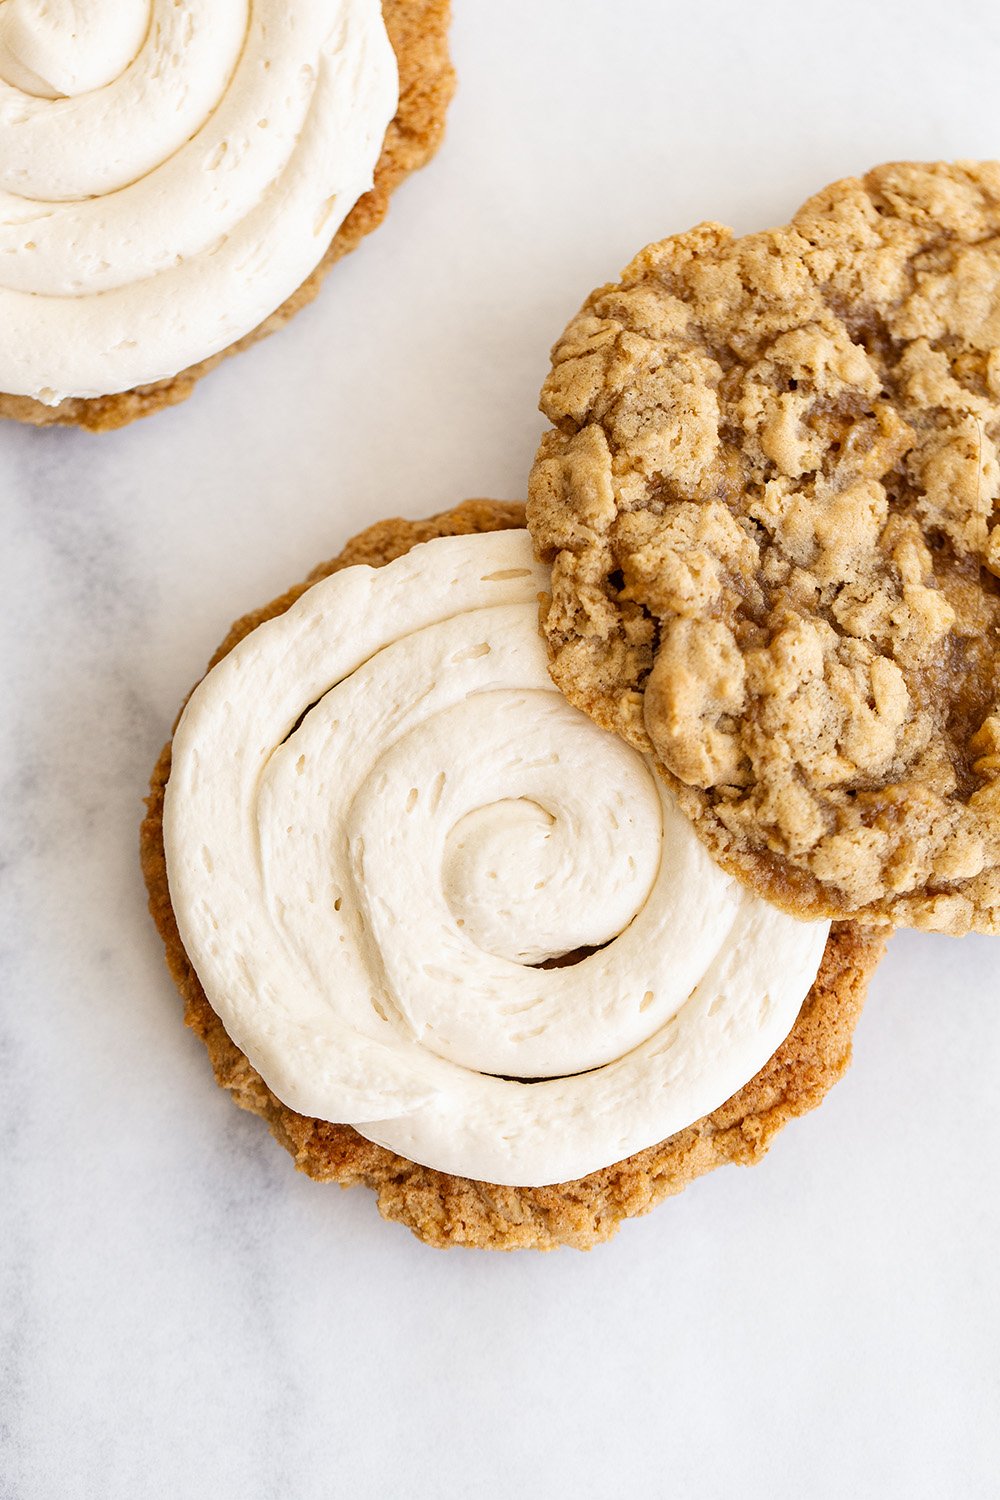
I like to call these the “grown-up” of Oatmeal Creme Pies. With no artificial flavorings, these copycat cookie sandwiches are made with ingredients that you may already have in your pantry.
Remember how thin and squishy the store-bought cookies were? These babies are thick and chewy with a hint of spice from the cinnamon and chock full of the creamiest, smoothest buttercream frosting.
These came out incredible!!! They’re super chewy and delicious! I even added a little fluff to the filling and it came out amazing!
I think you’re going to love these Homemade Oatmeal Cream Pies. Or Oatmeal Creme Pies. However you spell it 😉
Tessa’s Tips
Measure your flour correctly: For the best texture, use a digital kitchen scale to measure your flour. Too much flour can make these cookies dry and prevent them from spreading. If you don’t have a scale, use the spoon and level method instead.
Don’t reduce the sugar: Sugar does more than just sweeten these cookies, it helps create the soft, chewy texture. Learn all about sugar’s role in baking here.
Don’t Overbake: The cookies should still look a little wet on top when you pull them out of the oven. They will finish cooking with the residual heat.
Eggs: This recipe uses two large eggs plus one egg yolk, lending moisture and richness to the dough. This makes these cookies softer and chewier.
Sprinkle of Science
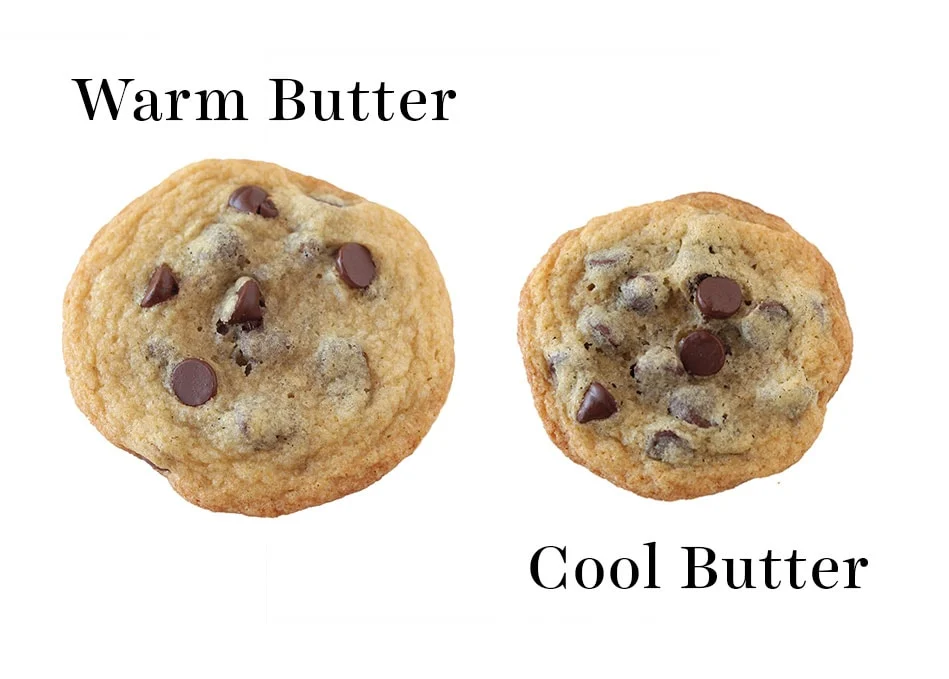
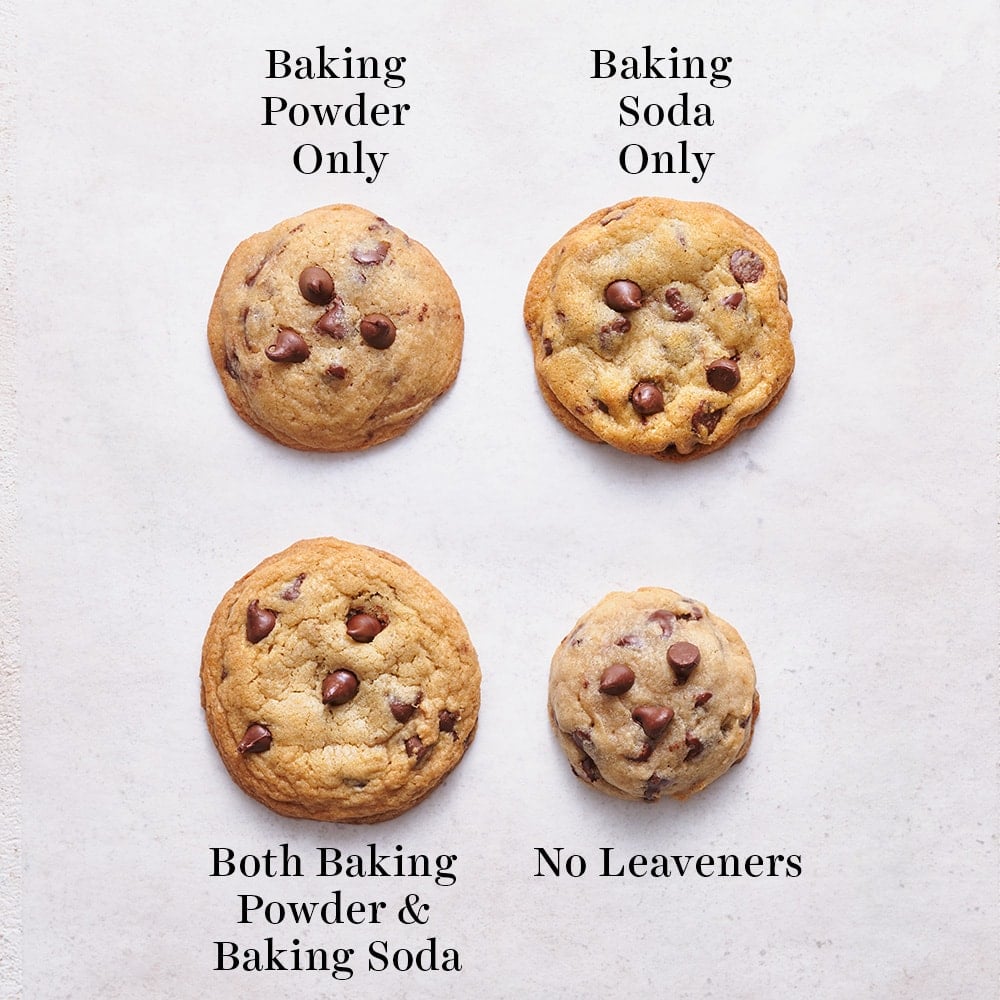
If your cookies end up flat, butter that was too warm is likely the culprit. When creaming butter and sugar, your butter should be at a COOL room temperature. 67°F is perfect – or even a couple degrees cooler if your kitchen is very warm. If your butter is too warm, your cookies will spread into flat puddles.
Just take a look at the cookie comparison on right.
Storage & Make ahead
Room Temperature: Store the assembled cookie sandwiches in an airtight container for up to 2 days.
Fridge: Store in an airtight container for up to 3 days. Let come to room temperature before serving.
Freeze: Wrap Oatmeal Cream Pies individually in plastic wrap and store inside an airtight container in the freezer for up to 2 months. Defrost in the fridge overnight, then let come to room temperature before serving. You can also scoop the cookie dough into balls and freeze those. Learn how to freeze cookie dough and bake from frozen here.
Frequently Asked Questions
I prefer old-fashioned rolled oats, which give the cookies that characteristic craggly look, chewiness, and flavor. But readers have used quick oats with success!
You can, just keep in mind it’ll change the texture and add a little more height to your cookies.
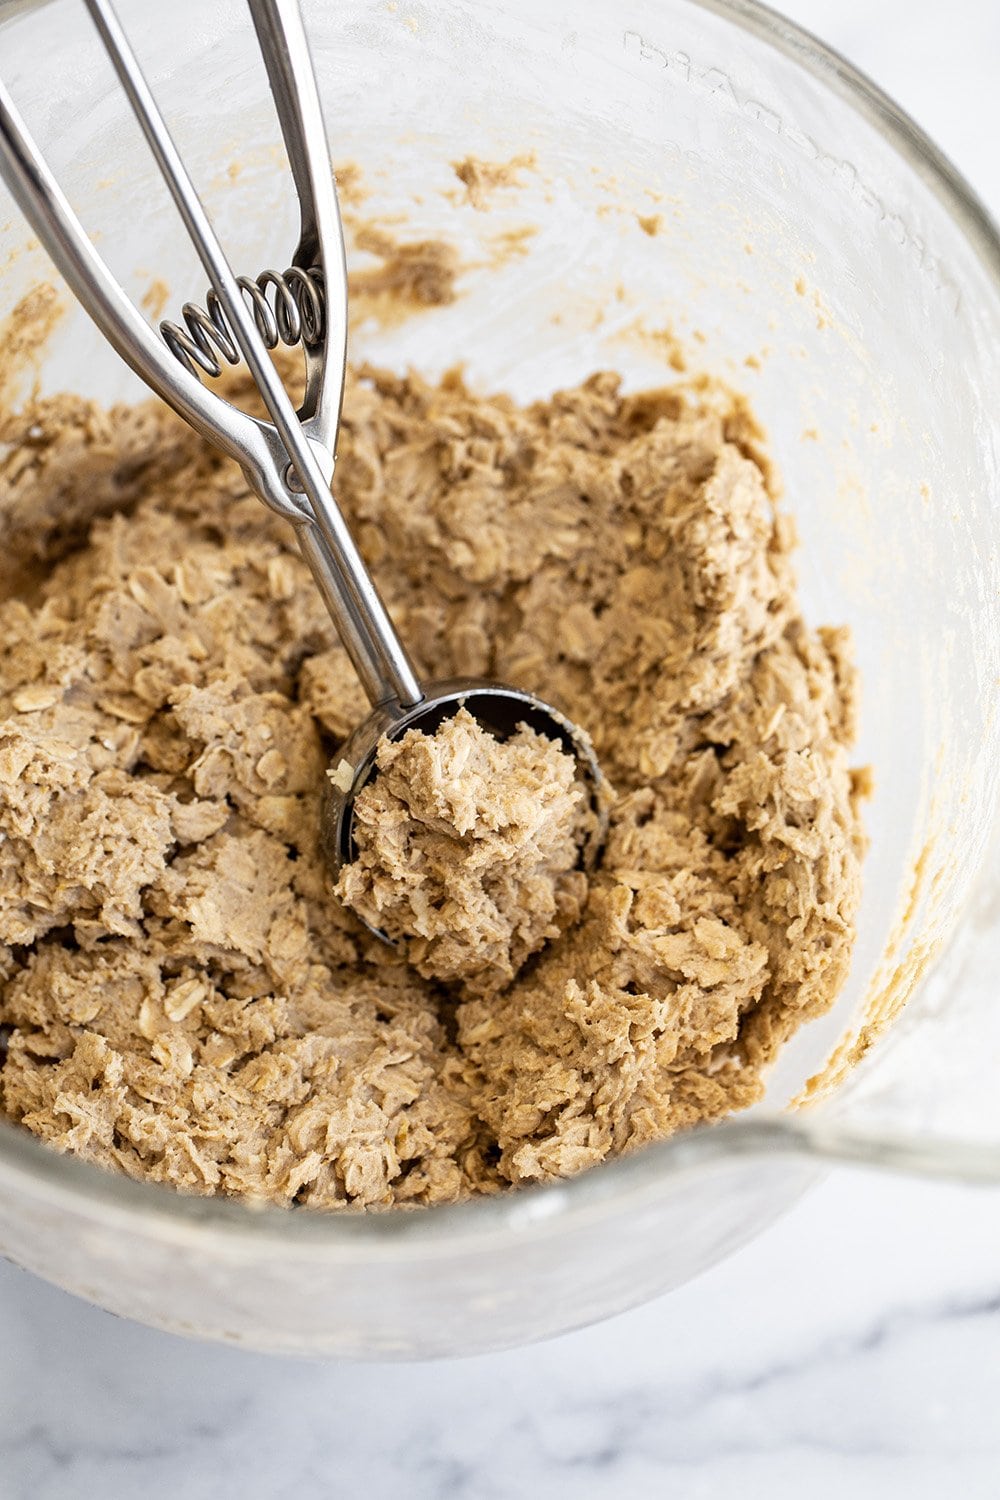
No! These cookies can be baked right away. If you do refrigerate the dough, use it within 48 hours since oats absorb moisture. Chilled dough will result in slightly thicker cookies.

Email This Recipe
Enter your email, and we’ll send it to your inbox.
Ingredients
For the cookies:
- 1 3/4 cups (222 grams) all-purpose flour
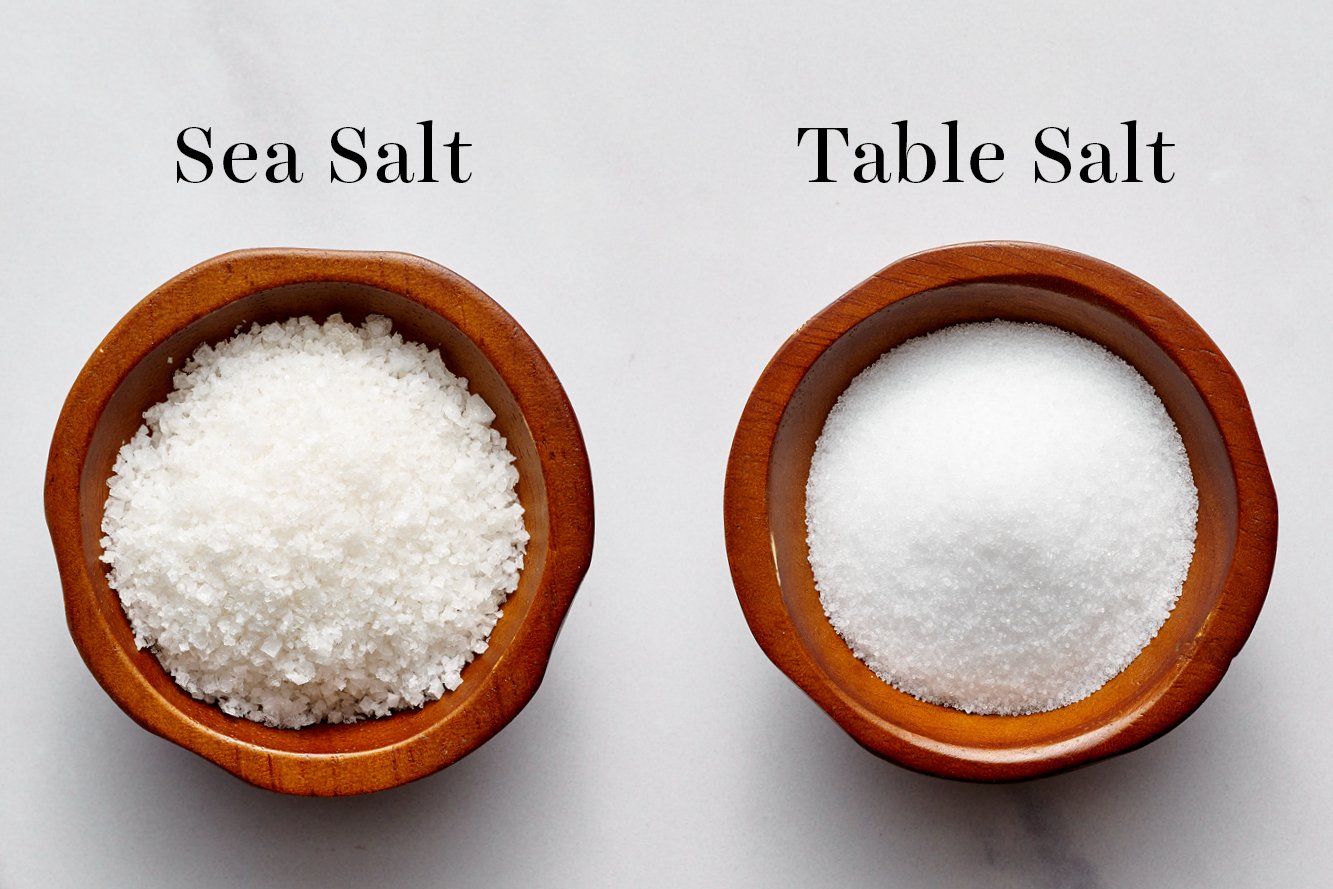
- 1/2 teaspoon fine sea salt
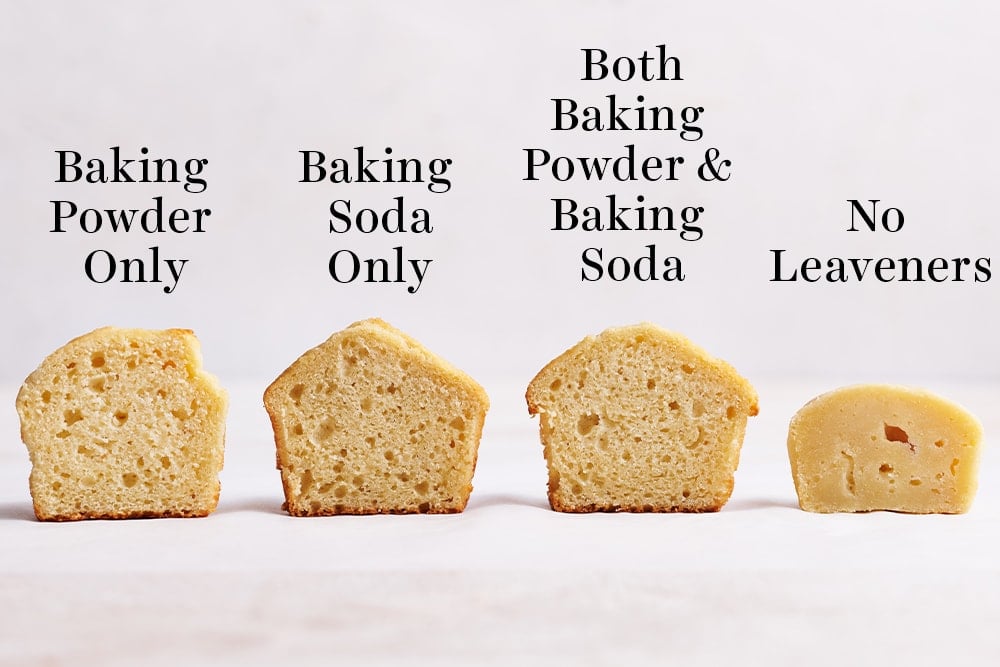
- 1 teaspoon baking powder
- 1/2 teaspoon baking soda
- 1/4 teaspoon ground cinnamon
- 1 1/2 sticks (170 grams) unsalted butter, at cool room temperature
- 3/4 cup (150 grams) granulated sugar
- 1 1/4 cups (250 grams) lightly packed dark brown sugar
- 2 large eggs, at cool room temperature
- 1 large egg yolk, at cool room temperature
- 1 teaspoon vanilla extract
- 3 cups (270 grams) old-fashioned rolled oats
For the filling:
- 1 1/2 sticks (170 grams) unsalted butter, at room temperature
- 2 1/2 cups (313 grams) powdered sugar, sifted
- 1 teaspoon pure vanilla extract
- 1 tablespoon milk
- Pinch of fine sea salt
Instructions
Make the cookies:
- Preheat the oven to 350°F. Line large baking sheets with parchment paper.
- In a medium bowl, whisk together the flour, salt, baking powder, baking soda, and cinnamon. Set aside.
- In the bowl of a stand mixer fitted with the paddle attachment, beat the butter, granulated sugar, and brown sugar on medium-high speed until light and fluffy, about 2 to 3 minutes. Beat in the eggs, egg yolk, and vanilla, one at a time, beating well after each addition. Slowly beat in the flour mixture until just combined. Stir in the oats with a rubber spatula.
- Using a spoon or cookie scoop, drop balls of dough onto prepared baking sheets. For smaller cookies similar in size to store-bought Oatmeal Cream Pies, use a medium cookie scoop (1 1/2 tablespoons). For larger bakery-style cookies, use a large cookie scoop (3 tablespoons). Space cookies 6 per half-sheet pan and flatten slightly with the palm of your hand.
- Bake smaller cookies for about 10 minutes or larger cookies for about 12 minutes, until the edges are lightly browned and the centers have just set. Cookies will be slightly delicate while warm. Let them cool on the baking sheets for 5 minutes before transferring to wire racks to cool completely. Store cookies in an airtight container at room temperature for up to 3 days.
Make the filling:
- Mix all ingredients together with an electric mixer on low until combined, then beat on medium-high speed until light, fluffy, and smooth, about 5 minutes.
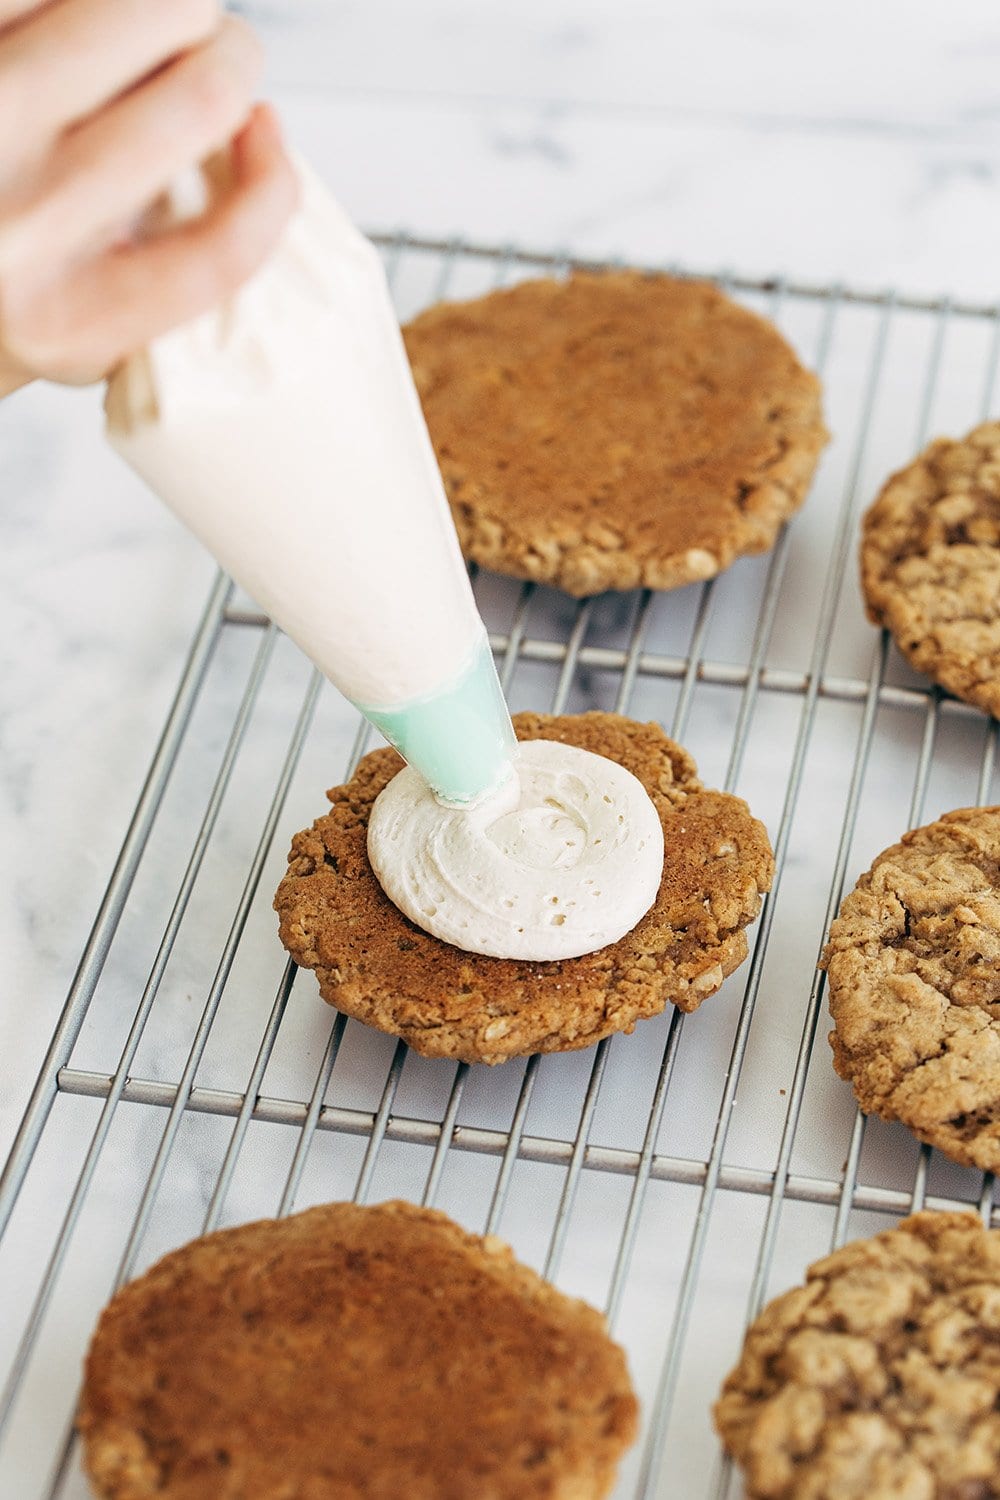
- Spread or pipe the filling on half of your cookies and use the remaining cookies to sandwich. Serve or store in an airtight container at room temperature for up to 1 day or in the fridge for up to 2 days. Let come to room temperature before serving.
More Recipes You’ll Love:
- Cosmic Brownies
- Oatmeal Chocolate Chip Cookies
- Monster Cookies
- Bourbon Rye Oatmeal Chocolate Chunk Cookies
- Homemade Marshmallow Fluff
Originally published in 2021. Recipe instructions updated in 2026 for improved clarity. Photos by Ashley McLaughlin.


Wondering why my dough is super soft? I have to wear gloves and dough is sticky on gloves making a mess! I followed to recipe to a T. Any thoughts? Thank you!
Hi Janet! This dough is on the slightly sticky side, but it shouldn’t be so soft that it’s impossible to work with. If yours is very soft, try chilling it for about 10 minutes before scooping. When you flatten the dough balls, try using the bottom of a measuring cup or other flat surface instead of your hands. If the dough sticks, you can lightly grease the cup first. How did your cookies turn out?
Great, I’ll try that, thanks! They turned out great, but they did spread a lot. I took a container a rounded them back to about a 3” cookie
That works! If the cookies spread too much for your preference, try chilling the dough for a little longer, about 30 minutes, or even up to 2 days.
Hi, curious if I can use brown butter?
Sounds delicious! We haven’t tried that so I can’t say for sure what adjustments would be needed, but please let us know how it goes if you try it out.
A family favorite at our house! They are soo good! We always use Quick Oats, as that is what we have on hand and they always turn out perfect! These pies are HUGE. We cut the size of each cookie in half, yielding 24 total pies, rather than 12.
I made these and followed the recipe exactly, with one exception: I used light brown sugar instead of dark brown sugar, as that’s all I had on hand. These were the perfect cookie, hands down. In fact, my brother-in-law said that these cookies may have been the best thing I’ve ever baked (and, I bake a lot). Here’s my tip: Bake until the edges start to brown, and remove from the oven. While the cookies are still hot, place the open end of a glass over each cookie and swirl the cookie inside the glass on the baking sheet. This will form the cookies into perfectly round circles. I can’t wait to make these again–thank you, Tessa, for sharing this recipe!
Hi! Can I freeze the dough to make ahead?
Hi Sarah! Yes, that will work just fine – or check out Tessa’s other tips for making these ahead in the Tip Box, just above the recipe!