


Tessa’s Recipe Rundown
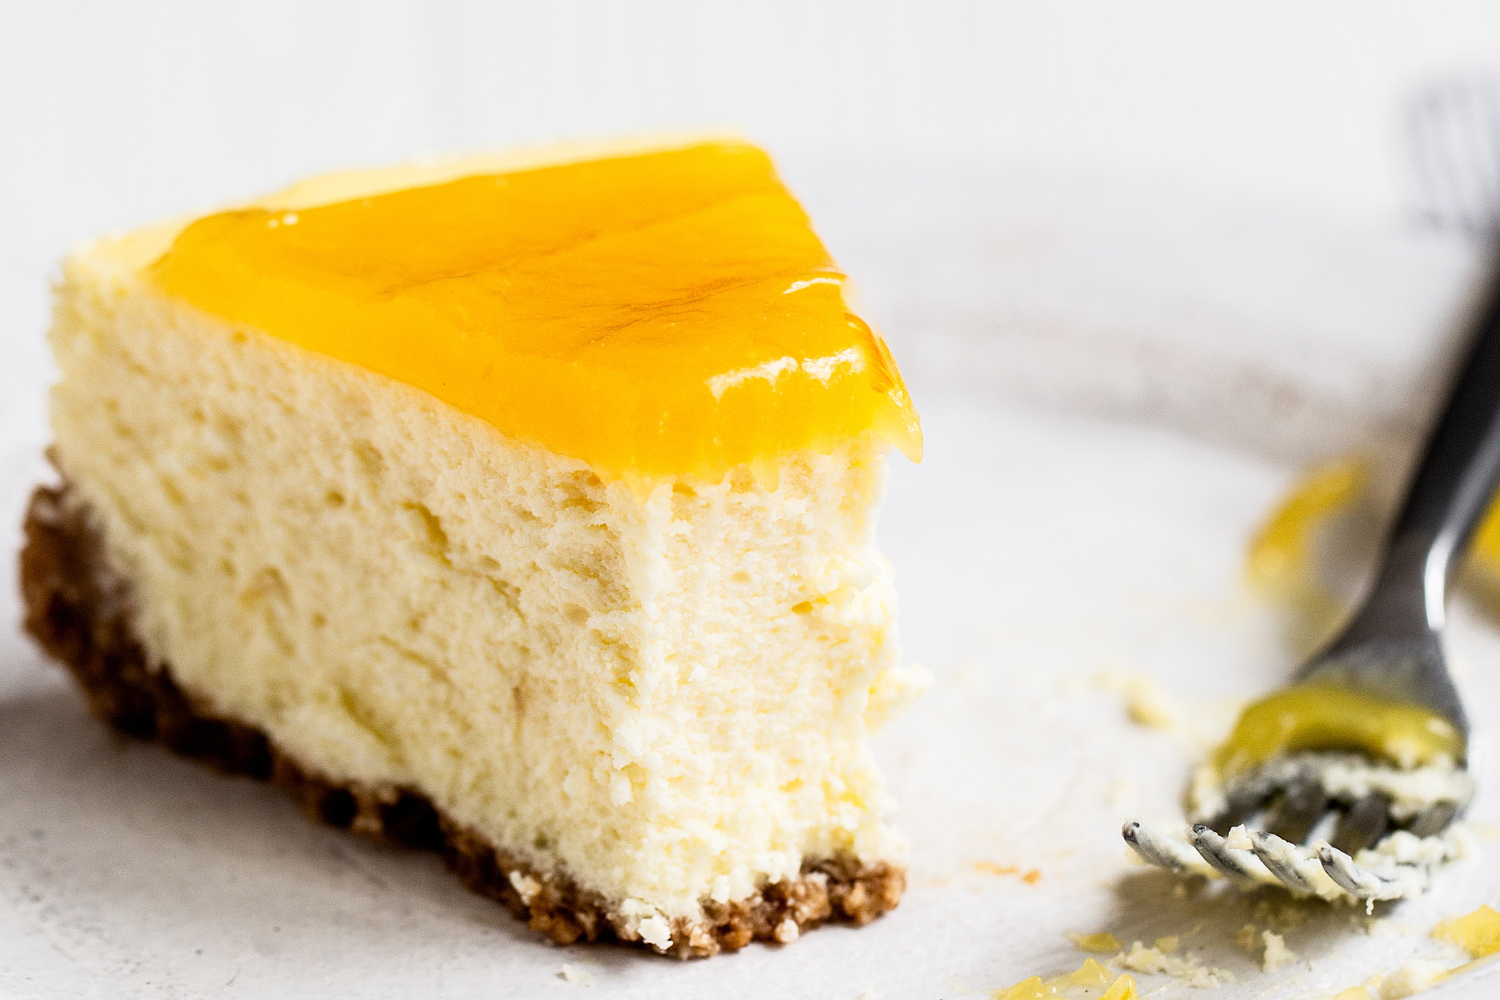
Taste: Tangy, sweet, and full of delicious, fresh lemon flavors.
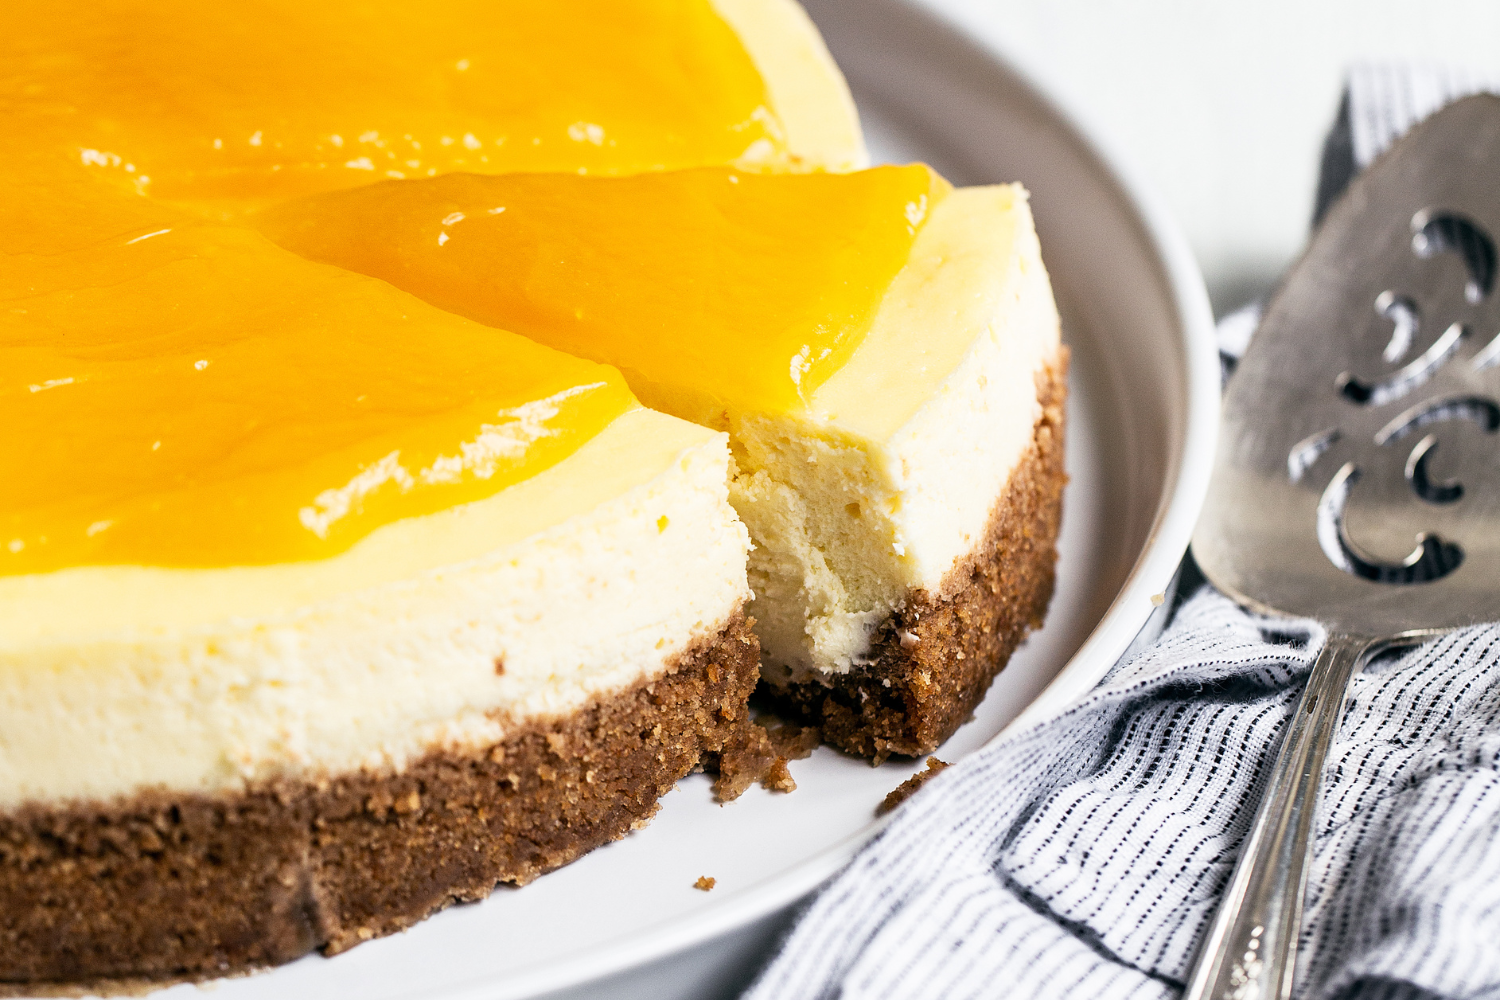
Texture: The crust is buttery and crunchy, while the cheesecake itself is beautifully smooth and creamy.
Ease: There are a few steps to making a cheesecake, but I promise, it’s totally doable!
Pros: Lemon heaven.
Cons: Requires patience between baking, cooling, and chilling.
Would I make this again? Definitely!
This post may contain affiliate links. Read our disclosure policy.
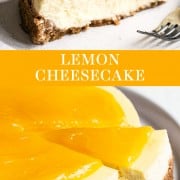

This Lemon Cheesecake may be my favorite cheesecake that I’ve eaten in recent history.
Which is a bold statement because I make a LOT of cheesecake.
Not only that, but I usually choose chocolate over any other flavor. Chocolate Chip Cookies or Brownies are my go-to desserts … but sometimes lemon really hits the spot.
This cheesecake’s bright, fresh, tart lemon flavor complements the tangy cream cheese and sour cream in the filling so well! It’s truly a match made in heaven.
Perfect for Easter, Mother’s Day, or any spring or summertime event, this cheesecake is bound to be a total crowd-pleaser. I hope you’ll give this cheesecake recipe a try!

Sprinkle of Science
How to Make Lemon Cheesecake
Below are all of my best cheesecake tips and tricks. I suggest reading this over before you head into the kitchen. I’ve tried to answer every question in advance so you can make the best cheesecake EVER!
Do I Need to Use a Springform Pan for Cheesecakes?
Yes. Cheesecakes are traditionally baked in a springform pan, which is a deep pan with a removable bottom and sides. This makes easy work of removing the cheesecake from the pan and cutting beautiful slices. I do not recommend using any other pan for this Lemon Cheesecake or any other cheesecake recipe. I like this Nordic Ware 10-cup springform pan.
Pro Tip: I highly recommend hand washing springform pans to preserve their nonstick surface and spring mechanism.
Do I Have to Use Graham Crackers for This Lemon Cheesecake?
No. If you live somewhere they aren’t available, feel free to use digestive biscuits instead. You could also use the same amount of ground vanilla wafers, gingersnap cookies, Biscoff cookies, or any other similarly textured cookie with flavors that complement your lemon cheesecake.
How to Make a Graham Cracker Crust
- The crust is probably the simplest part of any cheesecake, and this Lemon Cheesecake is no exception!
- If you don’t have a food processor to grind the crackers, place them in a ziptop bag and use a mallet or rolling pin to grind them up.
- The finer the crust is ground, the less crumbly it will be once you go to slice the cheesecake.
- Have premade graham cracker crumbs? You’ll need 1 3/4 cups or 230 grams of graham cracker crumbs.
How to Prevent Cracks in Cheesecake
Perfectly smooth cheesecake with zero cracks requires four precautions, which I’ve listed below. If a crack does still occur, this Lemon Cheesecake is topped with lemon curd, so you should be able to disguise any imperfections anyway! You could also top with whipped cream.
1. Ingredients (and Their Temperatures) Matter
- Be sure to use full-fat cream cheese bricks. It really makes a difference!
- Don’t use cream cheese that’s meant for spreading on a bagel.
- I prefer to use Philadelphia brand cream cheese. Some store brands are watery and create a cheesecake that’s rubbery in texture.
- The cream cheese should be completely softened to room temperature. If it’s too cold, it won’t mix thoroughly and you’ll end up with little bits of unblended cream cheese.
- Make sure your eggs are at room temperature, too. Separate the additional egg while cold, allowing the yolk to come to room temperature. I like to freeze my egg whites for using another day.
2. Don’t Overbeat Cheesecake Filling
- One of the absolute KEYS to making perfectly smooth and creamy cheesecake is to blend the cream cheese and sugar to oblivion.
- THEN once the eggs are added, only beat until they’re incorporated.
- If you overbeat the batter once the eggs are added, this can cause all sorts of problems, like large cracks on the cheesecake surface or sinkage in the middle.
- Scrape down the bottom and sides of the bowl and the beater attachment frequently to prevent unincorporated pockets of ingredients.
3. No Quick Temperature Changes
- Bake the cheesecake in a water bath to ensure gentle baking. Tips for that below.
- Gentle and slow heat, followed by slow cooling.
- Don’t open the oven door often while baking.
- Once the cheesecake is baked, turn off the oven, crack open the oven door, and allow it to cool slowly and gently for an hour inside the oven. I like to place a wooden spoon between the oven and the door to keep the door open about an inch.
- Only after chilling in the fridge should you remove the springform ring.
4. Don’t Overcook Cheesecake
- The oven’s residual heat will continue to cook the cheesecake.
- If your cheesecake looks slightly wobbly or jiggly in the center when the baking time has ended, that’s perfectly okay.
- Err on the side of underbaking as opposed to overbaking.
- It should look slightly dry on the surface.
How to Prepare a Water Bath for Cheesecake
There are two essentials to preparing a water bath:
- Make sure you have a baking pan that’s deep enough and wide enough for the springform pan to fit inside. A roasting pan is ideal, but I’ve used a large cake pan or a large skillet. Get creative if you need to!
- Protect your springform pan from the water. You don’t want water to seep through the pan’s cracks and make your crust mushy. Even if your springform pan says it’s “leakproof,” it’s probably not. Tips for this just below.
How to Prevent Water Seeping into Your Springform Pan
Place a large square of heavy-duty aluminum foil underneath the pan. You want the heavy-duty type because the bigger sheets of foil can completely encompass the base of the pan. Gently fold the edges up and around the pan. Repeat twice so there are three sheets of foil, to ensure a waterproof seal. Gently fold the top of the foil around the edge of the pan. I’ve even used duct tape to seal the foil to prevent water from leaking through.
Reader Holly shared a wonderful tip for keeping the water out: “I use a turkey roasting bag, then put a layer of foil around the bottom and sides of the pan to hold it in place. I don’t close the bag over the top. Keeps the water out and the crust dry.”
How to Serve Lemon Cheesecake
- This part requires the most patience! You must let your Lemon Cheesecake chill in the fridge for 5 hours before serving. I usually like to let it chill overnight, just to make sure it’s completely set.
- Remove the cheesecake from the springform pan. You can leave it on the removable bottom, or move it to a serving platter.
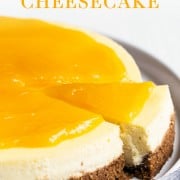
- Top evenly with lemon curd.
- If time permits, let the cheesecake sit at room temperature for 30 minutes before serving it for the best taste and texture.
- Use a big, sharp knife like this one to cut slices. Run the knife under hot water and carefully wipe off the blade between each slice so they’re clean and pretty. Then slide a metal server underneath the graham cracker crust to ensure it doesn’t crumble.
How to Store Lemon Cheesecake
- Store the Lemon Cheesecake in the fridge for up to 2 days after you top it with the lemon curd.
- You can also freeze the cheesecake (without the lemon curd). Place the whole cheesecake (or individual slices) on a baking sheet inside the freezer until firm. Wrap the cheesecake or each individual slice in plastic wrap and place in a freezer bag. Freeze for up to 2 months.
- To serve, defrost a whole cheesecake in the fridge overnight. You can also defrost individual slices in the fridge overnight, or at room temperature for 30 minutes.
More Cheesecake Recipes You’ll Love:
- Ultimate Classic Cheesecake
- Ultimate Peanut Butter Cheesecake
- No Bake Mini Blackberry Cheesecakes
- Oreo Cheesecake
- Raspberry Lemonade Cheesecake Bars
Email This Recipe
Enter your email, and we’ll send it to your inbox.
Ingredients
For the crust:
- 1 3/4 cups (230 grams) graham crackers crumbs (from about 15 whole graham crackers)
- 1 tablespoon granulated sugar
- 6 tablespoons (65 grams) unsalted butter, melted
For the filling:
- 32 ounces (907 grams) cream cheese, completely softened to room temperature
- 1 cup (200 grams) granulated sugar
- 2/3 cup (173 grams) sour cream, at room temperature
- 1 tablespoon finely grated lemon zest
- 3 tablespoons fresh lemon juice
- 2 tablespoons all-purpose flour
- 4 large eggs plus 1 egg yolk, at room temperature
For baking and finishing:
- Boiling water, for the water bath
- Prepared lemon curd, for serving**
Instructions
- Preheat the oven to 325°F.
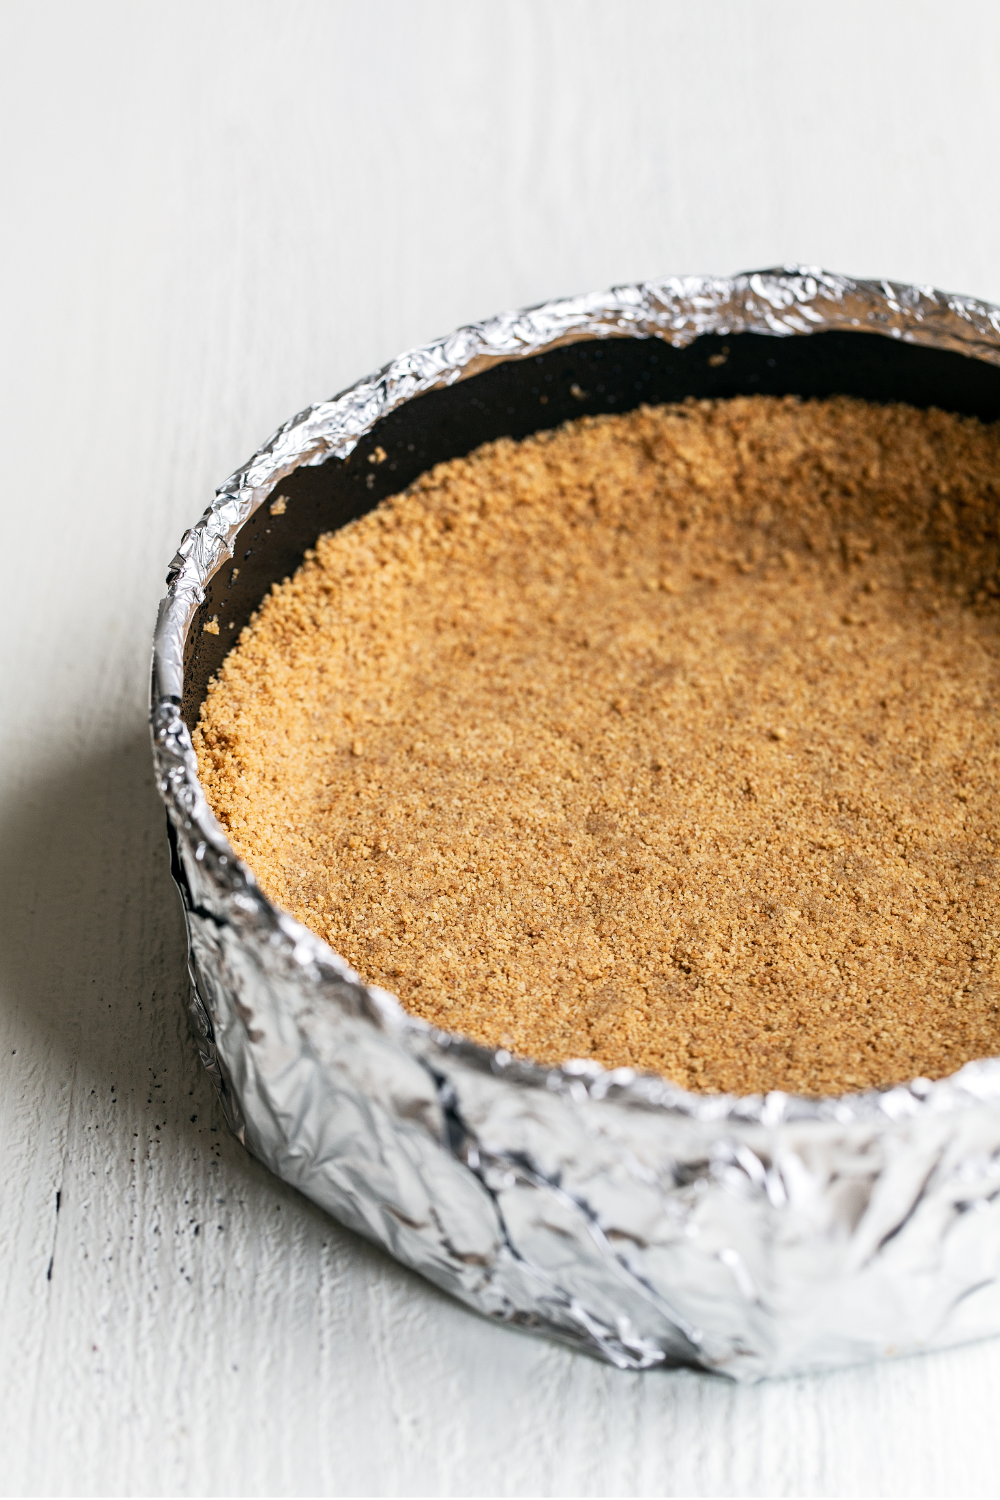
- Prepare a 9-inch springform pan for a water bath. Place a large square of heavy-duty aluminum foil underneath the pan. Gently fold the edges up and around the pan. Repeat twice so there are three sheets of foil, to ensure a waterproof seal.* Gently fold the top of the foil around the edge of the pan. Spray inside the pan with nonstick cooking spray.
Make the crust:
- In a medium bowl, combine the graham cracker crumbs, sugar, and butter until the mixture is moistened. Press firmly into the bottom and a quarter way up the sides of the prepared pan. Bake for 10 minutes. Place on a wire rack to cool. Maintain oven temperature.
Make the filling:
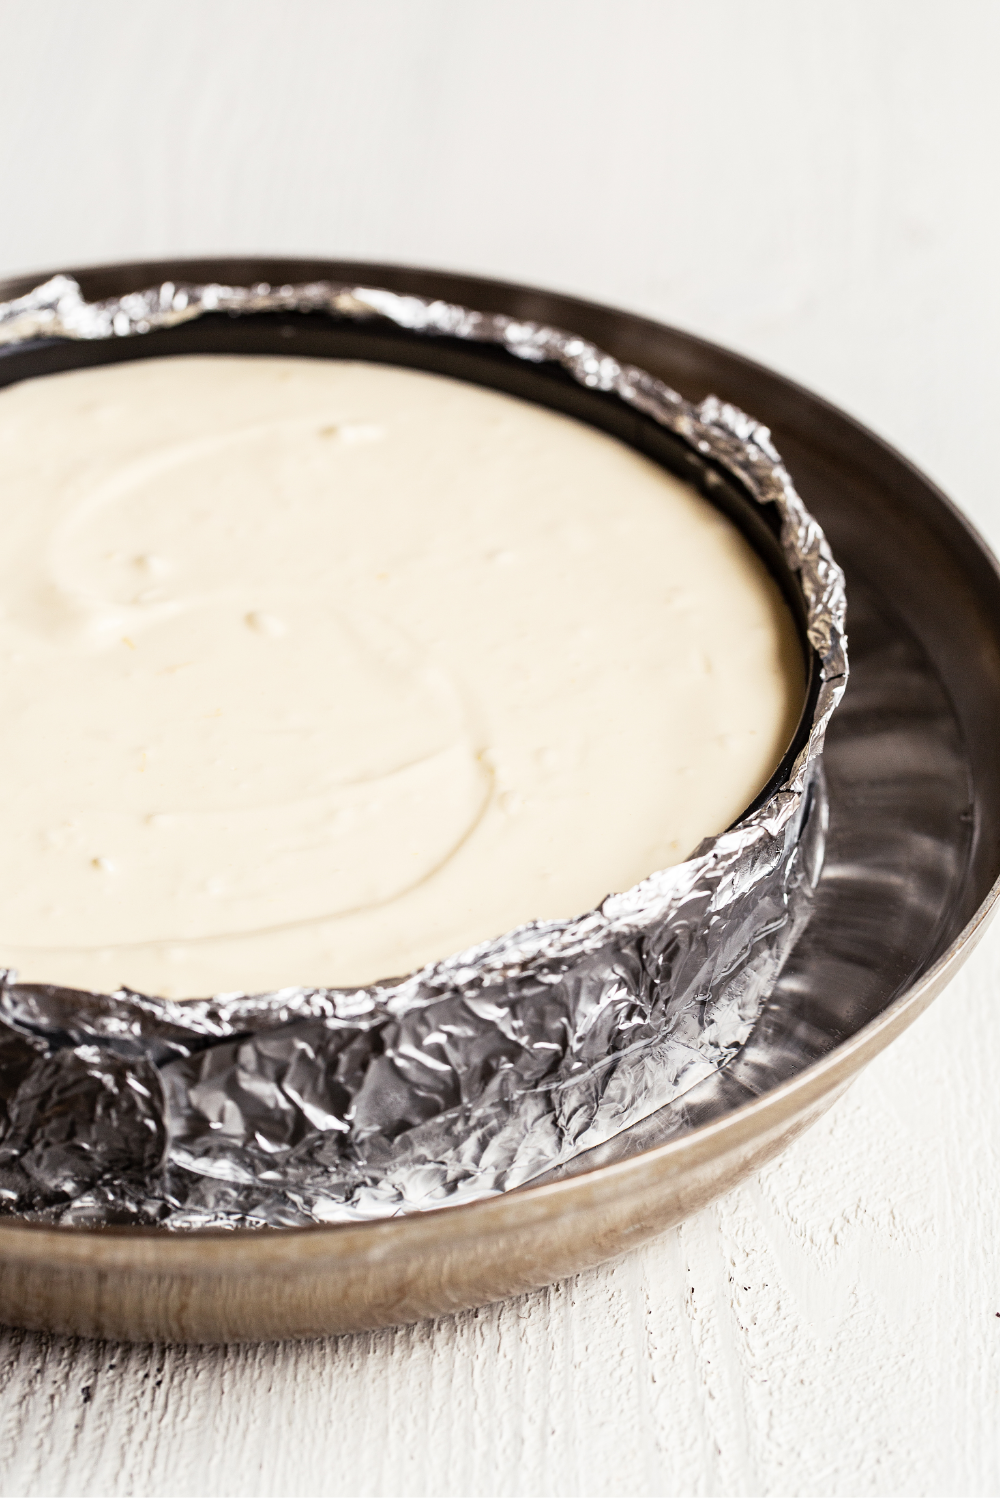
- In a large bowl, use an electric mixer to beat the cream cheese on medium speed until completely smooth and free of lumps, scraping down the bowl as needed. Add the sugar and beat until combined. Add in the sour cream, lemon zest, lemon juice, and flour. Add the eggs and yolk, one at a time, and beat until just combined. Be careful not to overmix.
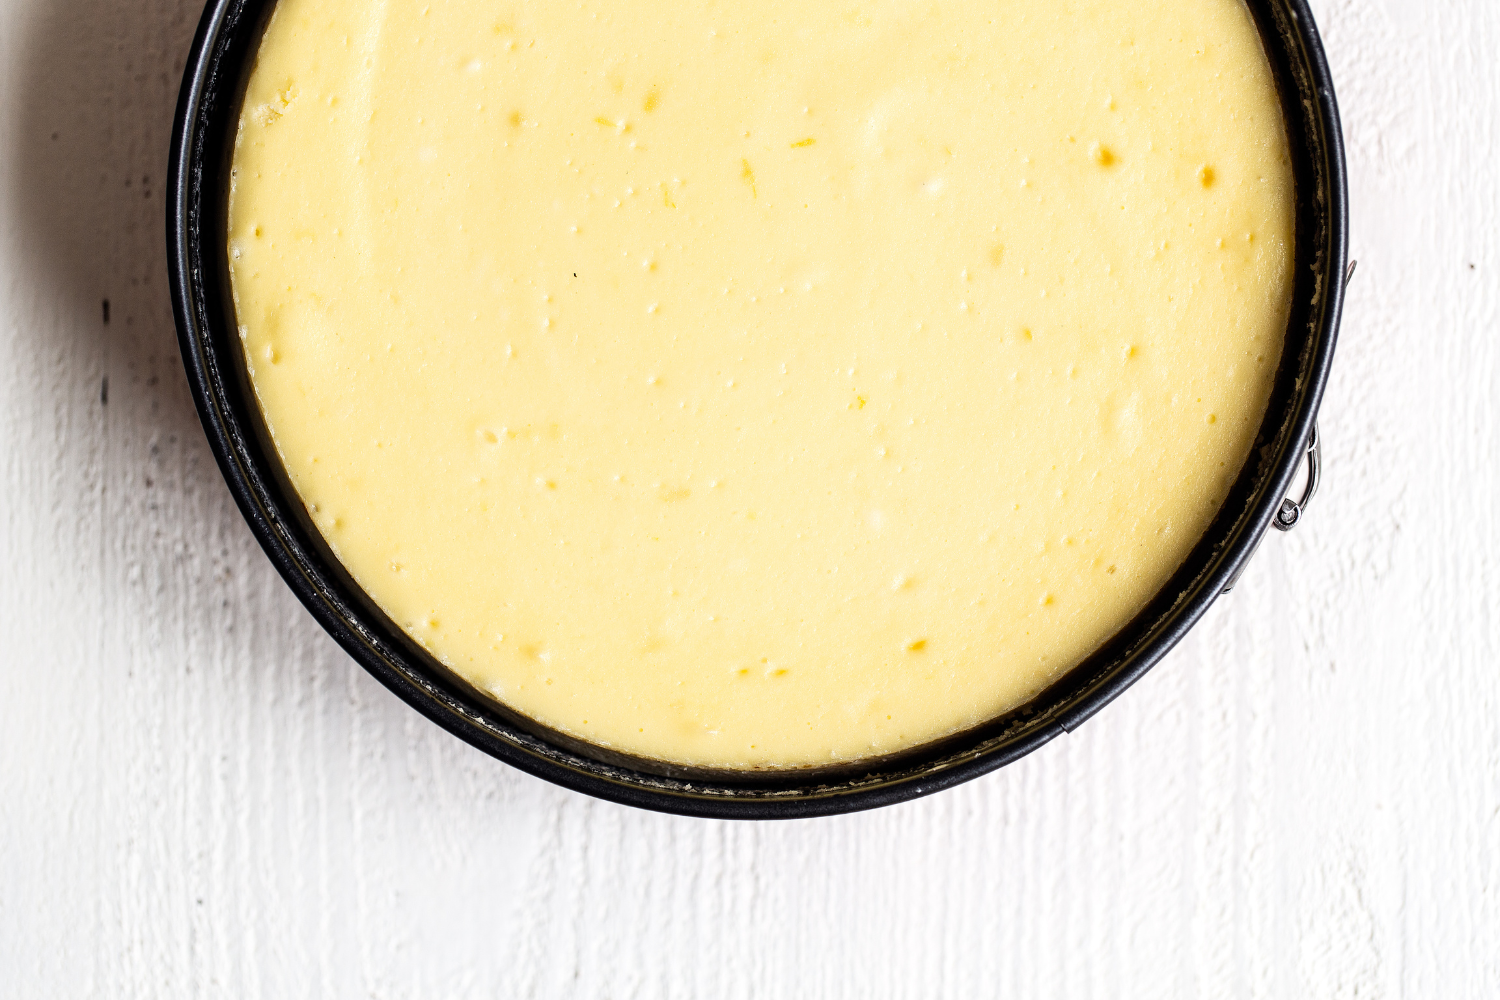
- Pour the batter into the foiled-wrapped springform pan. Tap the pan against the counter a few times to release any air bubbles in the batter.
Prepare the water bath:
- Place the pan in a larger roasting pan. Pour boiling water into the roasting pan until the water is about halfway up the sides of the cheesecake pan.
Bake the cheesecake:
- Bake at 325°F for 1 hour to 1 hour 15 minutes, or until the top looks slightly dry. If the middle is slightly wobbly, that’s fine. Err on the side of underbaking rather than overbaking.
- Turn off the oven heat and crack the oven door open just by 1 inch. I like using a wooden spoon between the oven and oven door to do this. Let the cheesecake cool inside the oven for 1 hour. This will prevent cracks from forming.
- Remove the cheesecake from the oven and water bath, unwrap the foil, and transfer it to a cooling rack. Run a thin-bladed flexible knife around the edge of the cake to ensure it's not sticking to the sides (which can cause cracks as it cools). Let the cheesecake cool completely to room temperature on the rack.
- Refrigerate until completely chilled, at least 5 hours or up to 3 days. Store the cheesecake uncovered to avoid creating condensation, which will create a mushy texture.
- Release the cheesecake from the pan onto a cake stand or serving plate and top with the lemon curd. Slice using a big sharp knife, wiping it off under running hot water in between cuts. Serve.
Notes
This post was originally published in 2019 and has been updated with additional baking tips. Photos by Ashley McLaughlin.


How awesome is this cheesecake?! Super awesome, and I will tell you one of the reasons why. I was juggling 8000 things yesterday for Easter Sunday and had done such a great job following the instructions…..or so I thought. As I put the filling in I thought the batter felt a little thicker, but continued on. Baked it and seemed okay – a little light in the top but I was good. And then it hit me………I did not add the eggs. Yup, devastated. Well, gave it a tentative try and thought maybe it will work. Well it absolutely did, everyone loved it and actually thought the texture was great. Also, I did make my own lemon curd and served with sliced fresh strawberries on the side. Thank you!!! Will make again – either way!
Oh my gosh, Jennifer lol! I’m sure your heart just about stopped! Especially on Easter of all days! I’m so happy it still turned out ok! It sounds especially delicious with your homemade lemon curd and strawberries!
Can you do this without a crust?
I made this for my sister in law and she declared it the best she ever had!!
Excellent. Easy. Yummy. If this is your first cheesecake experience just follow Tessa’s instructions, especially regarding pan wrapping and water bath. The only change I made, was using (2) 7” pans because I didn’t have the recommended size. I cut baking time by 20 minutes and my cakes were perfect. 🙂
This is a great recipe. Easy to follow even if its your first cheesecake experience. Thanks Tessa, I always turn to your recipes first whenever I want to try something new!
Instead of placing the foil wrapped cheesecake pan into a water bath that invariably caused a soggy crust I simply put the water bath
BELOW the cheesecake.
It works fine and no more soggy crusts!
This was absolutely delicious!! (I say this in past tense, because the cheesecake literally lasted 1 day. 1 DAY). I felt like I was in heaven with every single bite! I used a premade crust that I bought from the supermarket, and lightly covered the top with heavy-duty aluminum foil. There was no problem with the bubble bath since the hot water didn’t jump into it at all. It chilled slowly, and I got no cracks. Light cheesecake with a slight lemon taste, paired with the lemon curd it was just another level of delicious. All the work is worth it!
Thanks for the tips on making cheesecake. Another tip I have is on wrapping the springform pan. I’ve had the seam of the springform pan cut through the foil on the bottom so I started putting a piece of plumbers tape (it’s like electrical tape, but thicker) over the seam before wrapping it in foil. I’m sure other tapes would work just fine also as long as it covers up the sharp edge of the seam on the pan.
beautiful cheesecake, thank you for the scratch recipe too, because why not? (time but still much better than scratch
Superb recipe which I’ll Prepare n taste.
I don’t see a recipe for the lemon curd.
I’ve added a note to the recipe about the lemon curd!
Is there no recipe for the Lemon Curd? Can Lemon Curd be purchased from a grocery store?
Yes! It’s usually stocked next to the jam and jellies 🙂